The Mirror tool in GIMP allows you to mirror objects in your images easily and effectively. Whether you want to mirror a single element or an entire document, this tool gives you the flexibility you need. In this guide, you’ll learn how the mirror tool works and what special considerations to keep in mind.
Key takeaways
The most important points you should know about the mirror tool are:
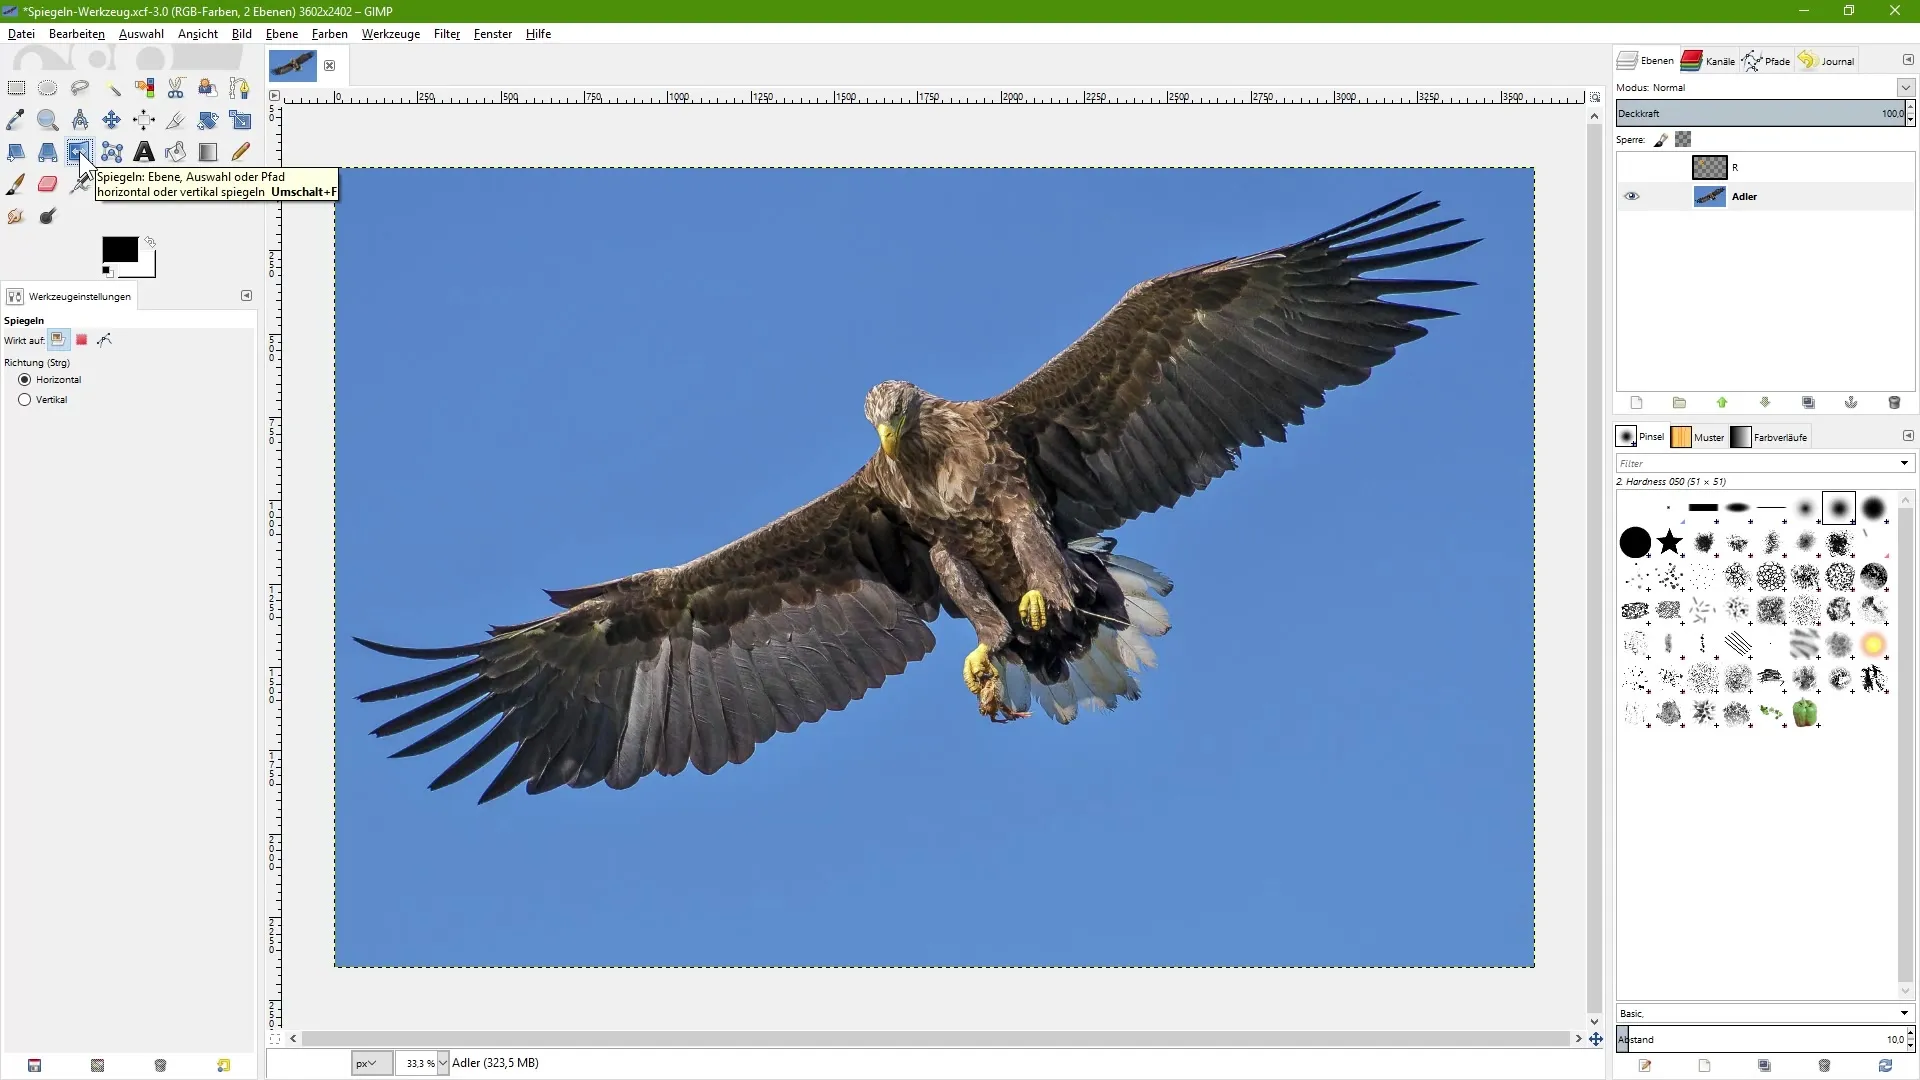
- The tool is accessible via the icon in the toolbox or by pressing Shift + F.
- You can choose between horizontal and vertical mirroring.
- Mirroring individual objects requires cropping the respective layer.
- To mirror the entire document, use the image transformation options.
Step-by-Step Guide
1. Open the Mirror Tool
First, you need to activate the mirror tool. It’s hidden behind a special icon in the toolbox. Alternatively, you can quickly open it with the keyboard shortcut Shift + F.

2. Select the Layer to Mirror
Make sure you have selected the correct layer in the Layers palette. In this example, we are working with an image layer that shows an eagle.
3. Choose the Mirroring Options
In the tool options, you can choose whether to mirror the layer horizontally or vertically. The horizontal option mirrors from left to right, while the vertical option mirrors from top to bottom.
4. Apply the Horizontal Mirror
To perform a horizontal mirror, click once on the image layer with the mirror tool active. The image will be mirrored accordingly. Another click will restore the image to its original state.
5. Apply the Vertical Mirror
To use the vertical mirror, switch to the corresponding option and click on the image again. Here, too, you can restore the original state with another click.
6. Switching Between Mirroring Options
An exciting feature of the tool is switching between the two mirror directions. Hold down the Control key while using the mirror tool to quickly toggle between horizontal and vertical mirroring.
7. Working With Layers
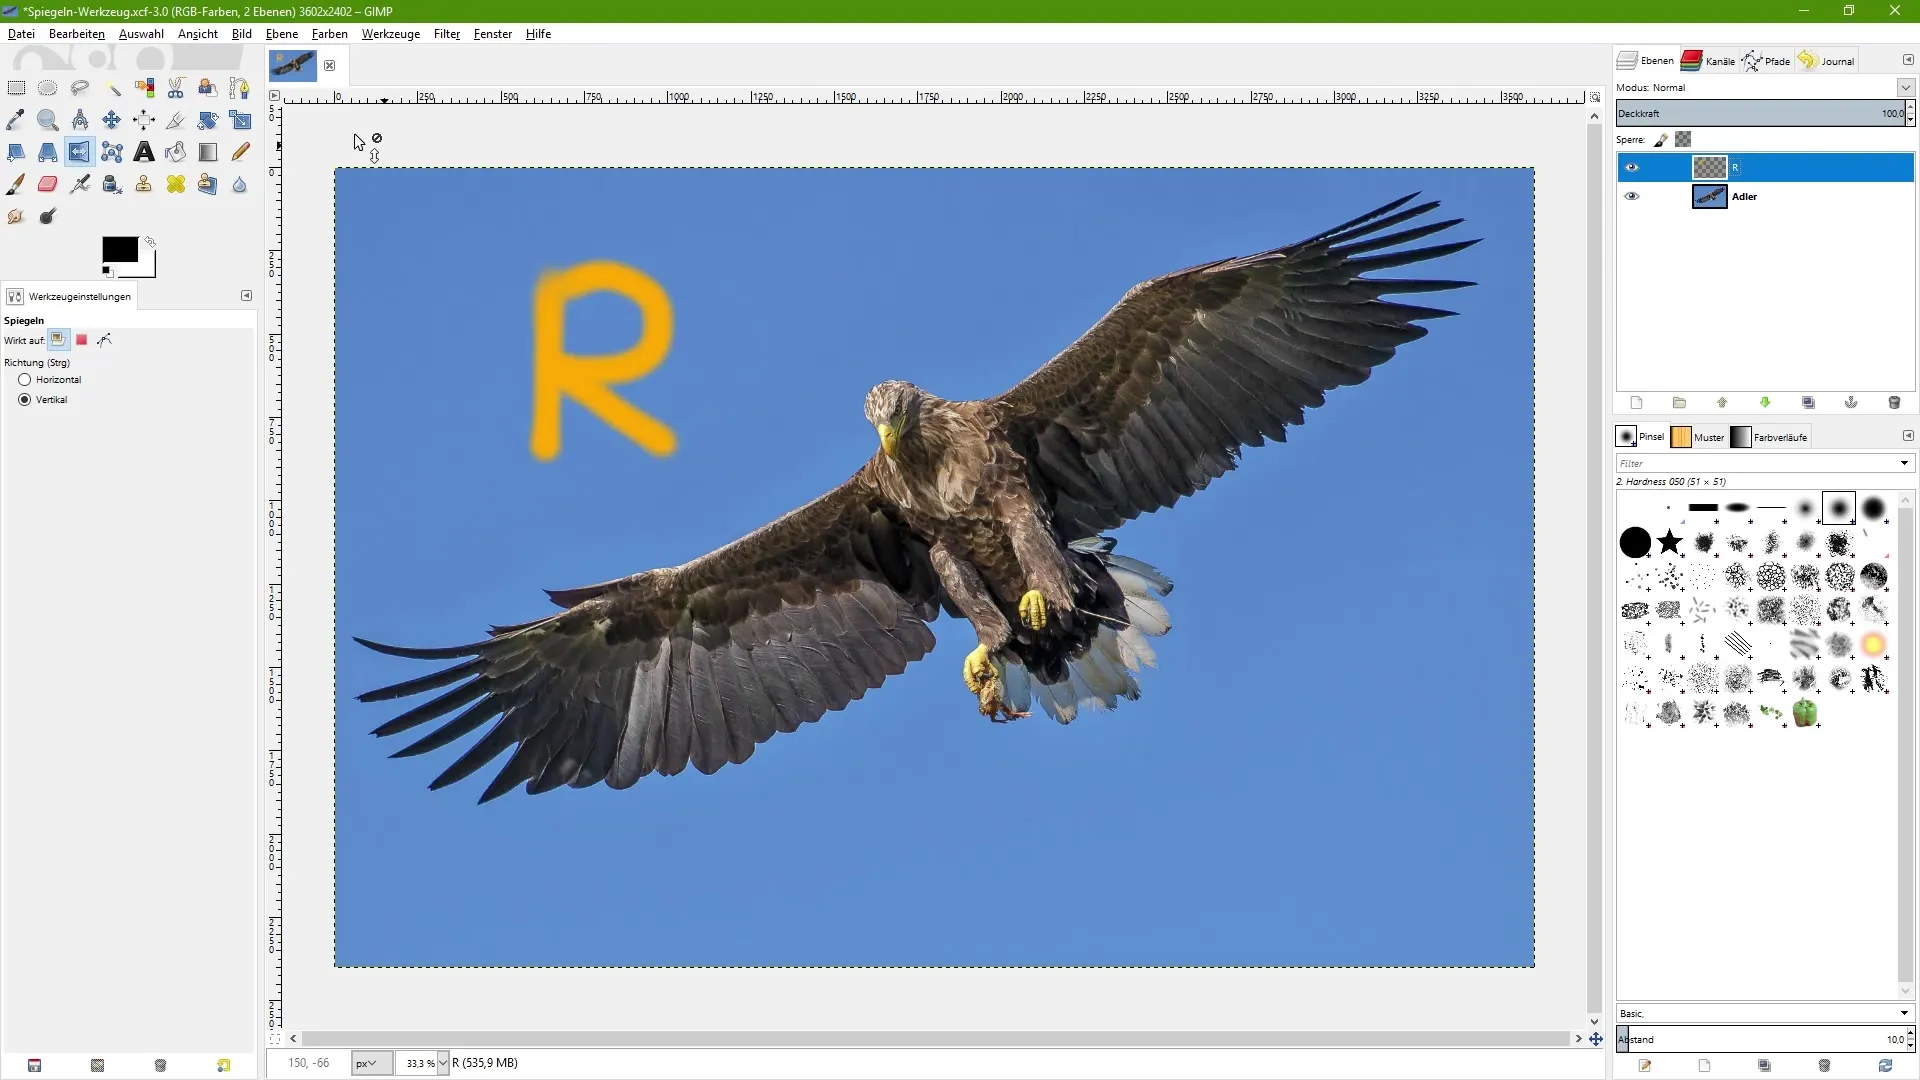
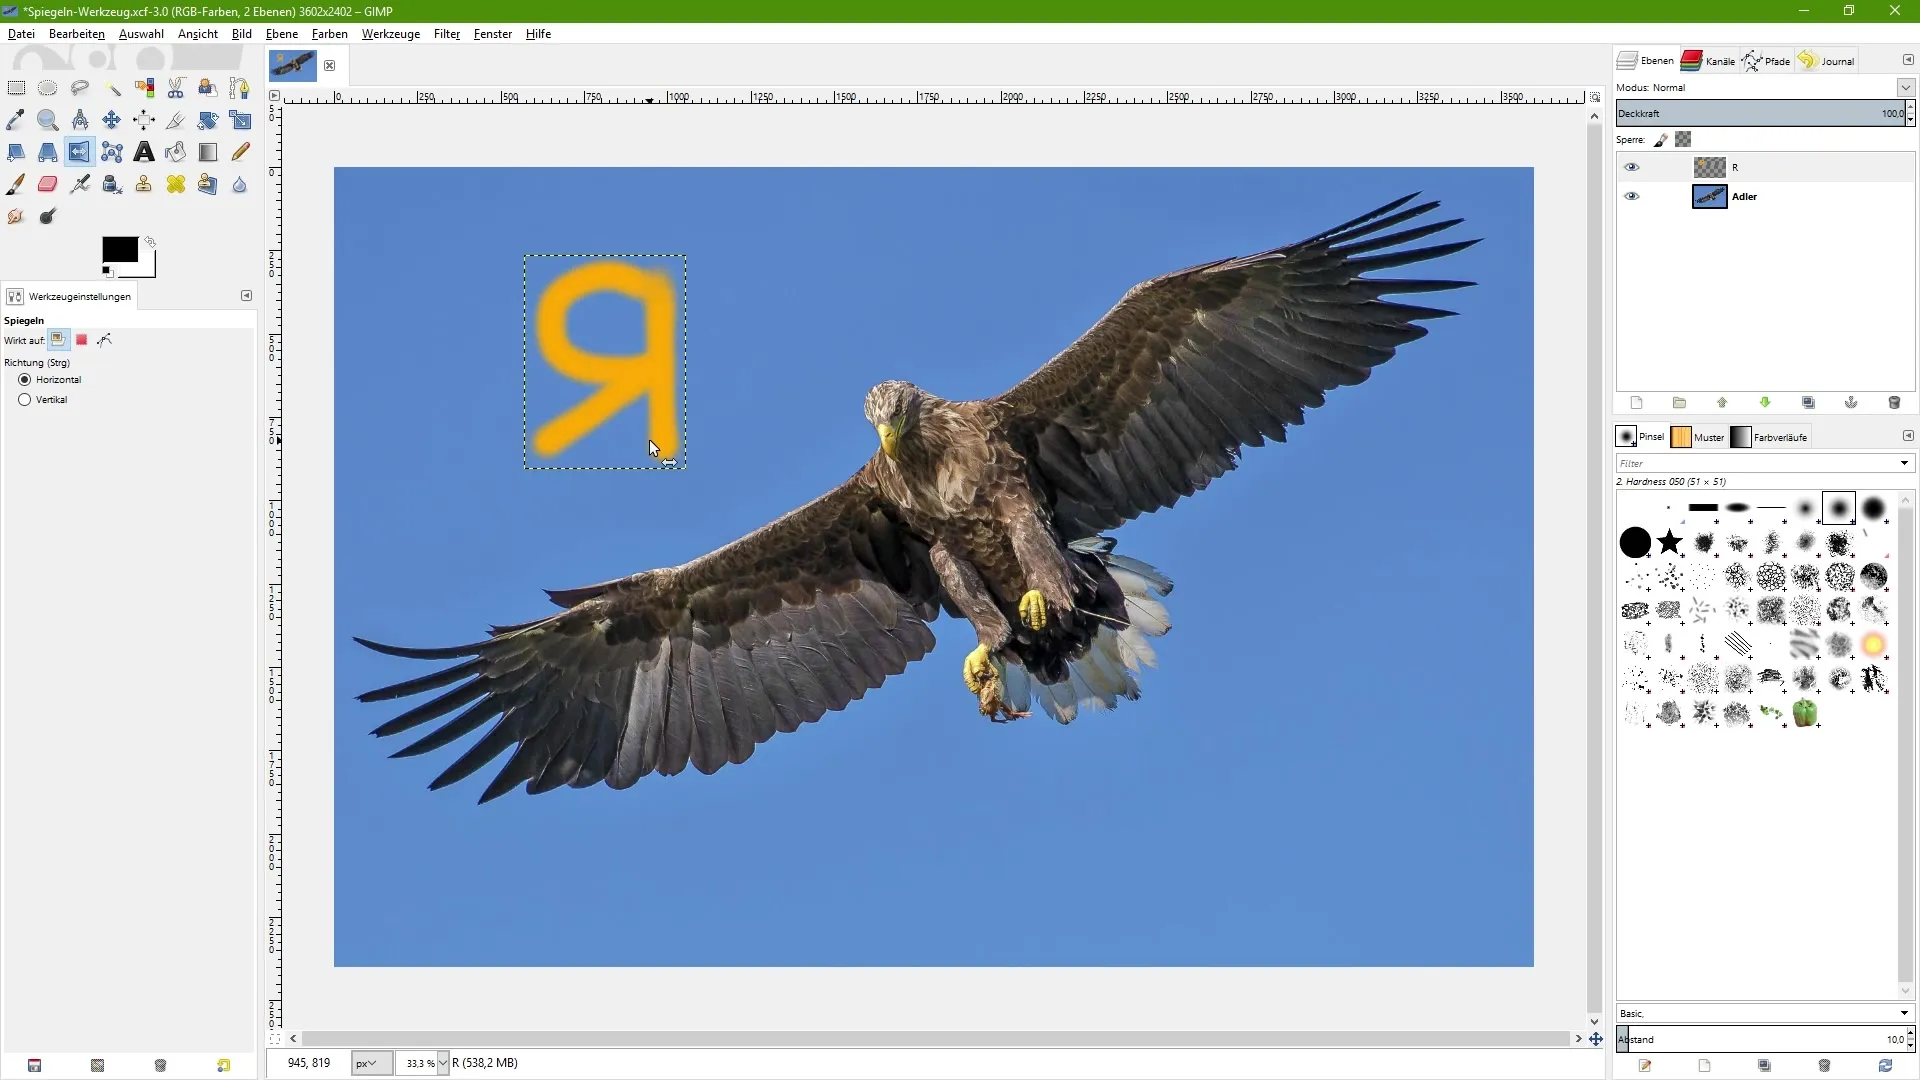
If you have a transparent layer (for example, with the letter “R”), you can mirror that as well. However, make sure to crop the layer first so that only the “R” is mirrored, not the entire layer area.

8. Cropping the Layer
To correctly mirror the “R”, go to “Layer” and select “Autocrop Layer”. The layer will be cropped to the size of the “R”.
9. Mirroring the Object
Now you can click on the “R” with the mirror tool, and it will be mirrored in its original position. This is an important step to work accurately.

10. Mirroring the Entire Document
If you want to mirror the entire document, do not use the mirror tool. Instead, go to “Image” > “Transform”. There you can select “Flip Horizontally” or “Flip Vertically”.
11. Undoing Actions
You can undo any transformation via the “Image” > “Transform” menu option. This allows you to quickly revert previous steps and make adjustments.
Summary – Image Editing with GIMP: Master the Mirror Tool
The mirror tool is a versatile feature in GIMP that lets you achieve various effects in your images. Whether you want to edit individual objects or entire documents, this tool is very useful in digital image editing.
Frequently Asked Questions
How do I activate the mirror tool in GIMP?You can activate the mirror tool via the icon in the toolbox or with the keyboard shortcut Shift + F.
Can I mirror the entire image at once?Yes, for that you should use the image transformation options without using the mirror tool.
Do I need to crop the layer before mirroring it?Yes, if you only want to mirror a specific part of the layer, you should crop the layer first.
Can I mirror both horizontally and vertically?Yes, you can switch between the two options by changing the selection in the tool or pressing the Control key.
What if I want to undo the mirror effect?You can undo any change through the “Image” > “Transform” menu option.


