The Blur and Sharpen tool in GIMP is essential for image editing when you want to edit specific areas of your image. While the blur creates a soft haze, the sharpening tool can highlight the details in an image. In this guide, you will learn how to use both tools effectively to give your images the finishing touches and make them look more professional.
Key insights
- The Blur and Sharpen tool can be easily accessed via the toolbar or with the keyboard shortcut “Shift + U”.
- It is important to choose the type of link between blur and sharpen, which can be done with a simple click or by holding down the control key.
- Work non-destructively by creating a copy of your original to allow for undo changes.
- Pay attention to the strength of the blur and sharpen to achieve a natural result.
Step-by-Step Guide
1. Accessing the Tool
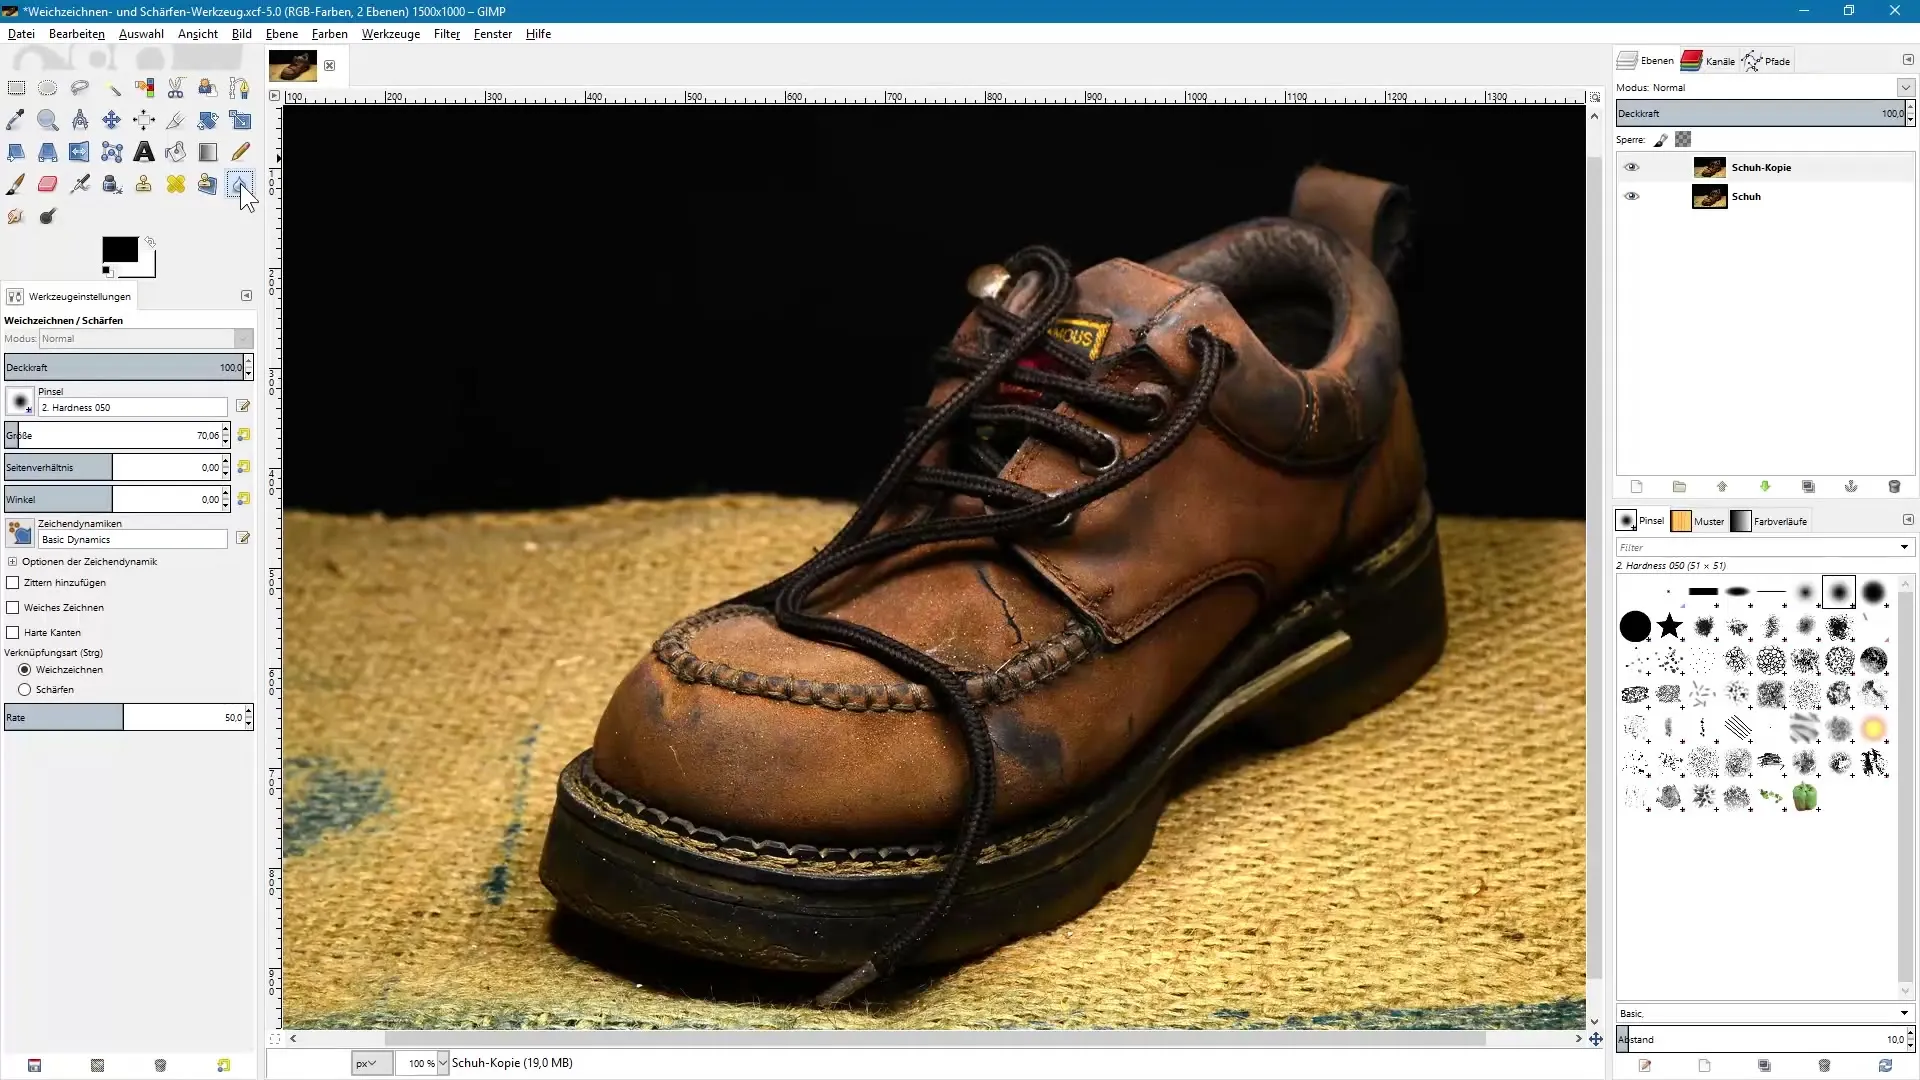
To use the Blur and Sharpen tool, open GIMP and load your image. Then click on the corresponding icon in the toolbar or use the keyboard shortcut “Shift + U” for quick access.
2. Understanding Tool Options
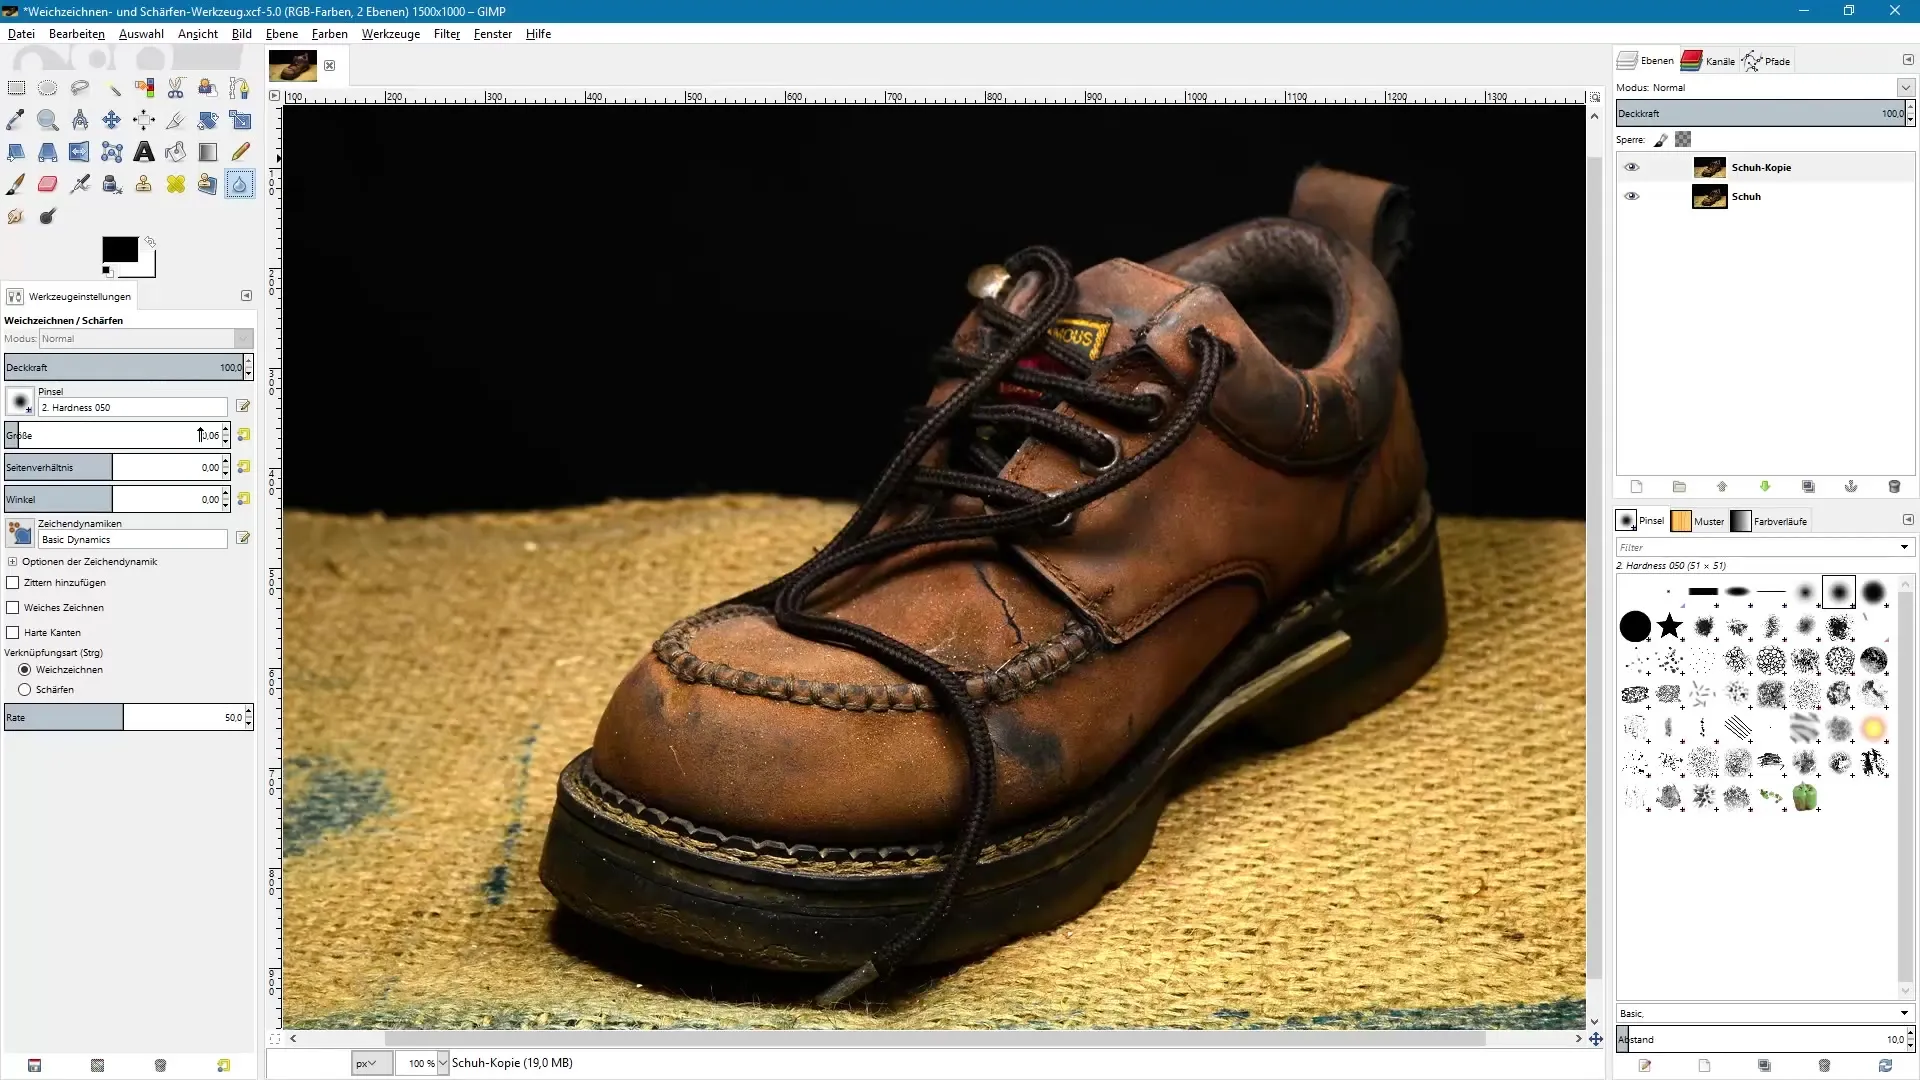
Once you have activated the tool, you will see various options in the tool settings. Here you can choose between the linking options for Blur and Sharpen. This selection is crucial to achieve the desired results.
3. Copy Original Image
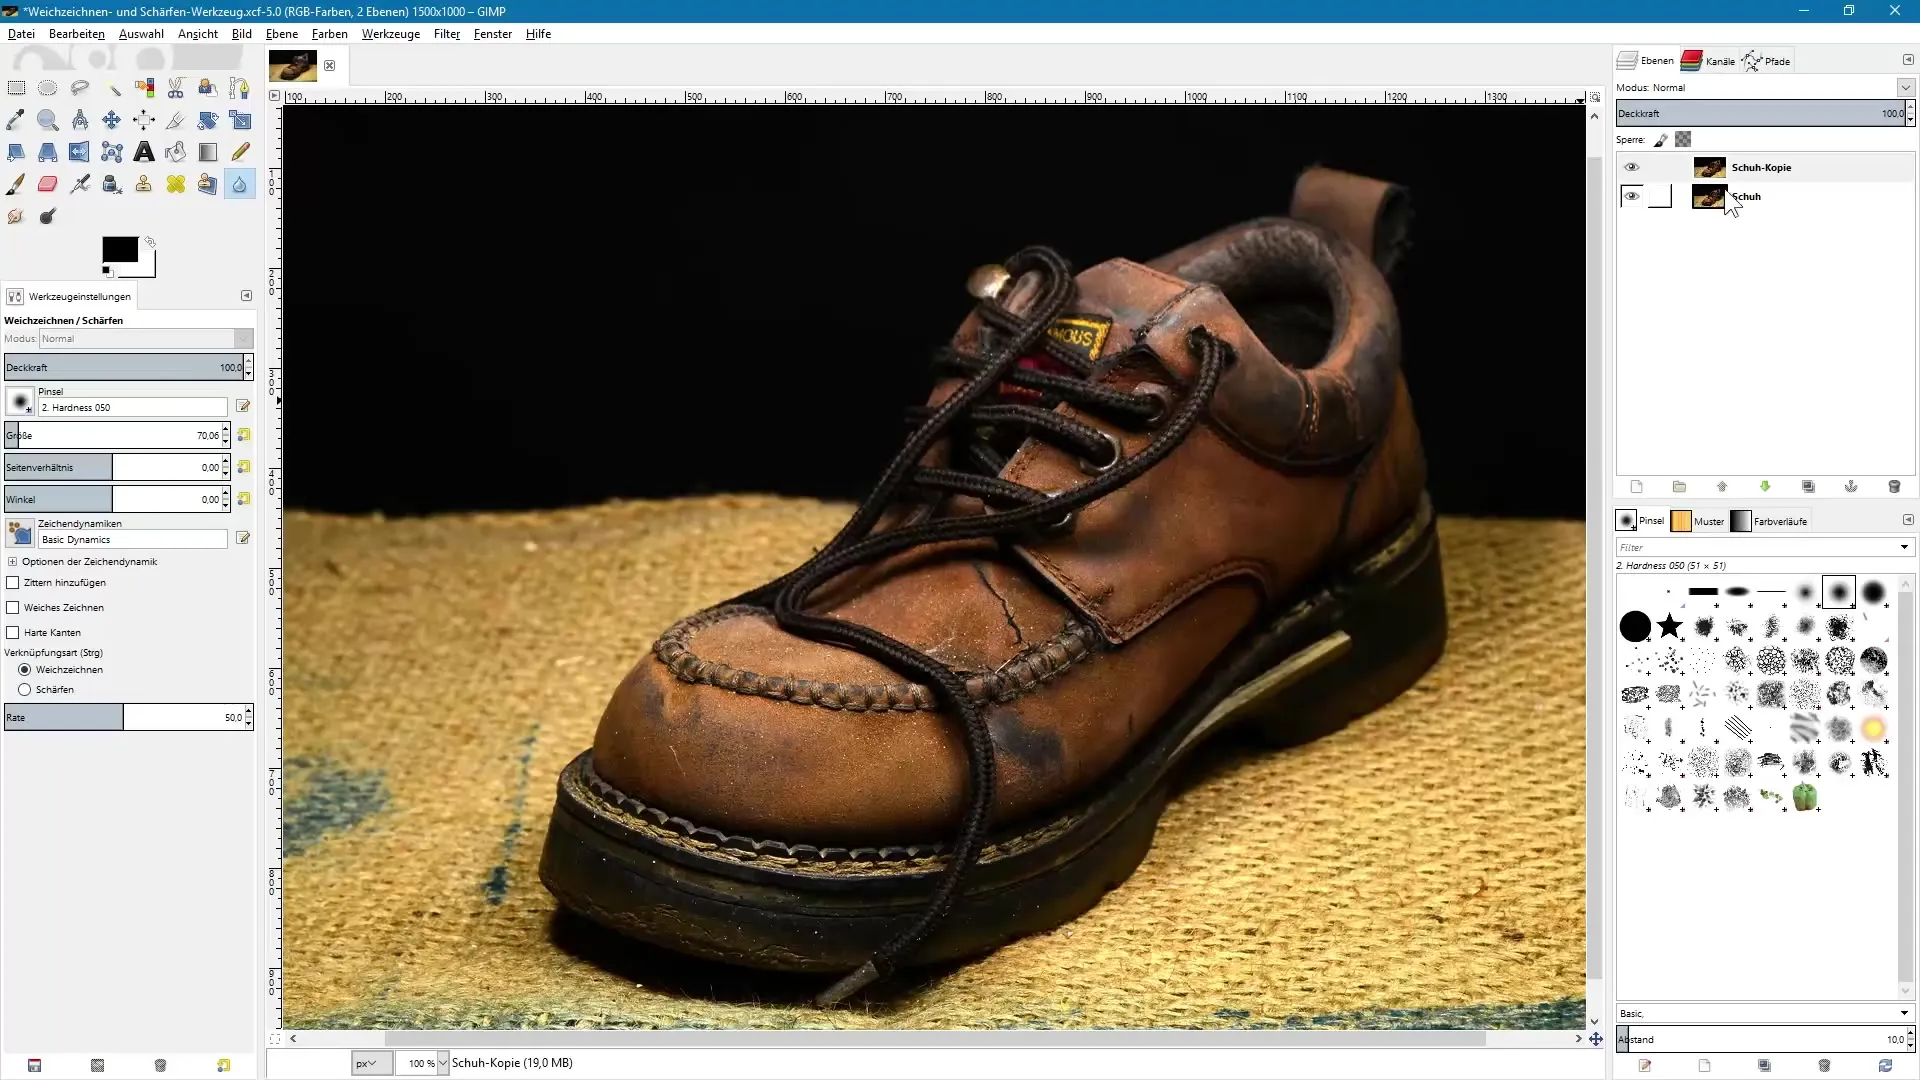
To work non-destructively, create a copy of your original image in the layers panel. This way, you can return to the original at any time. To do this, right-click on the original layer and select “Duplicate Layer”.
4. Apply Blur
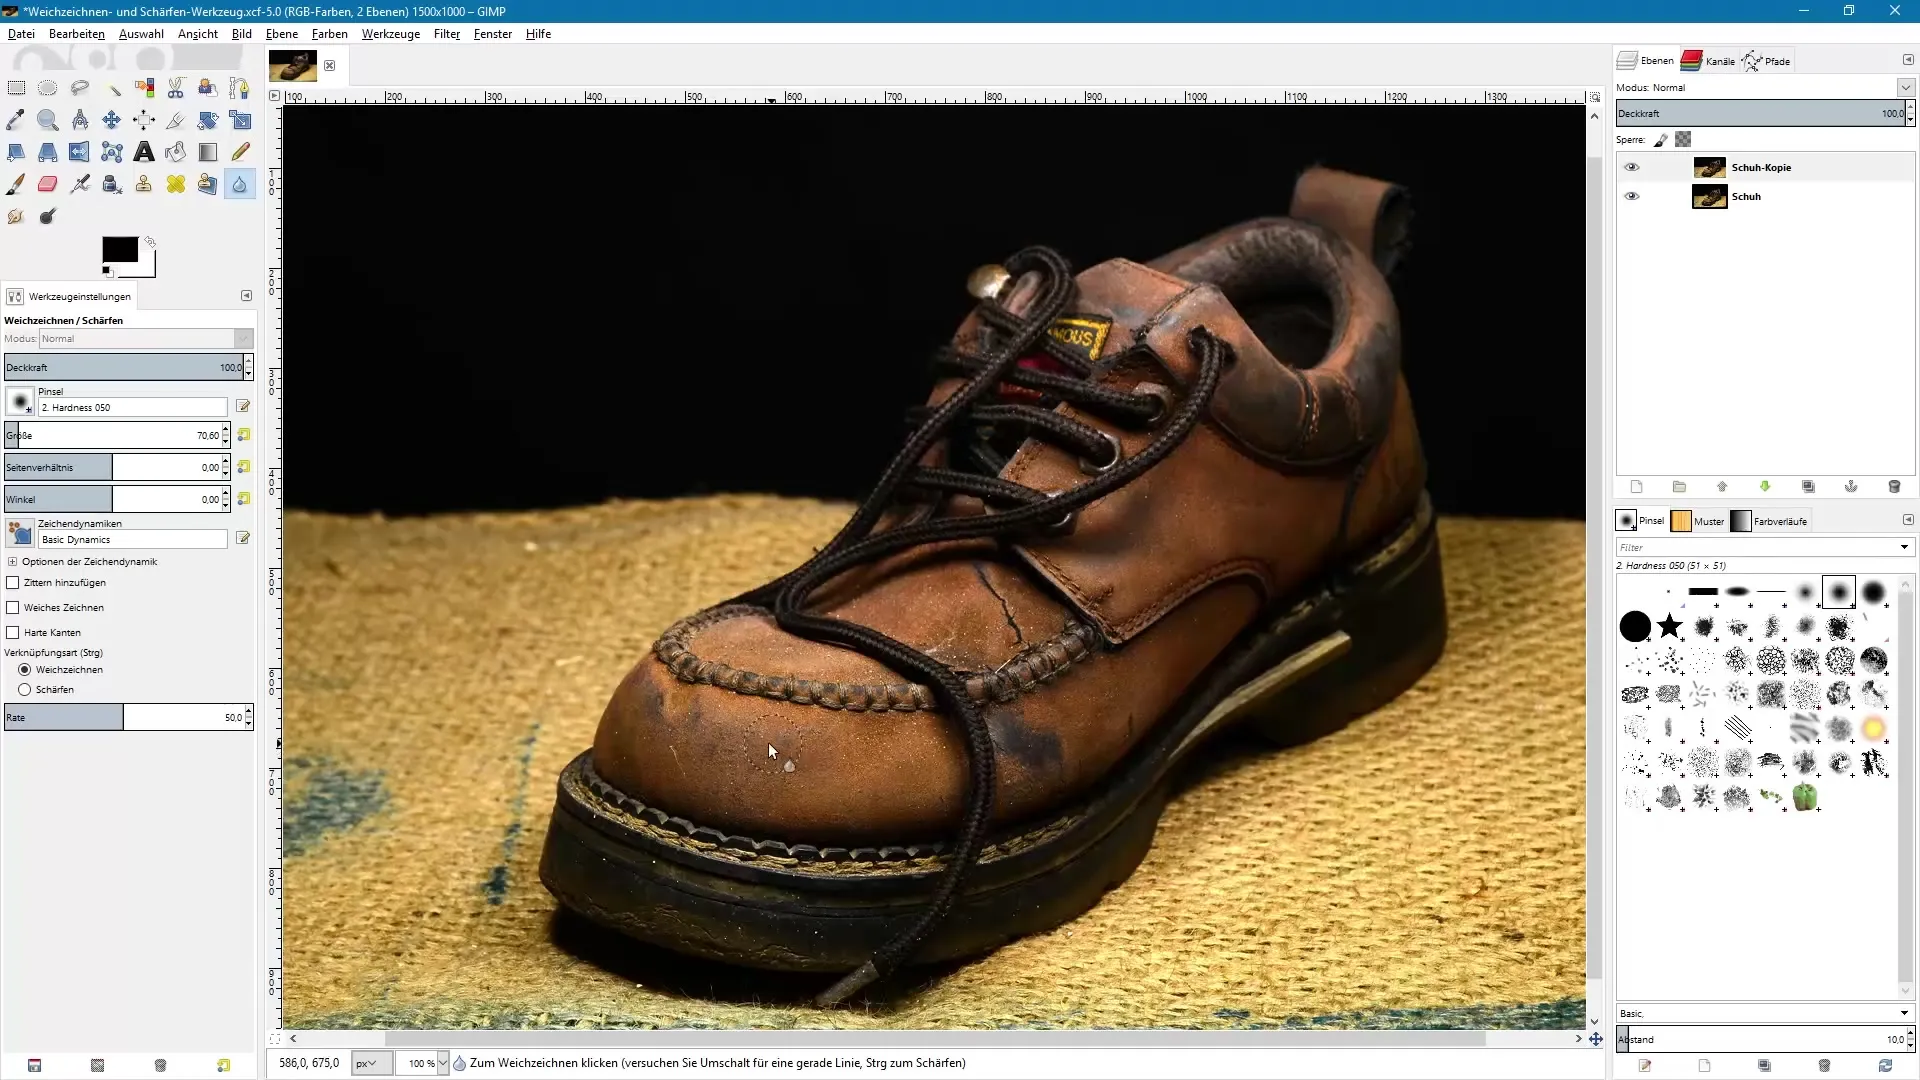
With the blur tool activated, click on the areas you want to blur. Adjust the strength with the slider to determine how intense the blur will be. Start with a low value to better control the effect.
5. Use Sharpening
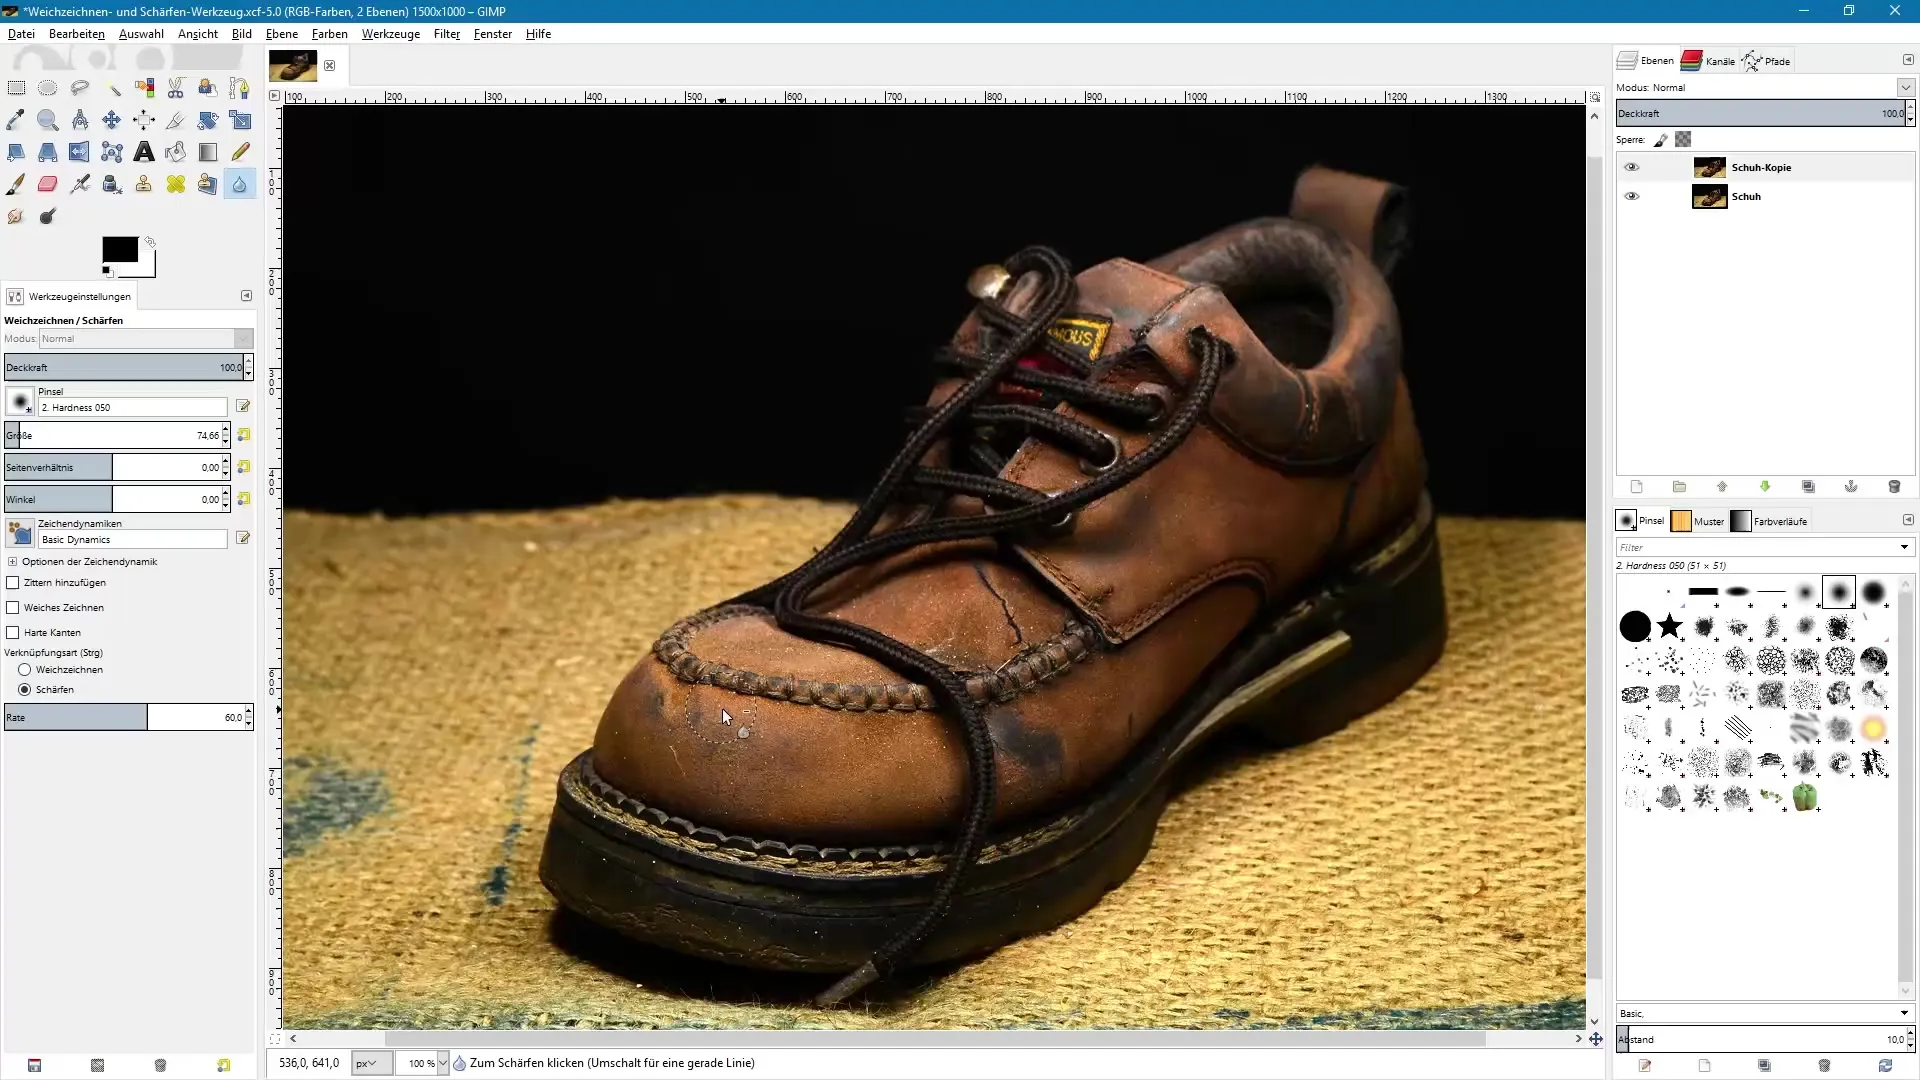
Once you are finished with the blur, you can switch to the sharpening tool. Hold down the control key while activating the tool to select the sharpening mode. Proceed carefully, especially when adjusting the strength, to avoid an excessively sharp appearance.
6. Detailed Sharpening
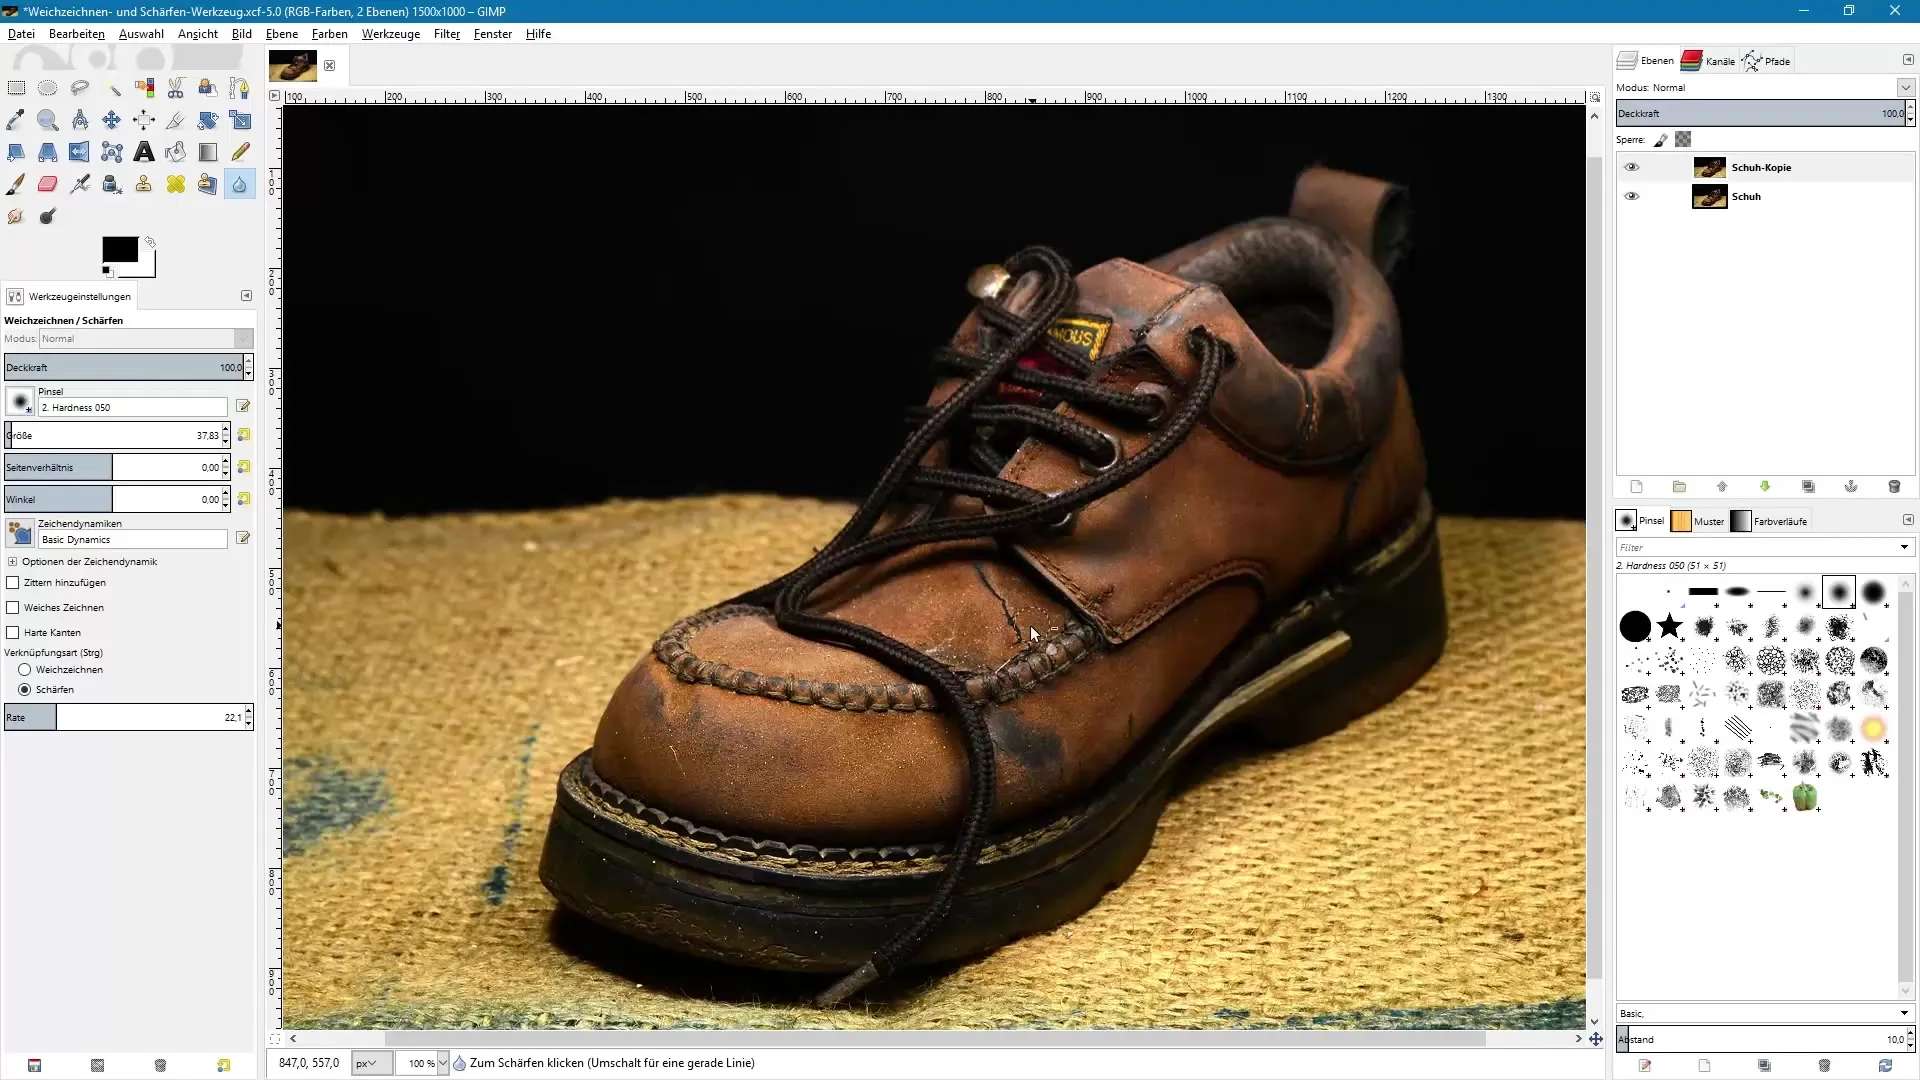
With a smaller brush, you can target specific details, such as the structure of shoes that you want to highlight in your image. Sharpening is particularly well-suited for enhancing important image areas after resizing for the web.
7. Before-After Comparison
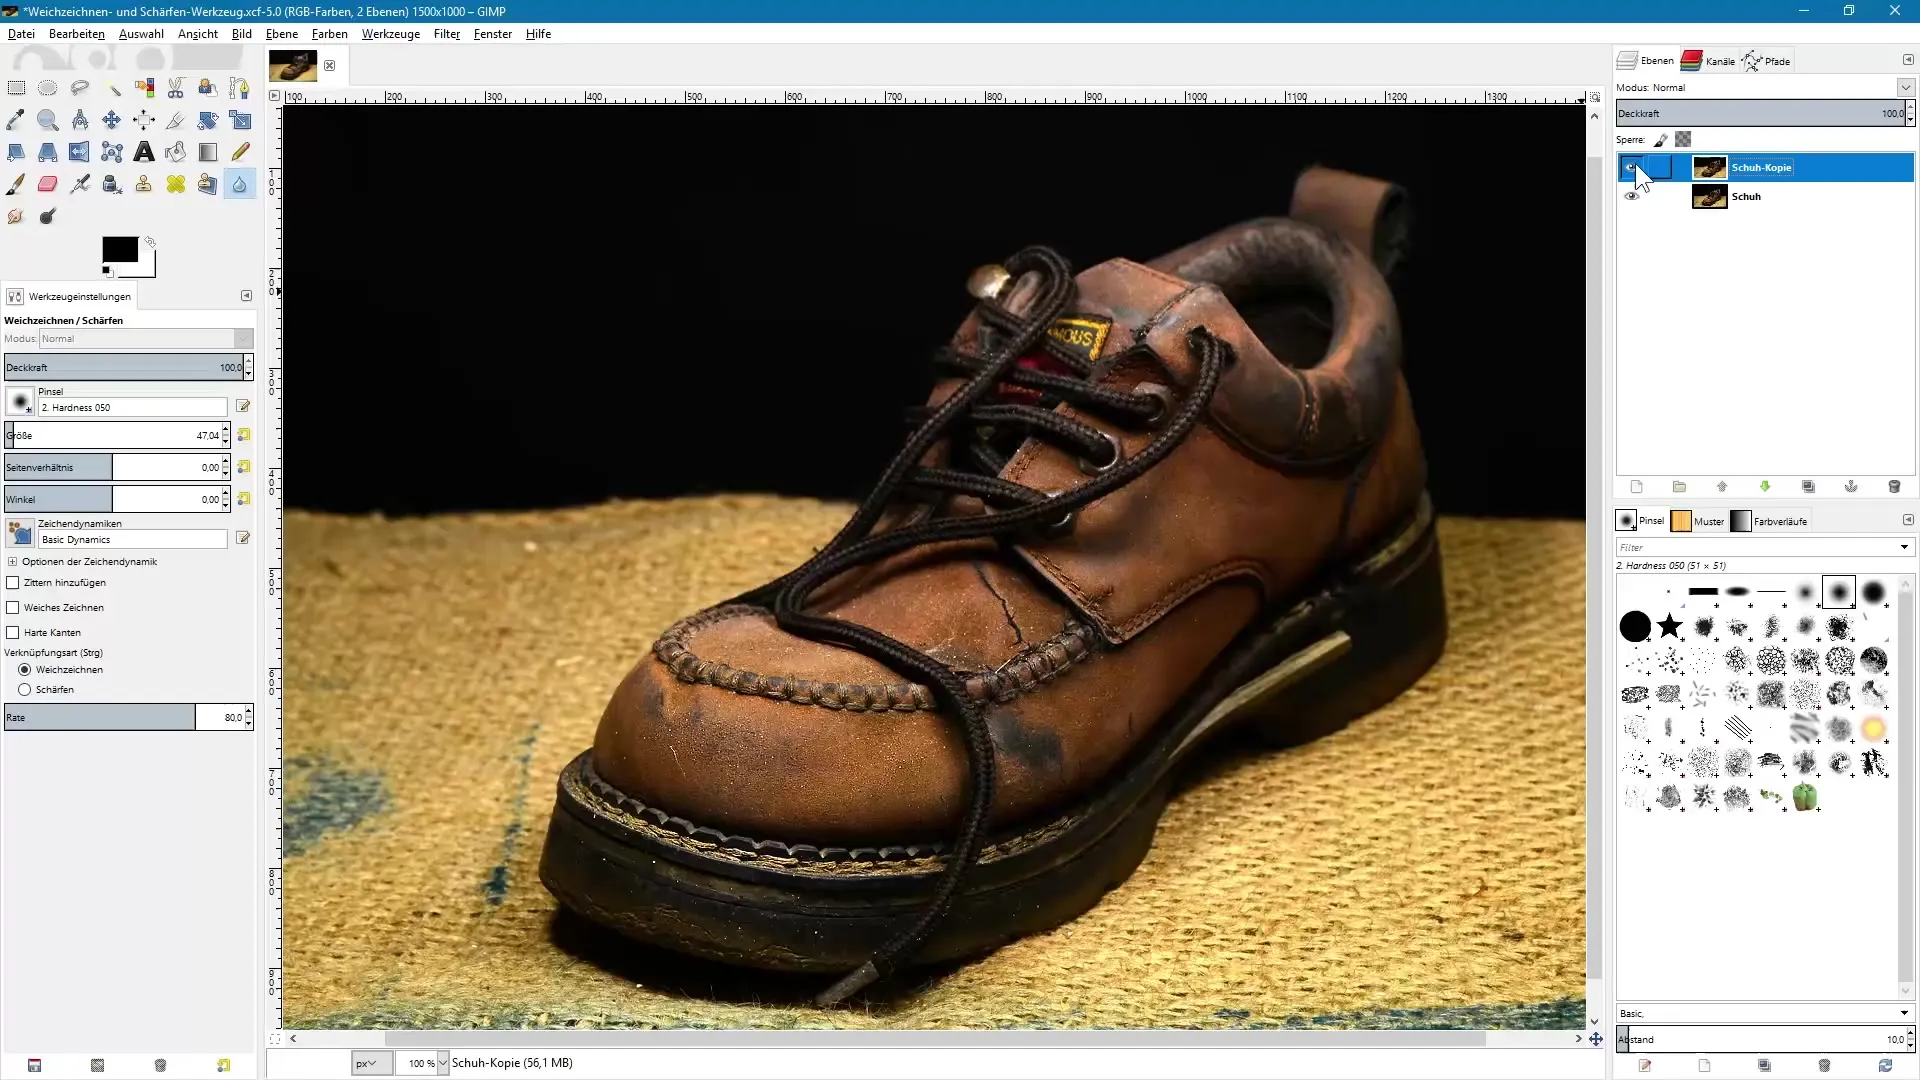
To see how significant the difference is, hide the edited layer and compare the edited image with the original. Pay attention to details and changes in structure. This will give you a sense of how effective your changes were.
Summary – Image Editing with GIMP: Guides on Blurring and Sharpening
In this guide, you have learned the key functions of the Blur and Sharpen tool in GIMP. You now know how to effectively edit areas and which settings are important to achieve a natural result.
Frequently Asked Questions
How do I open the Blur and Sharpen tool?You can open the tool via the icon in the toolbar or with the keyboard shortcut “Shift + U”.
Why should I create a copy of the original image?A copy of the original allows for non-destructive editing, so you can return to your original image at any time.
How do I choose between Blur and Sharpen?You can switch between the two options via the toolbar or by holding down the control key.
What is the optimal strength for sharpening?Start with a strength of around 40 to maintain a natural look and avoid excessive sharpness.
How do I make a before-after comparison?Simply hide the edited layer to display the original image and see the differences.
