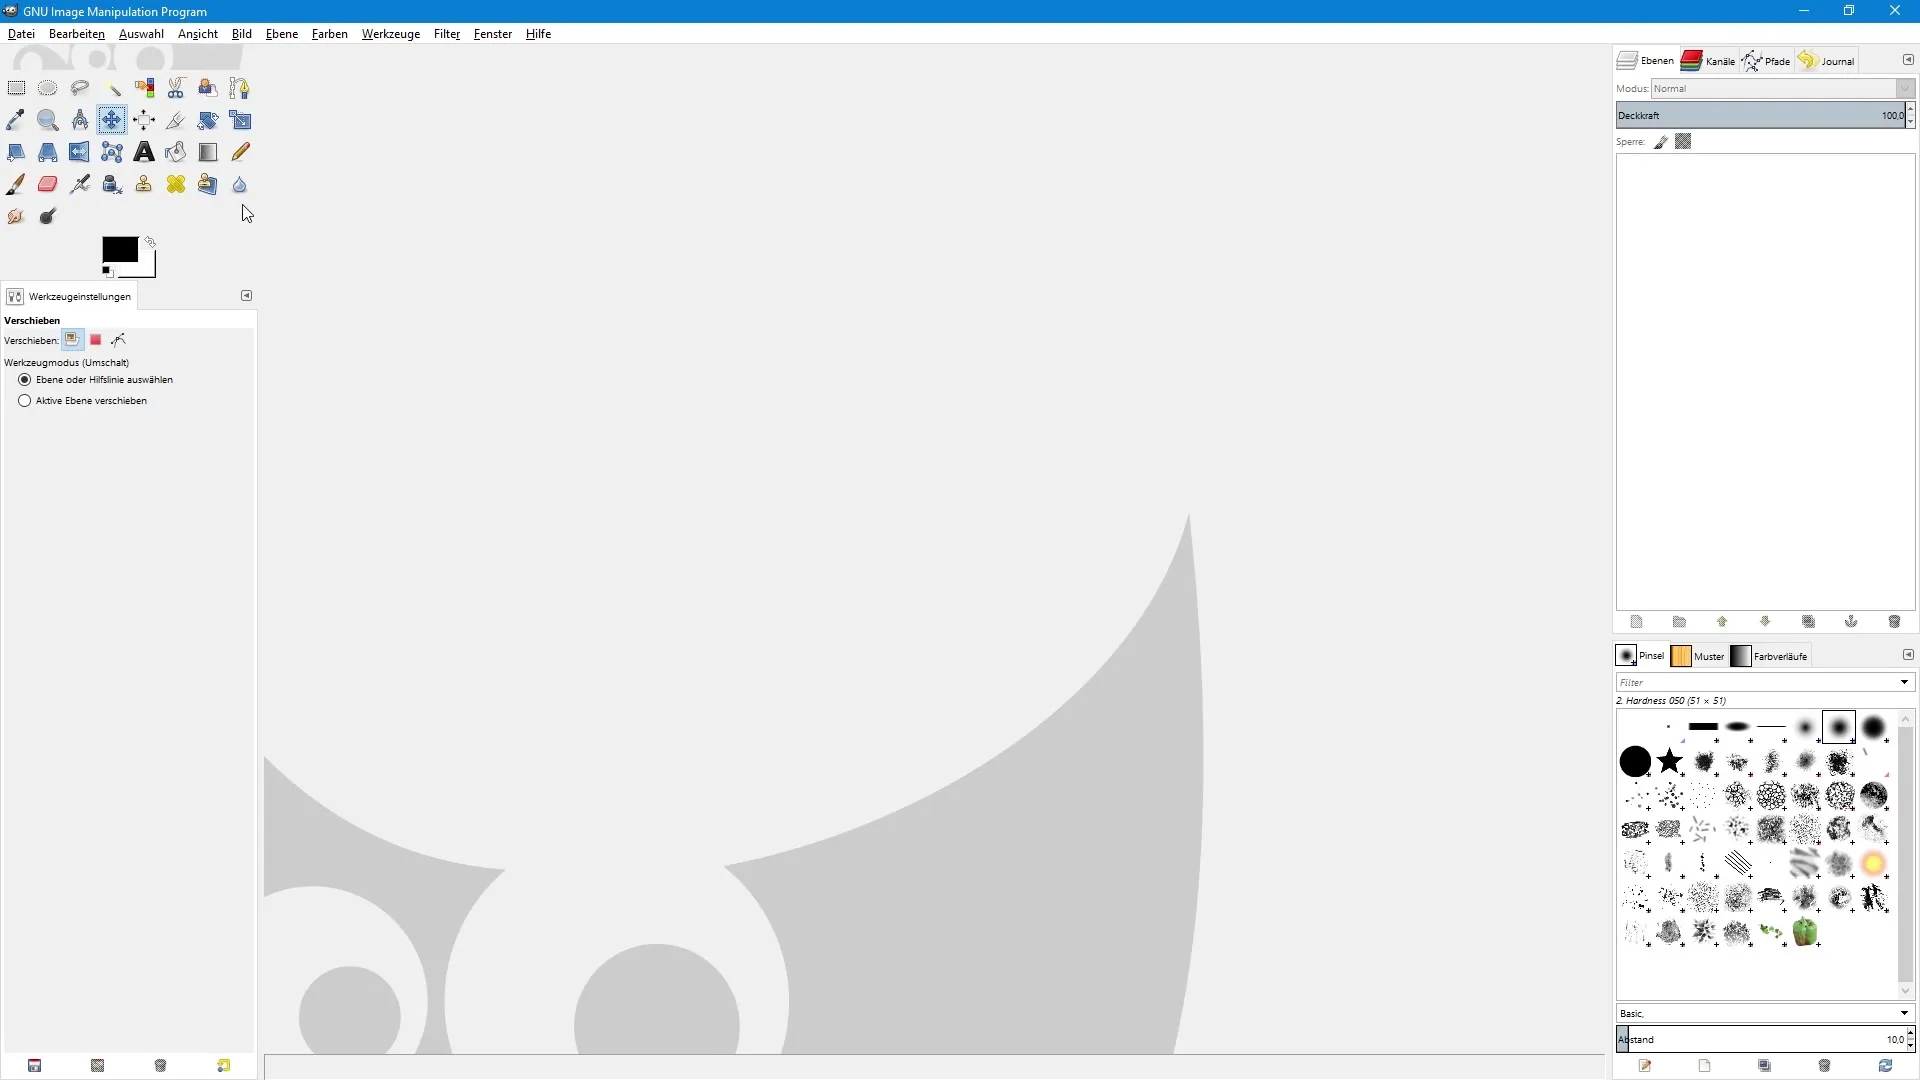
The adjustment of the toolbox in GIMP can be crucial for working efficiently and comfortably with image editing. By organizing the tools according to your needs or even selecting the tools themselves, you create a customized and clear working environment. In this guide, I will show you step by step how to adjust the toolbox in GIMP to your preferences.
Key Insights
- You can easily adjust the visibility and order of the tools in the toolbox.
- With the configuration option, you can efficiently manage the tools you use.
- A tidy user interface can enhance your productivity.
Step-by-step guide to customizing the toolbox
Step 1: Access the GIMP settings
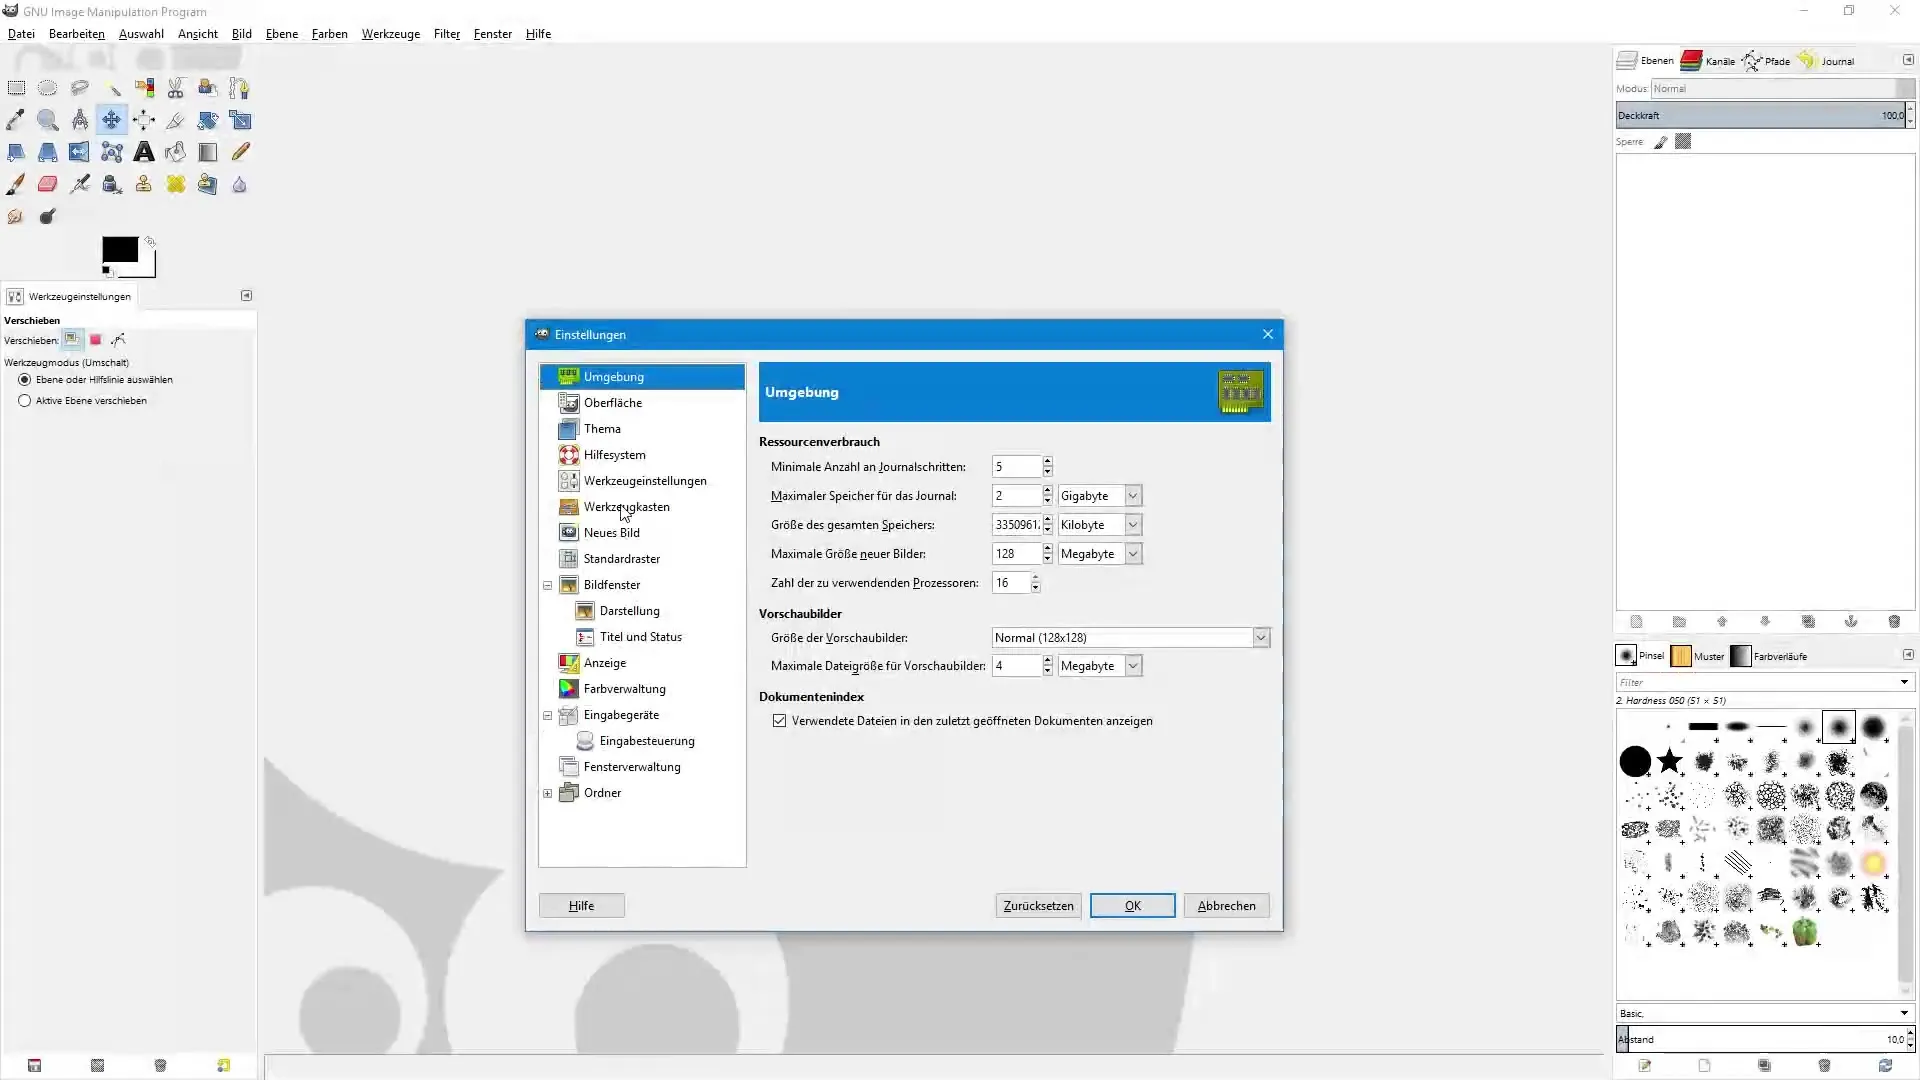
To change the toolbox in GIMP, you first need to access the settings. Click on "Edit" in the menu bar and then select "Preferences." Here you will find the solution to your issue.

Step 2: Select the toolbox
You are now in the settings window. On the left side, look for the "Toolbox" option and click on it. Here you can make options to customize your toolbar.

Step 3: Adjust option selection
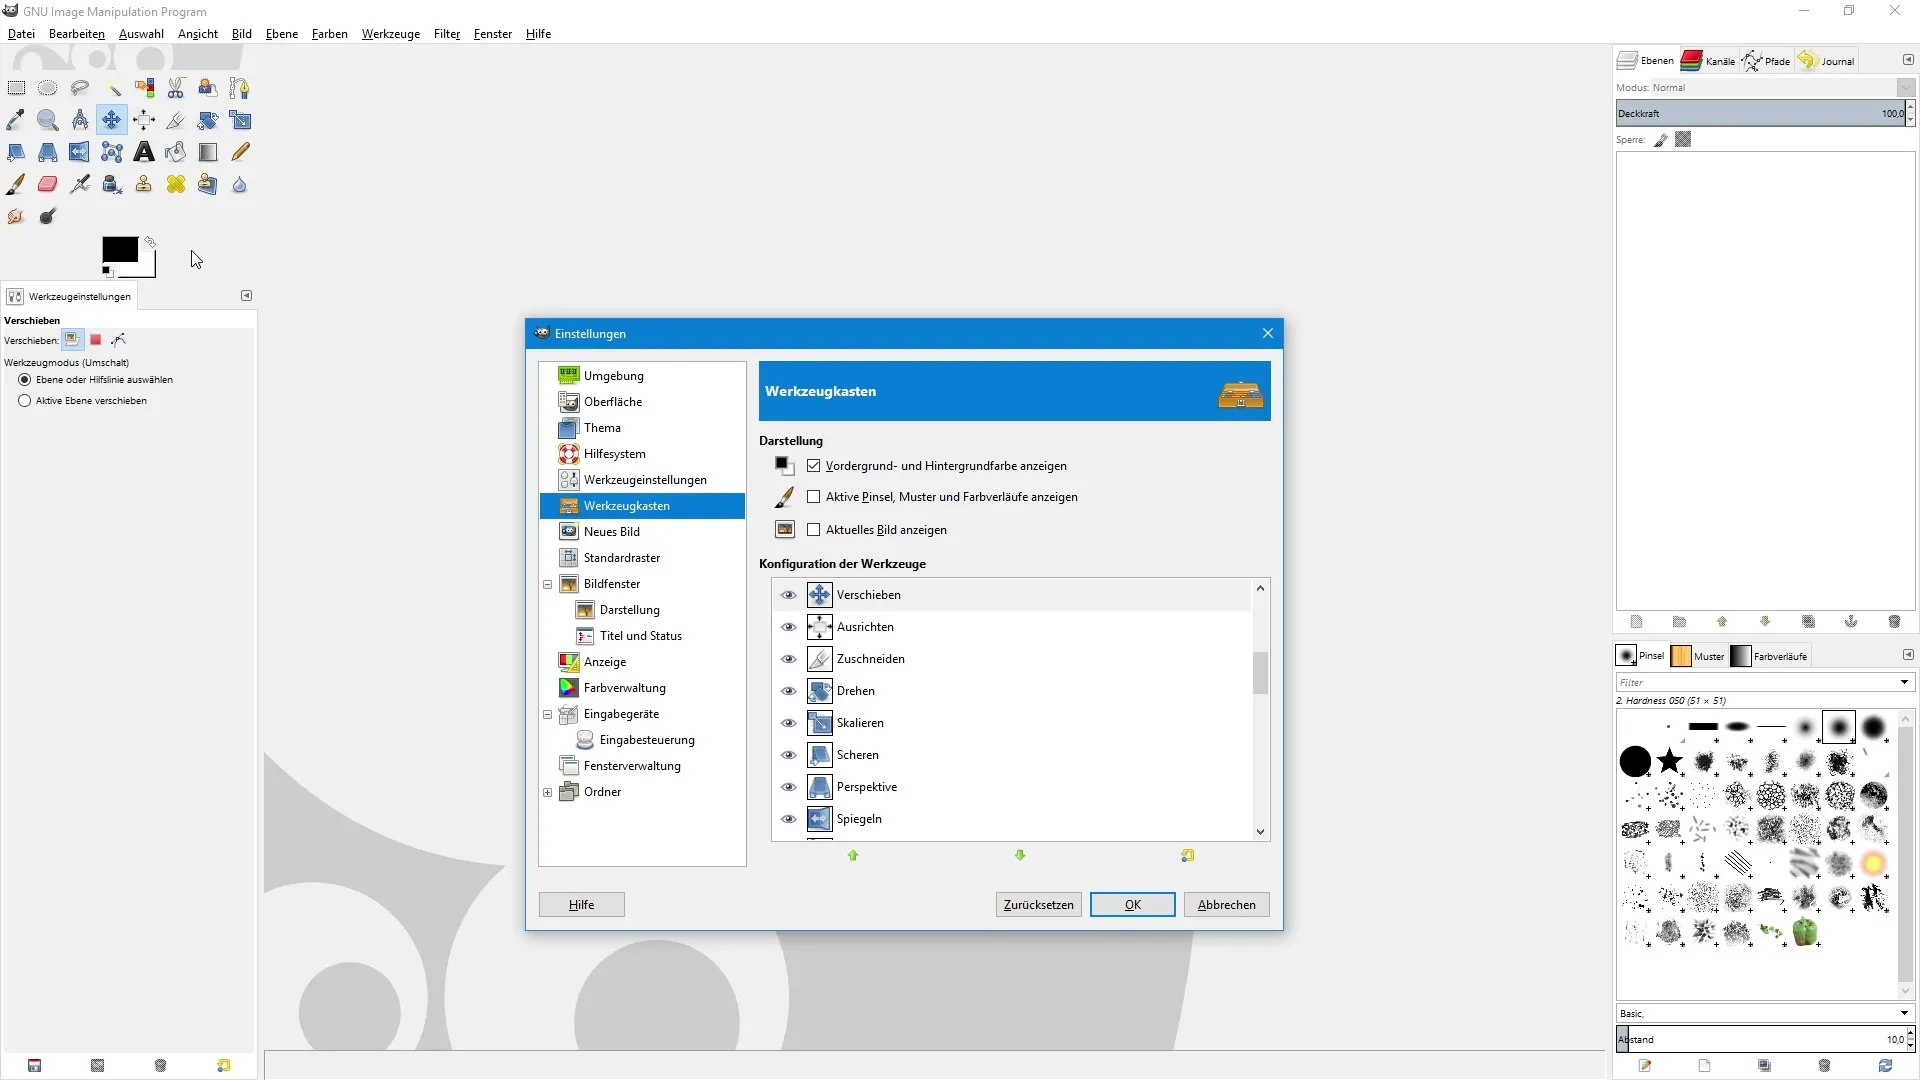
In the "Display" section, you will see various options that you can enable or disable. Currently, only the options for foreground and background color are activated. You can also display the currently selected brush tip or gradient by checking the corresponding boxes.

Step 4: Show or hide tools
Now it’s about the actual customization of the tools. In the tools configuration area, you can specify which tools should be visible. The eye icon next to each tool indicates whether it is displayed. Click on the eye icon to hide or show the tool again.
Step 5: Adjust tool order
Do you use a tool especially frequently? In this case, you can easily adjust the order of the tools. Simply click on the tool, hold down the left mouse button, and drag it to the desired position in the toolbox. Alternatively, you can also use the arrow icons at the bottom to adjust the position of the tool.
Step 6: Display hidden tools
If you scroll down to the bottom, you will see tools that are currently hidden. If you want to use one of these tools in the future, simply click on the empty space to display it. For example, you can activate the brightness and contrast tool, and it will become visible in the toolbox.
Step 7: Save adjustments
After you have made all the adjustments you want, click "OK" to save the settings. Your changes will take effect immediately, and you can now continue working with an optimized toolbox in GIMP.
Summary – Customizing the toolbox in GIMP made easy
Customizing the toolbox in GIMP is a simple process that allows you to arrange the tools according to your personal preferences. By hiding unnecessary tools and optimizing the order to meet your needs, you create an efficient working environment that can enhance your productivity.
Frequently Asked Questions
How can I make the tools visible in GIMP?Click on the eye icon next to the desired tool in the "Tools Configuration" section.
Can I adjust the order of my tools?Yes, hold down the left mouse button and drag the tool to the desired position.
What do I do if I need a hidden tool?Scroll down and click on the empty space next to the desired tool to display it.
How do I save my adjustments in the toolbox?Click "OK" to save the changes made.
Can I hide multiple tools at once?Yes, simply go to the tools and click on the corresponding eye icons.


