If you want to work with GIMP, it's important not only to edit existing images but also to create your own documents. Whether you want to design graphics, create flyers, or produce complex image compositions, in this tutorial I will show you how to efficiently set up new documents and templates. The process is straightforward and helps you achieve your desired result quickly and directly.
Key Insights You will learn how to create a new document in GIMP, define the dimensions, and save a template for recurring projects. We will go through the key steps, from selecting the right pixel values to adjusting the color space settings.
Step-by-Step Guide
To create a new document in GIMP, follow these steps:
You start GIMP and want to begin a new project. To do this, open the File menu and select the New option. Alternatively, you can press the keyboard shortcut Ctrl + N to speed up the process.

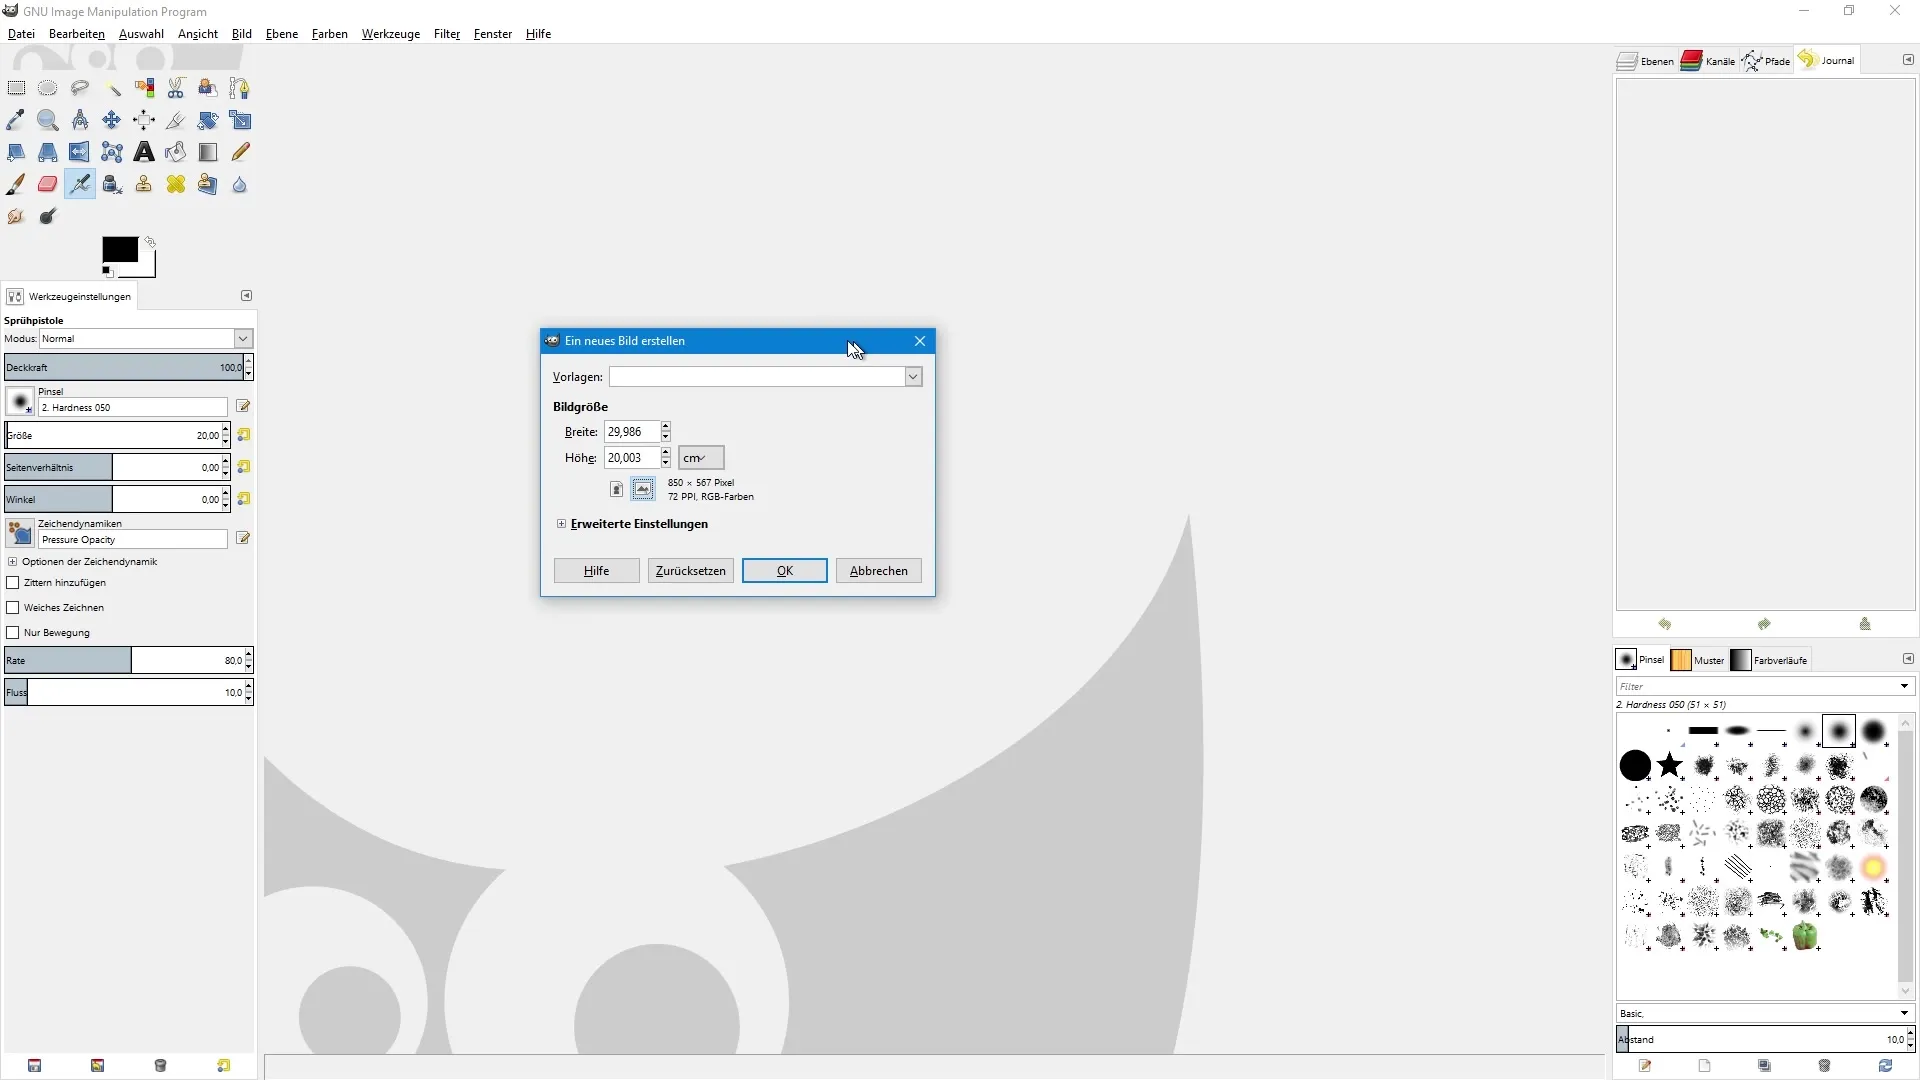
Once you see the dialog window for creating a new image, you can adjust various options. In the upper area, you find the option to select templates. Click the arrow icon to see a list of available templates like 640 x 480 or a CD cover template. However, I recommend that you first ignore this feature and go directly to the individual creation of your document.
You should now define the image size. Here, you can specify precisely how wide and tall you want your new document to be. Make sure that the unit of measurement is set to pixels so you can enter the correct values. Usually, I set the height and width to what I need, in this case 640 pixels wide and 400 pixels high.
If you need specific measurements in centimeters, go back to the dropdown menu and select centimeters. Suppose you want a width of 20 cm and a height of 30 cm; then adjust the size accordingly. The program will indicate whether the document is being created in portrait or landscape format.
To change the format, you can click a simple icon for landscape mode, which swaps the values. In the overview, you will see a summary of your document, including the pixel dimensions and the resolution you can now set.
Now click on the plus icon for advanced settings to see additional options. Here you can set the resolution of the document. By default, the value is set to 72 dpi, which is sufficient for screen displays. However, if you want to optimize for print, set this value to 300 dpi.

You will notice that the pixel values adjust automatically as long as the lock symbol is active, which means these values are linked. If necessary, you can click the lock symbol to edit the height and width individually.
GIMP also allows you to choose the color space. Here you can select between RGB and grayscale; unfortunately, there is no option for CMYK, so leave the setting at RGB.
To define how your document should be filled, make sure the optional background color is active. By default, the value is set to white. However, if you need a transparent area, you can also choose this option.
Here you will also see a comment that by default indicates that the document was created with GIMP. You can delete this comment by pressing the backspace key and possibly add your own comment.
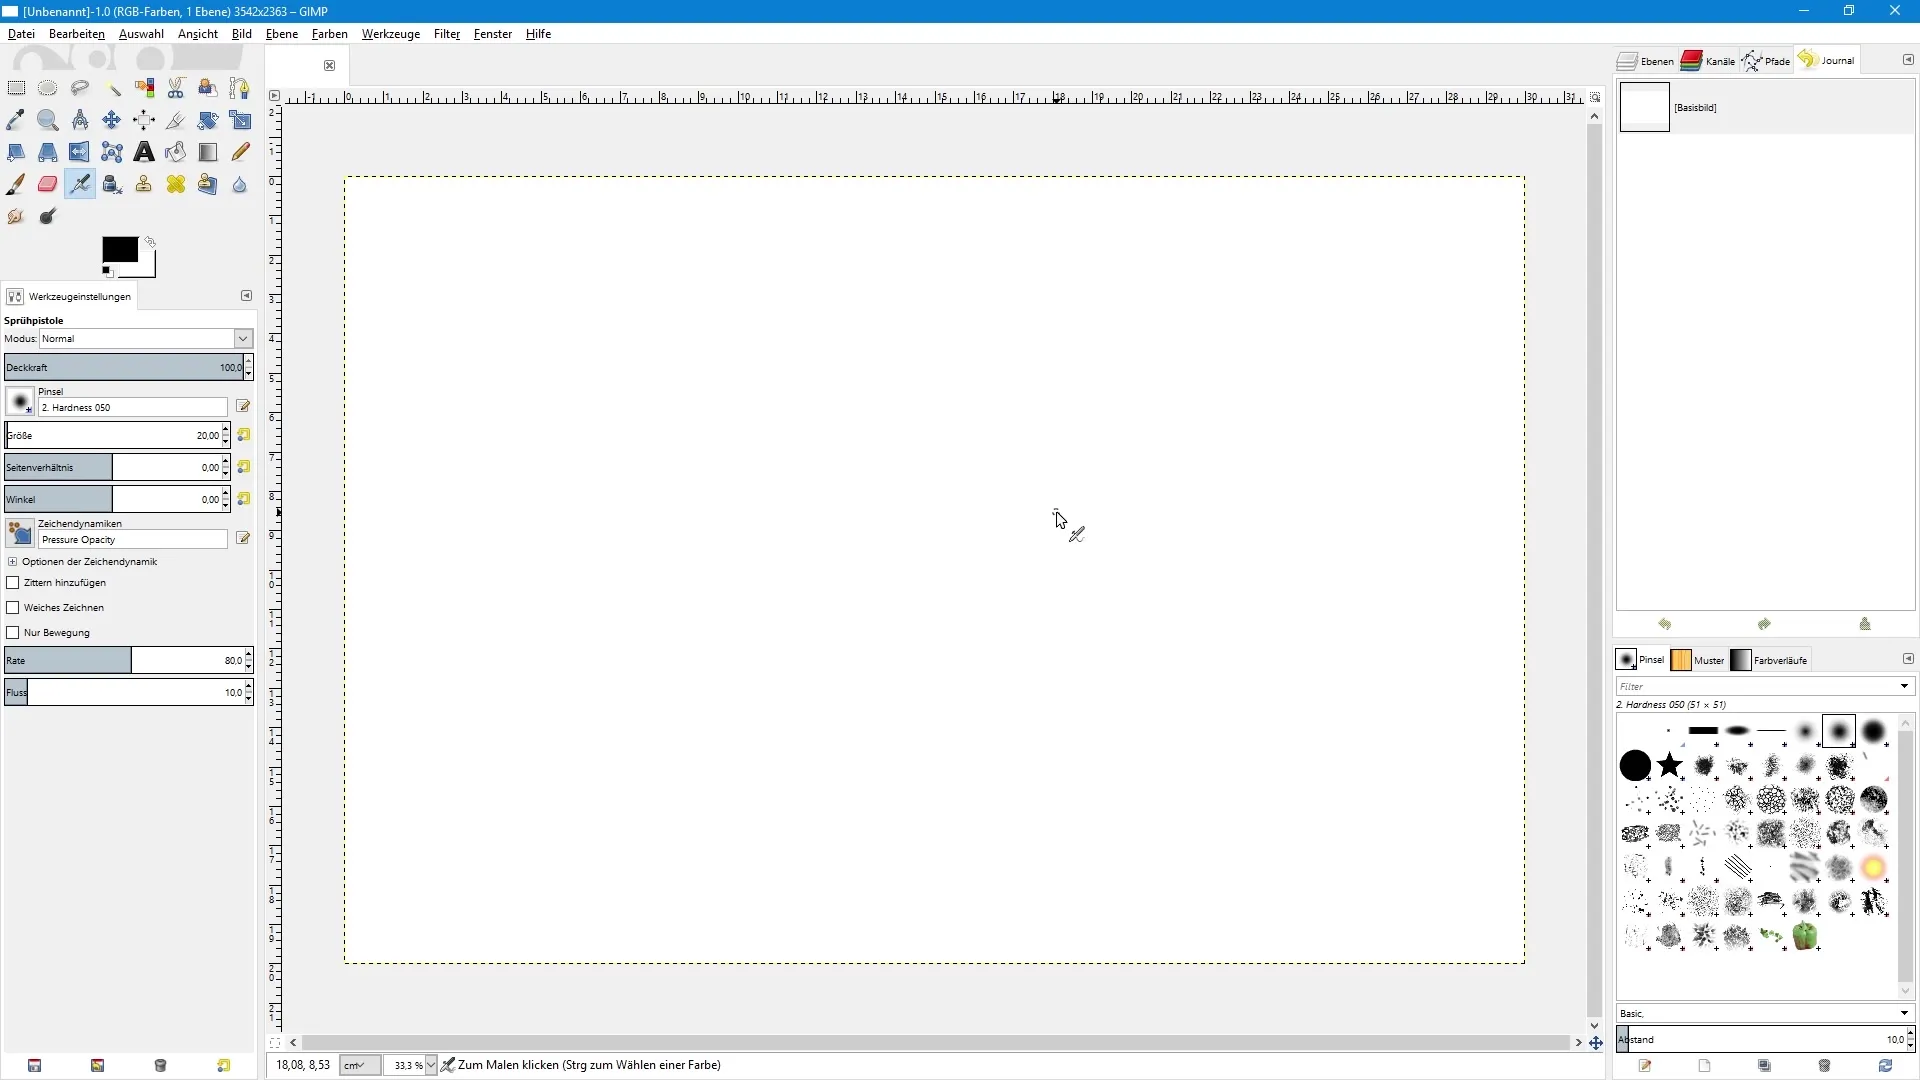
With a click on OK, you have finally created your new document and can get started with your work. If you often need similar documents, it makes sense to create your own template to save time.

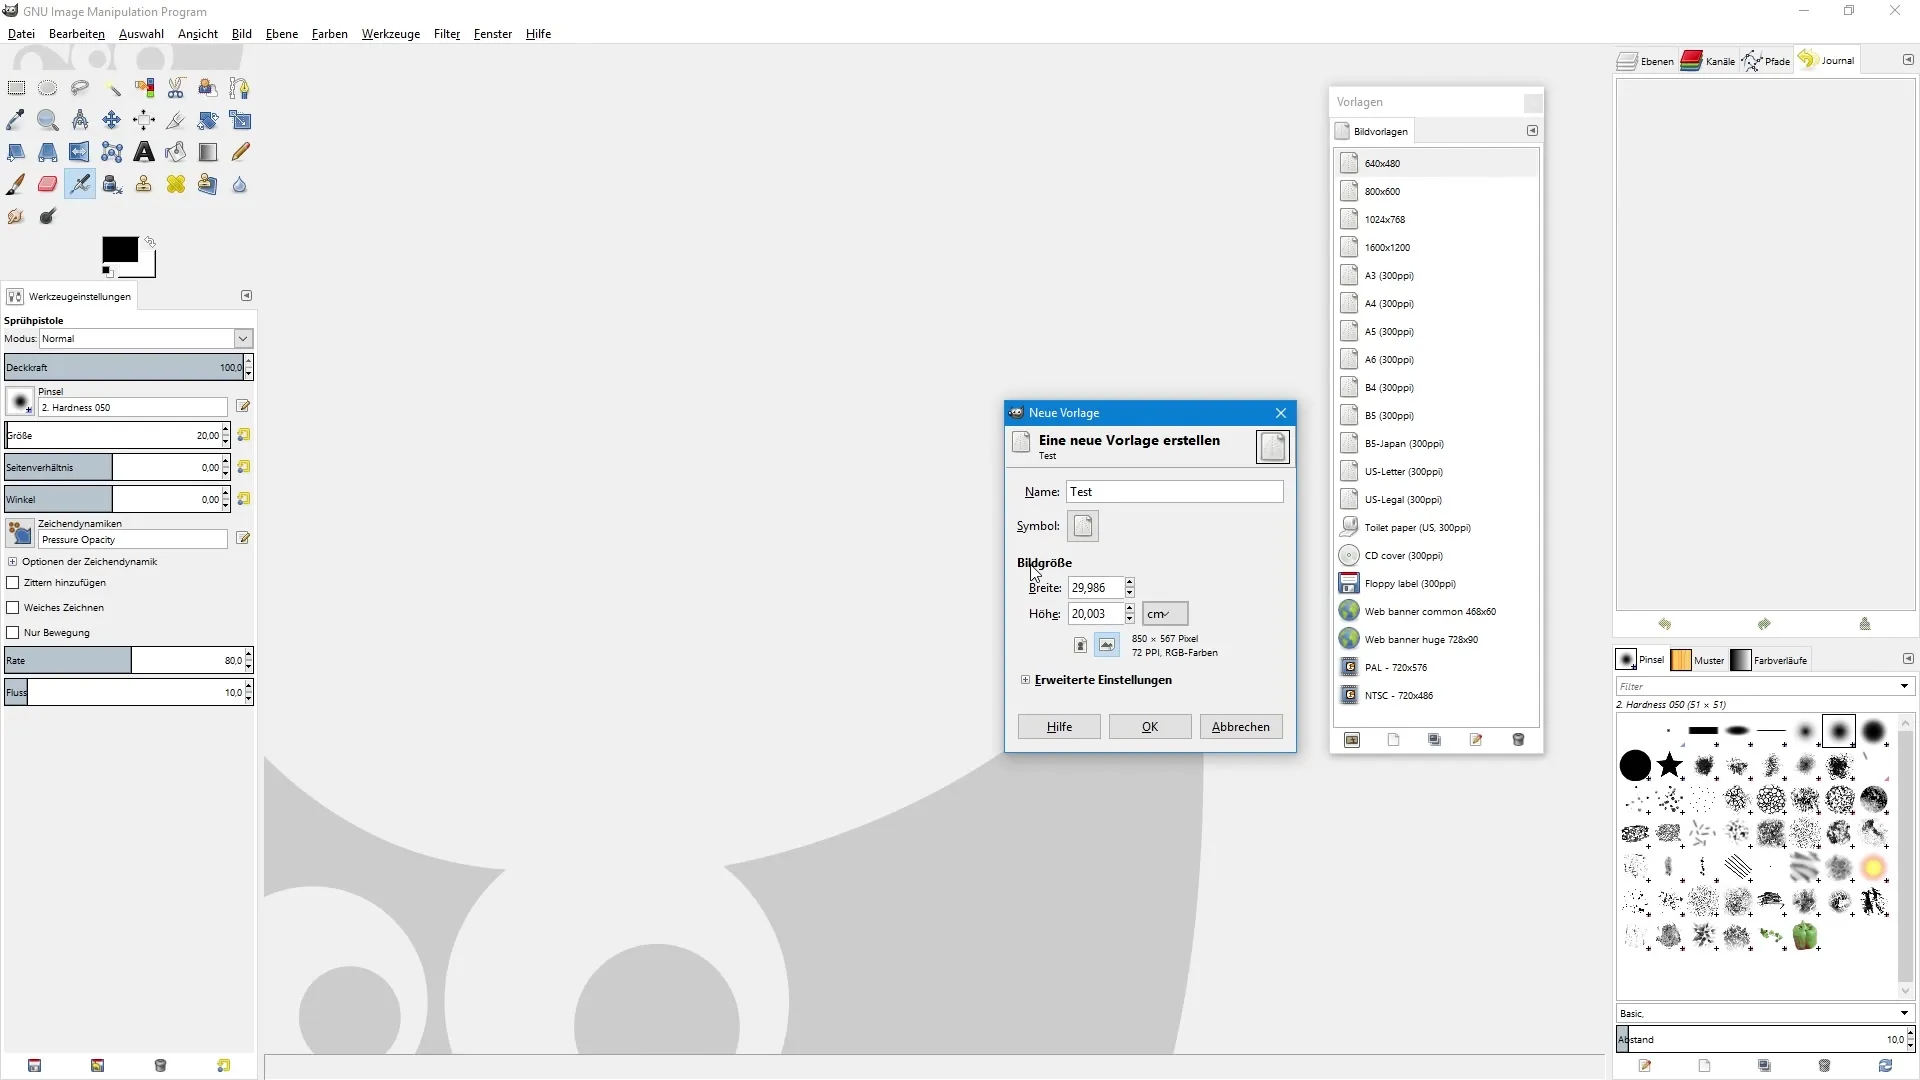
To create a template, go to the Window menu, select Dockable Dialogs, and click on Templates. There you will find all current templates. You can also create a new template by clicking the paper icon and assigning your individual dimensions.
Name the template something like Testum and configure the dimensions to 30 cm wide and 20 cm high. Set the resolution back to 300 dpi and confirm all changes.

Your newly created template will now appear in the list. Close the dialog box and press Ctrl + N to create a new image. Now select the Test template, and all dimensions and settings will be retained.
Summary – GIMP: Your Guide to Creating and Setting Up Documents
In this tutorial, you have learned how to create a new document in GIMP, define the dimensions, and create templates for recurring projects. Use the steps to implement your creative ideas efficiently and structured.
Frequently Asked Questions
How do I open a new document in GIMP?Go to File and select New or press Ctrl + N.
How can I change the unit of measurement for my document?In the image size dialog, you will find a dropdown menu where you can select between pixels and centimeters.
What is the recommended resolution for print documents?For print documents, the resolution should be set to 300 dpi.
Can I save my own templates in GIMP?Yes, by creating a new template in the templates menu and specifying the desired dimensions and settings.
Does GIMP support the CMYK color space?Unfortunately, GIMP does not support the CMYK color space, but you can choose RGB or grayscale.


