The Gradient-Tool is an indispensable aid in GIMP when it comes to creating smooth color transitions. With this tool, you can optimize images and achieve appealing visual effects. This guide takes you through the various functions of the gradient tool and shows you how to create your own gradients.
Key Takeaways
- The gradient tool transforms colors and can generate both linear and radial gradients.
- With the "Adaptive Upsampling" option, you can avoid banding artifacts.
- You can easily create and save your own gradients.
Step-by-Step Guide
Activating the Gradient Tool
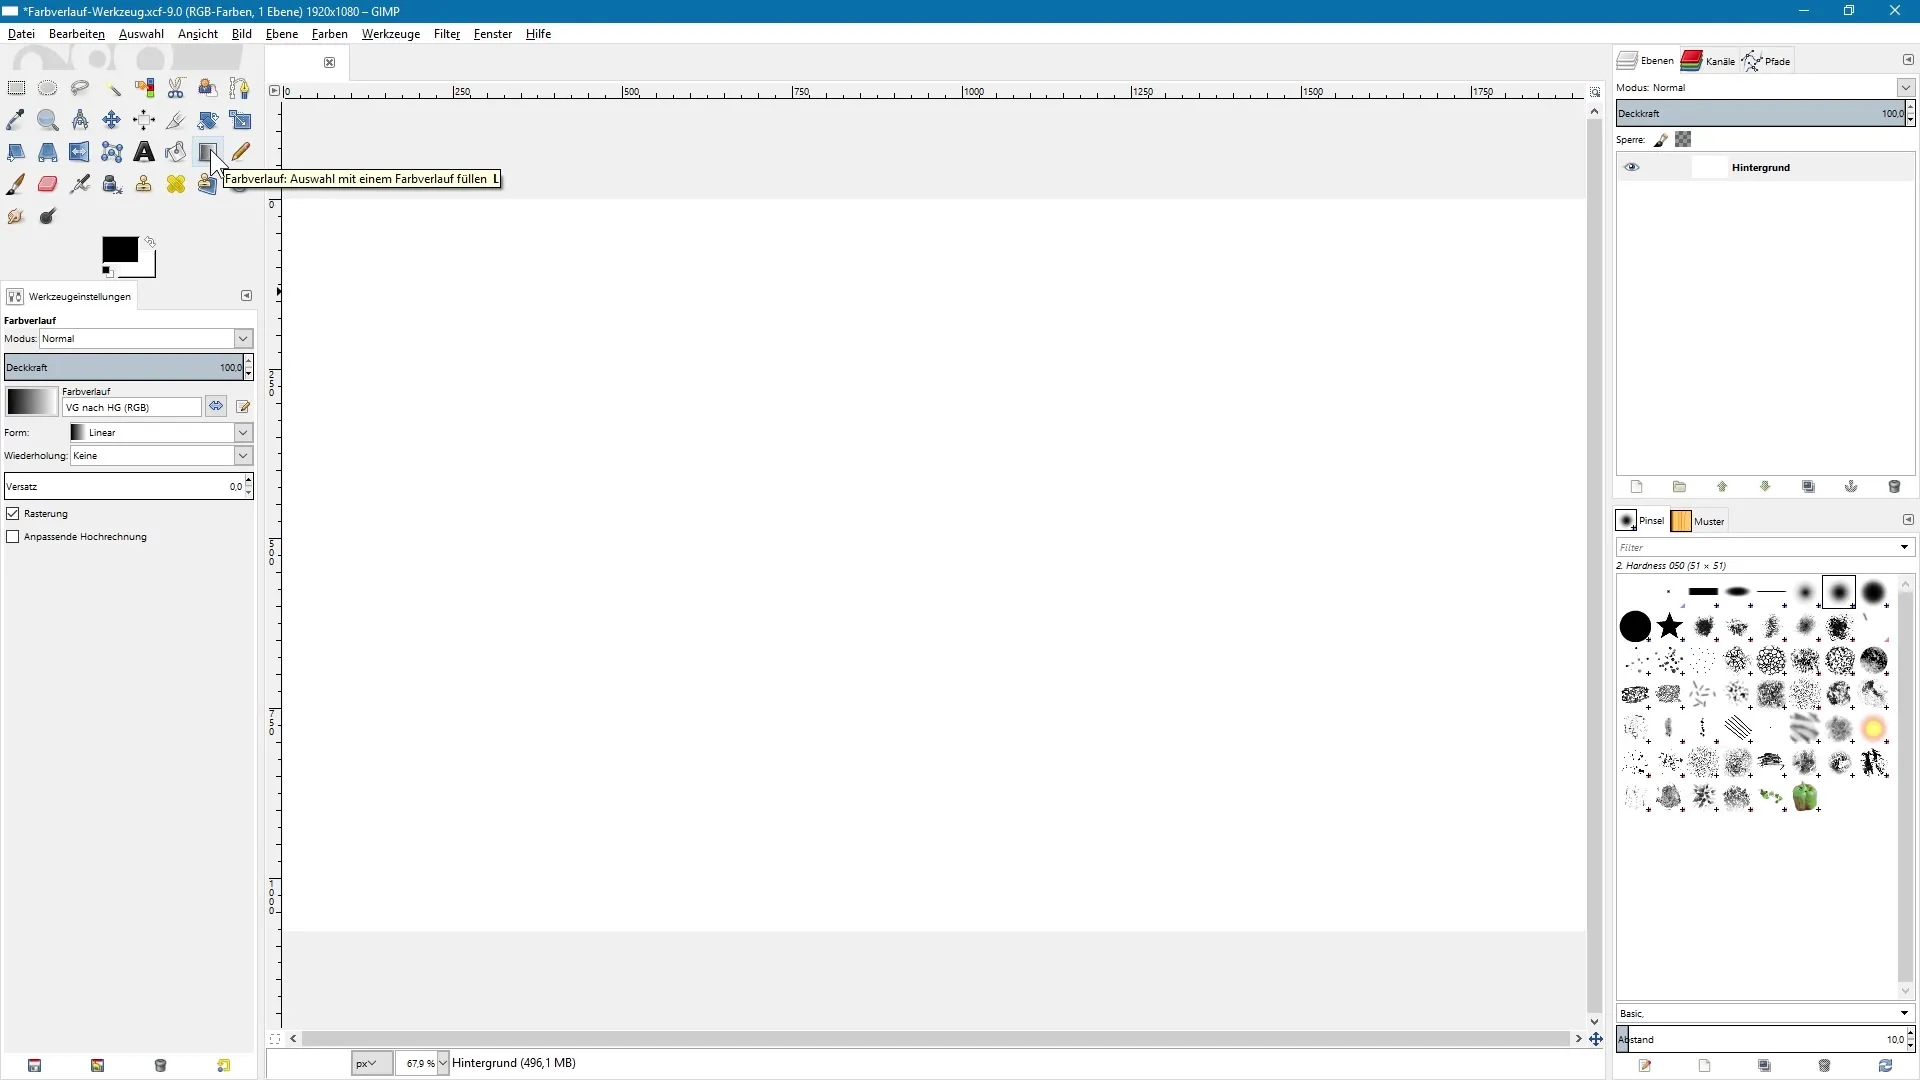
To activate the gradient tool, look for the corresponding icon in the toolbox or use the "L" keyboard shortcut. In this example, I have a white background in the Layers panel. Now it's time to take a closer look at the tool options.
Exploring the Tool Options
In the tool options, you can select the gradient mode. There are various options that might be familiar to you if you’ve worked with layer modes before. It’s recommended to work on a separate layer. This way, you can later choose the desired layer mode from the menu.
Reversing the Gradient
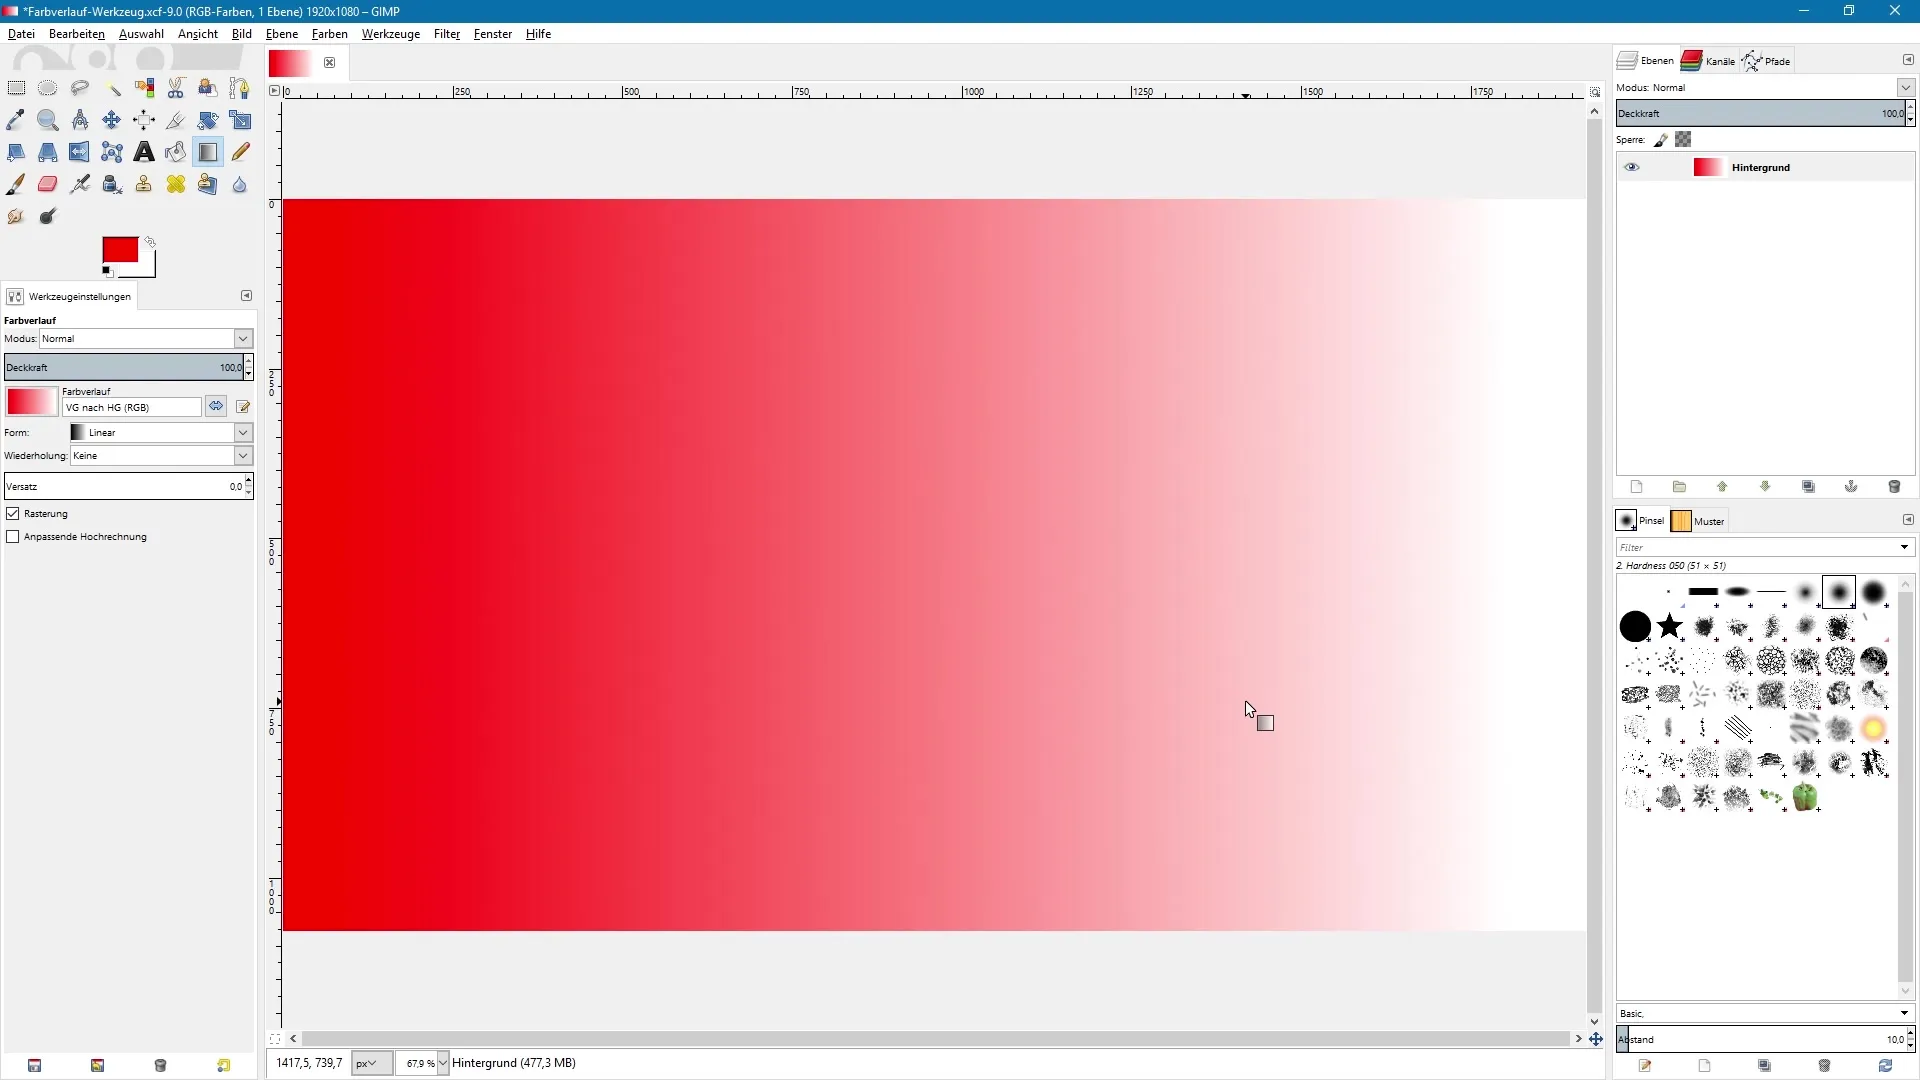
With the small double-arrow icon at the top of the tool options, you can reverse the current gradient. In this example, we have a gradient from red to white by setting the foreground color to white and the background color to red. A click on the icon reverses this gradient.
Drawing the Gradient
To draw a gradient, click and hold the left mouse button on the canvas and drag the mouse. You can release at any point in the image or hold the Ctrl key to draw a straight gradient in 15-degree increments. When you release the mouse button, the gradient is created.
Changing the Gradient Shape
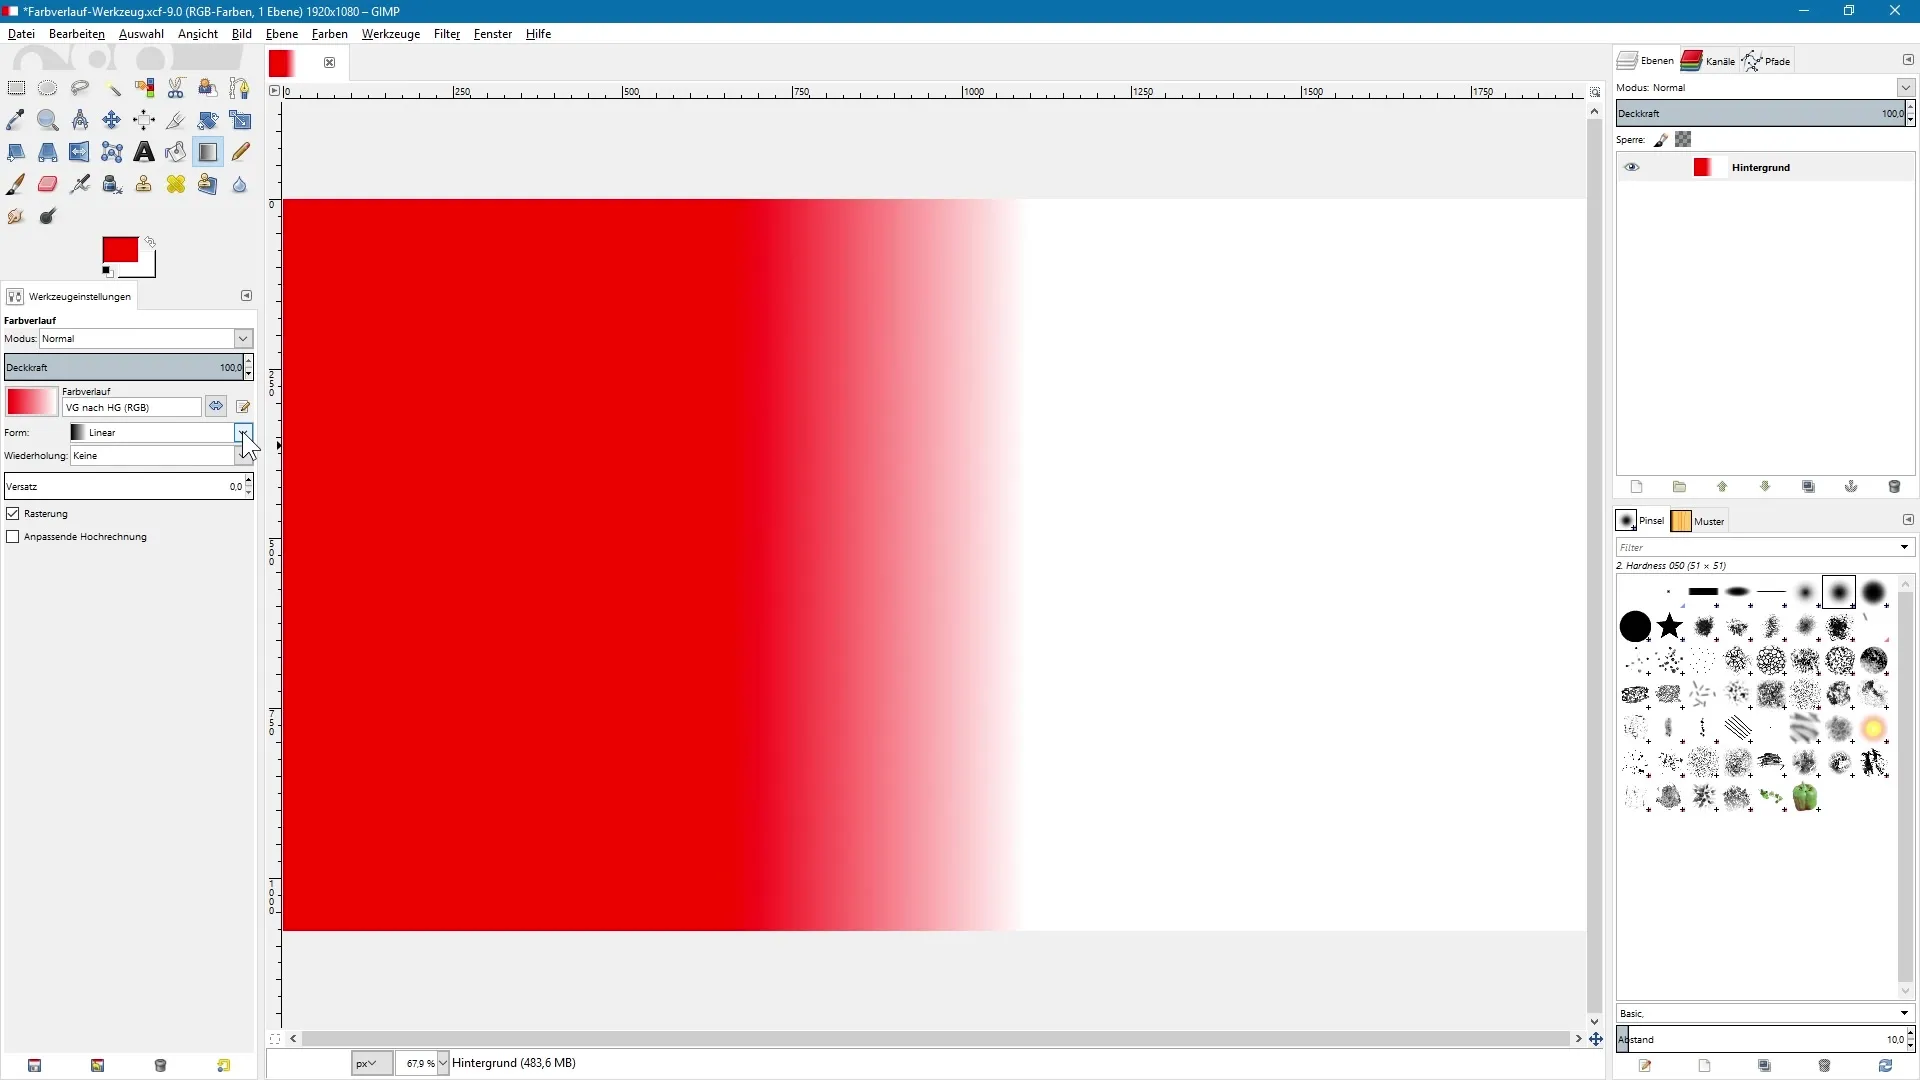
We currently have a linear gradient. Click on the gradient shape dropdown menu to choose alternative options like a radial or conical gradient. These adjustments give you more control over the gradient’s shape.
Avoiding Banding
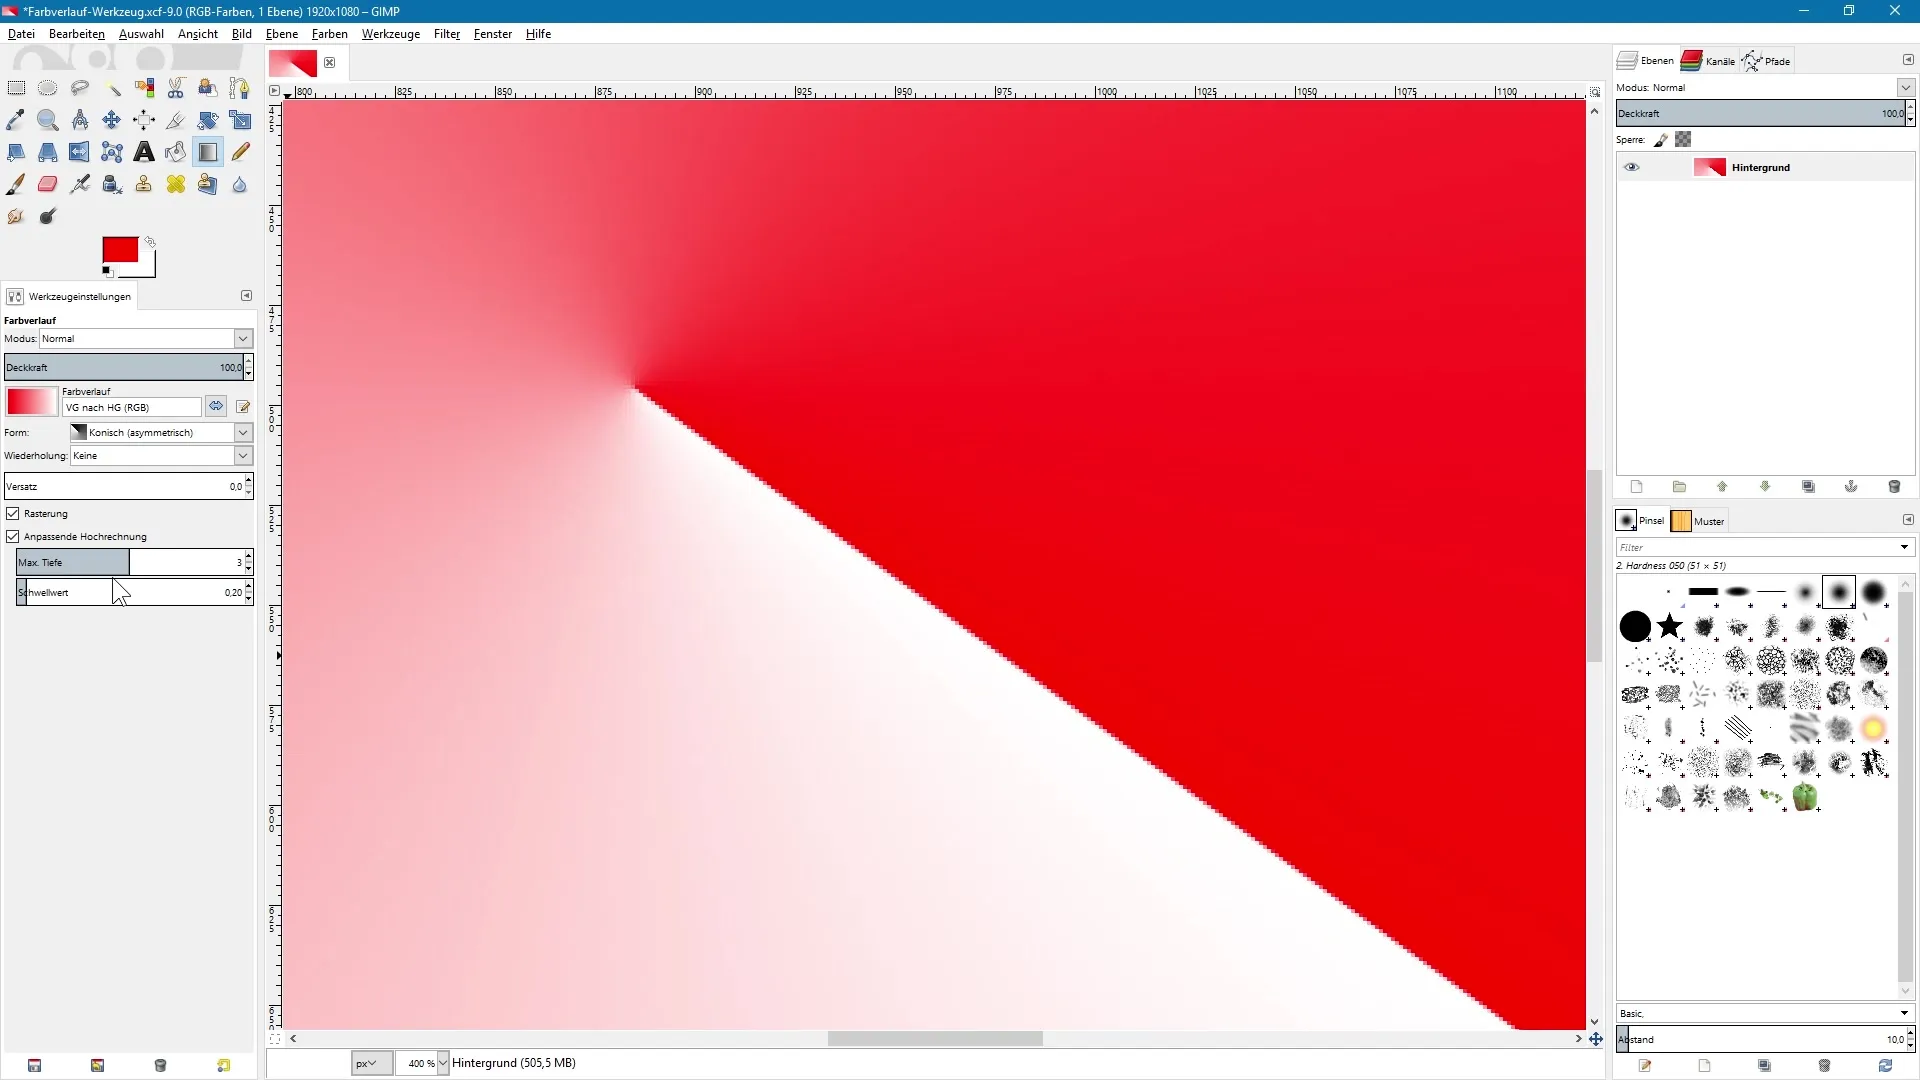
When you apply high-contrast colors, you may see unsightly banding artifacts. Enable the "Adaptive Upsampling" option to minimize this effect. This significantly improves the quality of your gradients.
Repeating Gradients
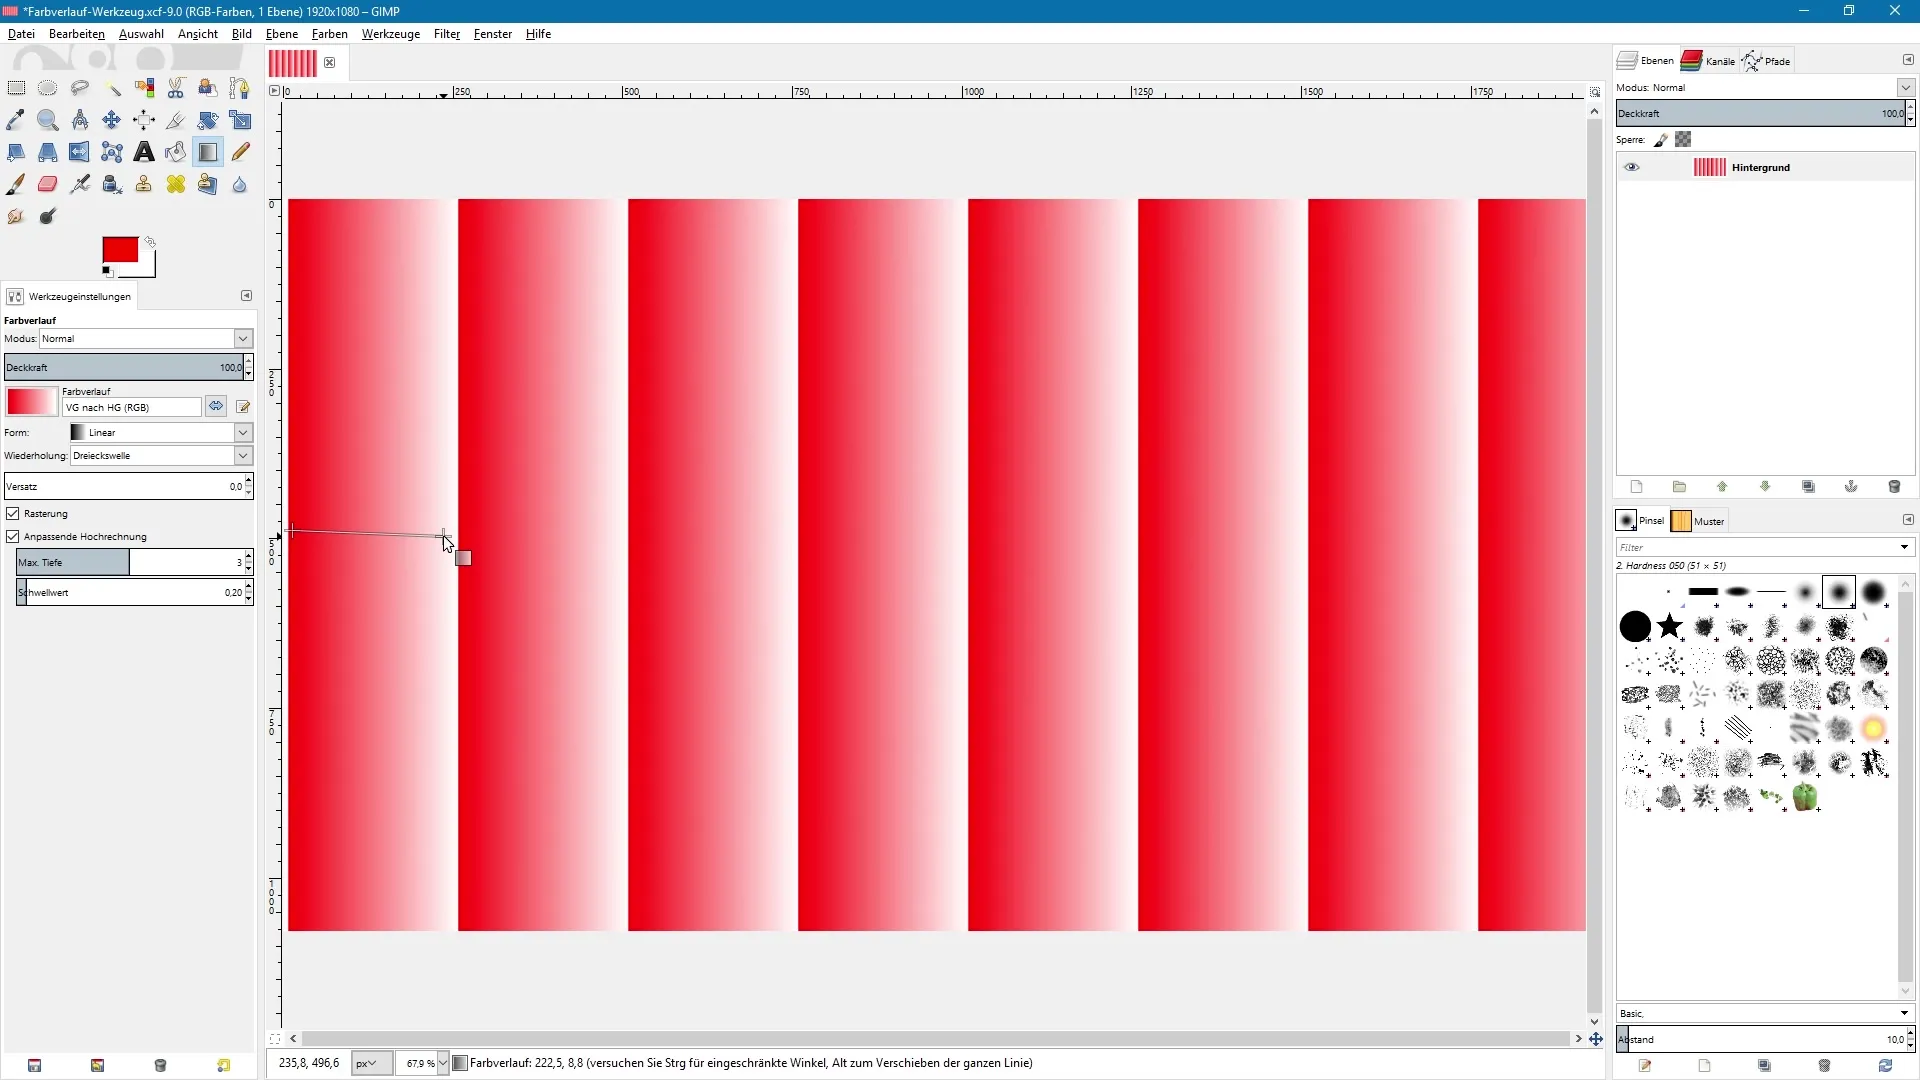
The repeat option allows you to extend the gradient infinitely. You can choose between different types of repeats, e.g. sawtooth or triangular waves. This feature is especially useful for patterns.
Editing Colors Within an Object
With a transparent layer active and the gradient tool selected, you can now apply a gradient to a single object, such as a black circle. To do this, activate the "Lock Alpha Channel" icon. This ensures that only the already colored areas of the object are edited.
Creating Custom Gradients
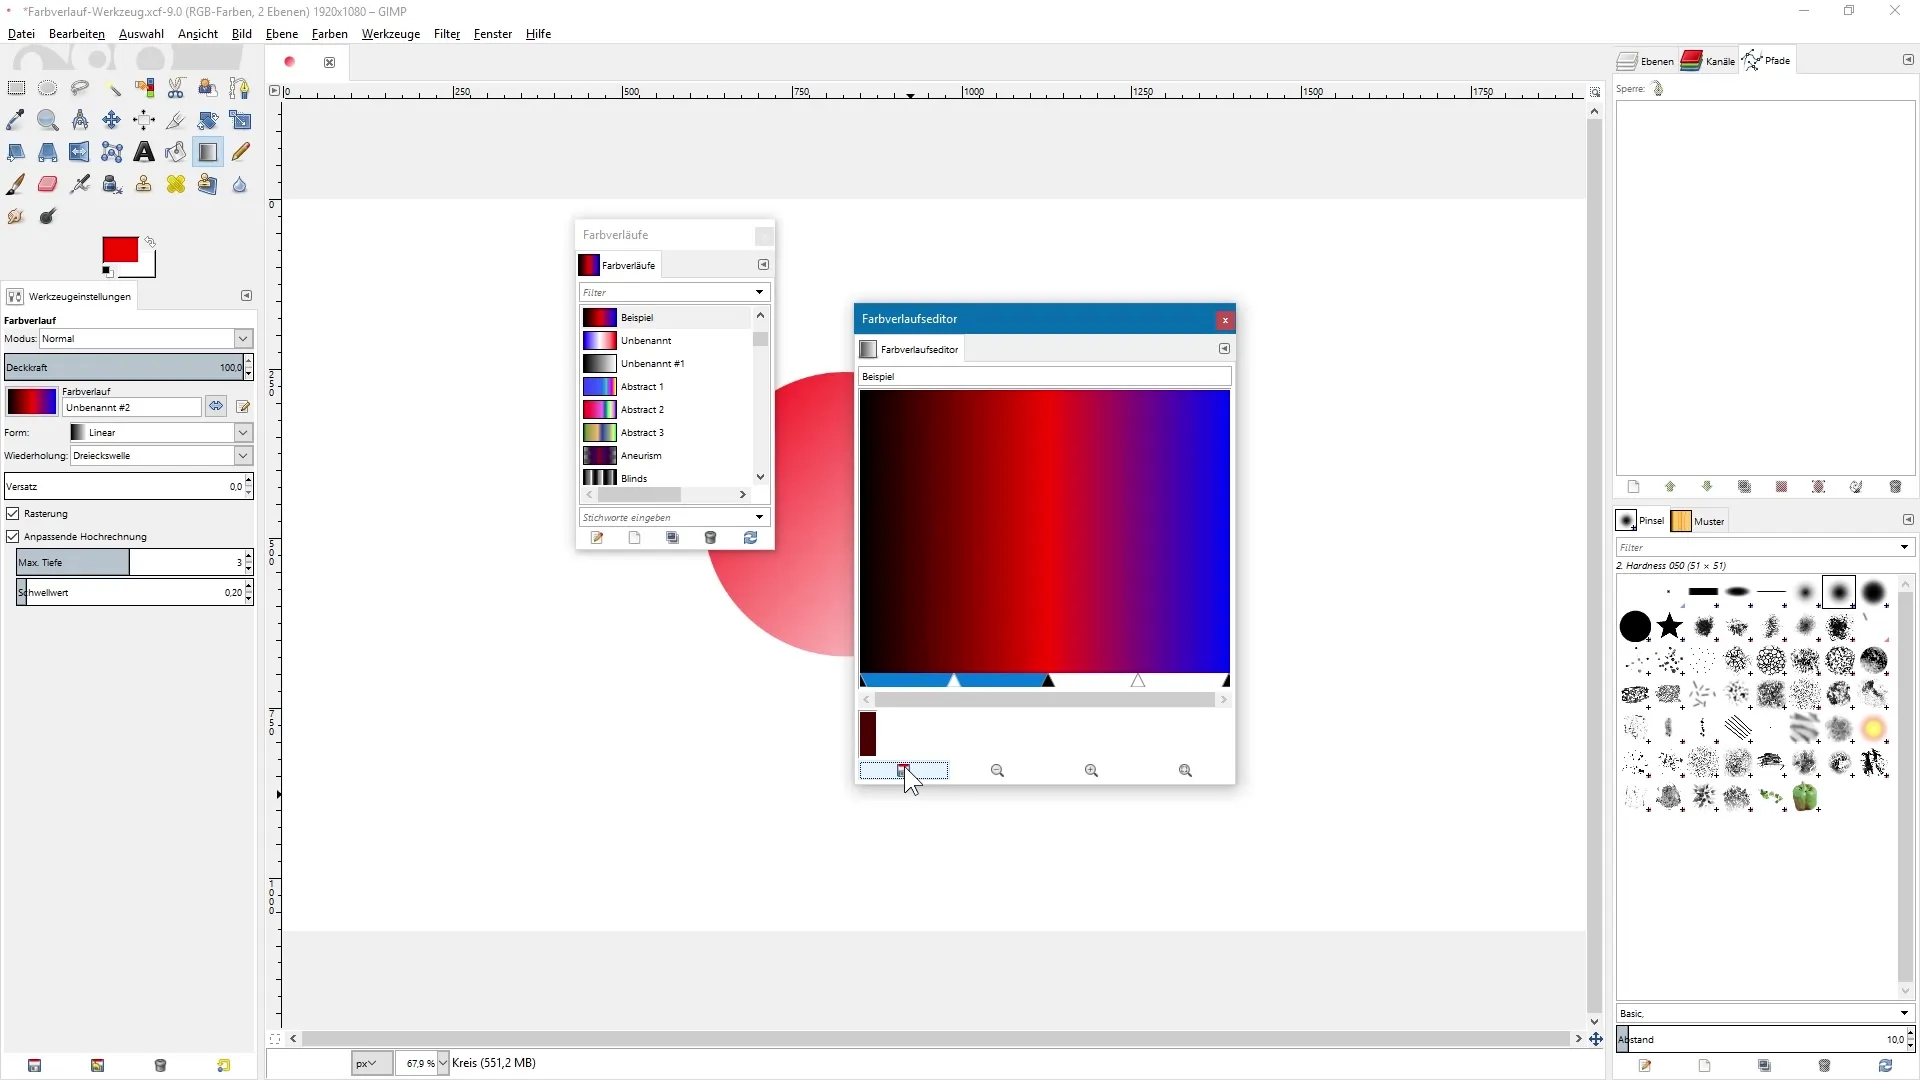
To create your own gradient, open the gradient editor. Here you can make a variety of settings that define the hues and their intensity. This feature gives you the freedom to develop unique gradients.
Saving Gradients
Give your newly created gradient a unique name and save it. It will then appear in your presets list, so you can reuse it at any time.
Summary – Using the Gradient Tool in GIMP Effectively
The gradient tool in GIMP offers numerous possibilities for creating creative designs. With the right settings and techniques, you can create beautiful gradients and unleash your creativity. Whether you want simple transitions or complex gradient patterns, you now have the knowledge to use these tools effectively.
Frequently Asked Questions
What is the gradient tool in GIMP?The gradient tool allows creating smooth color transitions in images.
How can I reverse a gradient?You can reverse the gradient by clicking the double-arrow icon in the tool options.
How do I save my own gradients?Click the disk icon in the gradient editor and give your gradient a name.
What can I do about banding?Enable the "Adaptive Upsampling" option to avoid these unsightly effects.
Can I apply gradients to objects as well?Yes, by activating a transparent layer, you can apply gradients to specific objects.


