GIMP offers many powerful tools for image editing, and the Zoom Tool is one of the basic instruments you should know. With this feature you can view and edit the details of your images more precisely without changing the actual image size. Here you'll learn how to use the Zoom Tool effectively and adjust your images' zoom level in various ways.
Key Takeaways
- The Zoom Tool is easily accessible and enables precise work.
- Zoom control can be done both by clicking and using keyboard shortcuts.
- You can adjust your view of the image without altering the image size.
Activating the Zoom Tool
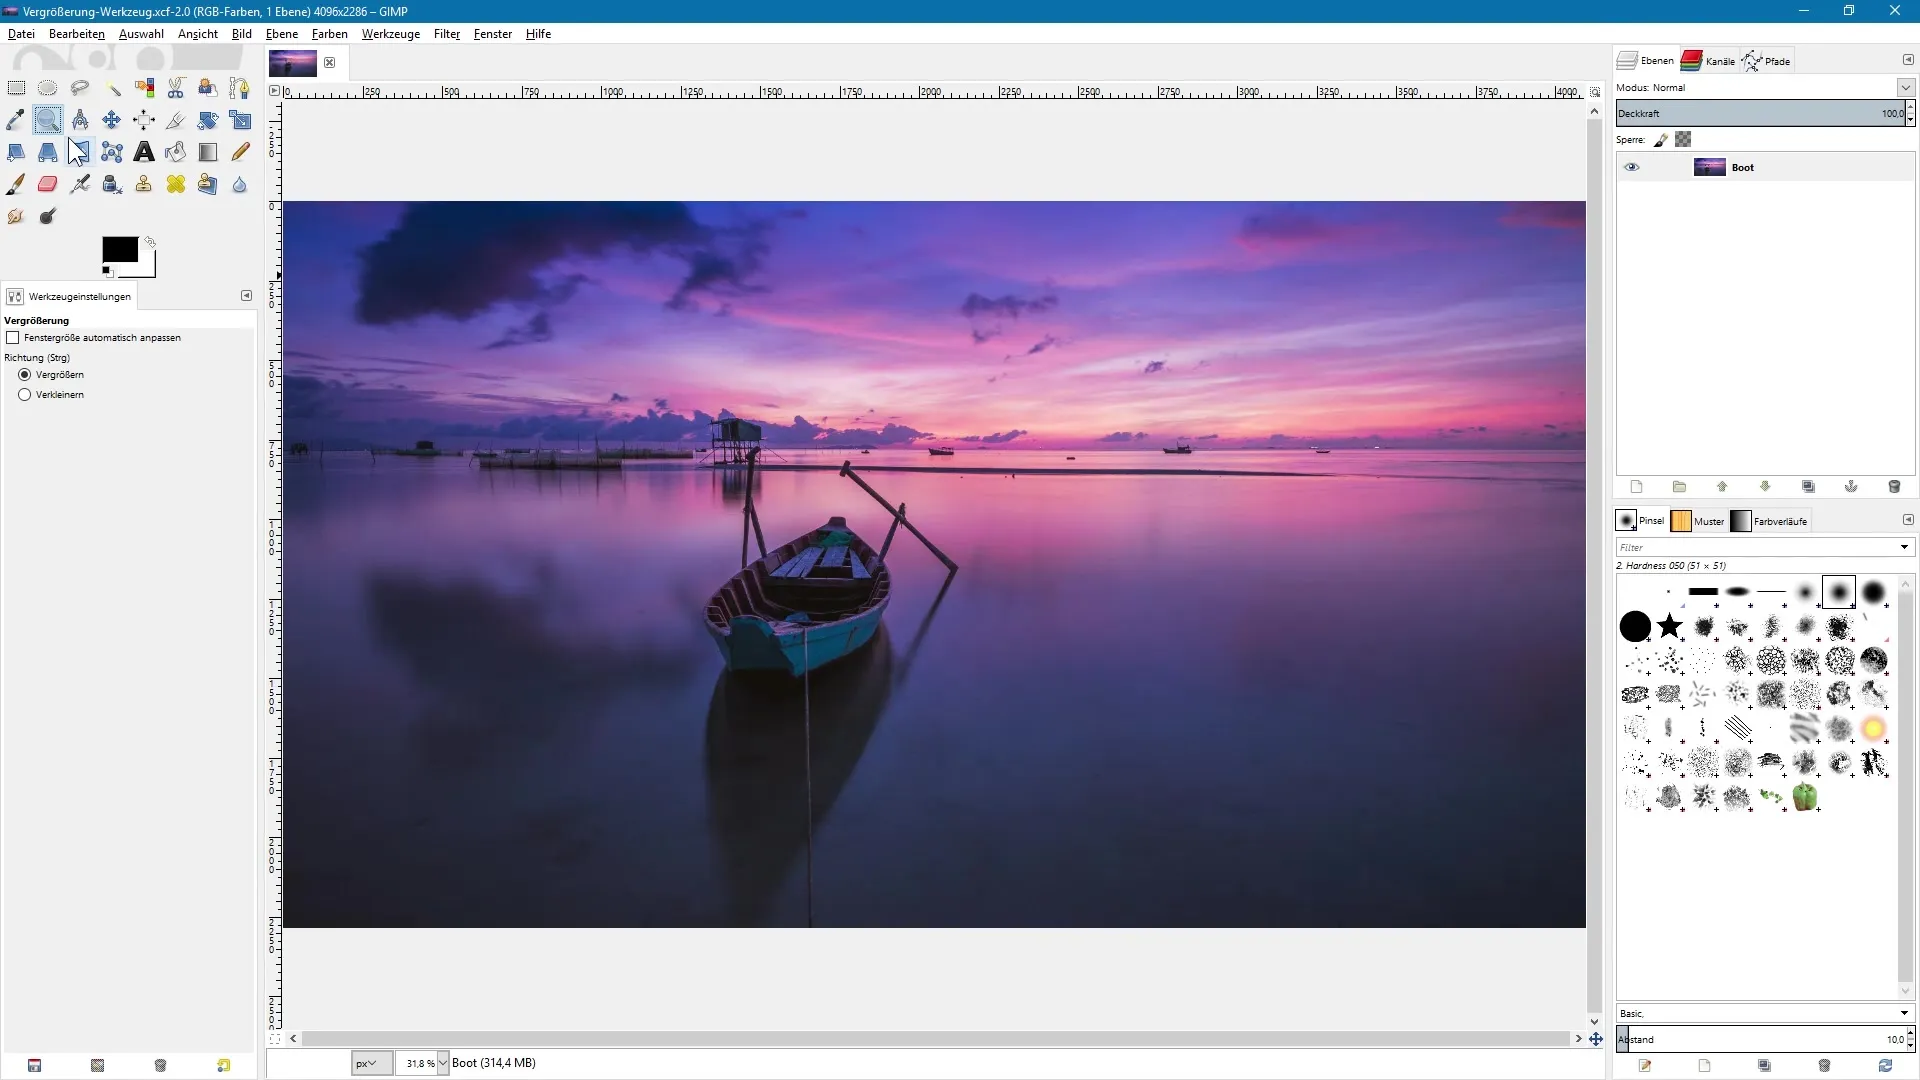
You can find the Zoom Tool in GIMP under the magnifying glass icon. You can also quickly activate it with the keyboard shortcut “Z”. As soon as you select the tool, the mouse cursor appears with a small plus symbol, indicating that you can now zoom in.
Zooming In with a Click
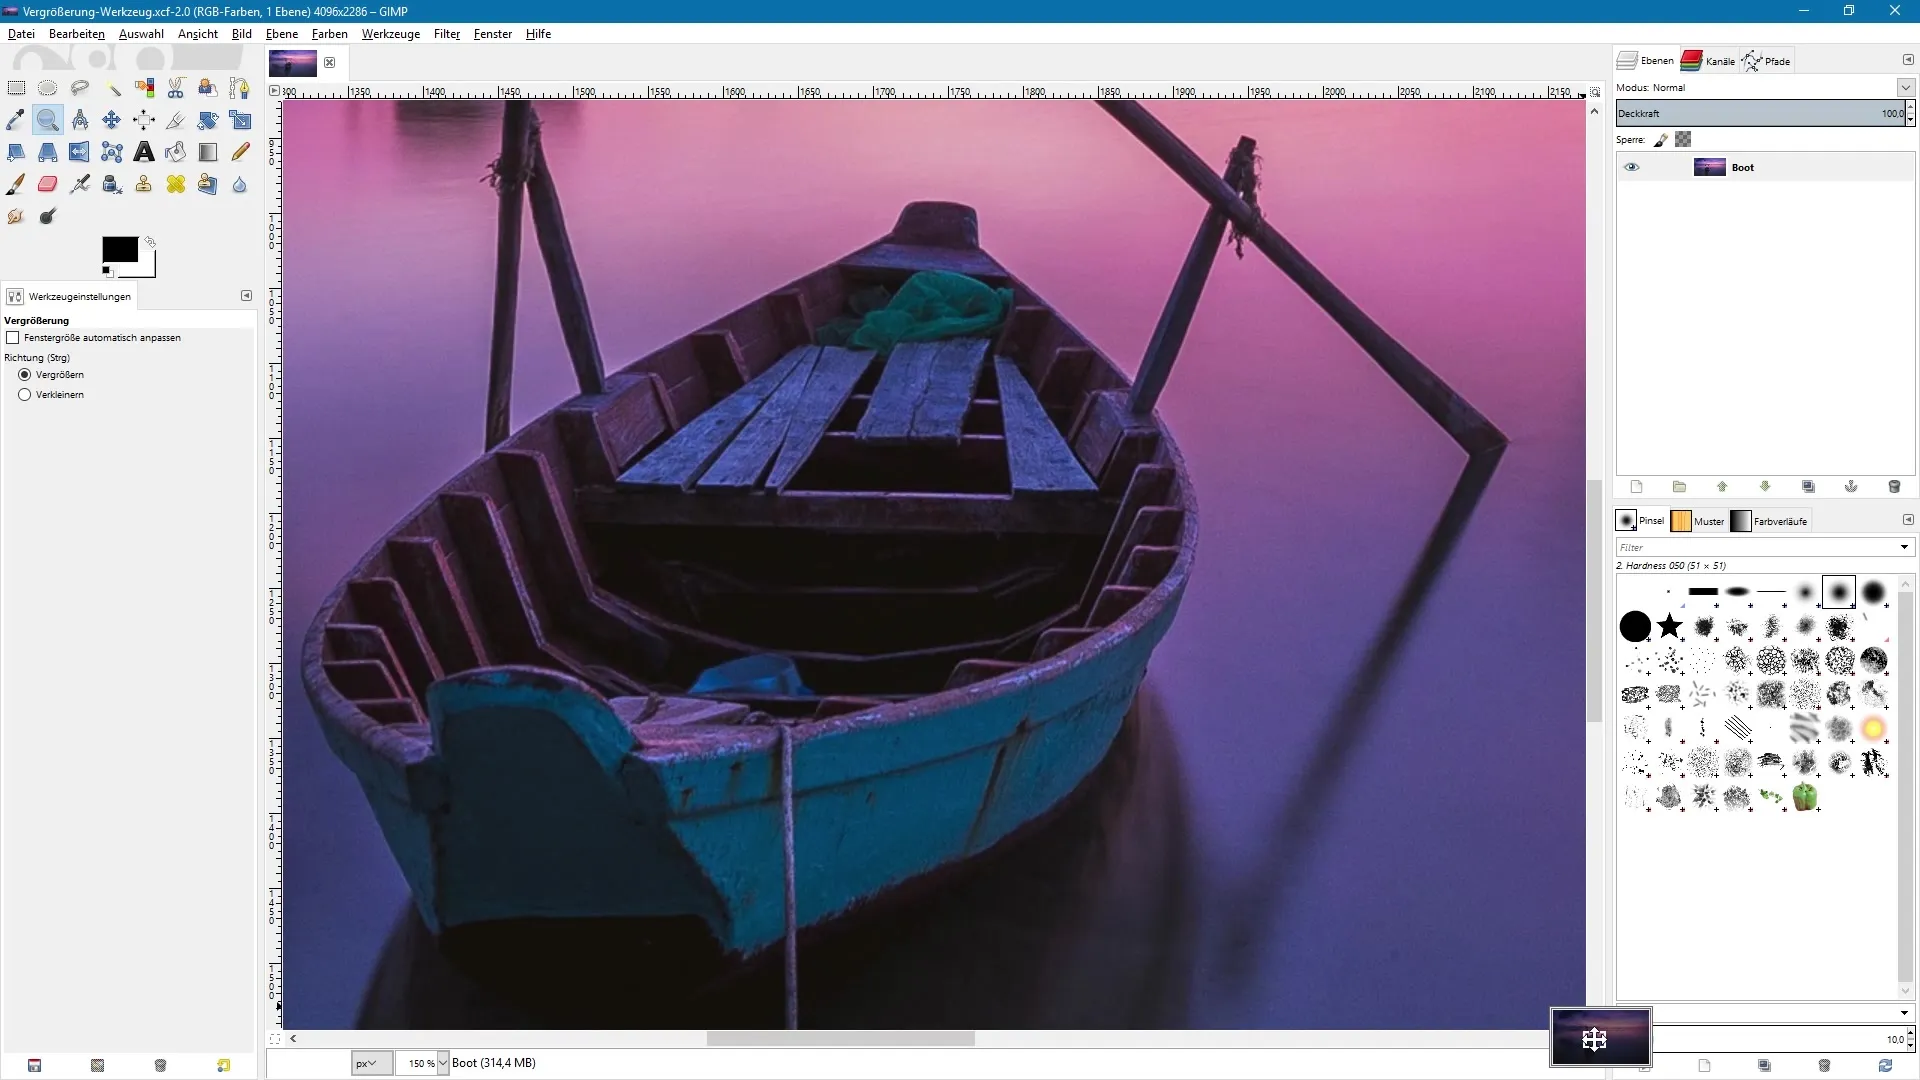
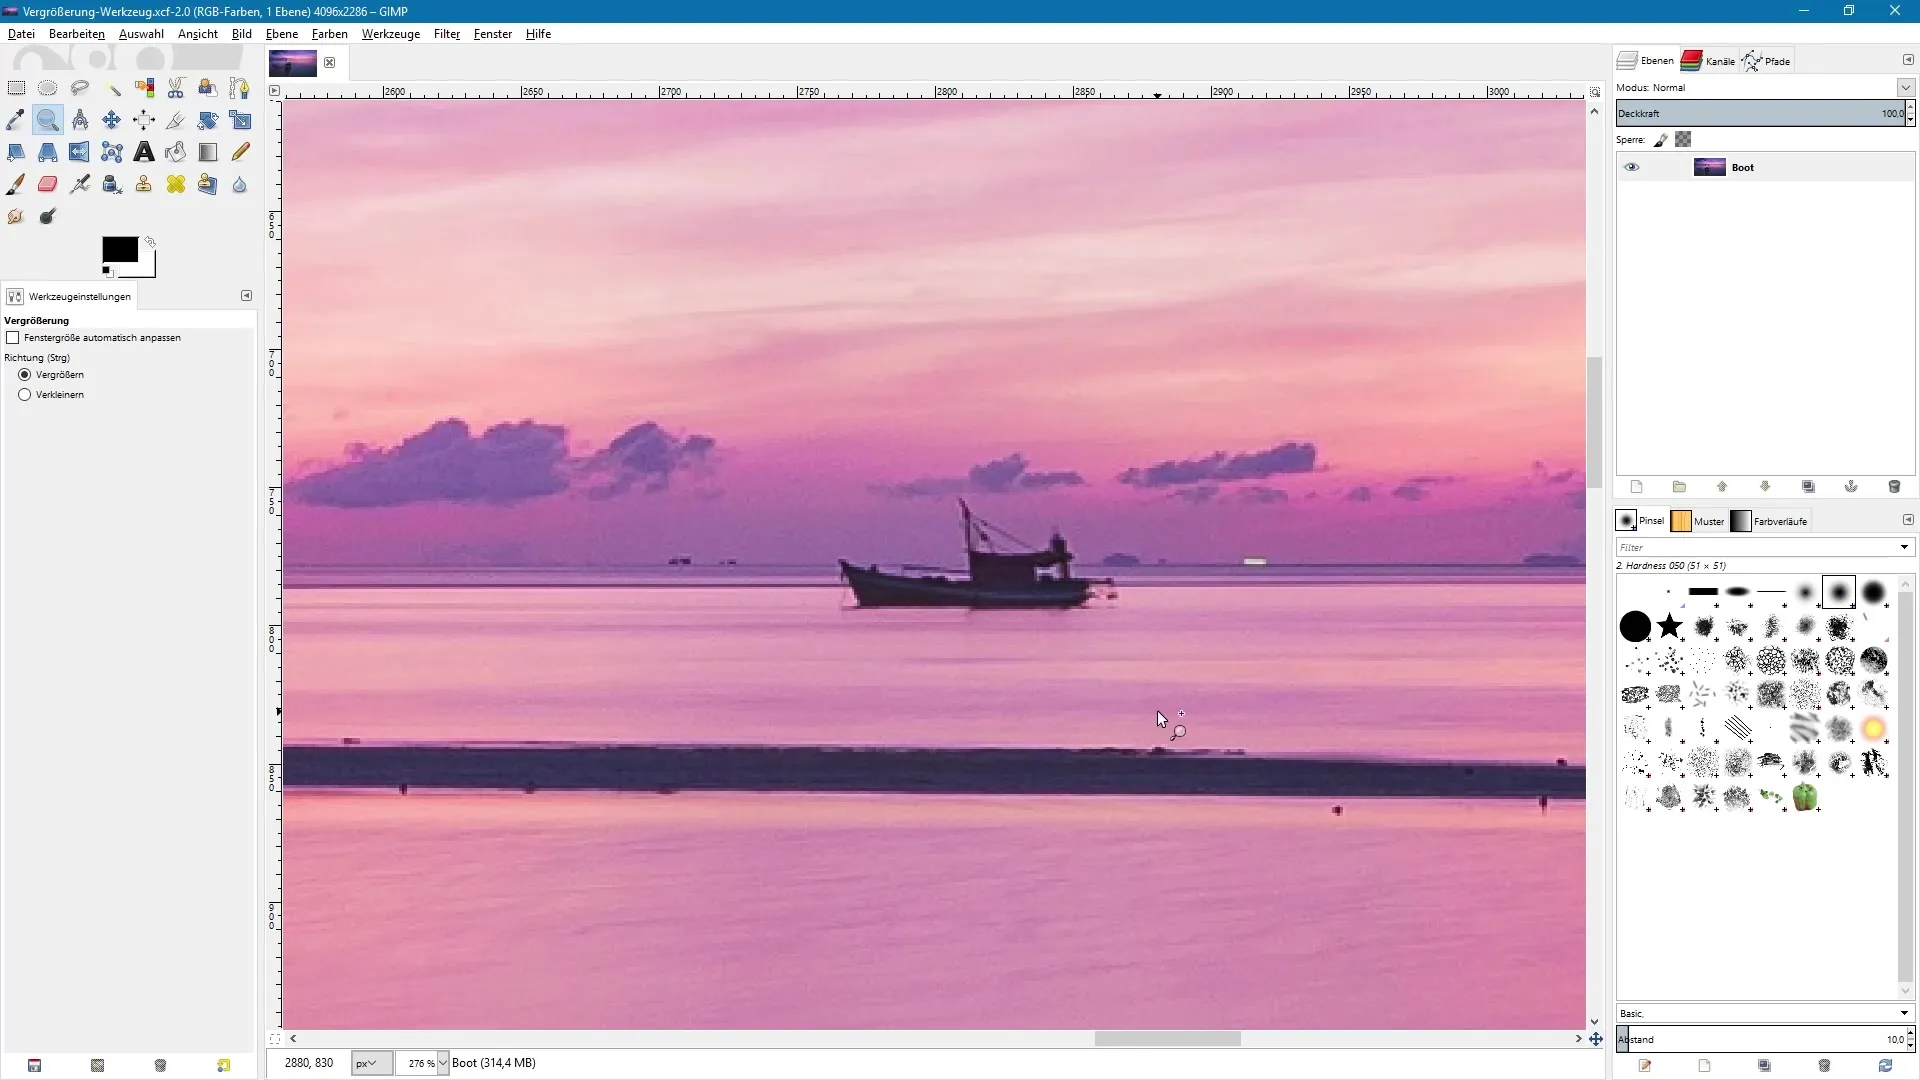
To zoom in on your image, just click once on the desired spot. The image will zoom in immediately. You can repeat this step to get even closer.
Navigating Within the Image
When you've zoomed in a lot and want to change the view, you can use the scrollbar to navigate through the image. Alternatively, there's a pan icon in the tool options that lets you preview the entire image. Hold down the left mouse button and move the mouse to change the visible portion of the image.
Zooming Out
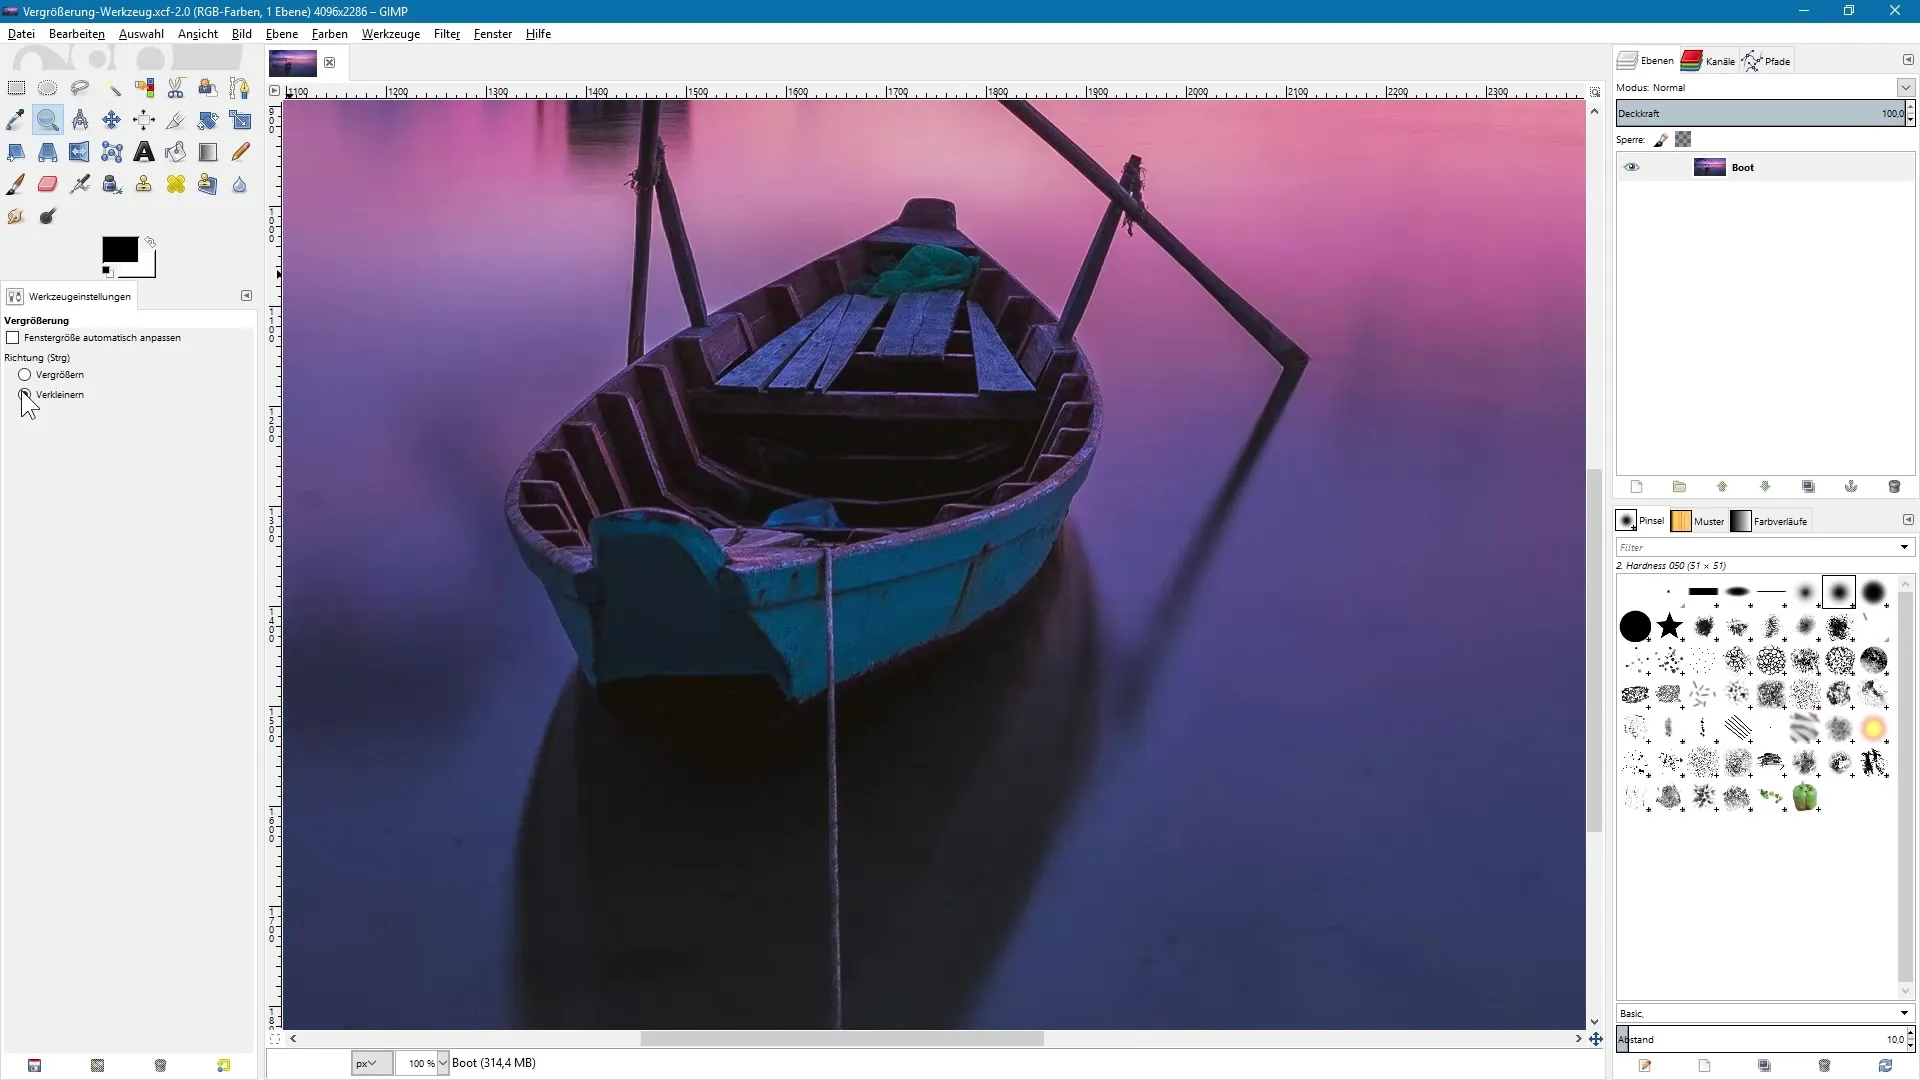
There are several ways to zoom out of the image. You can select the “Zoom Out” option in the tool menu and click on the image again. However, it's more convenient to leave the tool set to “Zoom In” and hold down the Ctrl key. This will display a small minus sign on your mouse cursor, and you can click on the image to zoom out.
Zooming with the Mouse Wheel
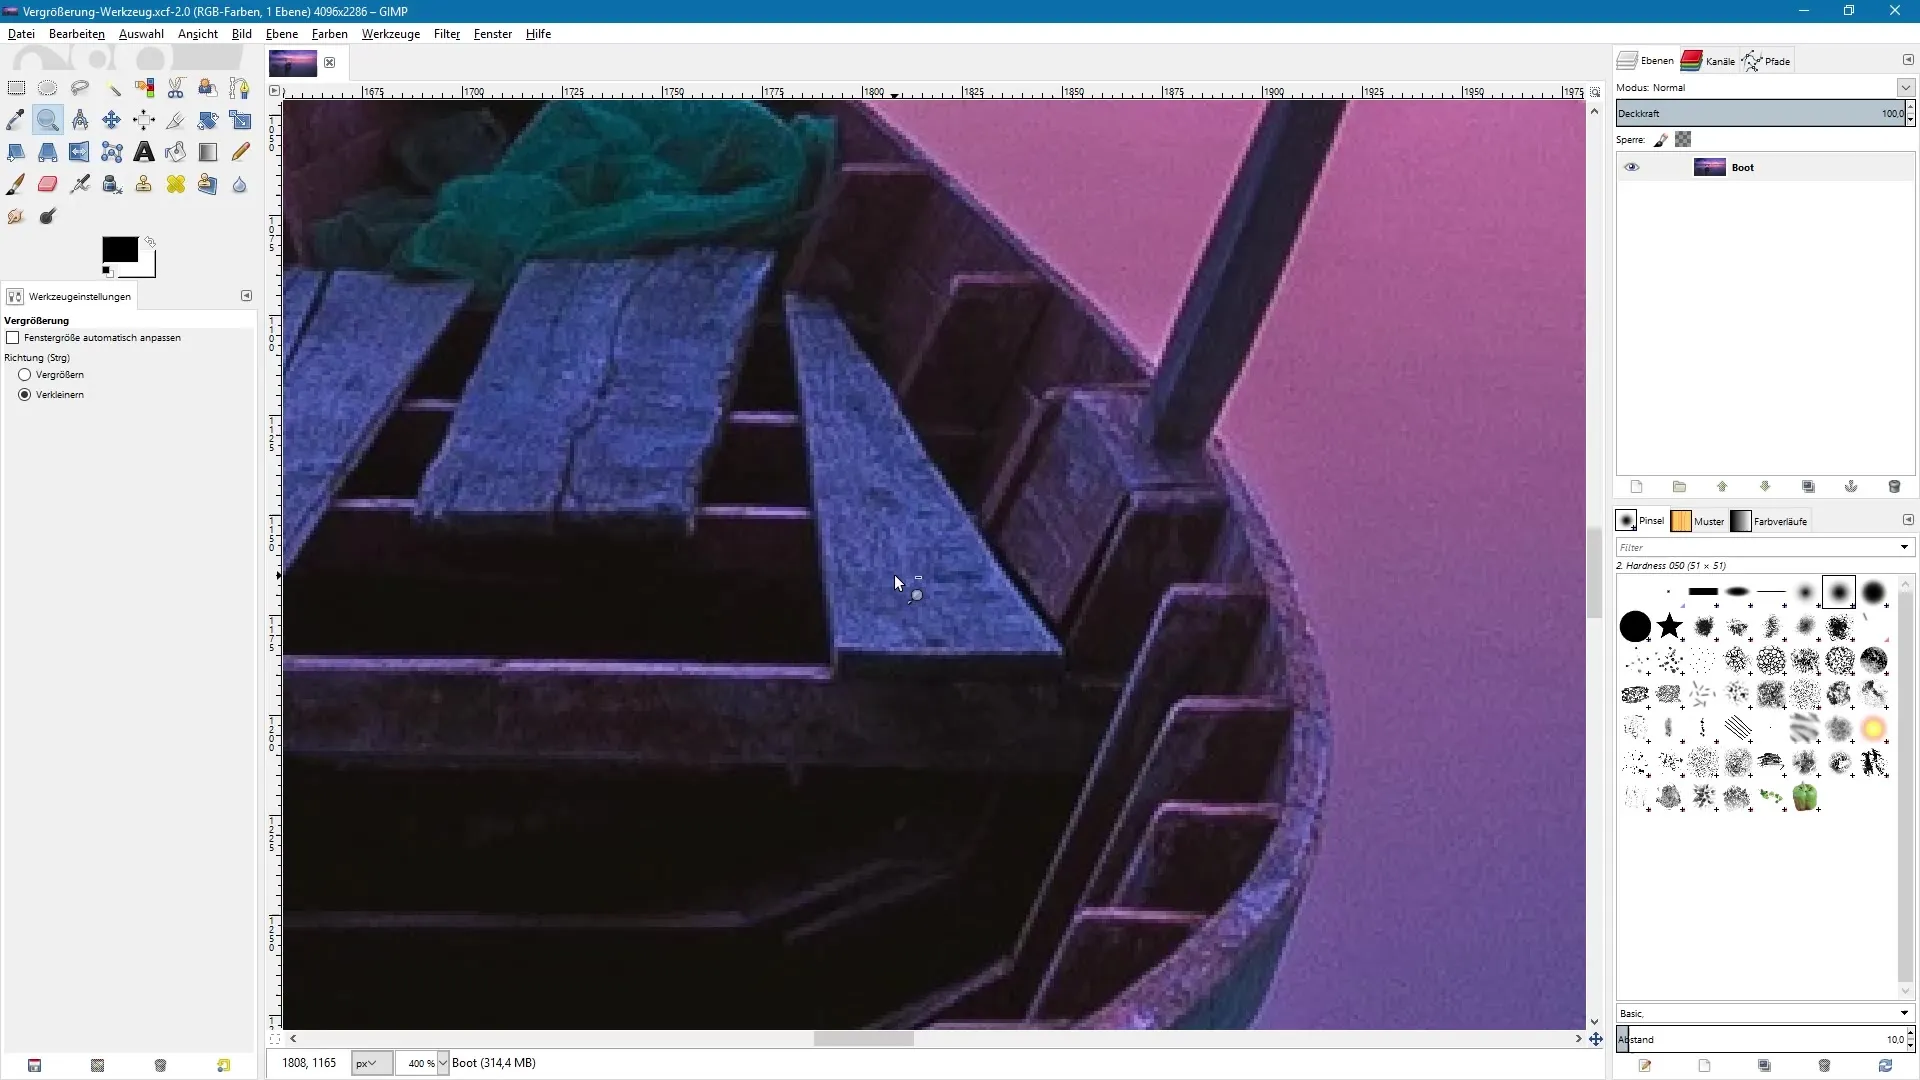
Alternatively, you can use the mouse wheel while the Zoom Tool is active and the Ctrl key is held down. Scroll the mouse wheel forward to zoom in, or backward to zoom out.
Zooming into Specific Areas
If you want to zoom into a specific portion of the image, hold down the left mouse button and drag a rectangle around the desired area. The content within this frame will be zoomed in.
Fitting the Entire Image to View
Want to see the entire image in all its glory? Press and hold the Ctrl, Shift, and J keys simultaneously. This will adjust the image to fit within the window.
Adjusting Zoom Levels via the Menu
Through the menu you can also manually set the zoom level, for example to 25% or 100%. This is an easy way to quickly change the zoom.
Using Keyboard Shortcuts to Adjust Zoom
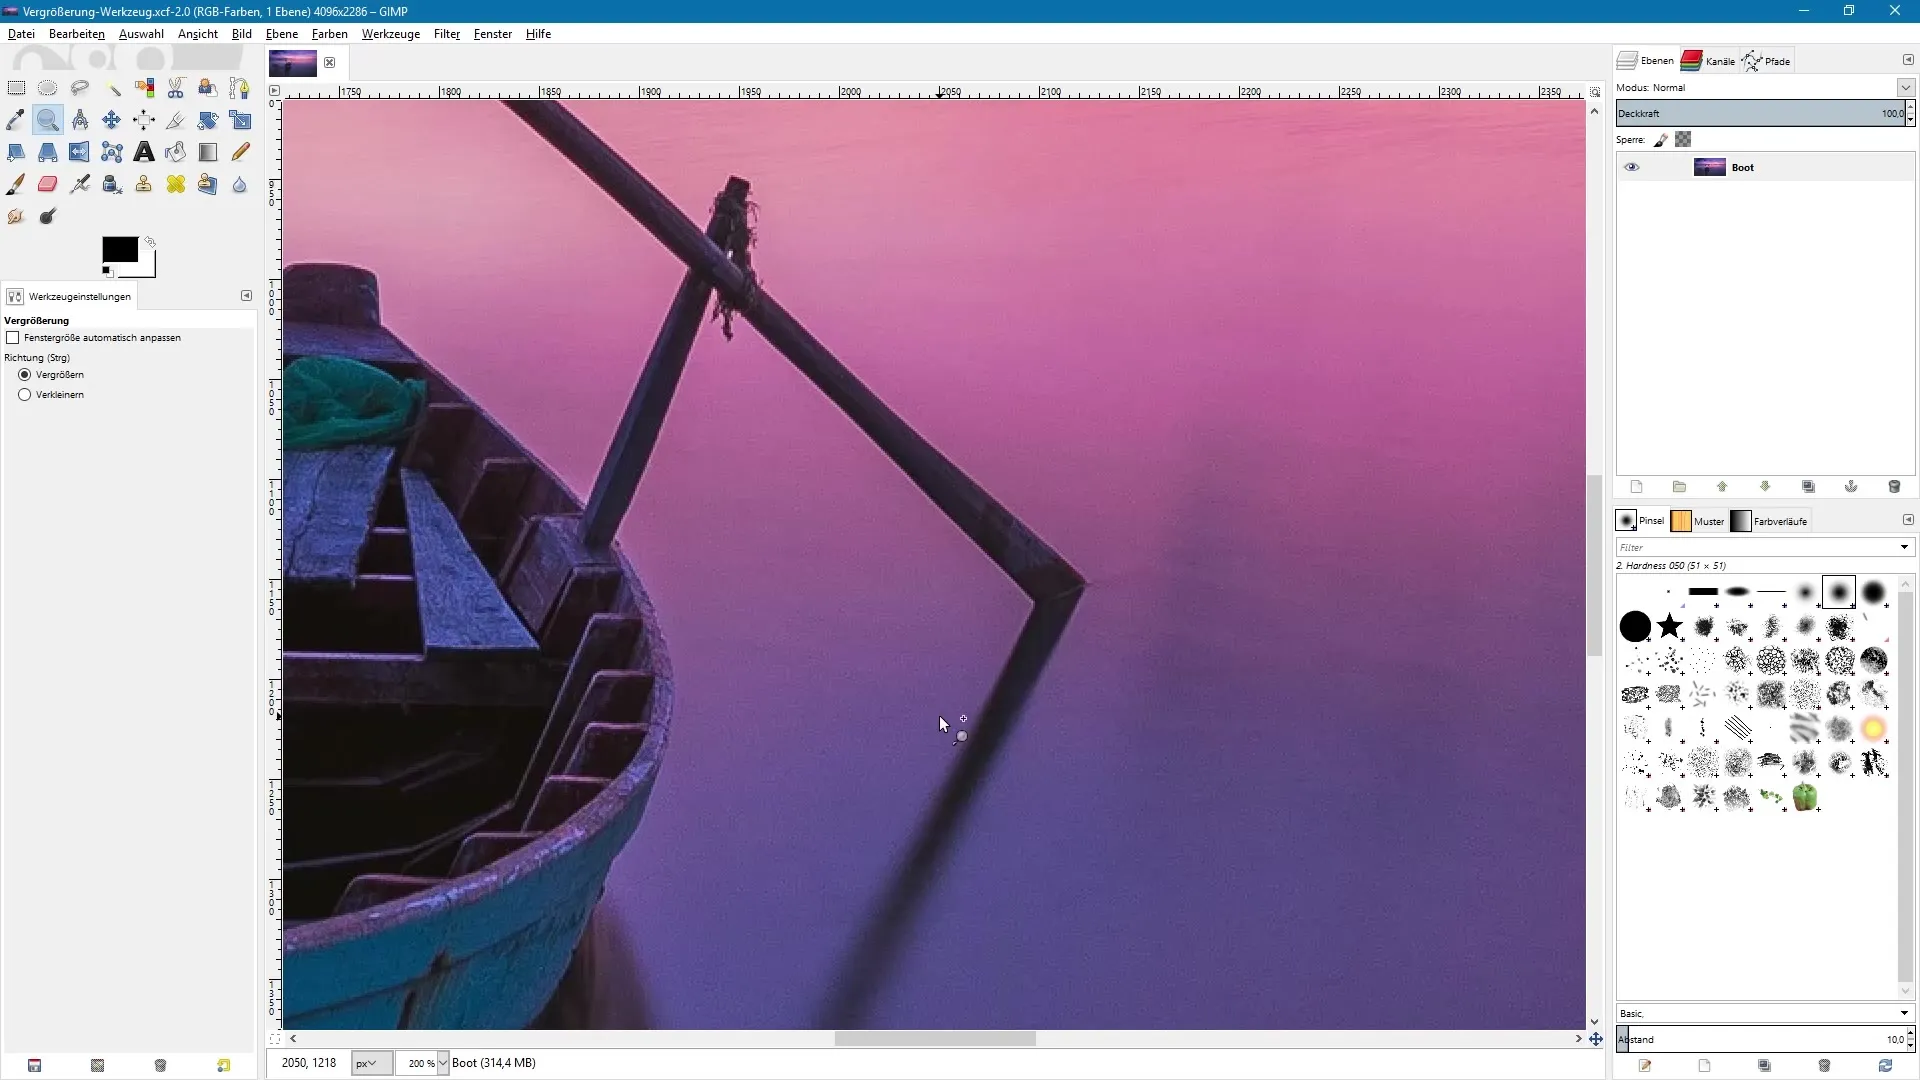
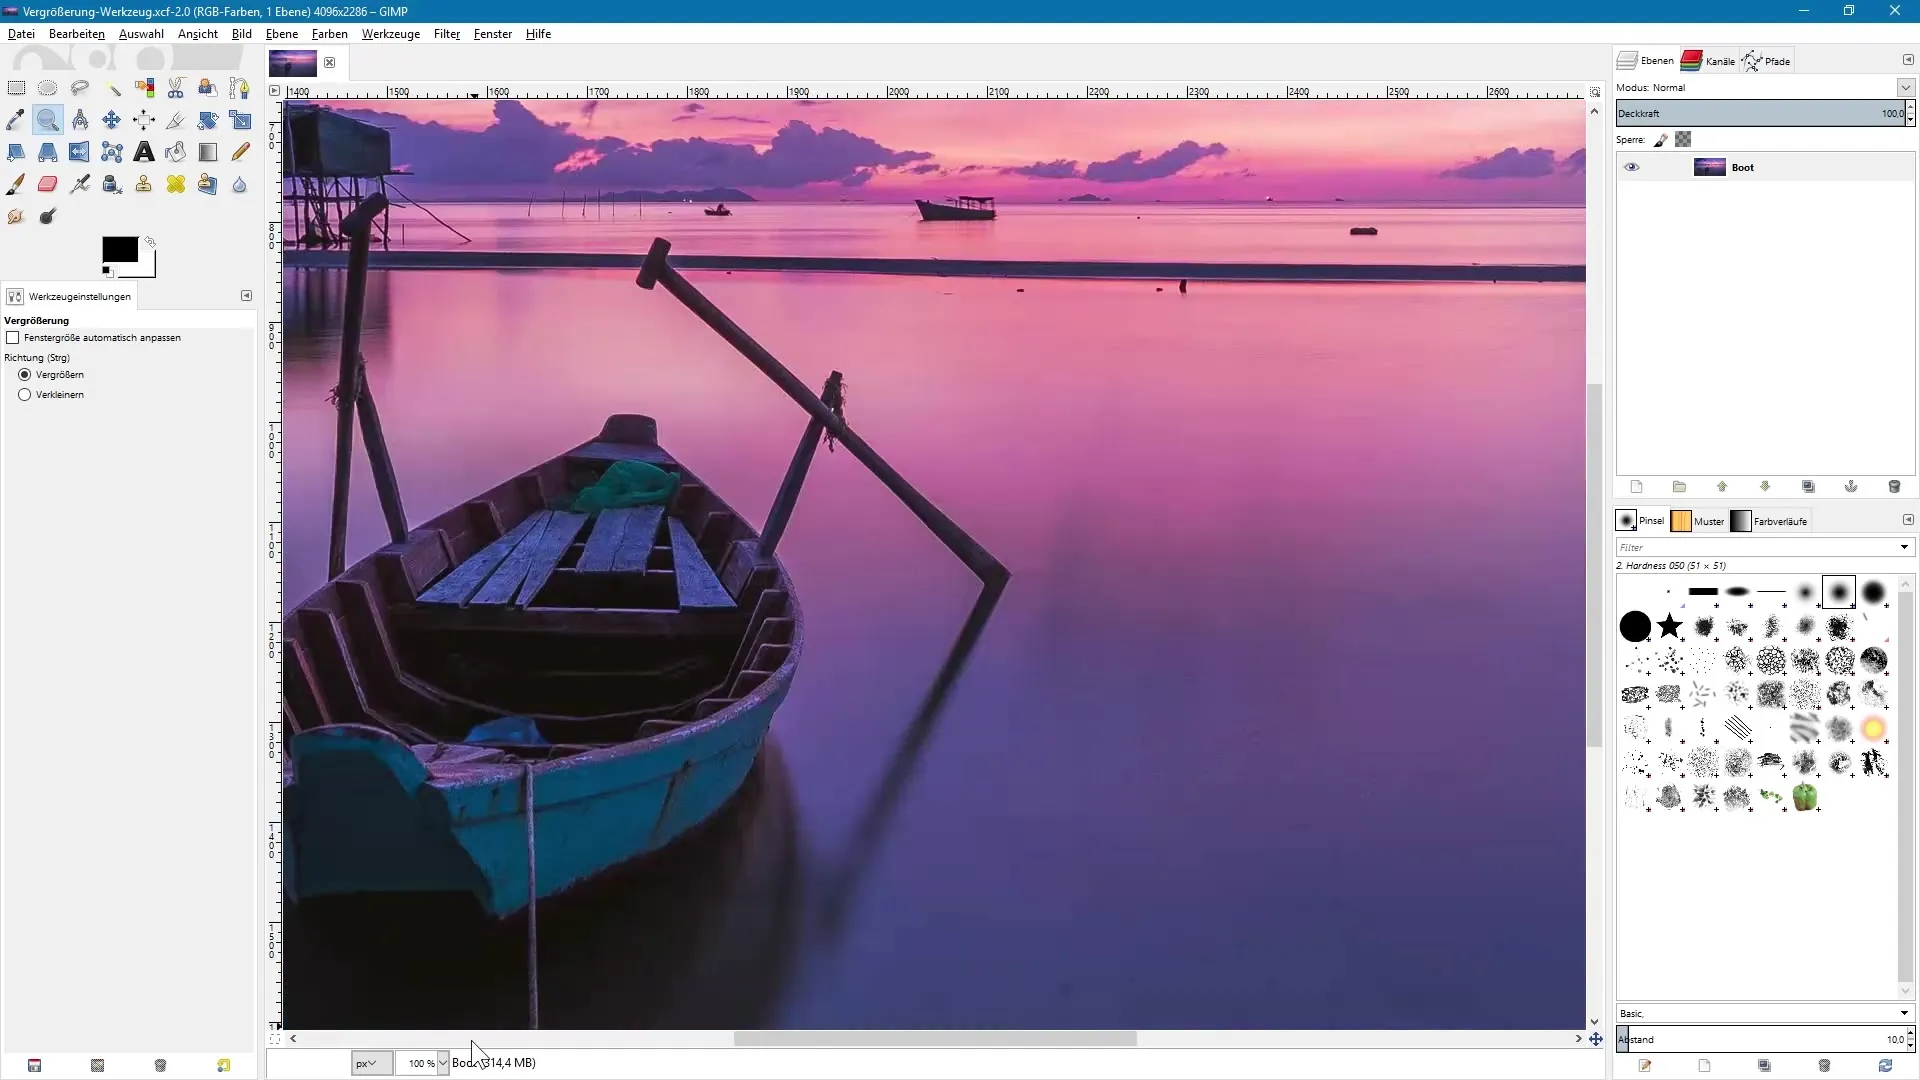
Finally, there are handy keyboard shortcuts to control the zoom level directly via the keyboard. You can switch between different zoom levels using the keys 1 through 5:
- Key 1: 100%
- Key 2: 200%
- Key 3: 400%
- Key 4: 800%
- Key 5: 1600%
These keys allow you to quickly navigate between different zoom levels and even work pixel-perfectly.
Summary – Using GIMP’s Zoom Tool Efficiently
With GIMP’s Zoom Tool you can not only view details more closely but also efficiently navigate your image. By learning the different methods of zoom control—whether using the mouse, menus, or keyboard shortcuts—you’ll be able to edit your images like a pro.
Frequently Asked Questions
How do I activate the Zoom Tool?Click on the magnifying glass icon or press “Z” on your keyboard.
How can I zoom out of the image?Hold down the Ctrl key and click on the image or use the mouse wheel.
Which keyboard shortcuts are there for the zoom levels?Use keys 1 through 5 for 100% to 1600% zoom.
Can I zoom into a specific area of the image?Yes, simply drag a rectangle around the desired area with the mouse button held down.
How do I adjust the zoom level in the menu?In the menu you can manually set the zoom levels to values like 25% or 100%.


