The cropping of images can be one of the simplest yet most effective methods to direct the focus to what’s essential and remove unwanted elements. With GIMP, a powerful image editing program, you have the ability to quickly and easily give your images a new look by cropping. In this tutorial, you’ll learn how to make the most of GIMP’s crop tool.
Key takeaways
- The crop tool lets you selectively resize images and adjust their aspect ratio.
- You can work on a copy of your image to avoid losing the original.
- Guides can help you crop for better composition.
- Cropping can also enlarge the entire canvas if desired.
Step-by-step guide
1. Select the crop tool
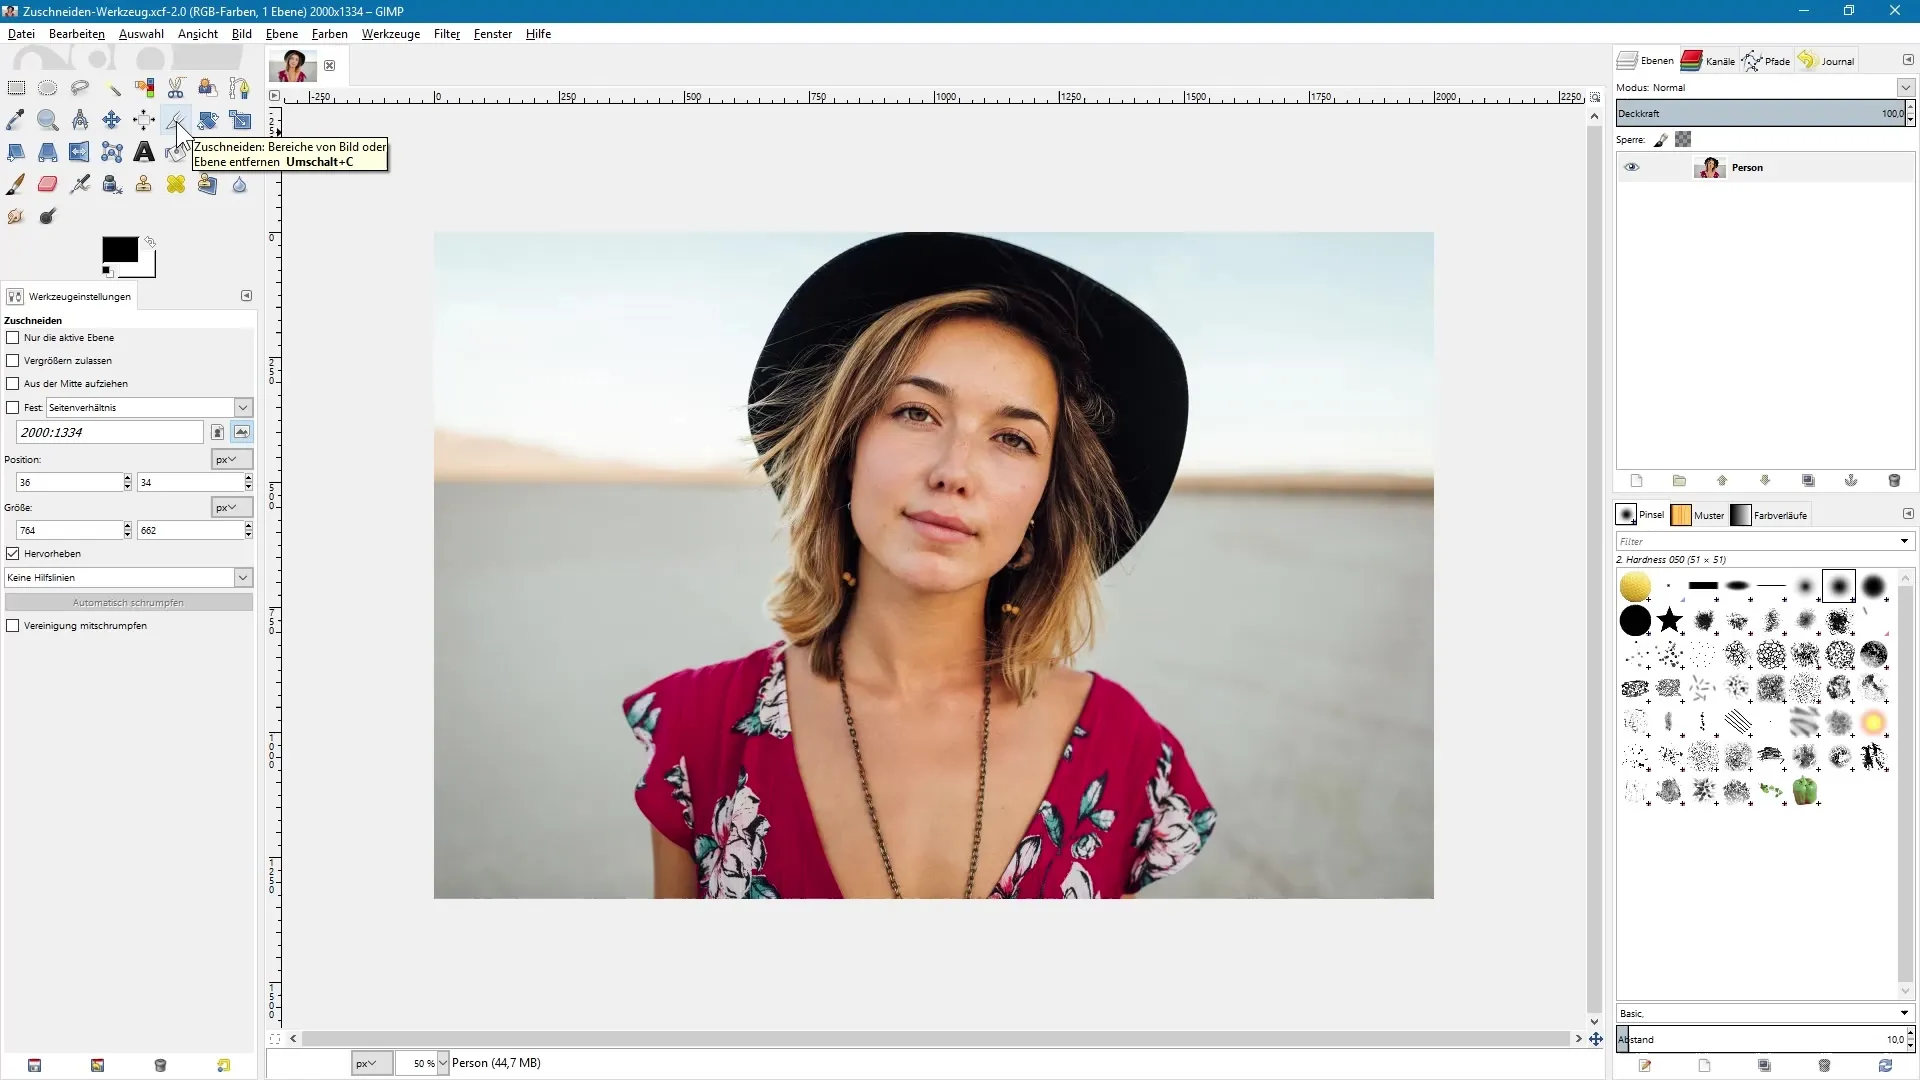
To launch the crop tool, click the corresponding icon in the toolbox or use the shortcut Shift + C. This opens the crop tool and lets you start cropping immediately.
2. Select the image area
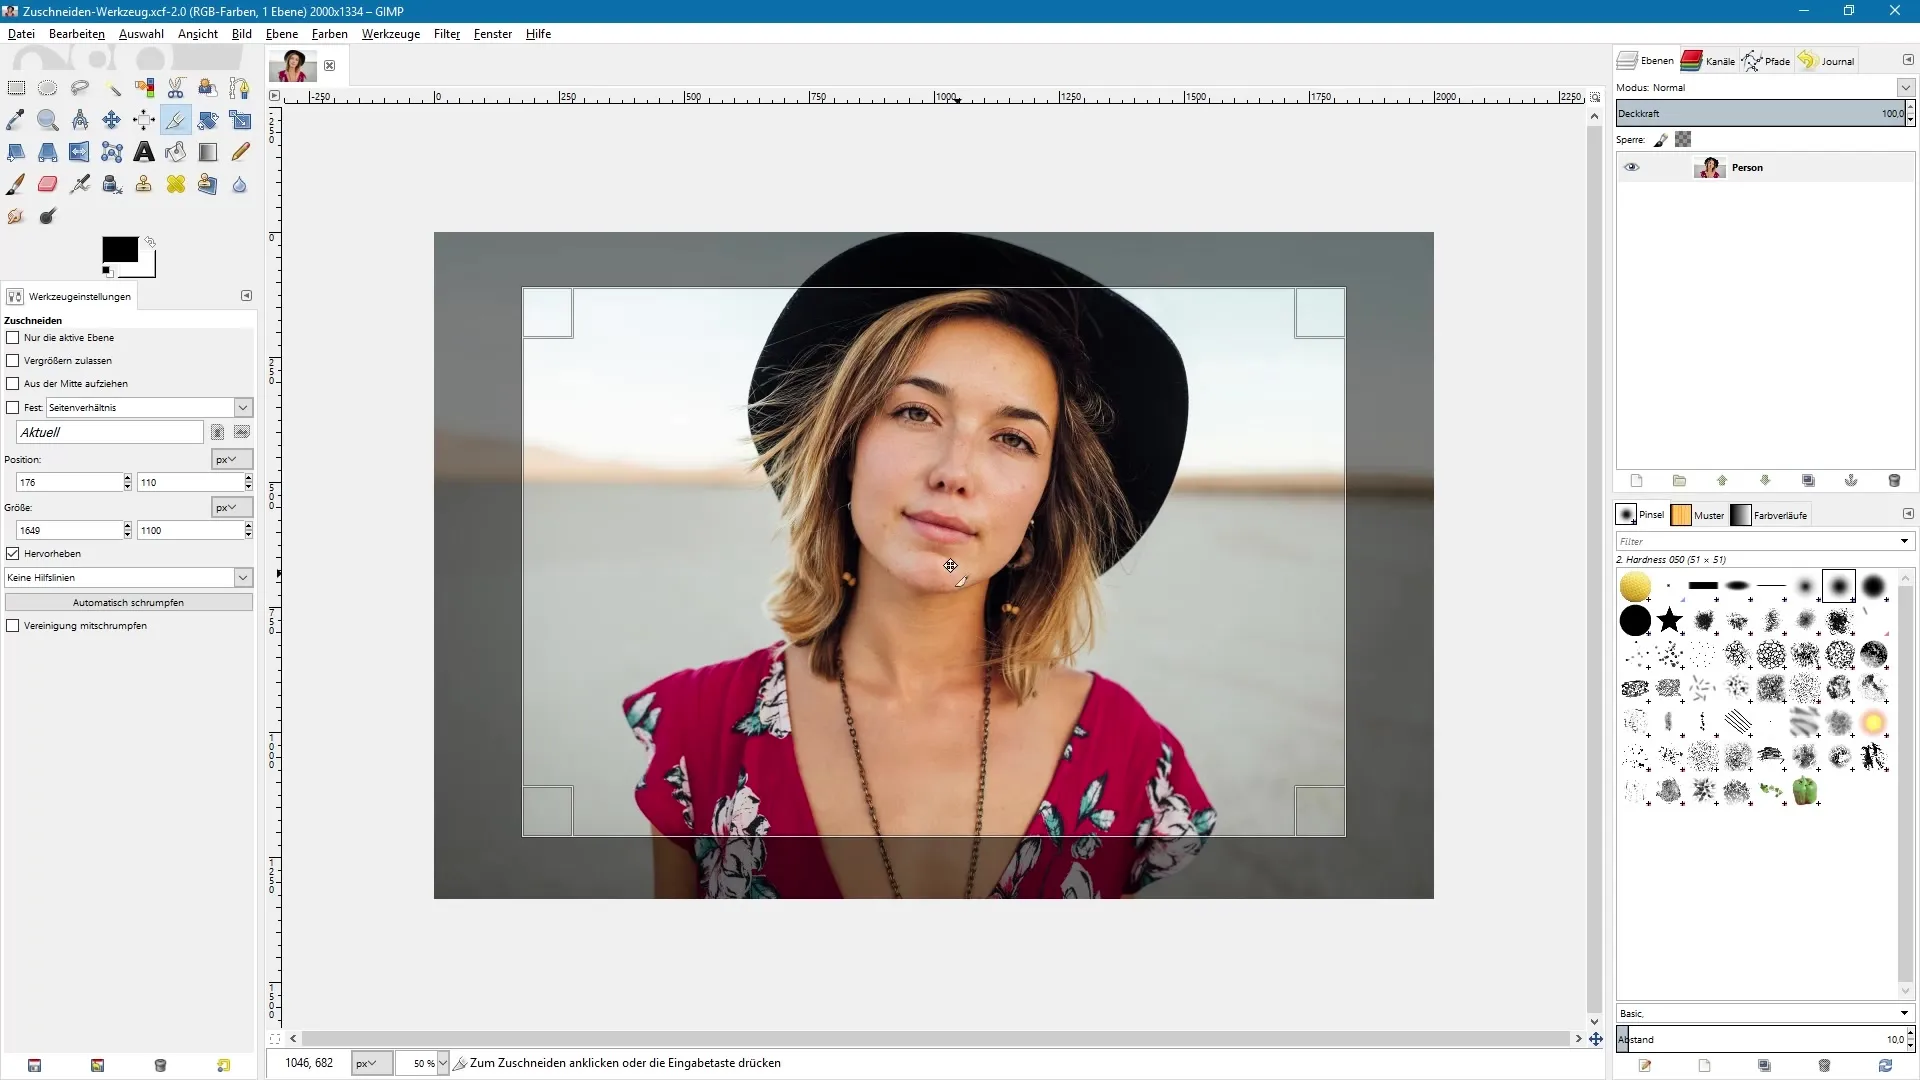
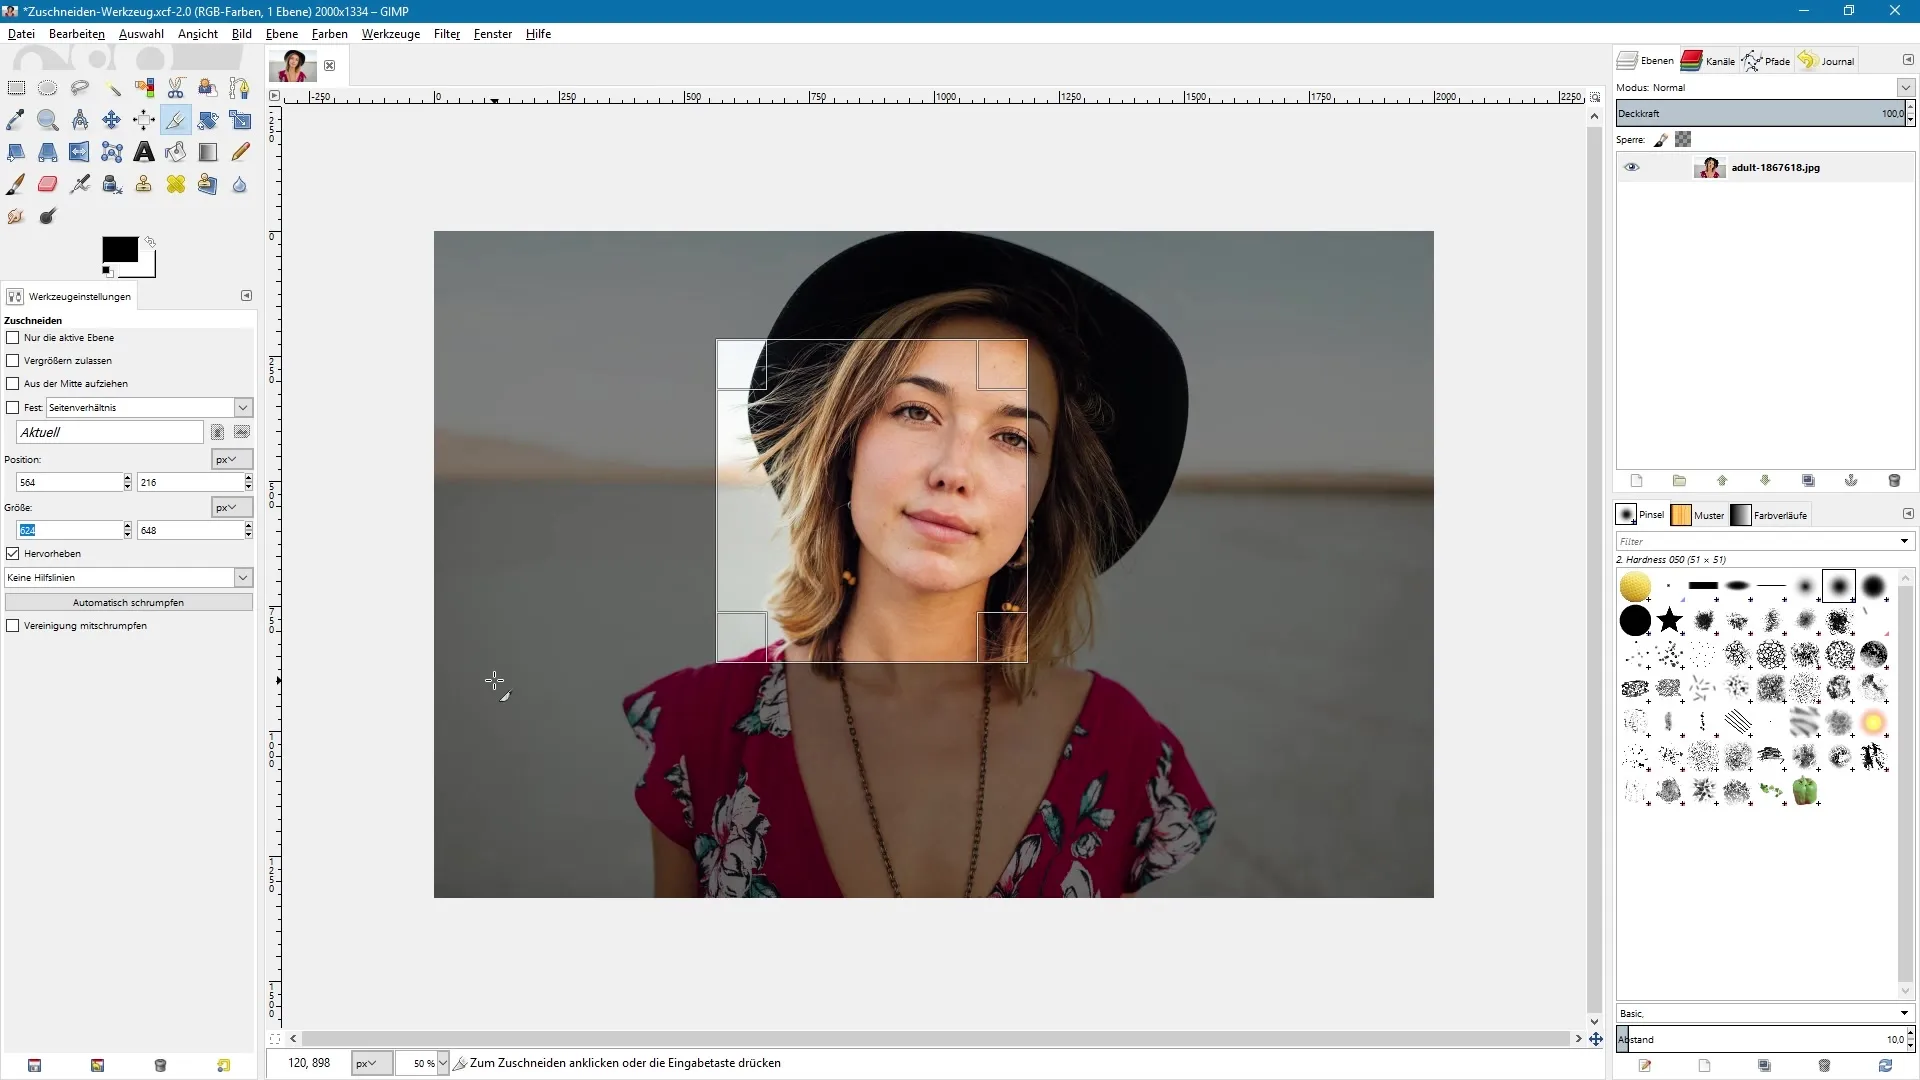
Now place the cursor over your image, hold down the left mouse button, and drag to create a frame around the desired crop area. You can freely adjust the width and height of the frame to choose exactly the region that will be visible in the final image.
3. Perform the first crop
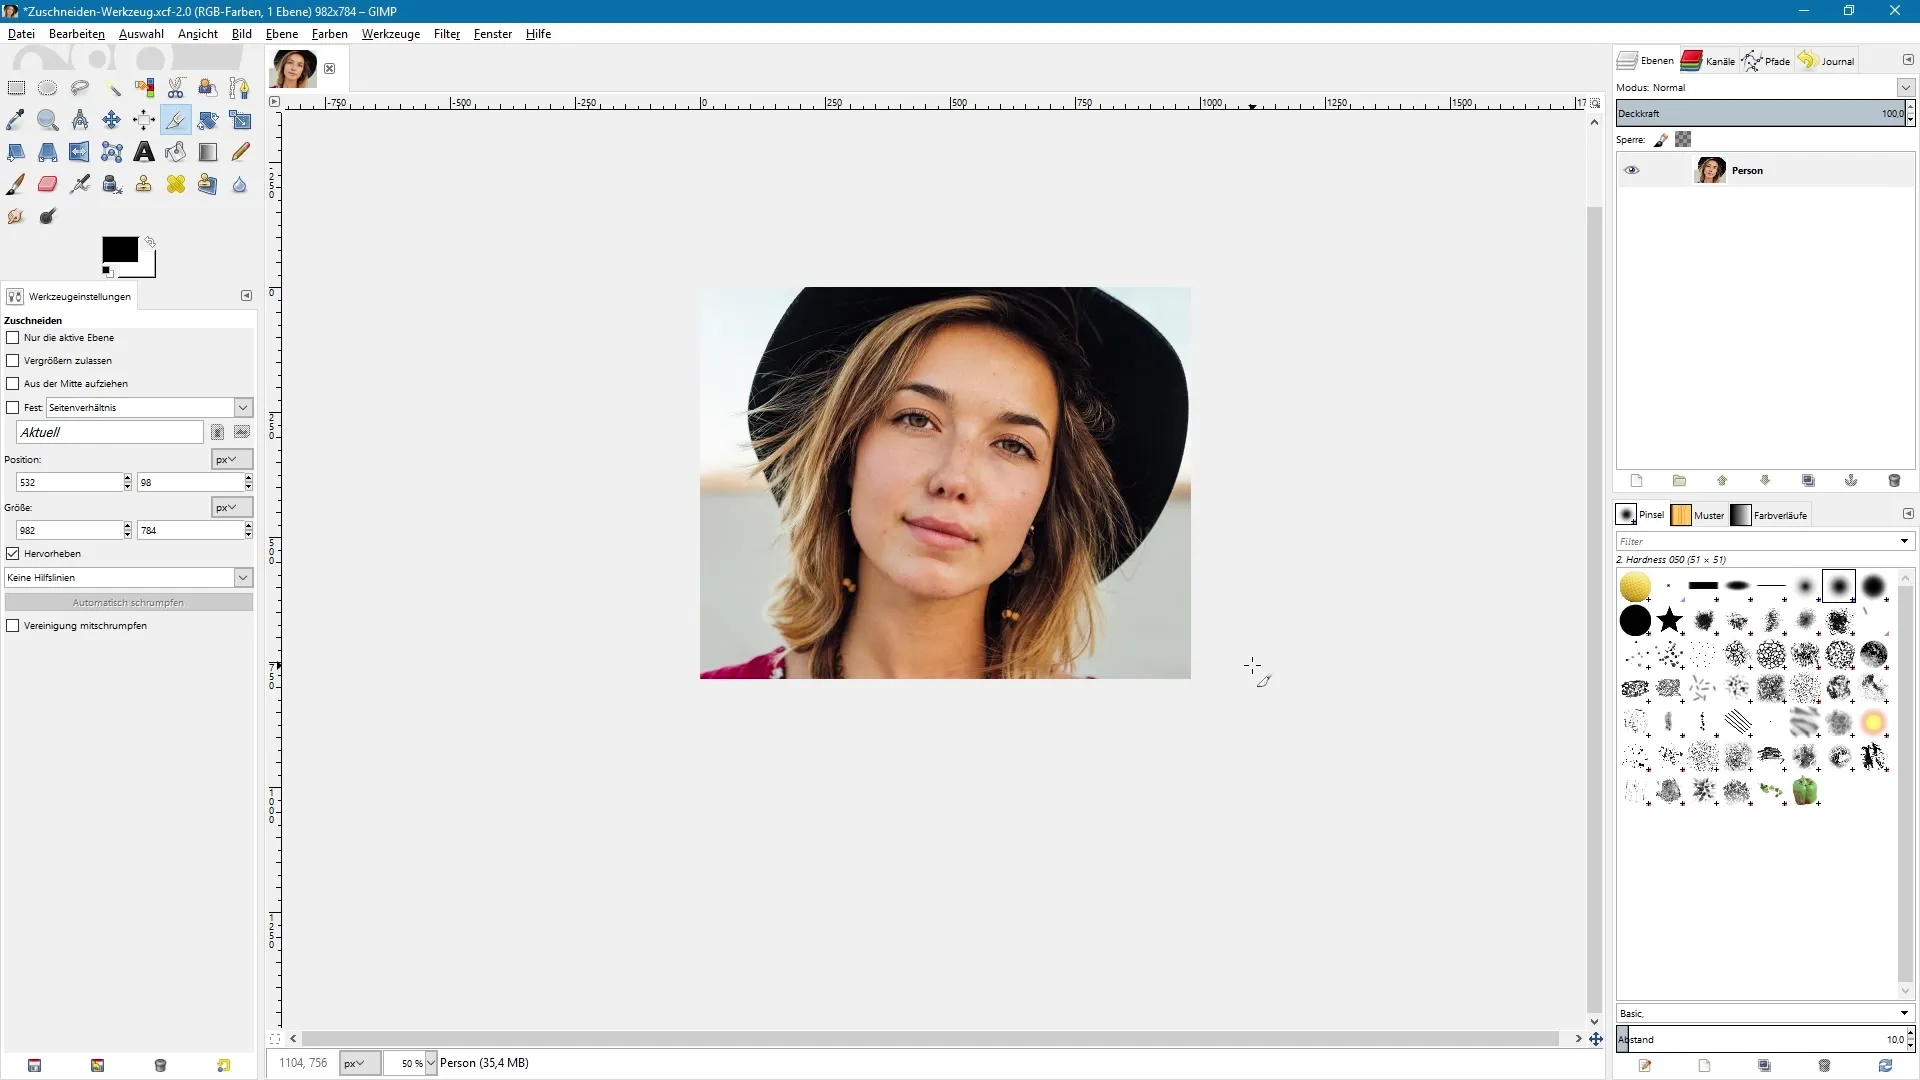
Once you’ve created the frame and released the mouse button, the area outside the selection will be dimmed. Clicking again inside the image applies the crop. Make sure you have an original copy saved before exporting the image in case you want to make changes later.
4. Adjust the aspect ratio
If you want to crop while maintaining the original aspect ratio, hold down the Shift key as you draw the frame. This keeps the original aspect ratio intact, which is especially important if you want to preserve symmetry.
5. Modify the crop area
If you’re not happy with the selected area, you can hold down the left mouse button and move the frame. This gives you the opportunity to precisely adjust the crop area before confirming the final crop.
6. Crop the active layer
If you only want to crop the active layer, enable the corresponding option in the tool options. After setting the frame, only the active layer will be modified while the rest of the document remains untouched. This is useful if you have multiple layers and only want to edit one of them.
7. Allow enlargement
To enlarge the canvas through cropping, enable the "Allow enlargement" option. This lets you extend beyond the current document boundaries. The cropped area will be rendered transparent, expanding the overall workspace.
8. Use guides
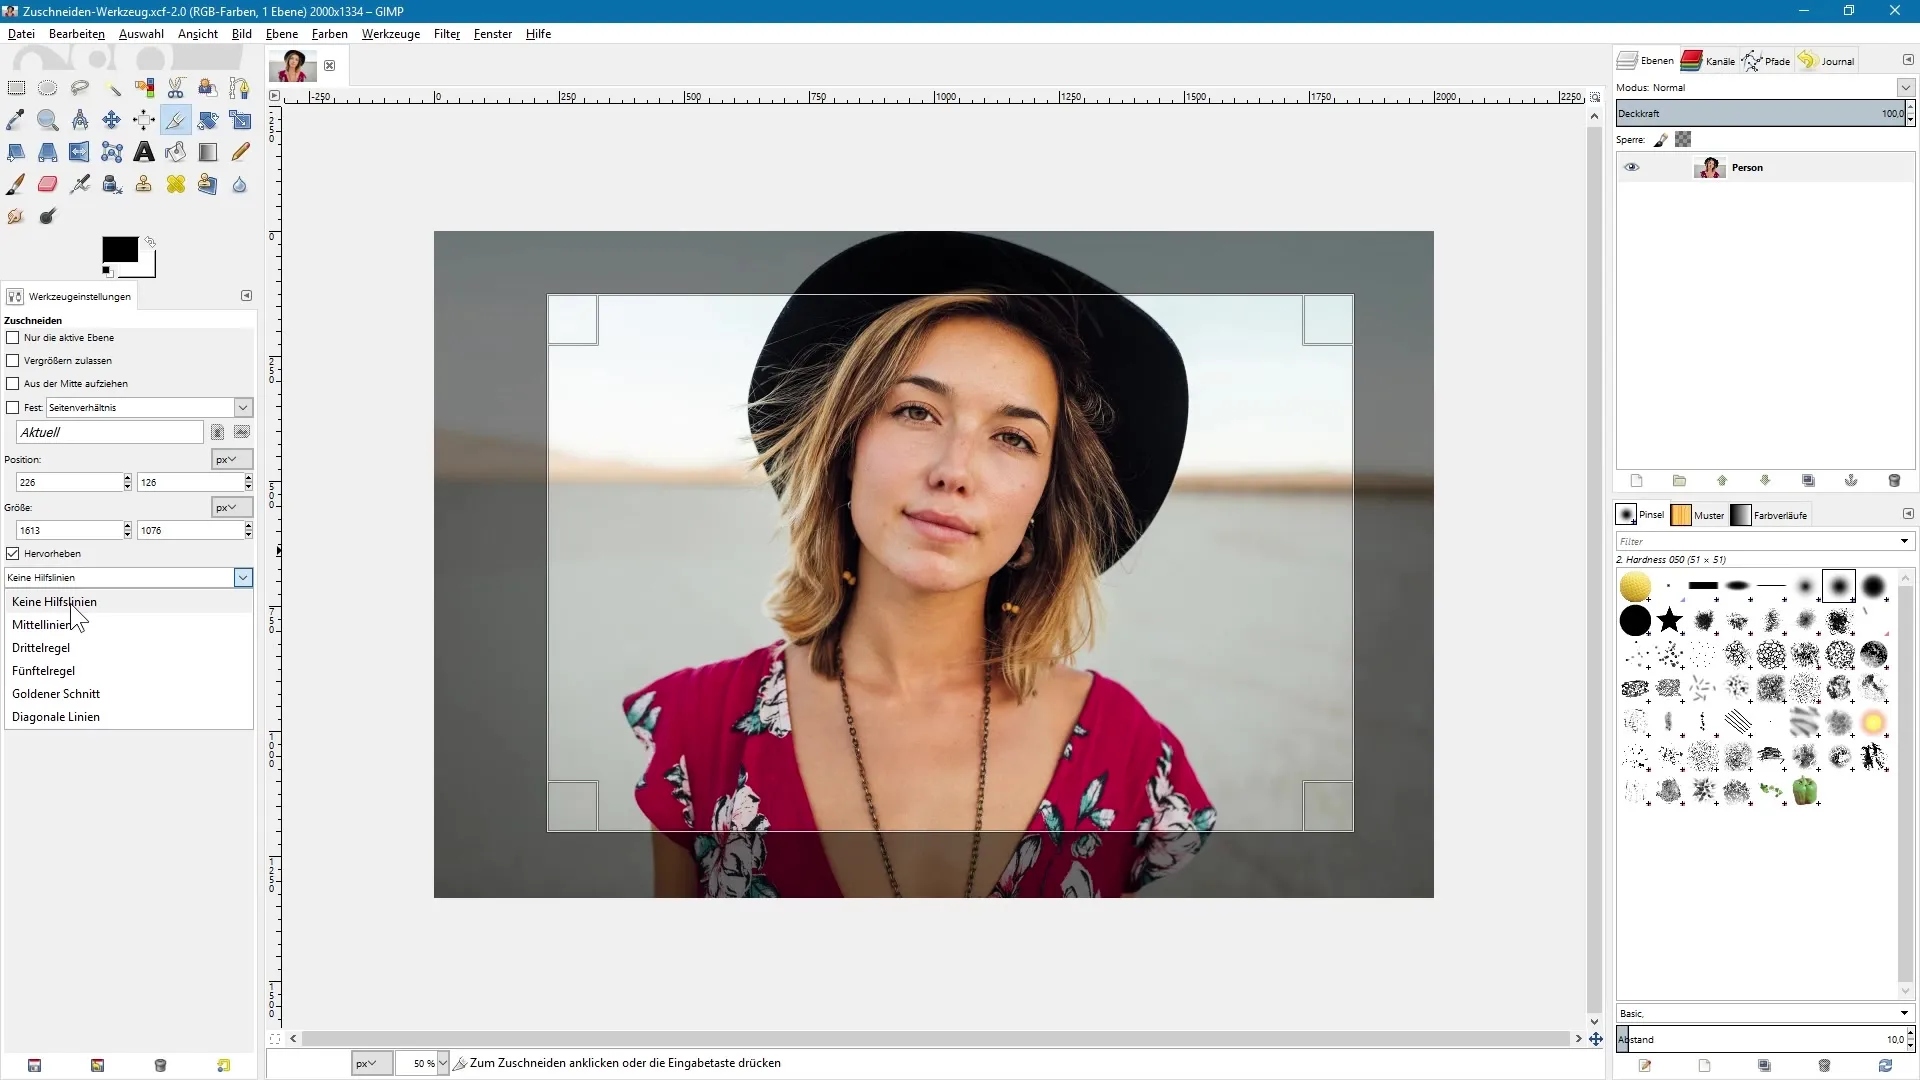
To make cropping easier, you can enable guides. These help you compose the image according to the rule of thirds and fine-tune your crop. A click in the tool options offers various guide settings.
9. Use exact dimensions
If you know the exact dimensions your final image should have, you can enter them directly in the tool options. For example, you can set a 500 × 500 pixels square crop. The crop tool will automatically adjust your frame to these specifications.
Summary – GIMP Image Editing: A Comprehensive Guide to Cropping
With GIMP’s crop tool, you can edit and adjust images precisely. From selecting the frame to using exact dimensions, you have plenty of creative freedom to customize your images. By deliberately using the tool and considering its various options, you can achieve maximum flexibility and give your images the look you want.
Frequently Asked Questions
How do I select the crop tool?You can select the crop tool via the icon in the toolbox or by using the Shift + C shortcut.
Can I undo the crop?Yes, you can undo the crop with the undo function as long as you haven’t saved.
What happens to the original image when I crop?If you work on a copy, the original image remains untouched.
How can I adjust an image’s aspect ratio?Hold down the Shift key while drawing the frame to maintain the original aspect ratio.
Can I display guides for cropping?Yes, you can enable guides in the tool options to assist with your image composition.


