Do you want to create a metal base in Cinema 4D that connects and stabilizes the posts and the foundation? In this tutorial, I will show you how to use render instances efficiently to conserve your computer's memory while keeping the connection between the objects flexible. Let's get started!
Key Insights
- The use of render instances reduces memory requirements.
- Changes to the original object are immediately applied to all instances.
- By manually moving and scaling, you retain control over your design.
Step-by-Step Guide
First, you should name the metal base accordingly. Double-click on the object and name it "Metal Base." This helps improve organization within your project and avoid confusion.
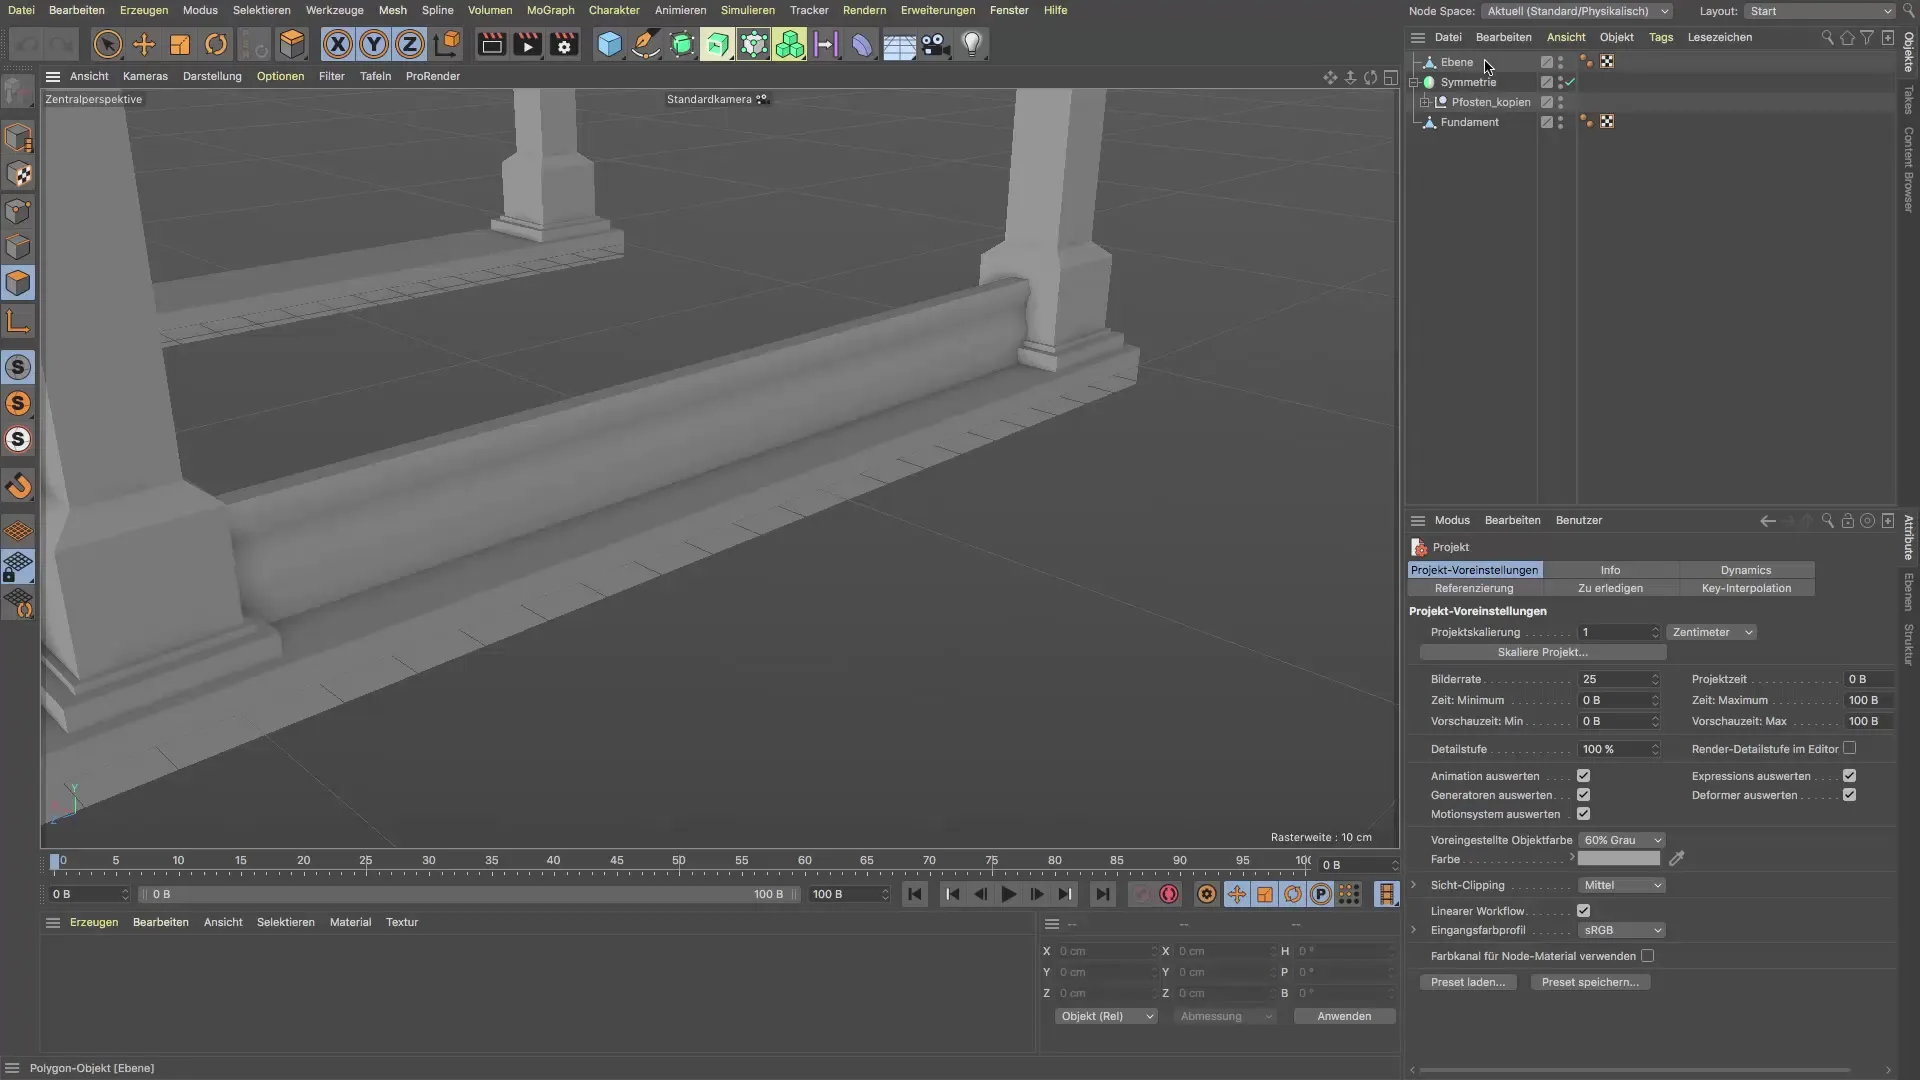
Now you need to place your metal base not just in one location, but in multiple locations. The easiest way to do this is by using render instances. This ensures that the original data is preserved. Select the object, go to the SDS settings, and look for the instance menu. Here, you can choose between normal instances, render instances, and multi-instances. Select the render instance as it takes up very little space in memory.
After you have selected the render instance, move the object to the desired location. Avoid using the extrusion tool as it can yield inaccurate results. Instead, use the move tool to pull your render instance forward. This method is safer and more controllable.
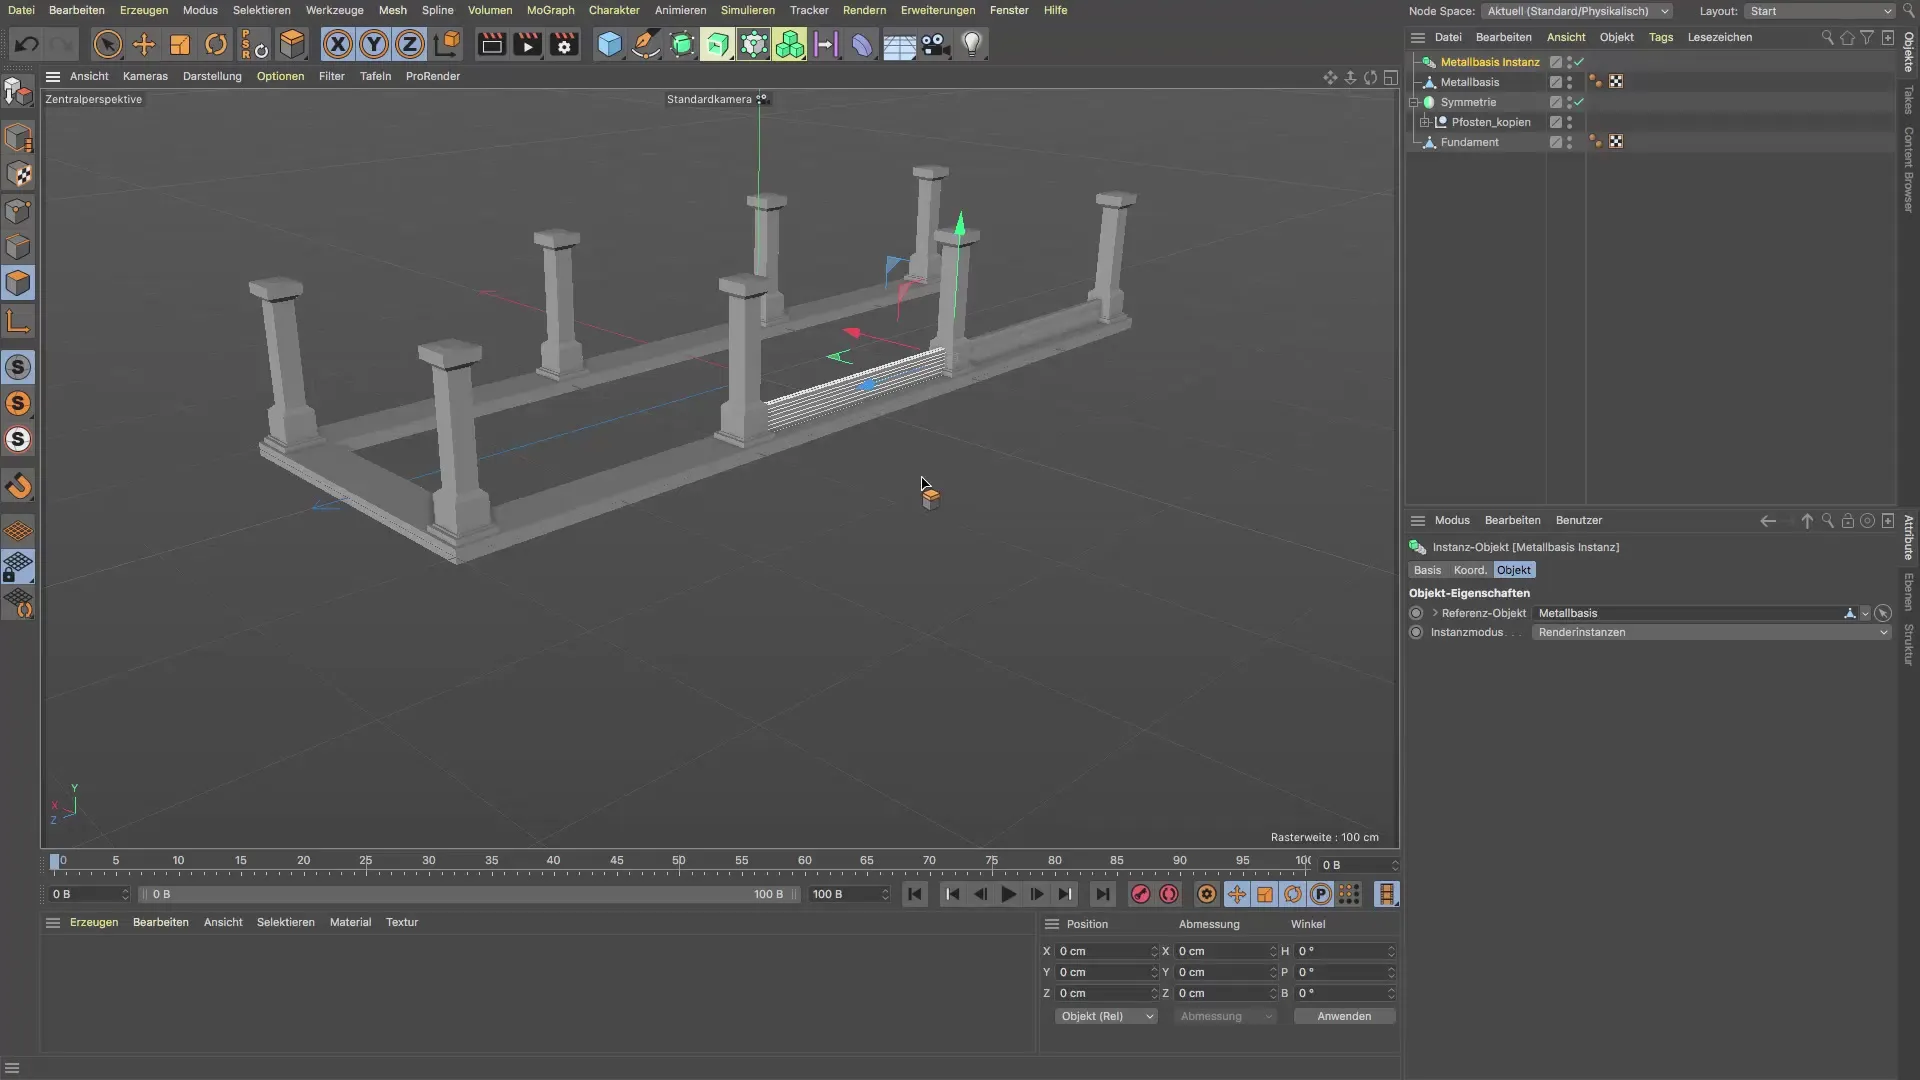
To create additional instances, hold down the control key and drag the current instance up or to the side. This allows you to repeat the instancing process easily and effectively. If you’ve done everything correctly, you should have a series of render instances forming the structure of your metal base.
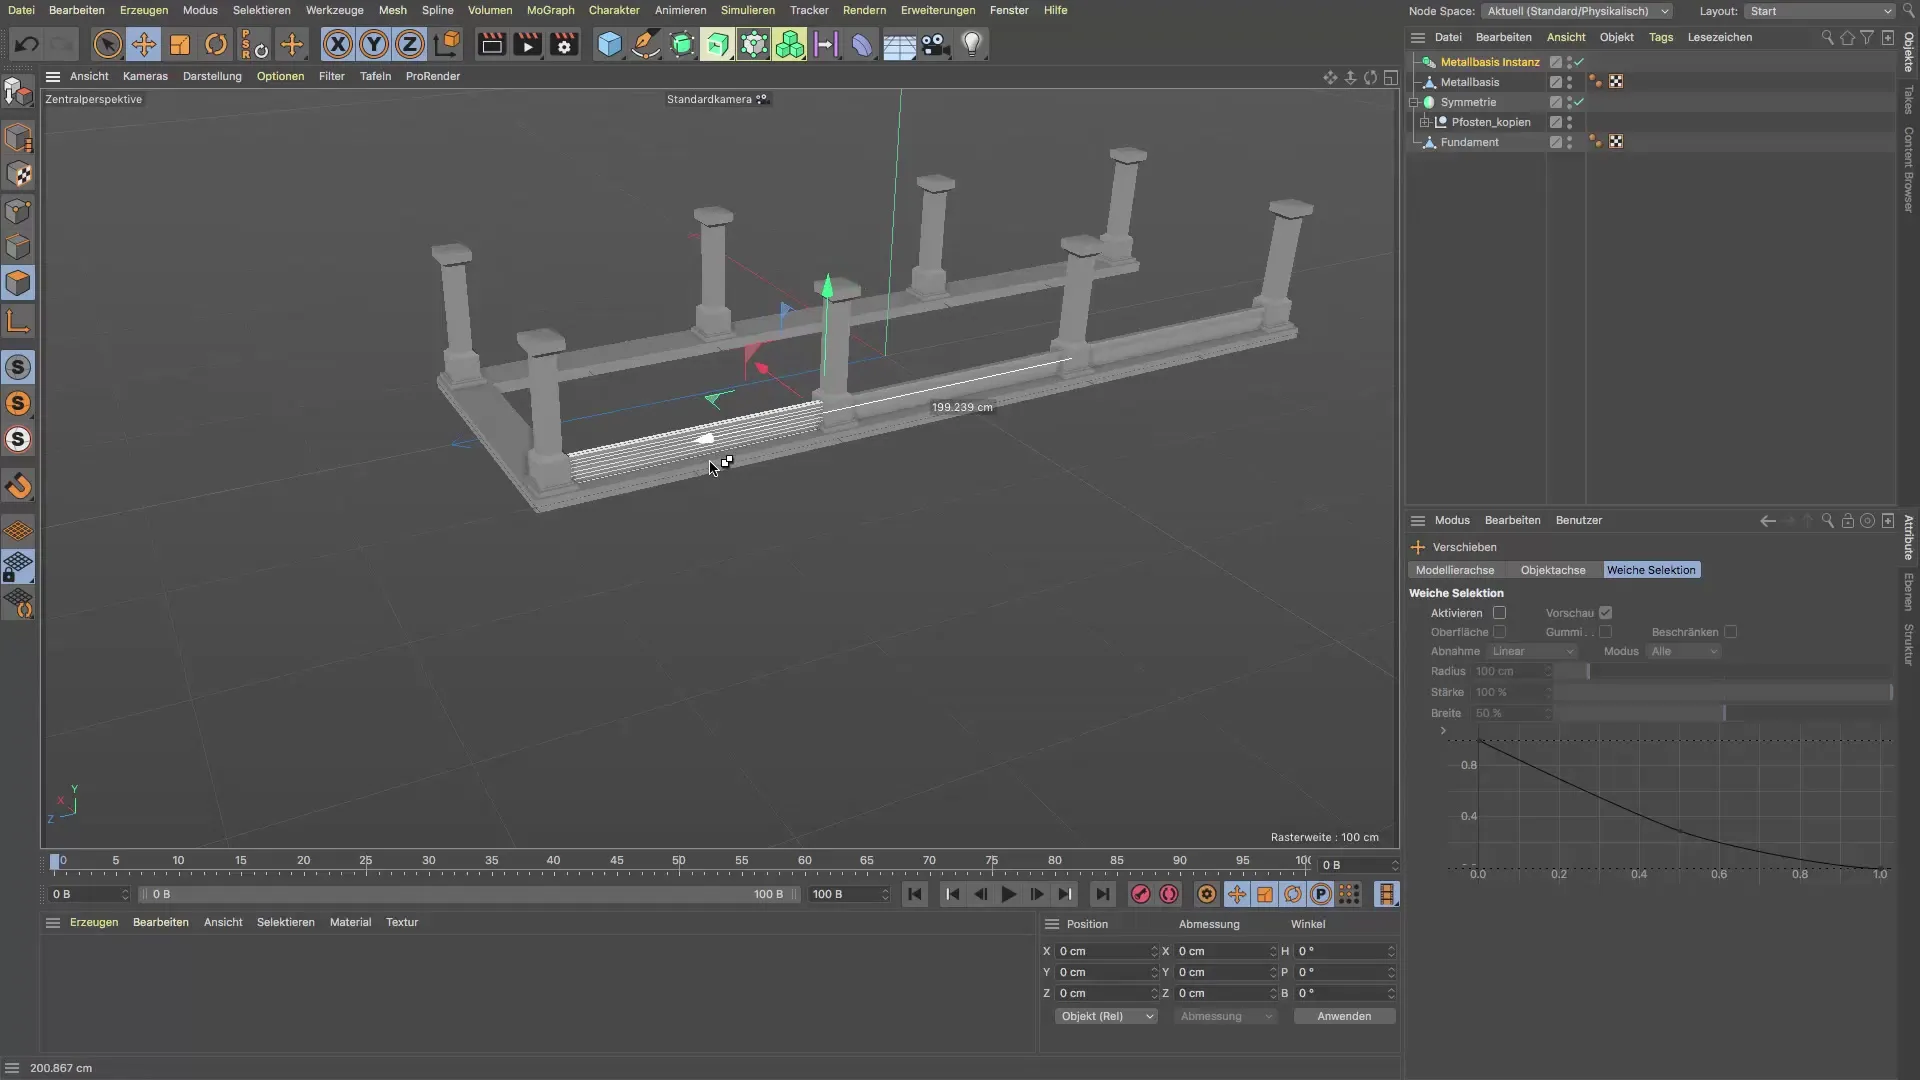
At this stage, you may want to use the mirror method with a symmetry object, but you can also hold the control key and manually place the instances. This way, you get a unique, less mechanical result that has a charming character.
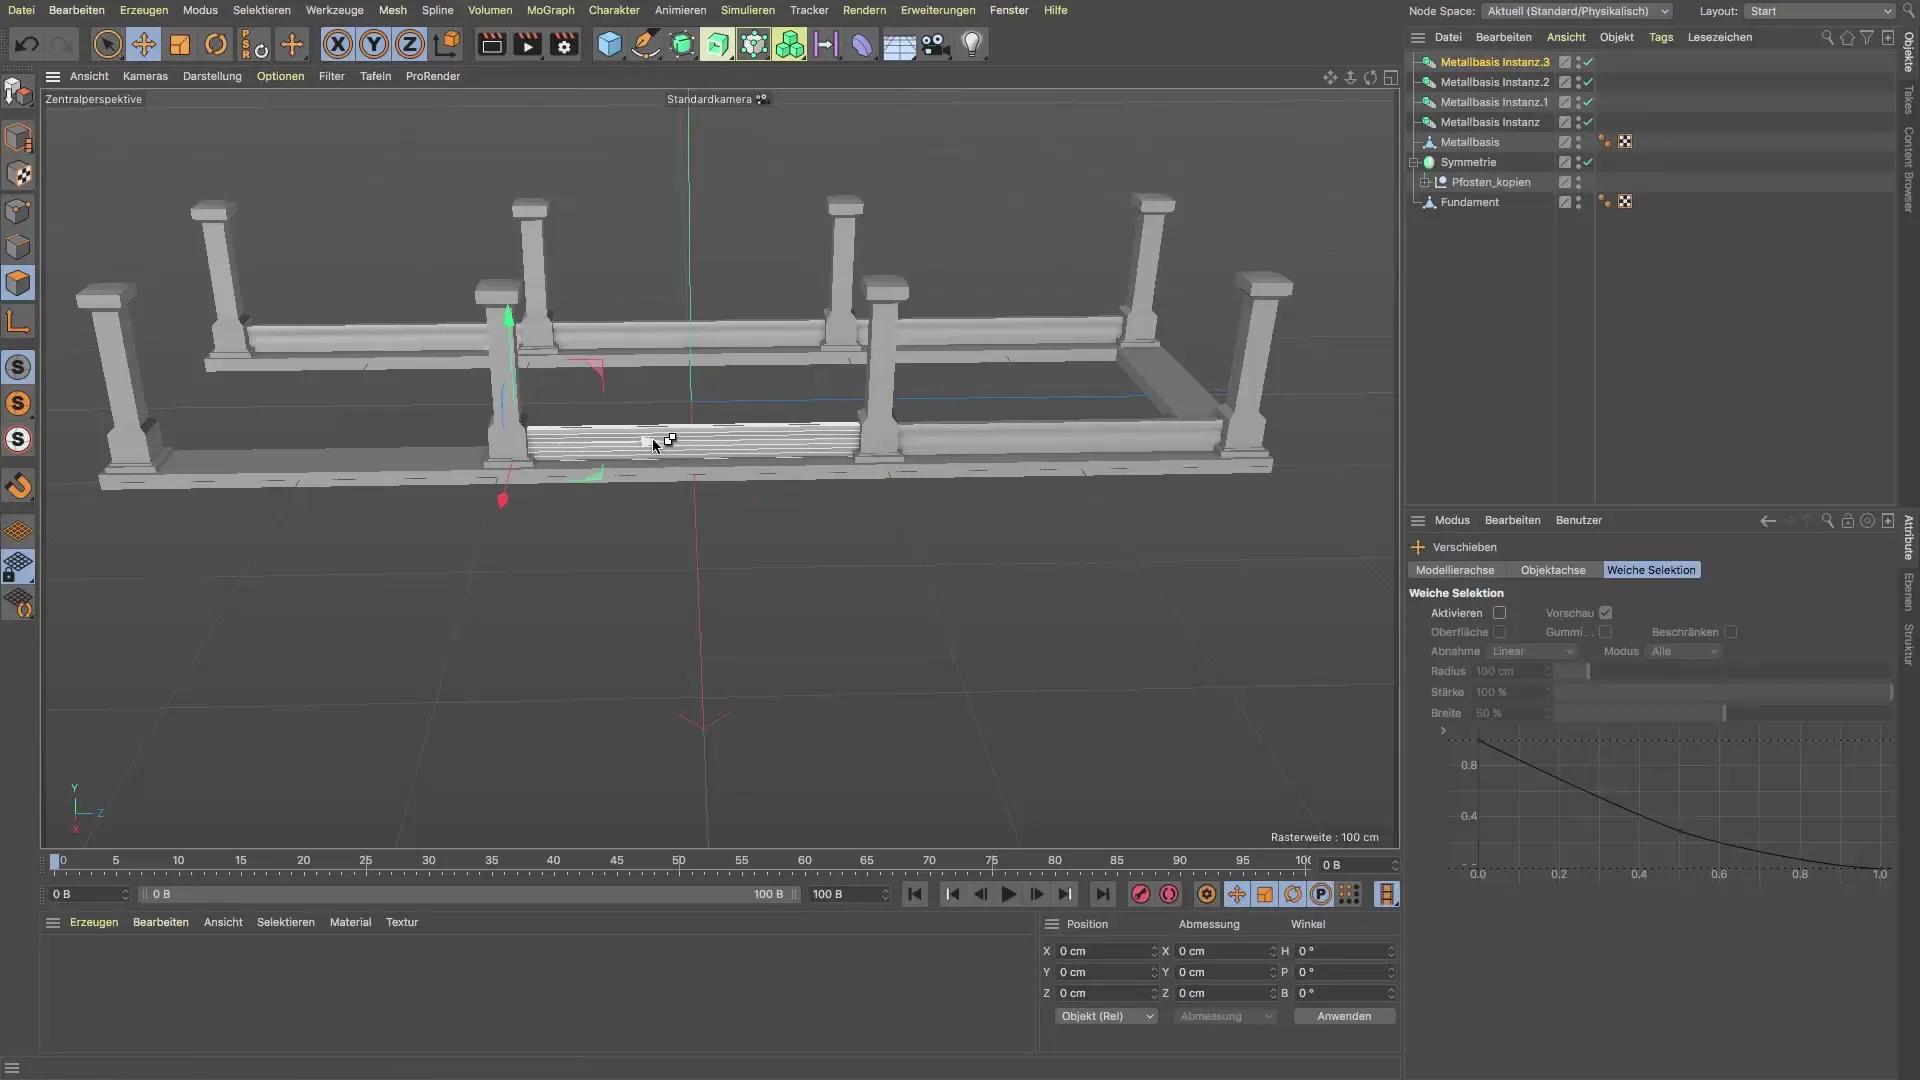
To complete the first row of instances, copy instance number 4 using the Command+C and Command+V combination (or Control C and Control V) and rotate it 90 degrees to align it correctly. Use the rotation tool and hold down the Shift key to rotate in 5-degree increments, saving you a lot of time and hassle.
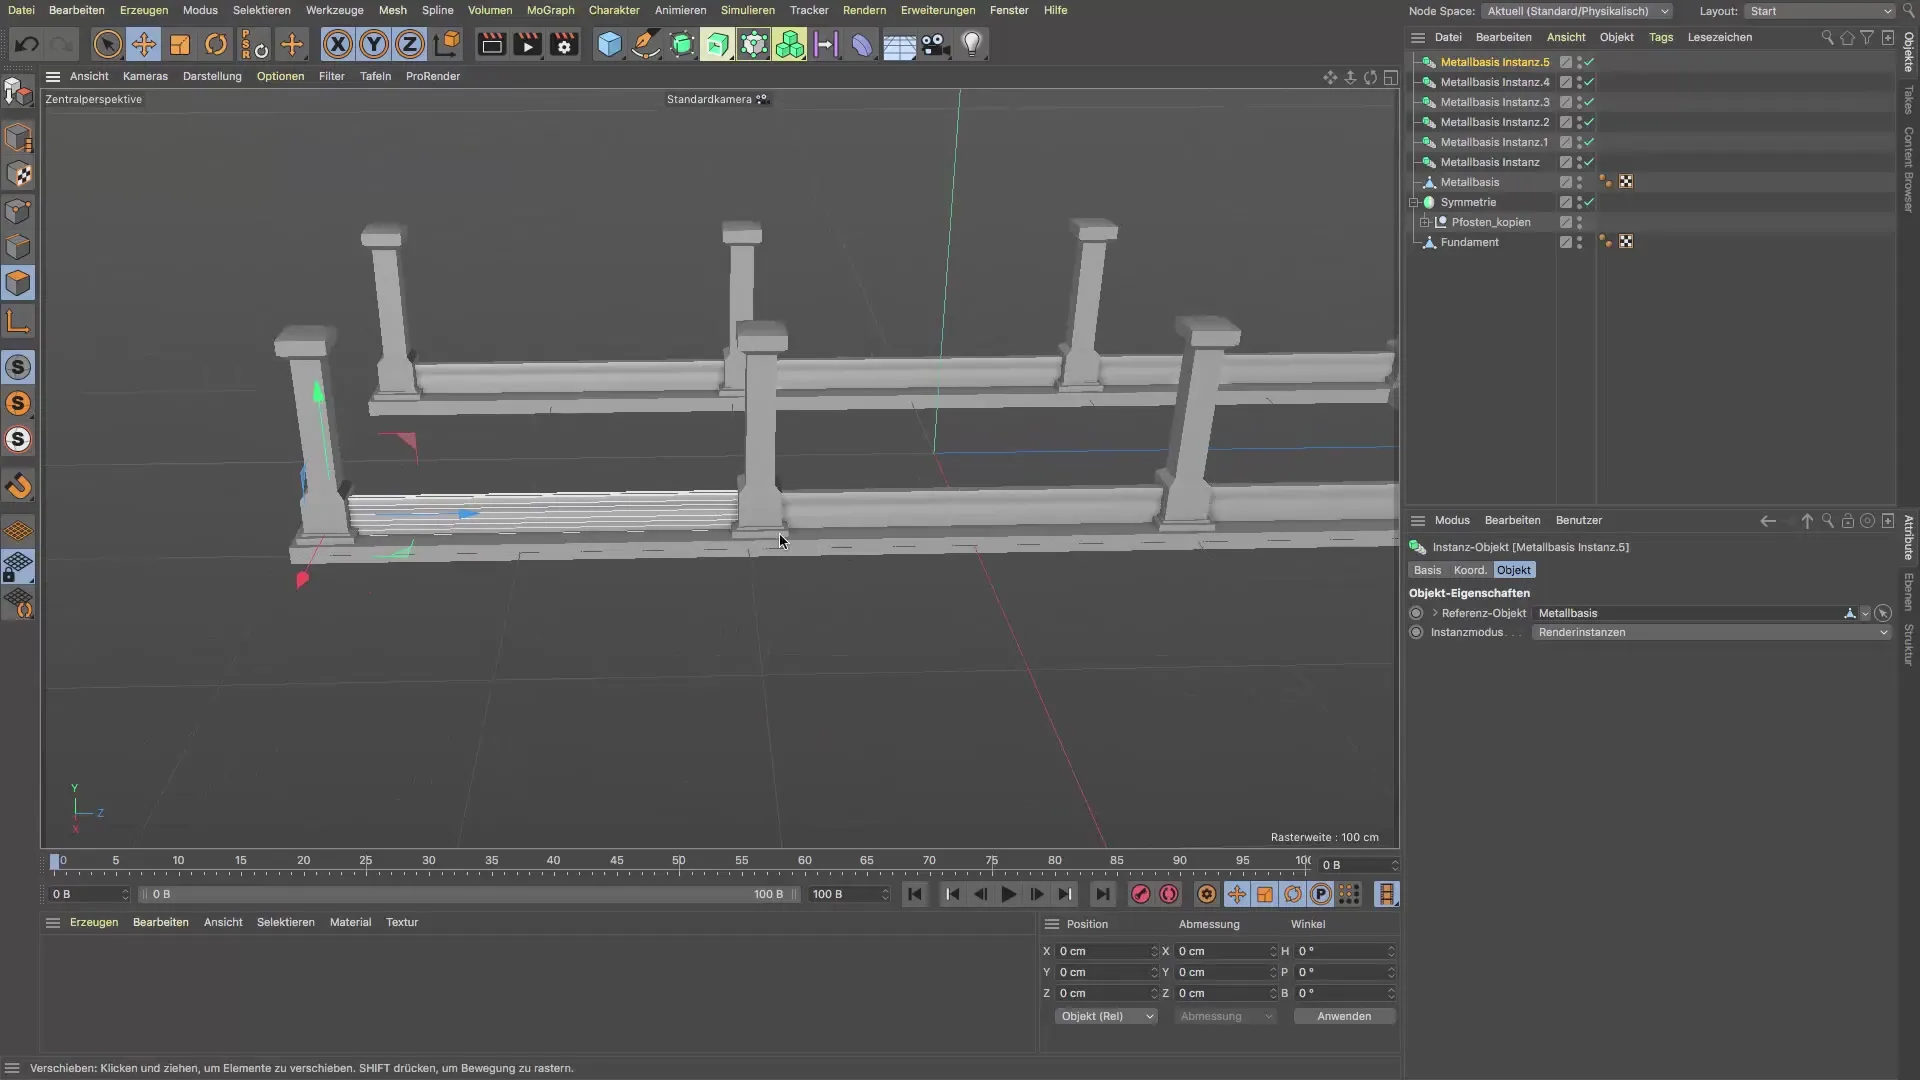
Now you can position the newly rotated instance in the correct spot. This is important for making the entire structure appear harmonious. Regularly check the alignment to ensure that everything looks good.
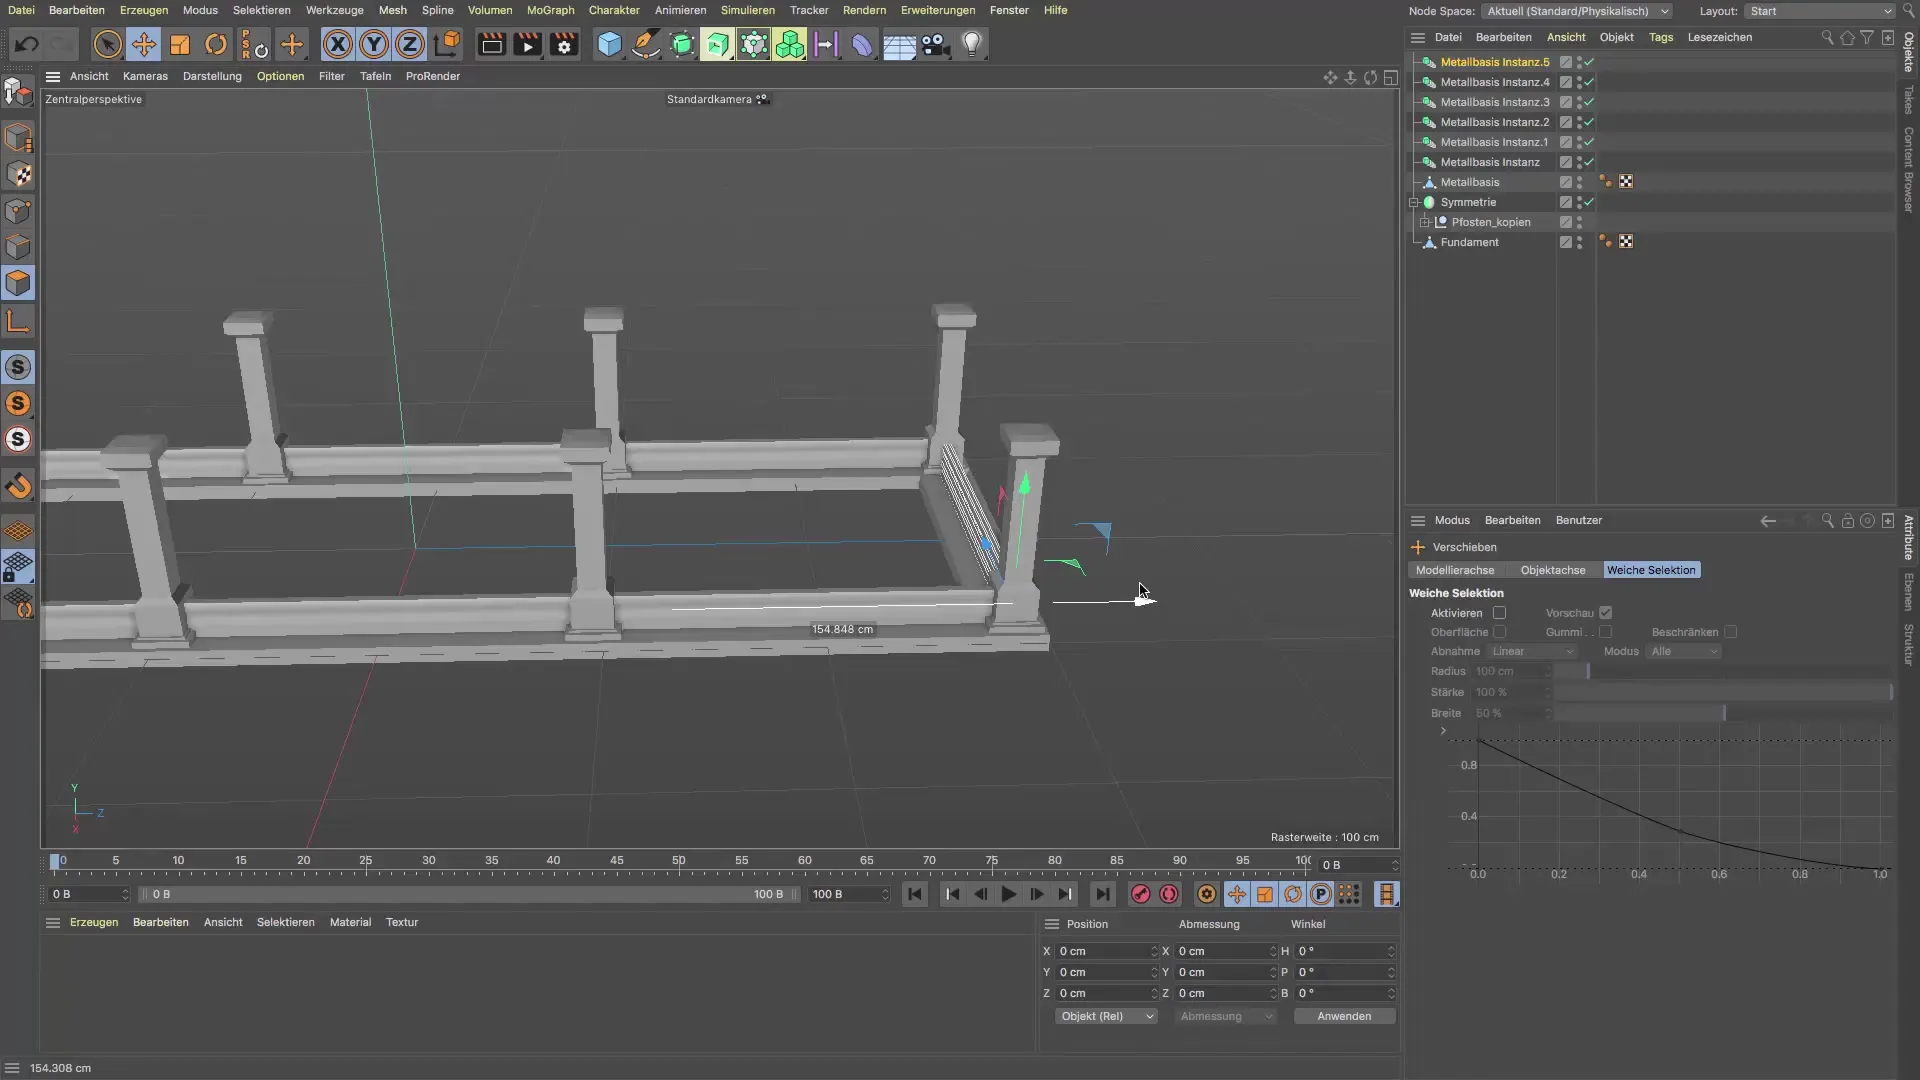
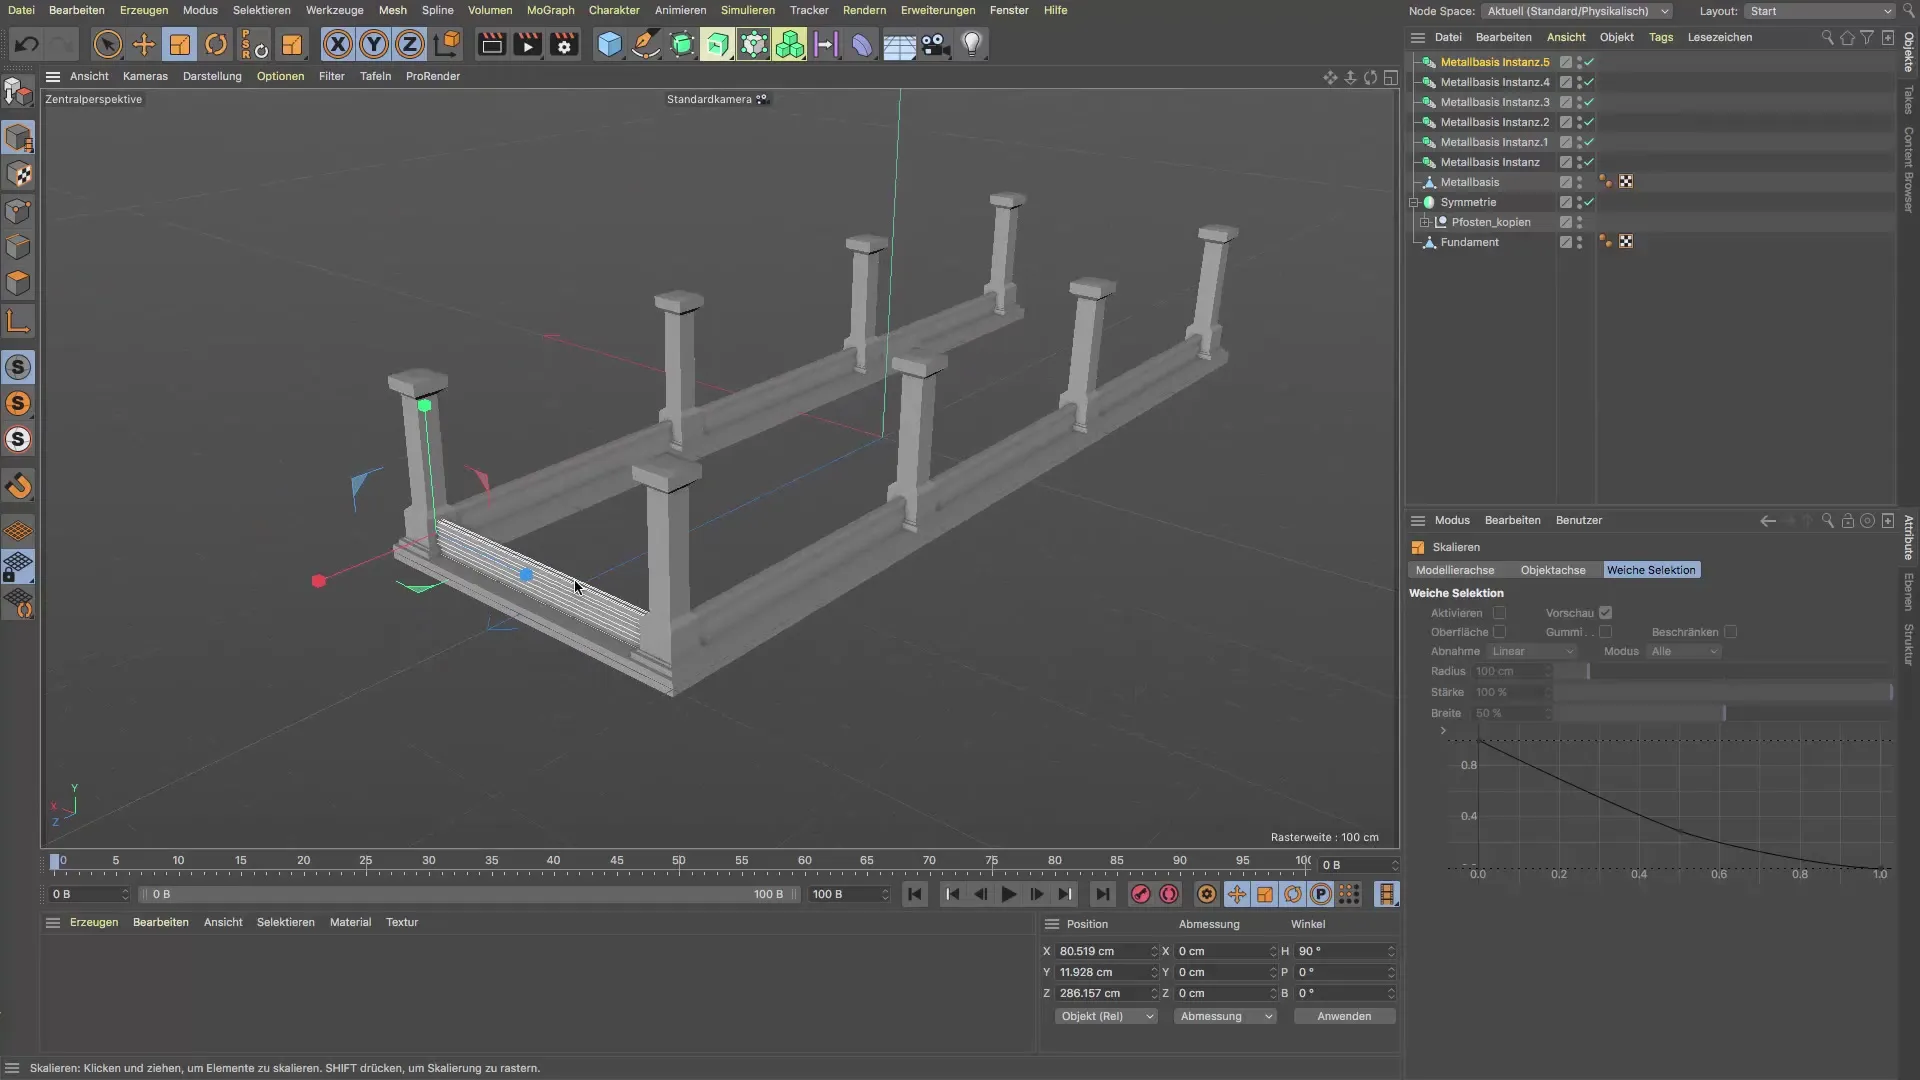
If you find that the instances are protruding excessively, you can easily scale them. Go into object edit mode and select the scale tool. However, make sure you are in the correct edit mode to achieve the desired results. Resize the instances as needed to optimize the design.
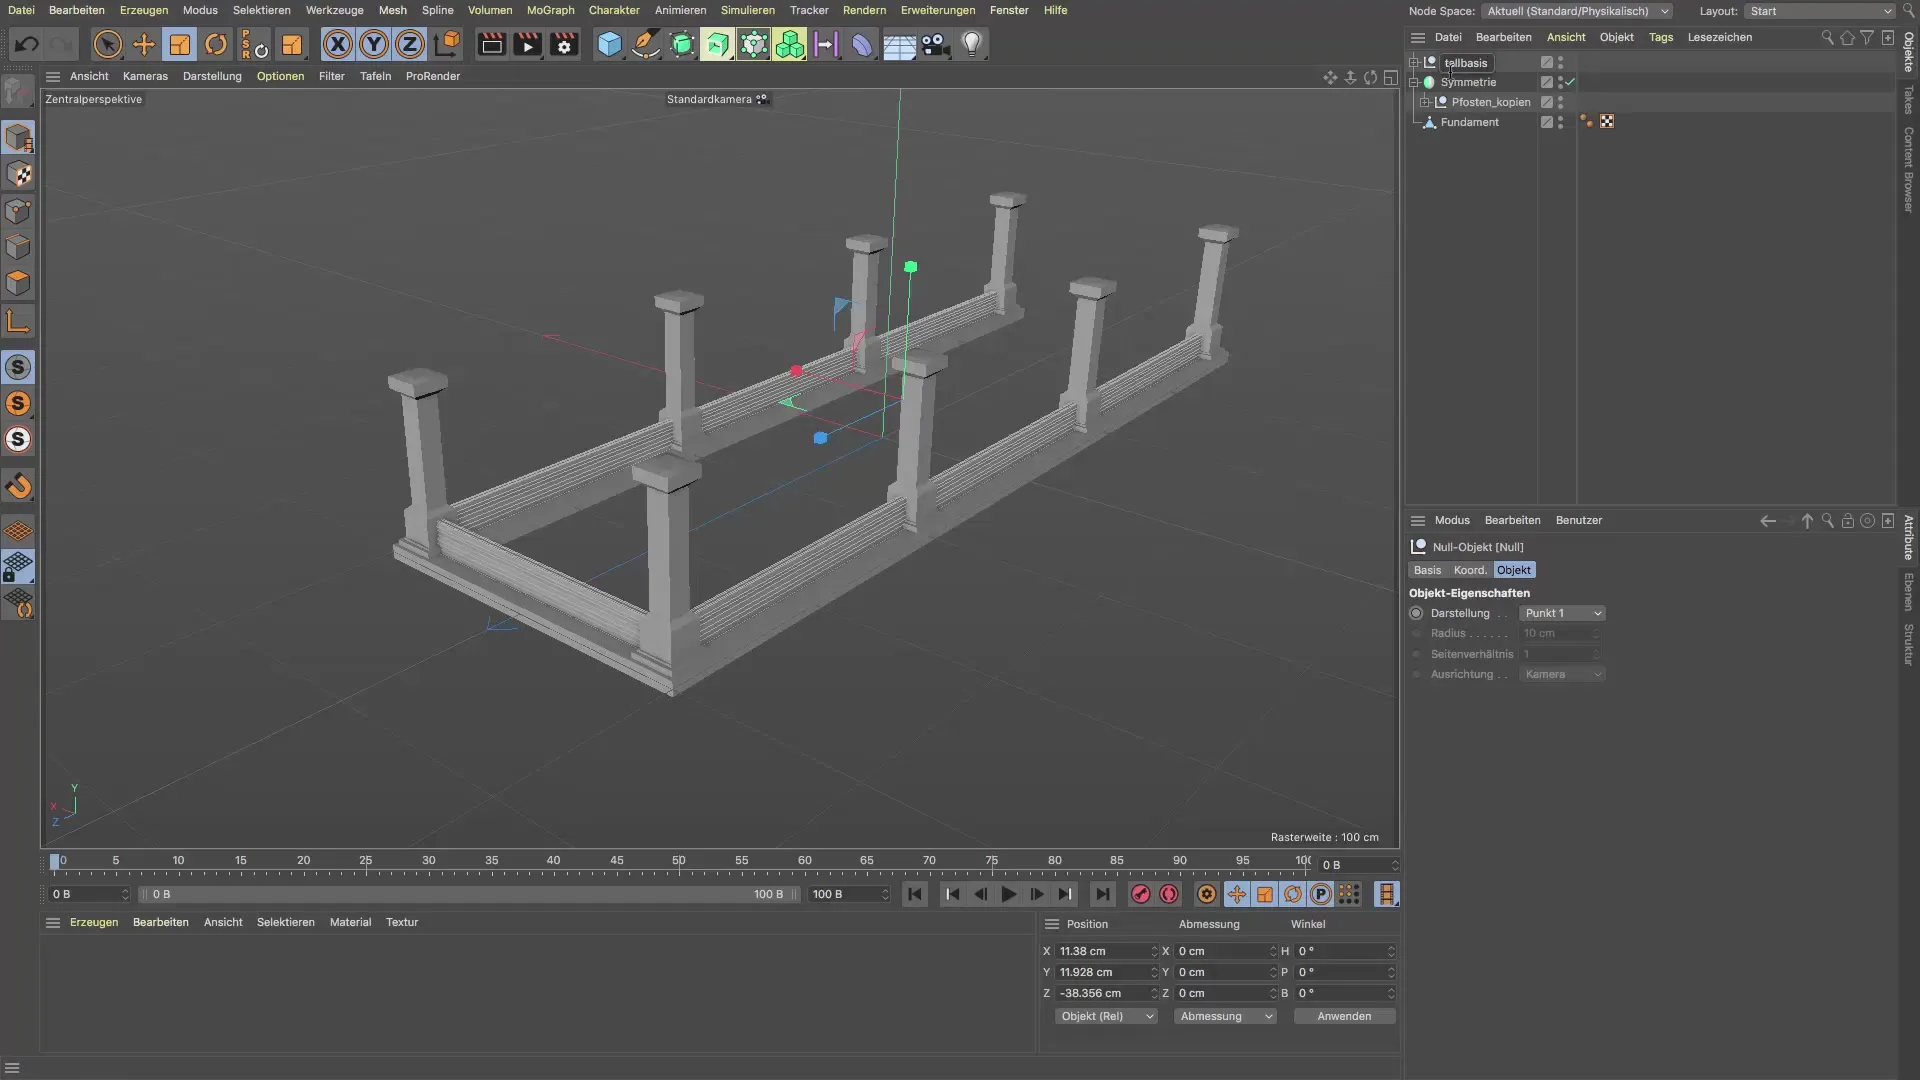
Finally, it is important to group all parts into a null object. Hold down the Shift key and select the metal base and the rest of the instances at the top. Press Alt+G (or the equivalent on your PC) and name the null object "Metal Base" as well, to maintain clarity in your project.
Summary - Step-by-Step Guide to Creating a Metal Base in Cinema 4D
In this guide, you learned how to create a metal base in Cinema 4D by efficiently using render instances and manually adjusting your objects. With this method, you not only optimized memory usage but also worked much more flexibly in your design.
Frequently Asked Questions
What are render instances in Cinema 4D?Render instances are lightweight copies of objects that take up very little space in memory and automatically adjust to changes in the original object.
How do I create a render instance?Select your original object, go to the SDS settings, and choose "Render Instance" from the menu.
Why is the move tool better than the extrusion tool?The move tool allows for more precise control over the positioning of objects, while the extrusion tool can cause unintended changes.
Do I always need to hold the control key to copy instances?Yes, holding the control key allows you to copy an instance and easily change its position without creating a new object.
How do I effectively analyze the position of my elements?Use object edit mode to position elements accurately and avoid misplacements.
