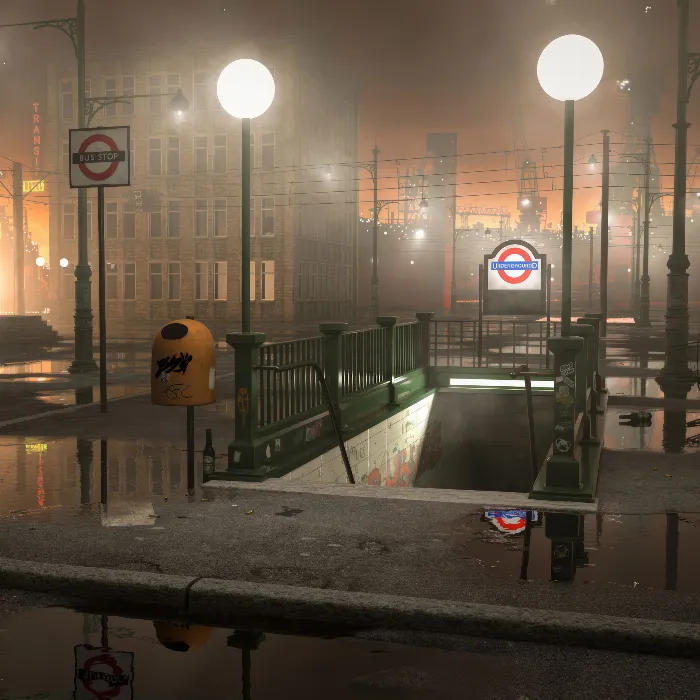
When creating 3D scenes, it is crucial to choose the right materials and structures. This guide demonstrates how to create a convincing street scene in Cinema 4D. We focus on laying out the street and separating the front and back sections for effective texturing.
Key insights:
- Using layers to create the street helps achieve realistic and non-patterned texturing.
- By duplicating and adjusting the layers, you can create optimized geometry that looks appealing and is easy to edit.
Step-by-Step Guide
First, you will create the basic structure of your street. Instead of simply using a ground element, you create a layer. This decision is important, as ground elements in Cinema 4D are limited in their editability.
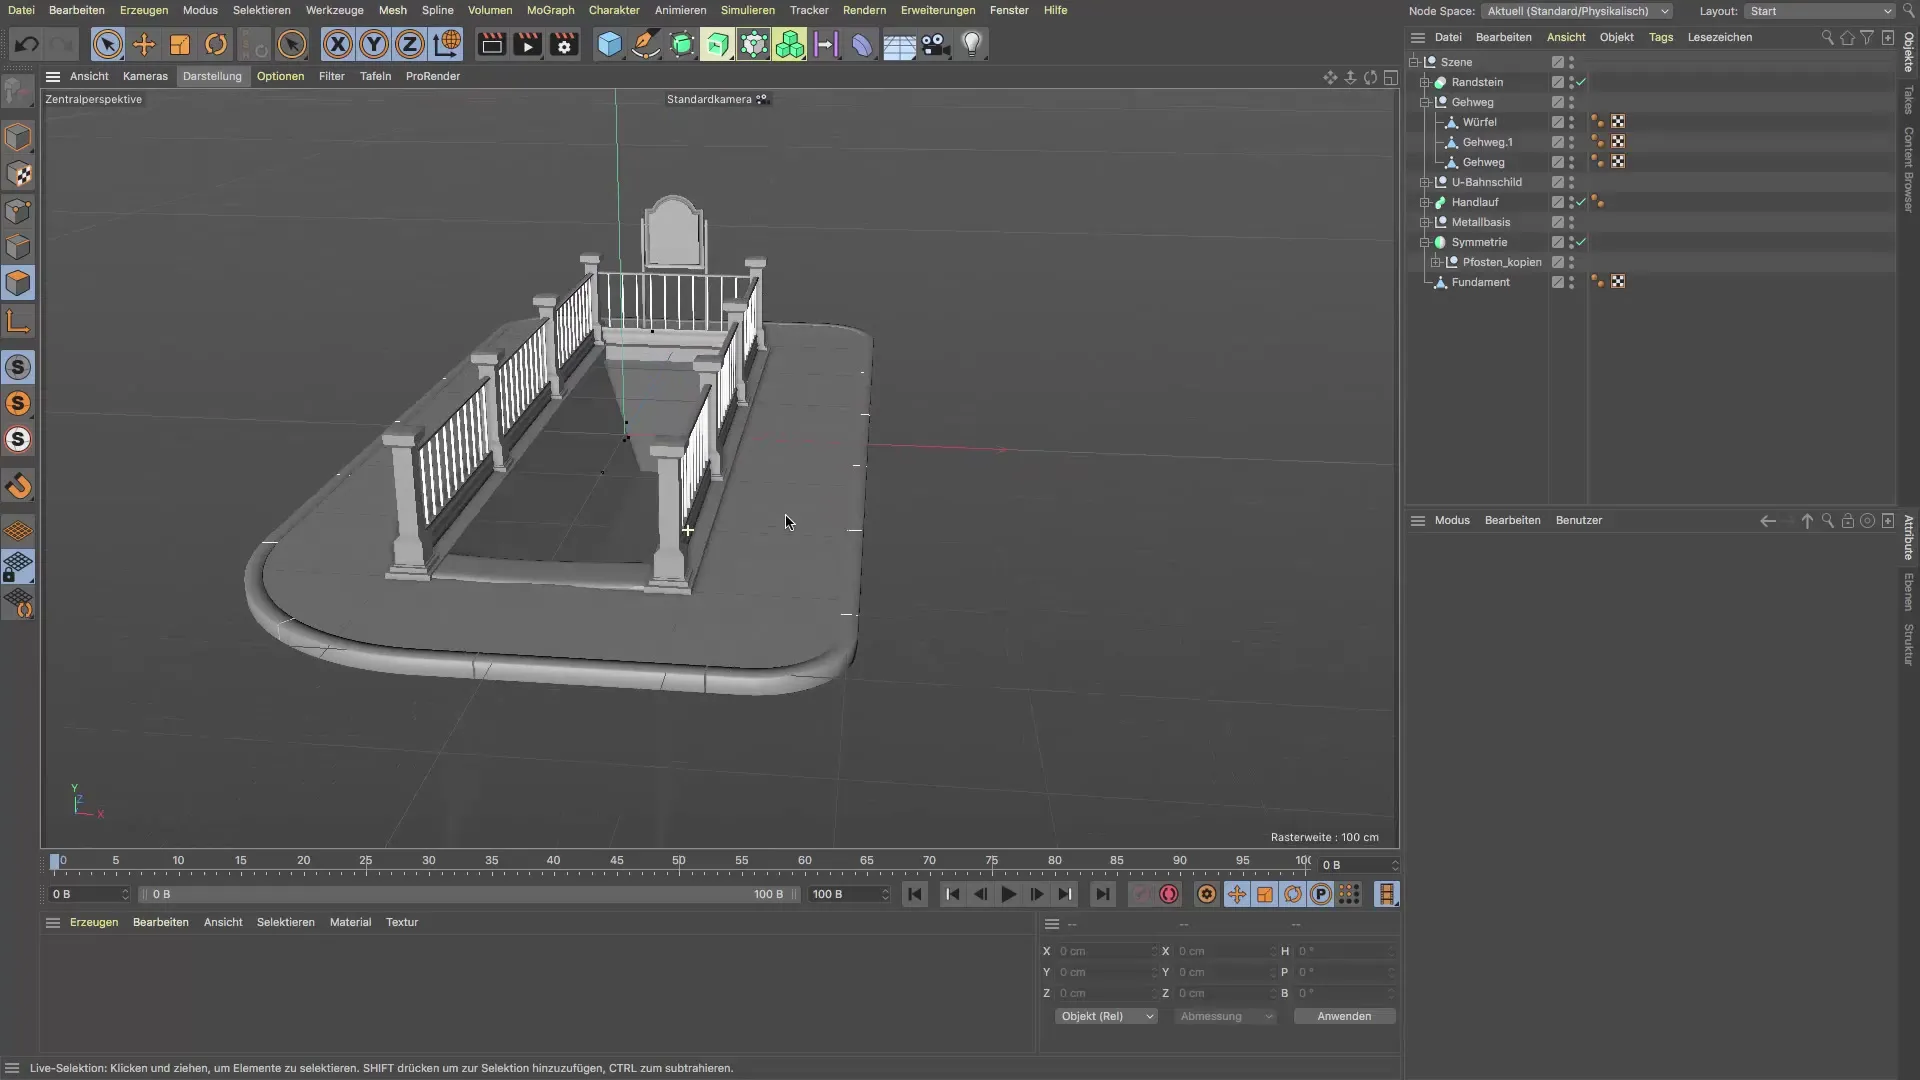
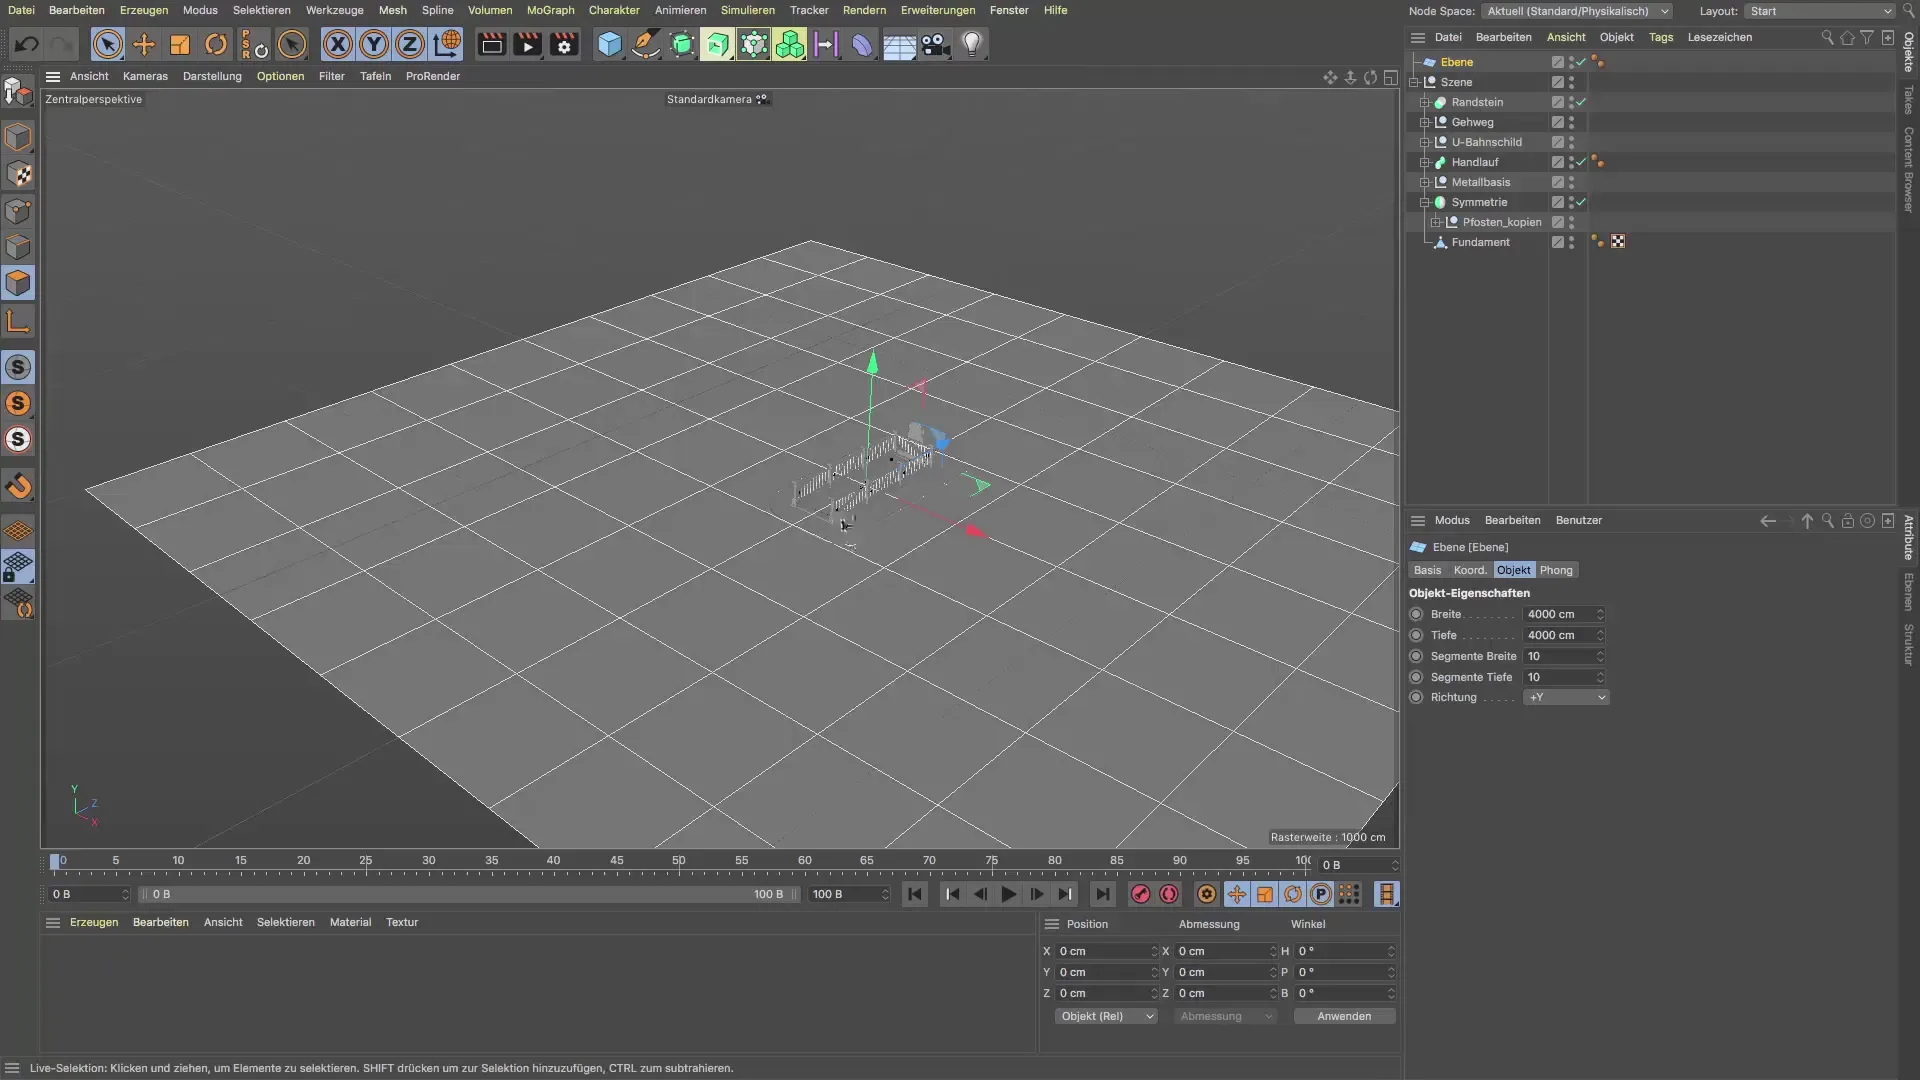
Select a single layer and resize it to 4000 x 4000 cm – that corresponds to 40 x 40 meters. This dimension provides enough space in your scene.
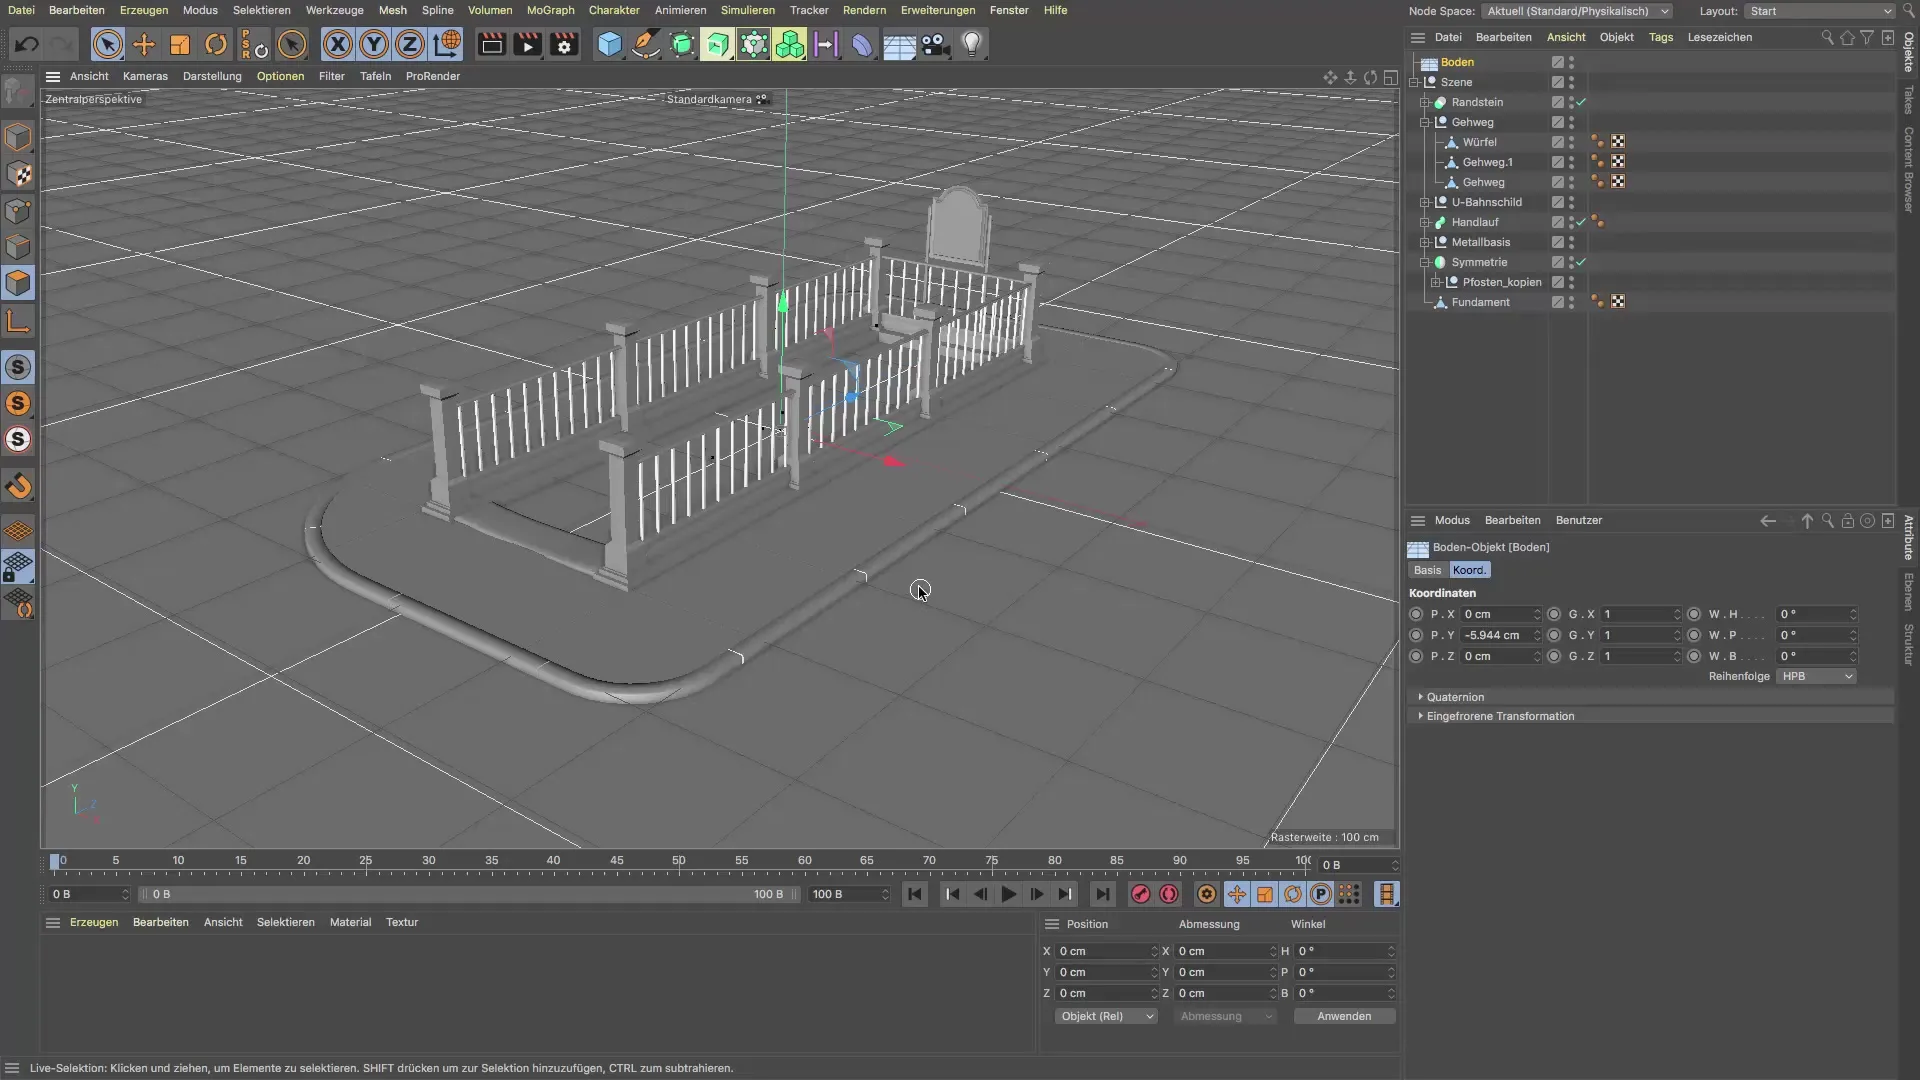
Now you will set up a test camera. It doesn’t have to be perfectly set up, but it should give you an early idea of what your scene will look like. Move the camera so that it roughly has the target object in view.
To have more control, you can duplicate the layer you just created. Move the duplicate forward. In the coordinates, adjust the Z-axis to 4000 cm, so that the layers align precisely.
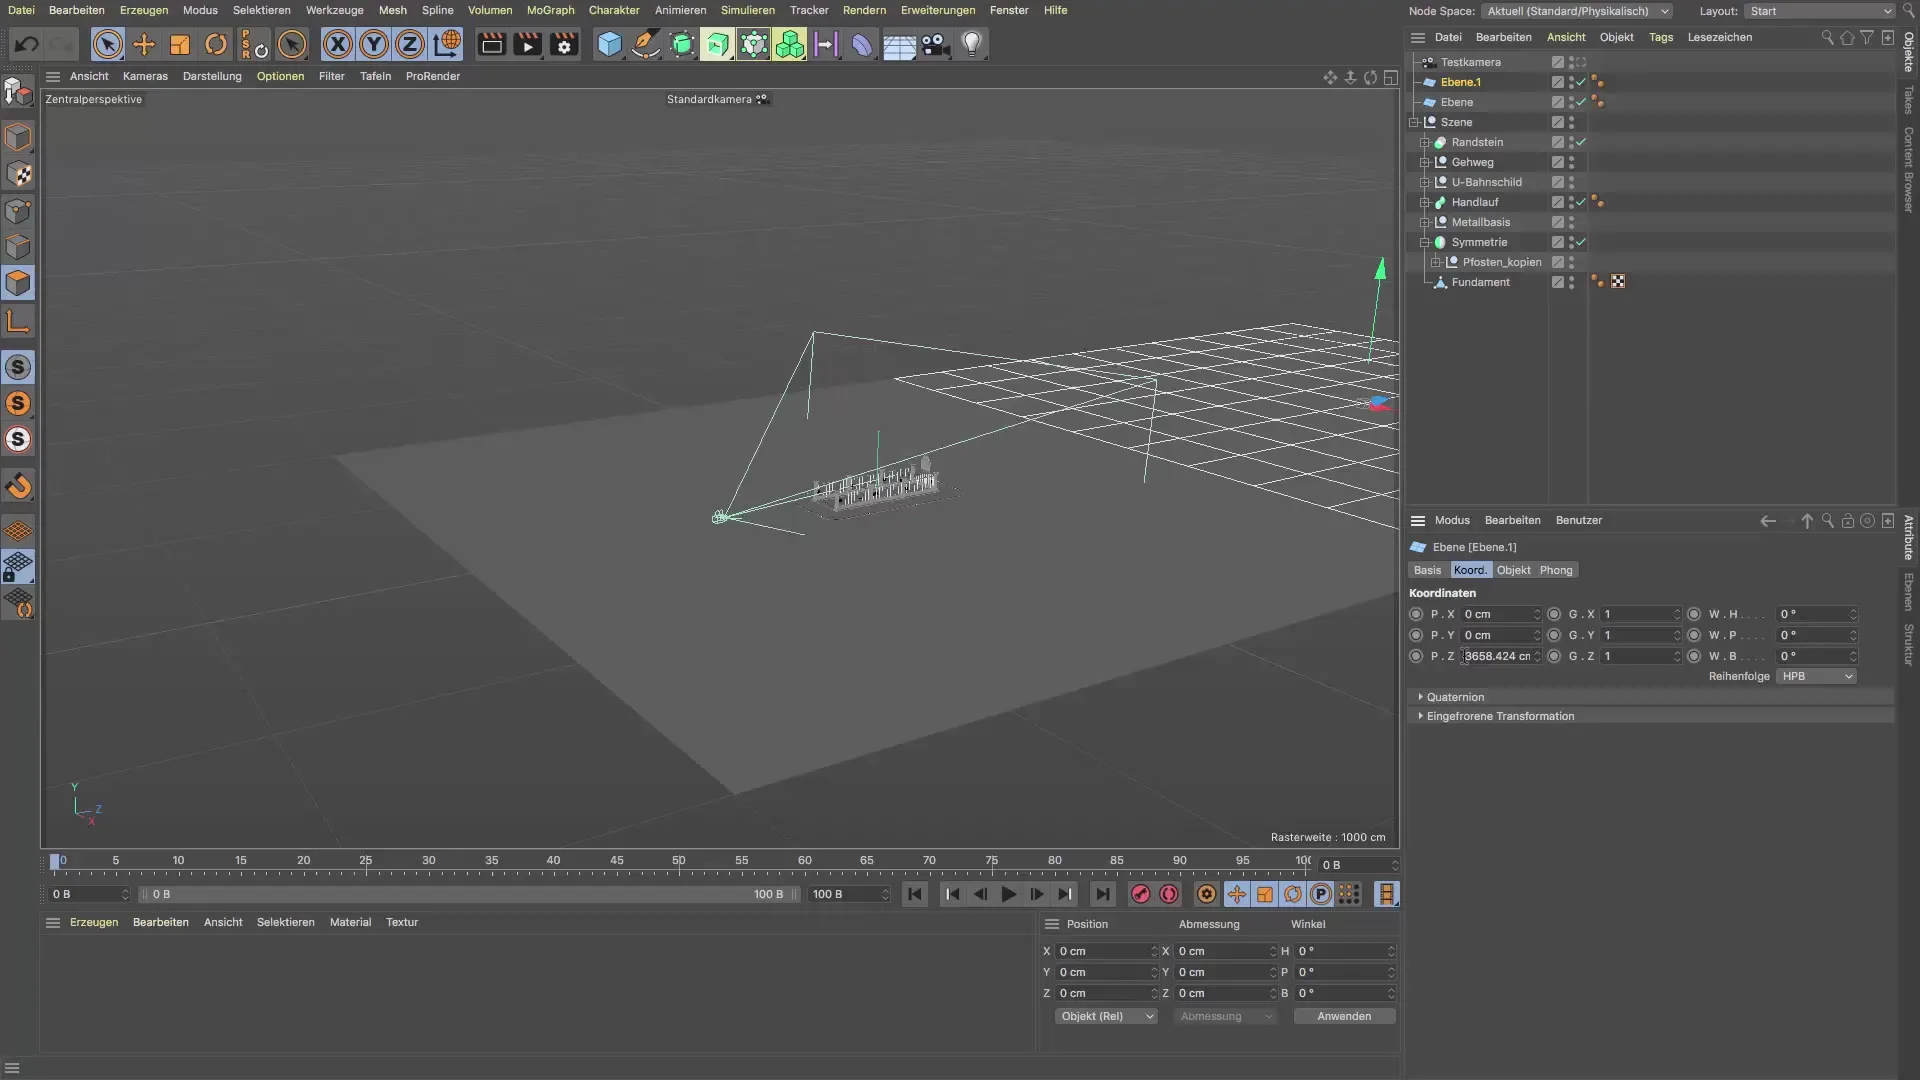
Now it’s time to set the height of the street correctly. It should be arranged to align with the curbs. This ensures that the entire scene looks realistic.
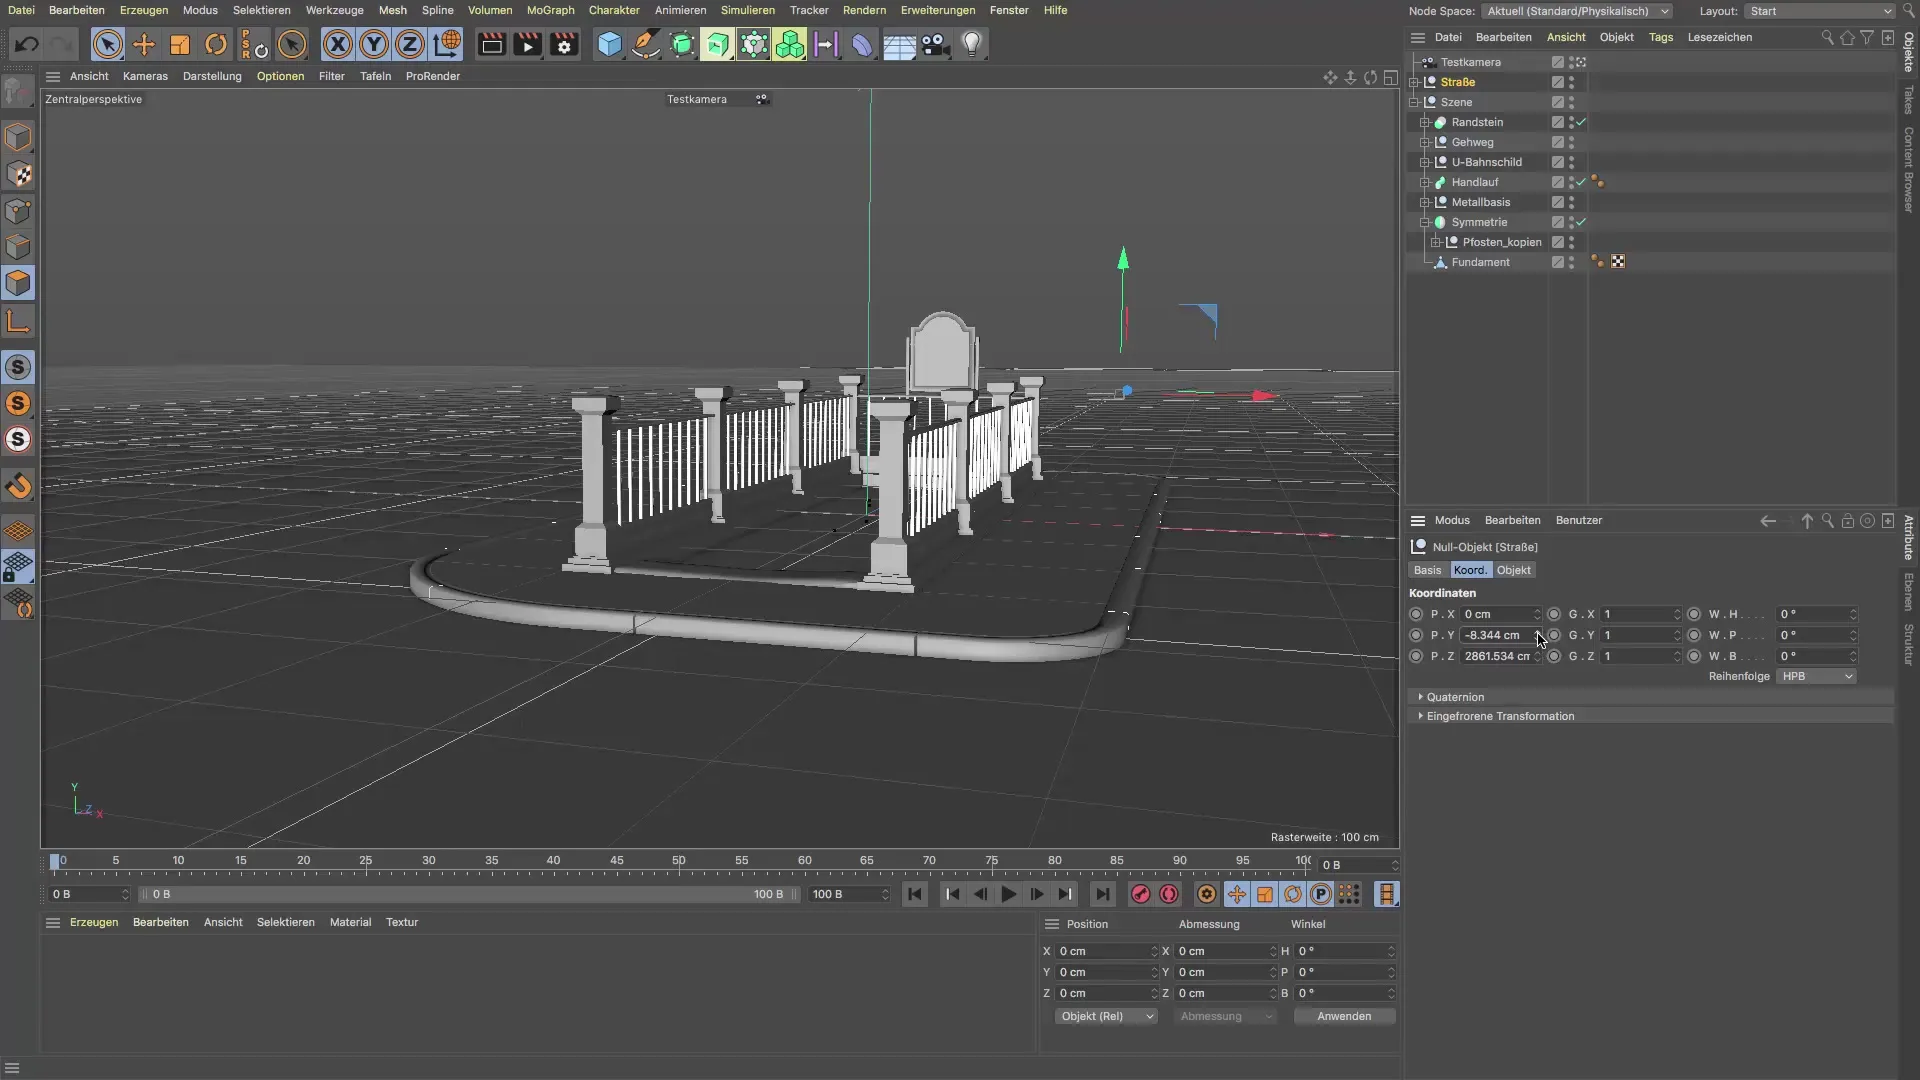
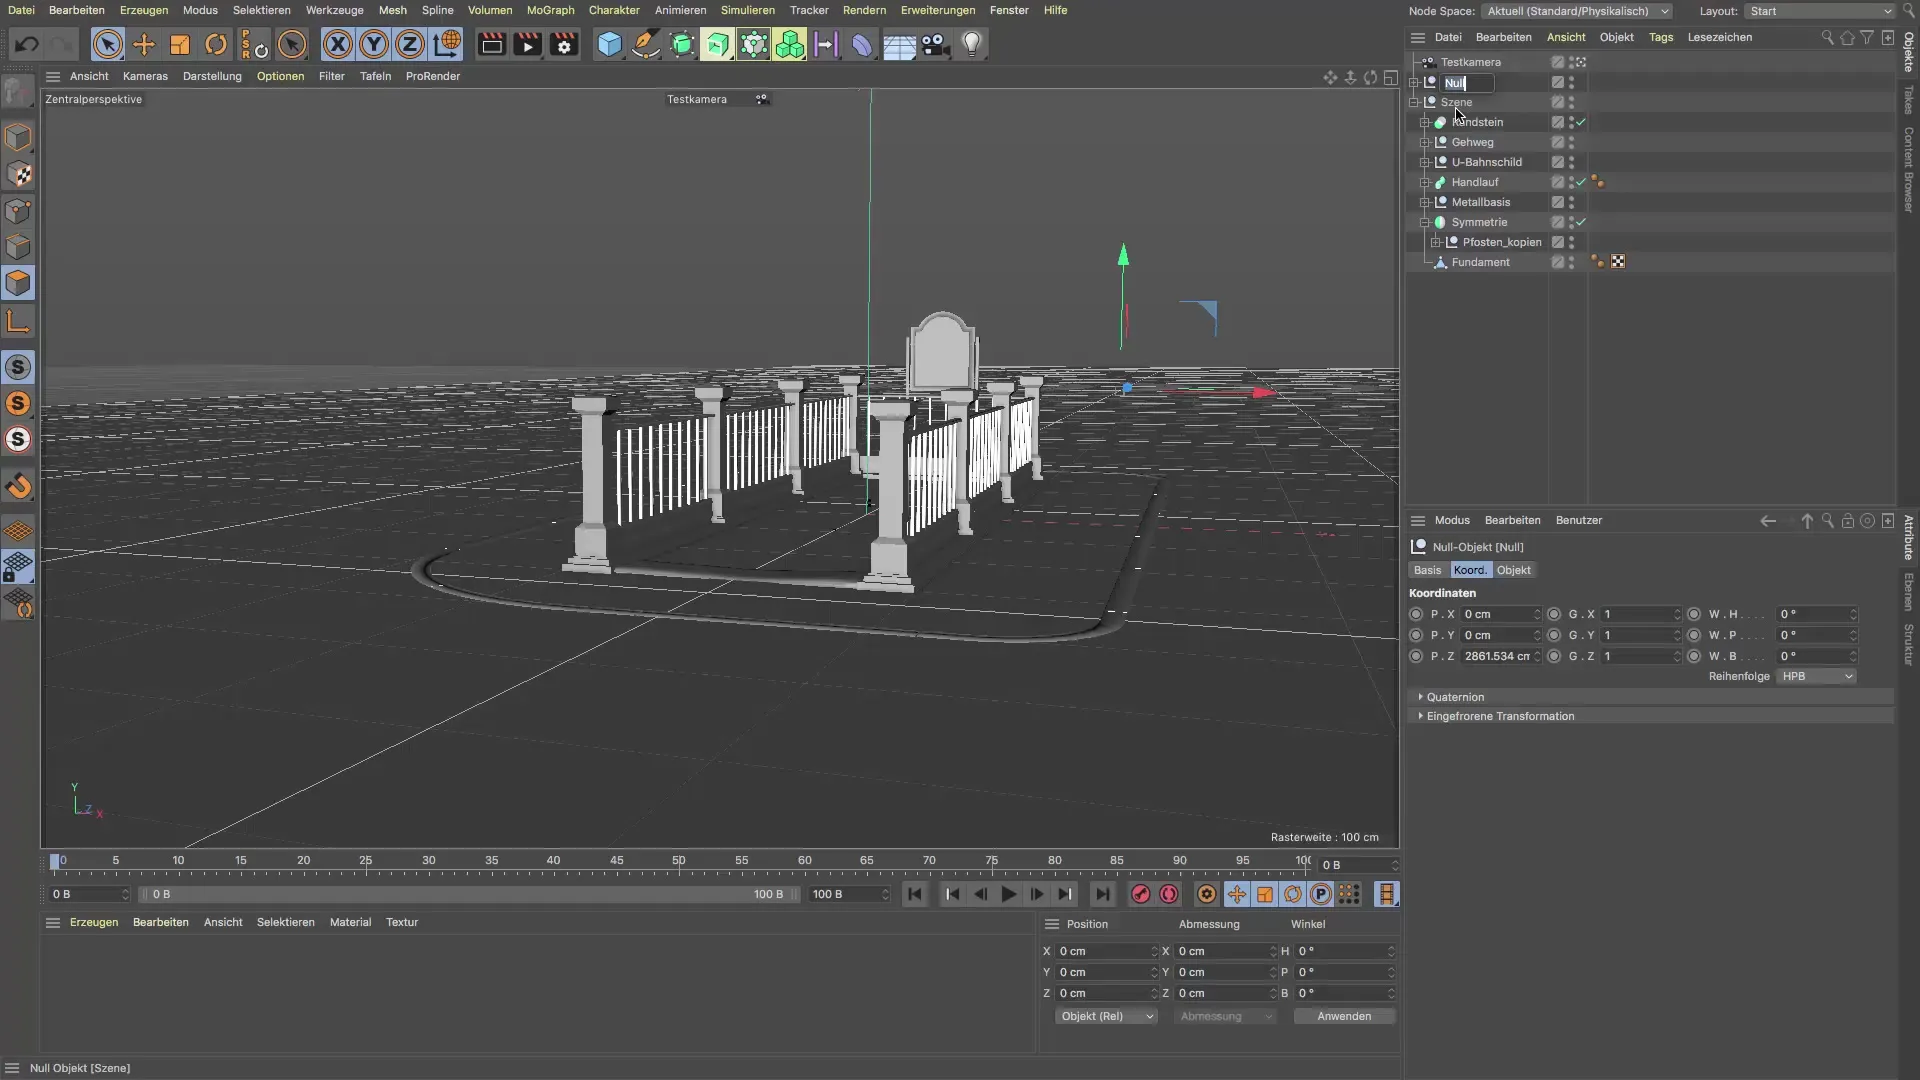
If everything looks good, you can consolidate both layers by grouping and renaming them. This helps you maintain clarity in your scene.
However, you will notice that the street quickly gets covered by the subway. This is not a problem, as you can edit the bottom edge of the street layer by selecting some polygons and extruding them inward. This creates a hole for the subway entrance without disturbing the overall aesthetics.
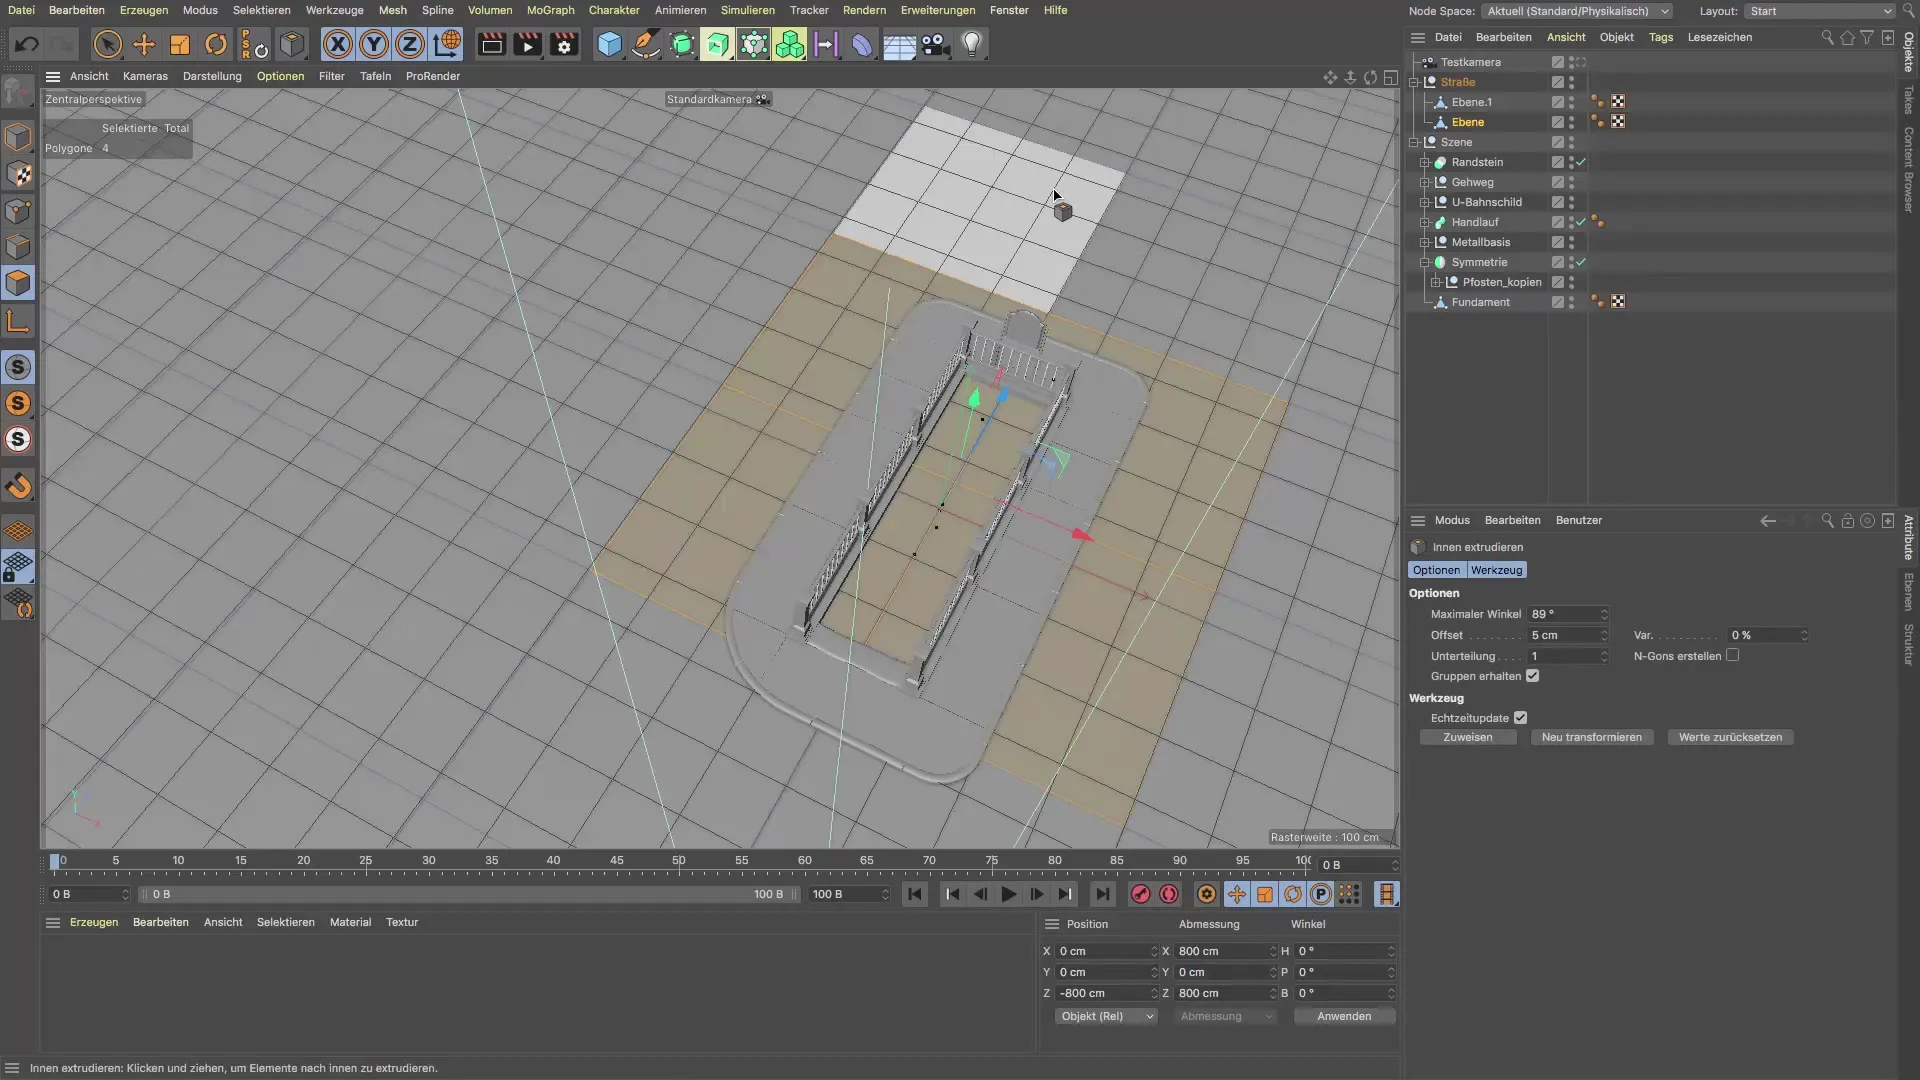
After adjusting the geometry, we use the move tool to ensure everything is accurately in place. With the scale key T, you can adjust the width of the extruded area.

Now you should have an appealing cityscape in view. From this perspective, it looks very good.
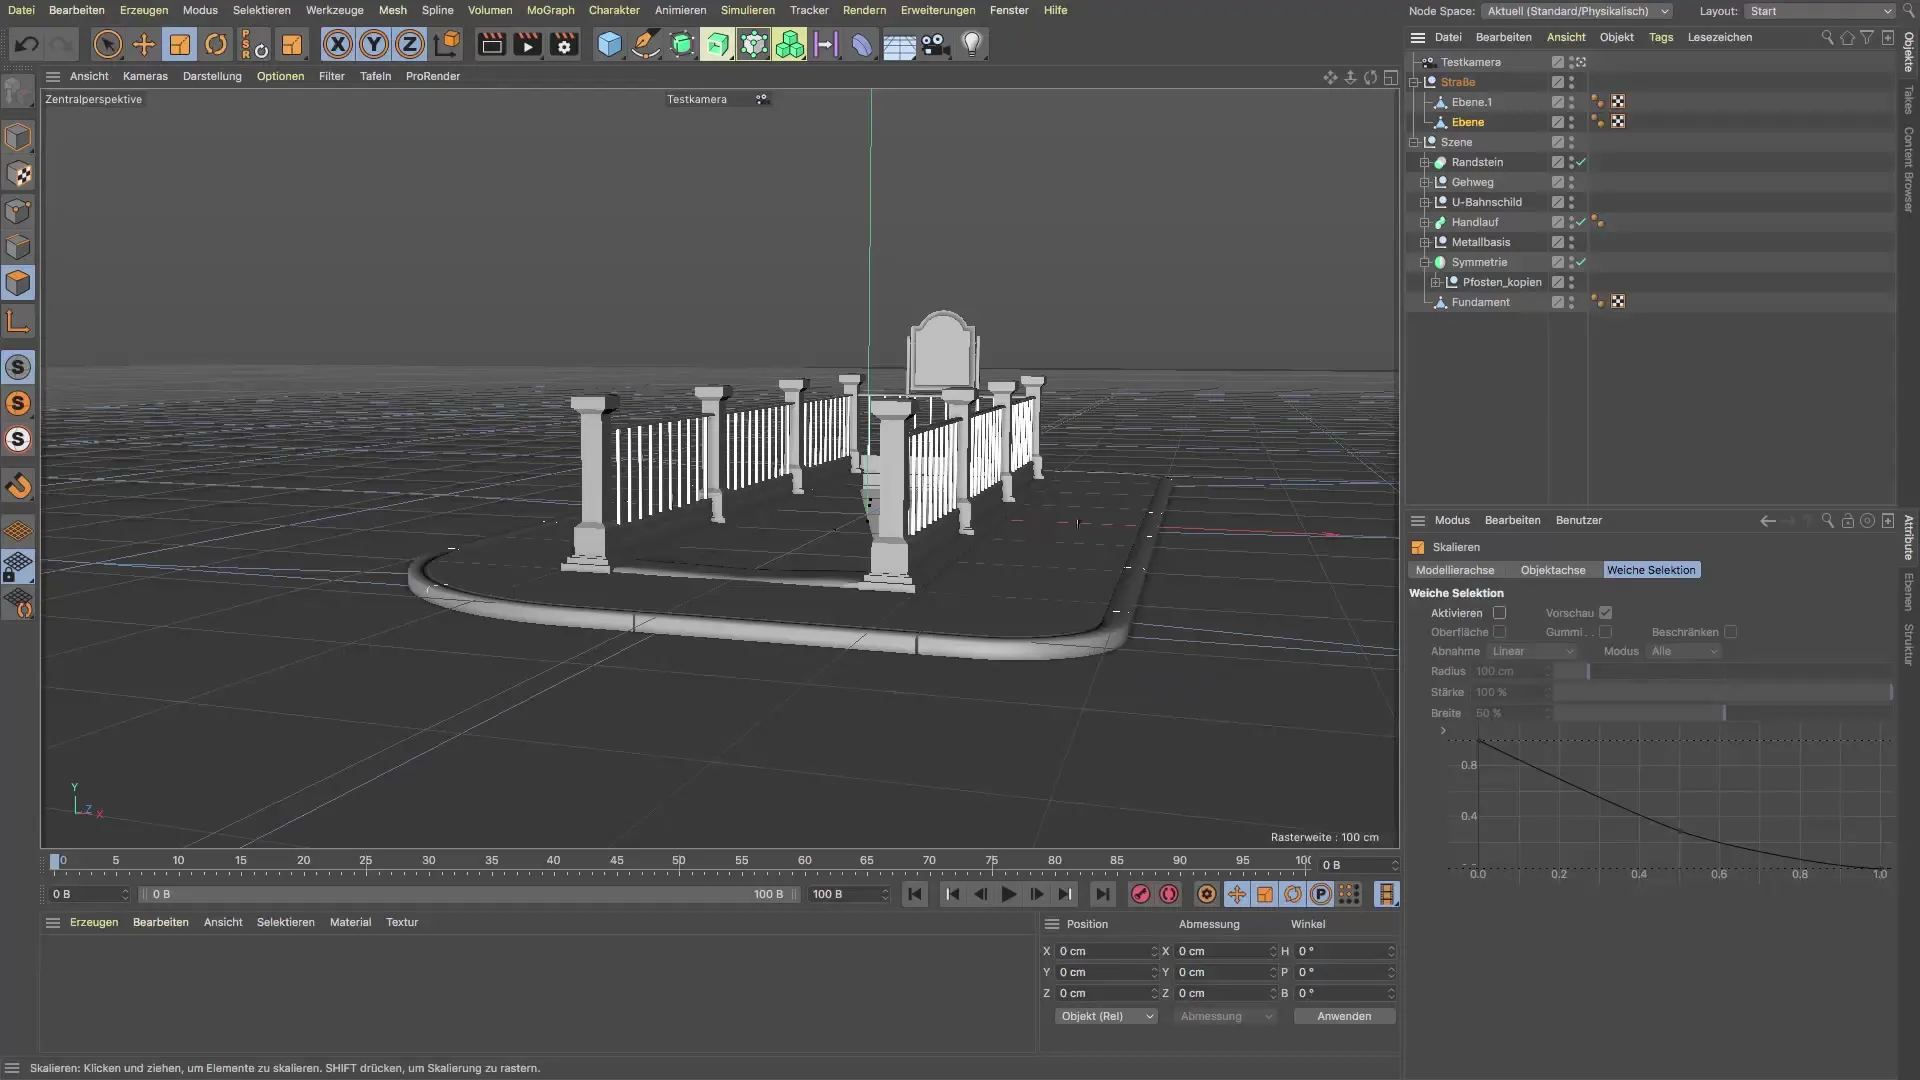
Before you continue and add more objects to the scene, take a moment to review your settings and the structure. This ensures you have an effective working environment for the upcoming steps.
Summary - Street in Cinema 4D: A Step-by-Step Guide
In this tutorial, you learned how to build a street scene in Cinema 4D by using layers to avoid texturing issues. We also addressed geometry modification to integrate your subway entrance.
Frequently Asked Questions
Where can I find the layers in Cinema 4D?You can find the layers in the object area of your program.
How can I adjust the dimensions of the layer?Select the layer and go to the Attribute Manager to change the dimensions.
Can I adjust the height of the street later?Yes, you can adjust the height at any time by selecting and moving it.
What is the optimal number of polygons for the street?400 polygons are a good starting point to ensure detail accuracy.
What is the purpose of the test camera?The test camera helps you get an overview of the scene without having to constantly adjust the perspective manually.
