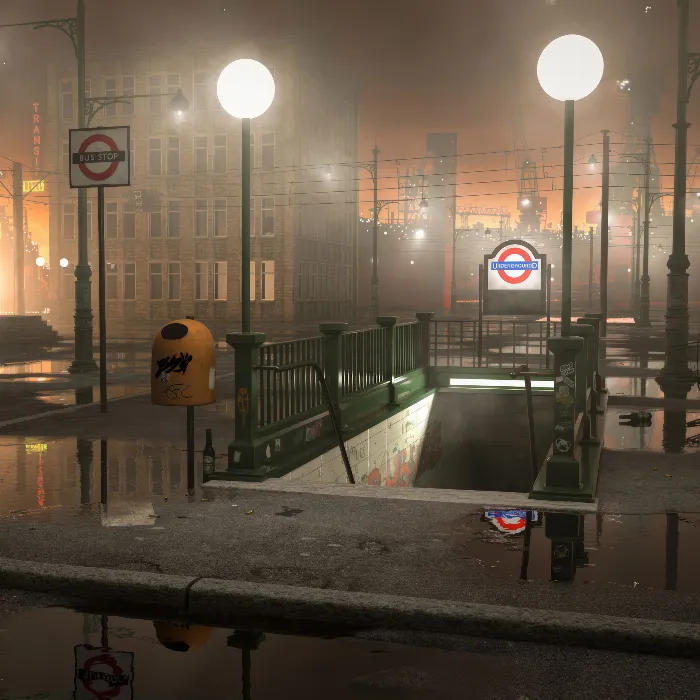
Creative projects in the field of 3D graphics can open up a fascinating world. In this Tutorial, I will show you how to model, texture, and light a U-bahn station in Cinema 4D. You will learn how to create a complex urban scene, equip it with realistic materials, and finally render it. Let's get started with the first step!
Key Insights
- You will learn the basics of creating a subway station.
- You will become familiar with lighting and texturing.
- You will learn how to edit your final result in Photoshop.
Step-by-Step Instructions
First of all, when you open your project in Cinema 4D, take a look at the scene we will create. We will start by building the subway station. To get an overview, you can look at the initial structure and layout of the model.
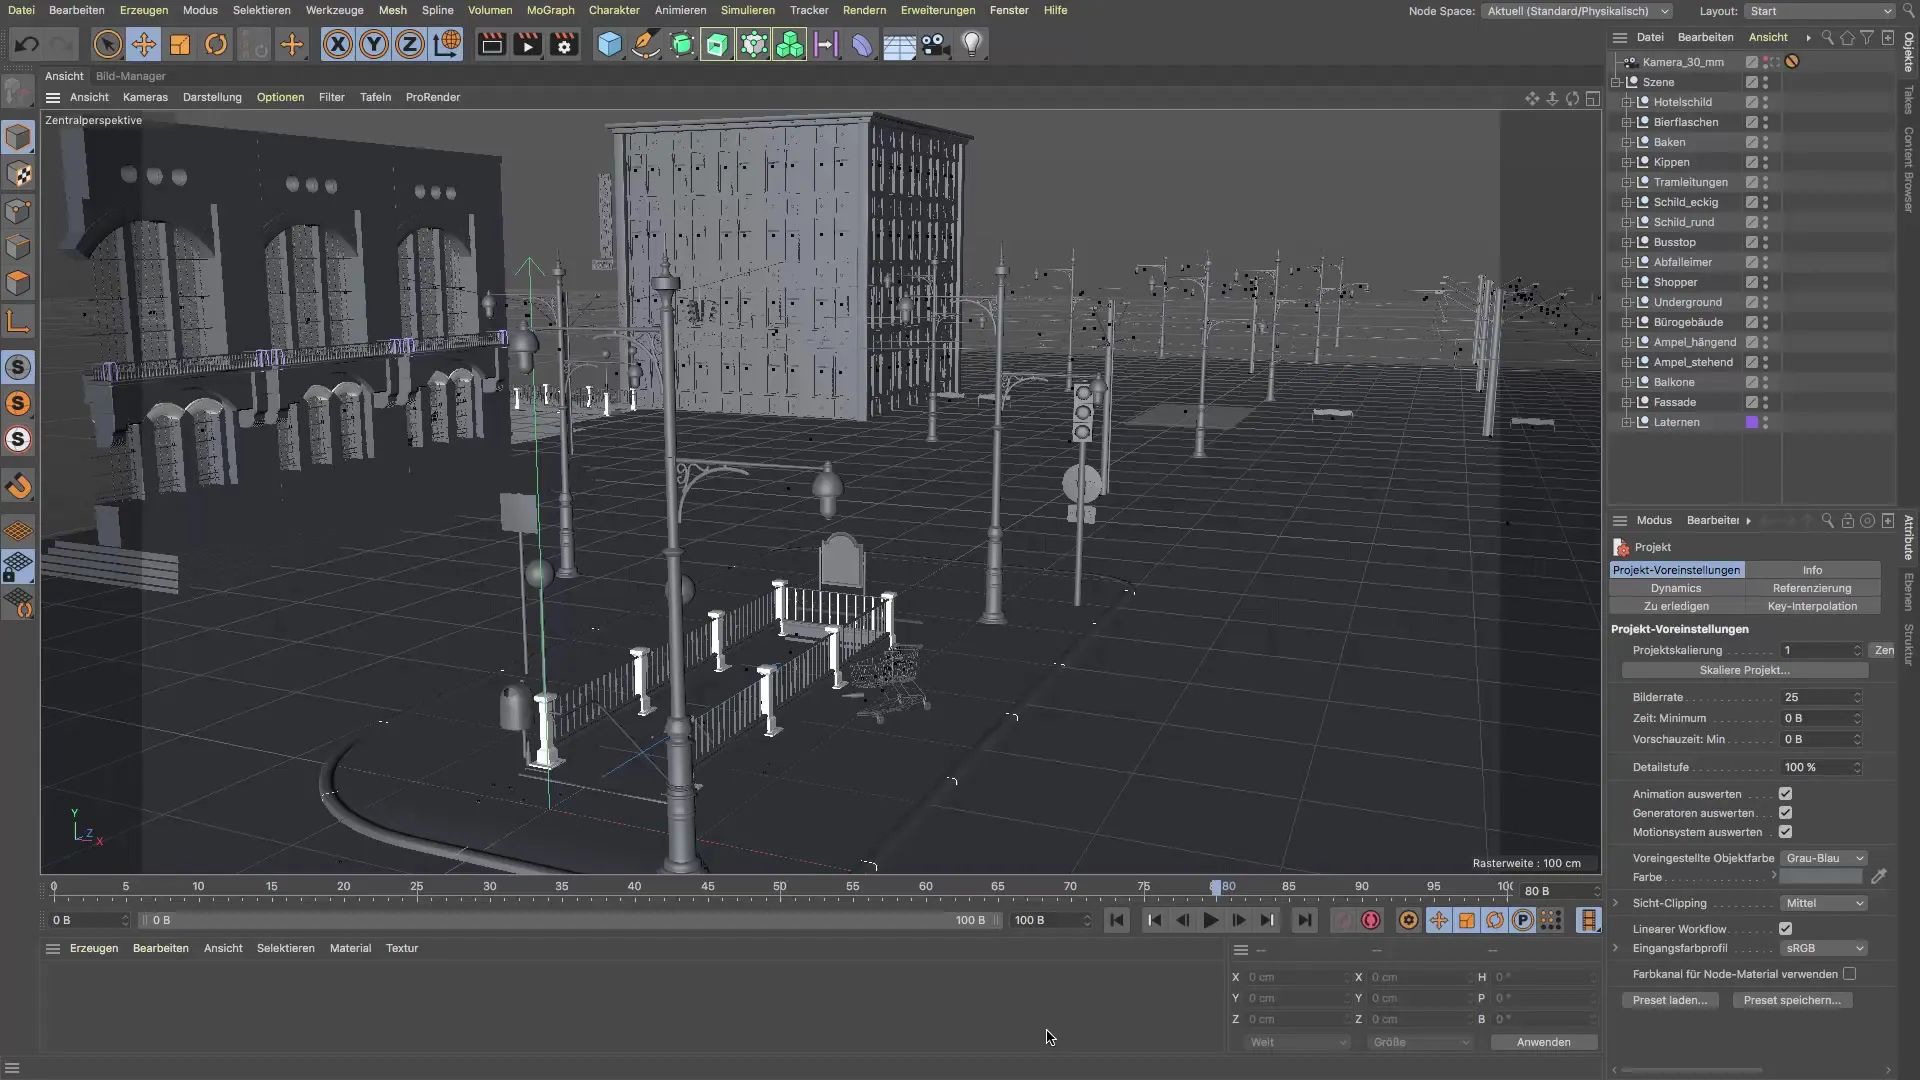
To recreate the scene, it is important to consider various elements. These include lamps, signs, and other objects that shape the overall picture. These models will be available as untextured templates in the project files. You have the freedom to arrange them as you wish or you can strictly follow the steps in the training.
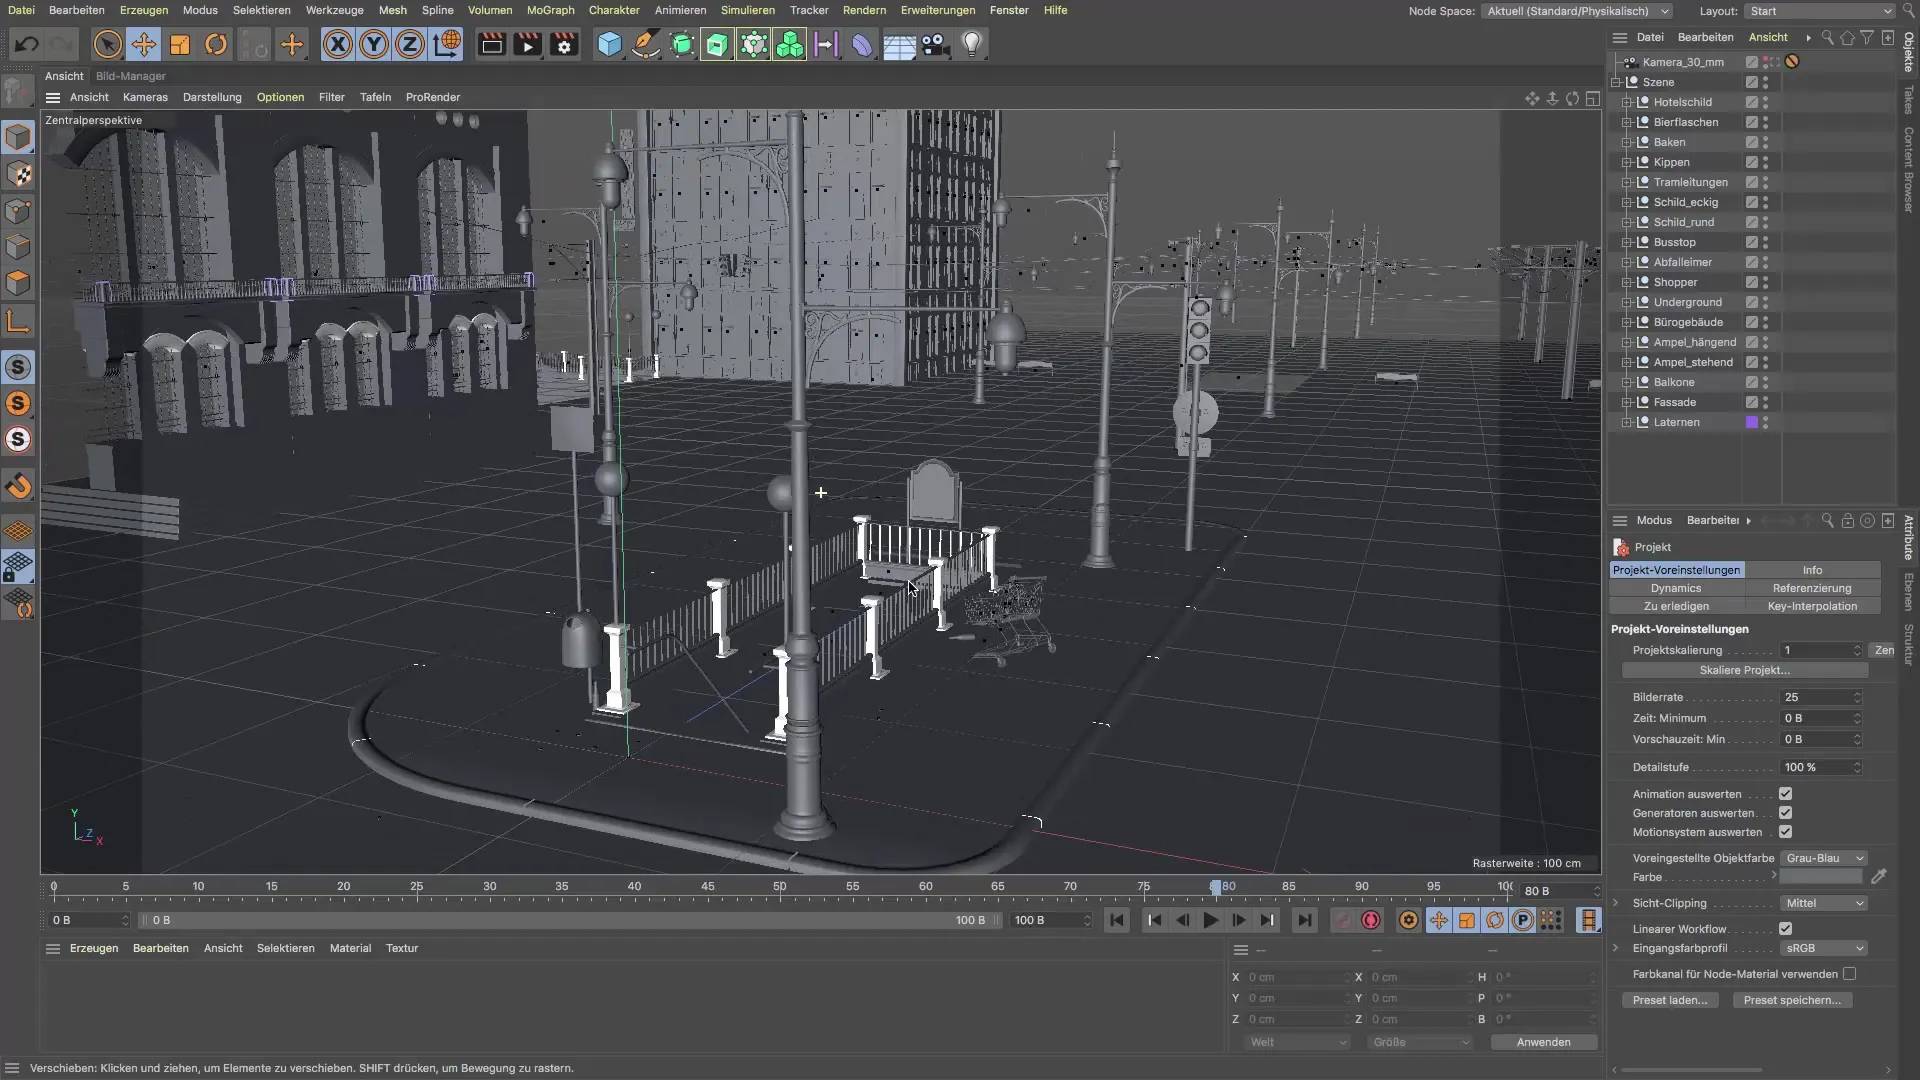
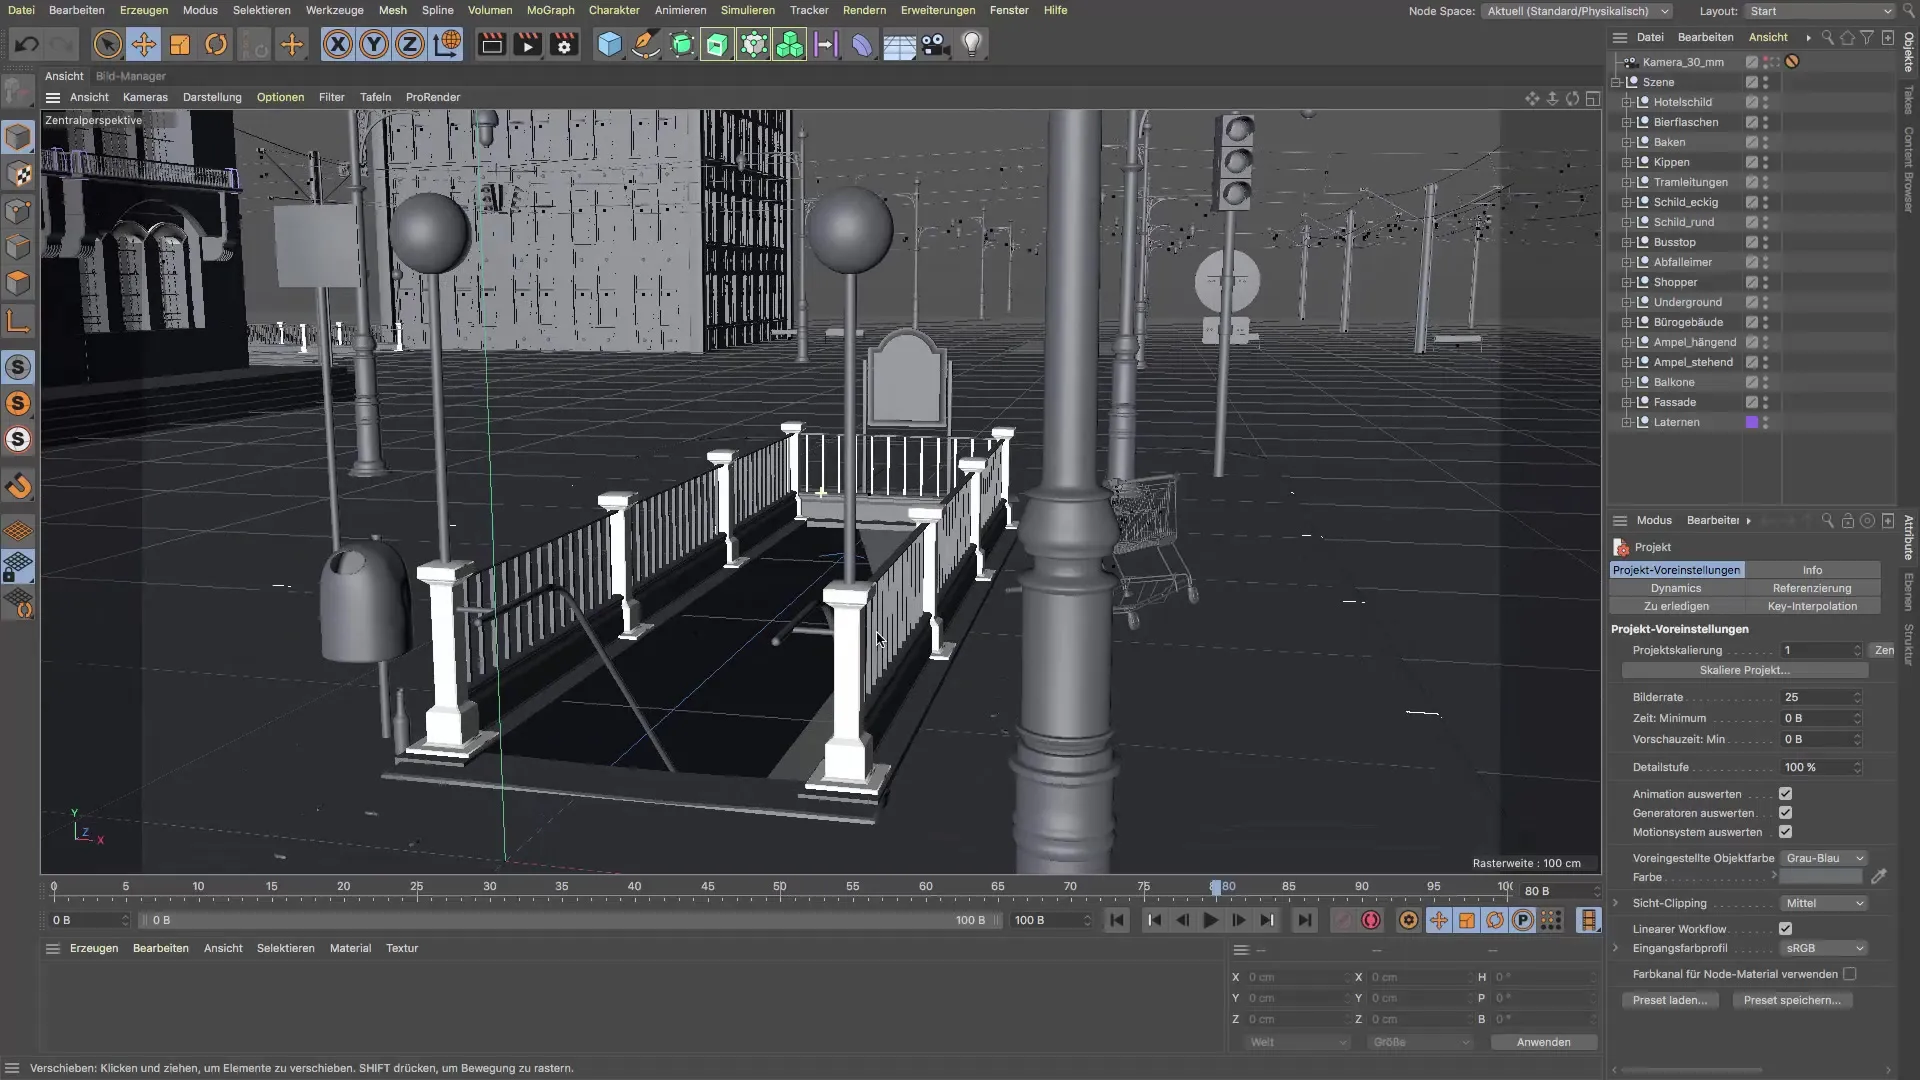
Once you have set up the basic structure, we will address the perspective. It is important to choose an effective perspective that showcases the subway station well. You can position the camera to give you the best overall view of your work.
Now that we have established the perspective, it's time to add the lighting and textures. You will see the changes that lighting can bring to your scene. Our example configuration shows how the scene might look when we have not yet made any further adjustments.
With a targeted use of light and shadow, we can significantly enhance the character of the subway station. In the next steps, we will learn how to use different light sources to influence the atmosphere of the scene.
After we have worked on the basic texturing, the focus will be on specific materials such as asphalt and granite. These textures will give your scene depth and realism. We will also learn how to create puddles of asphalt to enhance the urban look.
Once we have fully applied the textures, we will move on to the final lighting setup. This is a critical step to make the entire scene appear lively. After the lighting setup, you will see that the image is much more dynamic and the details are better visible.
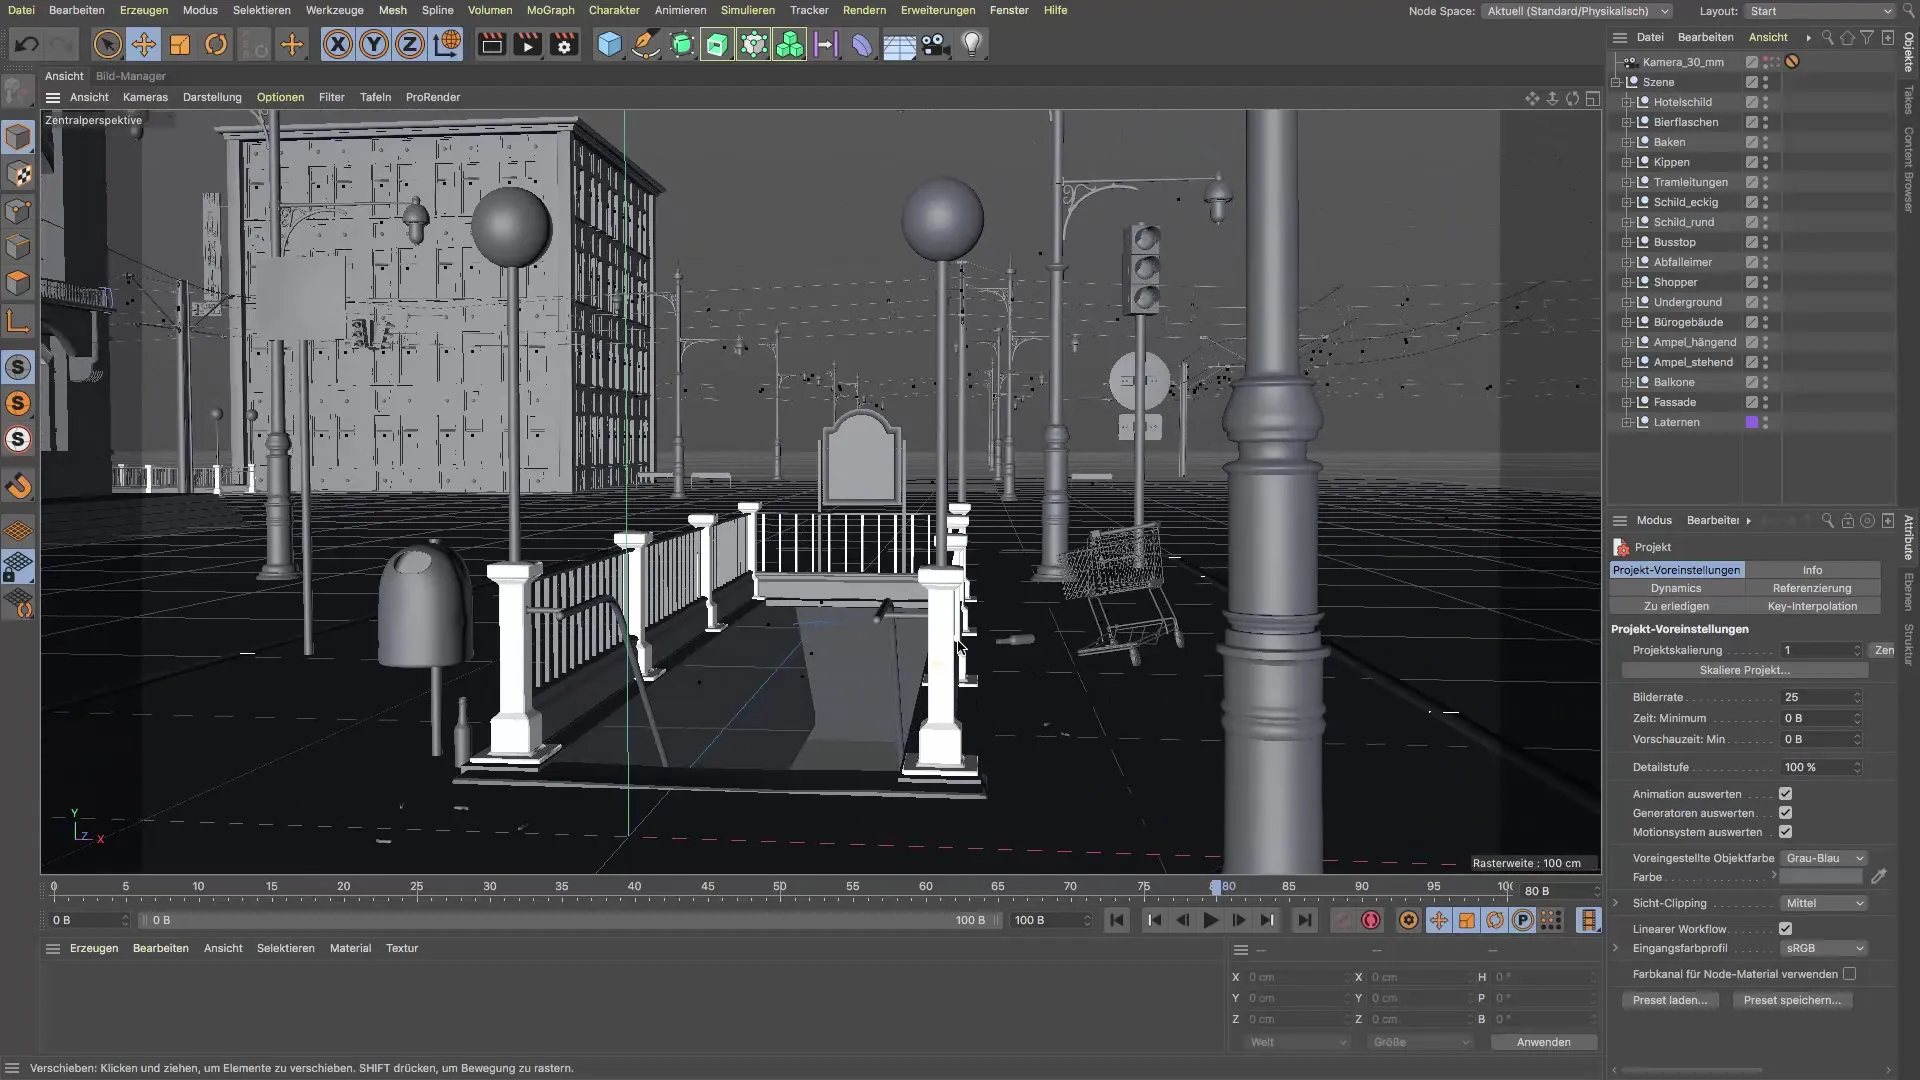
In the final step, we will edit the scene in Photoshop. Here you can make final adjustments, edit lights, and add a special look. The possibilities here are nearly endless and allow you to get the most out of your work.
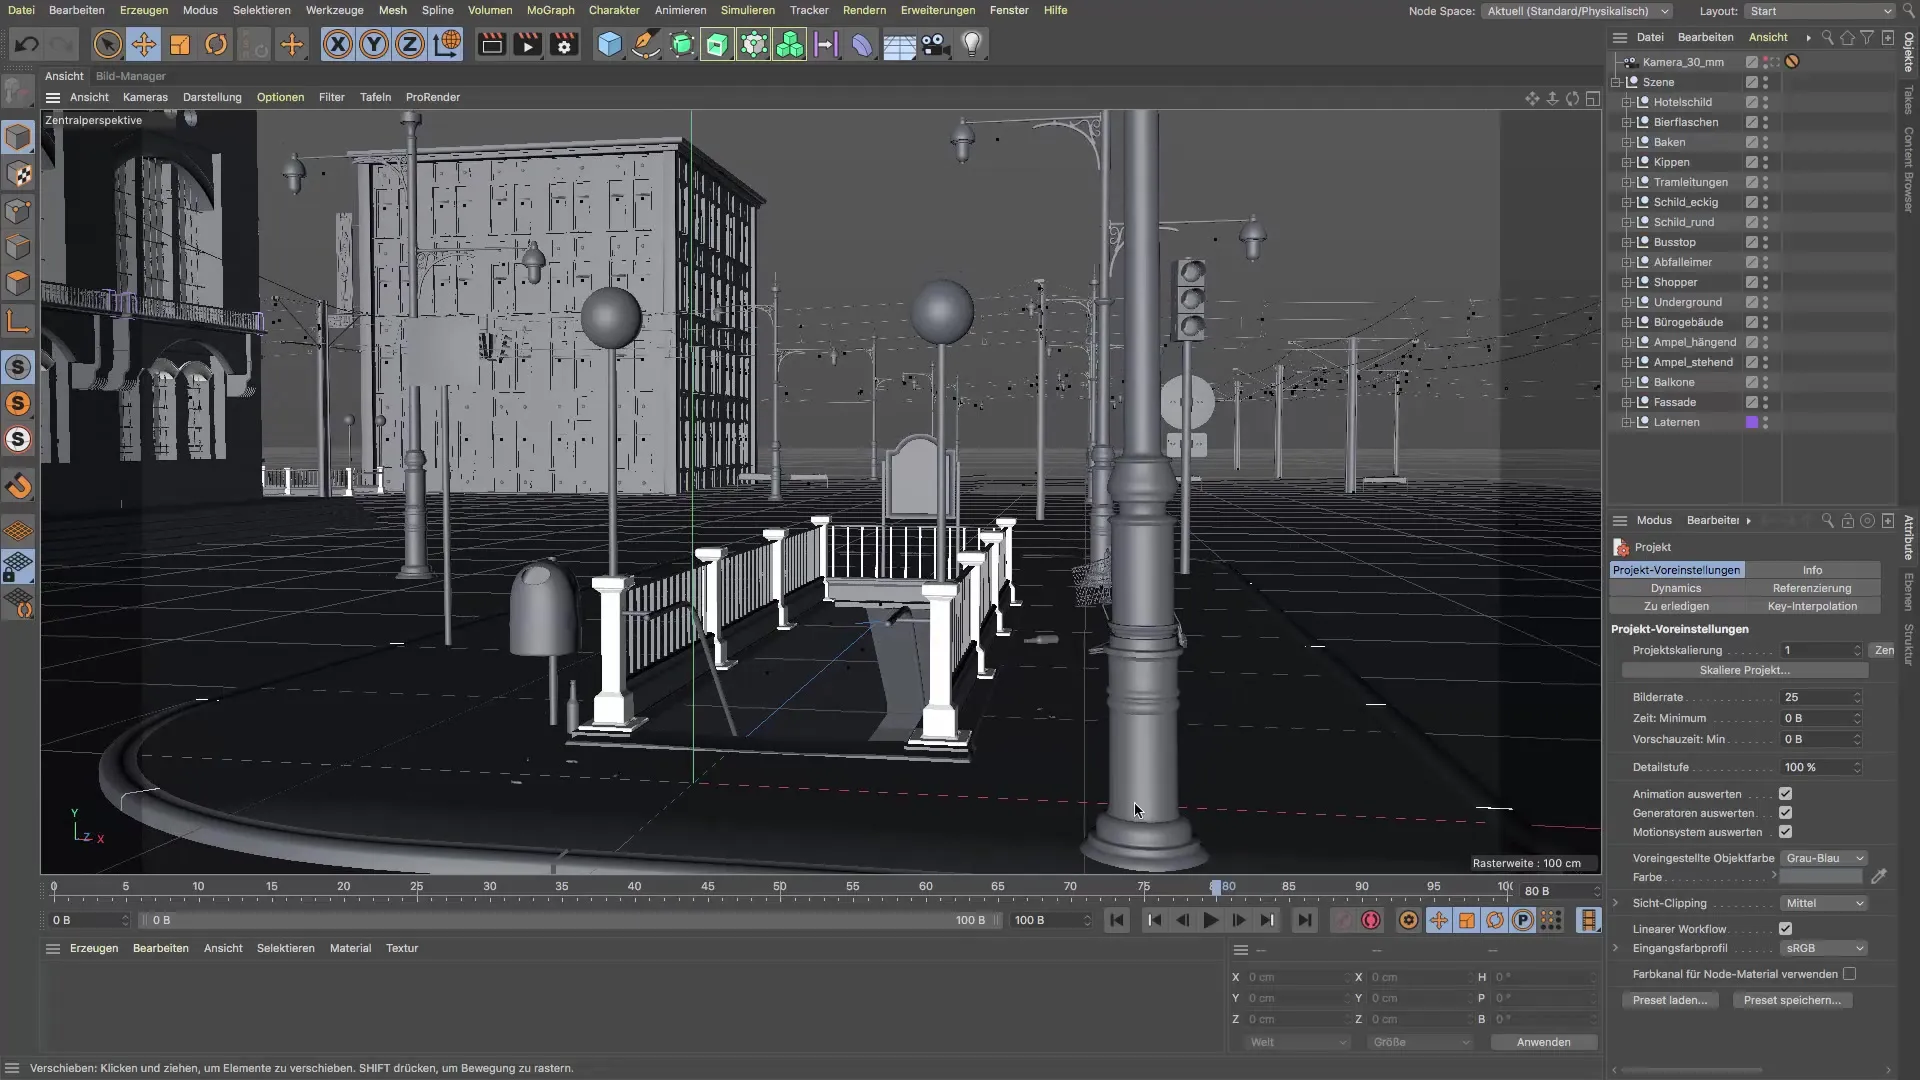
I hope you enjoy implementing and creating this scene. Your creative potential will surely be enhanced through the practical applications you learn in this training.
Summary - Cinema 4D Tutorial: Underground - Step-by-Step Guide to the Subway Station
In this guide, you learned the essential steps to create a subway station in Cinema 4D. From the basic layout to texturing and final editing in Photoshop, you will acquire all the necessary skills for your project.
Frequently Asked Questions
What is Cinema 4D?Cinema 4D is a professional 3D software that is often used for animation, modeling, and rendering.
Do I need any prior knowledge for this tutorial?Some basic knowledge of Cinema 4D is advantageous, but the tutorial is easy to follow.
Can I customize the models myself?Yes, you have the freedom to customize the models as you wish.
