In this tutorial, you will learn how to model walls for your virtual staircase in Cinema 4D. Walls are important to prevent the impression of simply looking into nothingness. We will create the walls by selecting and extruding edges. Start with the basics and follow the instructions step by step to enhance your 3D project.
Main insights
- Understand the importance of walls in 3D modeling.
- Use edges to create walls.
- Learn the extrusion process for resizing.
Step-by-step guide
You should have started your current project in Cinema 4D. First, you will focus on creating the walls.
First, we will pack everything into a null object. To do this, select everything you have modeled so far and press “Alt + G” to create a null object. It is best to name this null object “Scene” to keep everything organized. This allows you to manage the different elements easily.
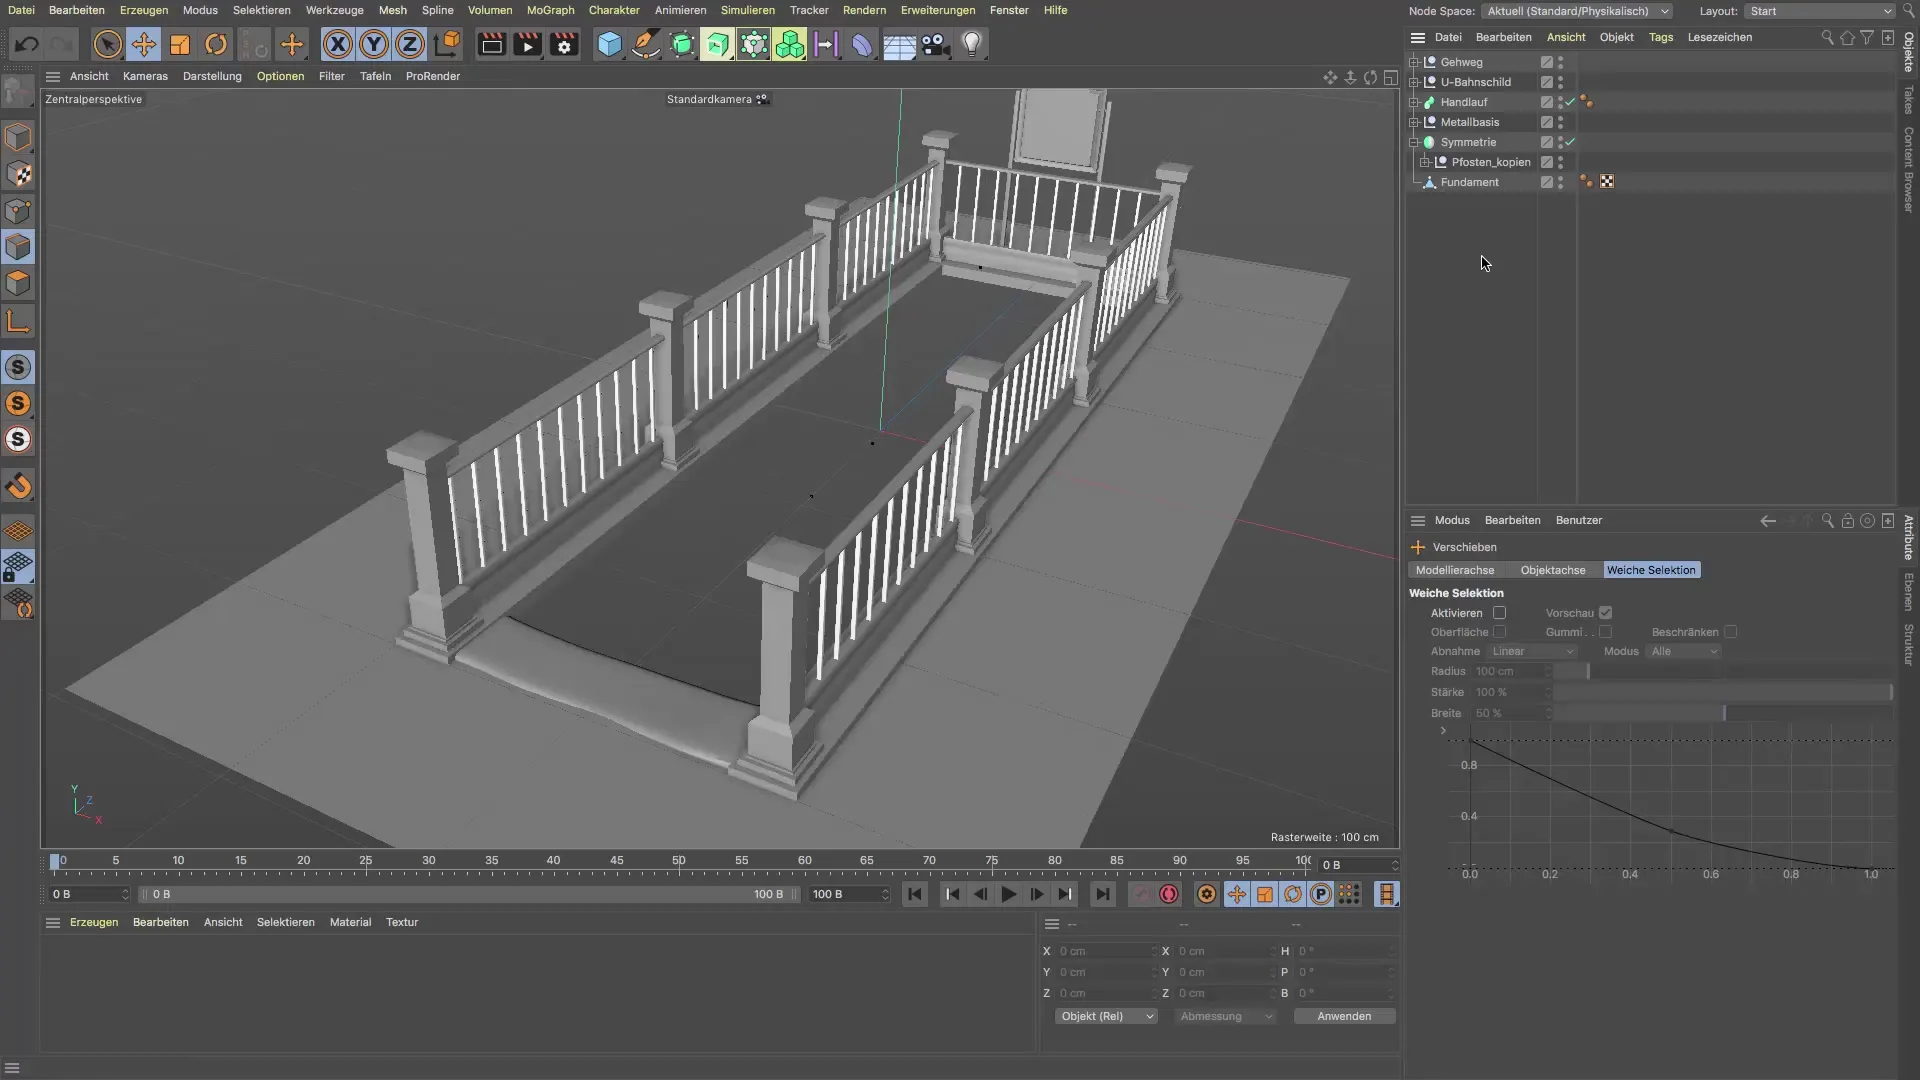
After you have created the null object, you can use the red traffic light switch to better organize your scene. You only turn on the foundation, which helps you keep the further work more organized.
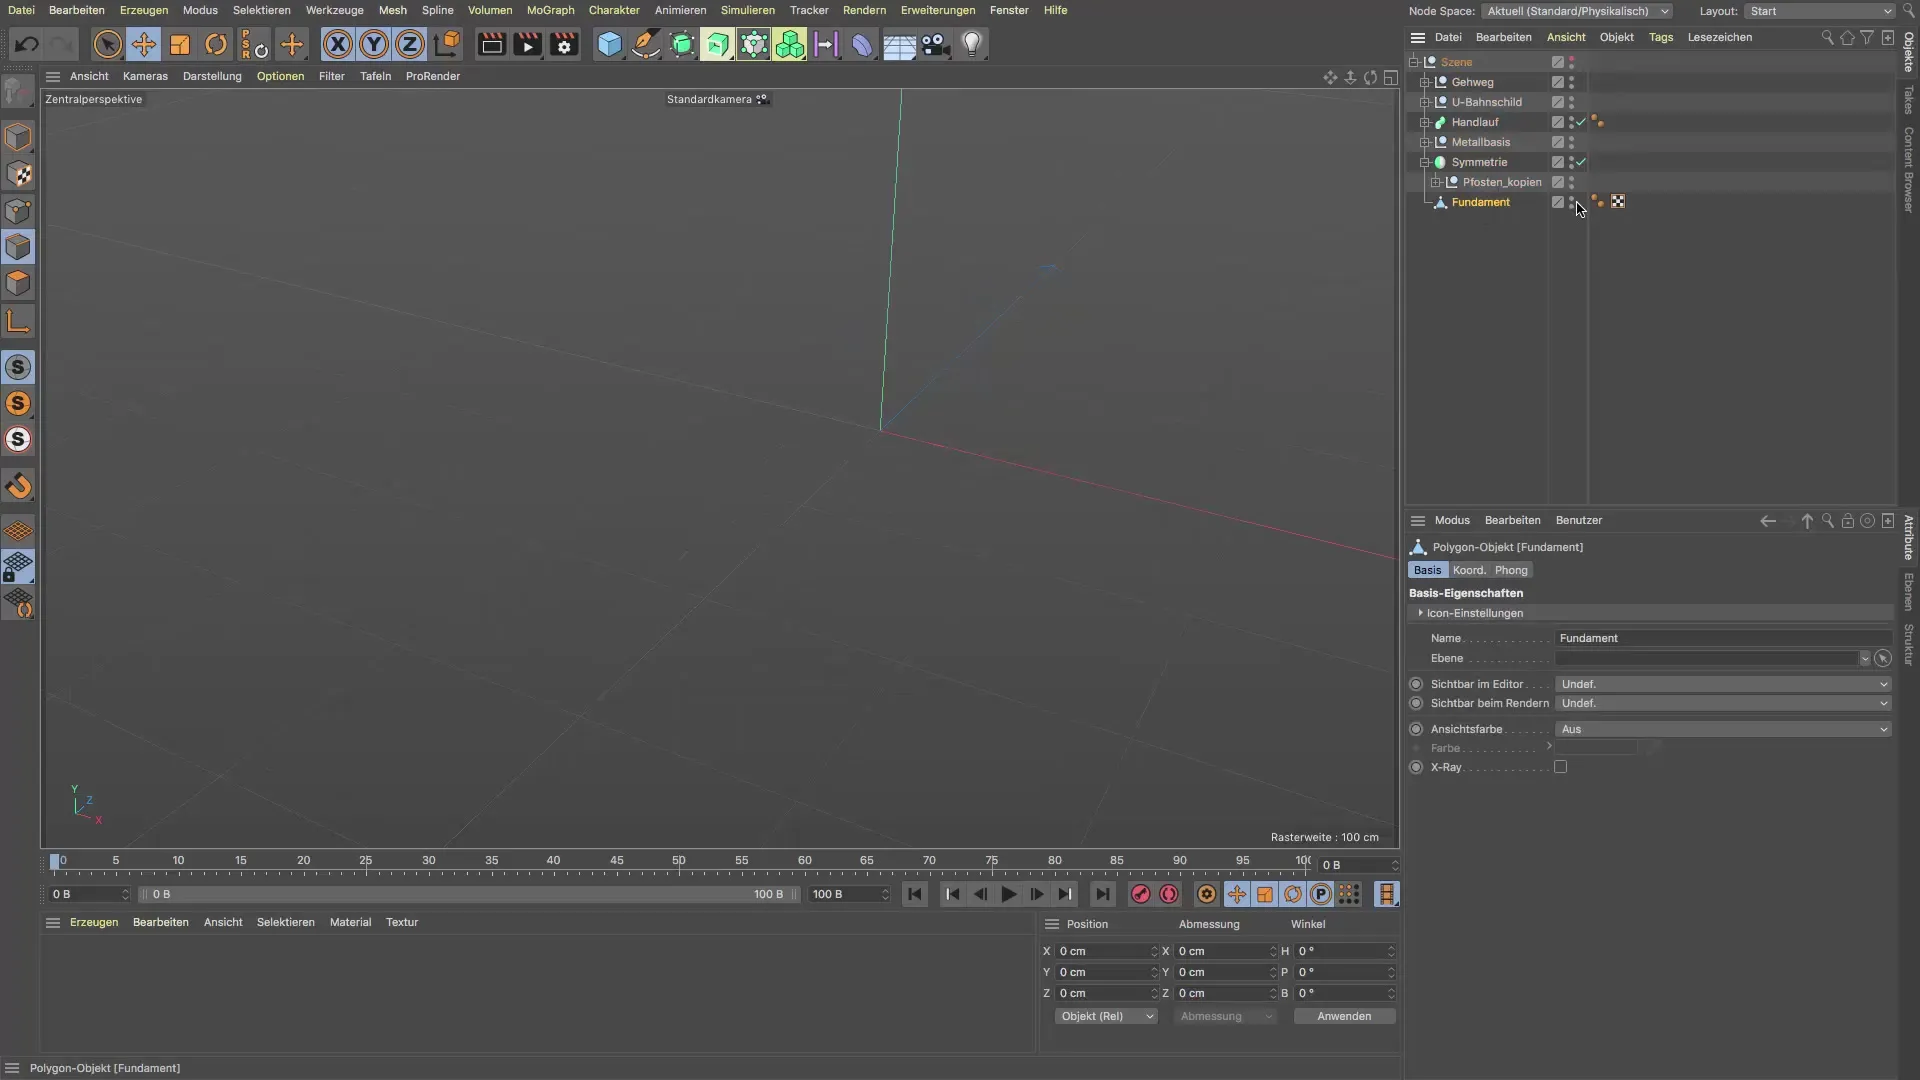
Now start edge mode by switching to live selection. Make sure that only visible elements are activated in the attribute manager. Now you can select the edges you need for the wall. Normally, this consists of three edges for your wall structure.
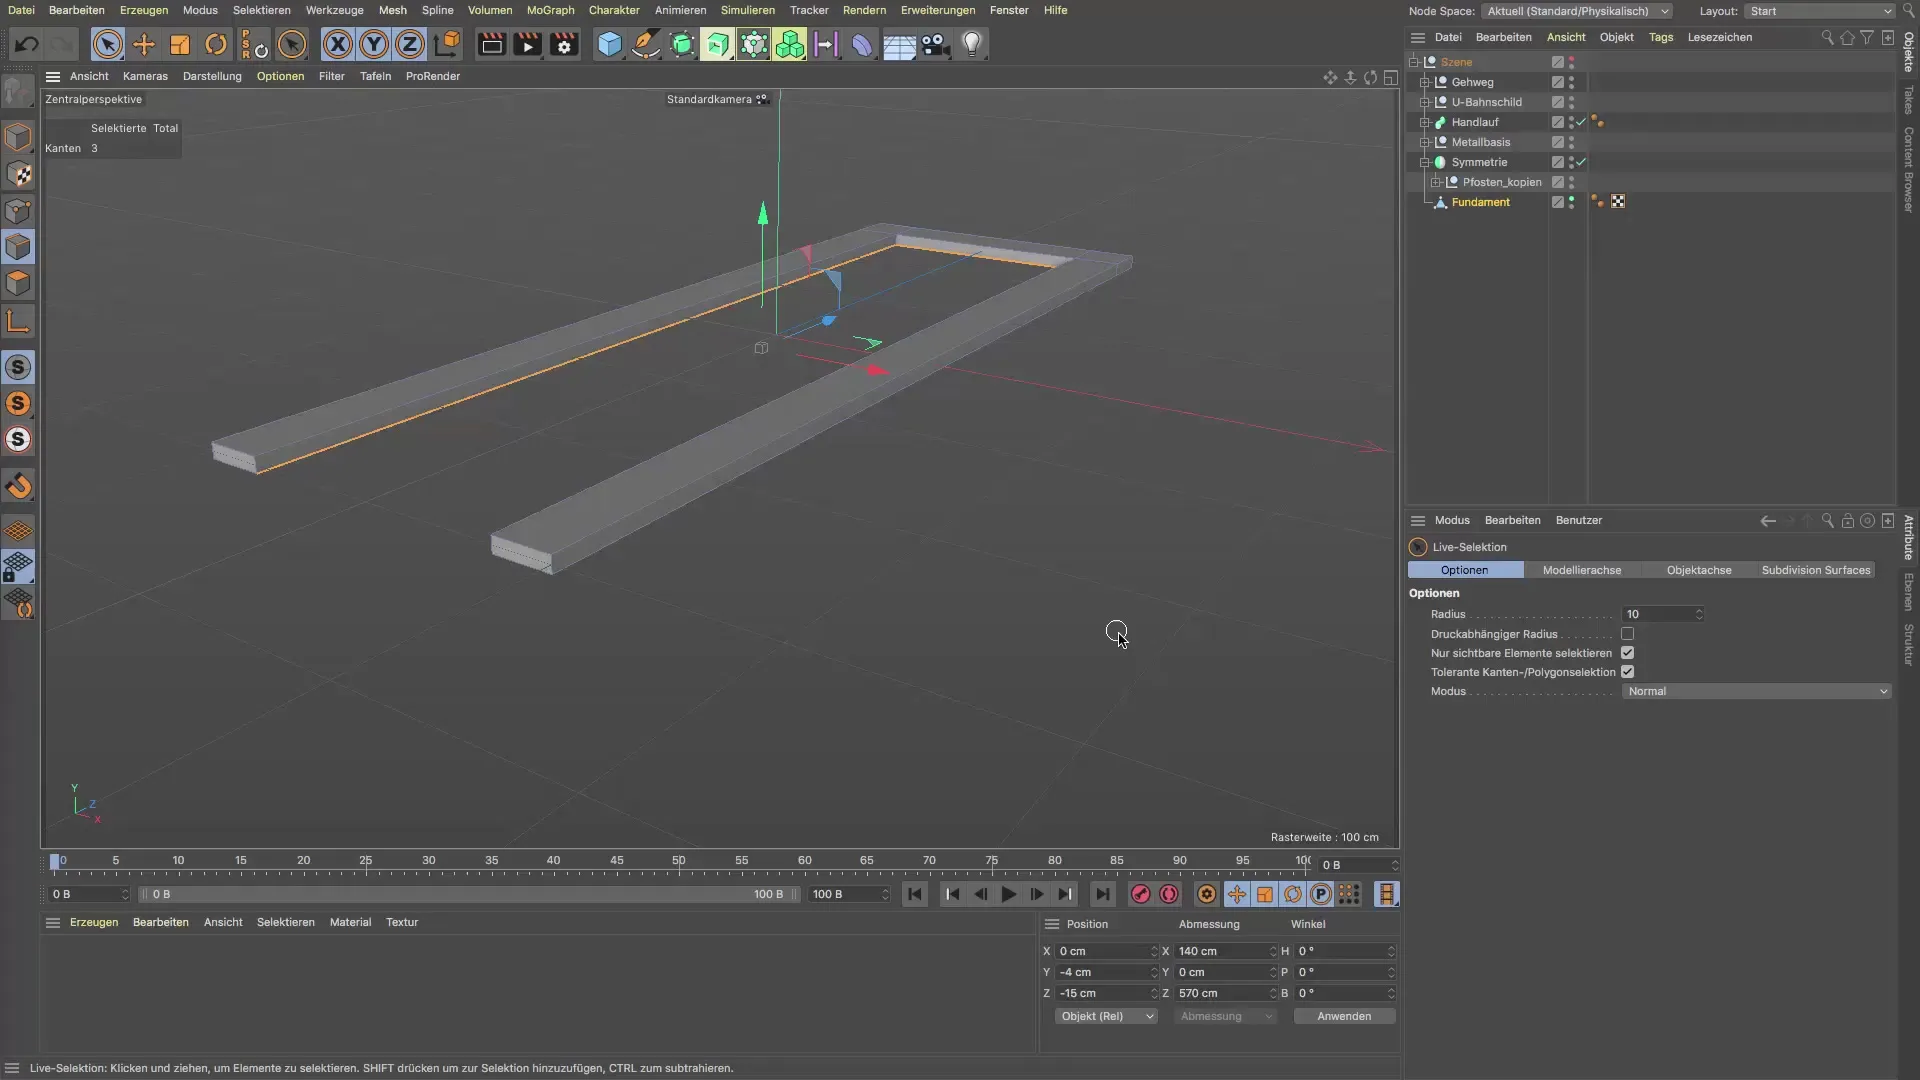
After selecting the edges, it's time for extrusion. You will now perform the extrusion via the mesh menu. The shortcut “D” will be useful here. You can now extrude downwards to determine the position of the wall. Make sure to make the extrusion at the right height.
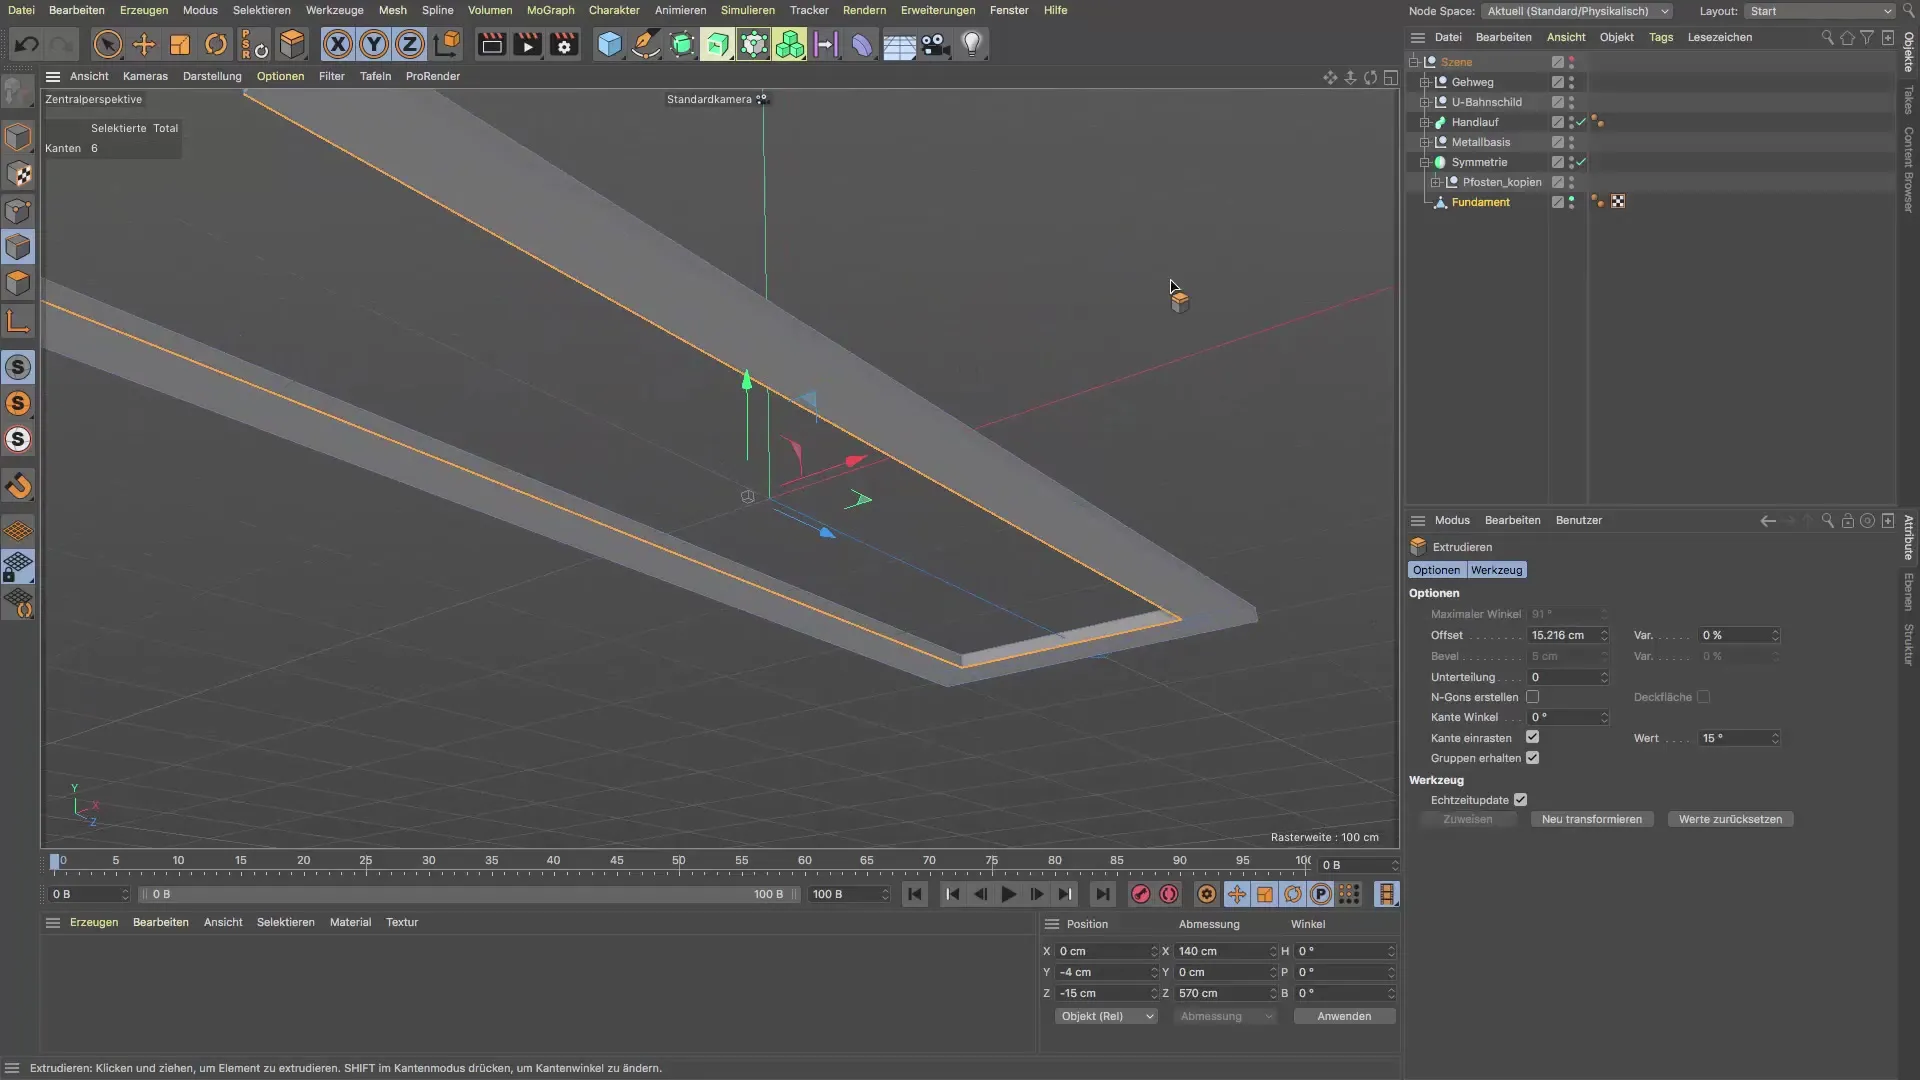
If the result is too wide, simply go back one step and try again. Make sure the offset for the wall edges is 90°. This ensures a precise extrusion direction, giving the wall a clear shape.
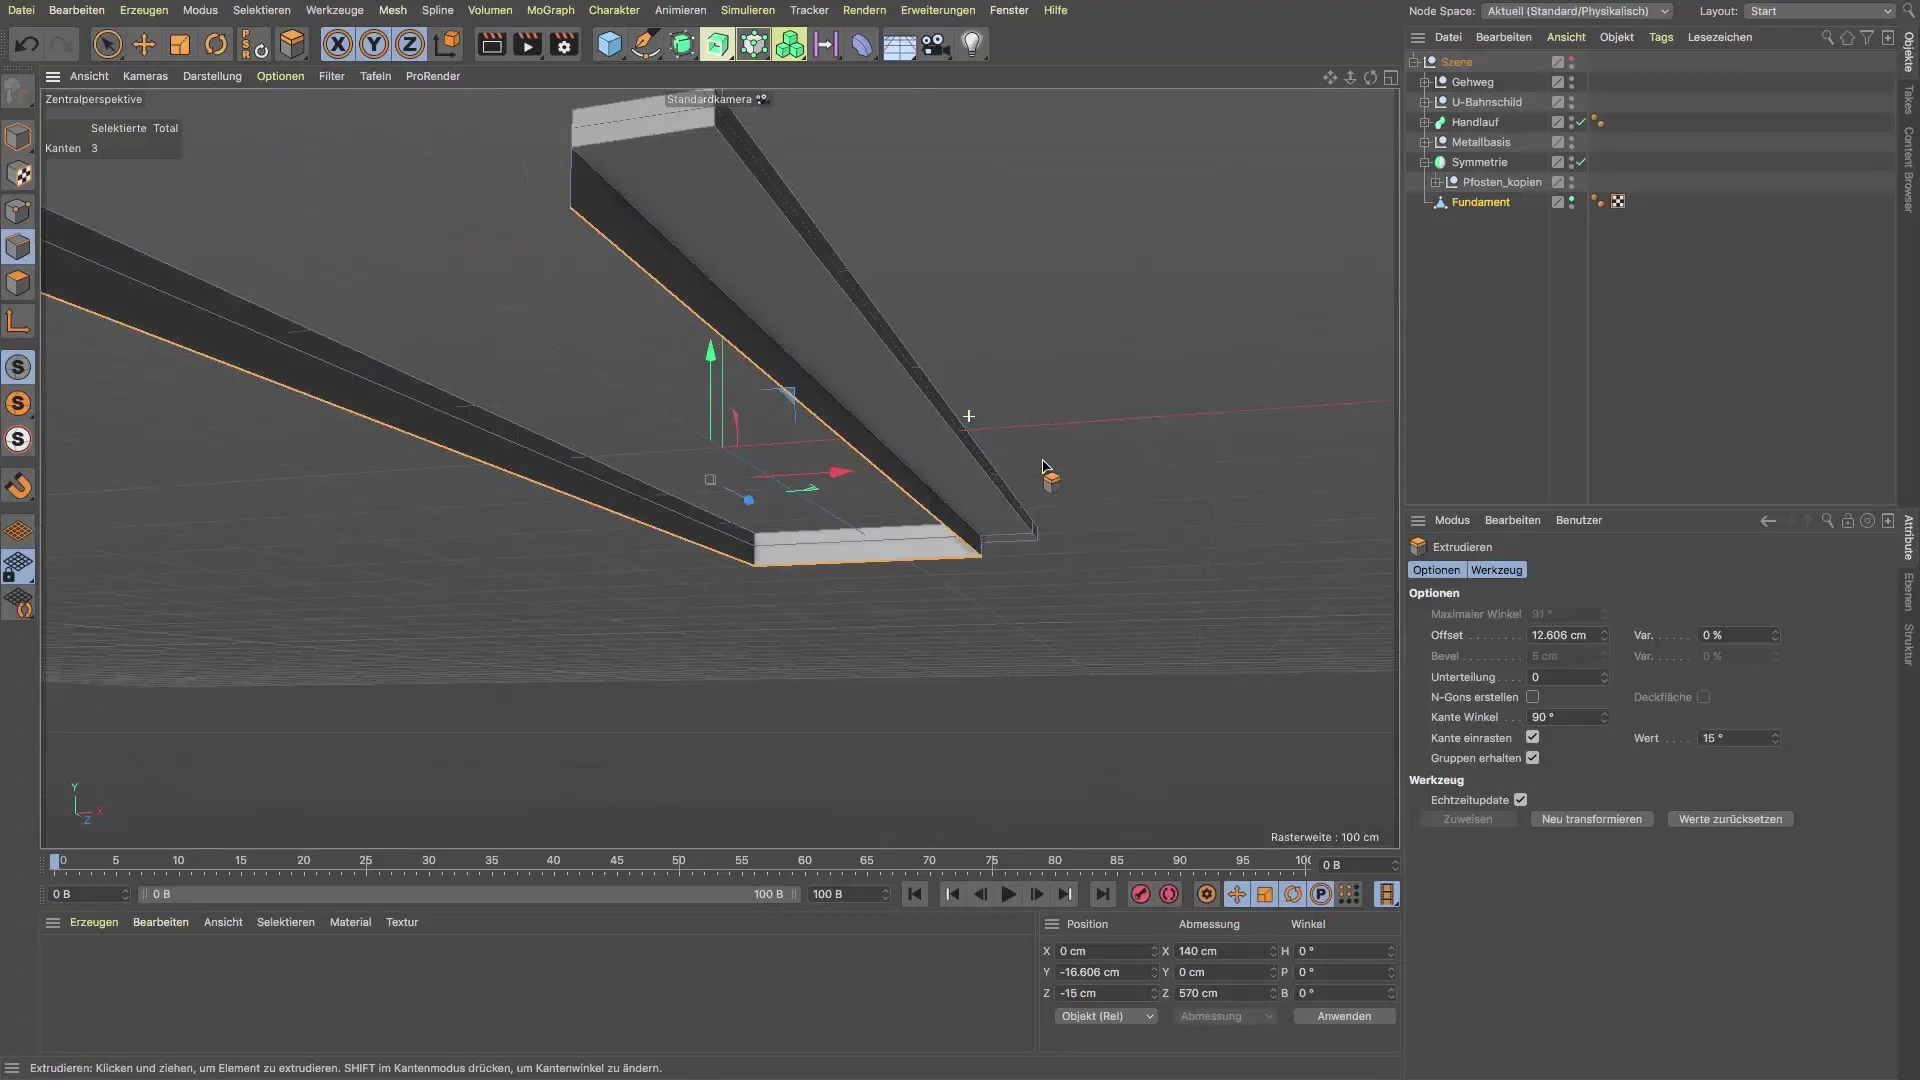
Now the next task is to adjust the depth of the wall. To achieve this, you can add a new extrusion in the desired direction. Make sure to set the correct offset to make everything look proportional.
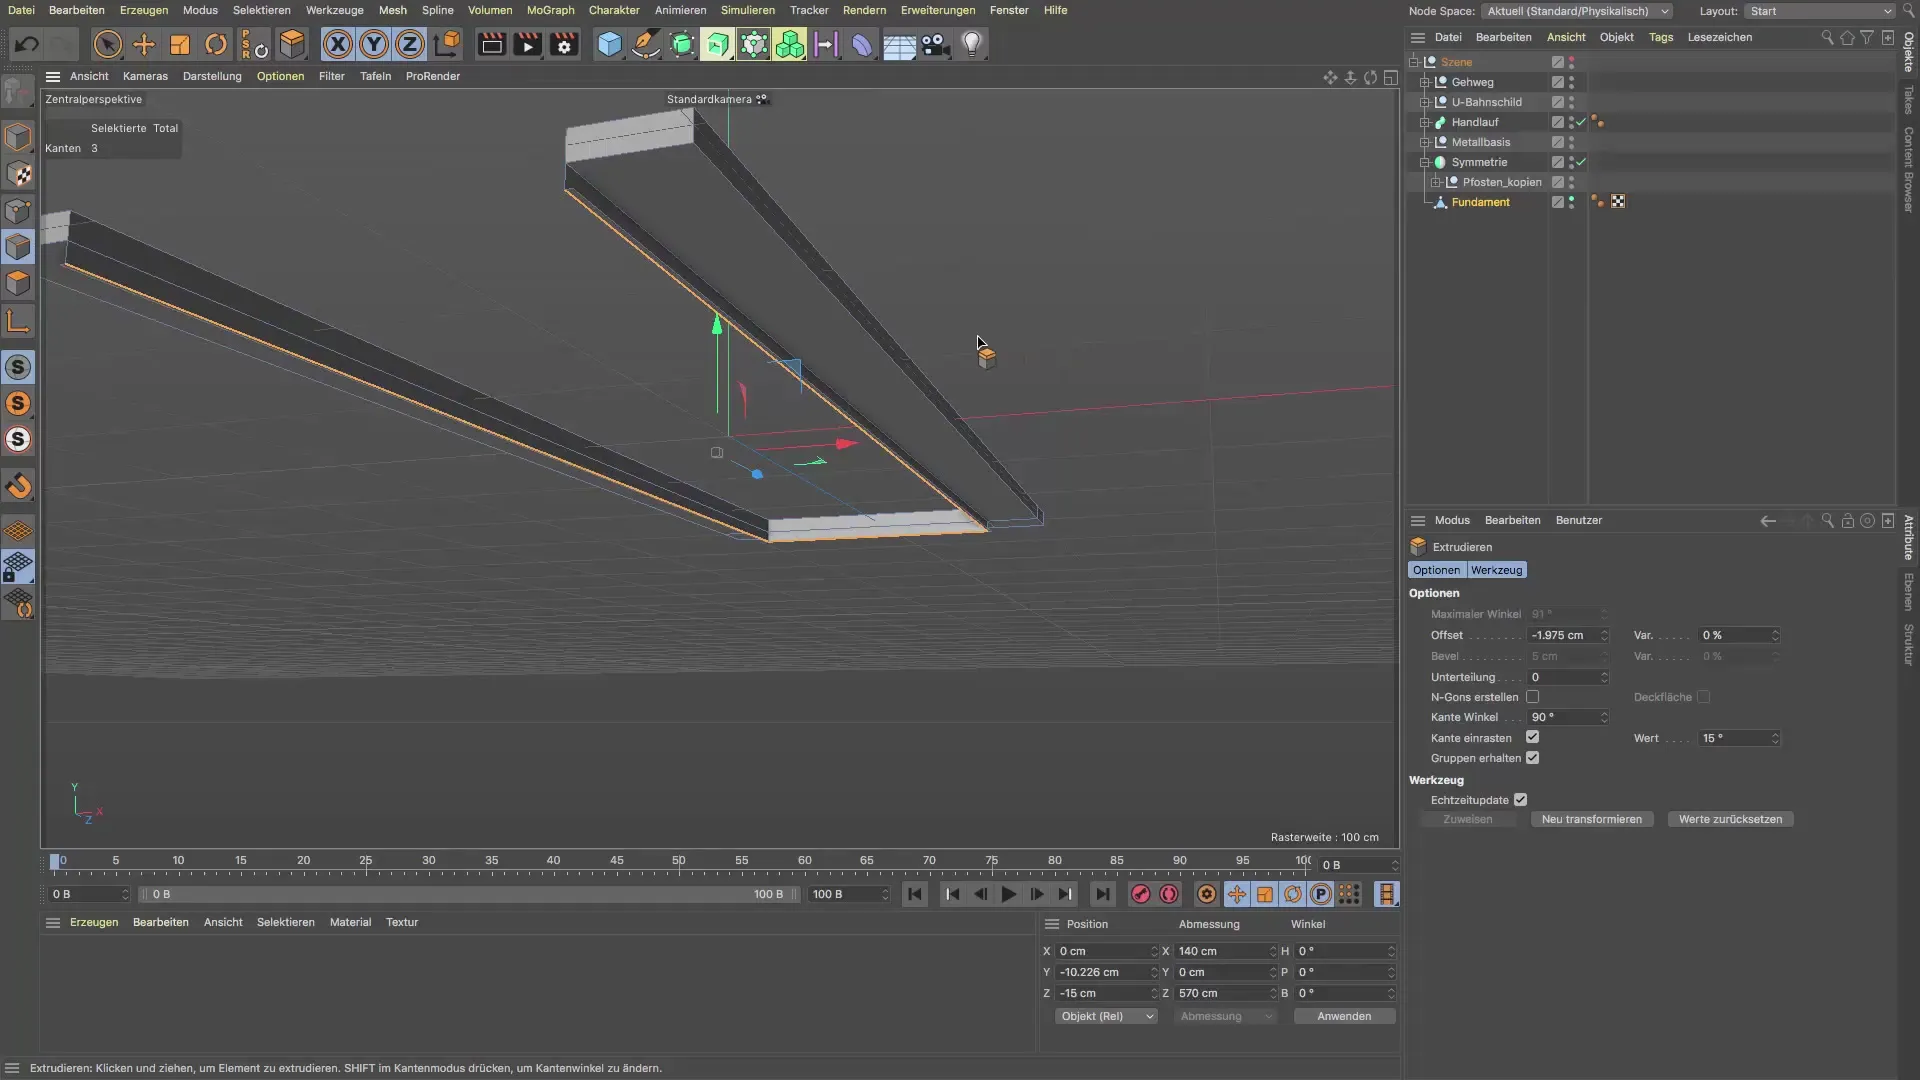
With this method, you have already built a step into the wall, making the entire model more interesting. This additional level of detail contributes to the overall appearance of your base and gives the scene more depth.
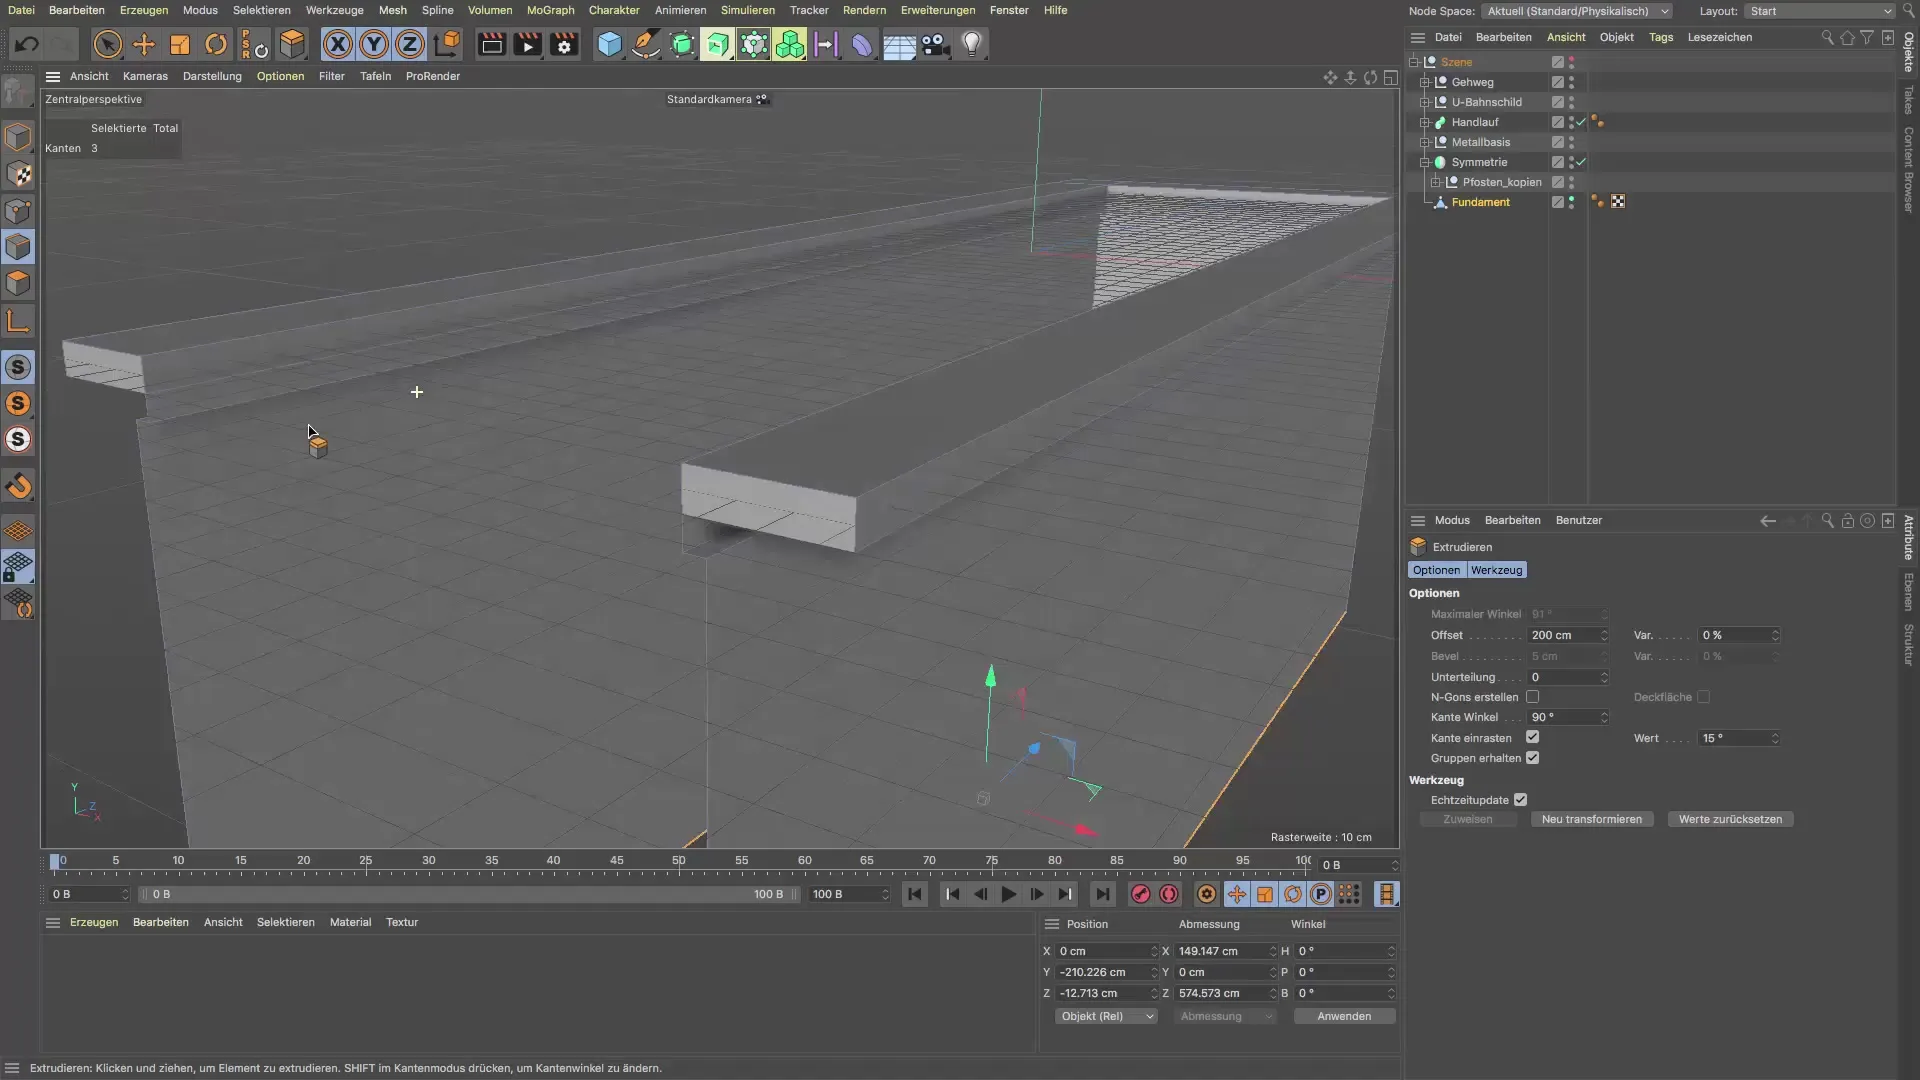
Now comes the crucial step to adapt the wall to the stairs. The walls need an incline so that users of the stairs do not abruptly hit a wall. Select the back edge and adjust it to the incline of the stairs.
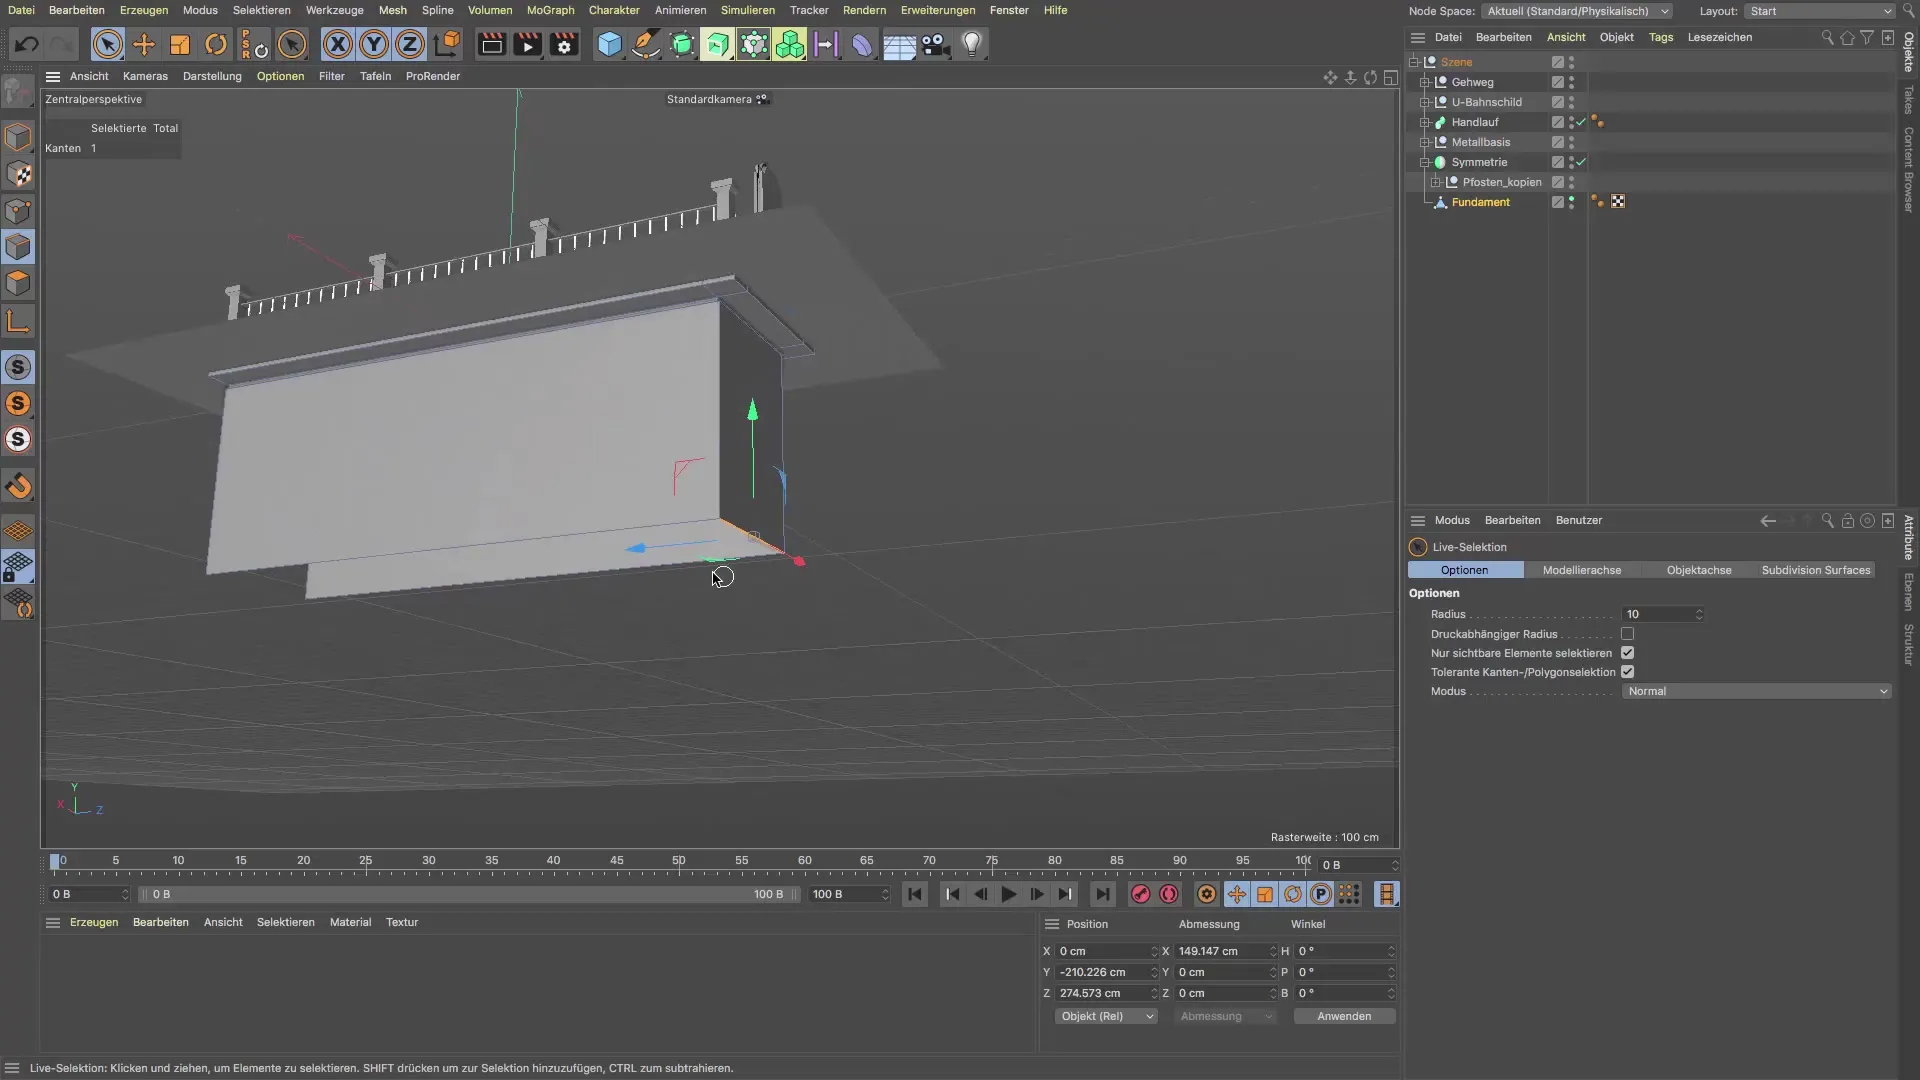
If you have difficulty working with the tool, switch to world coordinate mode. This gives you more control over the movements and orientations when modeling the walls.
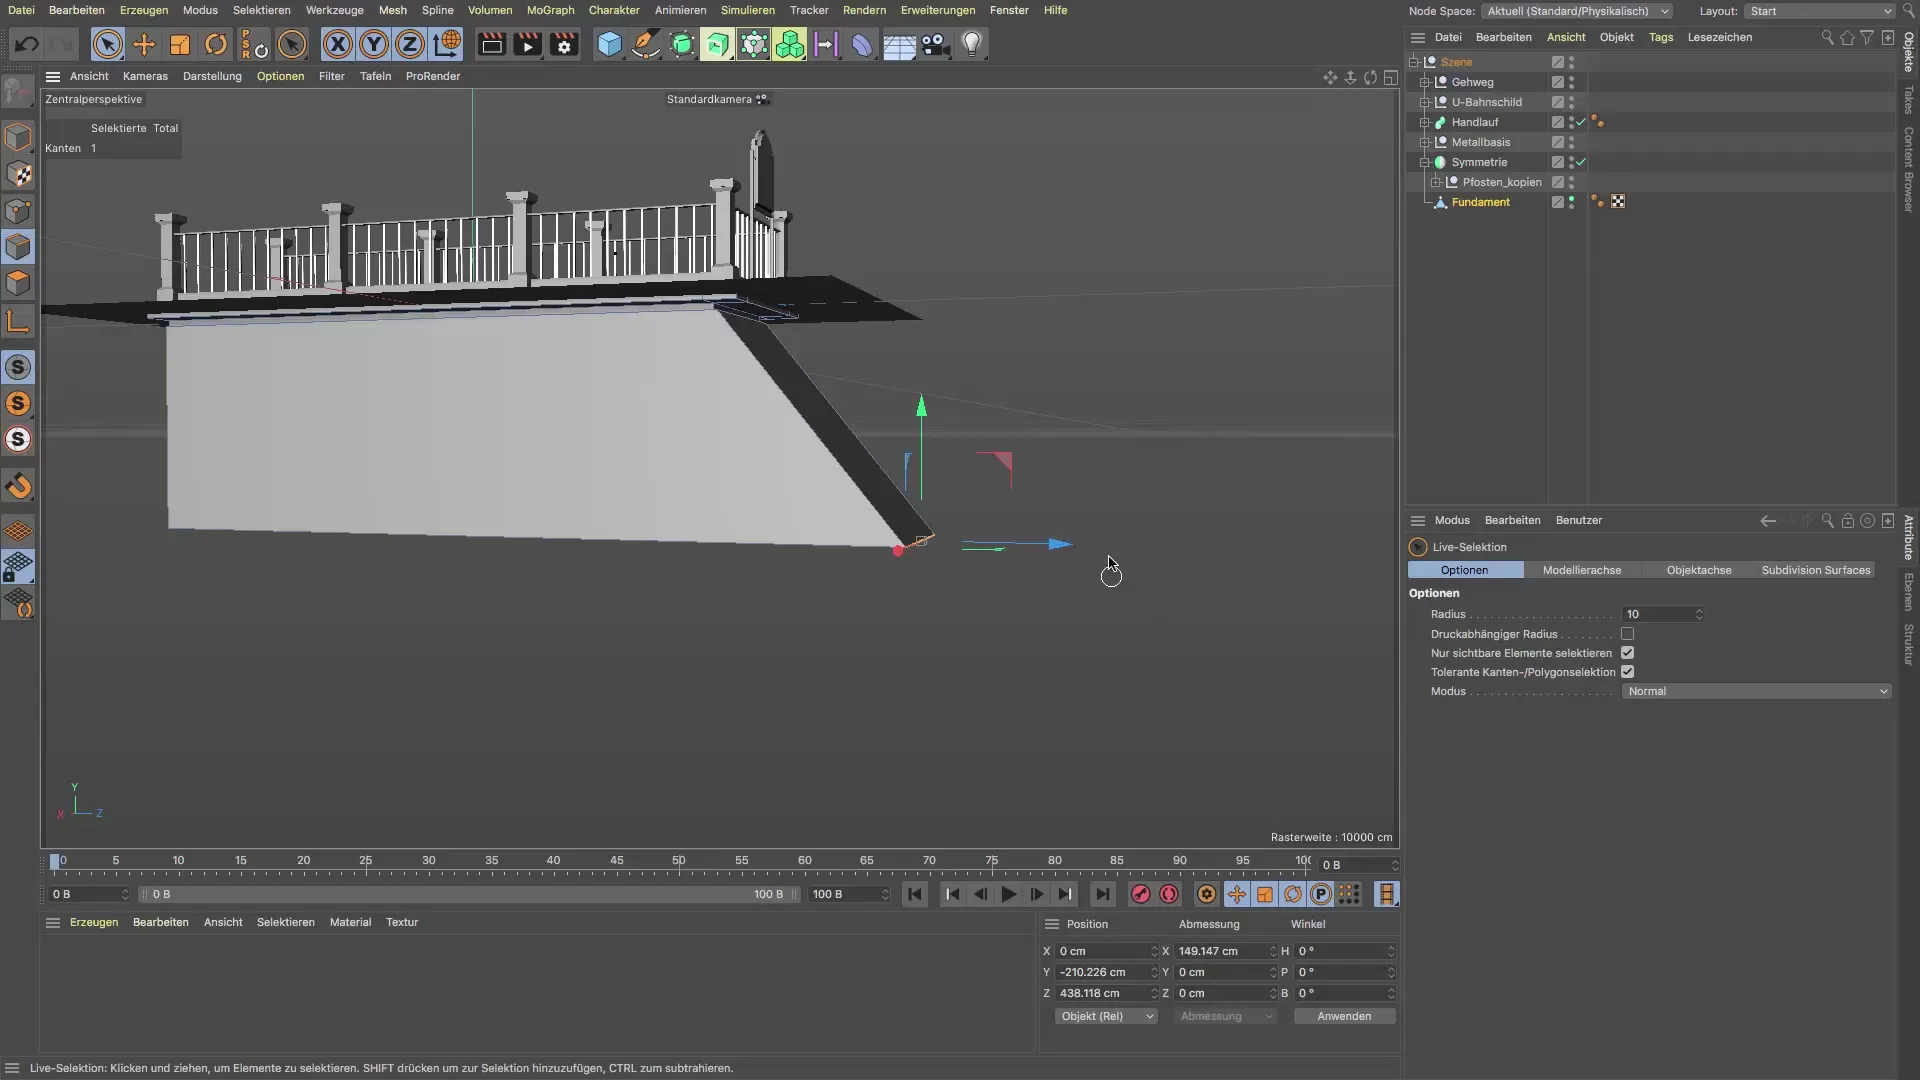
Once you have adjusted the incline, you can take a top-down preview to see if everything looks good. It is important to pay attention to the proportions here so that the overall picture remains coherent.
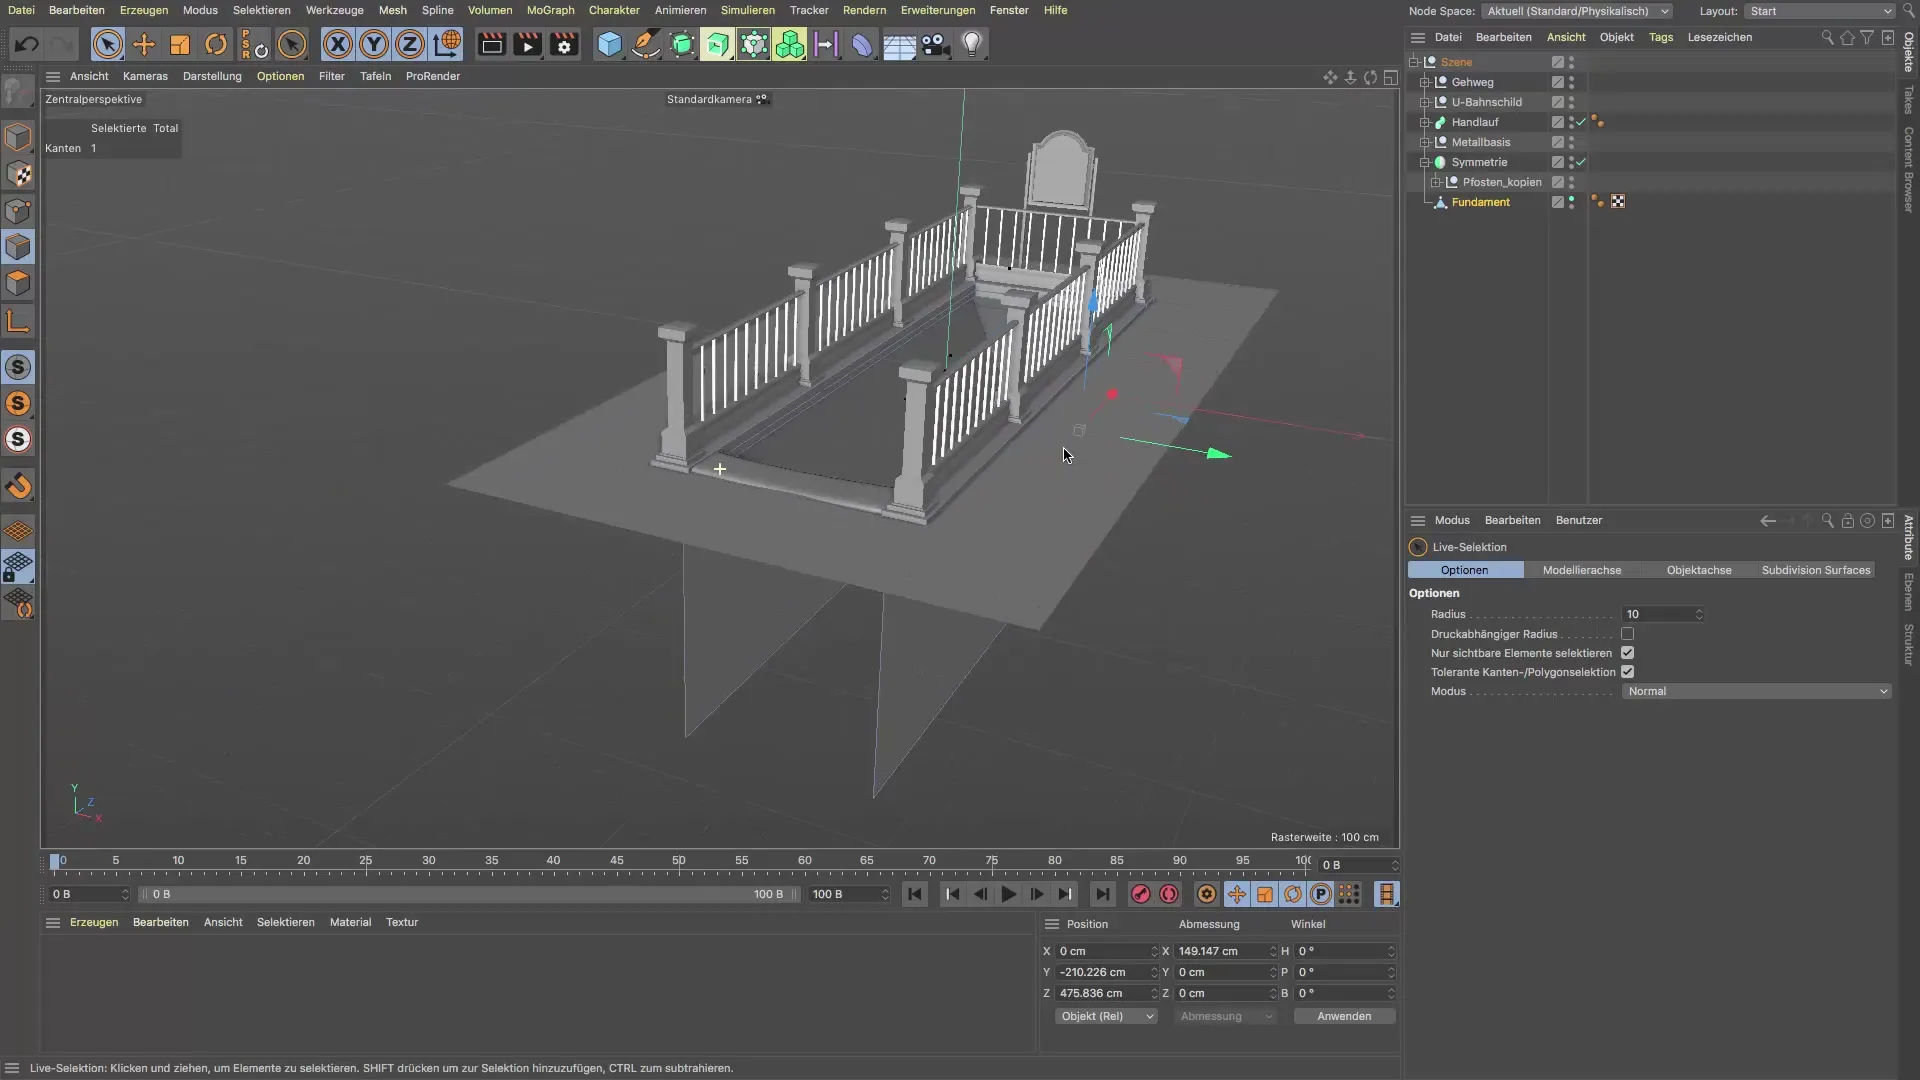
You have now successfully created the walls for your staircase. If you need a different perspective to make the stairs visible, you can adjust the models accordingly.
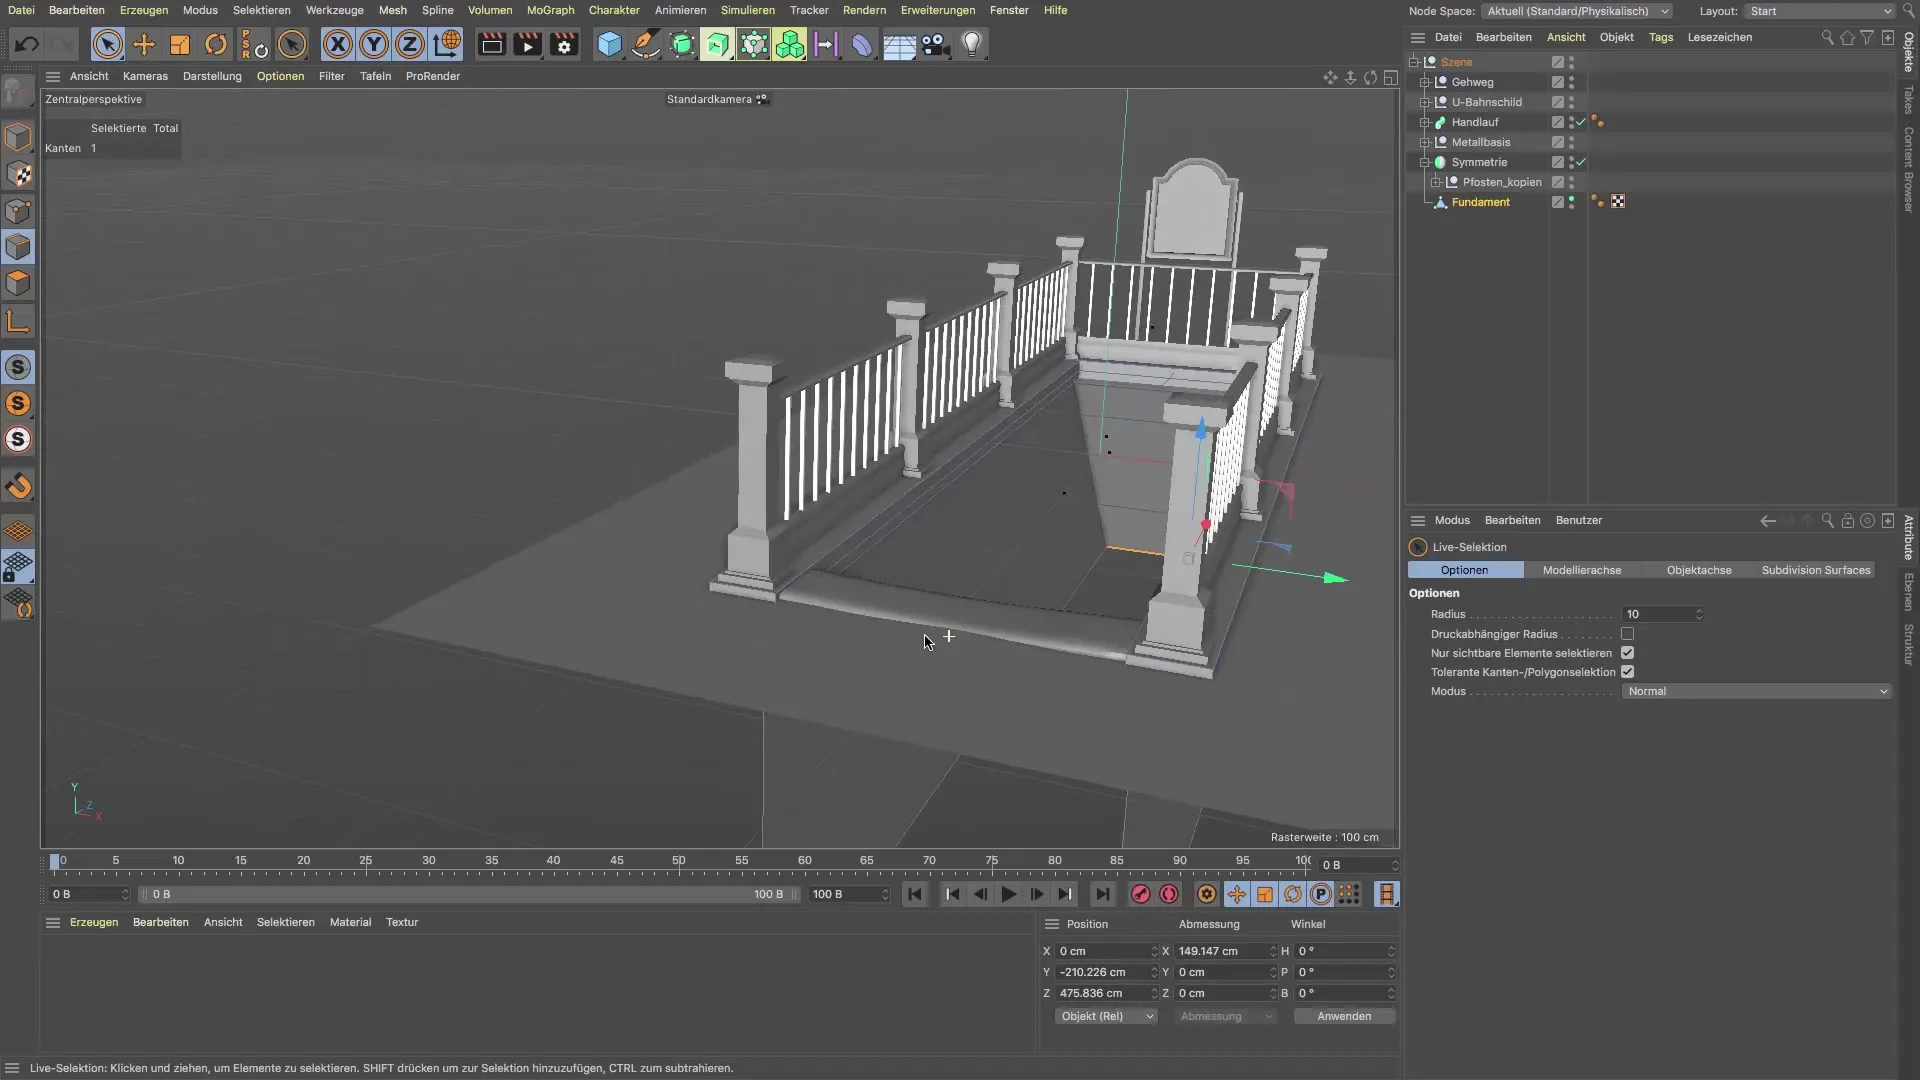
Summary – Guide to Creating Walls in Cinema 4D
In this guide, you have learned step by step how to model walls for your staircase in Cinema 4D. From the basic selection of edges to precise extrusion - you have gone through all the essential points and added realistic walls to your 3D project.
Frequently Asked Questions
How do I select edges in Cinema 4D?To select edges, you need to switch to edge mode and use live selection.
What steps are needed to extrude a wall?After selecting the edges, go through the mesh menu or the shortcut “D” to perform the extrusion.
How do I adjust the wall to the stairs?Select the edge of the wall and drag it to the desired incline.
What do I do if the extrusion is too wide?Go back and reduce the offset to the desired size before performing the extrusion again.
Can I create multiple walls at the same time?Yes, by selecting multiple edges at once and then extruding them.


