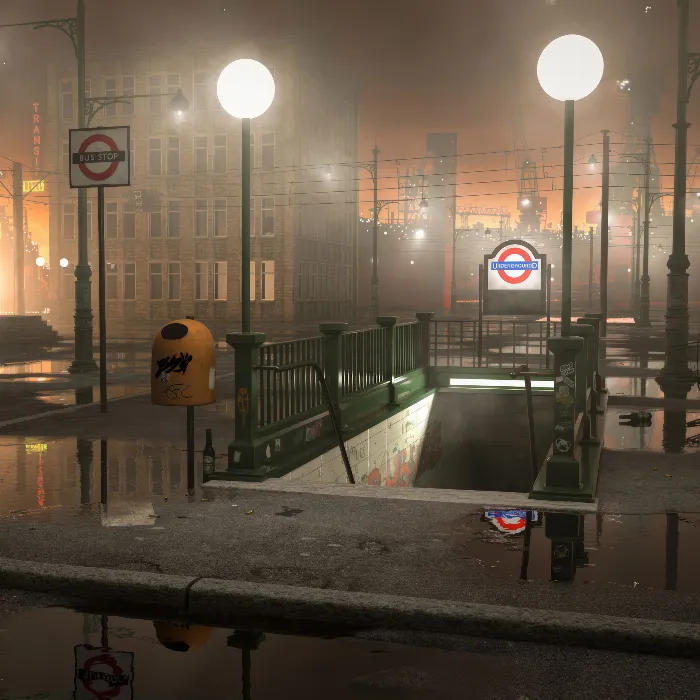
Whether you are a beginner or an experienced user of Cinema4D, the right lightcan dramatically enhance your scenes. In this tutorial, you will learn how to achieve impressive visual effects by paintinglight sources in different layers. Let's go through the steps together to create light simply and effectively in your 3D scene.
Main Insights
- Create separate layers for each light source.
- Start with a low opacity of 10%.
- Gradually build up the light halo by adjusting the brush size.
- Practice makes perfect – patience is required in light painting.
Step 1: Create a New Layer
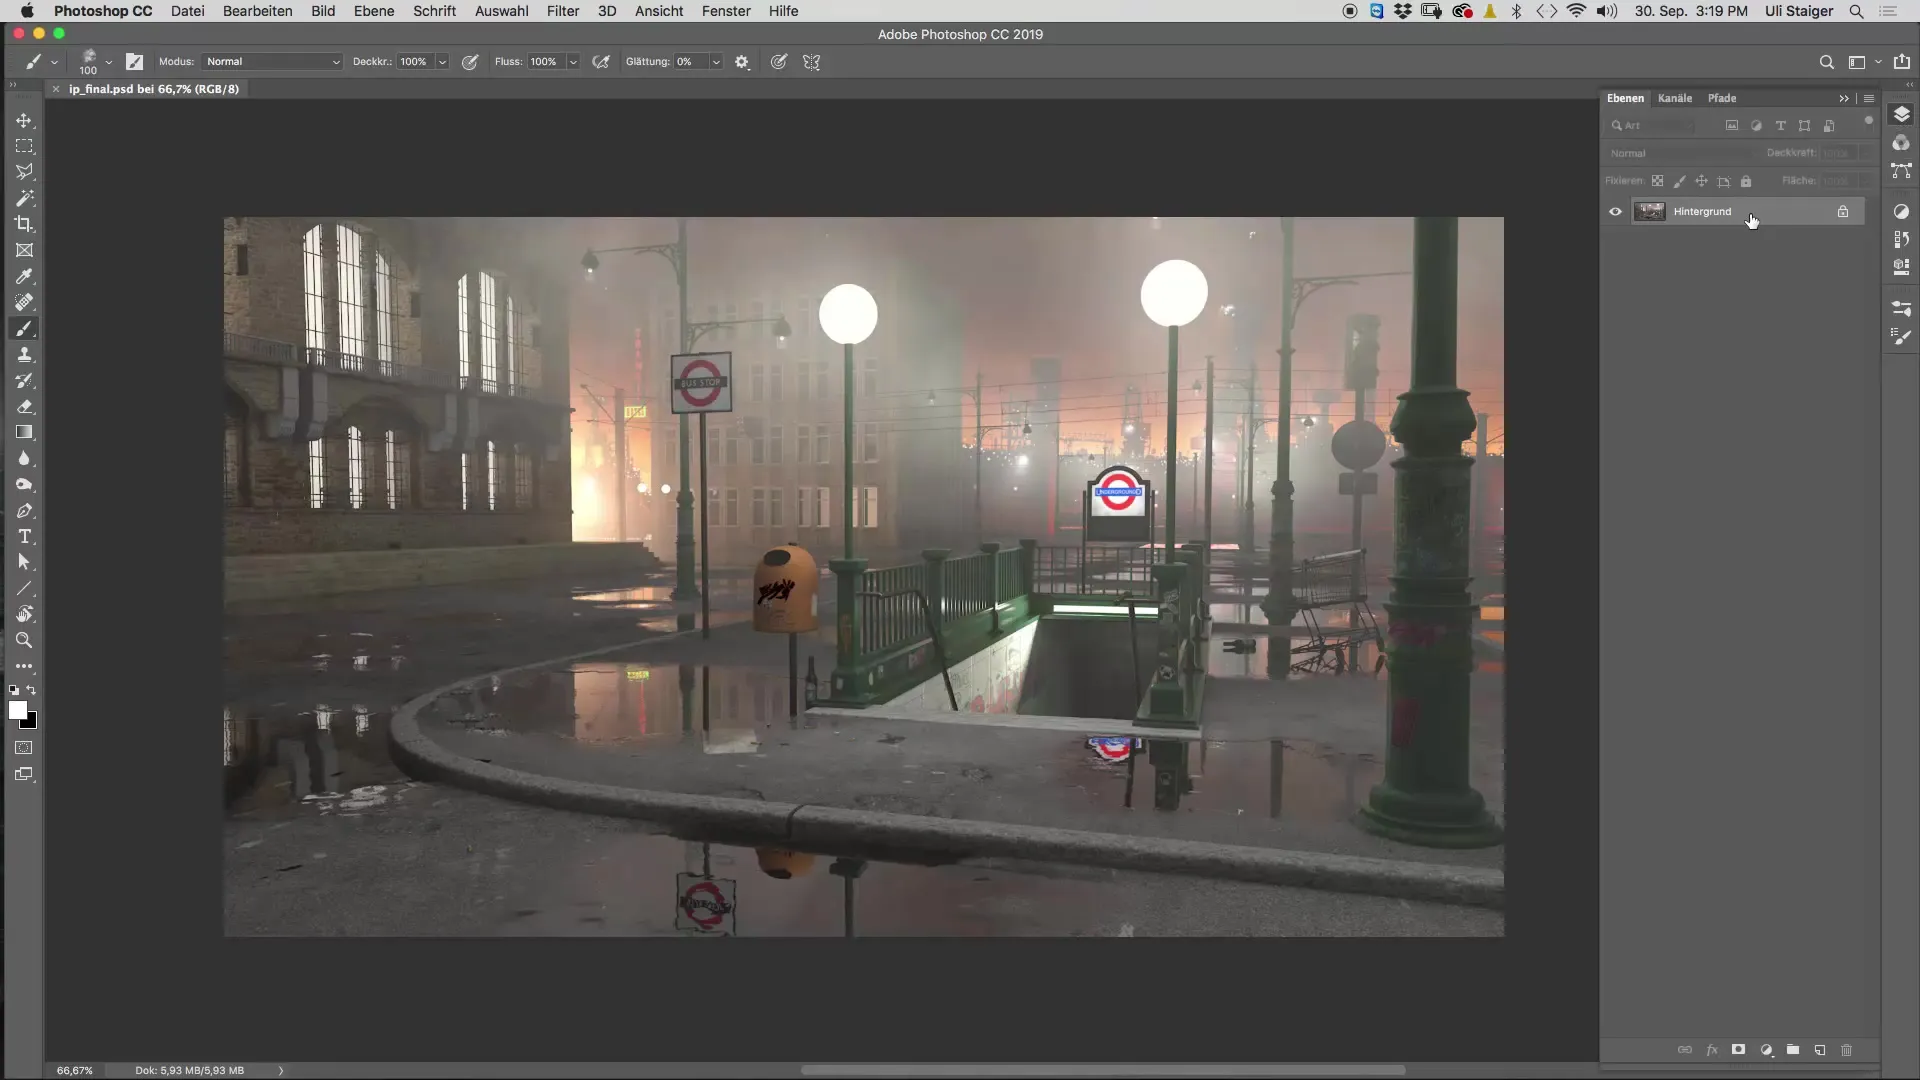
First, click on the layers and notice that all previous elements are on the background layer. To avoid working directly on this layer – which makes error correction difficult – create a new layer. This layer will be used forthe first light source.
Step 2: Select the Right Brush
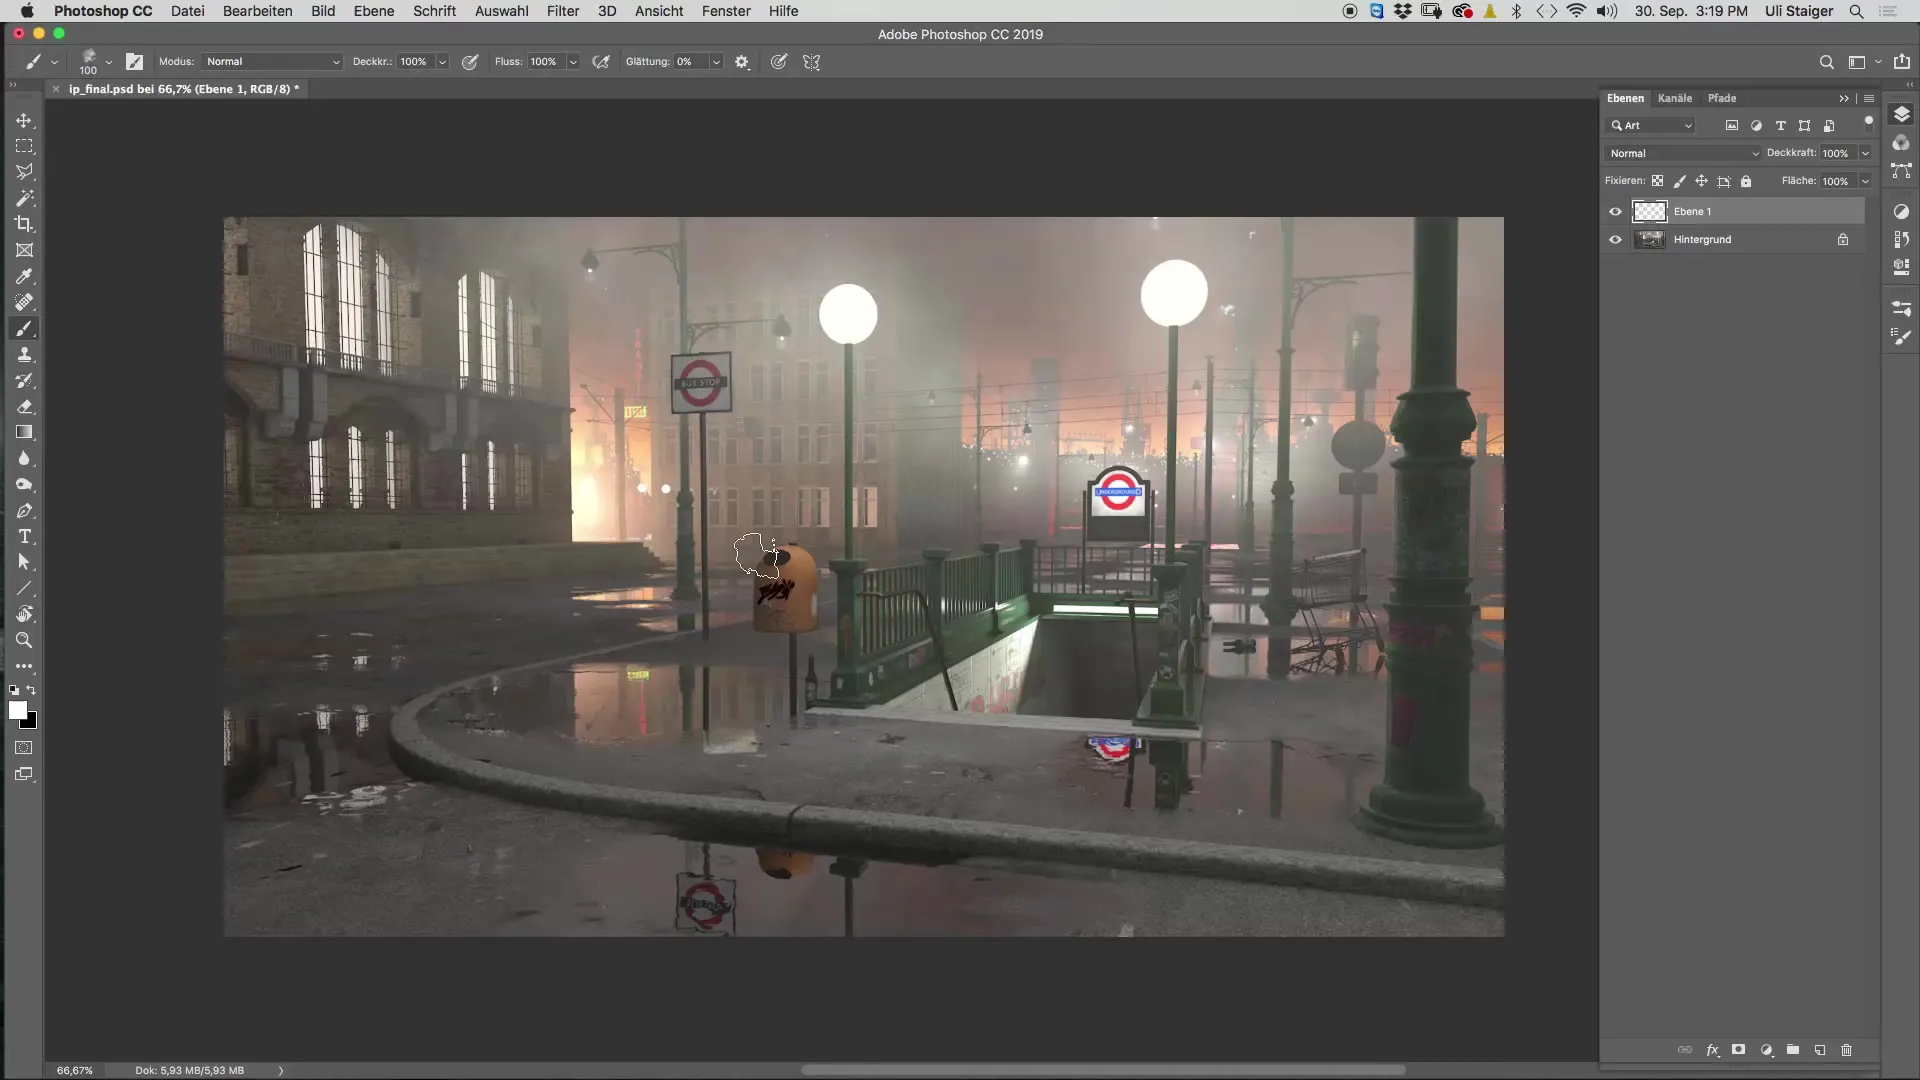
Now you need the brush you downloaded, in this case, the "xlod 2". Make sure this brush is active to realistically represent the light source.
Step 3: Set Opacity
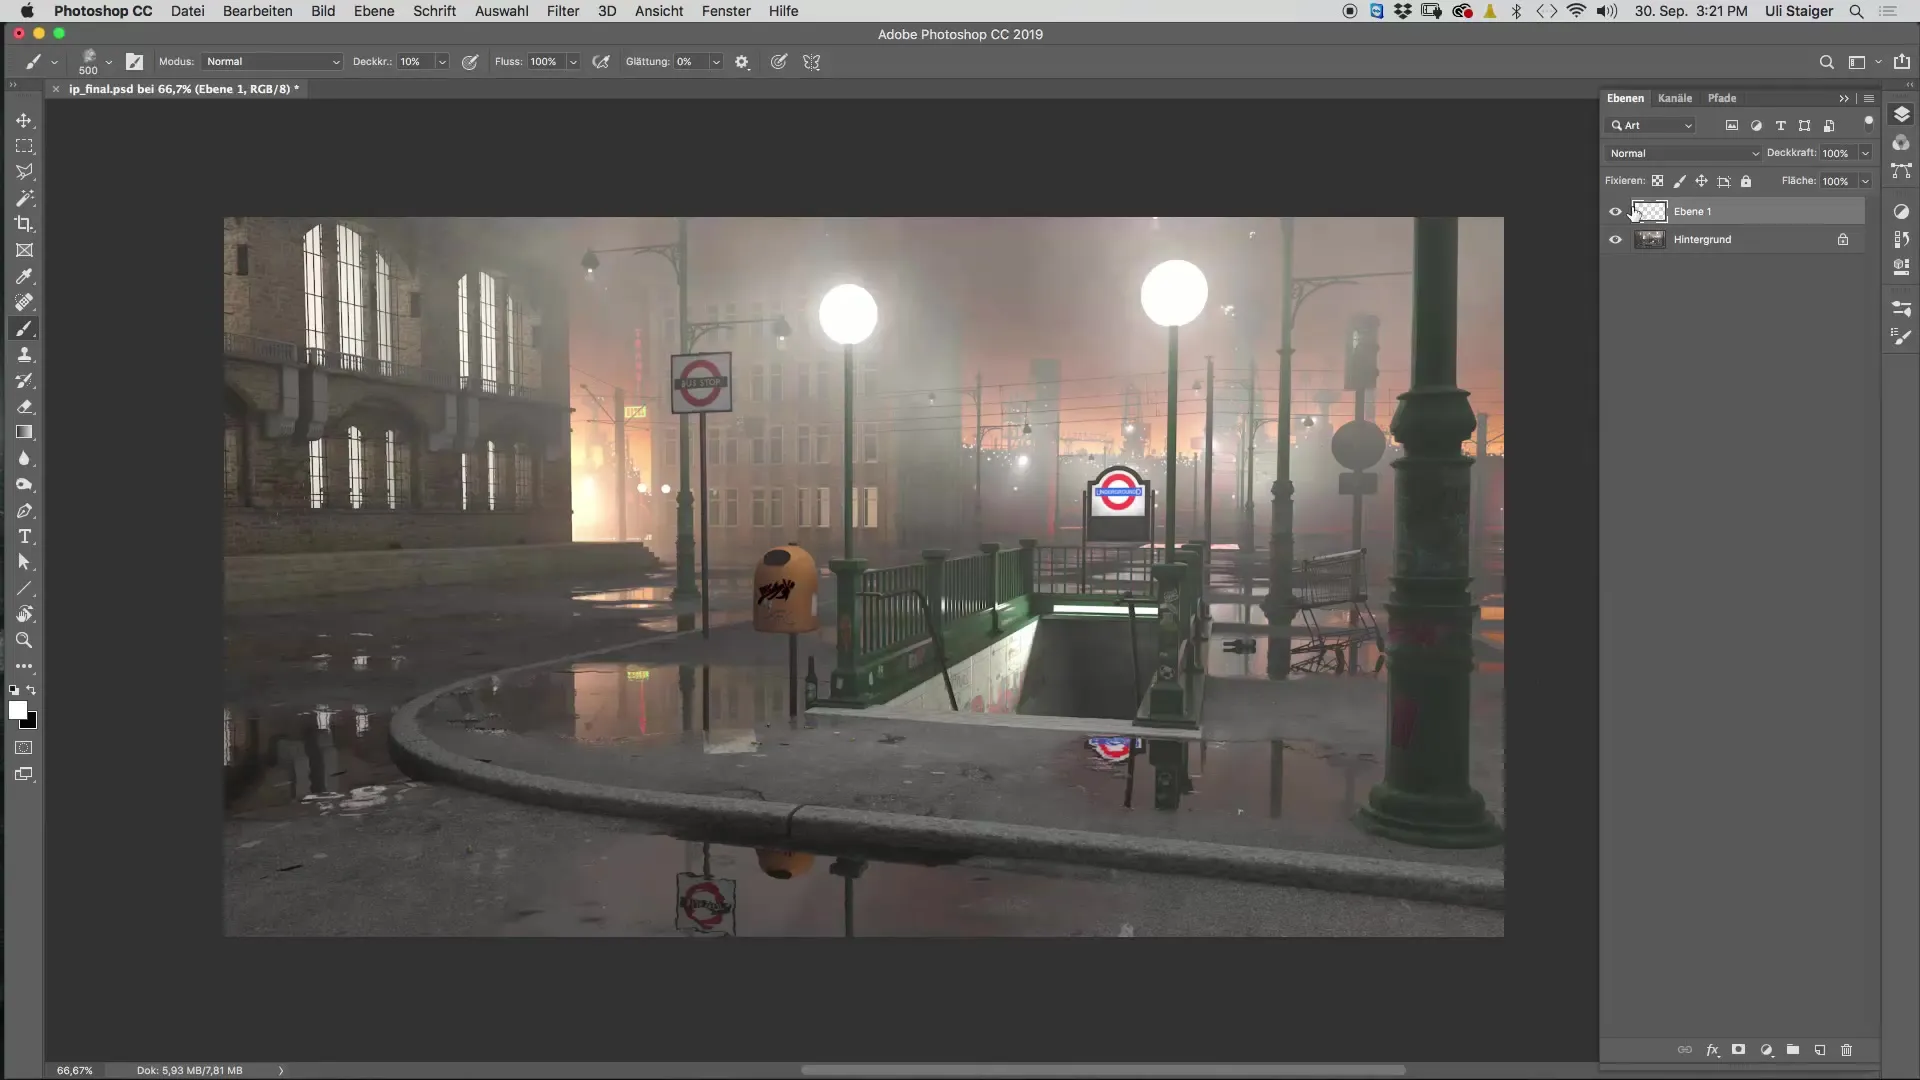
Set your brush's opacity to 10%. You can do this either in the top settings or simply press the "1" key on your keyboard to quickly select the 10% opacity.
Step 4: First Light Halo Painting
Now start with a brush size that is roughly equivalent to the size of the white circle of a small light. Gently paint multiple times on the new layer. If you notice the brush rotates with each click, that’s a good sign. This promotes the natural appearance of the light halo.
Step 5: Increase the Light Halo
Gradually increase the brush size and paint several times over the same spot again. You will notice that a soft light halo begins to form. Make sure the transitions are gentle by continuously adjusting the brush size.
Step 6: Increase Intensity and Refine
To intensify the light halo, paint a few more times and again select a larger brush size. Ensure that the transition to the background is soft. Repeat this process until you are satisfied with the result.
Step 7: Add a Second Light Source
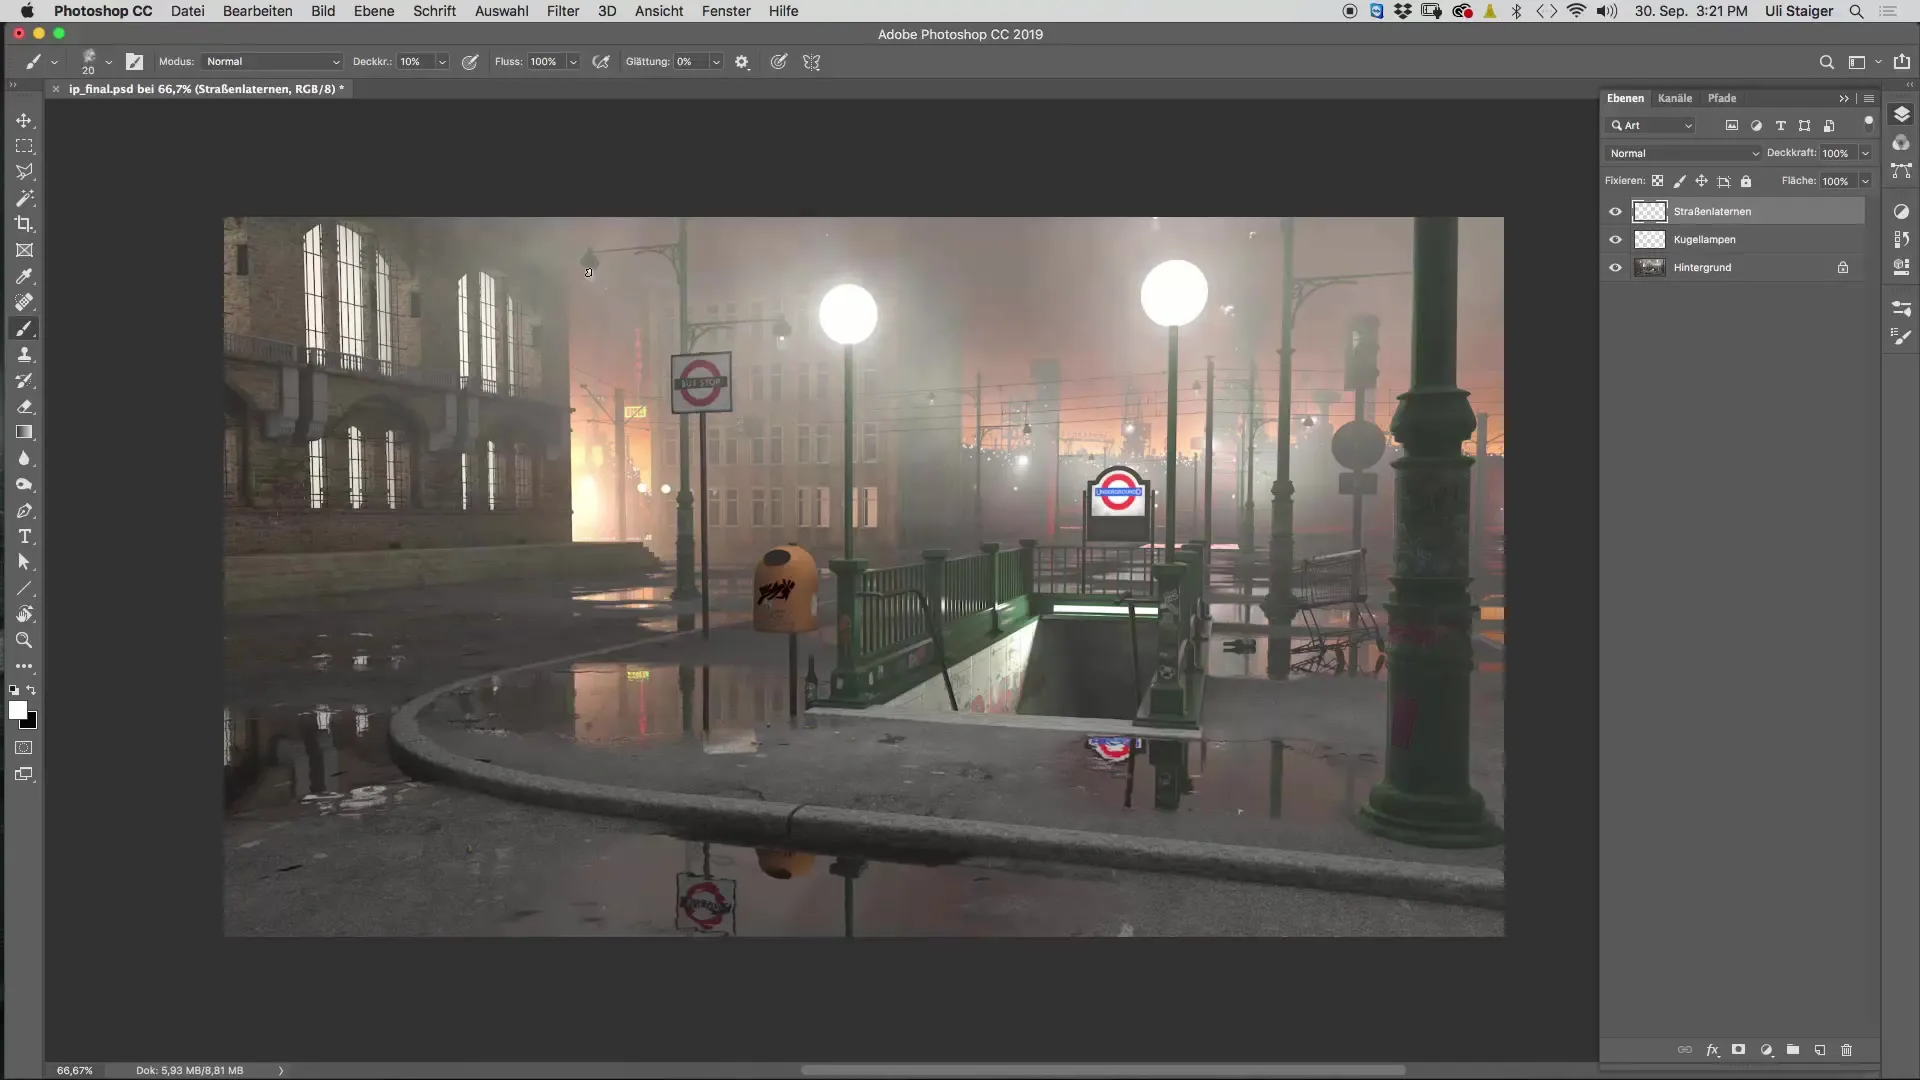
Use the same process to create a second light source. Start again on a new layer and name it something like “Ball Lamps.” Since correcting mistakes when painting in the same layer is more difficult, this is a critical point.
Step 8: Create Street Lamps
For street lamps, create an additional new layer. Start with a small brush size to shape the light halo. Again, paint multiple times over the light source to achieve realistic illumination.
Step 9: Paint Overhead Light Sources
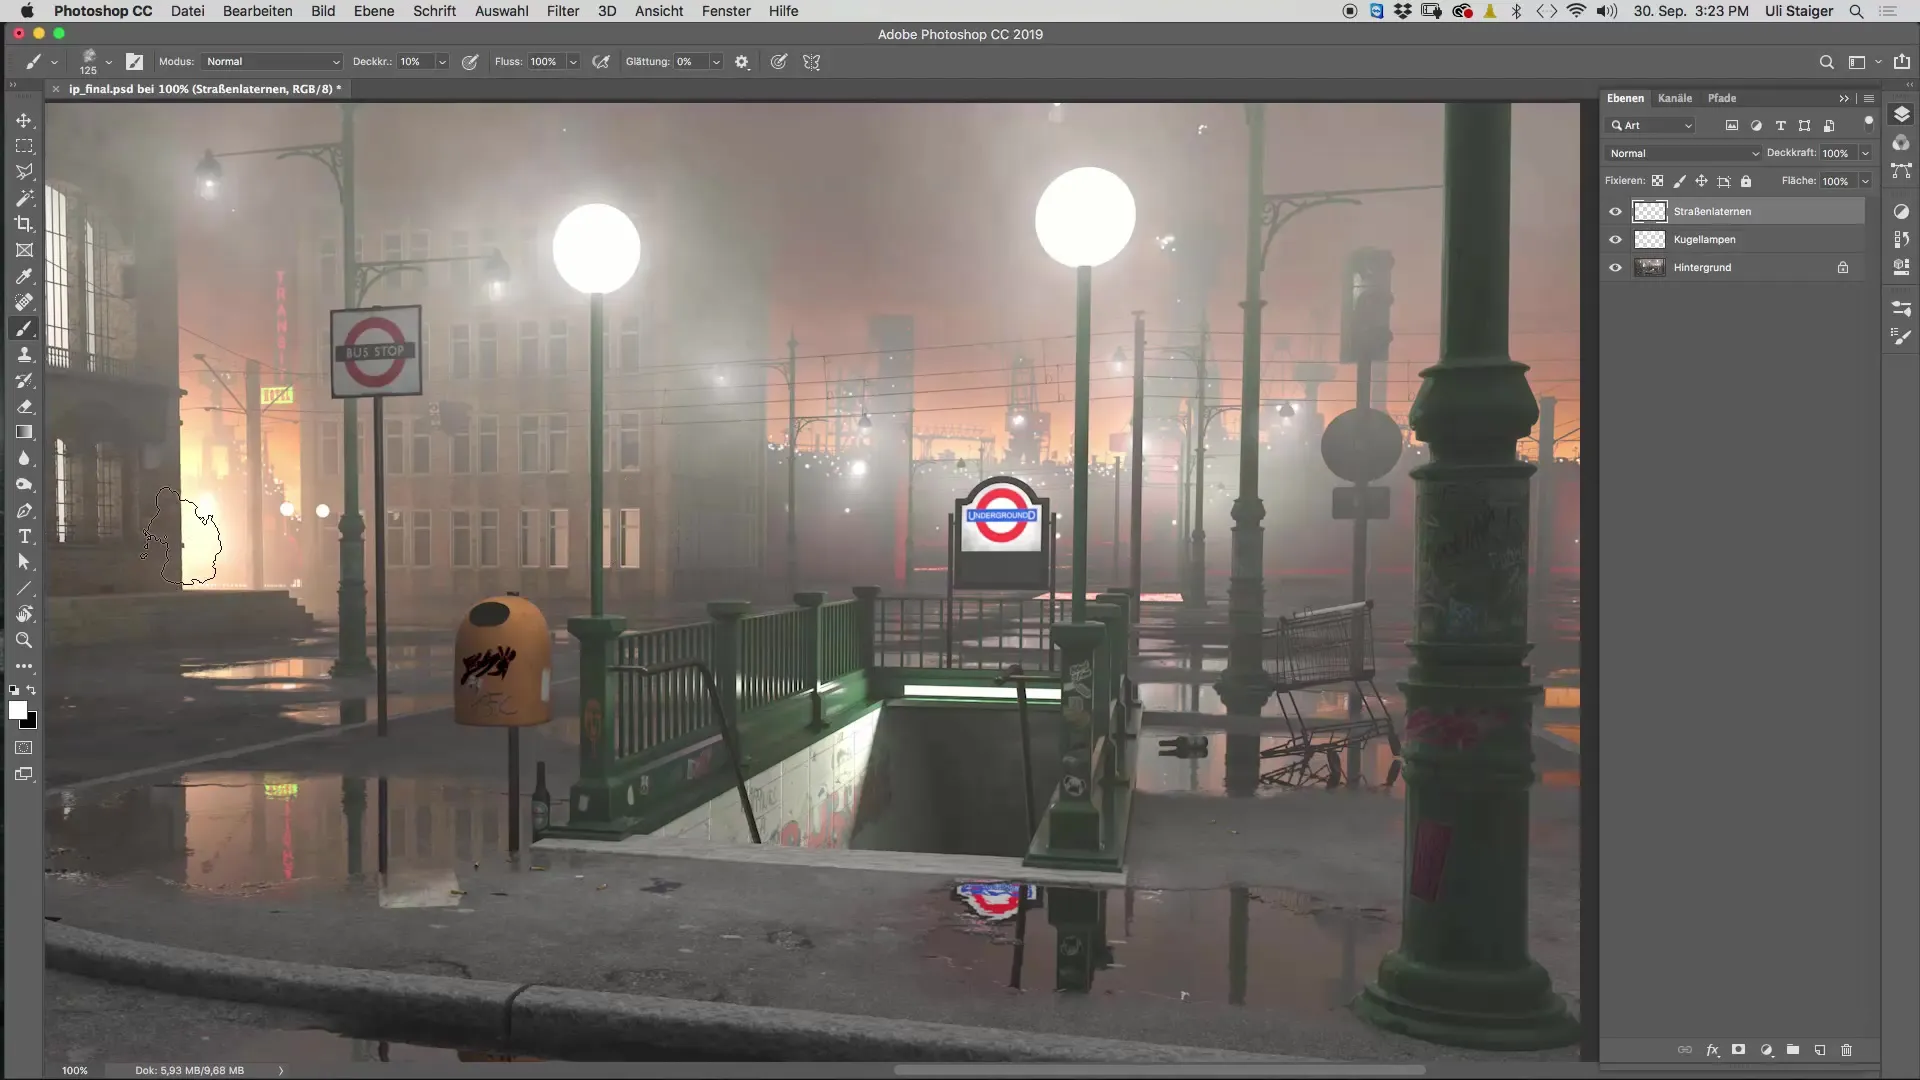
For the additional light sources – like the “Underground” sign – create a new layer and paint with a large brush tip and 10% opacity. Ensure that the fog effect is also visible at the edge of the image to animate the entire picture.
Step 10: Final Check and Adjustment
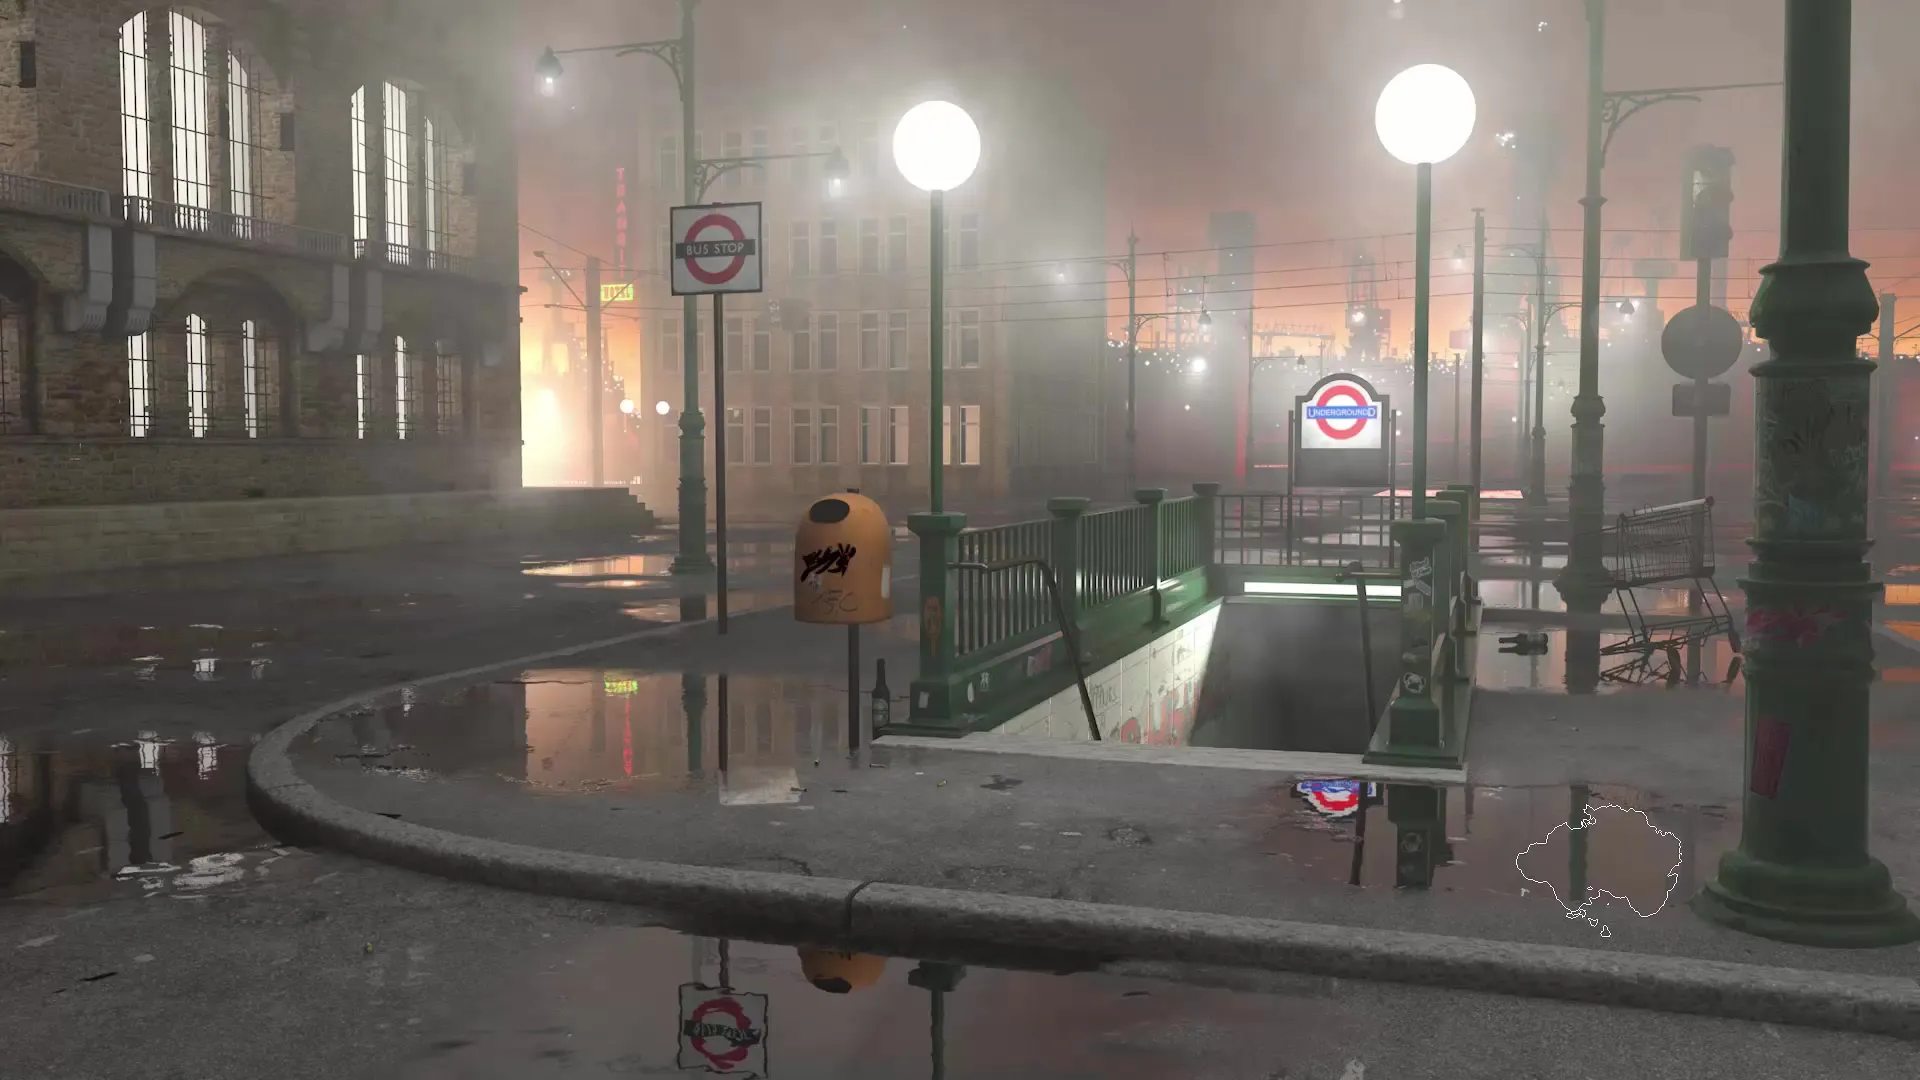
View the entire image at 100% zoom. Compare the lighting effects and adjust the layers if necessary. This is important to ensure all elements appear harmonious and the light sources shine realistically.
Summary - Painting Light in Cinema 4D: A Step-by-Step Guide
In this guide, you learned how to paint light sources in Cinema 4D. The process involves using separate layers, adjusting the brush size, and working with different opacities to create a halo of light that looks realistic and appealing.
FAQ
What is the right brush for light painting?The "xlod 2" brush is ideal for painting light halos.
How high should the opacity be when starting?Start with an opacity of 10% to create a soft light halo.
Why should I use separate layers for each light source?Separate layers allow you to correct mistakes more easily and edit the light sources independently.
How often should I paint on the light source with the brush?Paint several times on the layer to achieve the desired effect. As the brush size increases, you should also adjust the number of strokes.
How can I ensure the transitions to the backgrounds are soft?Gradually adjust the brush size and increase it gently as you continue painting.
