Modeling in Cinema 4D offers many possibilities to achieve efficient results. In this tutorial, you will learn how to duplicate a post and arrange it cleverly to create an appealing design. Duplication plays a central role in saving time and making your work efficient. So let's get started and see how you can arrange your post in two rows.
Key Insights
- Duplicate objects in Cinema 4D easily and effectively.
- Use symmetry objects to double the placement with just a few clicks.
- Make sure to name your objects clearly and place them at the correct scale.
Step-by-Step Guide
First, you need to ensure that your foundation is placed correctly. After you have created your base, you can proceed with the post. First, create the basic model of the post to build upon.
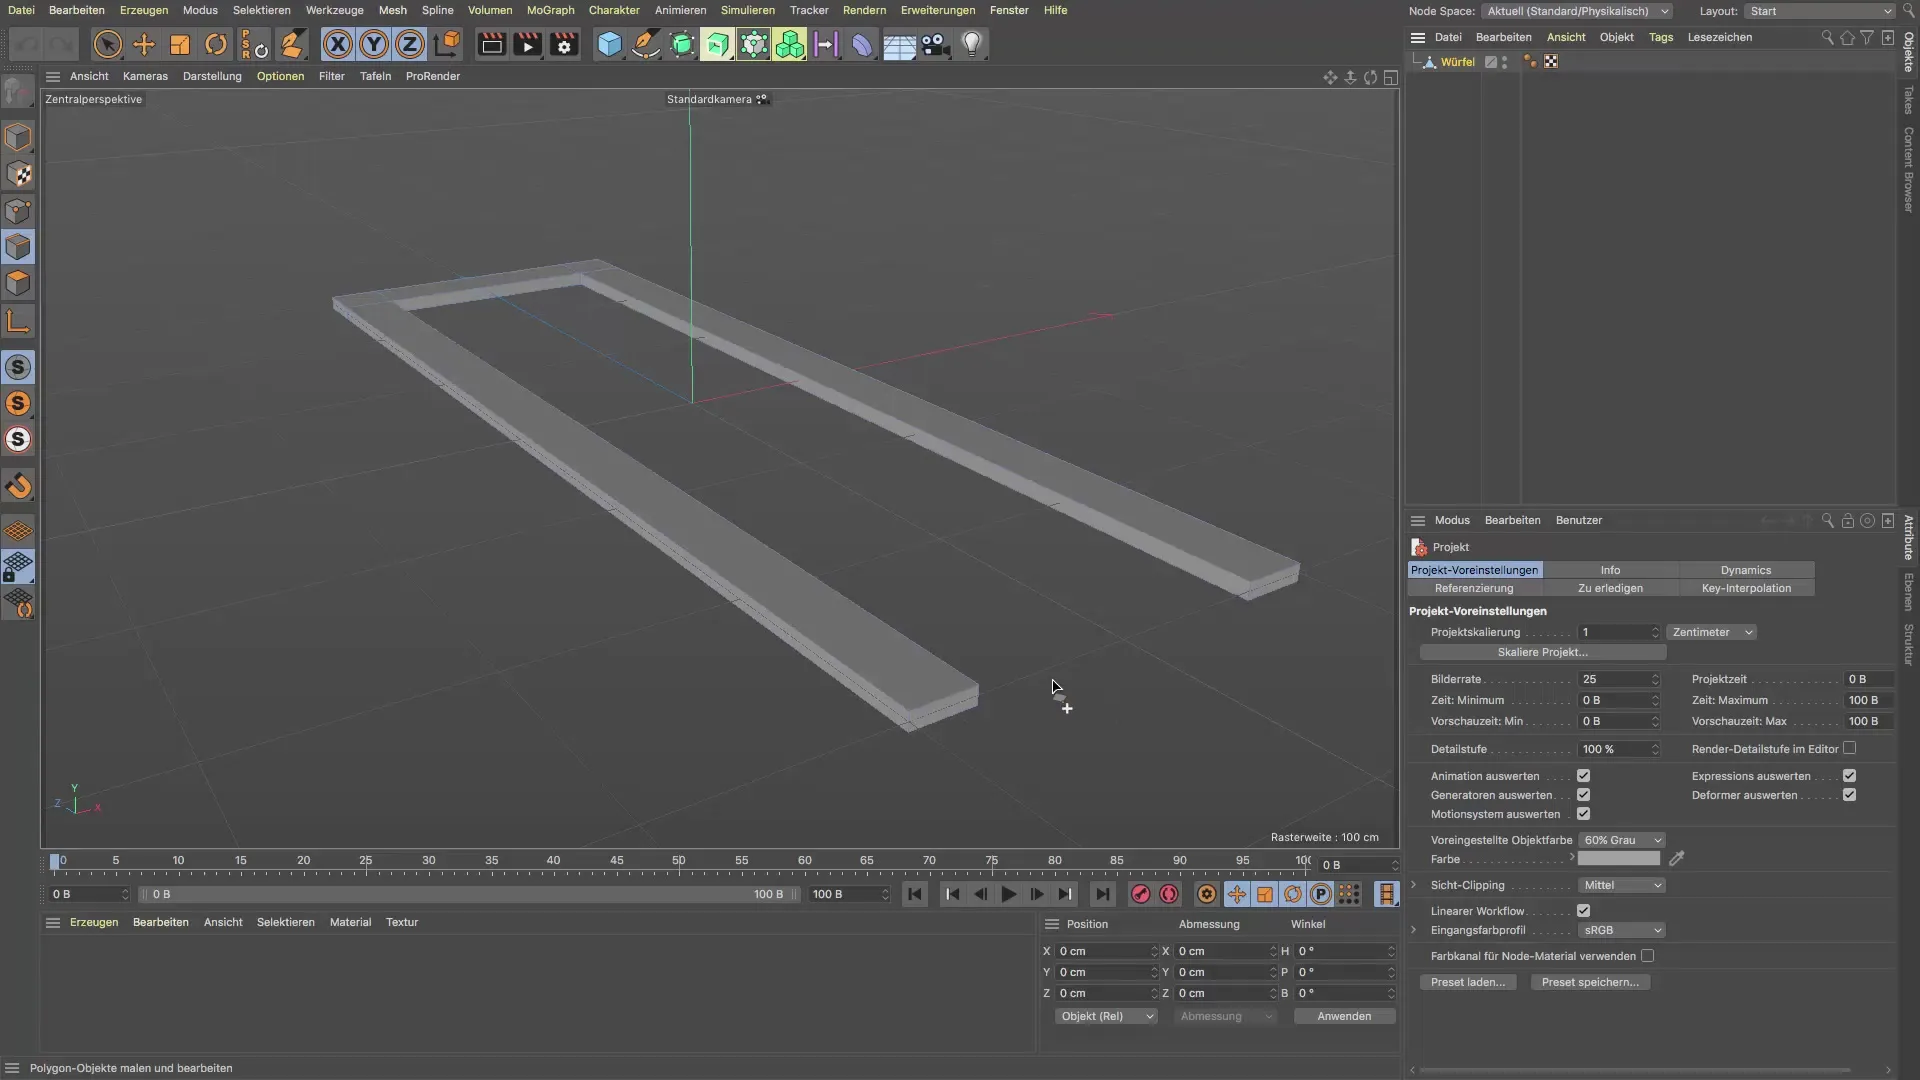
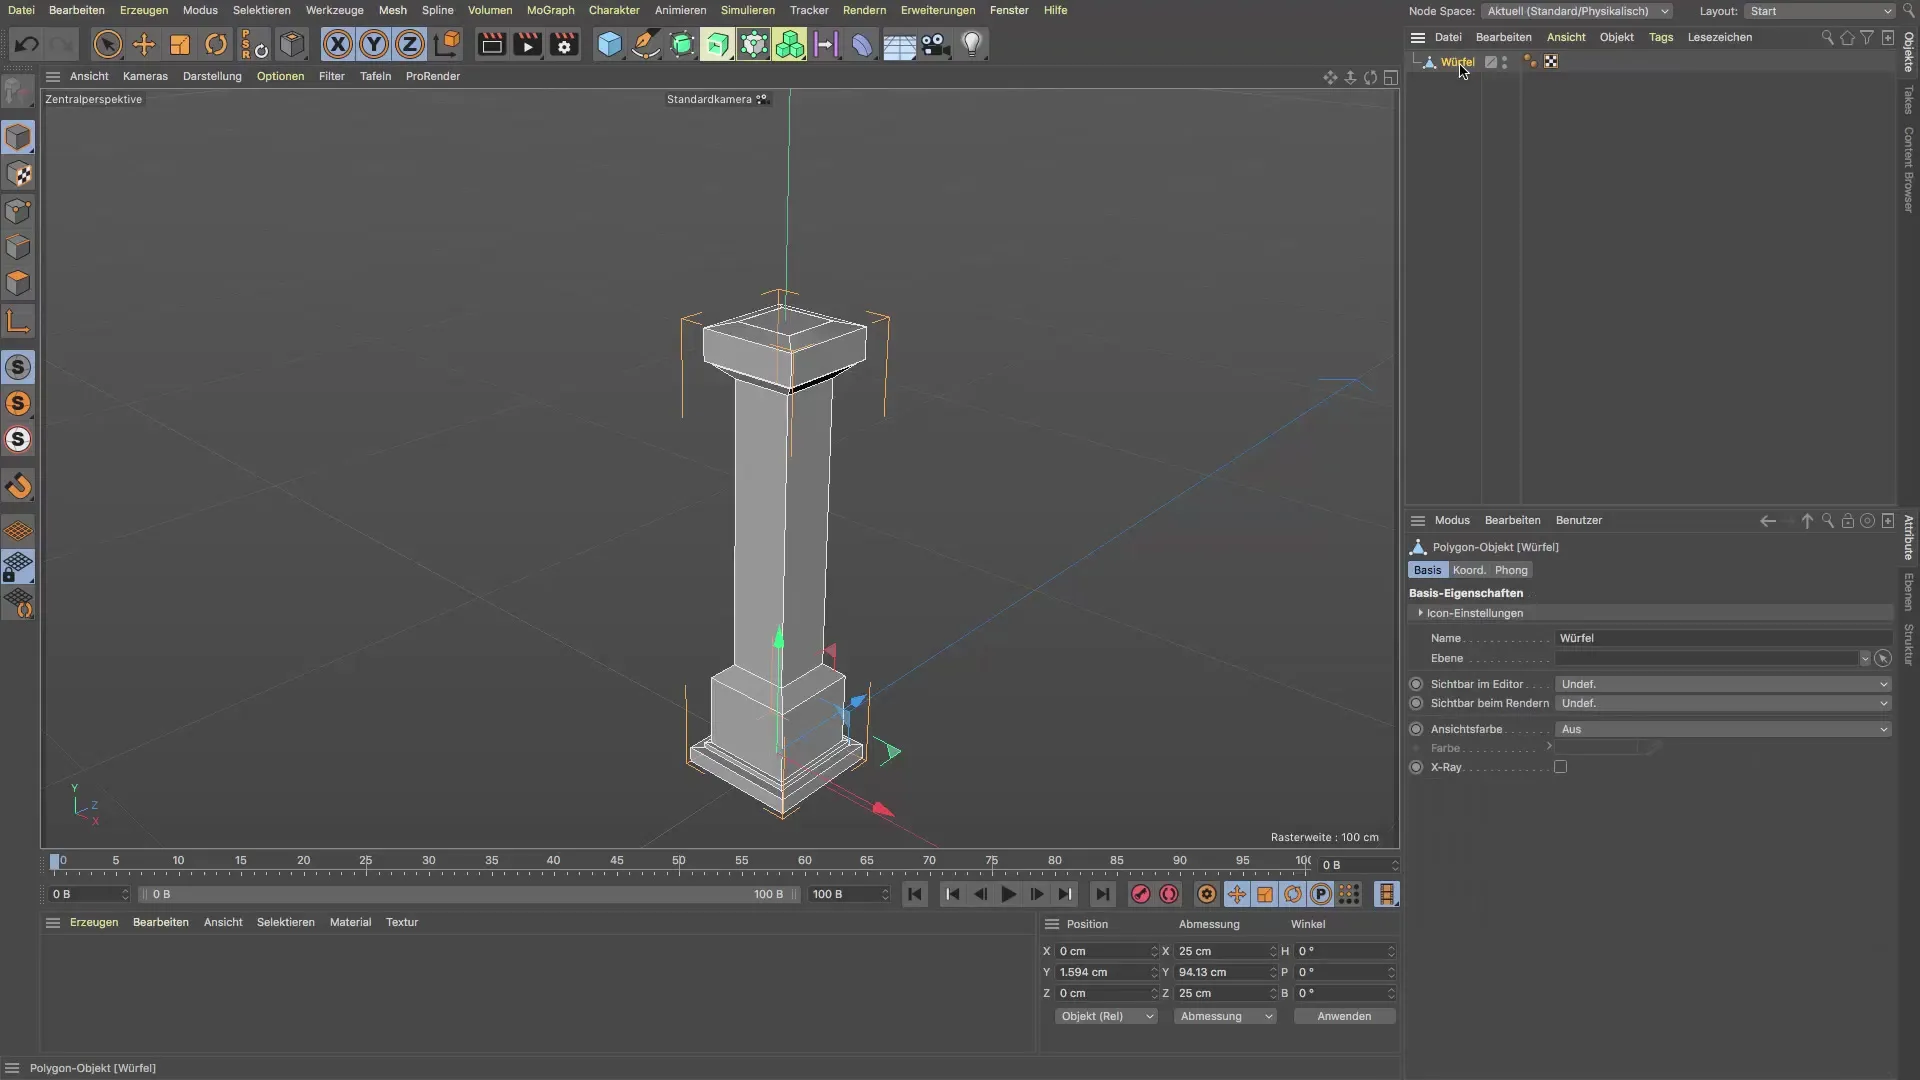
Now that your base post is ready, you should copy it. While the post is in editing mode, you can simply copy it and paste it into your new project. This is important to retain the correct dimensions and properties of the post.
Once the post is pasted, check if the placement is correct. To ensure everything looks good, you may need to readjust the post. It is helpful to position the post so that it sits directly below the foundation.
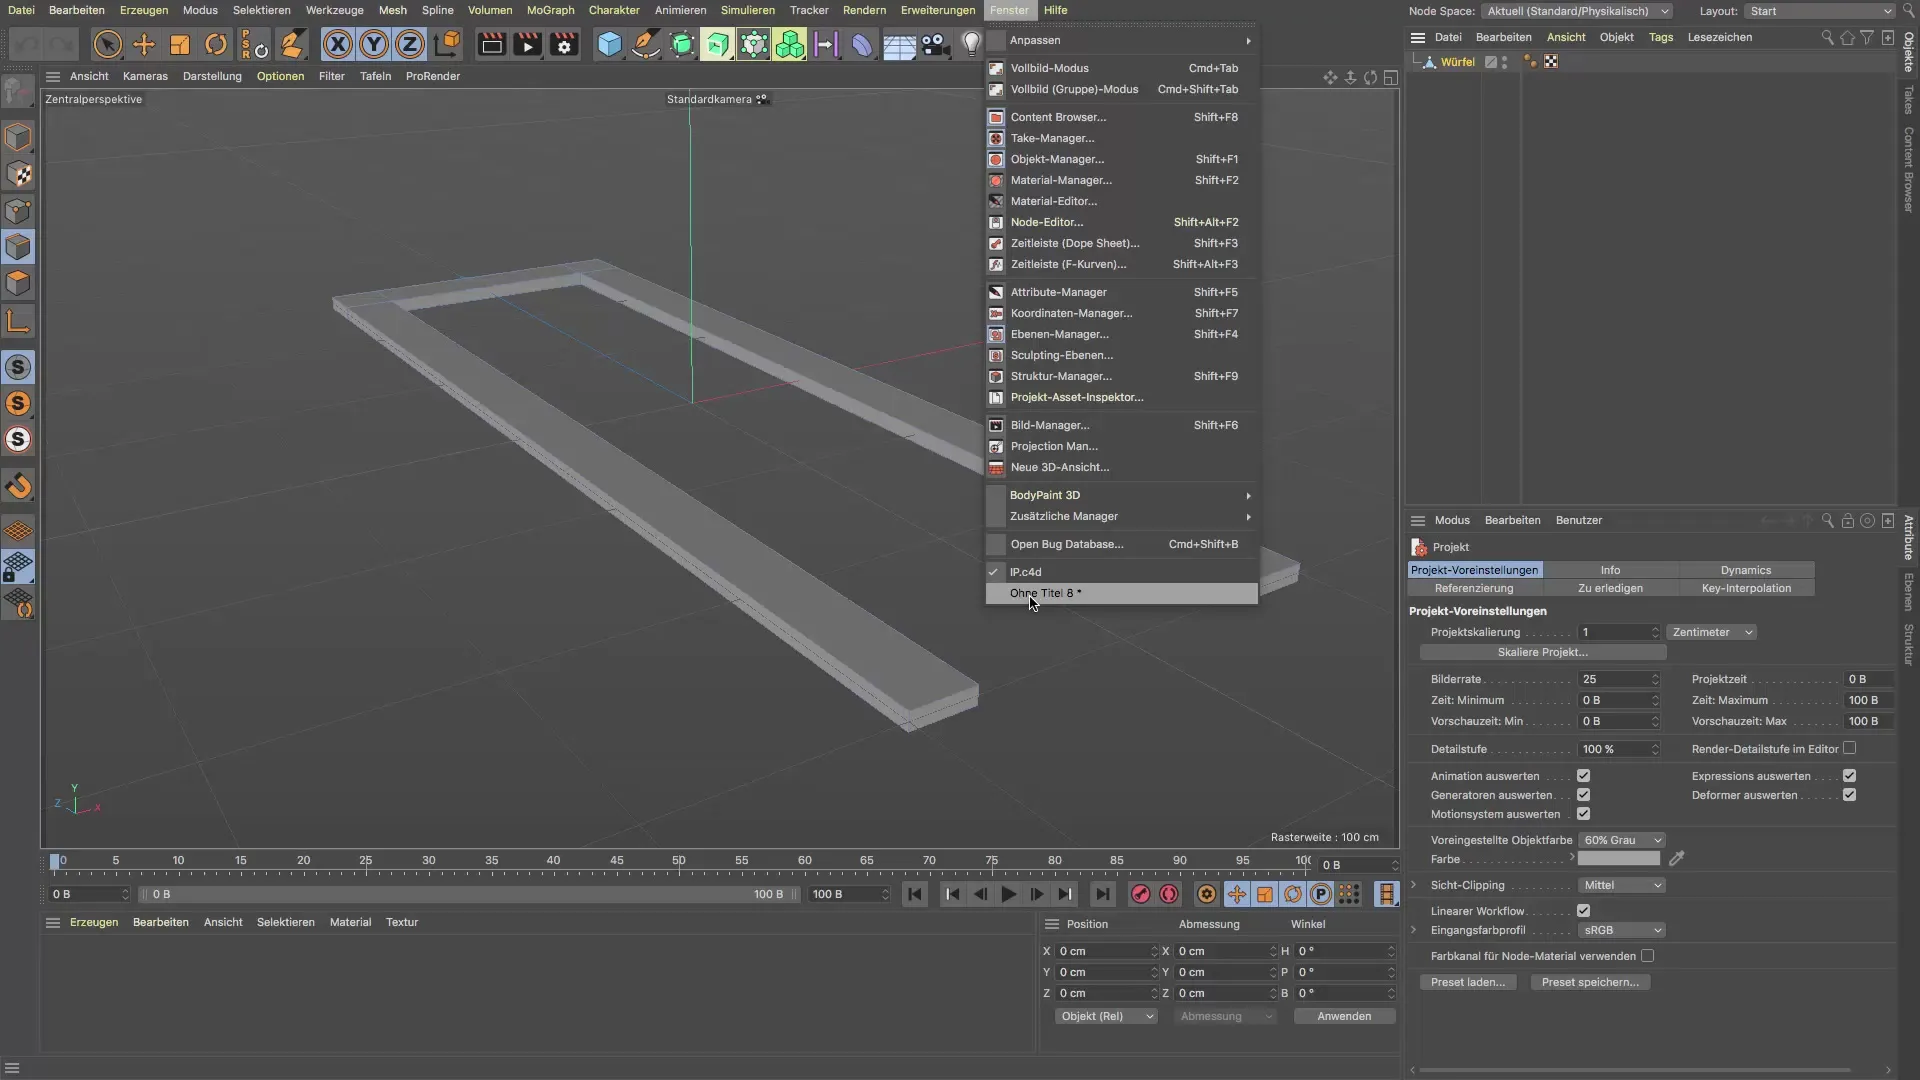
You can switch views to check the placement accurately. Make sure the post is positioned optimally and does not have unnecessary height differences. While there are visual cues to assist you, a precise inspection by changing perspective is essential.
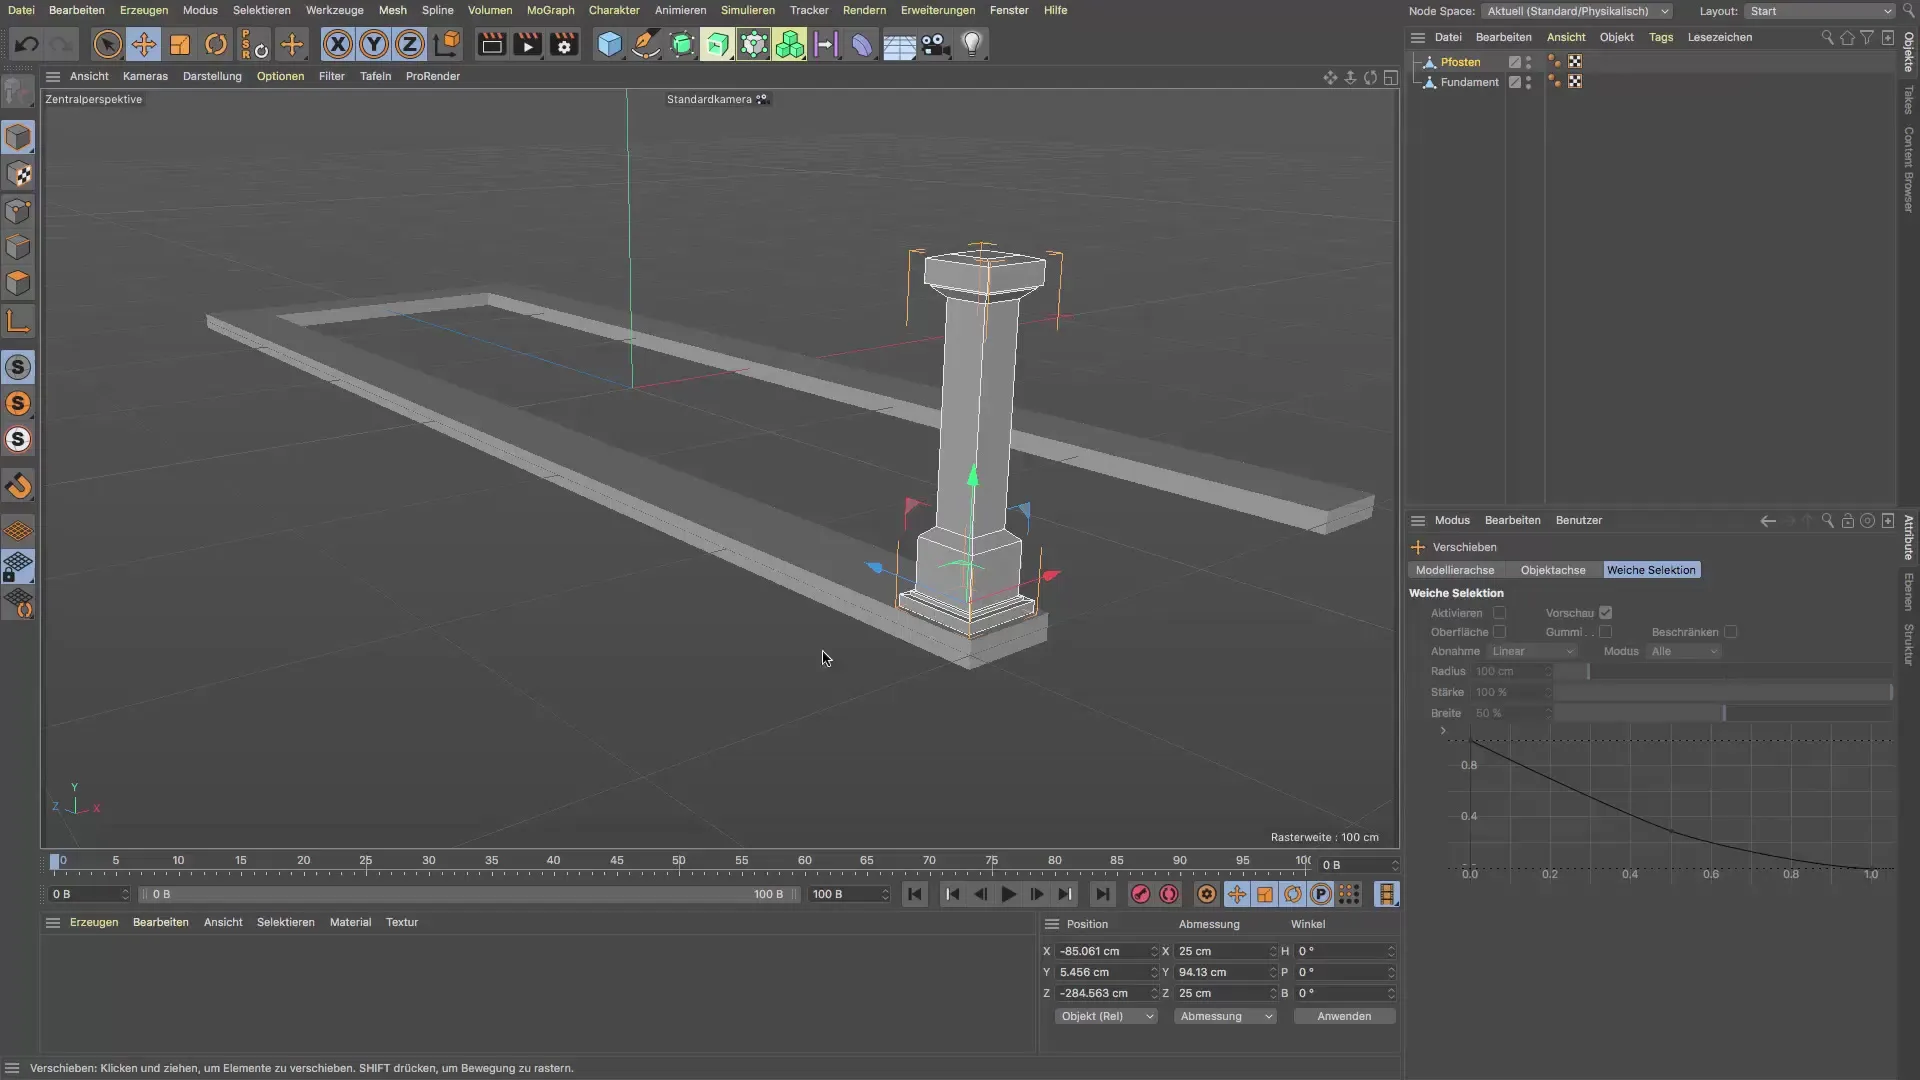
After placing the first post, it's time to proceed with creating multiple posts. You will need a total of eight posts, but you will duplicate the first post and adjust the spacing accordingly. For this, the duplicate command is ideal, which you can find in the tools.
Click on the duplicate command. You can adjust the number of copies depending on how many you need. For this task, you will need three copies. Choose the "Copies" mode so that you can later edit the objects independently.
Now you need to set the y and z coordinates. Ensure that the first post places the second row directly below it without shifting in height. Change the values accordingly to distribute the posts evenly.
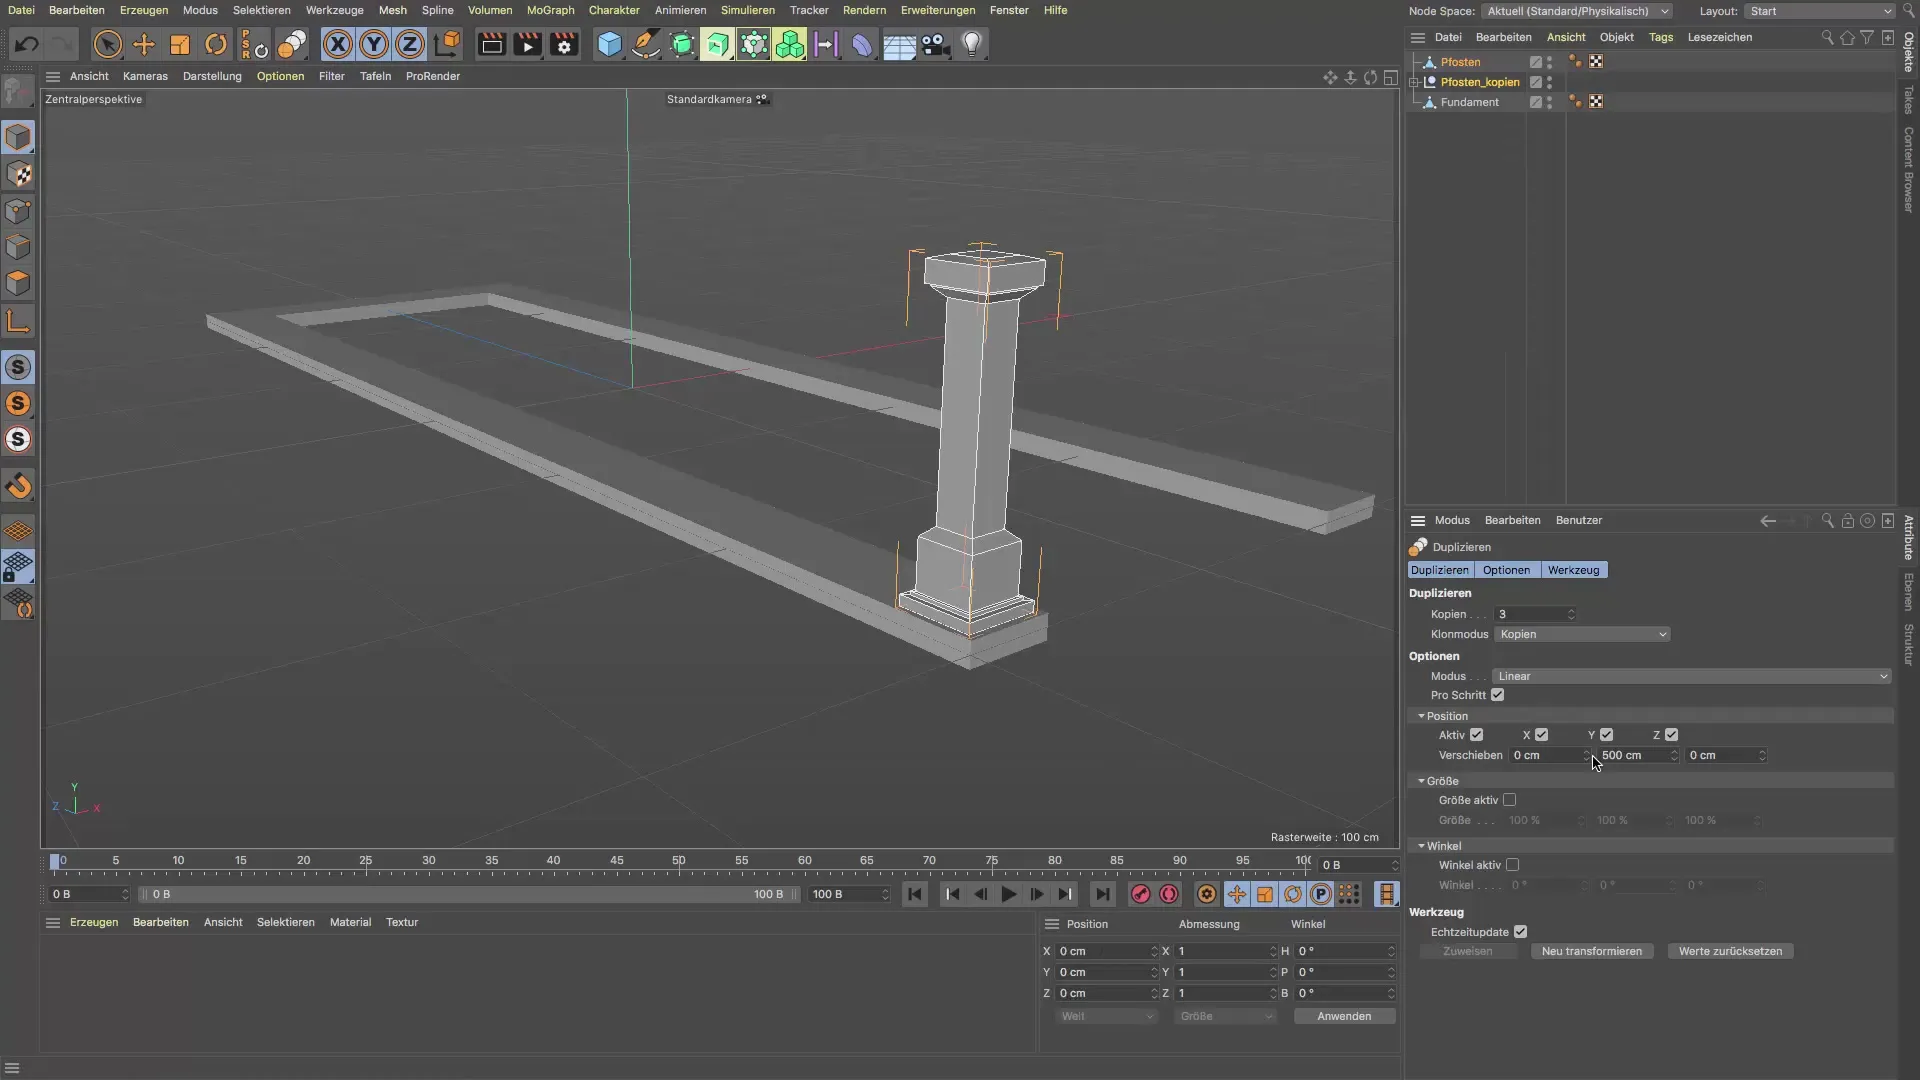
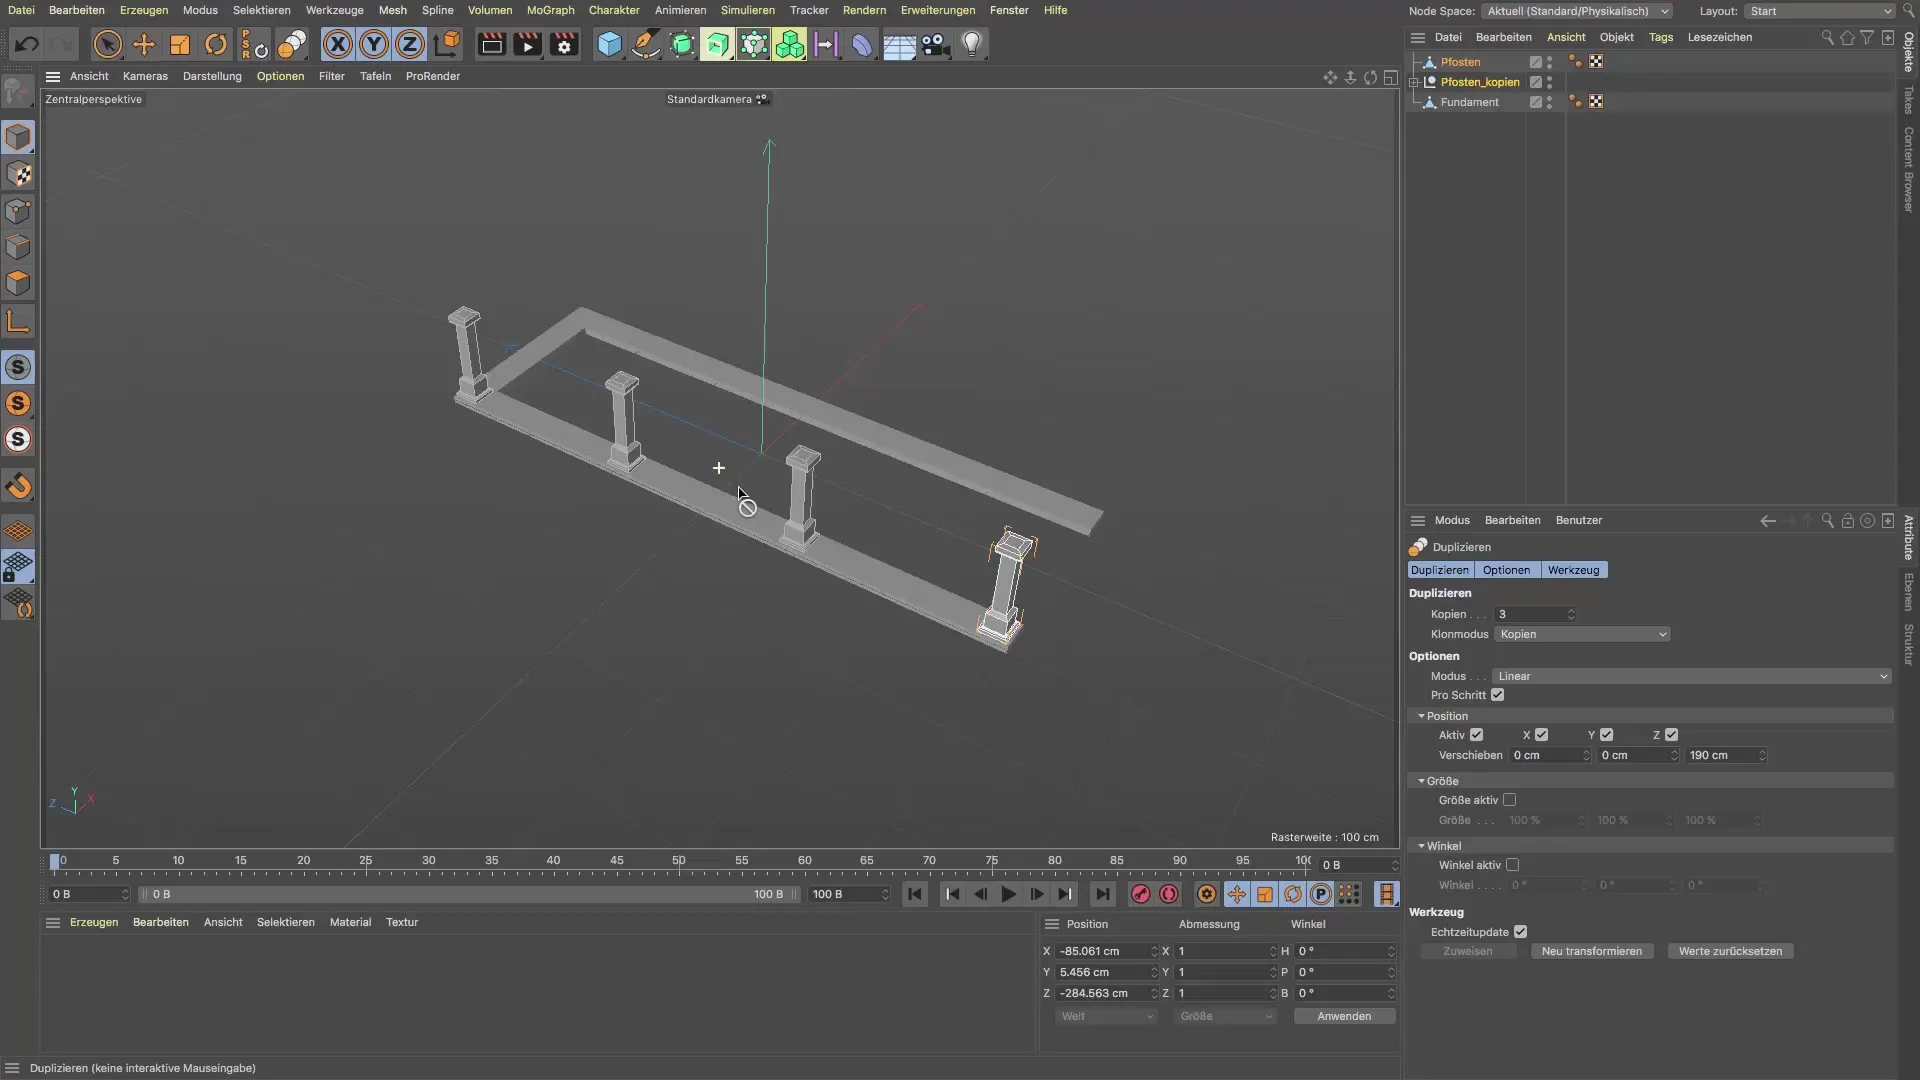
After adjusting the position, you can now ensure that the distance between the posts in the Z direction remains equal. This ensures a neat and symmetrical appearance.
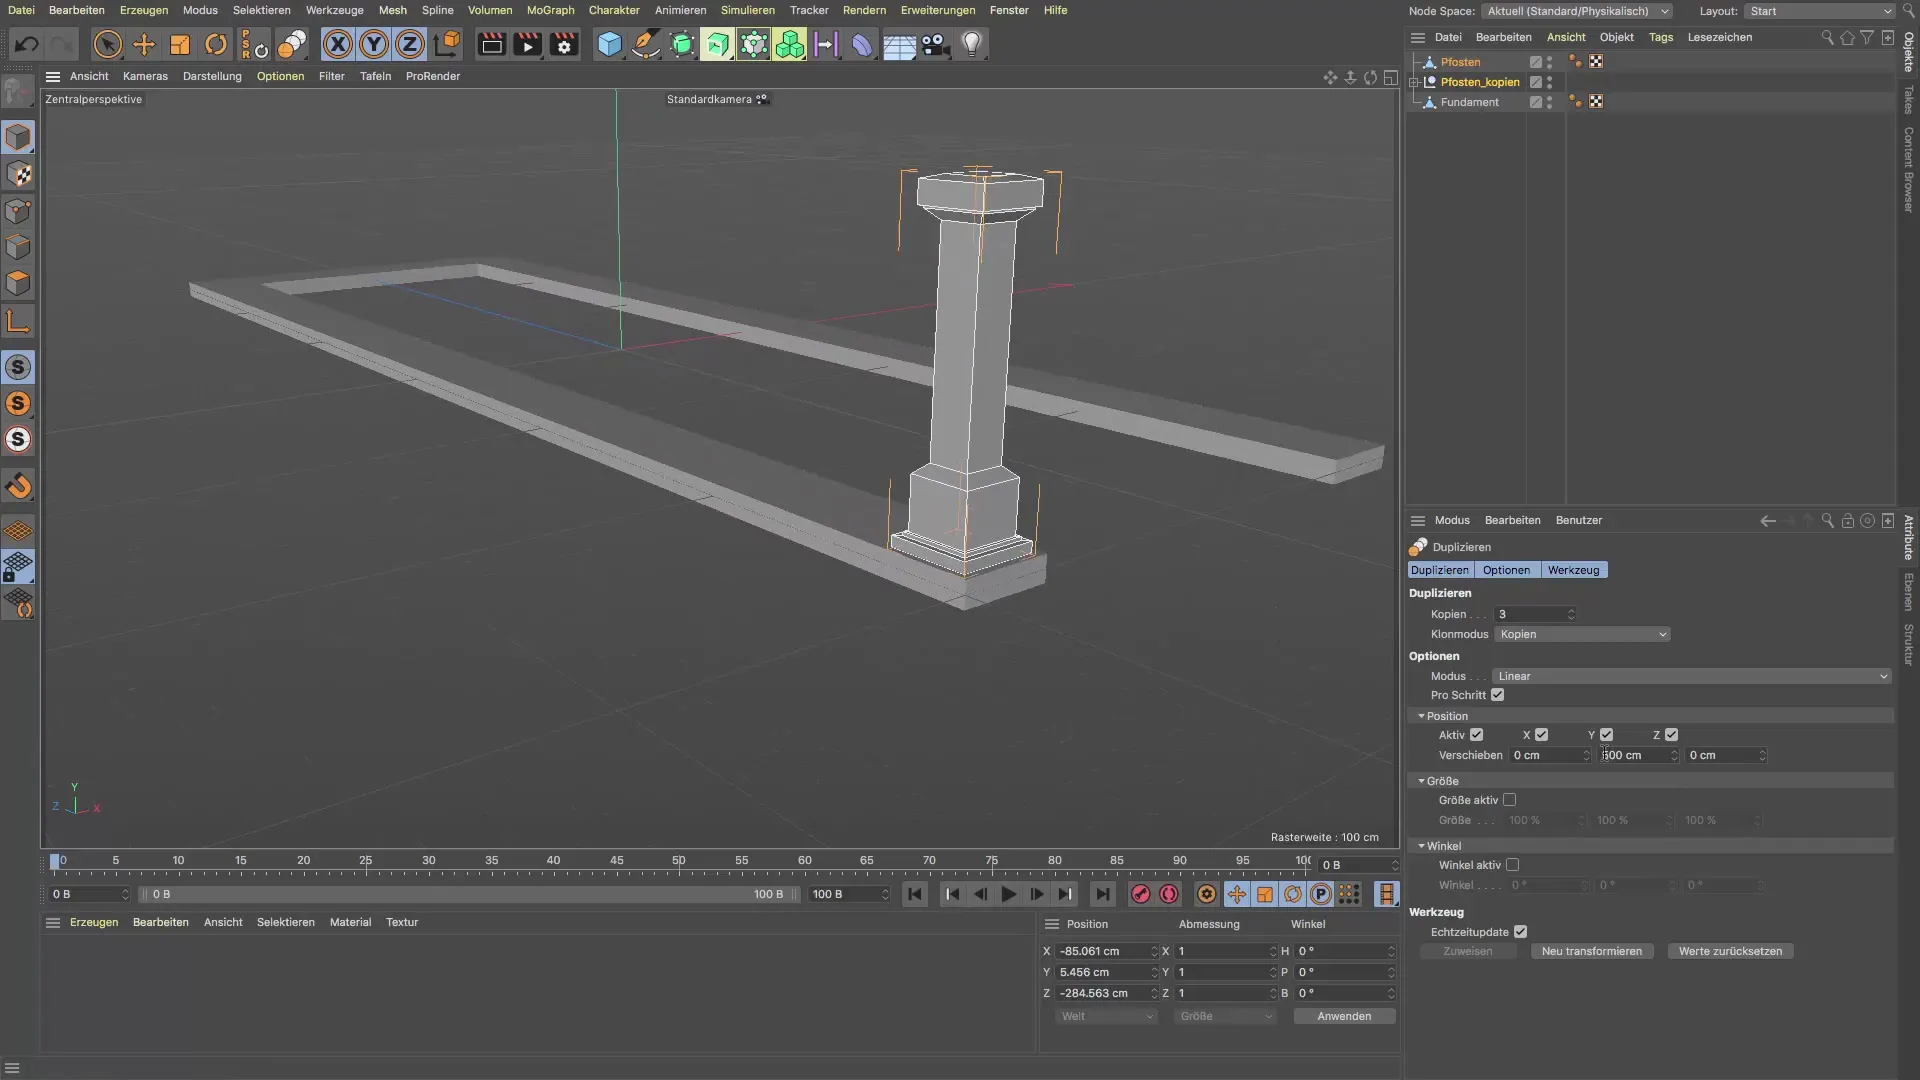
When the posts are positioned far enough apart, check them once more to ensure everything is alright. You can then readjust them for a better result.
The next step is to use a symmetry object. Select the symmetry object and add your posts to it. This ensures that the copies are arranged directly opposite their original post. To ensure that the reflection works, you should set the mirror axis correctly.
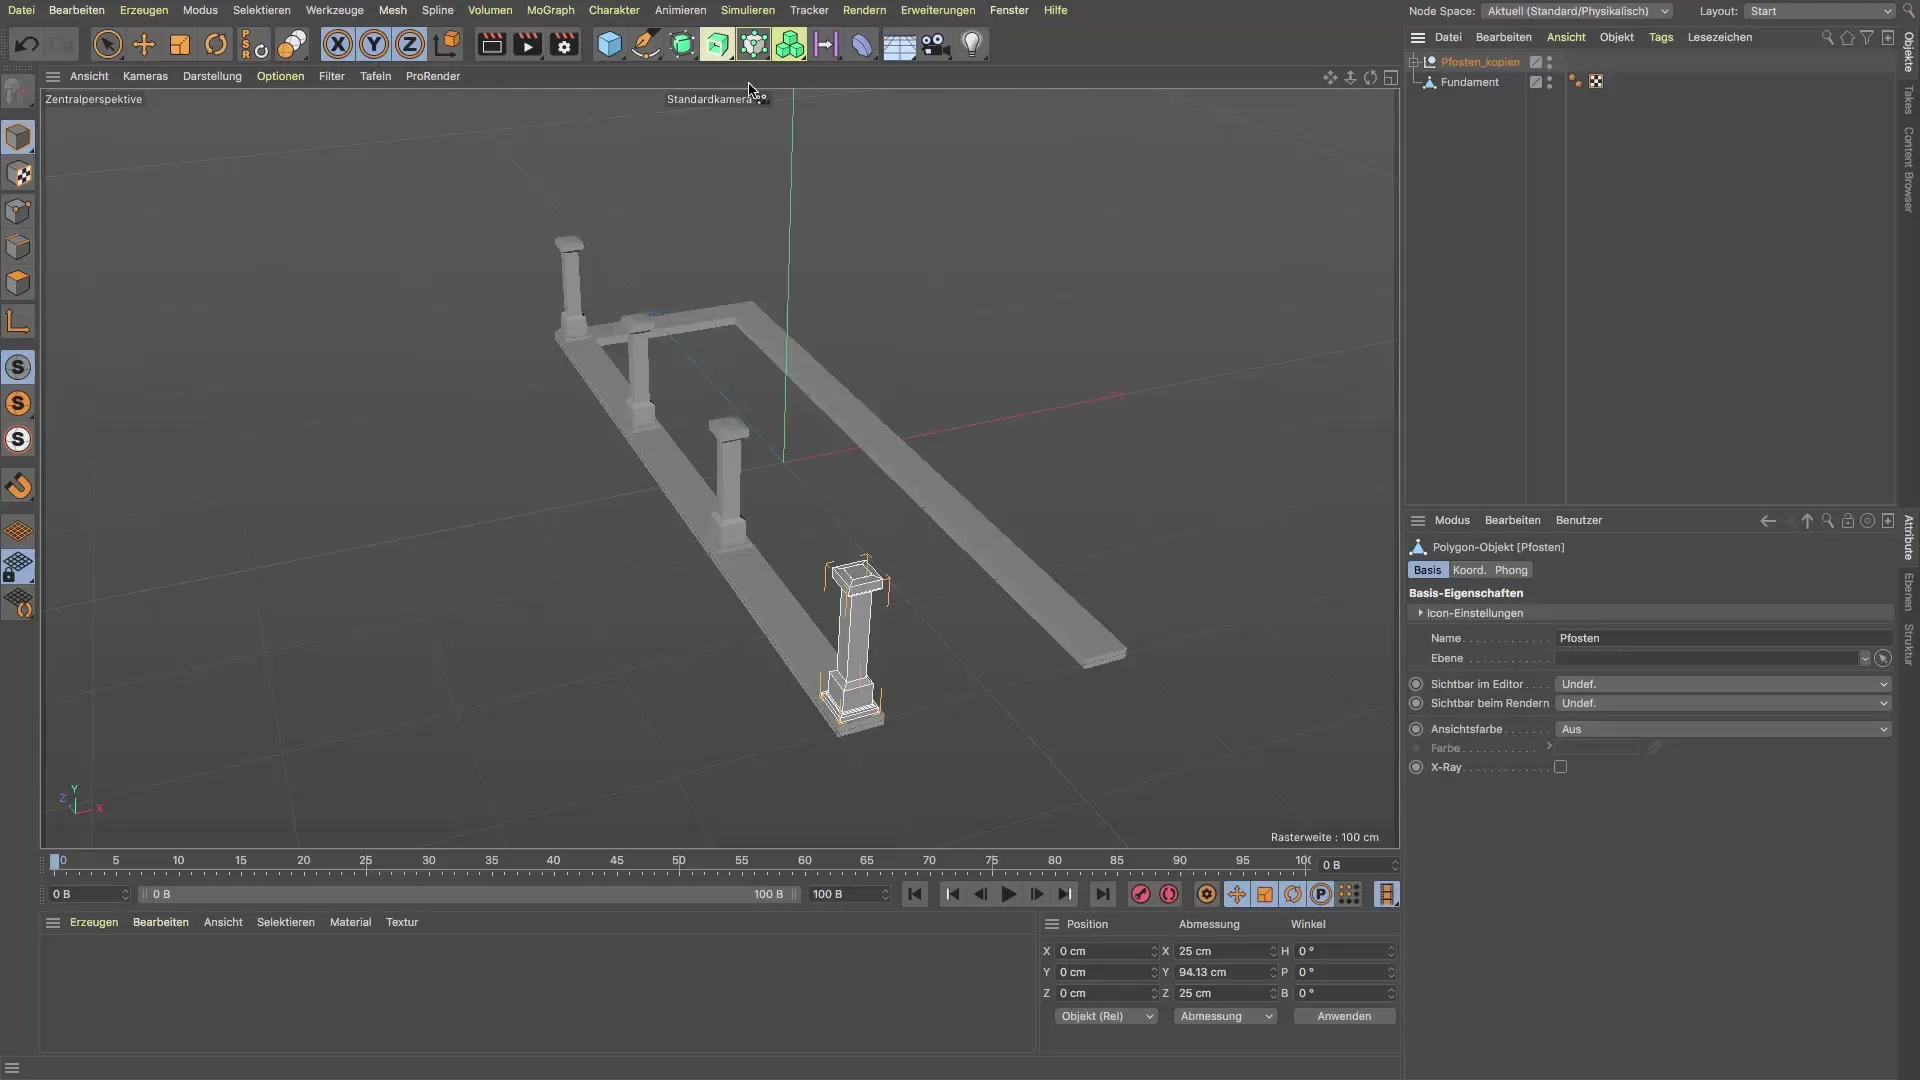
For safety, check the axis of the symmetry object. You want to ensure that both sides are exactly symmetrical. If there are errors, you can adjust the mirror plane, for example from XY to ZY.
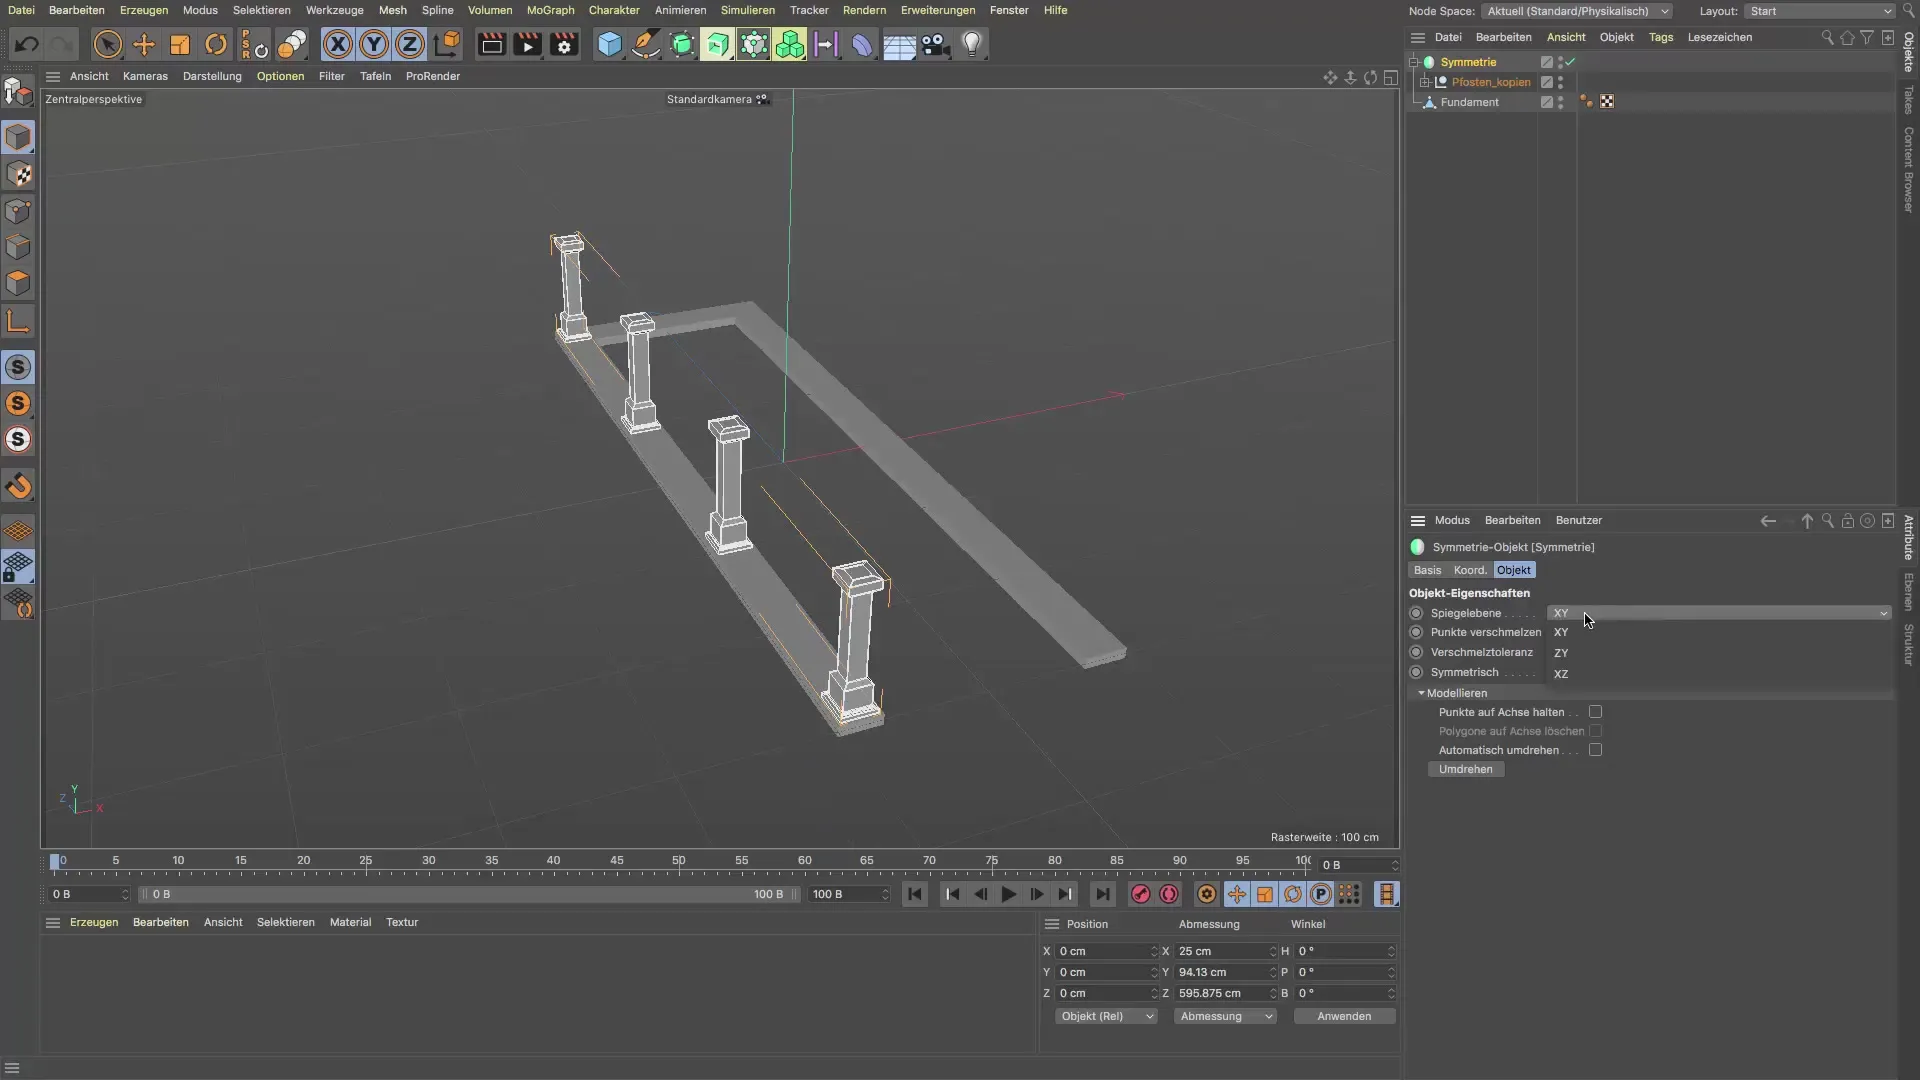
With these steps, you have efficiently created and positioned your posts. Your setup now looks neat and professional, and you have saved valuable time.
Summary – Efficient Duplication in Cinema 4D
By understanding how to duplicate and place the post wisely, you now have the tools at hand to create your models efficiently in Cinema 4D. By cleverly using duplication and symmetry objects, you save time and can focus on what matters most.
Frequently Asked Questions
How can I duplicate objects in Cinema 4D?Select the object in editing mode and use the duplicate command.
What is the benefit of using a symmetry object?It allows for easy mirroring of objects, achieving even, symmetrical designs.
Could I also work with the MoGraph tool?Yes, but in this tutorial, we focus on duplication without additional plugins.
Can I change the distances of the duplicated objects later?Yes, but you will have to do it manually after they are placed.


