In the following tutorial, you will learn how to create realistic road surfaces in Cinema 4D using the Asphalt-Shader from RDT Textures. This shader utilizes photogrammetry to deliver an extremely authentic texture. Whether you want to use the simple or the more complex shader, this guide provides you with all the information you need to take your scenes to the next level.
Key Findings
- The Asphalt Shader from RDT Textures provides a realistic representation through the use of photogrammetry.
- The textures can be efficiently integrated and adapted into your projects.
- You can apply various mapping techniques to optimize the appearance of the textures.
Step-by-Step Guide
1. Prepare Materials
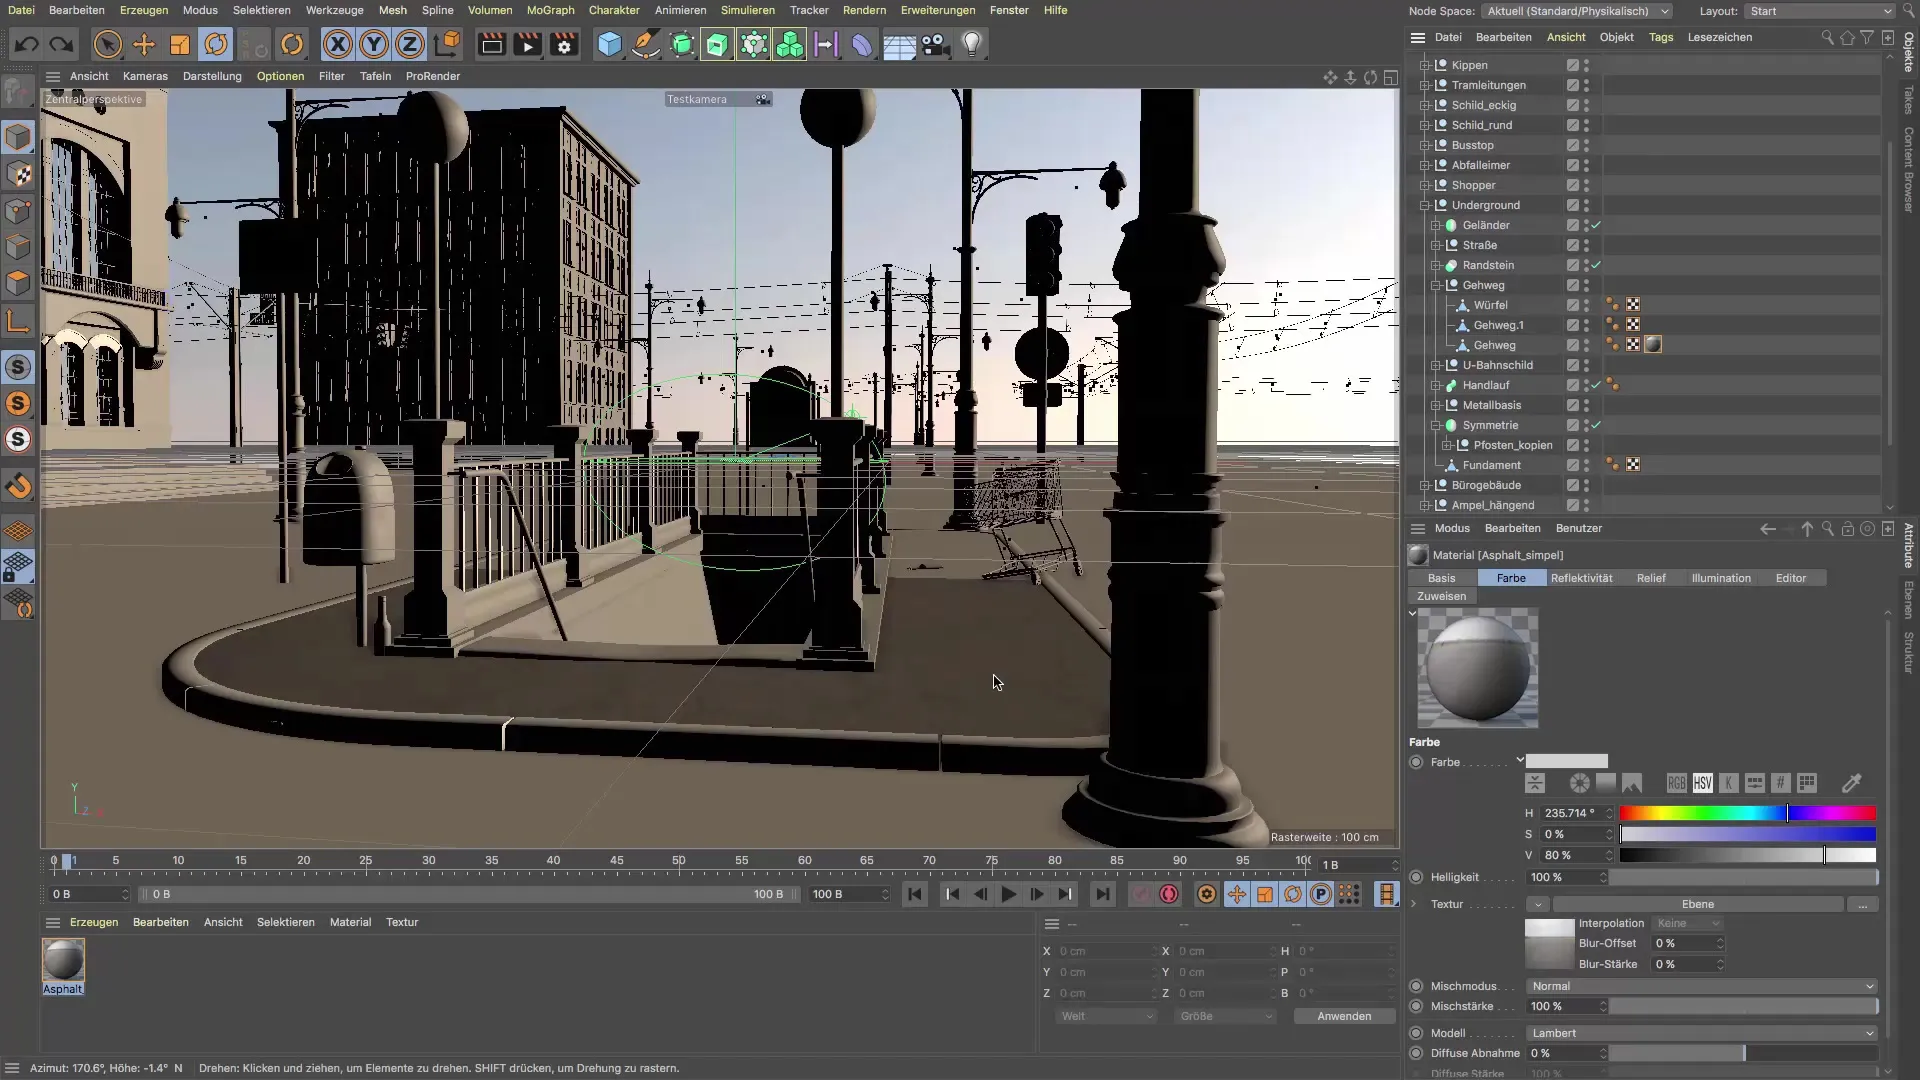
First, you should apply the desired material to your project. You can choose between a simple texture or a more realistic variant. Hold down the Ctrl key to effectively copy materials and place them where needed on your sidewalk and street.
2. Access RDT Textures
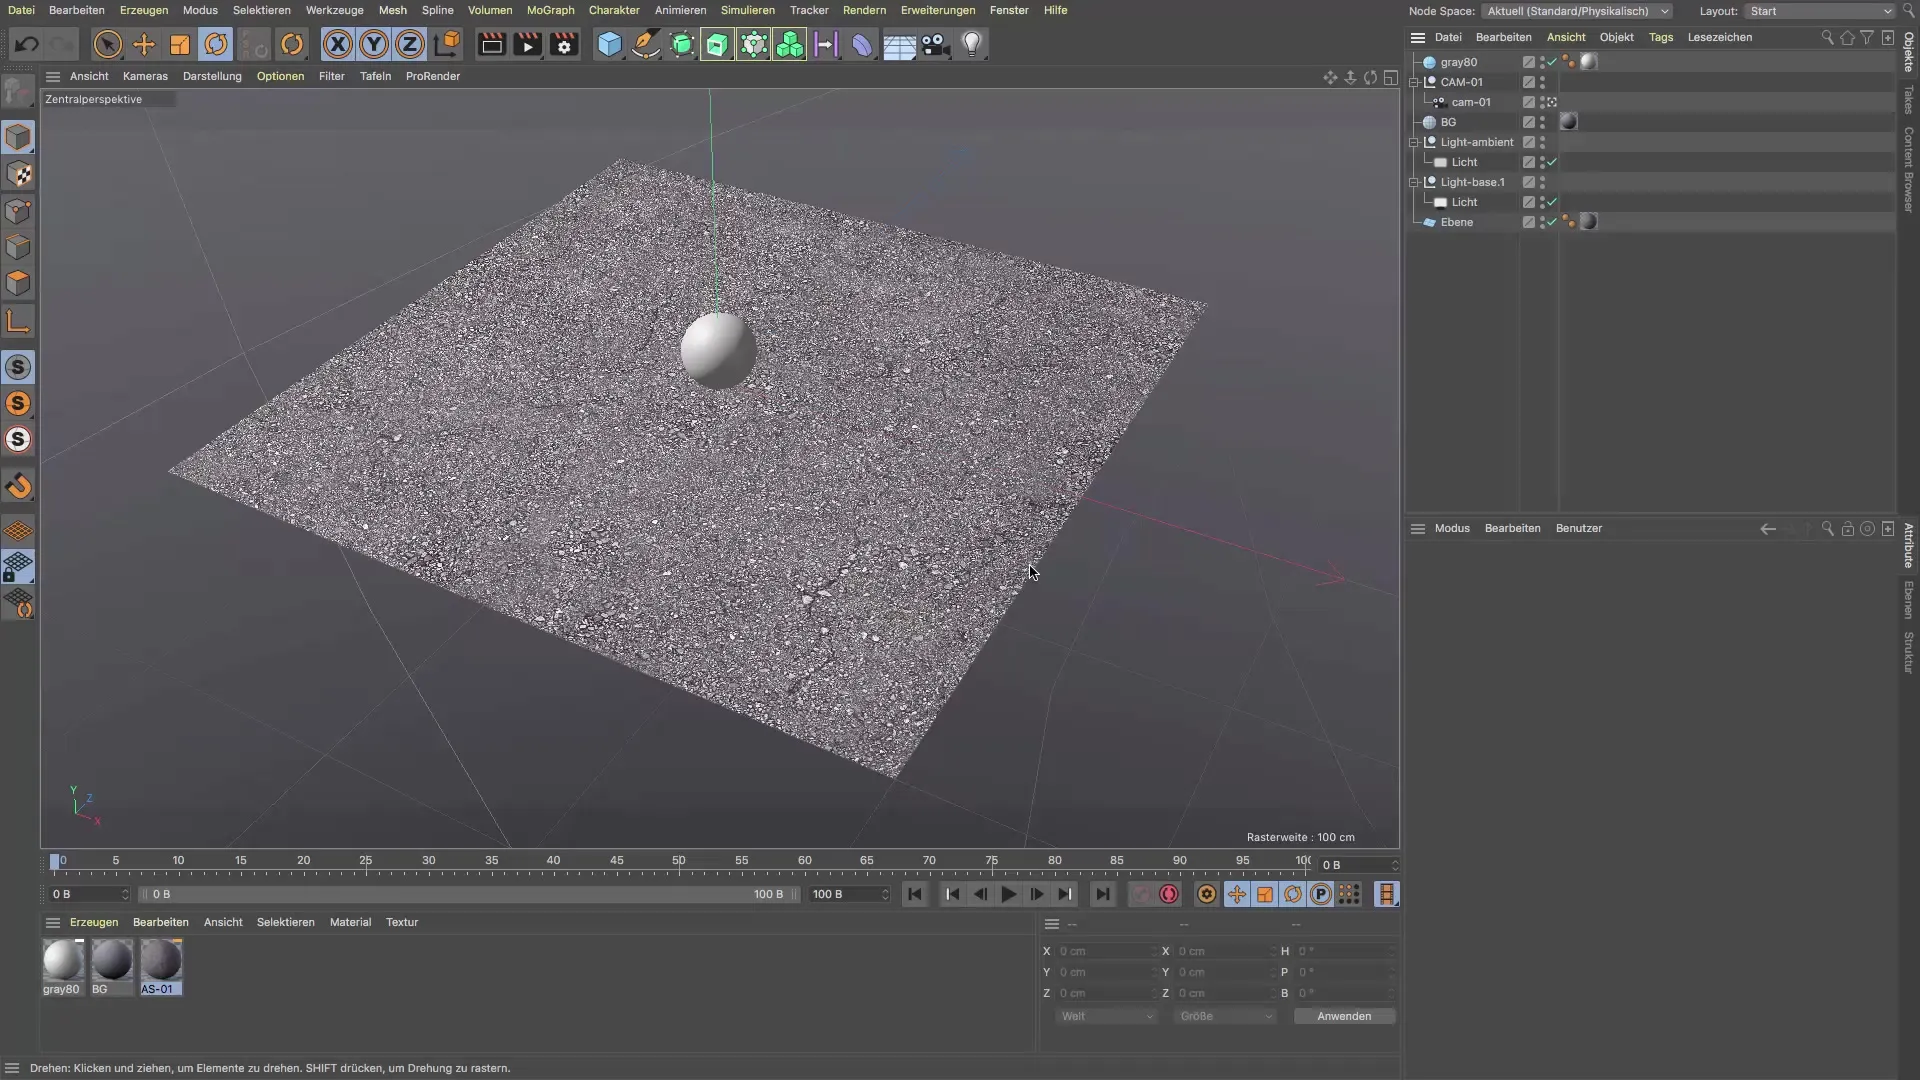
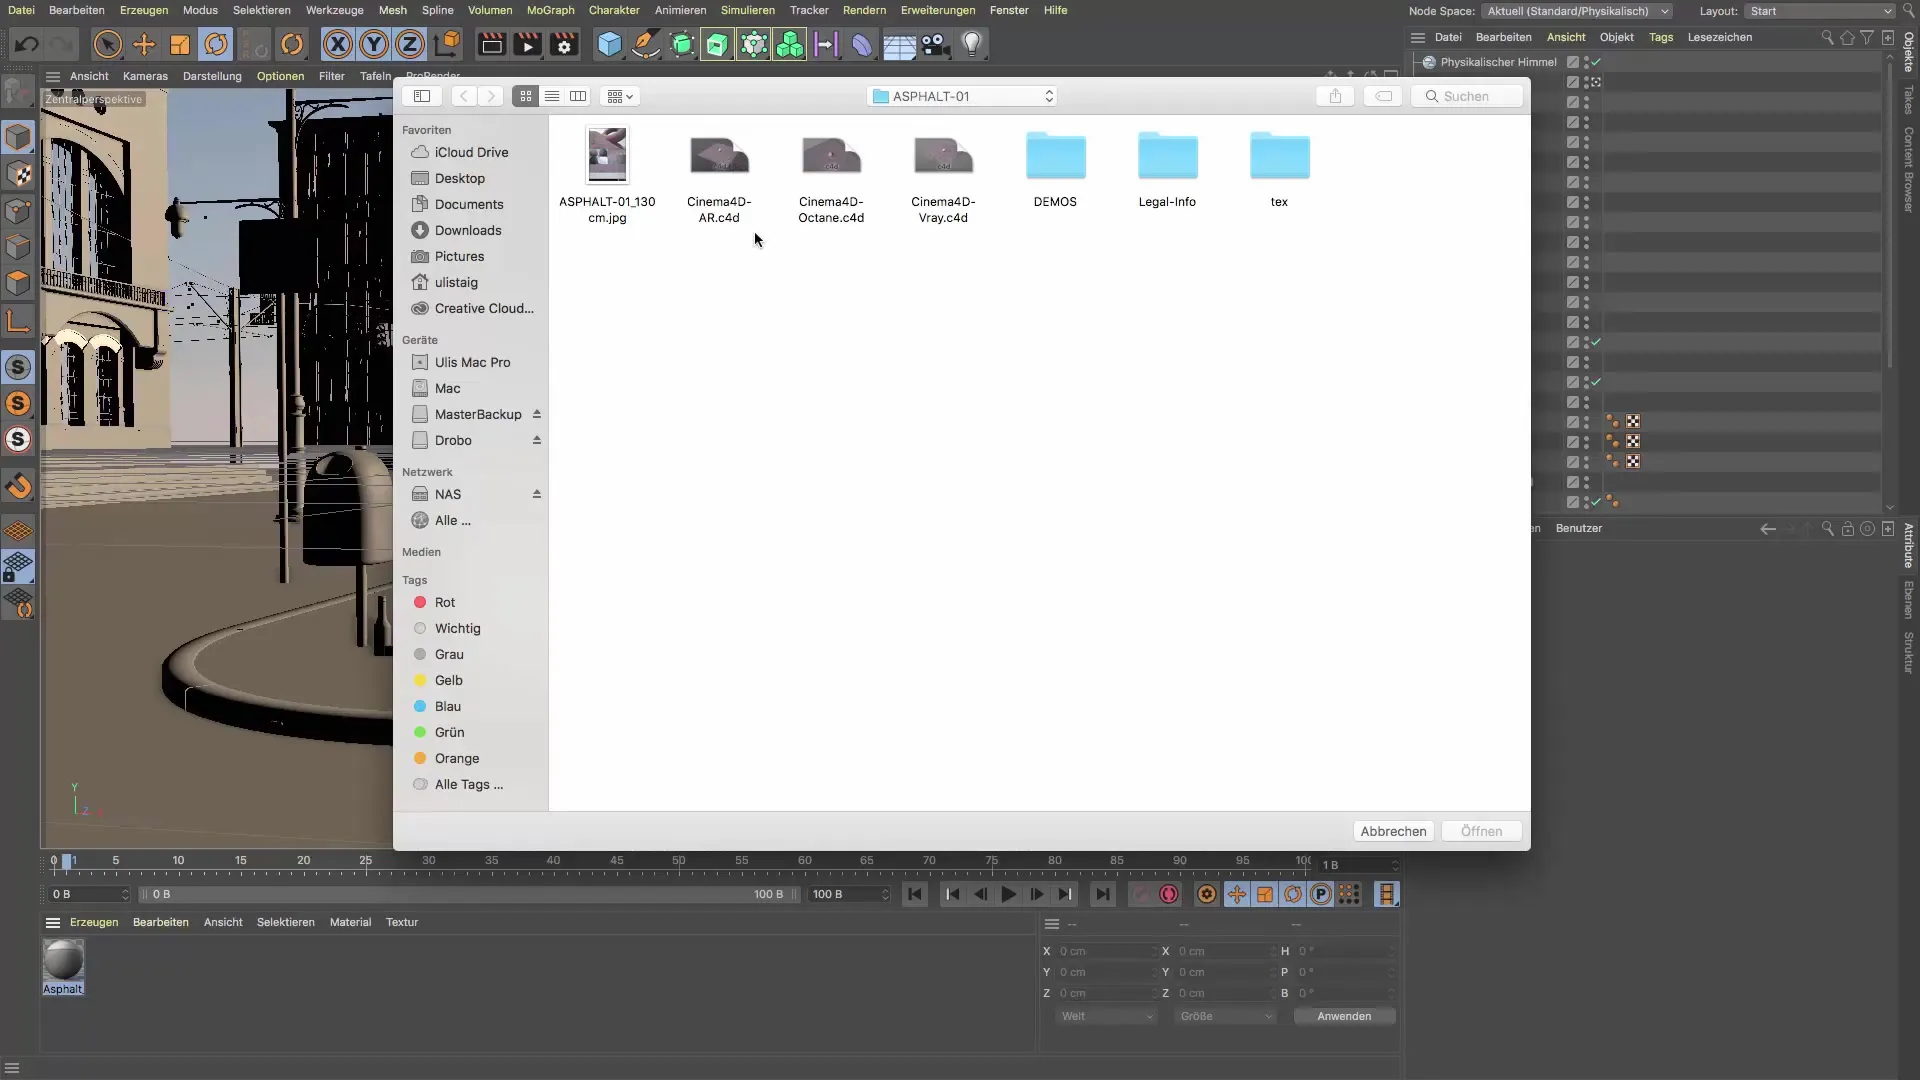
To use the Asphalt Shader from RDT Textures, download the scene from the website rdt-textures.com. After downloading, you should unpack the file and get it ready for import into Cinema 4D.
3. Import Materials
In Cinema 4D, navigate to “Create” and add the required materials from your downloaded folder. You can delete the materials for the sky object and the sphere, as you only need the asphalt material.
4. Assign and Adjust Material
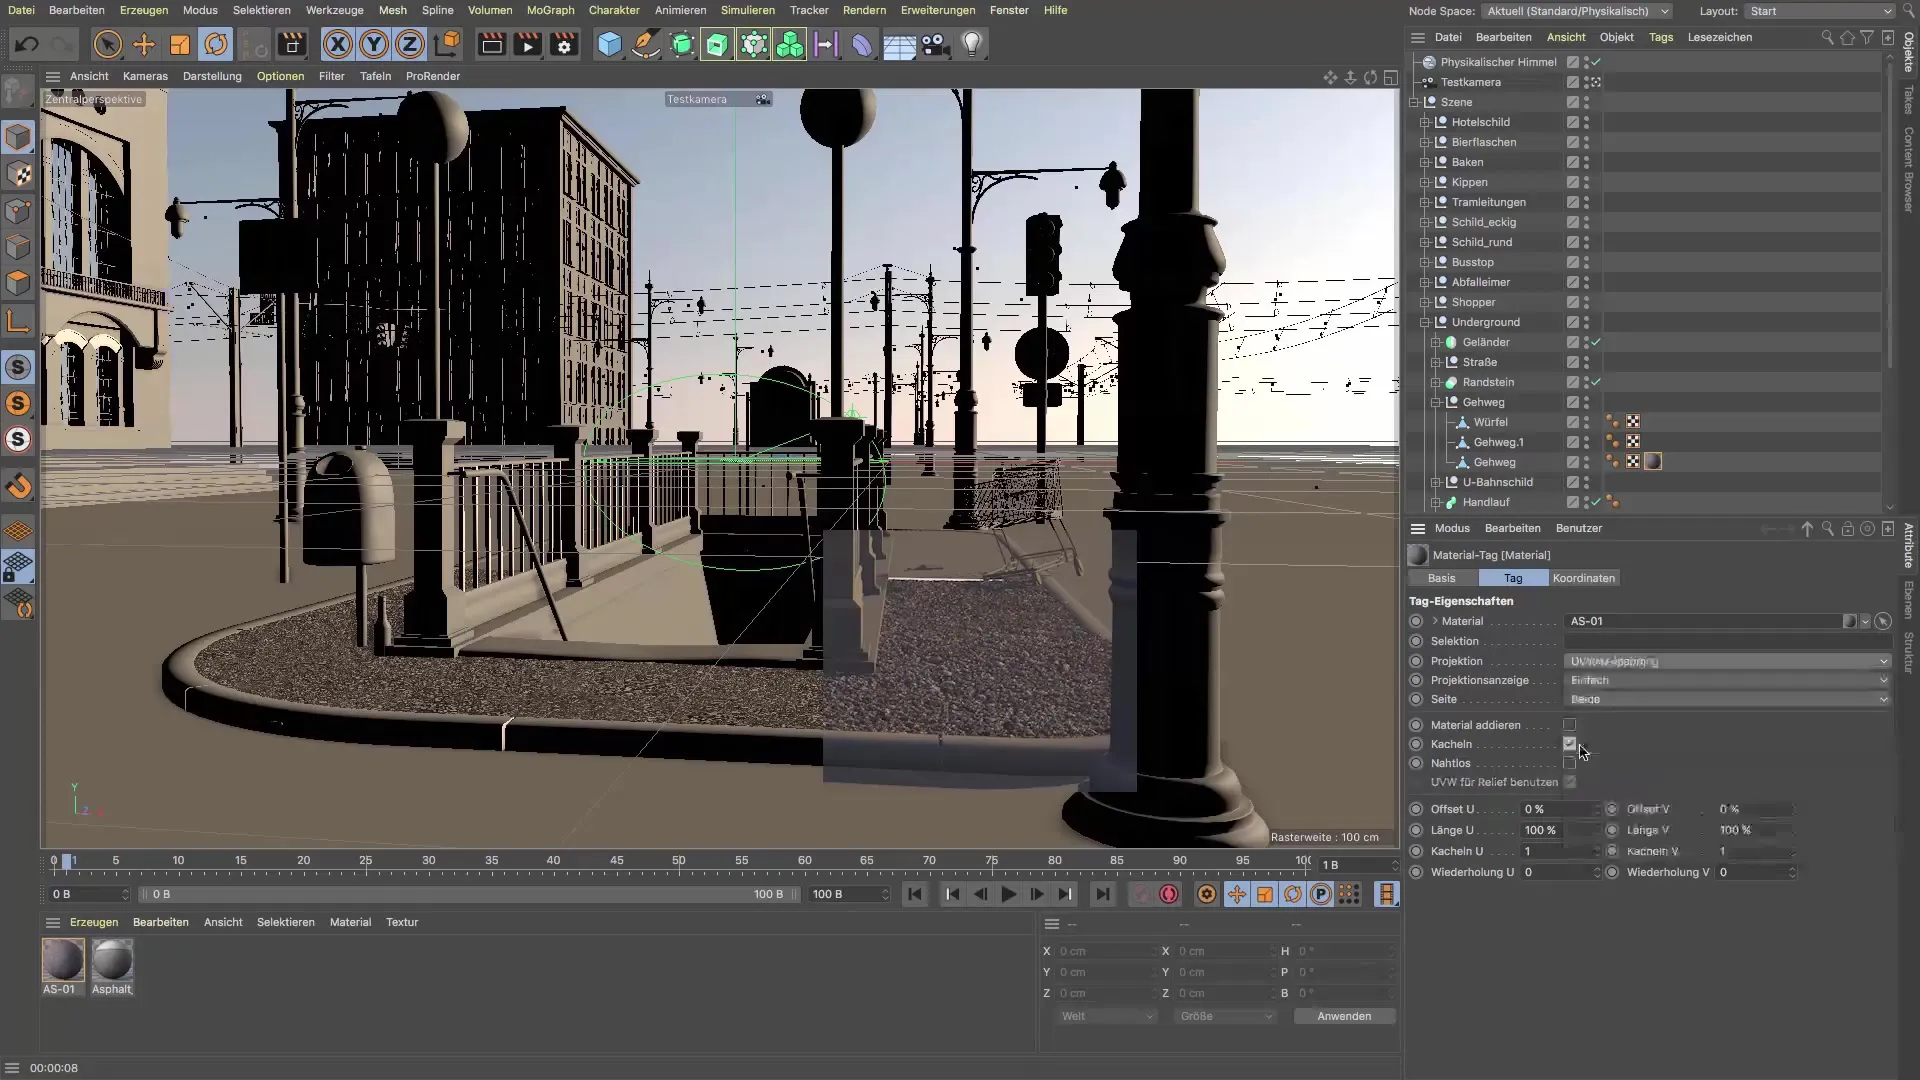
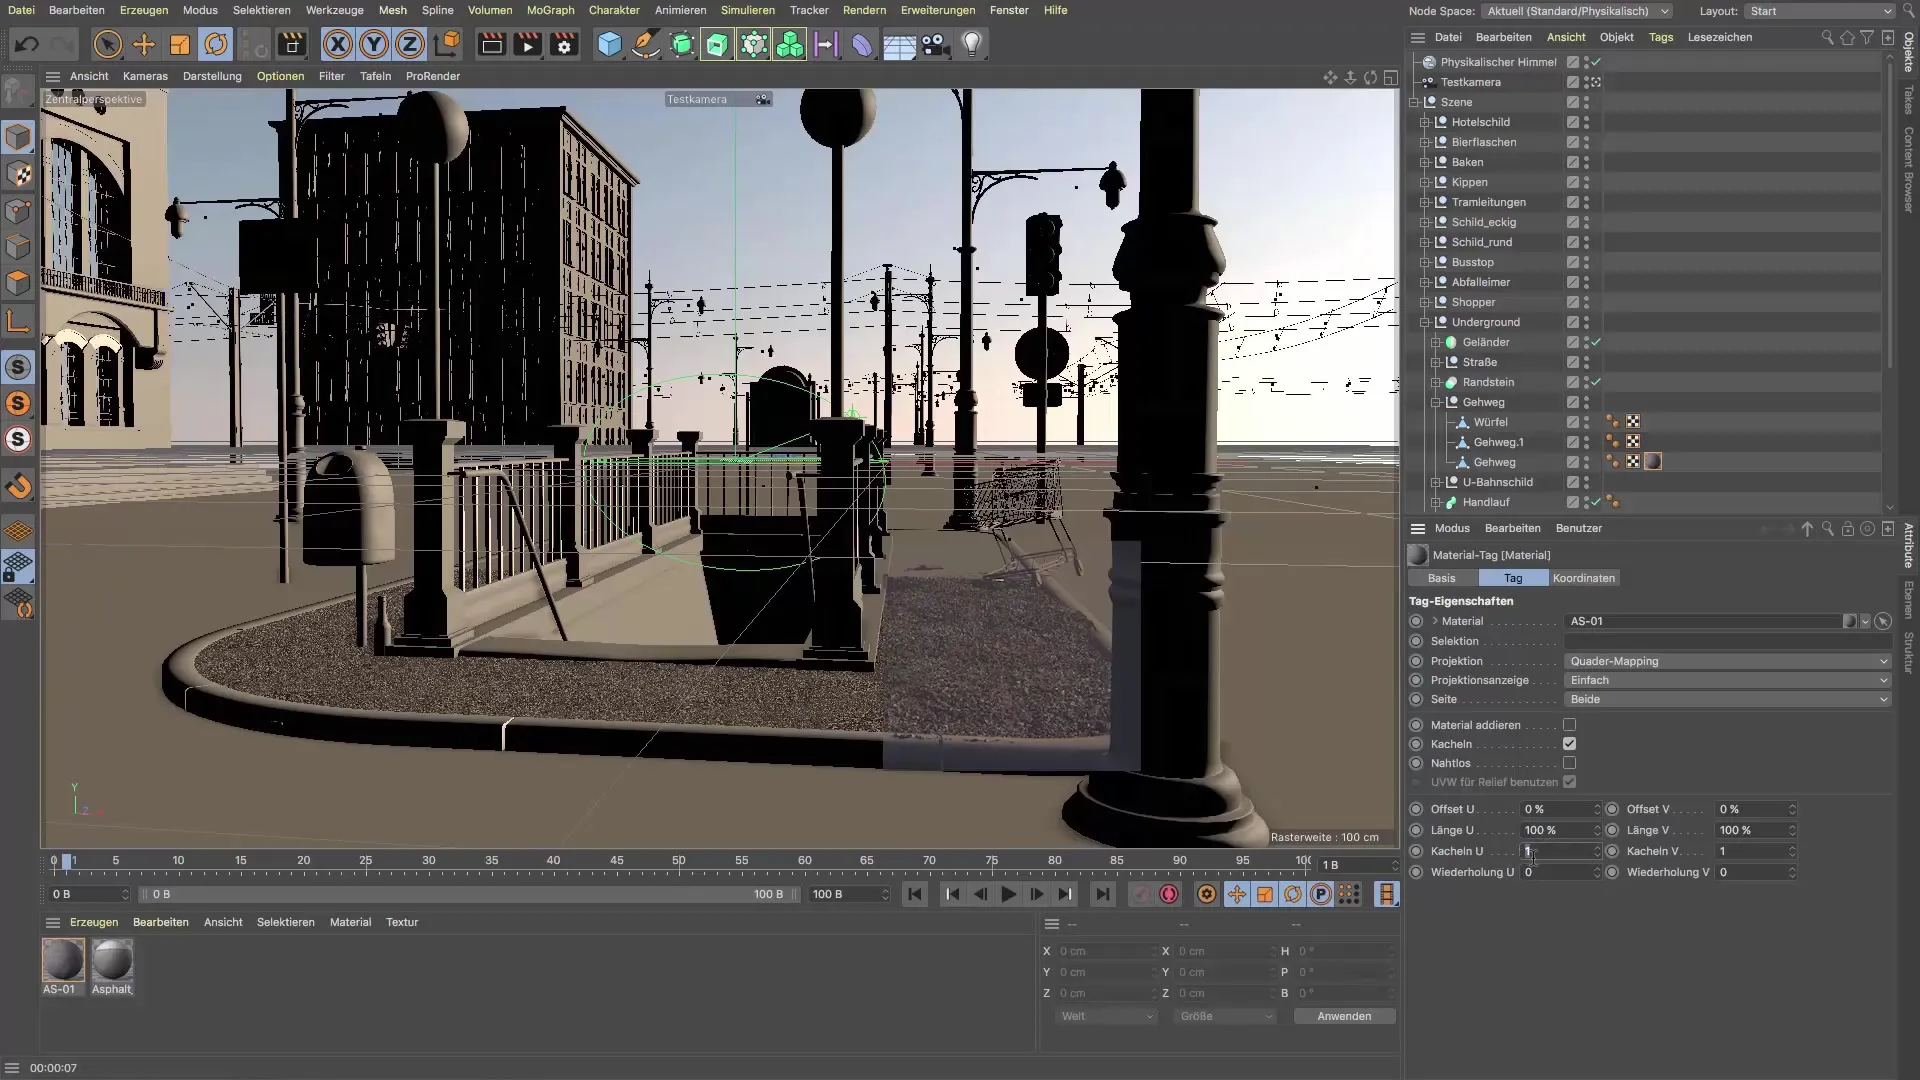
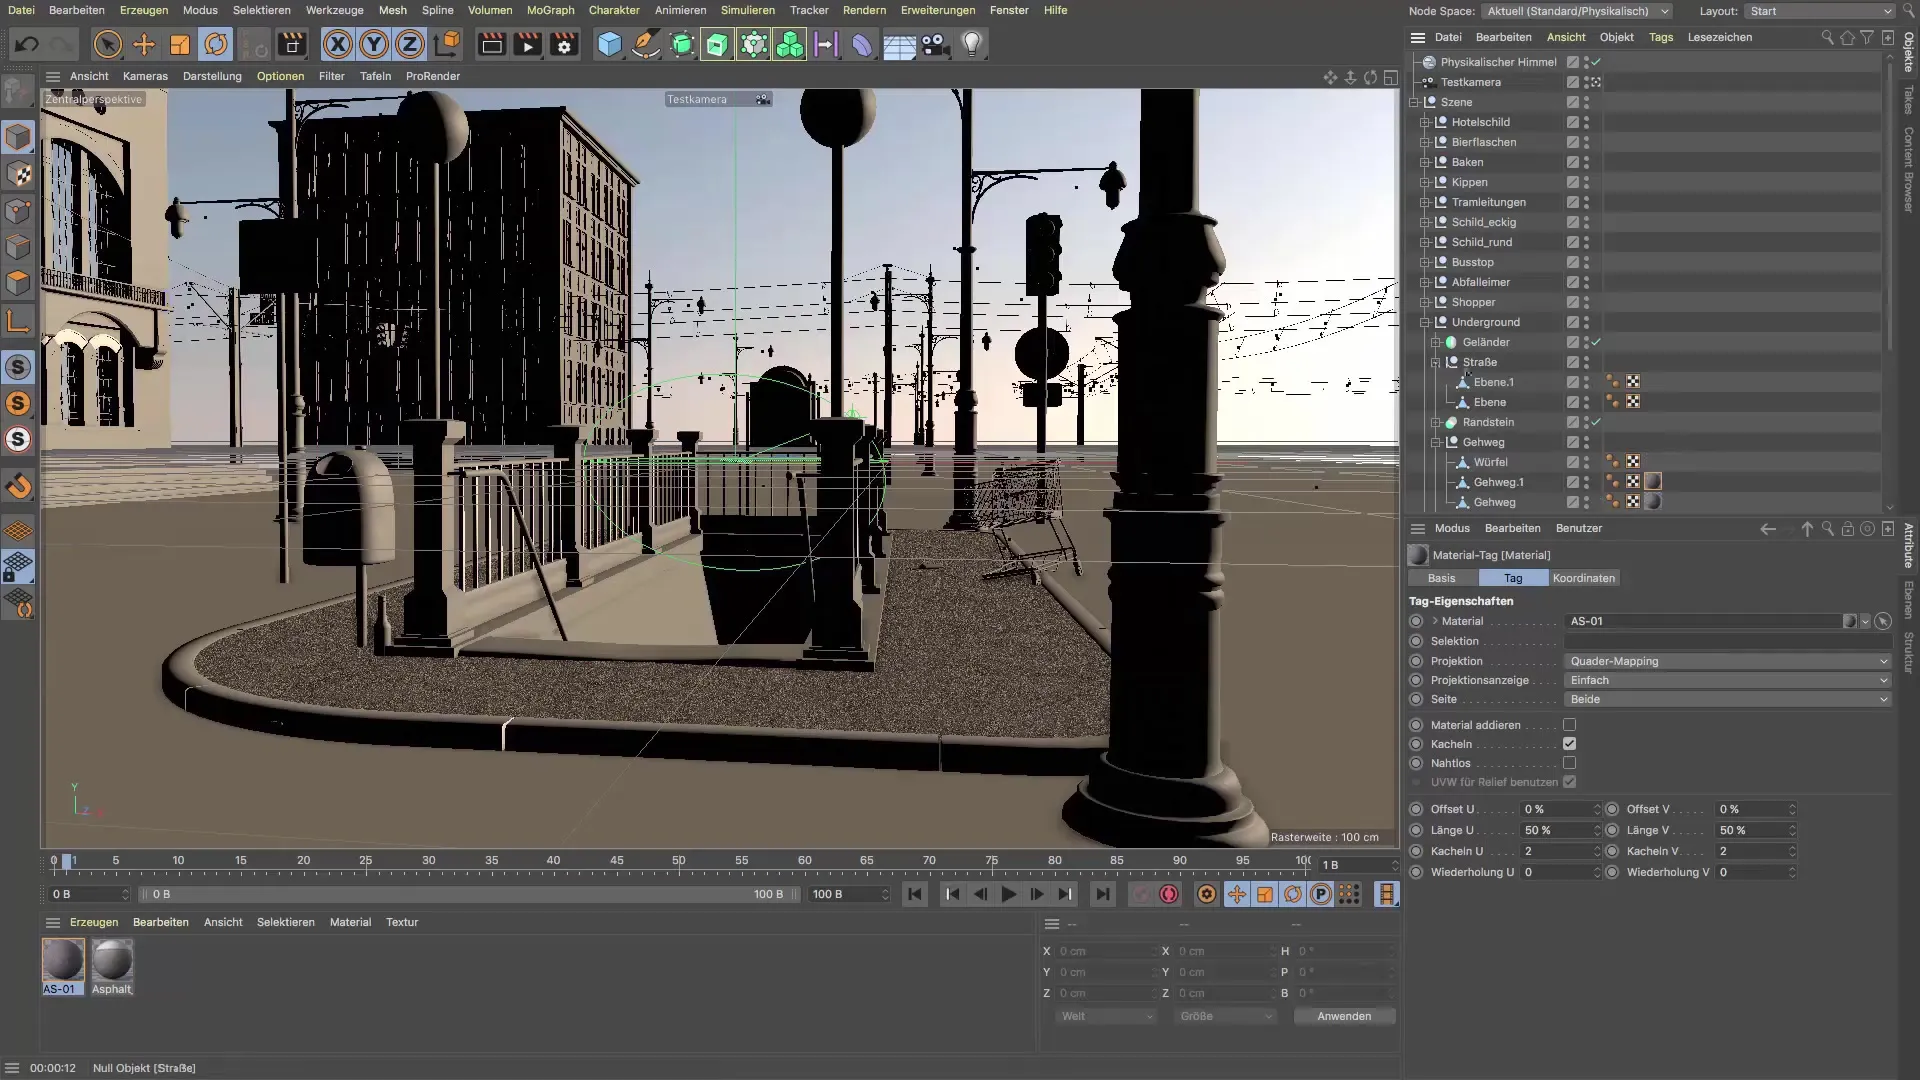
Now place the asphalt material on the front part of your sidewalk. In the first view, you will notice that the texture still looks quite coarse. To improve the quality, it is advisable to change the UVW mapping to box mapping.
5. Optimize Tiling Settings
Tiling is an important aspect to achieve a seamless appearance. When adjusting, make sure to optimize the tiling settings so that they do not show patterns or interruptions.
6. Adjust Material Details
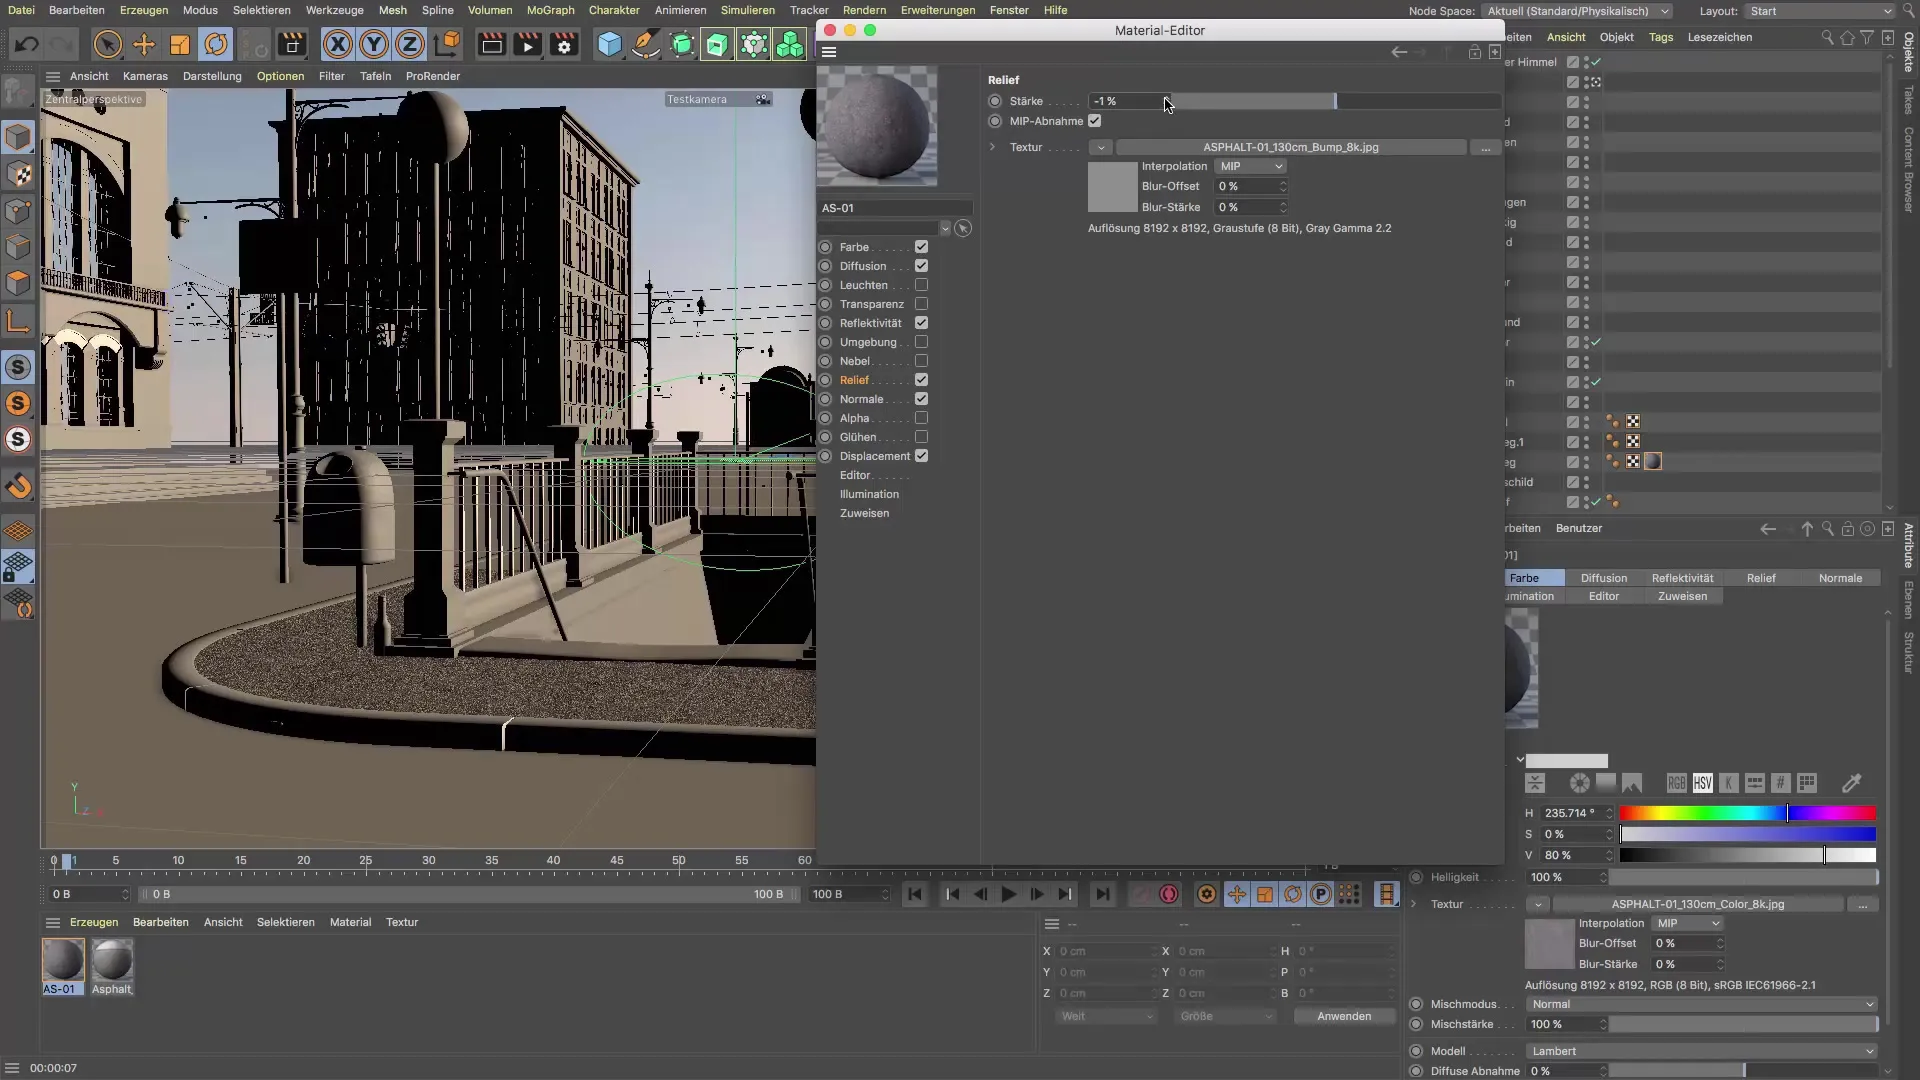
Open the material parameters and check the diffusion channel. Ensure that the reflectivity and relief parameters are not set too high to achieve a realistic result. Values around 1% to 5% are optimal to avoid exaggeration.
7. Fine-tune Settings
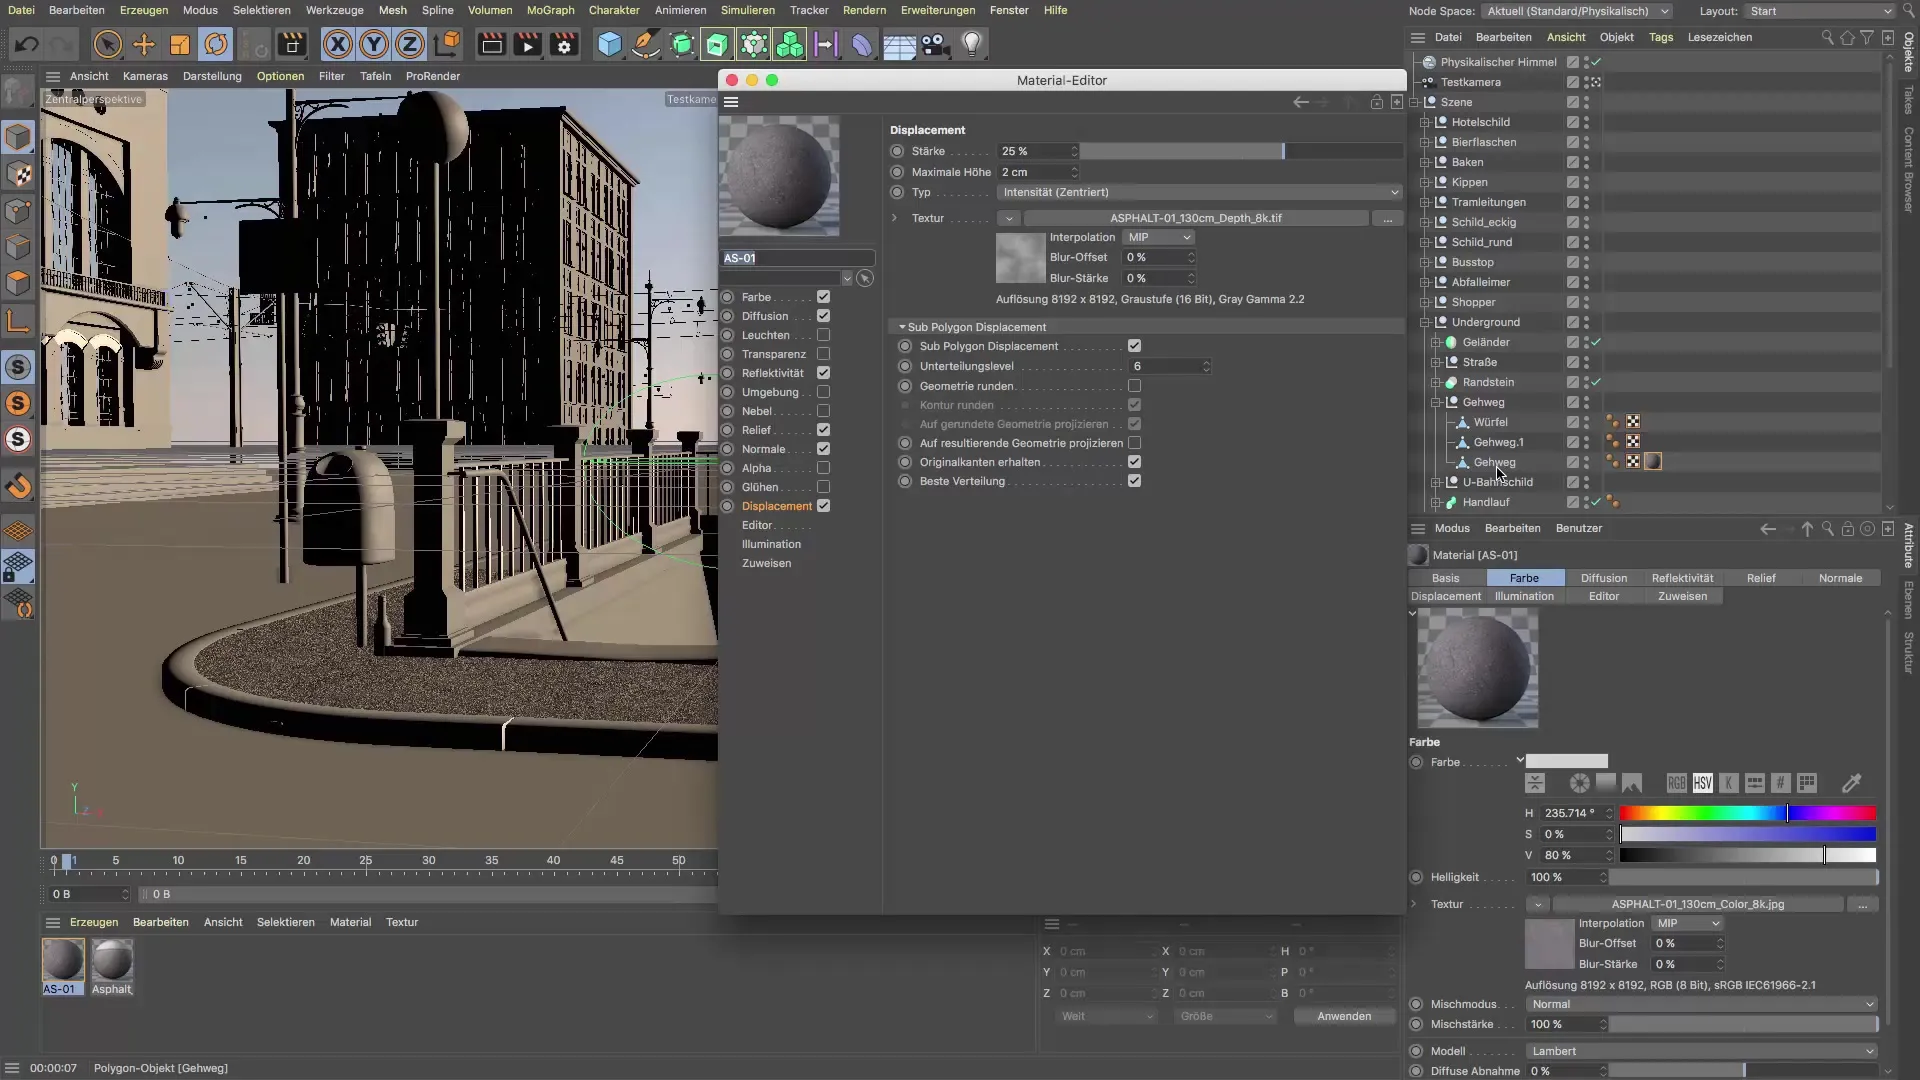
For the sub-polygon displacement, you should keep values between 2 cm and 6 cm. A value of 5 is usually ideal for representing small details without excessively burdening the render time.
8. Render Updates
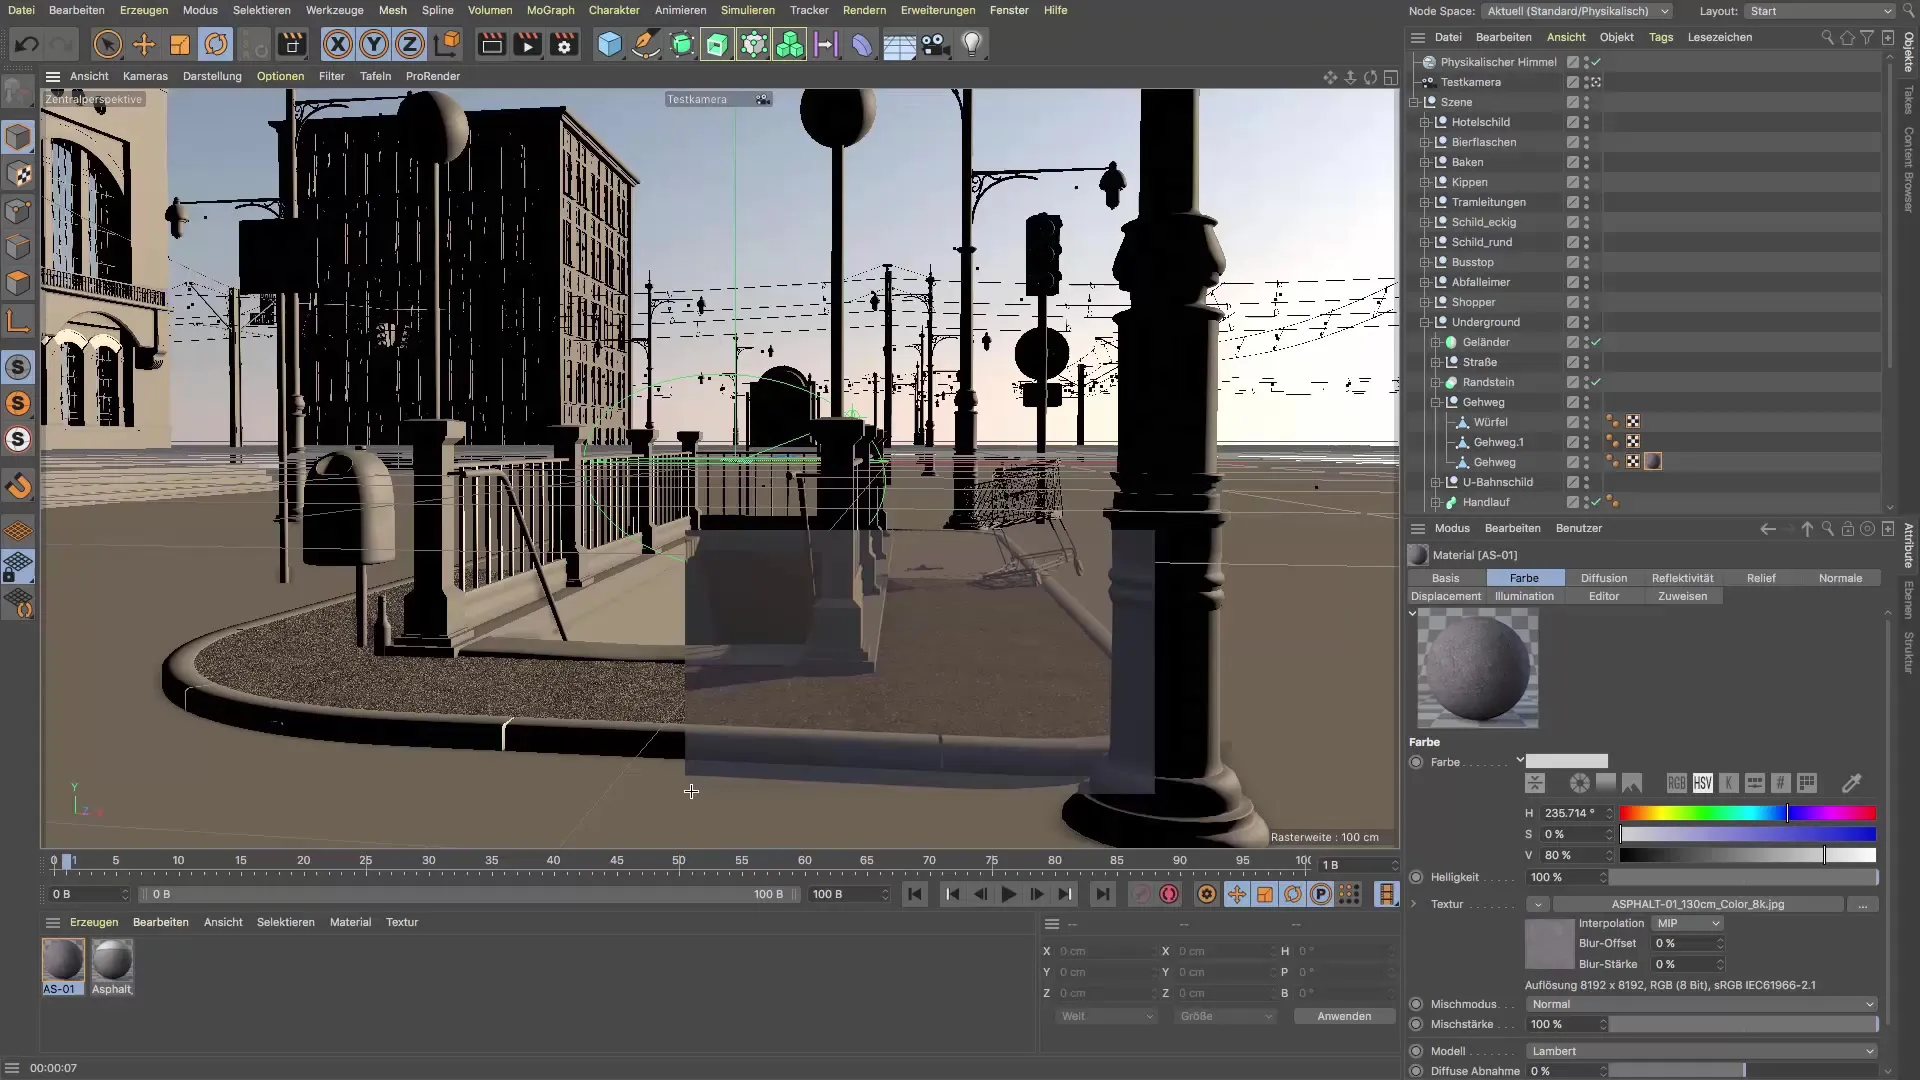
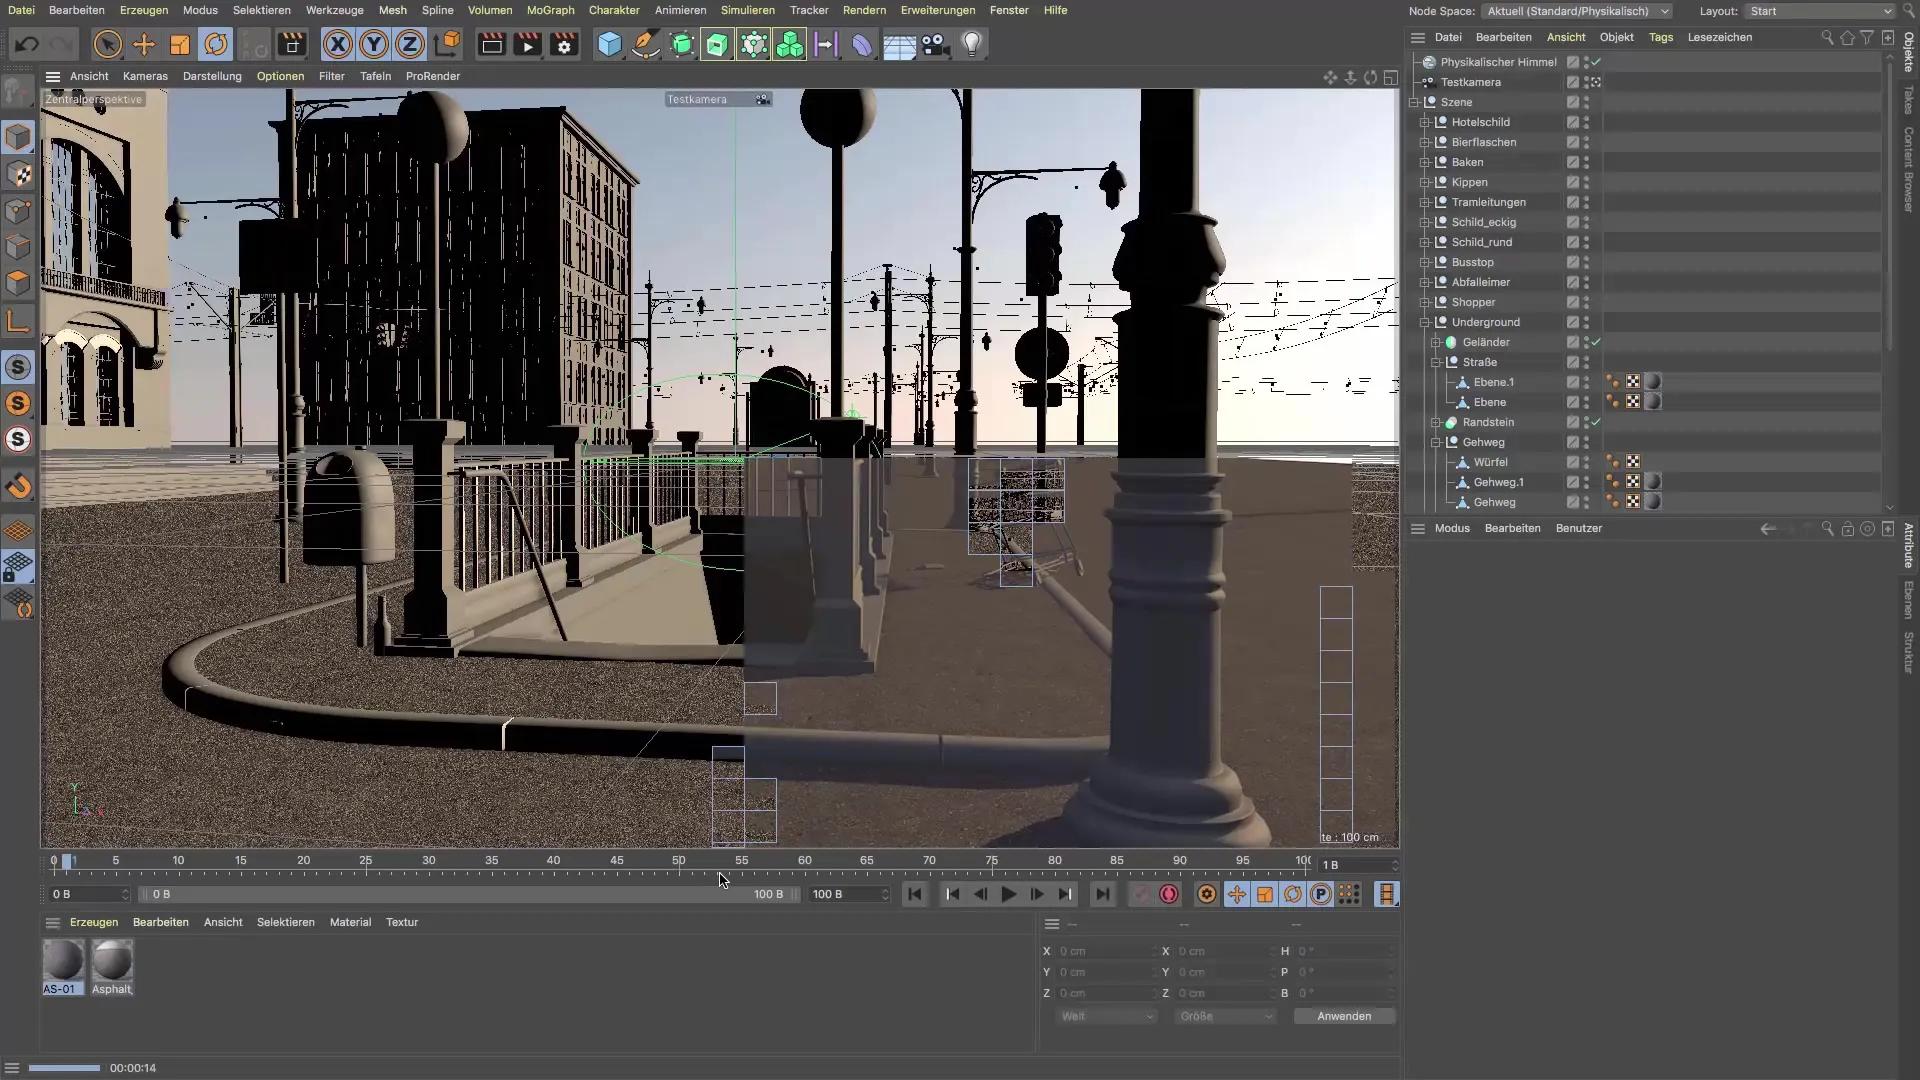
Now it’s time to render a section of your scene to see how the material looks. You will notice that the texture now appears more detailed. Keep experimenting to achieve the desired result.
9. Apply Materials
Subsequently, you can apply the same asphalt material to other areas, such as additional sidewalks or street sections. Make sure to efficiently utilize the accesses to the tiling function to achieve a consistent appearance.
10. Final Adjustments
Check the texture adjustments from a greater distance. The goal is a seamless transition from the texture in the foreground to a more neutral area in the background. Depending on your preferences, you can choose between the simple texture and the more detailed RDT material.
Summary – Cinema 4D Tutorial: Realistic Asphalt Shader with RDT Textures
You have learned how to use the Asphalt Shader from RDT Textures in Cinema 4D to create realistic road surfaces. The proper application and adjustment of materials are crucial for successful results in your projects.
Frequently Asked Questions
What is photogrammetry?Photogrammetry is a technique for creating 3D models and textures by photographing objects from various perspectives.
How do I download the RDT textures?You can download the RDT textures directly from the rdt-textures.com website by selecting the appropriate files.
Which mapping is best for the asphalt shader?For the asphalt shader, box mapping is recommended to achieve a realistic depiction.
What settings are ideal for the textures?Keep the reflectivity around 1-5% and the sub-polygon displacement at 5 to achieve a realistic result.
How can I copy my materials?Hold down the Ctrl key while moving the material to effectively copy it to the desired locations.
