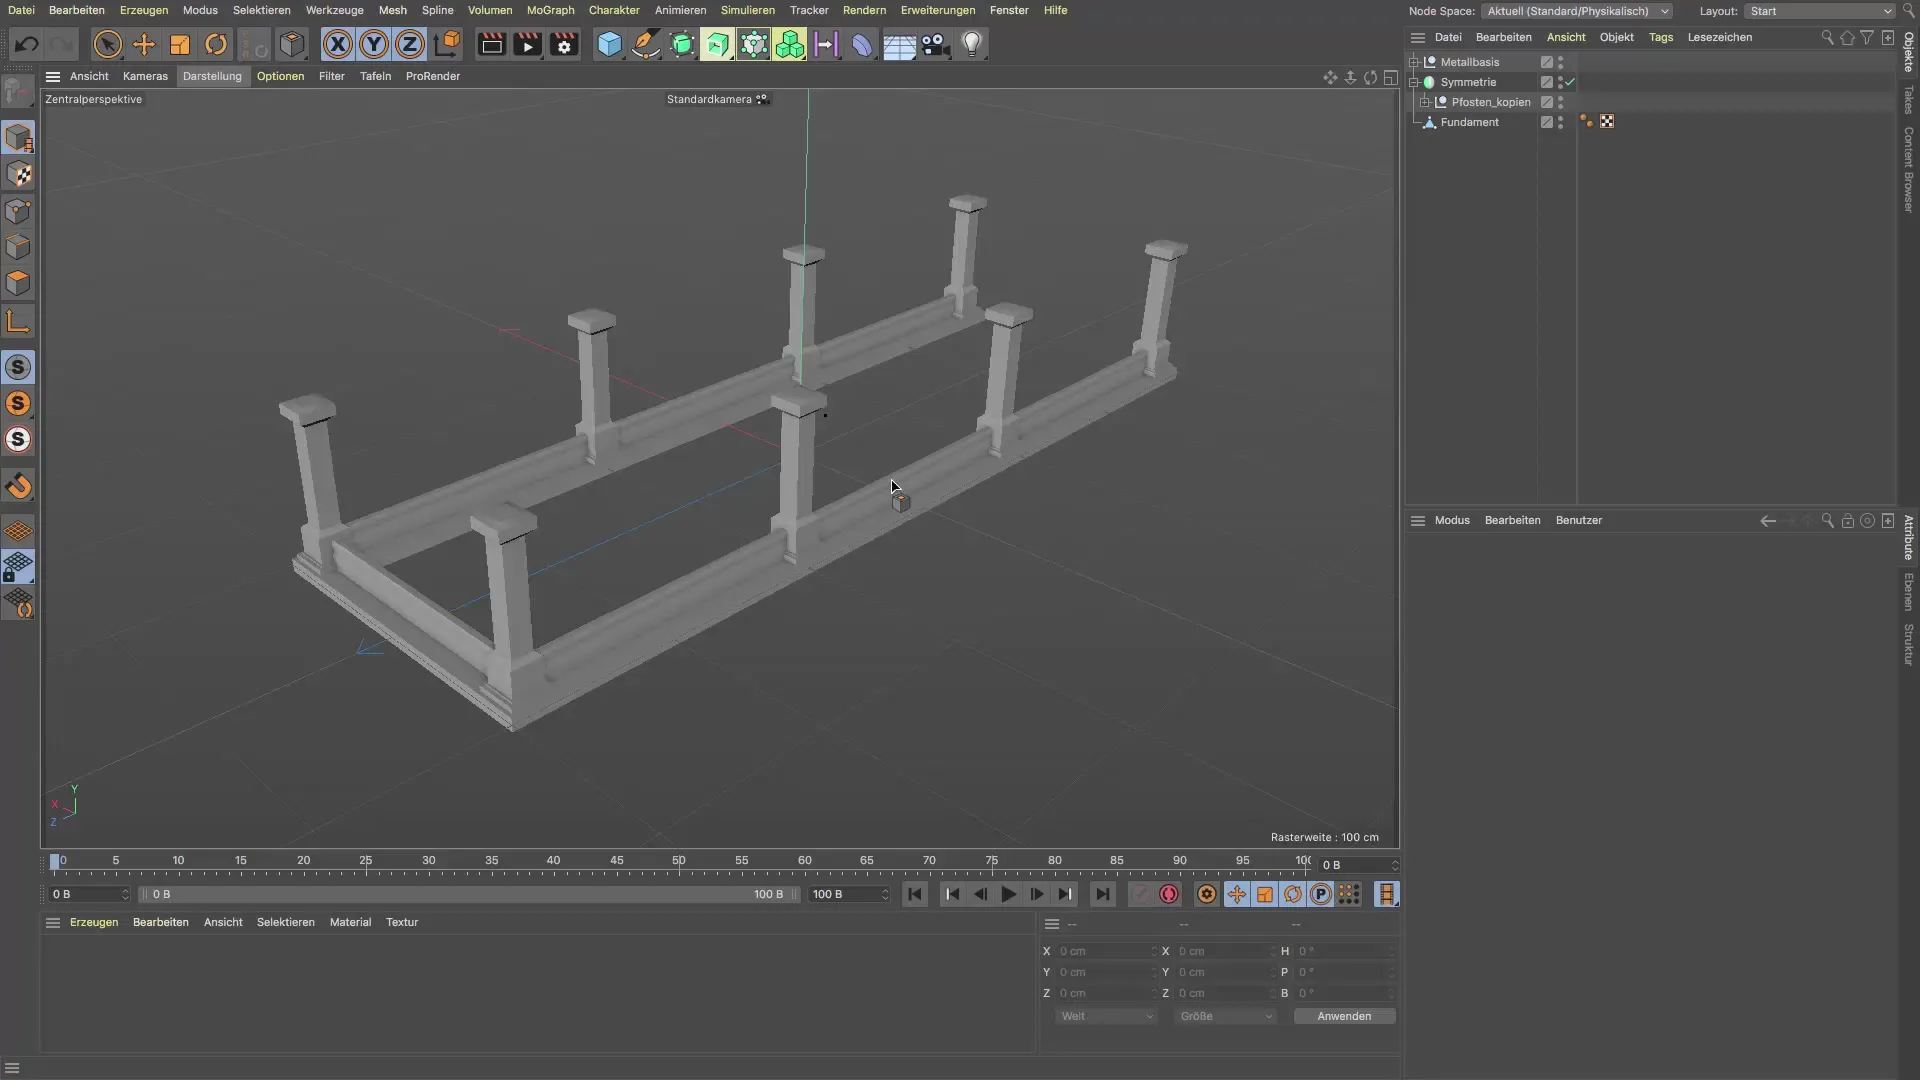
A subway station without railings would not only be unsightly but also dangerous. To ensure safety and an appealing design, you are exactly in the right place. In this guide, you will learn step by step how to create effective and attractive railing bars from a simple cube object in Cinema 4D. These railing bars will be multiplied and distributed along your metal base using MoGraph. Any changes to your original cube will automatically apply to all other railing bars, saving you a lot of time and effort.
Key insights
- Railing bars can be efficiently created from a cube object.
- You can change the cube's shape or size at any time, and all other bars will automatically adjust.
- Using MoGraph makes it easier to distribute the railing bars along a base.
Step-by-Step Guide
First, you need a simple cube object that you can add to your project. Set the cube's size to about 2 cm in diameter and a height of 70 cm. Experiment with these values until you find a suitable look for your railing bars.

Now it's time to multiply your cube. Select the cube and go to MoGraph. Hold down the Alt key and then select the Clone Generator. This creatively duplicates the cube, but the total number of instances is still set to three.
However, you want the railing bars to be distributed in the Z direction. In the Clone Object, set the Y position to 0 and the Z position to about 15-16 cm. To better estimate how many bars you need, drag the clone along the entire length of your metal base.
Check often from different perspectives whether the bars are well positioned. Move them back a little if necessary to ensure they do not have unwanted overlaps with other objects in the model.
If you are satisfied with the number and visibility of the clone instances, increase the number of railing bars in the Clone Object to create a dense and attractive distribution. An example would be 11 clones.
Make sure the spacing is appropriate so that the railing does not look too sparse. If some clones are too close together, you can simply move them back to achieve the desired distance.
If you feel the clones are too identical, you can convert one of the instances into a simple polygon object. Just click on the respective instance to select it and press the C key. This allows you to individually adjust this instance without affecting the remaining clones.
For example, you can reduce the number of clones to 10 and slightly adjust the position to achieve a more organic arrangement. Review your adjustments to ensure the design looks balanced.
An important aspect of designing railing bars is their shape. The standard cube looks rather angular. To give it a rounder shape, you can work with the rounding in the object menu. Make sure to choose five segments for the roundness, but reduce the rounding value to 0.3 cm to optimize your system's performance.
Apply this step to both the upper and lower rounding of the railing bars. This will give you a consistent and appealing look. Don't forget to leave everything except the handrail for now; the handrail will follow at a later time.
Once all railing bars have been created to your satisfaction, check your entire model to ensure everything looks as you envisioned.
Summary – Guide to Creating Railing Bars in Cinema 4D
In this guide, you learned how to create and customize railing bars from a simple cube object in Cinema 4D. You discovered how to effectively use MoGraph to distribute the railing bars along a base and adapt them to your design. Understanding these steps will help you work faster and more creatively with 3D models.
Frequently Asked Questions
How do I change the size of the railing bars?You can simply adjust the size at the original cube object, and all clones will automatically update.
Can I change the number of railing bars afterward?Yes, just go to the clone settings and adjust the number as needed.
How can I make the bars more individual?Convert one of the clone instances into a normal polygon object to make individual adjustments while the other clones remain unchanged.


