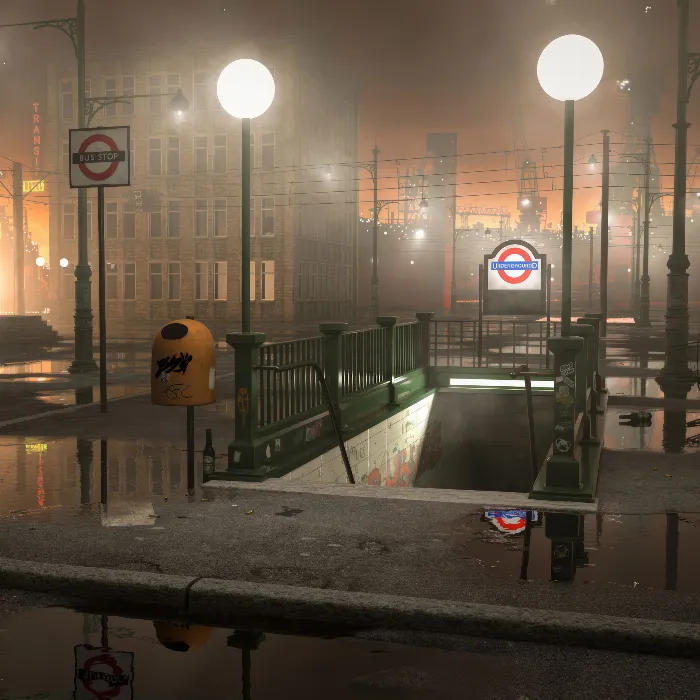
In today's tutorial on the topic of “Underground-Scene Creation in Cinema 4D”, you will focus on the creative process of designing a subway environment. The project will be realized using existing objects, giving you the possibility to create according to your own ideas. You can either bring in creative ideas or stick to predefined concepts to achieve the best possible result.
Key Insights
- Use the provided project files to build your scene quickly and effectively.
- You have the freedom to integrate your own objects and materials into the scene.
- Ensure that all elements are realistically arranged to achieve a coherent representation.
Step-by-Step Guide
1. Renaming the Initial Scene
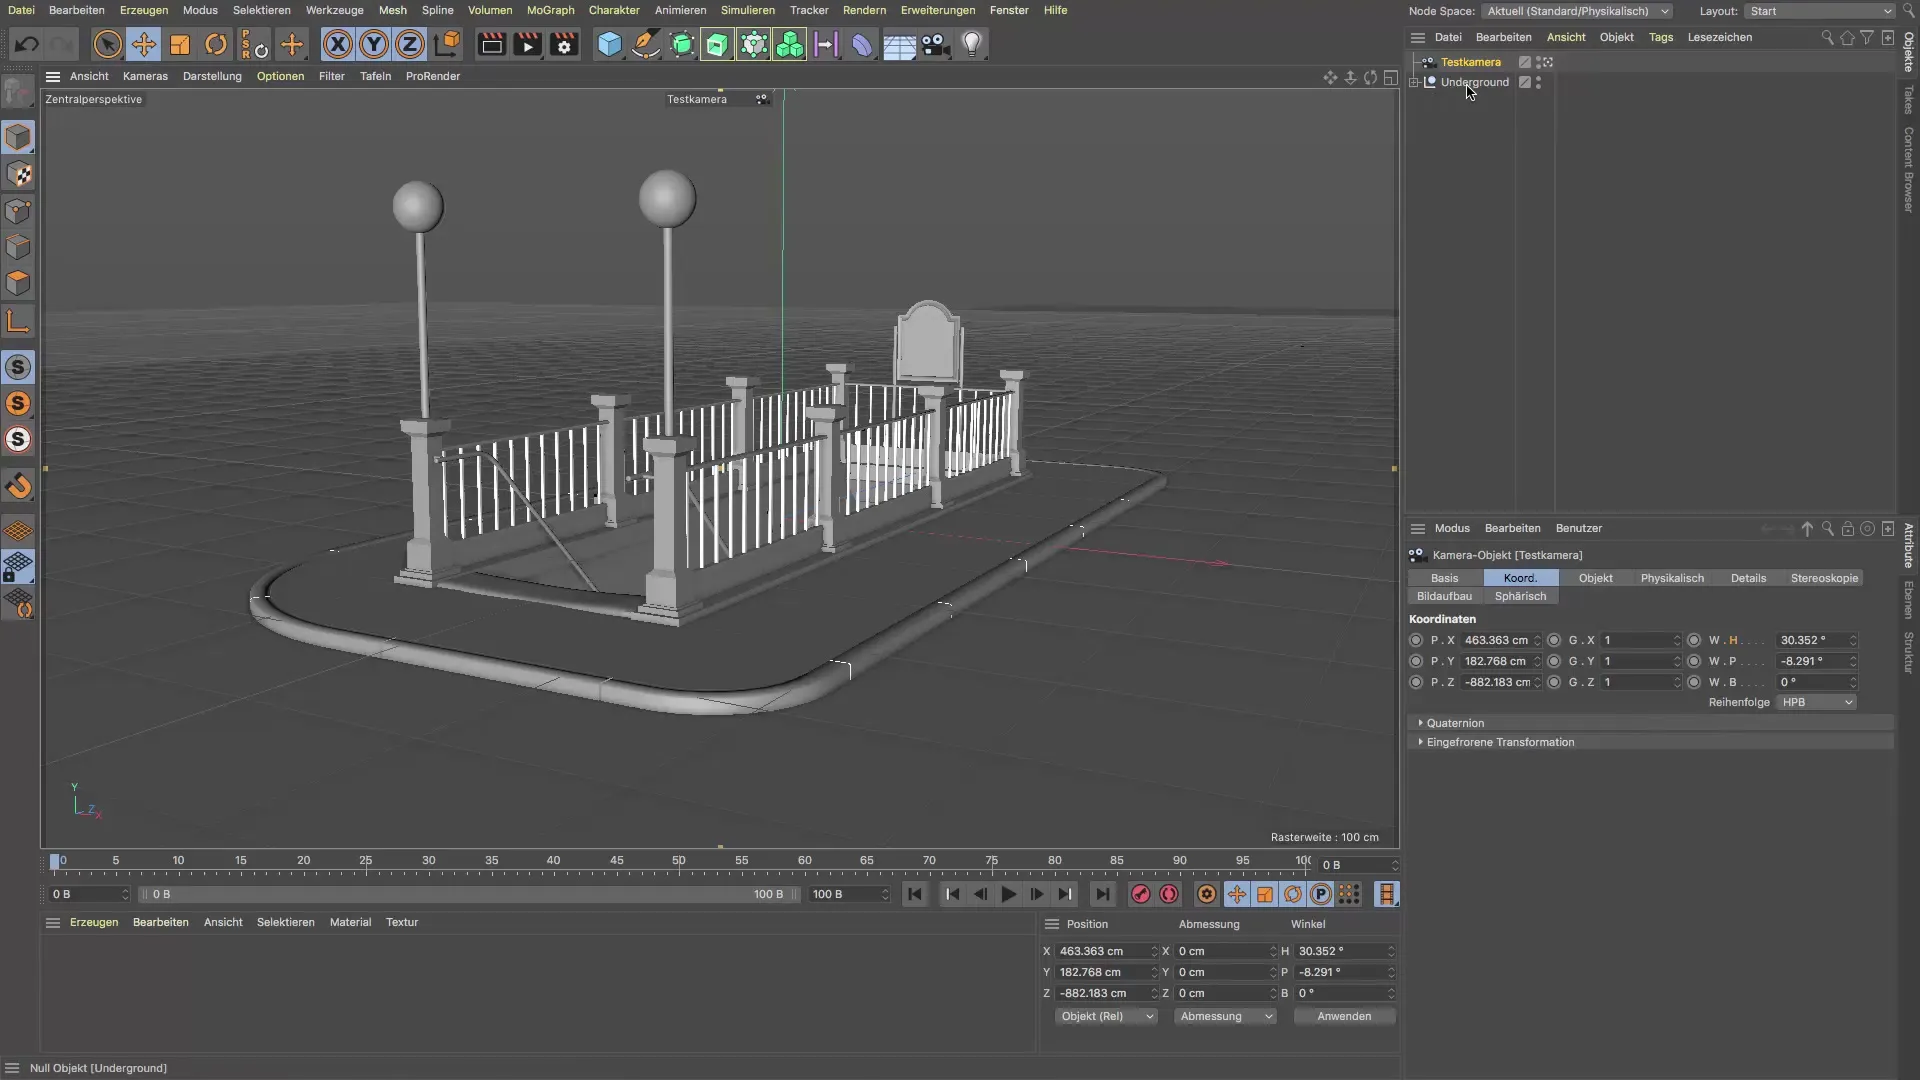
Begin by organizing the standard scene. The first thing you do is rename the null object to “Underground”. This keeps things organized and allows you to know exactly what your scene is about.
2. Adding Objects
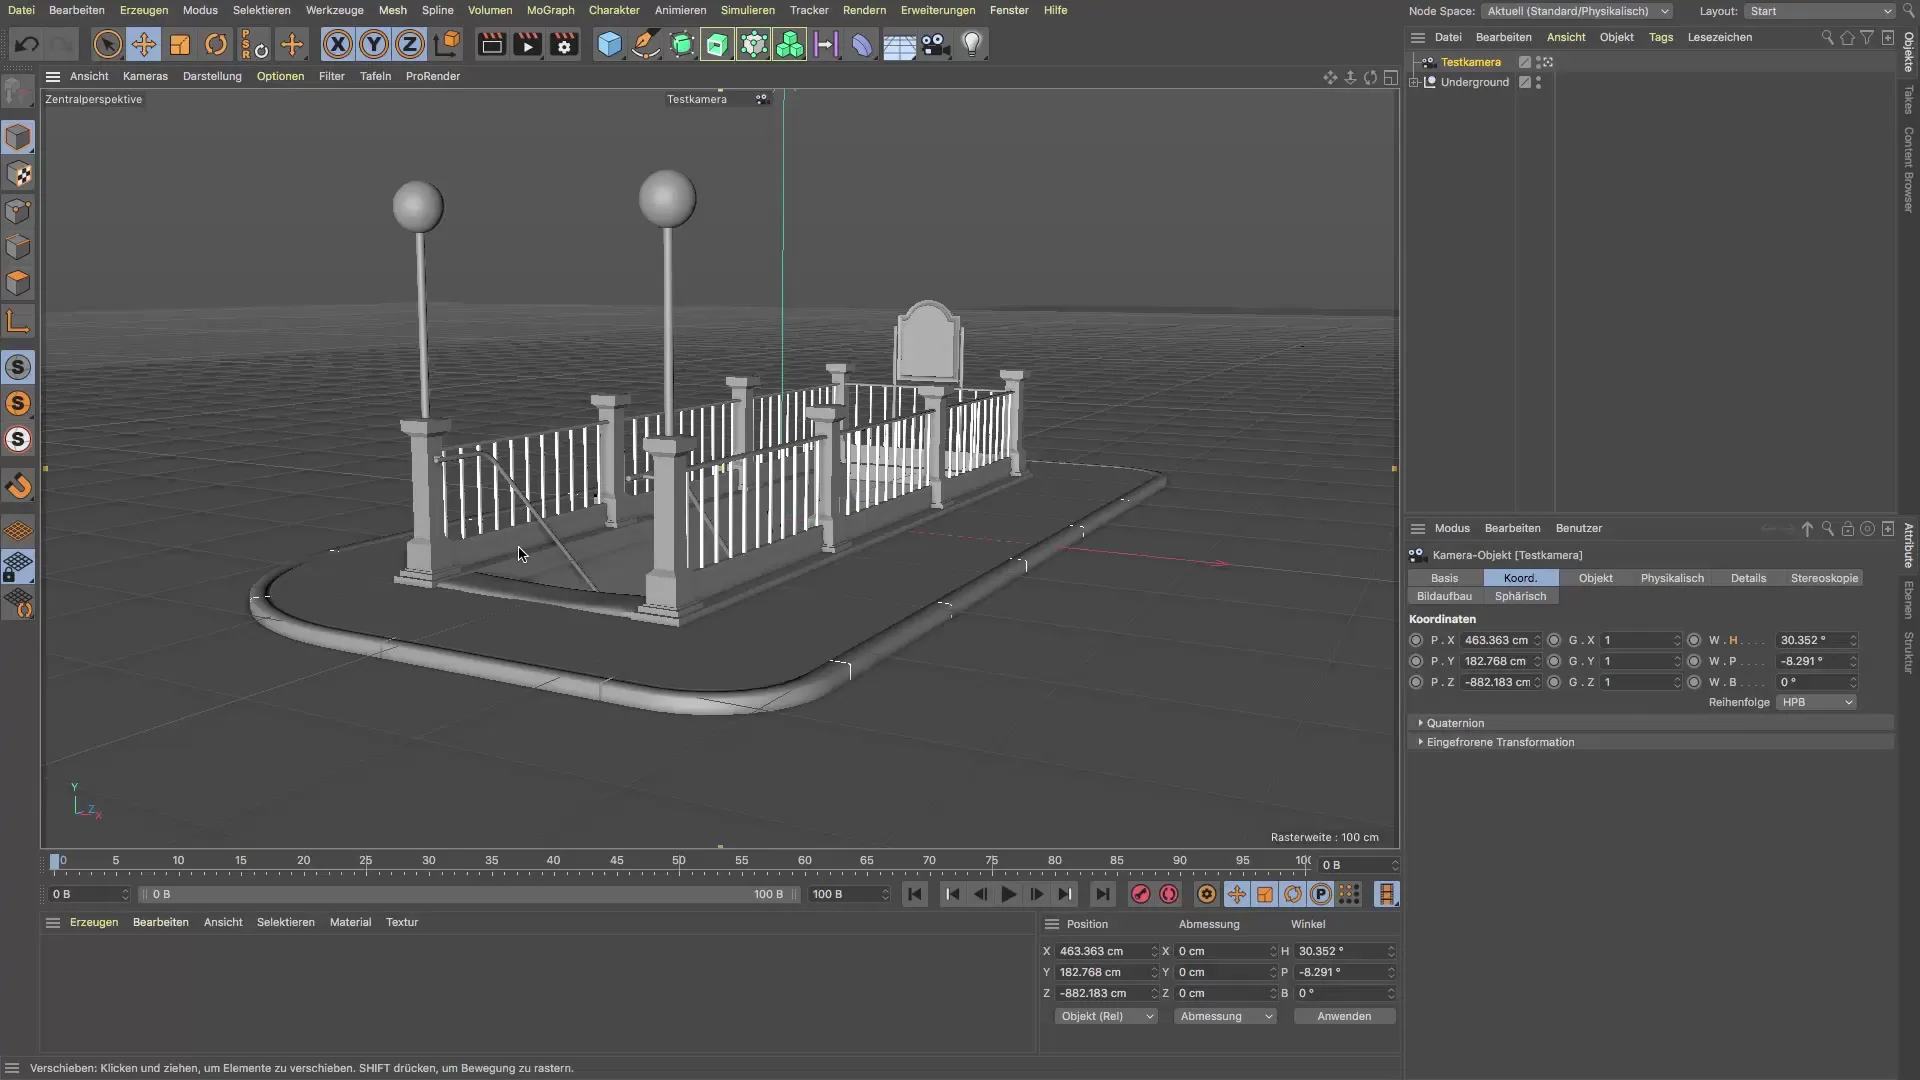
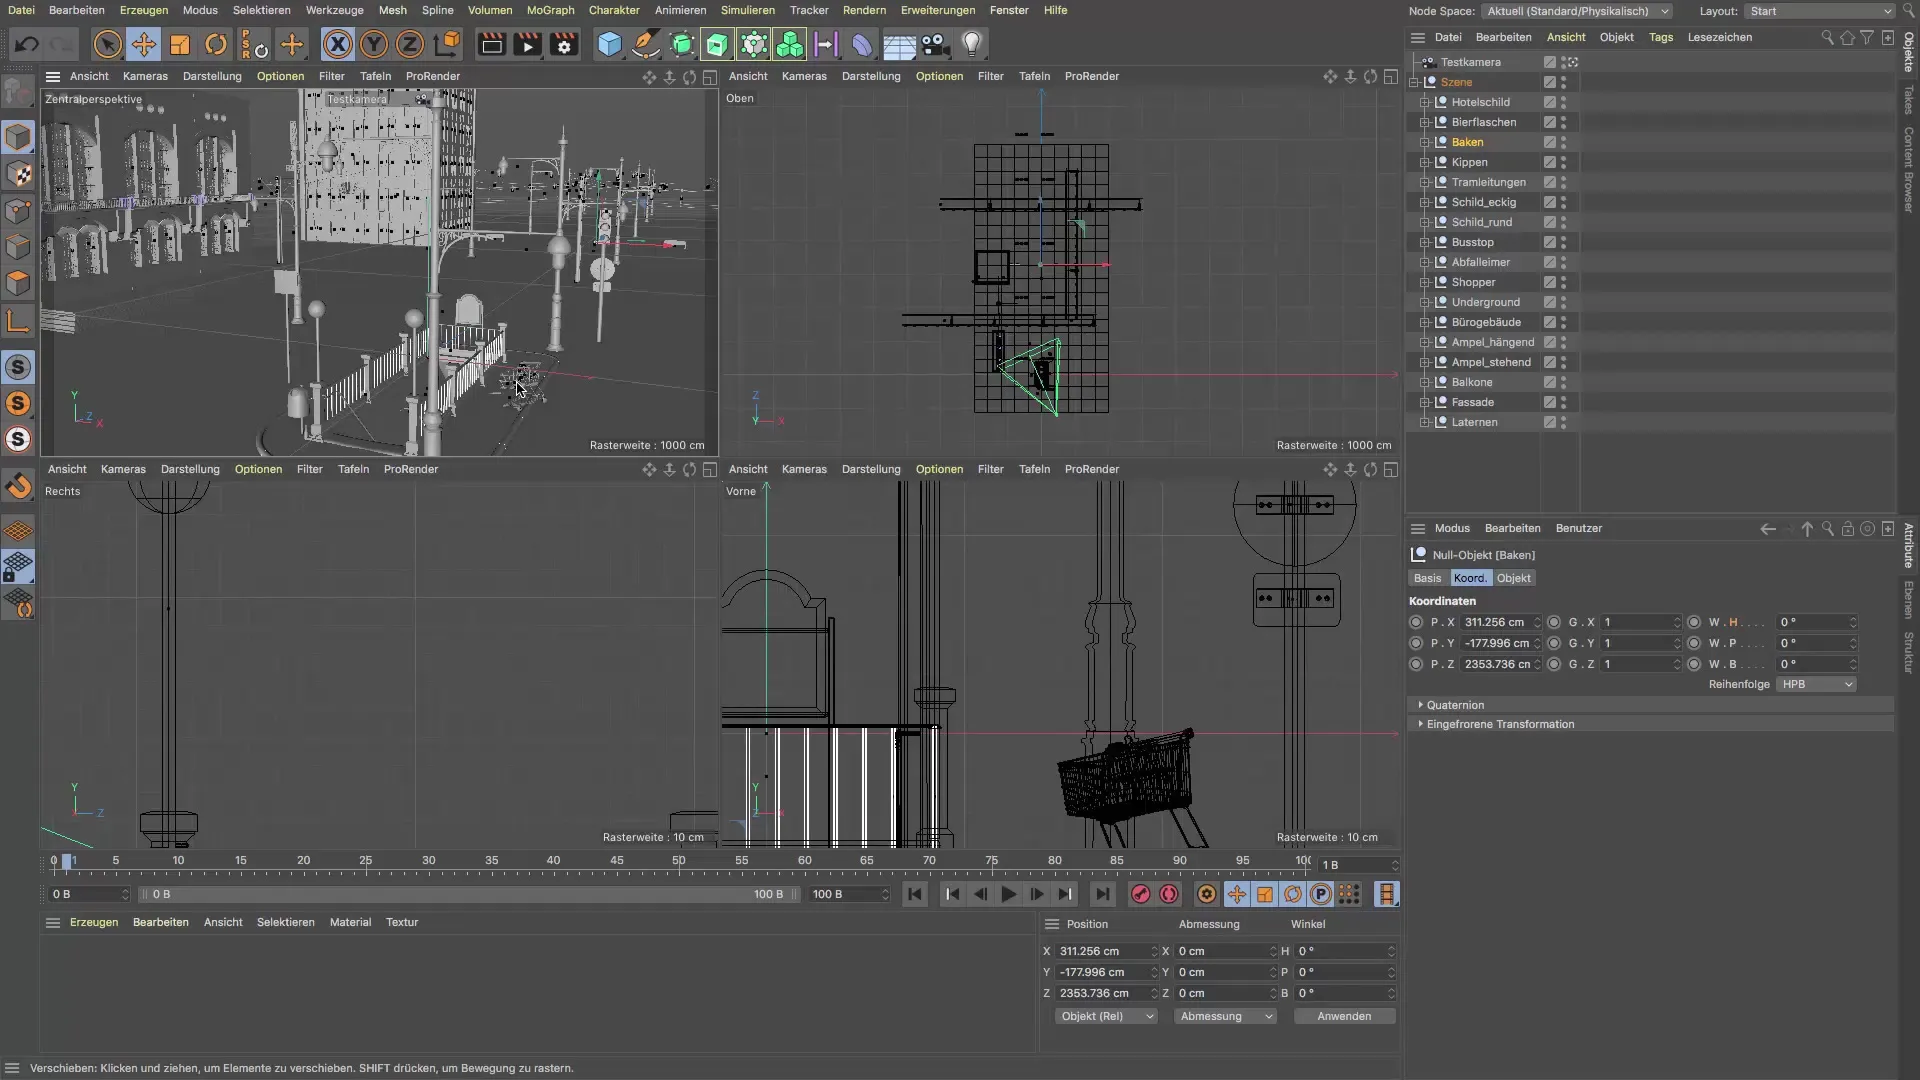
The next step is to load the required objects into the scene. Go to “File” and select “Load Project”. Note that you will receive the project files that help you quickly reach your goal. The possibilities are flexible; you can use the predefined objects or implement your own ideas, such as a beer bottle or another type of bottle.
3. Placing the Objects
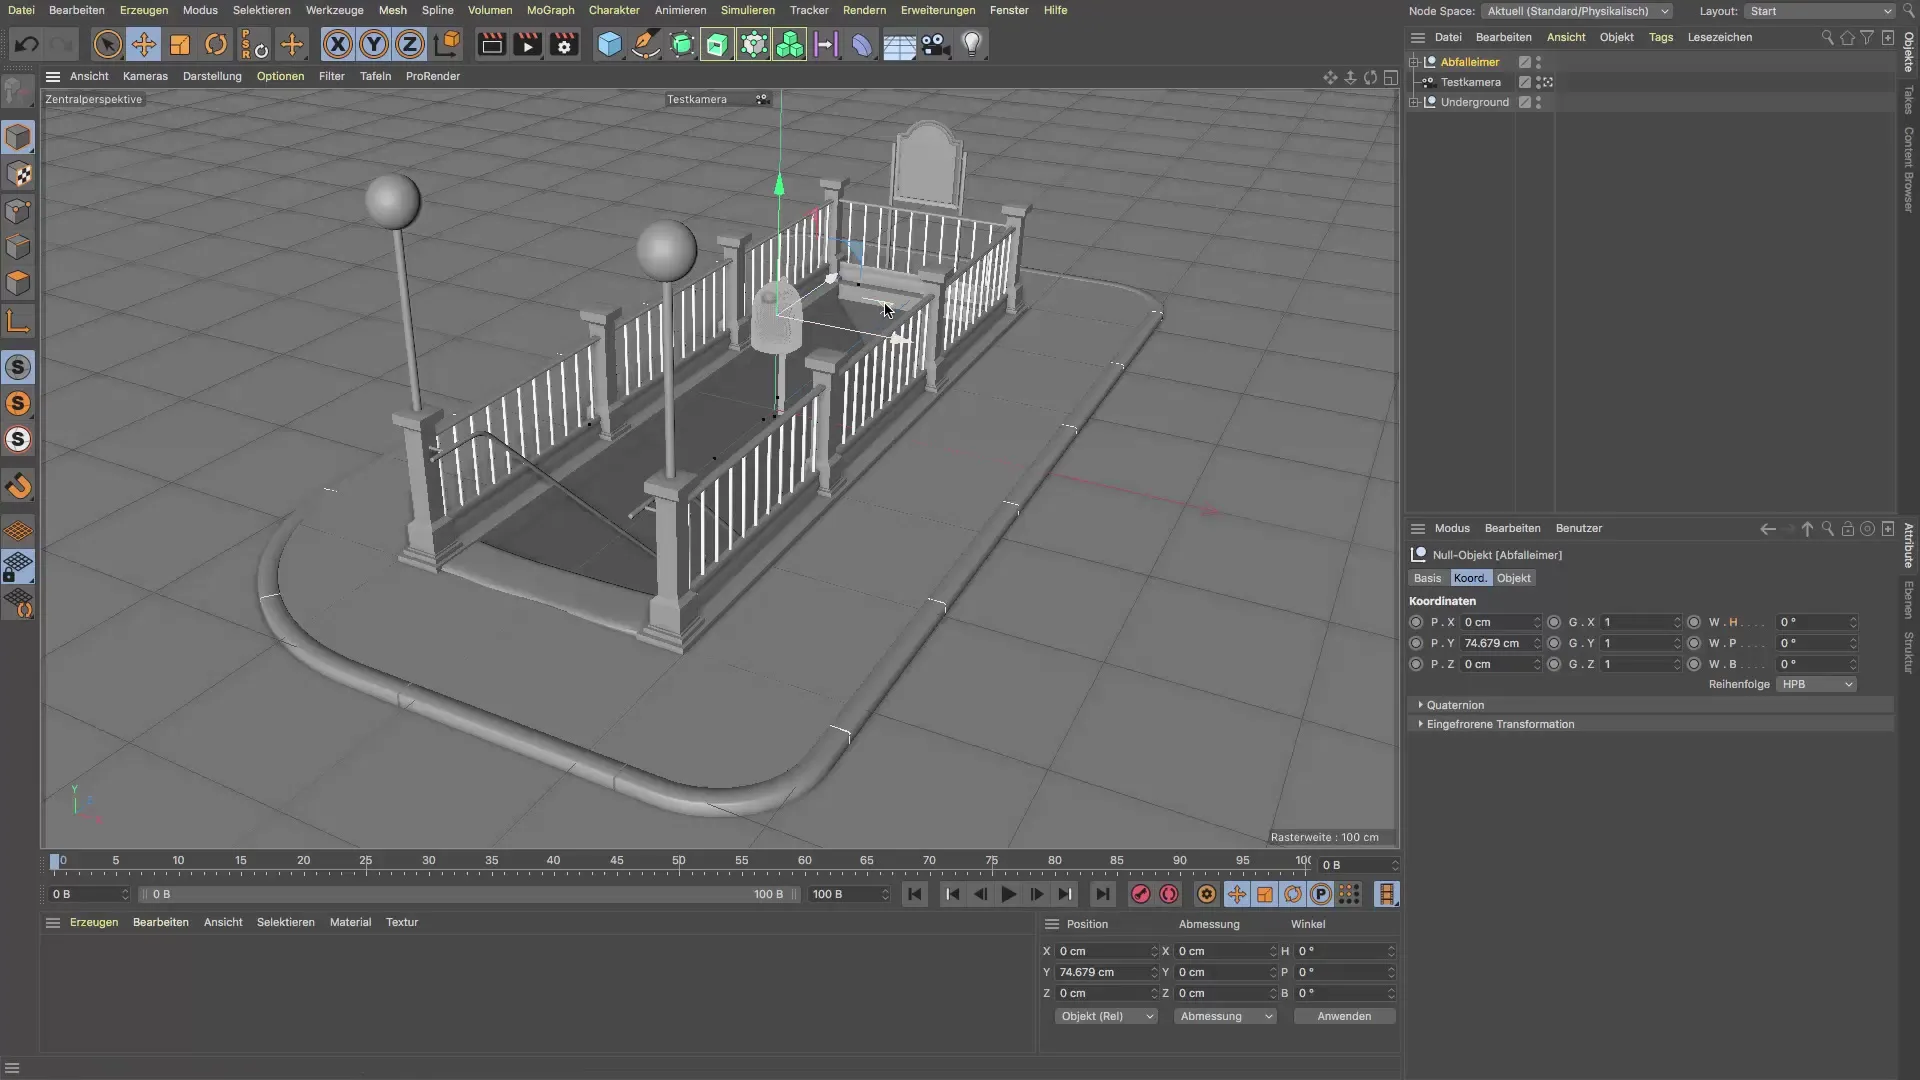
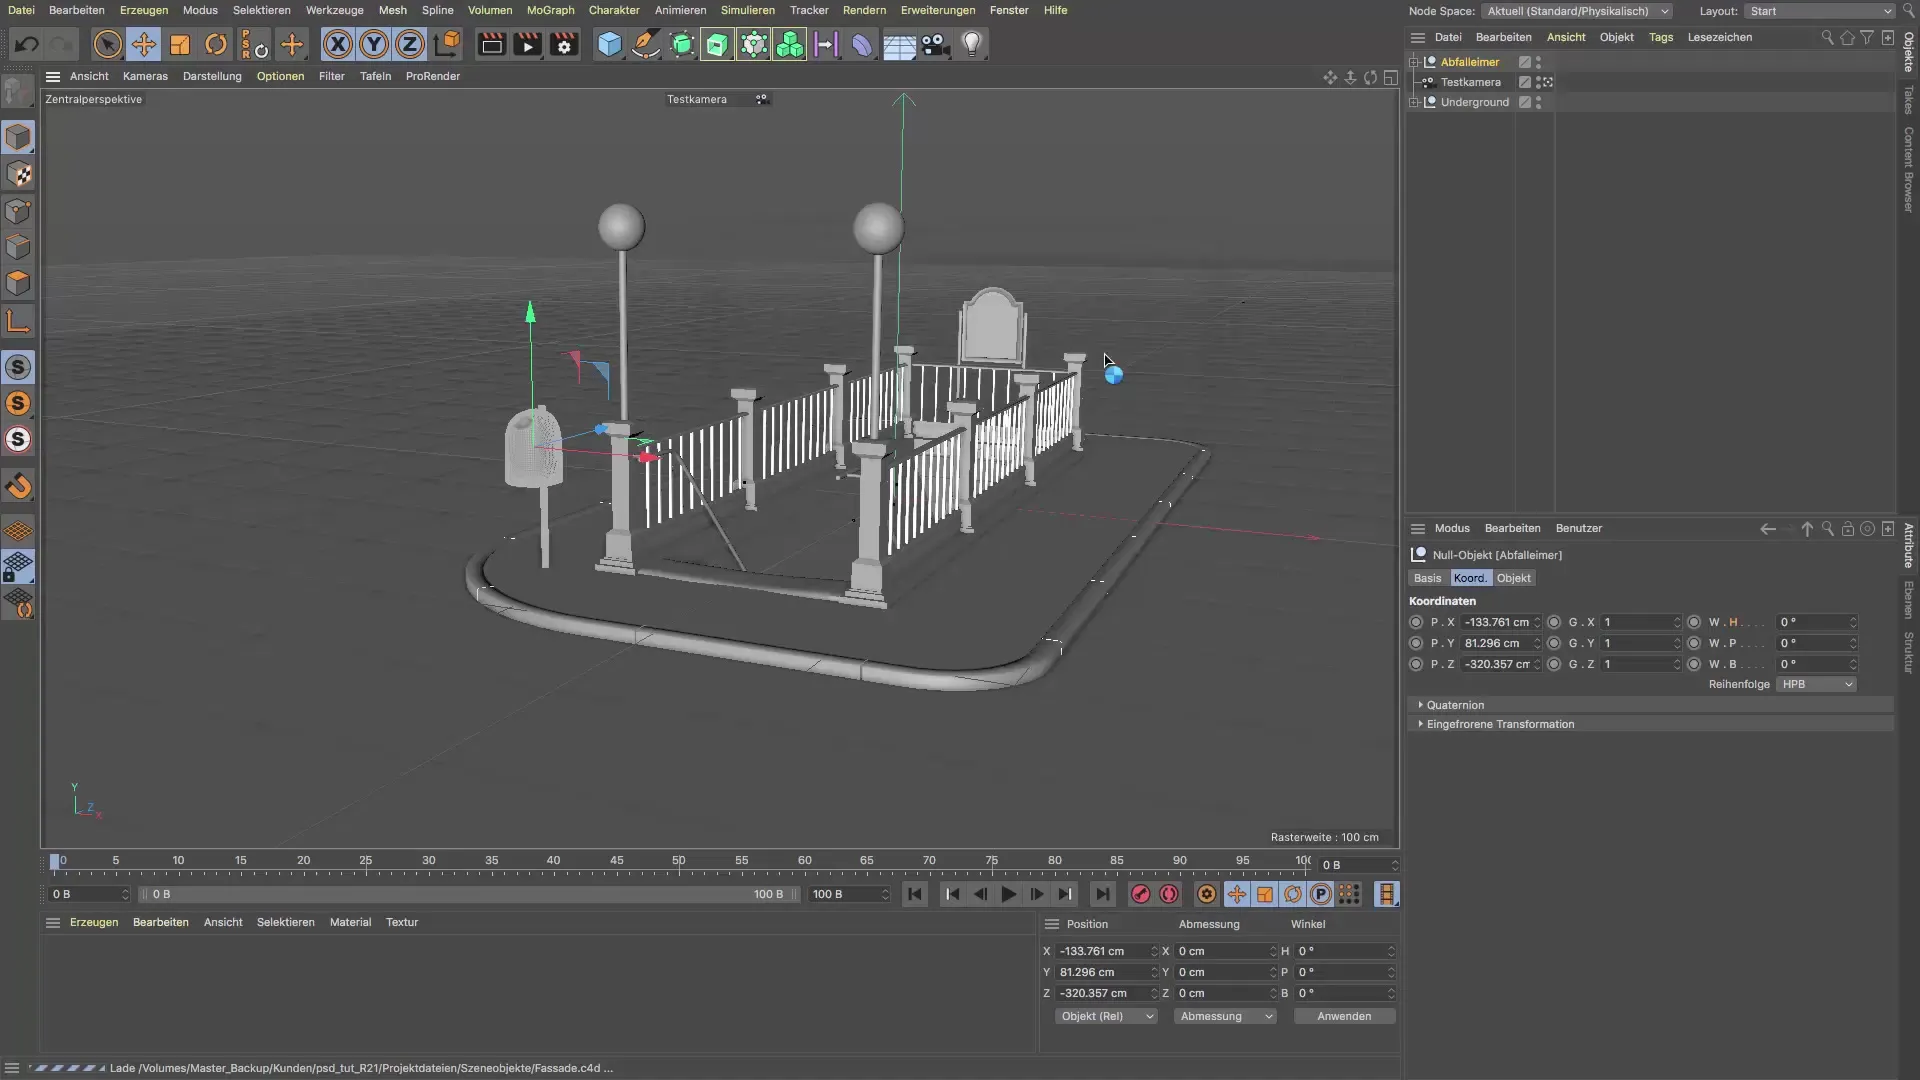
After you have added an object, it will be placed in the center of the coordinate system. You can now move it to adjust the position according to your preferences. Make sure the object sits correctly on the ground and is not floating – an important detail to make the overall image look realistic.
4. Using Prefab Buildings
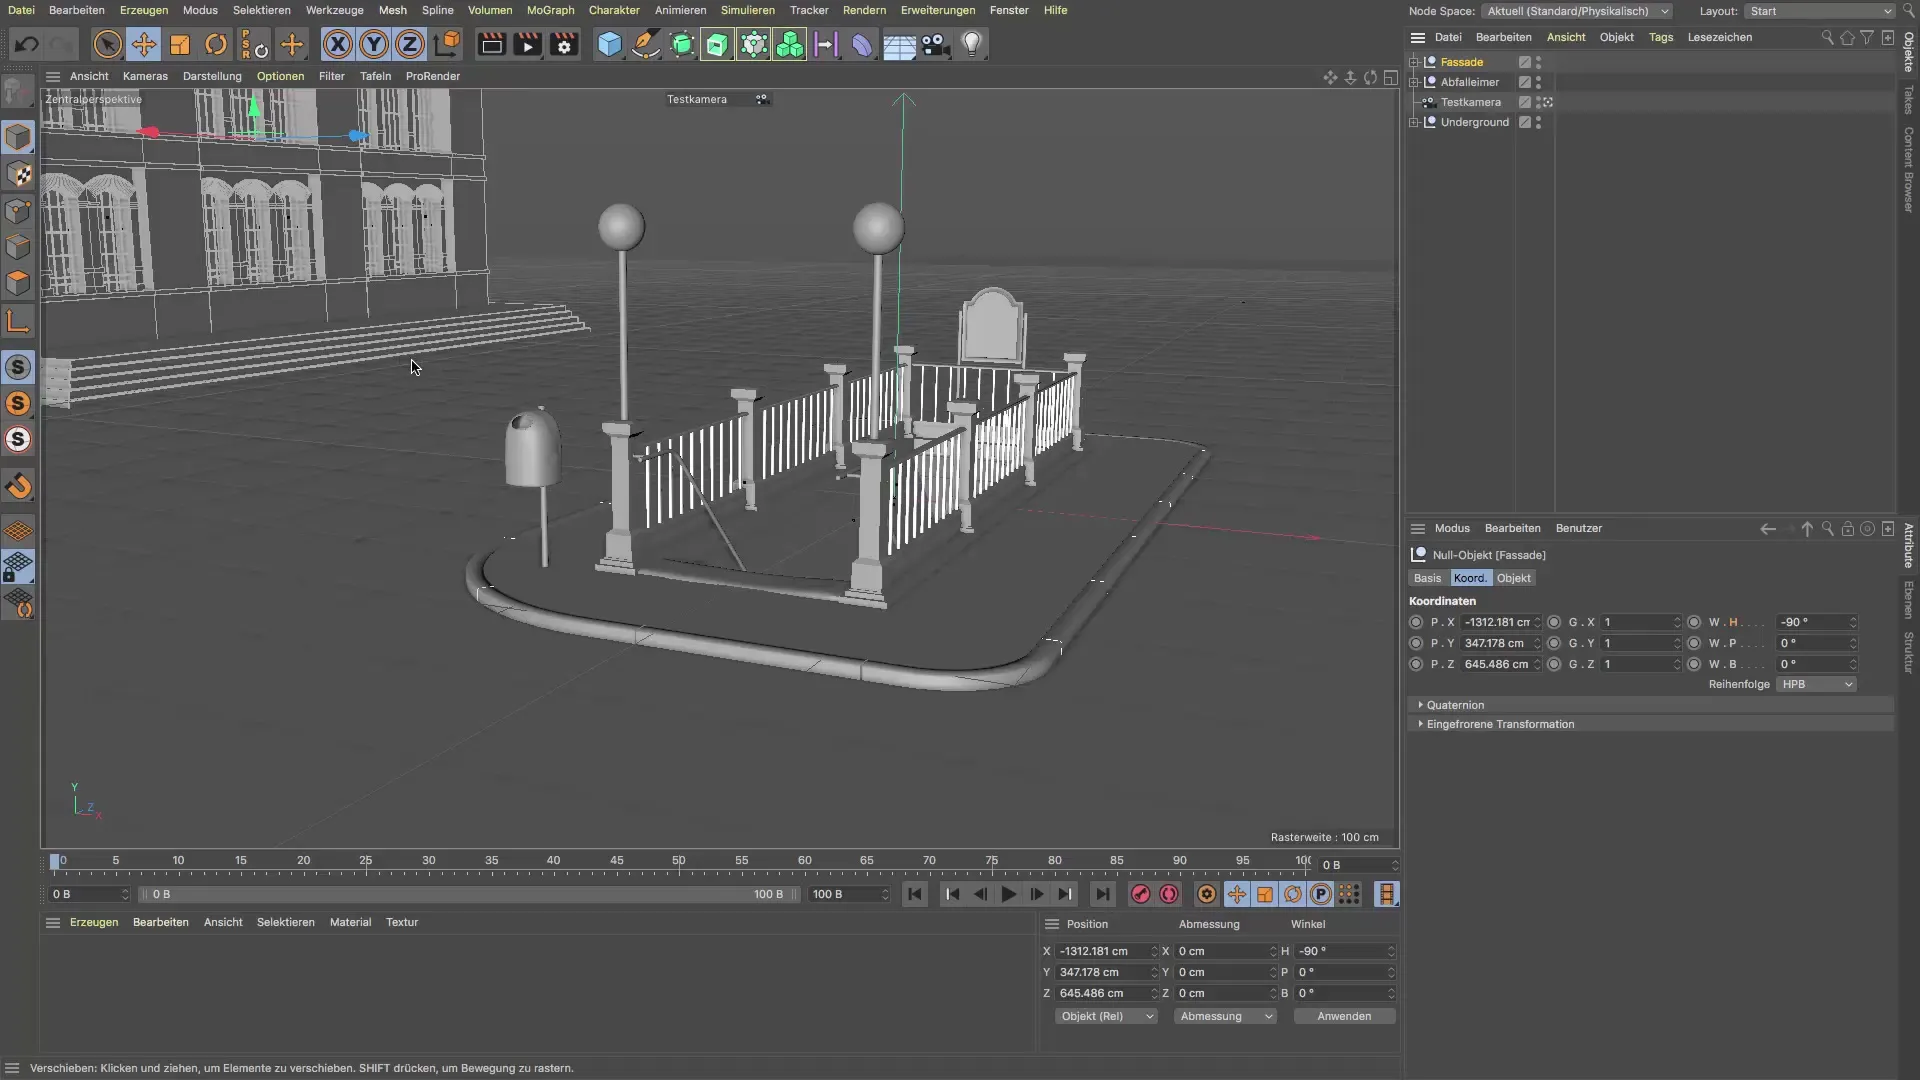
Some objects, such as facades and office buildings, already have a predefined position. When you add these, you will be informed that the material channels need to be reassigned. This may affect the final result, so pay attention to how you integrate them into the scene.
5. Adjusting the Placements
You may need to adjust the placements of individual elements, depending on how you want to design your environment. Each object can be fitted into your desired place, giving your scene a personal touch.
6. Adding Details
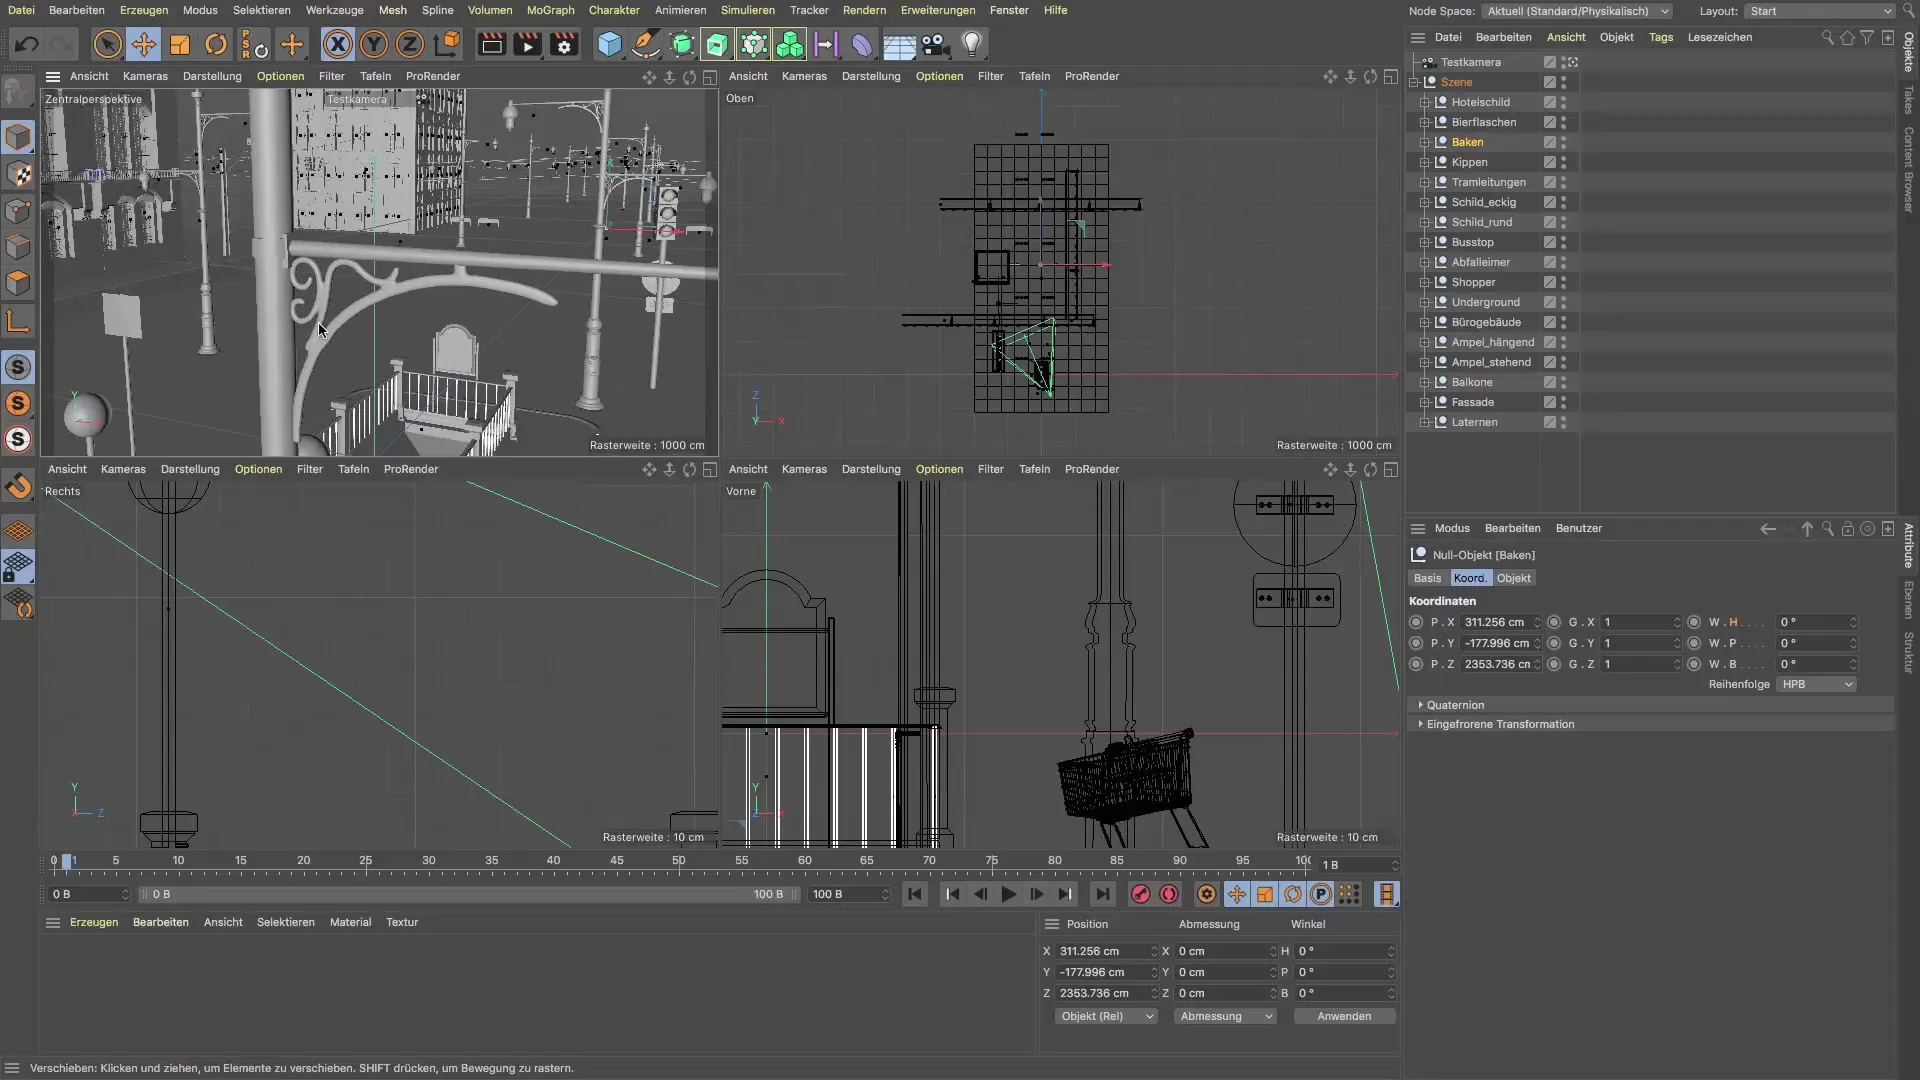
To create more realism, integrate additional details like streetlights or traffic signs into the scene. Such small additions contribute to making the overall image appear more credible and engaging.
7. Optimizing the Perspective
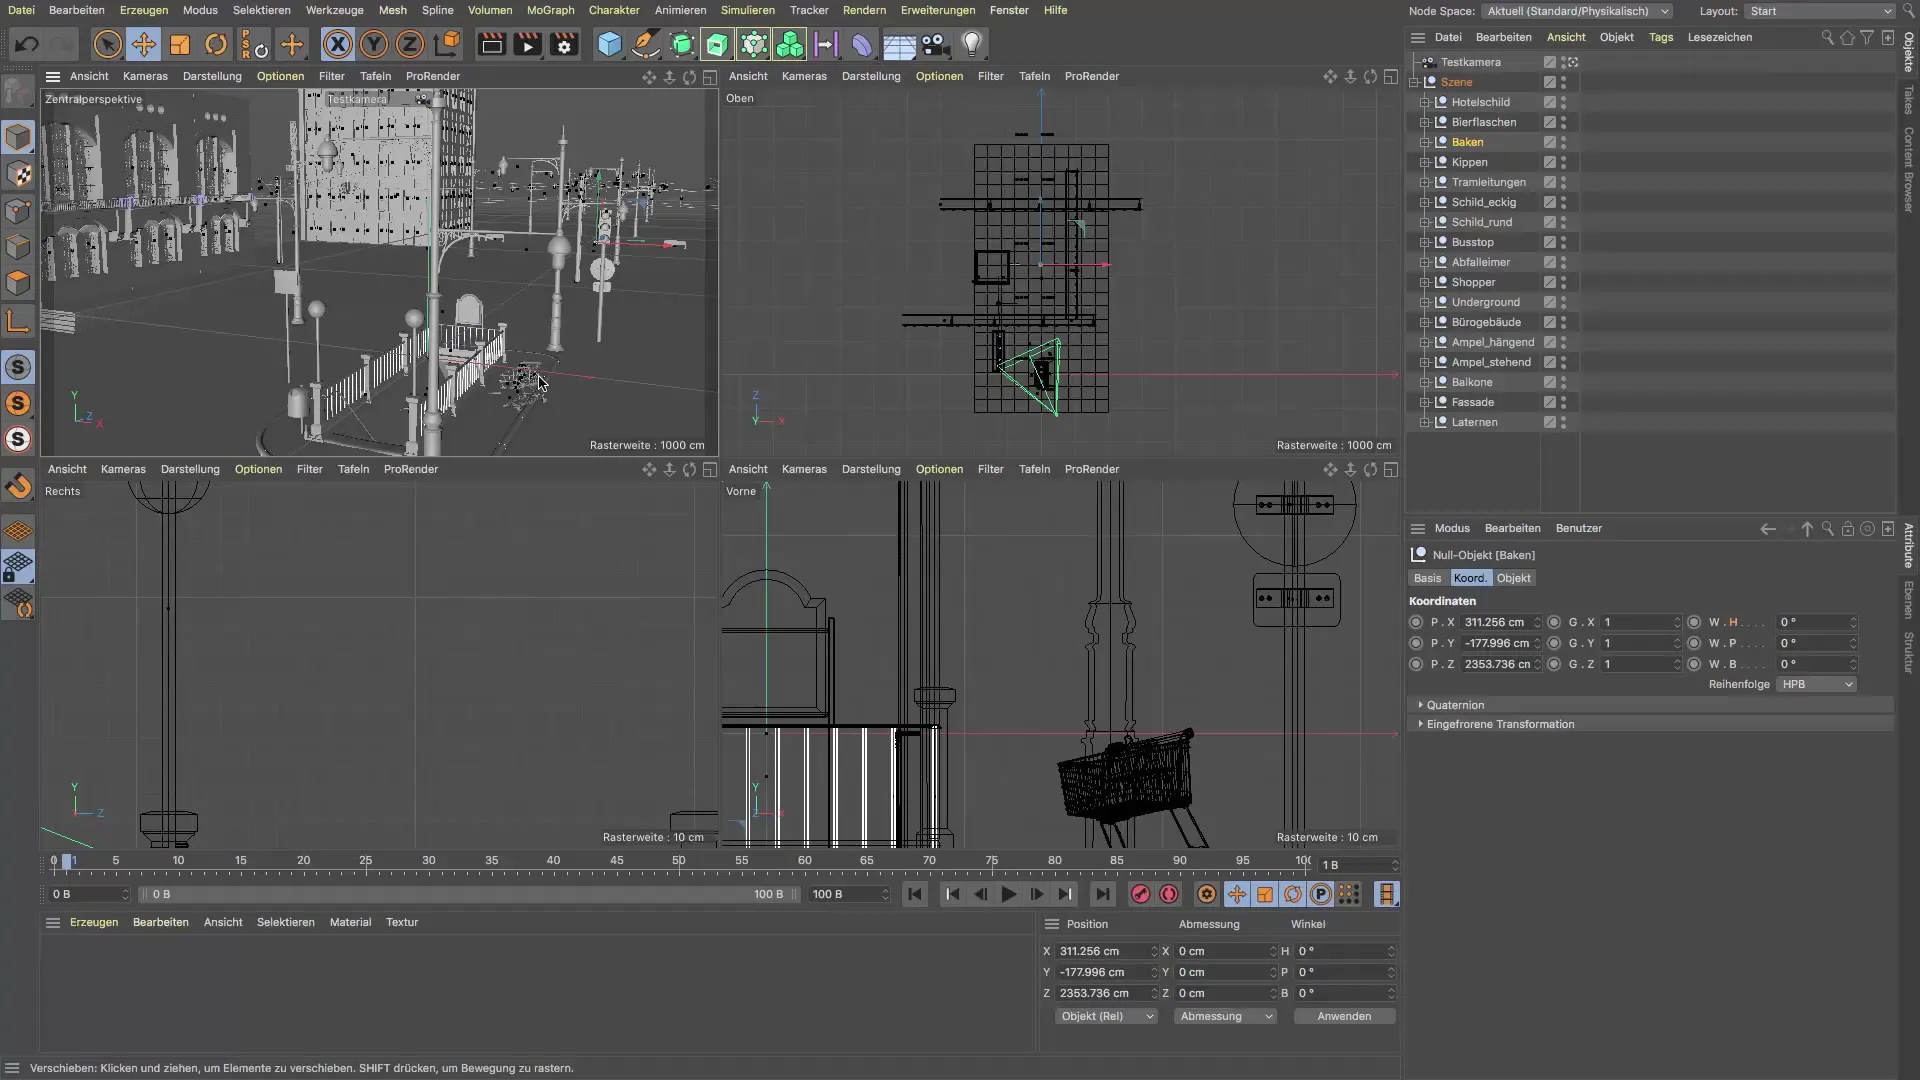
Take your time to view the scene from different perspectives. This allows you to review the arrangement of the objects and possibly make adjustments. This way, you can optimize your composition and achieve an appealing visual representation.
8. Creative Freedom
Let your imagination run wild! You have the opportunity to combine the various objects and bring your individual visions into the air station. From additional props to interesting detail decisions – you are the designer of your world.
Summary - Underground Scene Creation in Cinema 4D
In this tutorial, you learned how to build a subway scene in Cinema 4D step by step. By adding, adjusting, and creatively combining different objects, you can create an impressive and realistic environment. Use the project files and your own ideas to design a scene that meets your expectations.
Frequently Asked Questions
What are the key steps in scene creation in Cinema 4D?The key steps are renaming the scene objects, adding objects, placing and adjusting the objects, and adding details.
Can I integrate my own models into the scene?Yes, you can use both the provided models and your own ideas to customize the scene.
How can I ensure that my objects are realistically arranged?Make sure that the objects sit correctly on the ground and check various perspectives of the scene to analyze the arrangement.
How can I add additional details?You can bring in further objects like streetlights, traffic signs, or other props to make the scene more vibrant.
What can I do to make the scene more engaging?Try different combinations of objects, experiment with perspective and placements, and make creative changes to create a unique and appealing environment.
