Do you want to create an ornament for a street lamp in Cinema 4D? This guide will take you step by step through the process of designing a stylish and stabilizing element. With a clear focus on technique and design, you will learn how to adapt your lamp of the past so that it not only looks good in today's design but also functions effectively.
Key insights
- Construct an ornament that provides stability to the lamp.
- Use templates for efficient design.
- Learn how to adjust your model settings to fit the geometry of the lamp.
Step-by-step guide
Step 1: Open the project
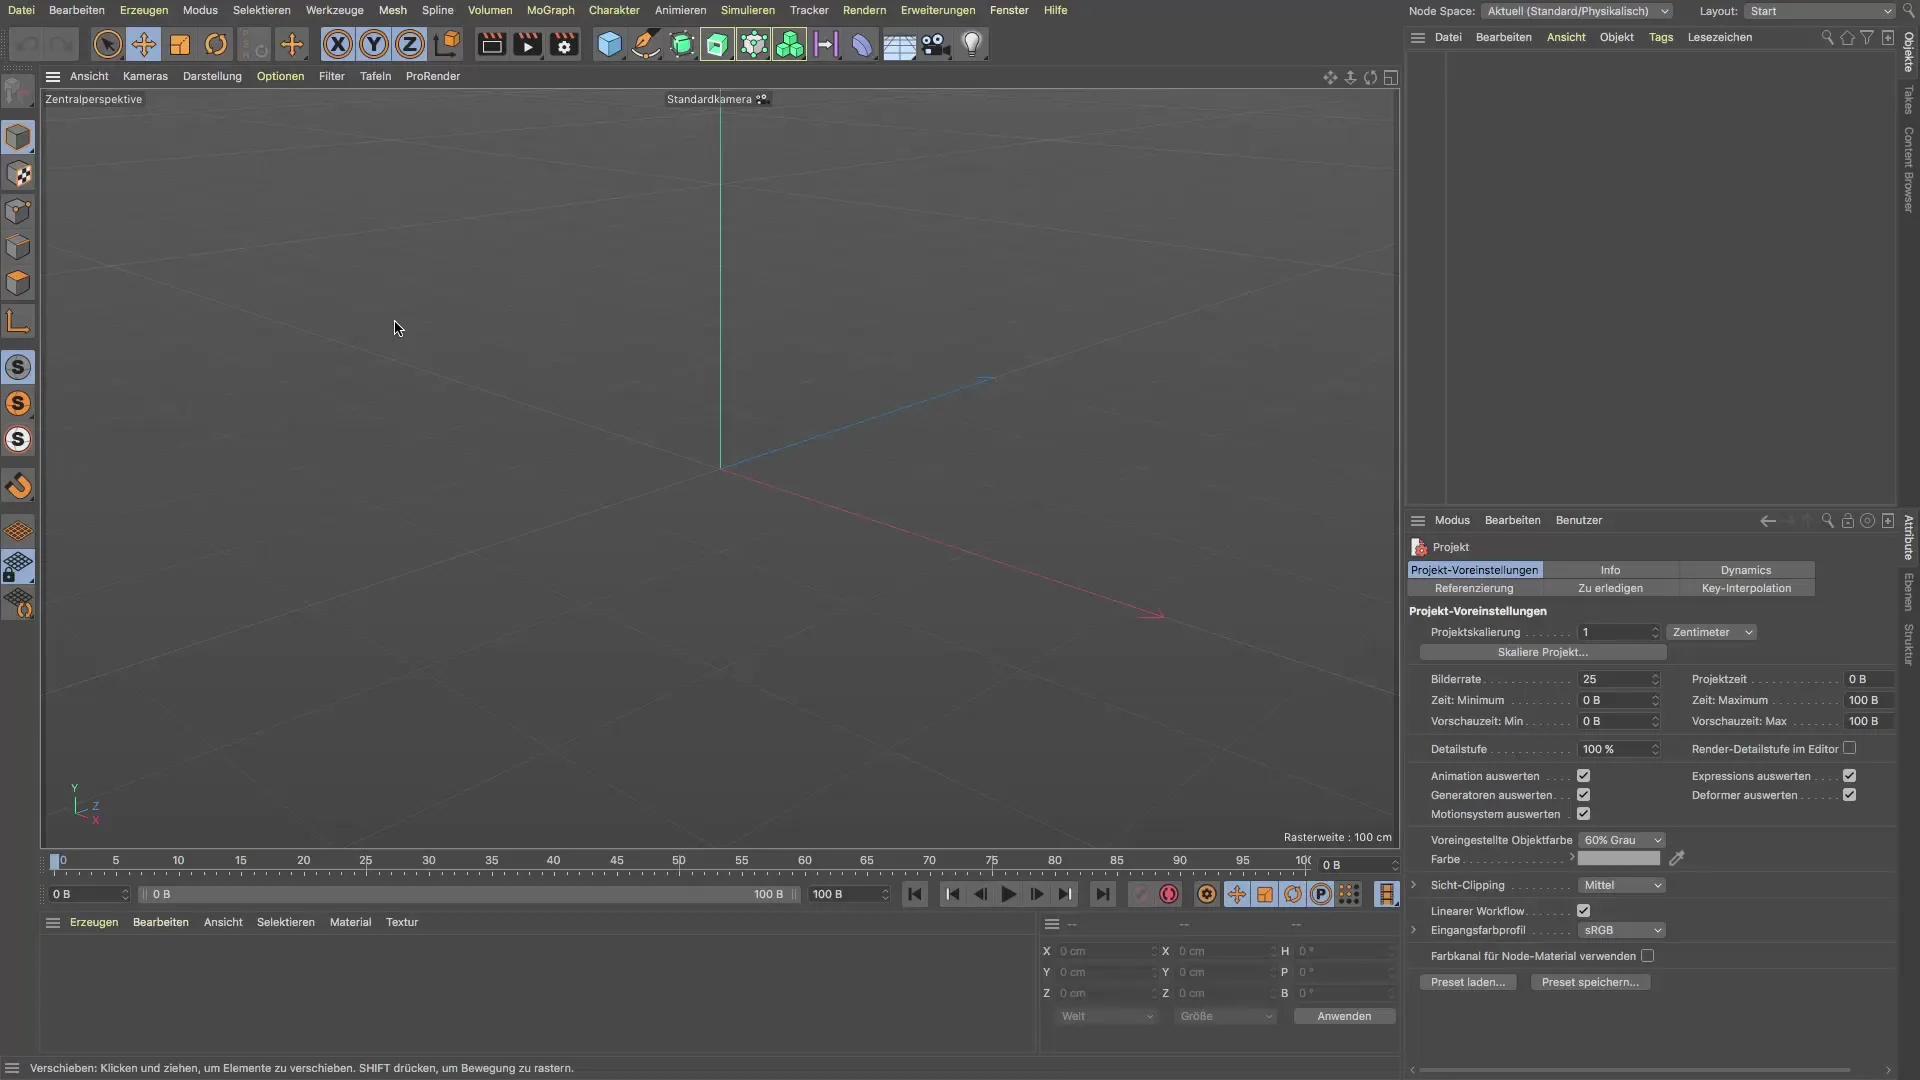
First, open your project with the street lamp. This lamp in front of you comes from a time when design and architecture had a completely different meaning. When you look at the shape, it quickly becomes clear that it stylistically belongs to another era. This design is based on elements that you wouldn't find in the same form today. To make the final structure visually appealing, we need an ornament that looks aesthetically pleasing and has a stabilizing effect.
Step 2: Import the ornament
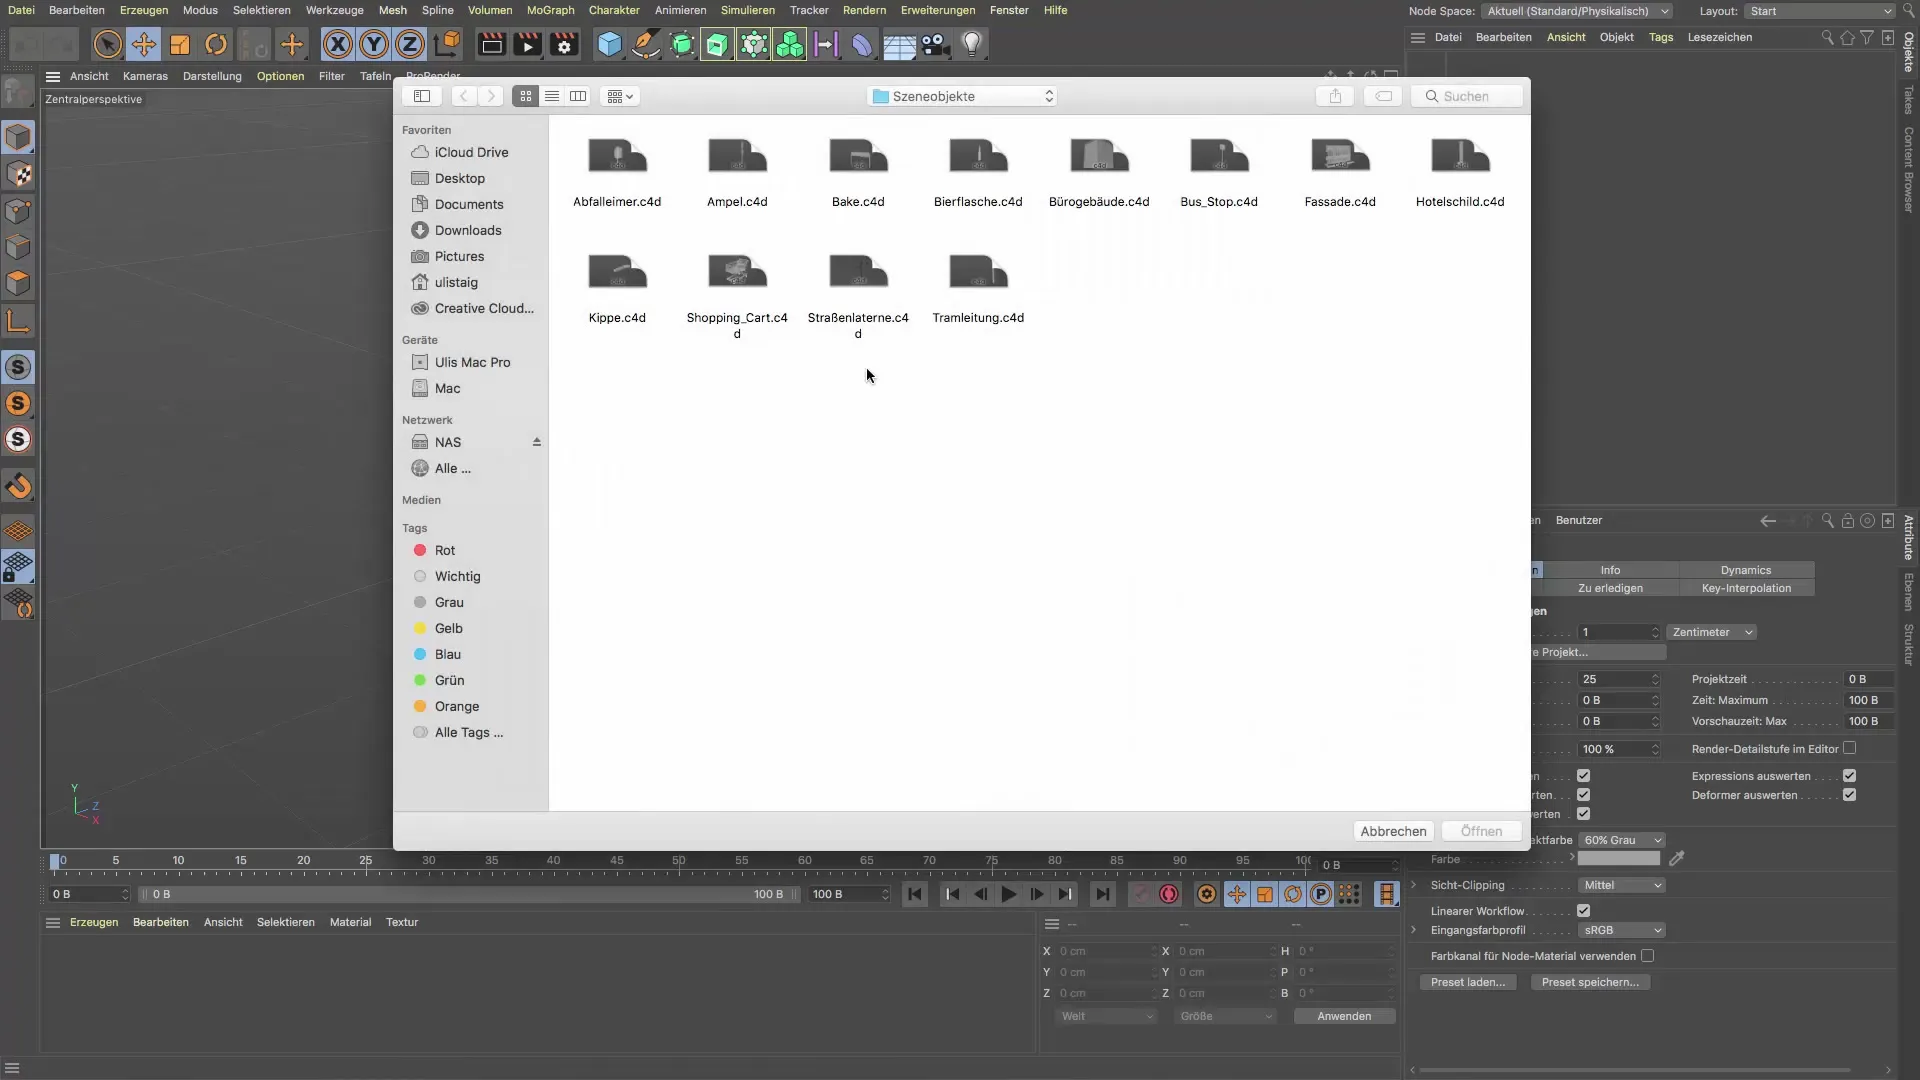
To design the ornament, import a suitable template into your Cinema 4D project. This template could be an image or a vector file that you use as a reference. You will use it later as a basis for your design. To import the template, navigate to the options and load your ornament image. It is important that you display the correct file so you can implement your design ideas directly in the right place.
Step 3: Set the view mode
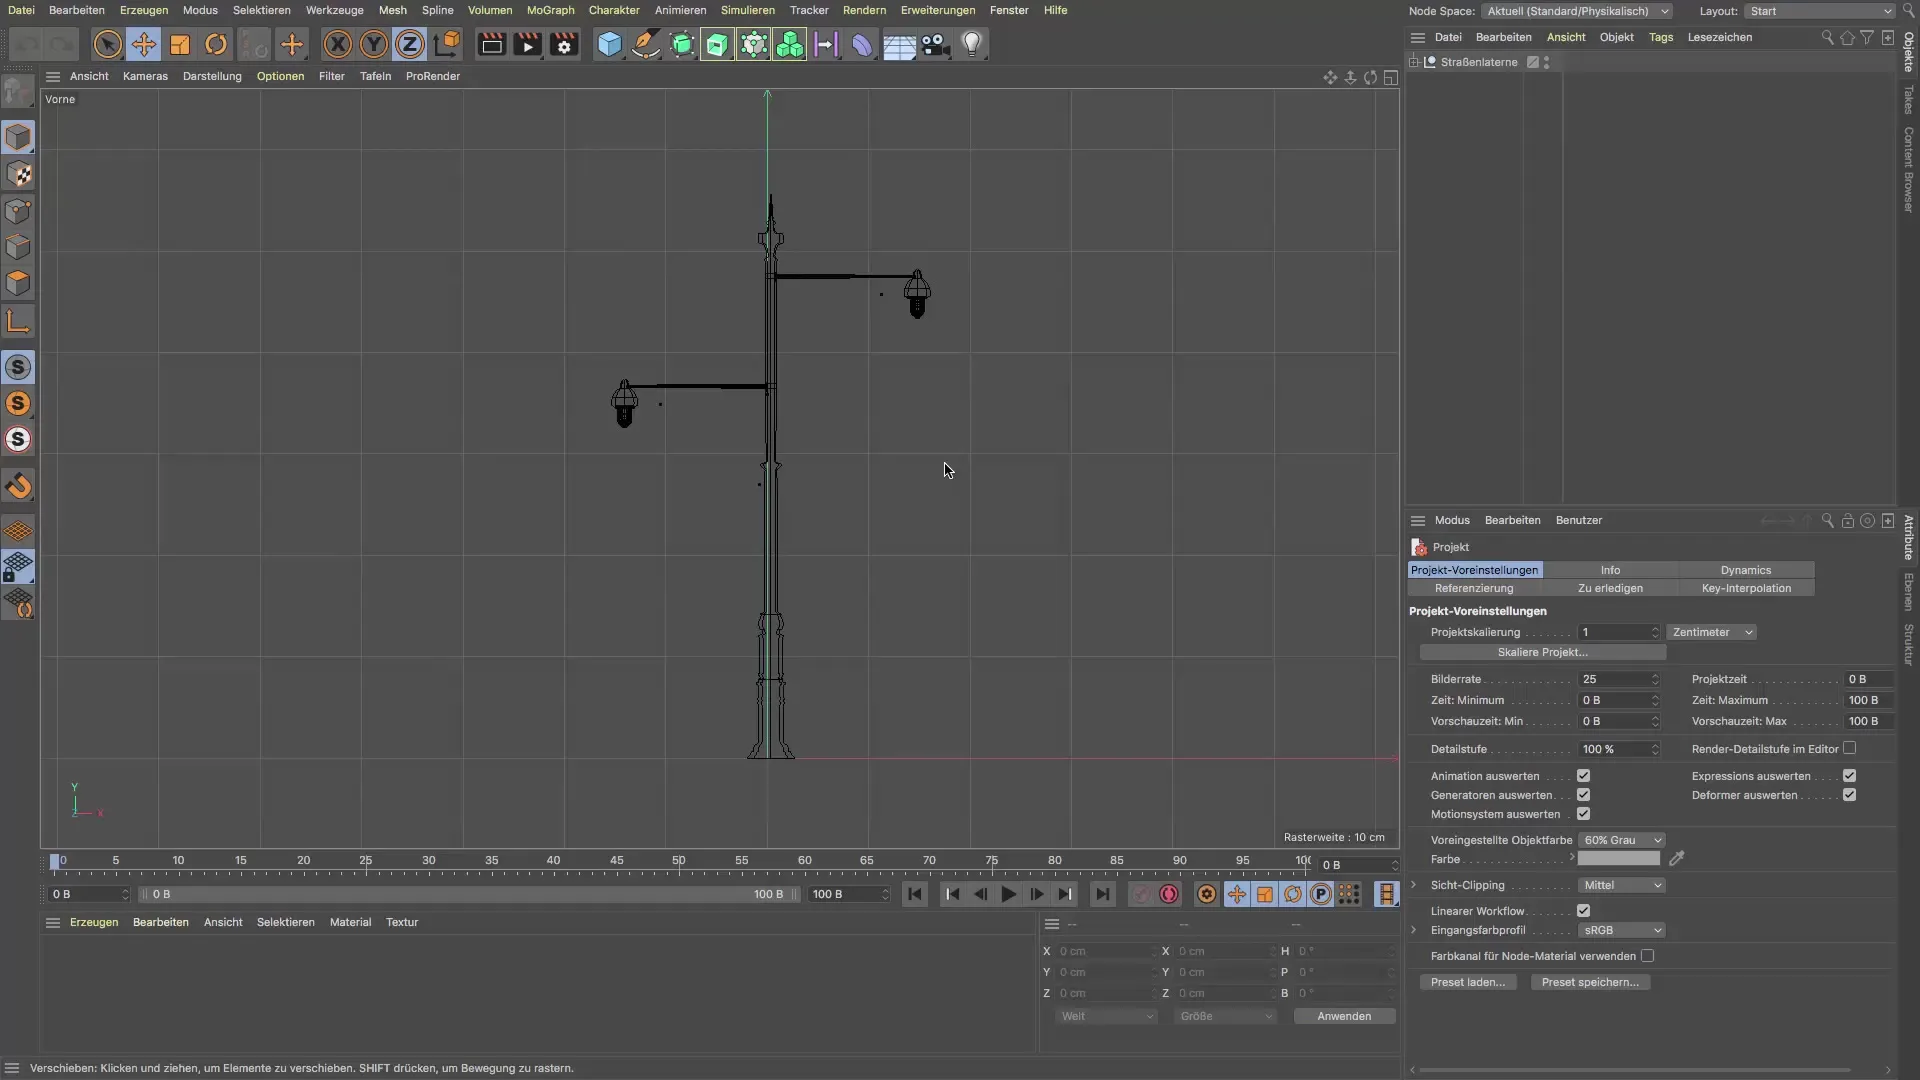
Change the view to "Frontview" mode to get a better feel for the layout and dimensions of your lamp and the ornament. This perspective gives you a more accurate insight into the height and width of the object you want to design. You can also customize this setting depending on your workflow, but this view is the most effective for beginners.
Step 4: Adjust the template size
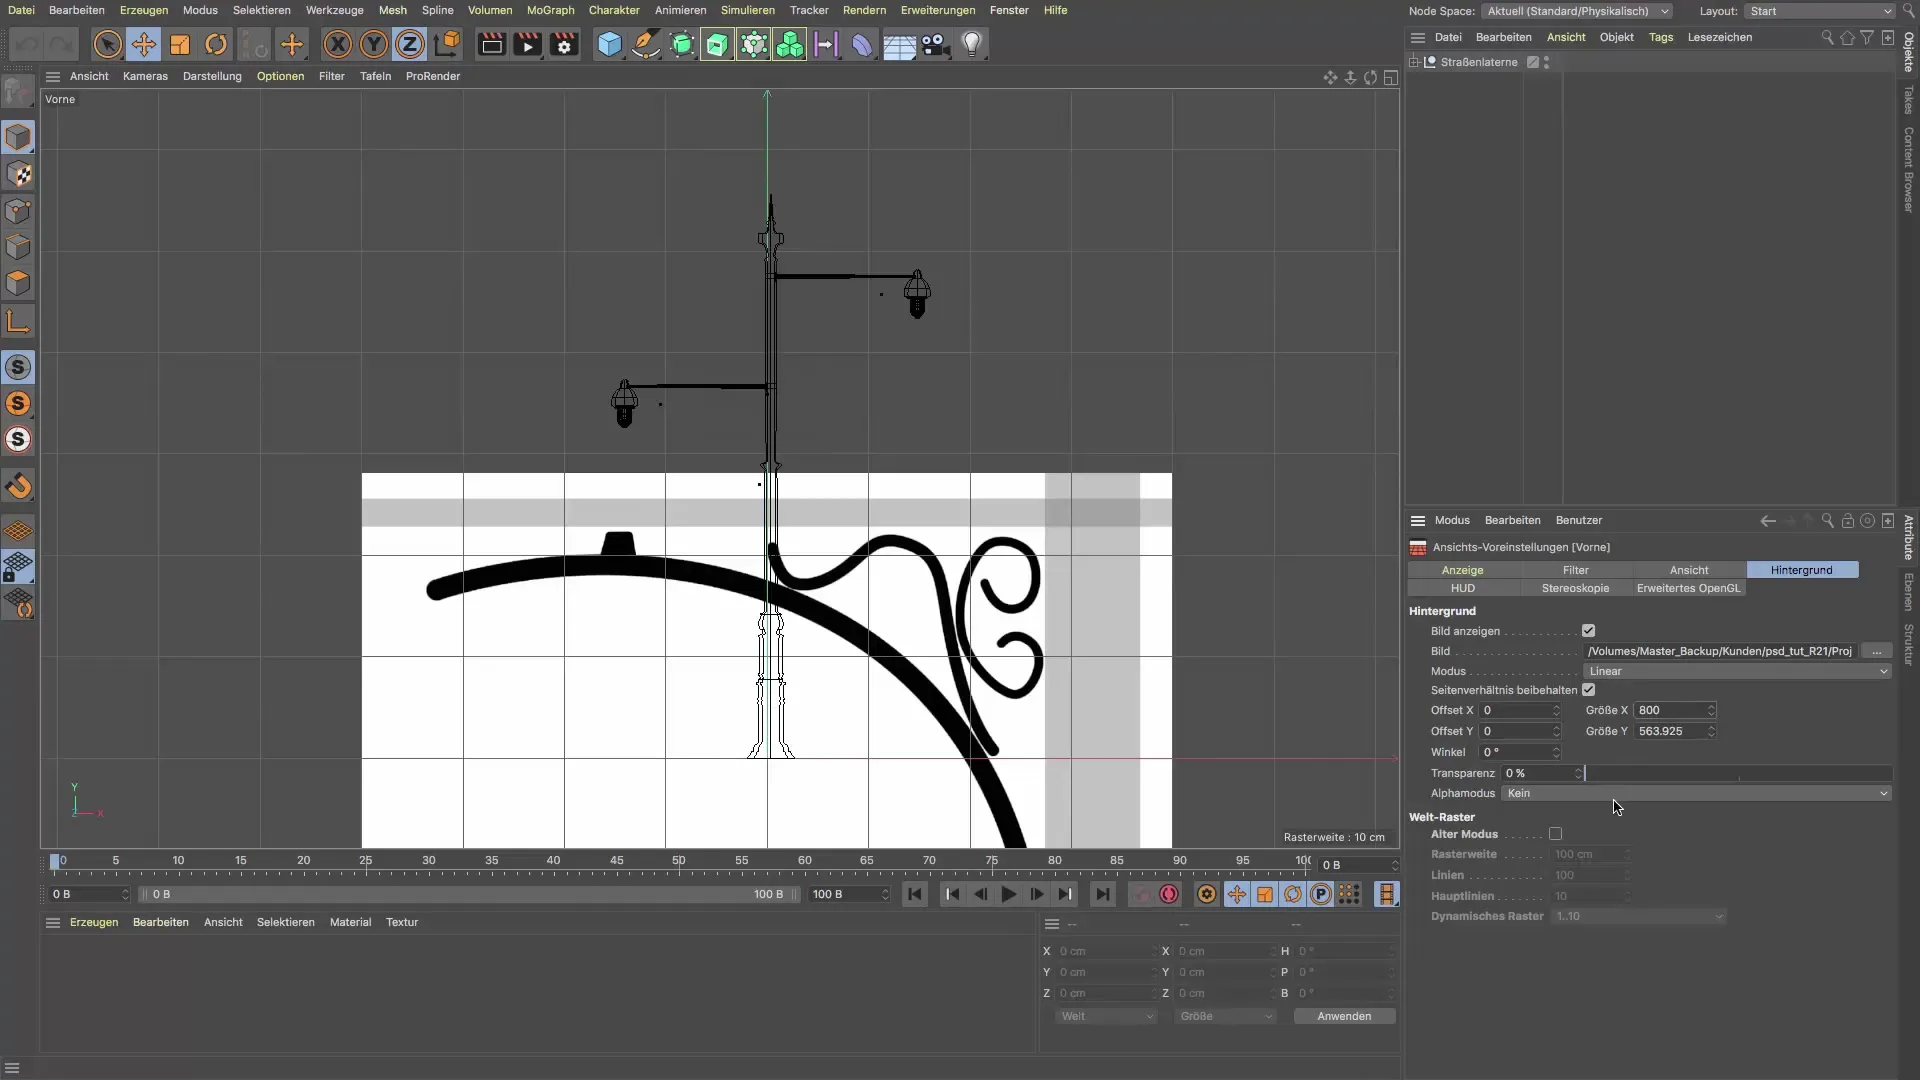
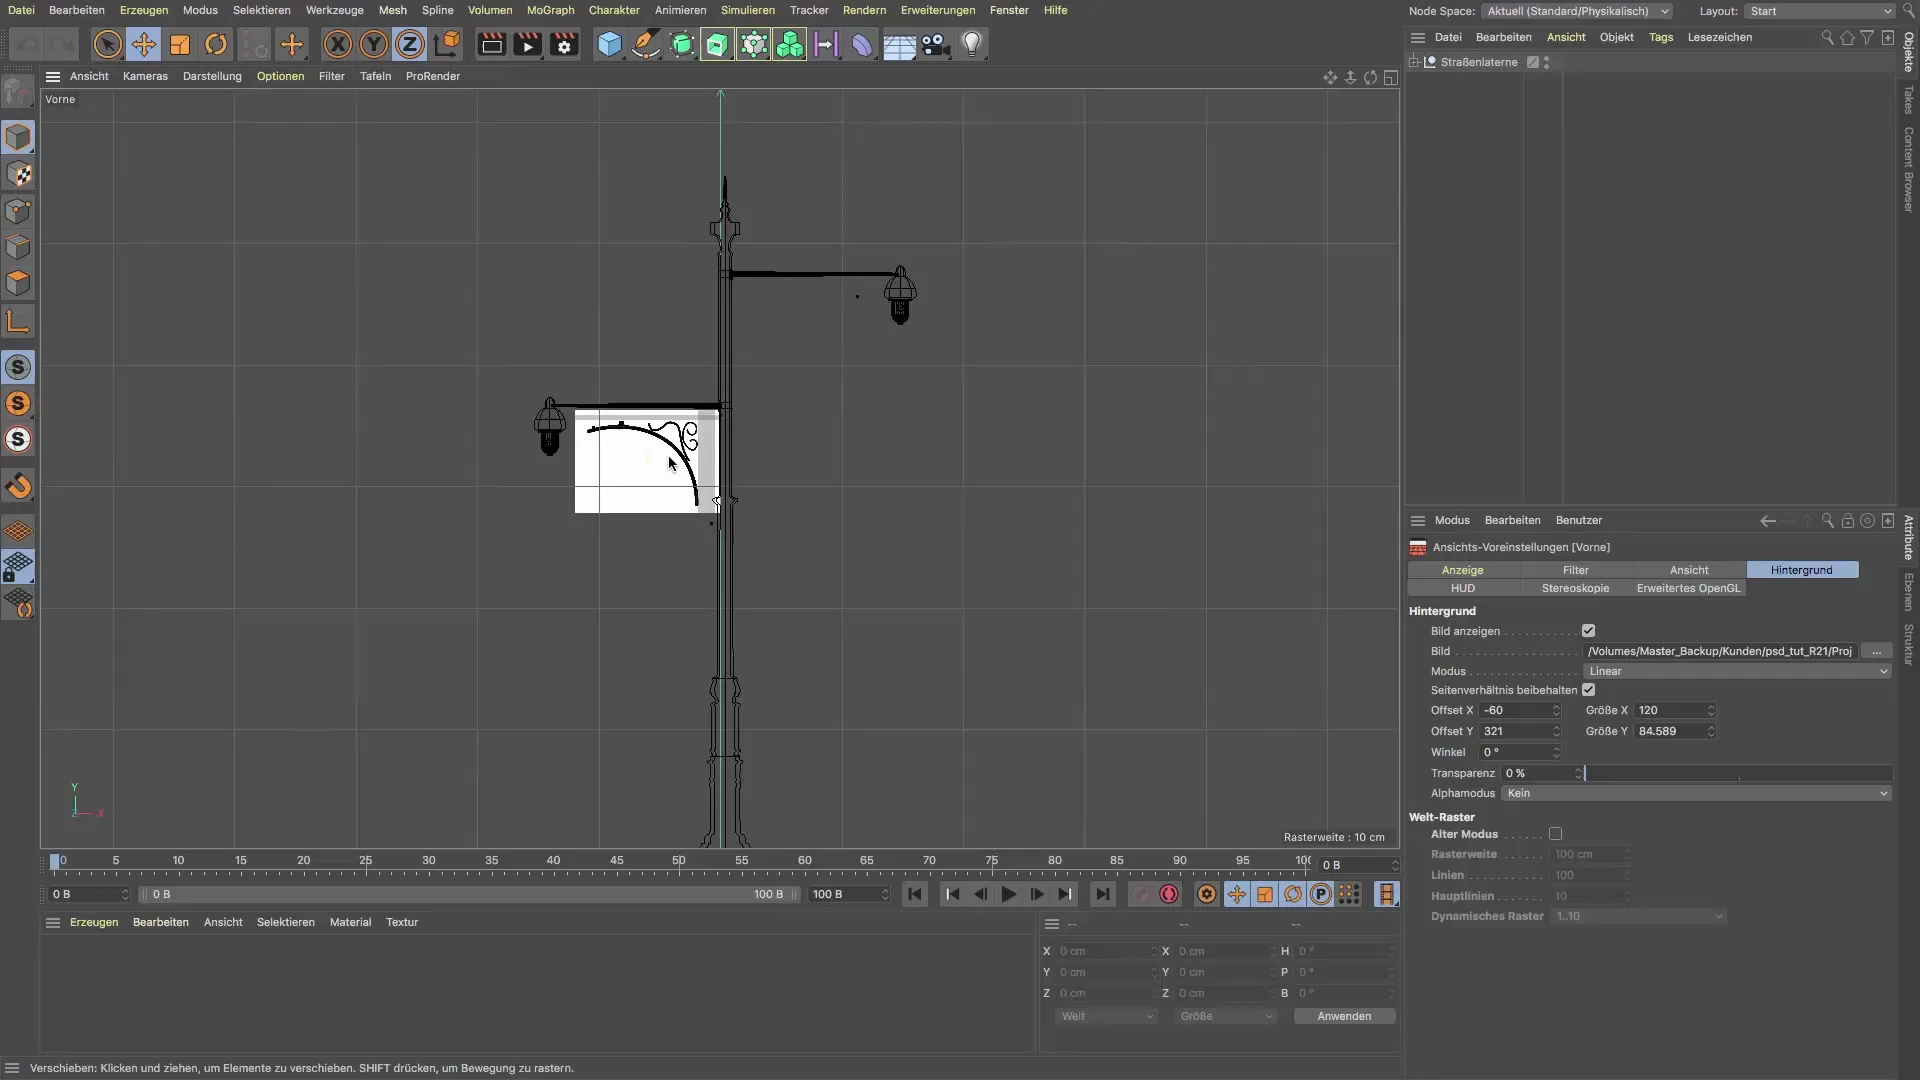
Now that you have loaded the template, it’s time to adjust the size. It’s recommended to make the template smaller first so that it can be well proportioned to the lamp. You can do this easily using the transformation tools without affecting the aspect ratio. Keep the checkbox for maintaining the aspect ratio checked. This way, your template keeps its shape while you adjust it.
Step 5: Positioning the ornament
Once you have adjusted the size, position the ornament above the arm of the street lamp. Use the offset options to move the template exactly where it needs to go. It is important that the template is not positioned too close to the lamp itself to ensure an optical separation that is significant for the design. Move the template as needed to create an appealing distance between the ornament and the lamp.
Step 6: Create the first polygon object
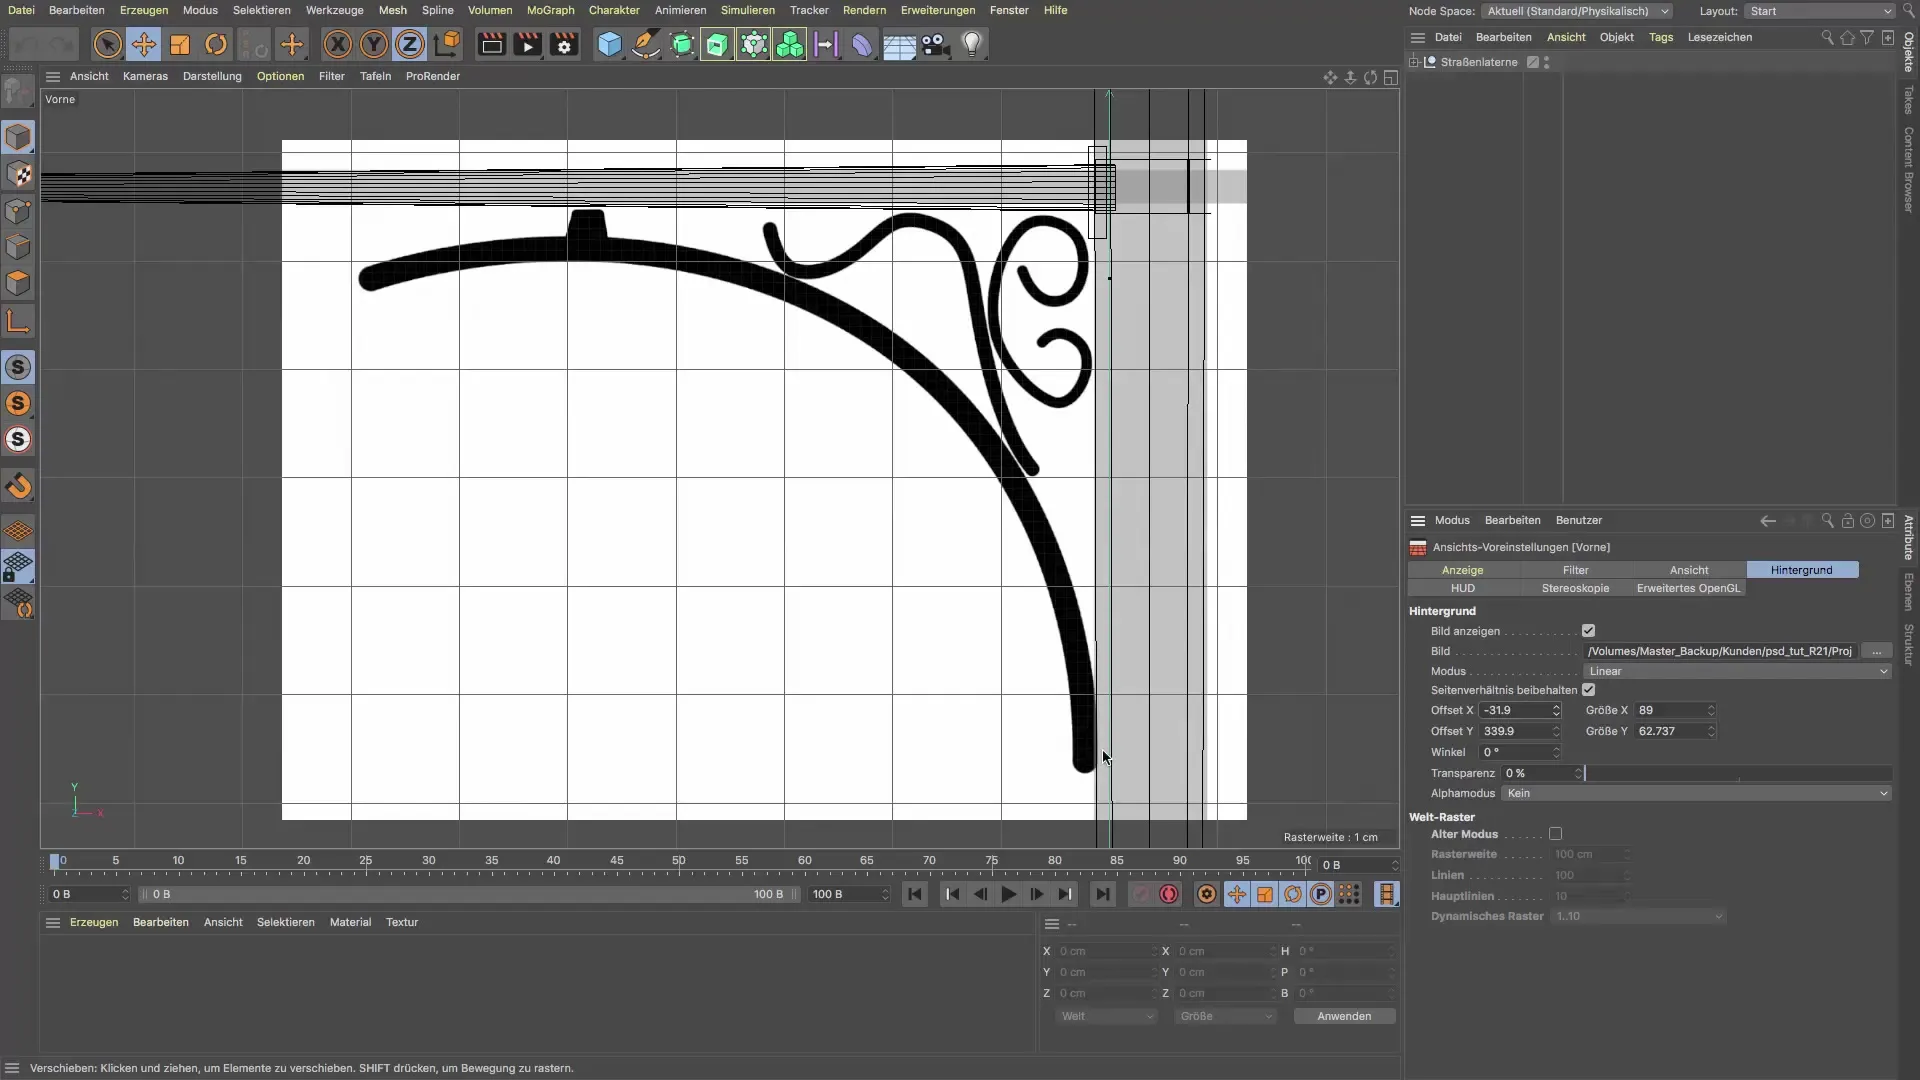
To convert the ornament into a real 3D object, first create a simple polygon object that reflects the shape of your template. These steps are crucial to ensure that the ornament harmonizes with the lamp. Use the polygon tools effectively to trace the outlines of the ornament. Use the created template as a cutting direction to ensure that your measurements are correct and that the design meets your expectations.
Step 7: Create volume
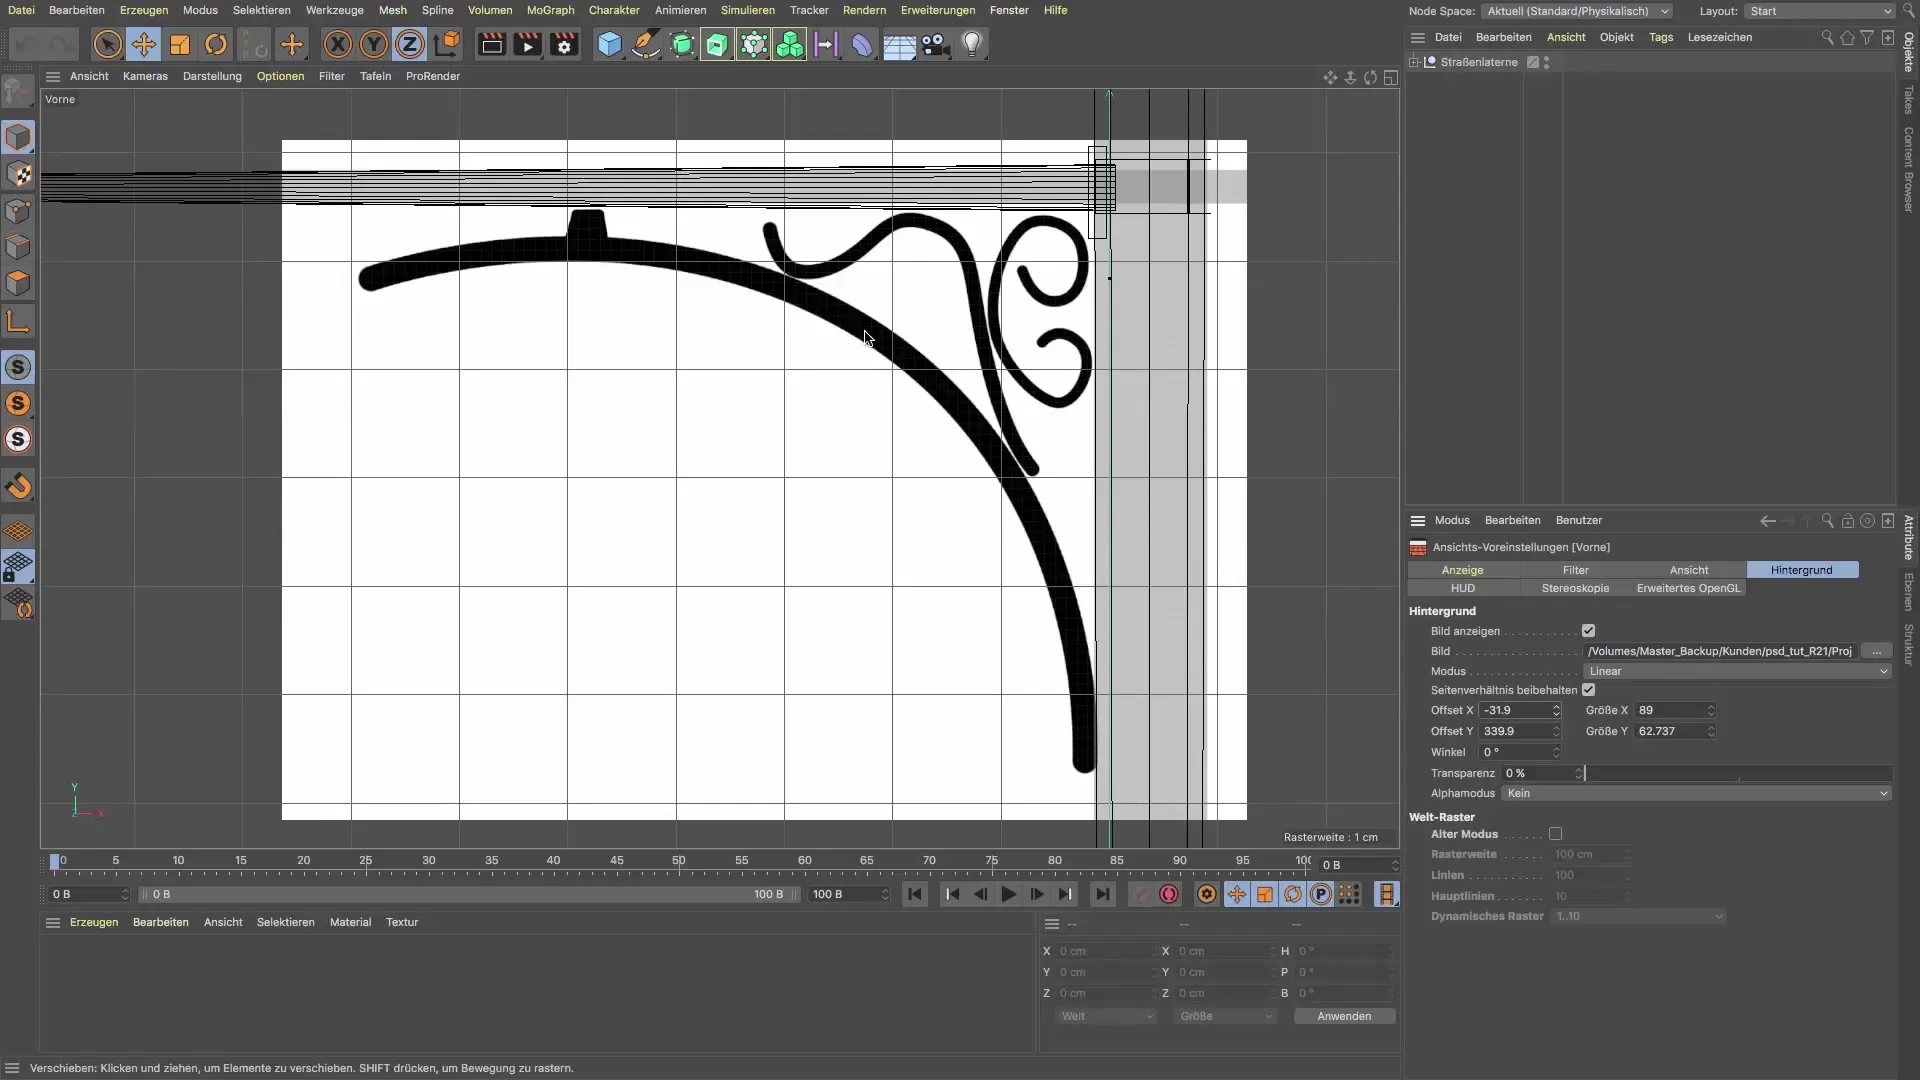
Now it’s time to turn the polygon object into a real volume. For this, you can use the "Generate Volume" and "Volume Measure" tools. These tools allow you to create a volumetric object and set the desired dimensions. Ensure that the ornament looks as detailed and realistic as you wish.
Summary - Creating an ornament for street lamps
This guide has shown you how to create an ornament for a street lamp in Cinema 4D step by step. With the right tools and techniques, you can optimally implement your design ideas and give your project the classic design it needs.
Frequently asked questions
How do I adjust the size of the template?Use the transformation tools and make sure to maintain the aspect ratio.
How do I optimally position the ornament?Use the offset options to move the ornament to the correct position above the arm of the lamp.
What tools do I need to transform the ornament into a volumetric object?Use the "Generate Volume" and "Volume Measure" tools for precise implementation.
How can I ensure that my template does not become pixelated?When you shrink the template, it retains its shape and displays image details without pixelation.
How can I change the view in Cinema 4D?Go to the view settings and select the desired perspective, for example, "Frontview".
