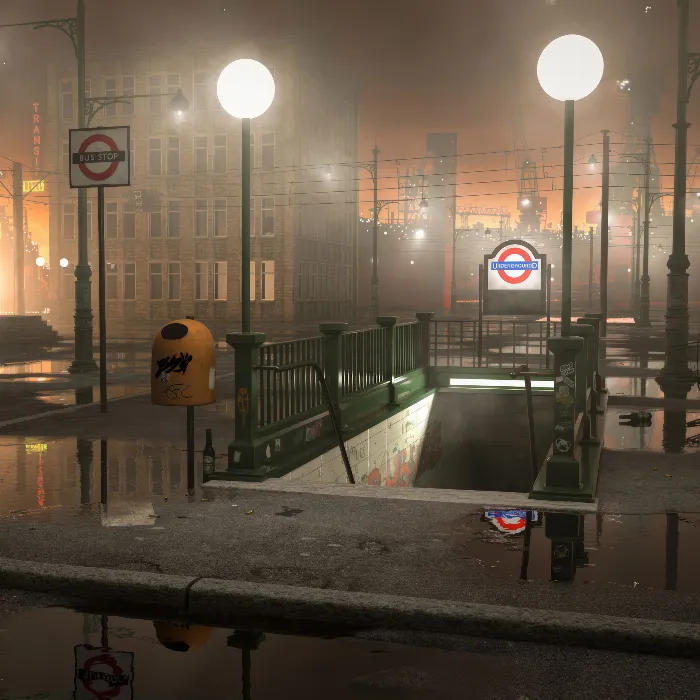
In this tutorial, you will learn how to effectively use neon lights in a detailed subway scene in Cinema 4D. First, we will look at the scene without lighting to determine where and what light sources are needed. Then we will add a physical light that features an inverse square falloff and area shading. Step by step, you will learn how to adjust and position the light source to create the perfect atmosphere for your scene.
Key insights
- First assess the light in the scene to identify suitable light sources.
- Use a physical light for realistic settings.
- Adjust light intensity, color, and angle for the right mood.
Step-by-step guide
Check the scene without light
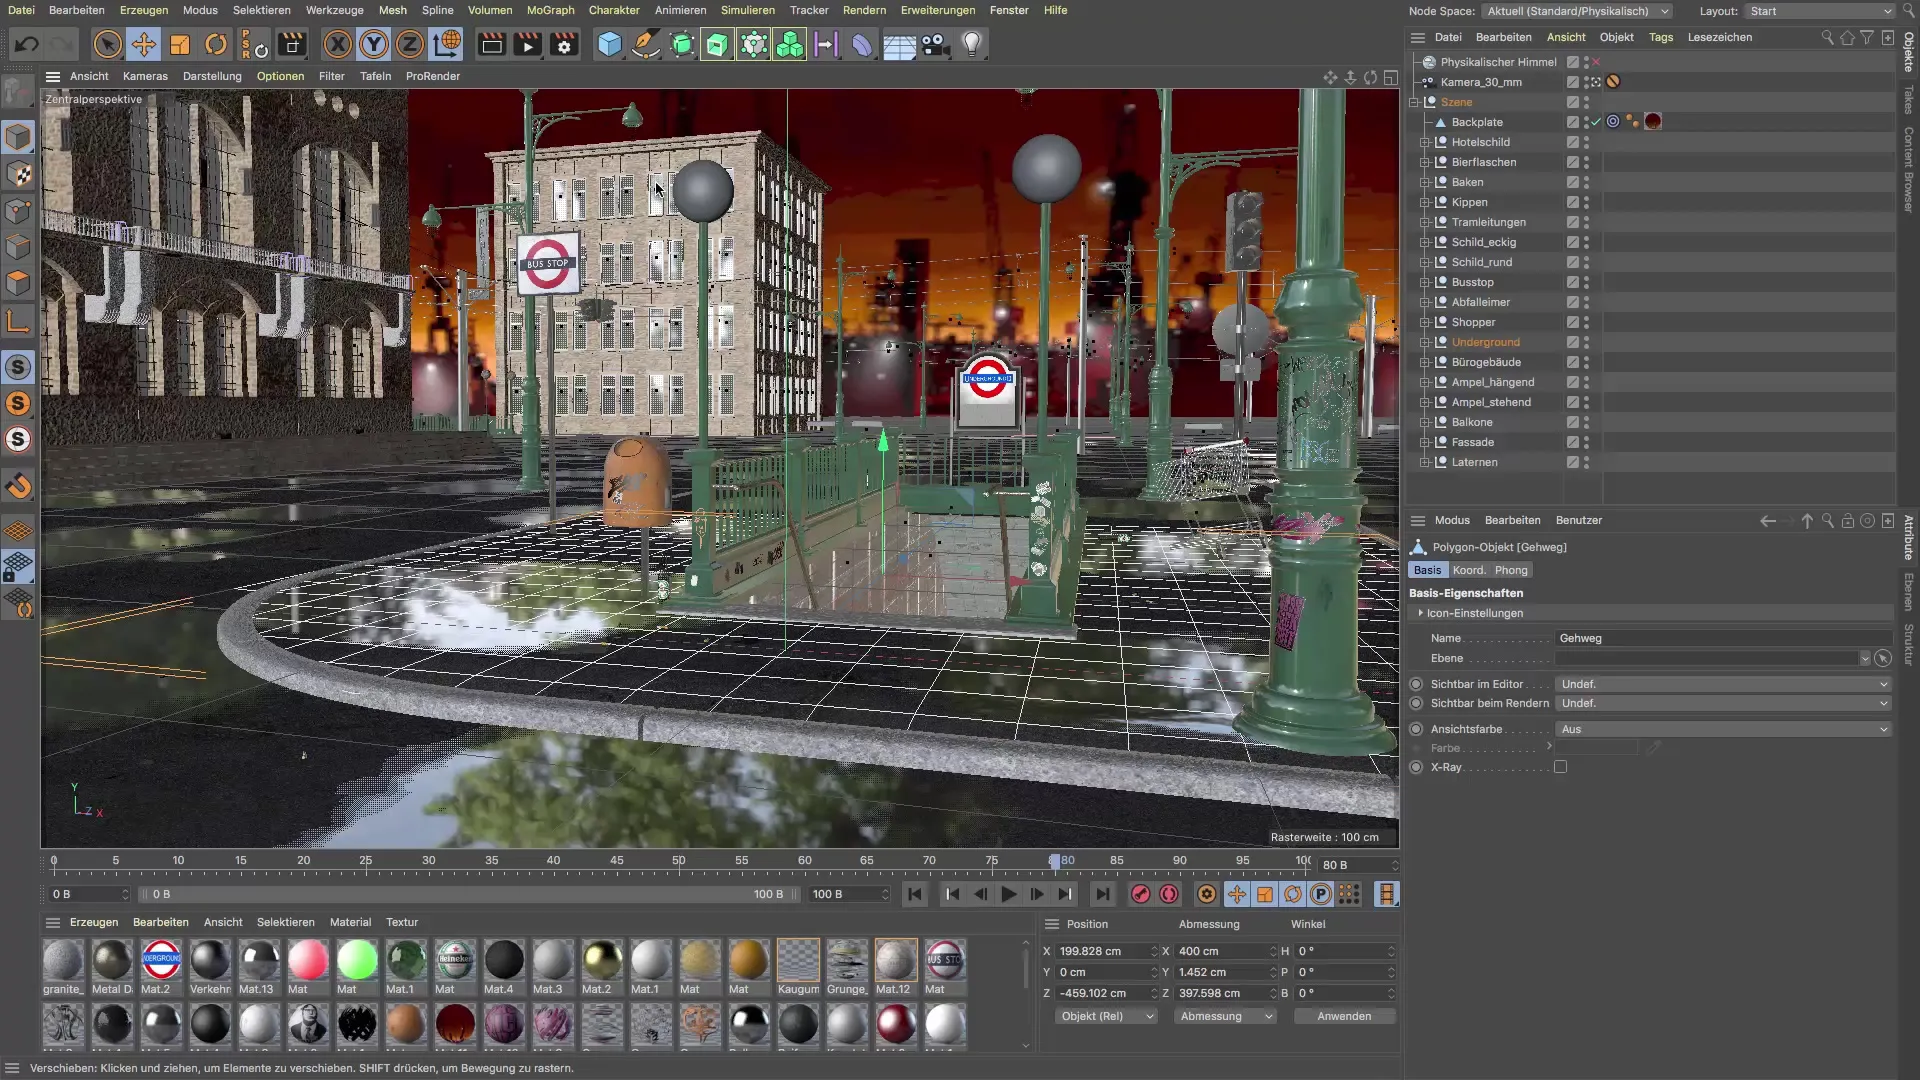
Before you start placing lights, it's important to render the scene without light. This gives you an idea of how the reflections and surfaces in the background look. Render the scene, and you will get a clear view of the areas that need to be illuminated.
Add the first light source
You will start by placing the first light source above the subway entrance. These should typically be neon tubes behind a frosted glass cover. Opt for a physical light, as it provides all the necessary shadow settings by default.
Rotate and adjust the light source
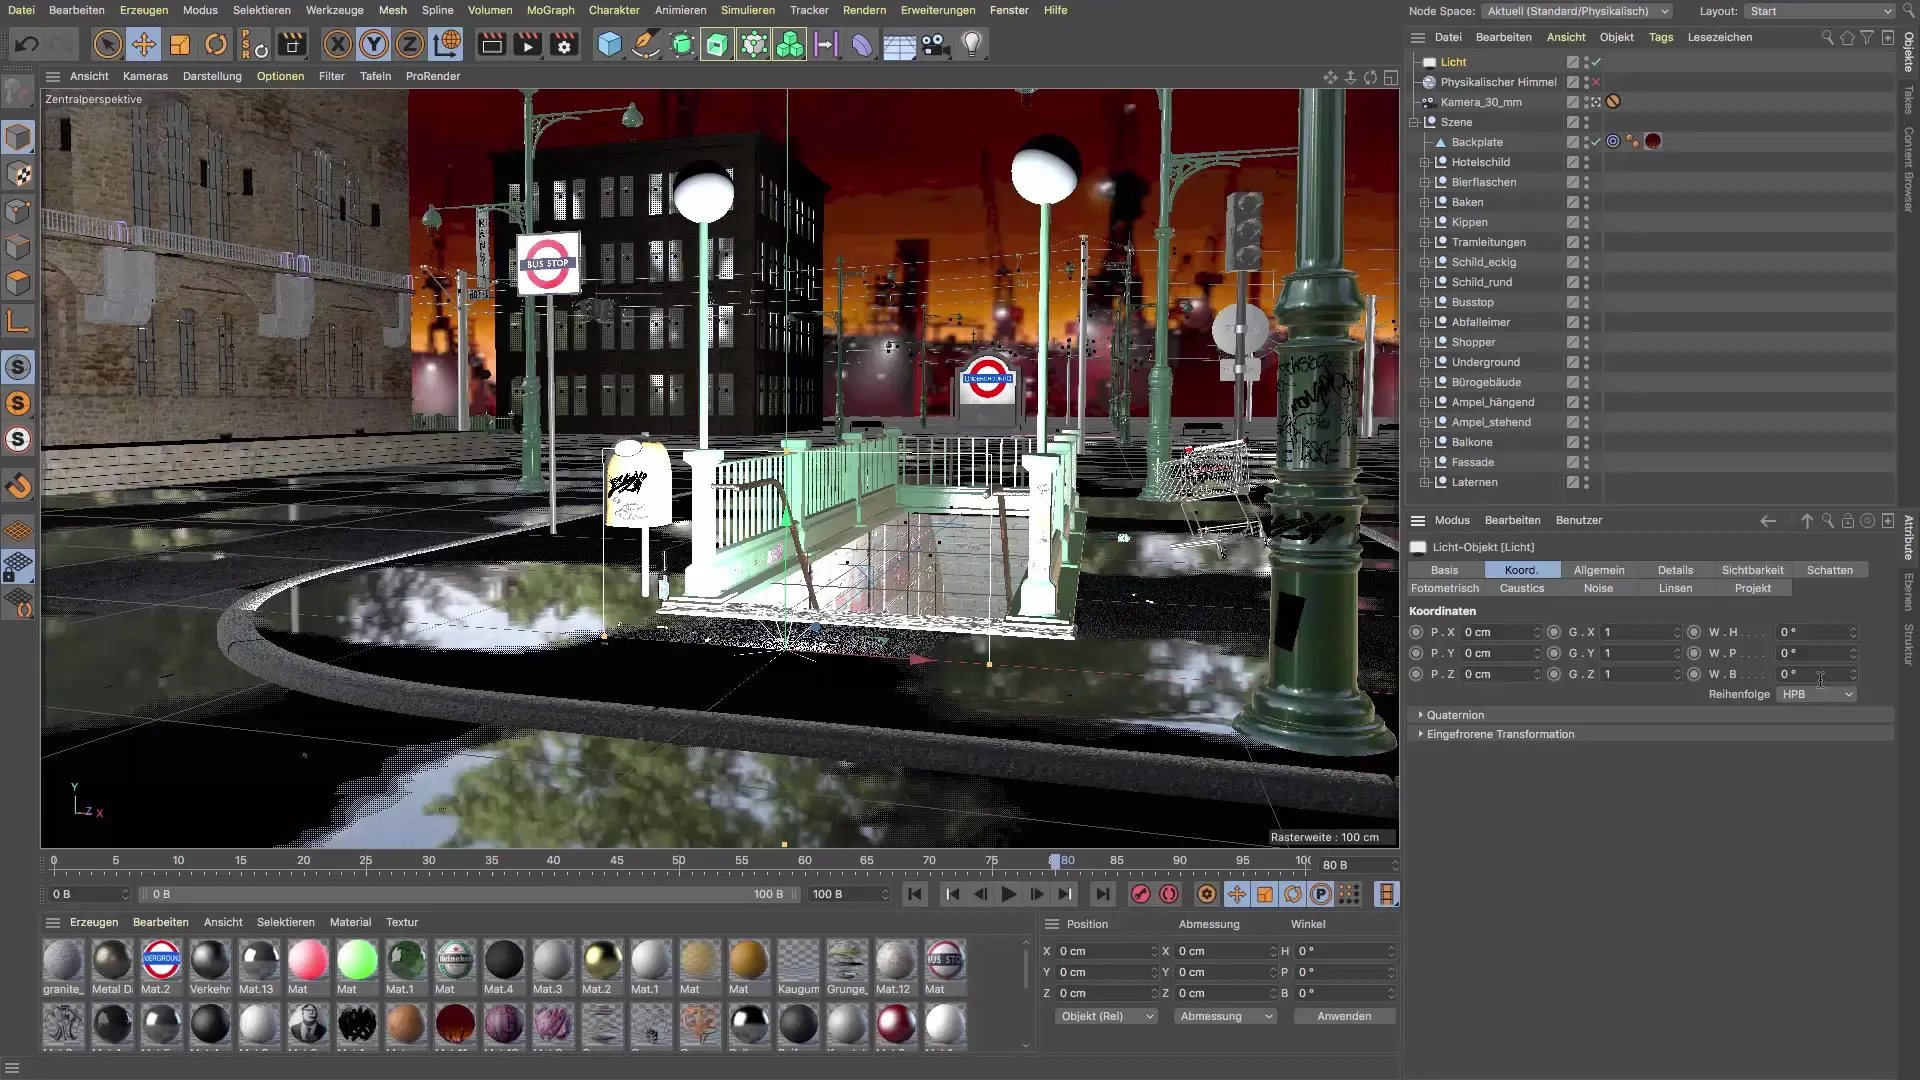
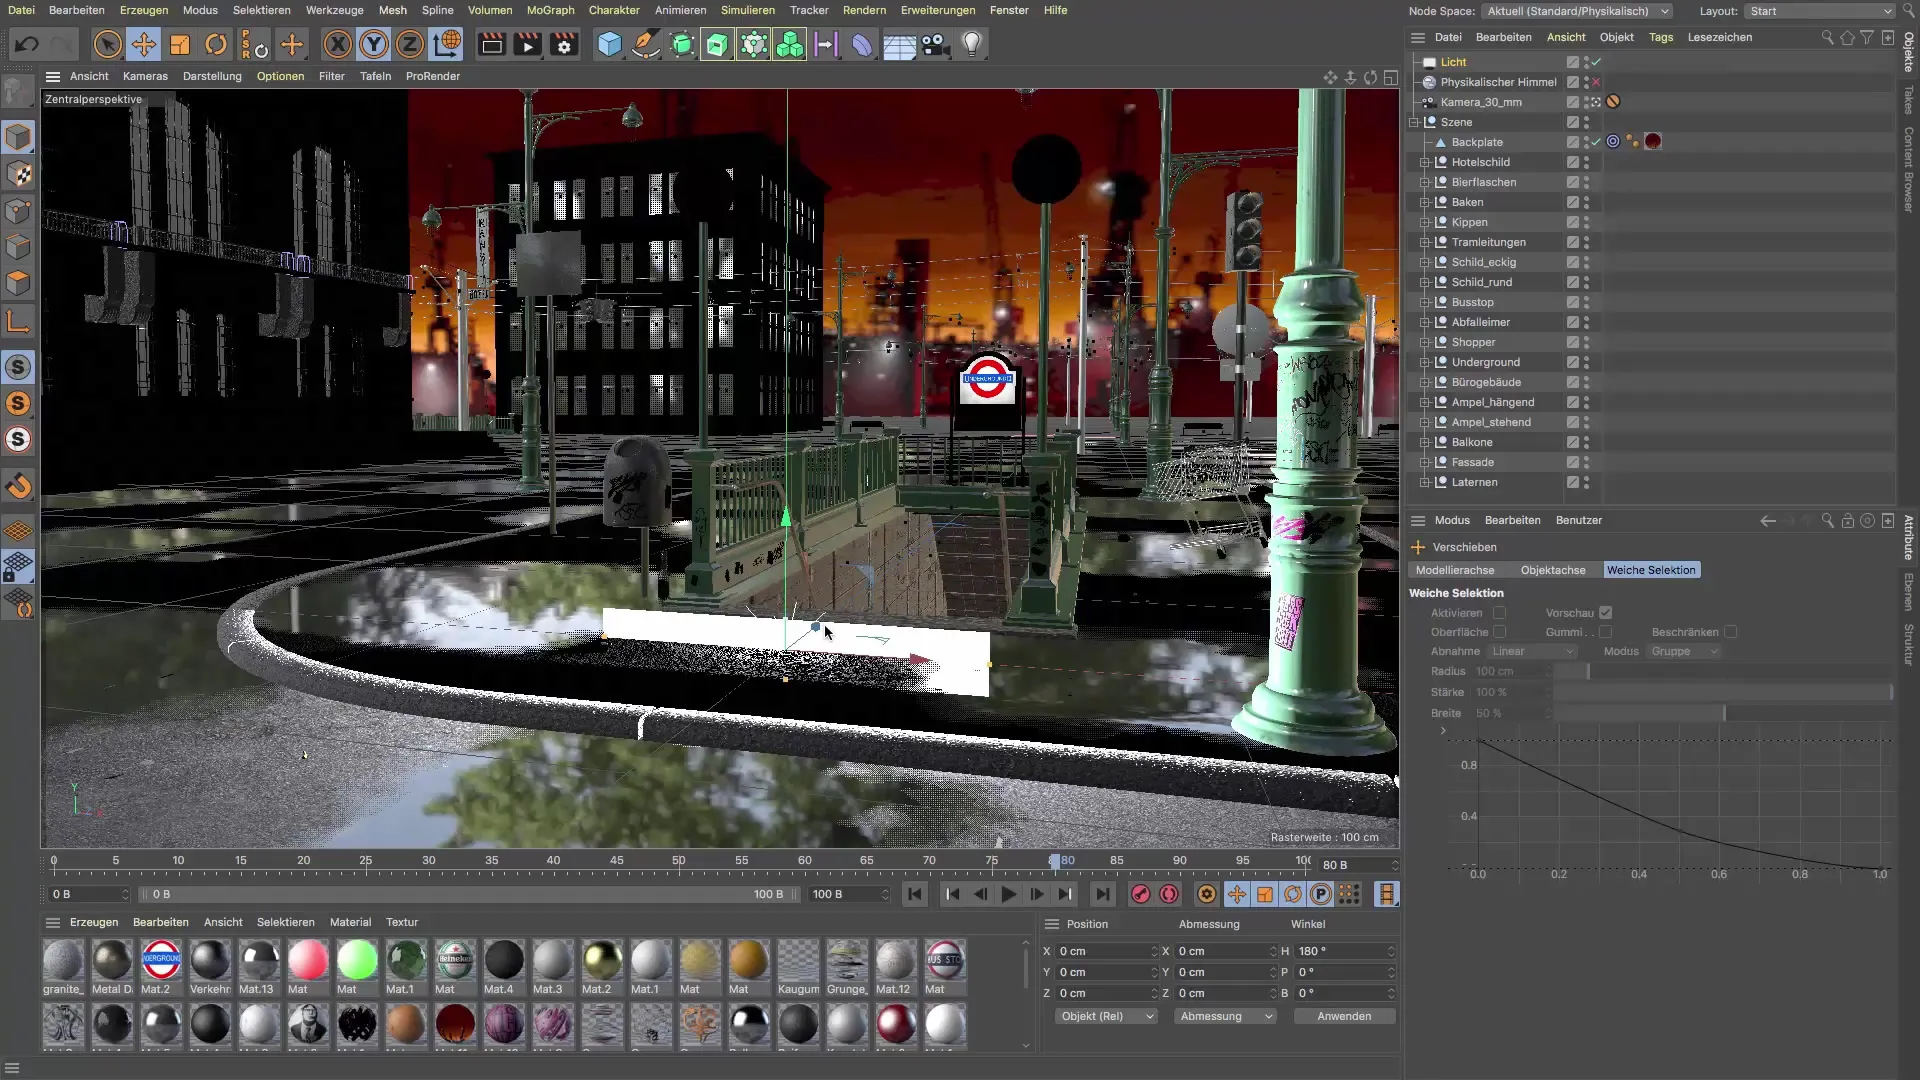
The physical light source needs to be rotated in the right direction initially. Go to the coordinates and set the angle to 180°. Now the lamp will emit light only in the direction you want.
Scale and position the light source
After the rotation, it’s time to scale the light source. Make it narrower and move it to the position where you need it. Ensure it is not placed too close to the walls, so the light can actually be distributed in the room.
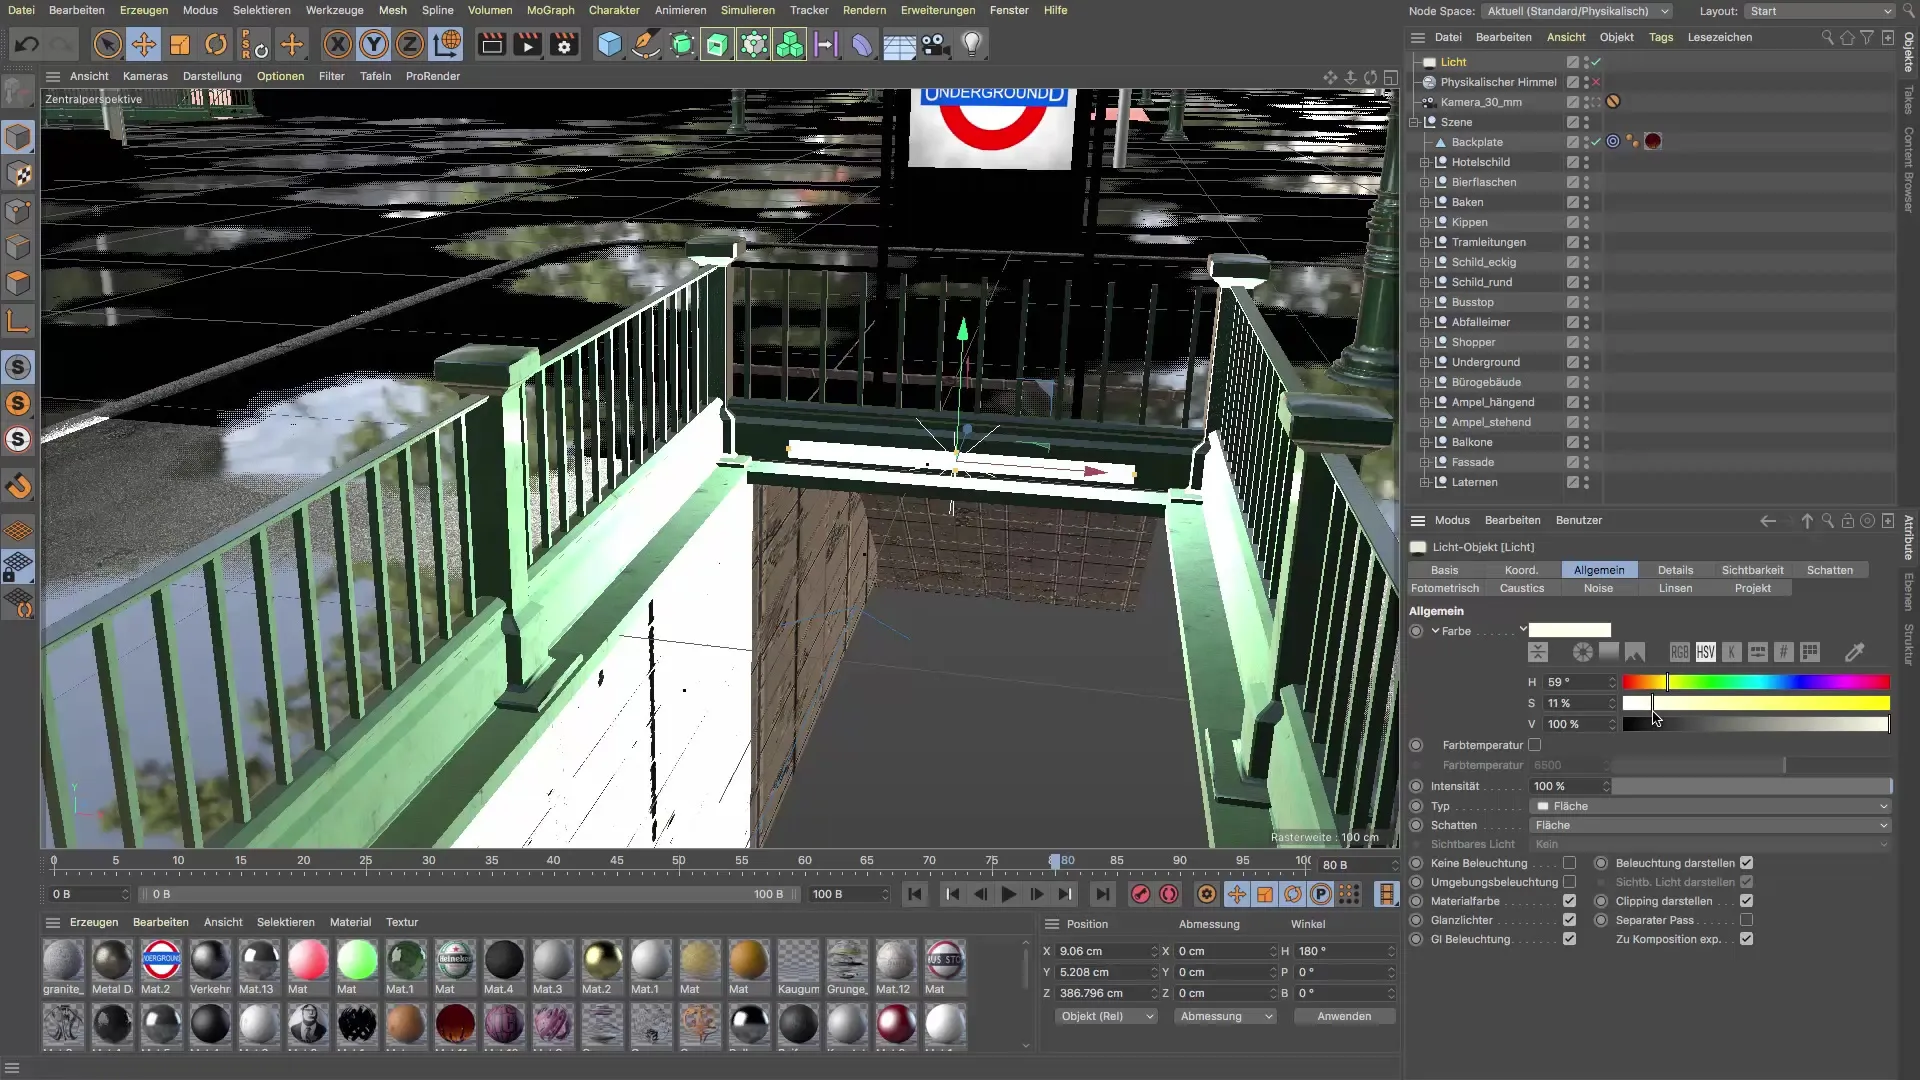
Set light intensity and color
Go to the general page of the light source and start adjusting the color and intensity. A slightly greenish light glow can add a special touch to the atmosphere. If you increase the light intensity, be careful not to go beyond 65% to avoid excessive brightness.
Adjust rendering settings
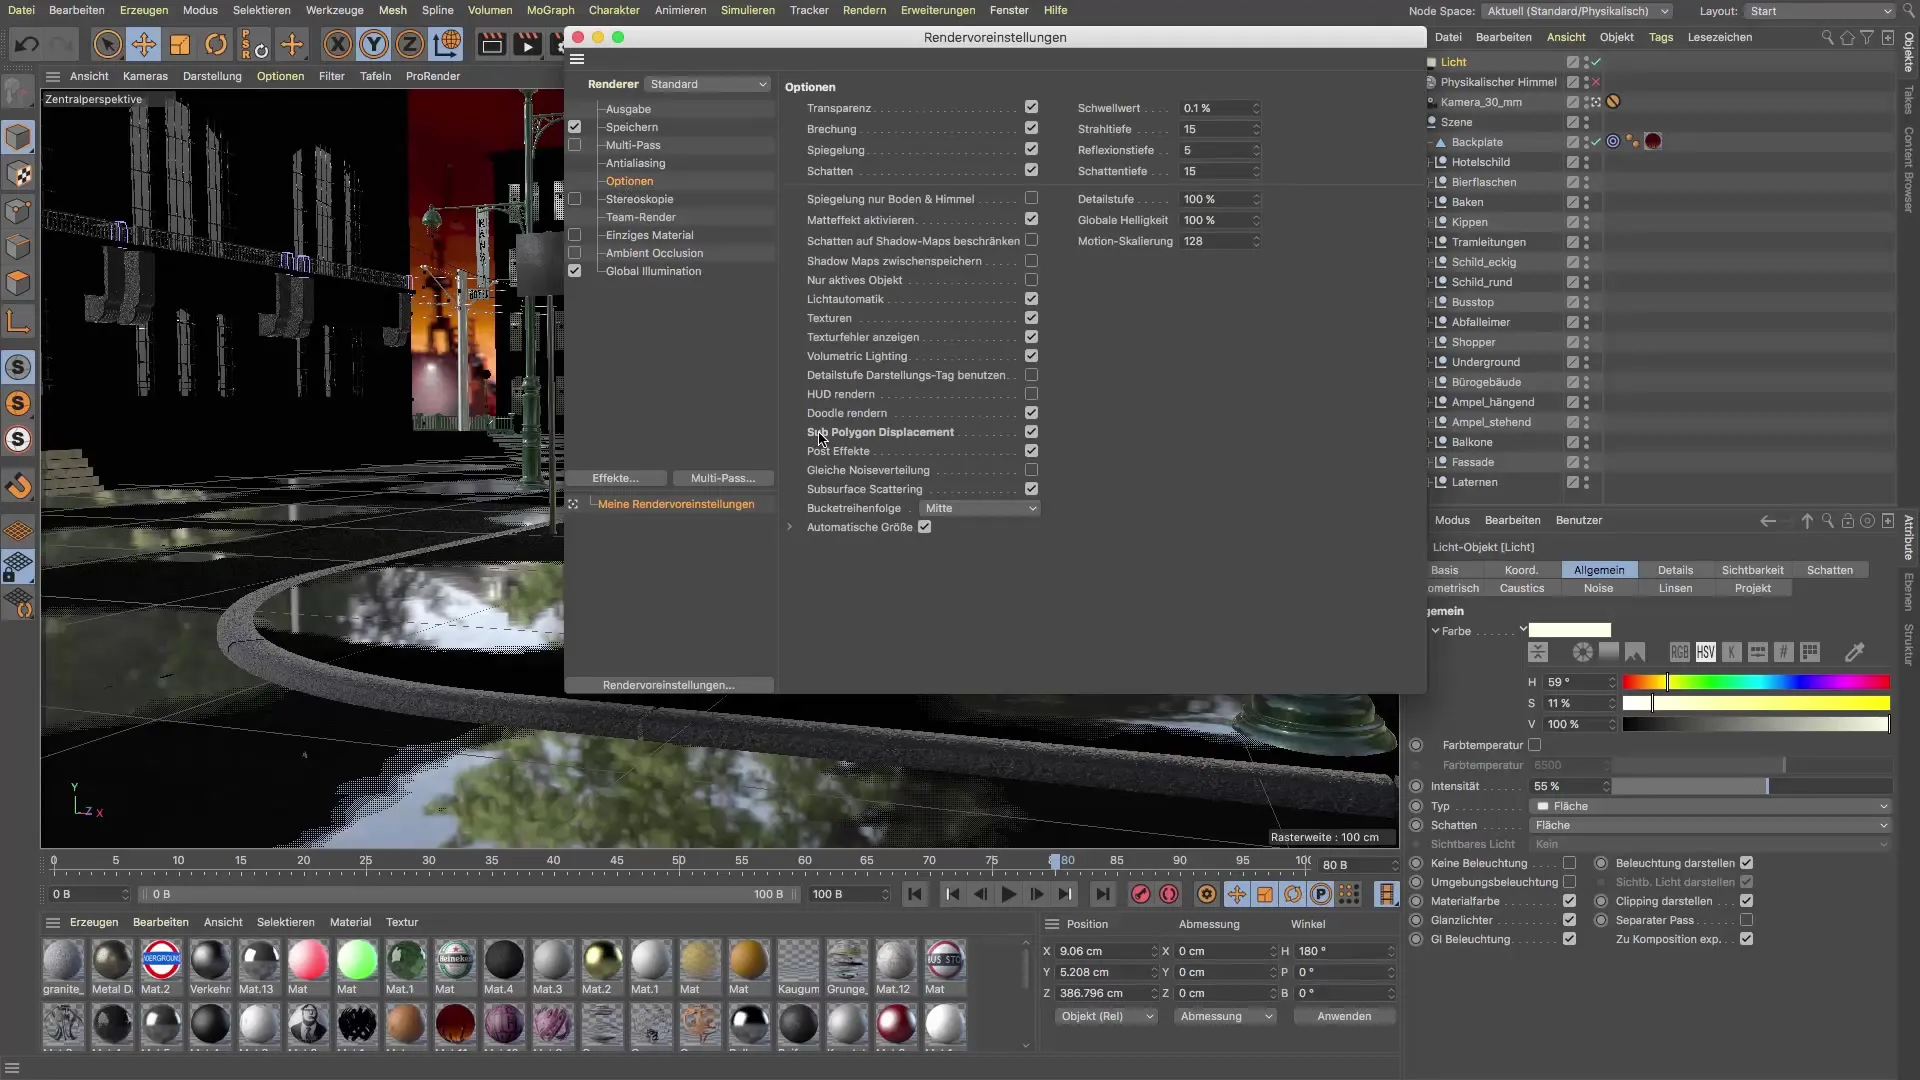
Before you conduct the first test render, go to the render settings. Disable the option for subpolygon displacement to reduce render time.
First render test
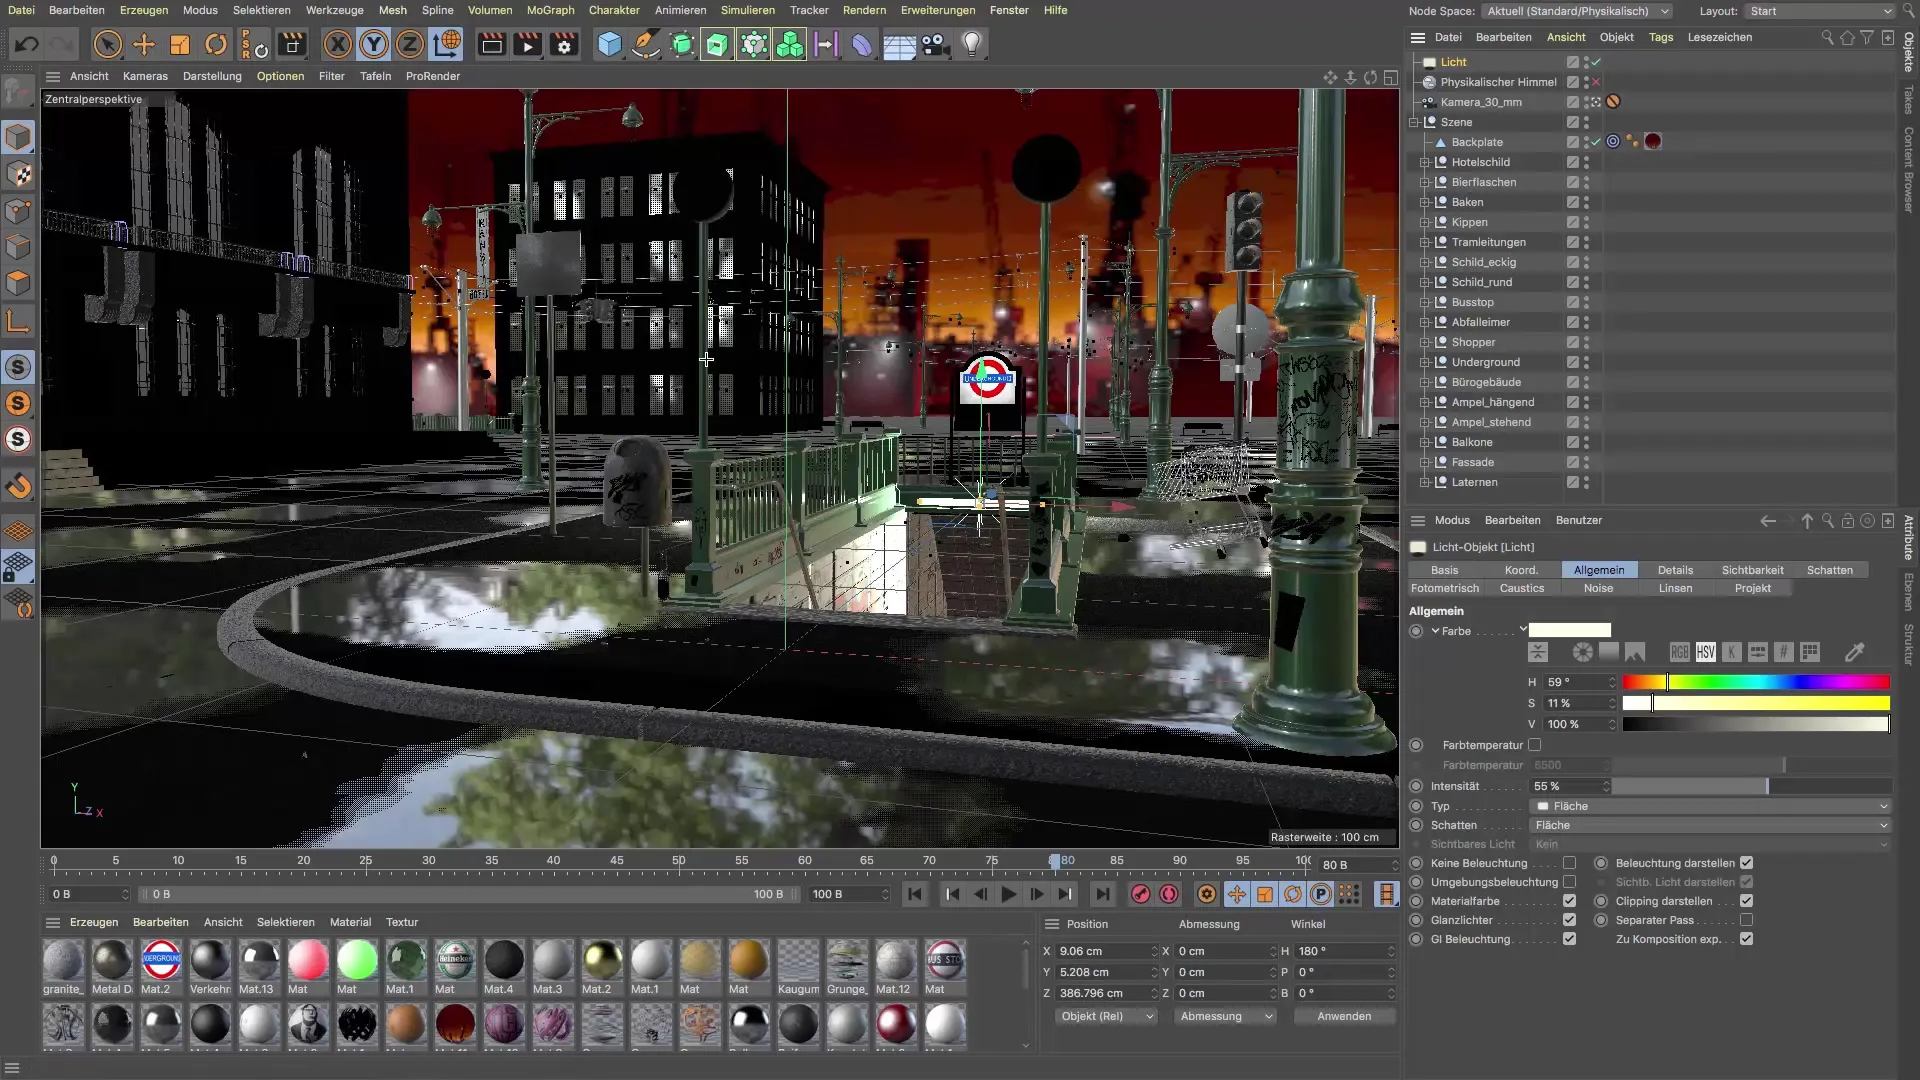
Now conduct a first test render to see how the light works on the way. Observe how much light falls on the sidewalk and whether it has an appealing effect.
Set beam angle
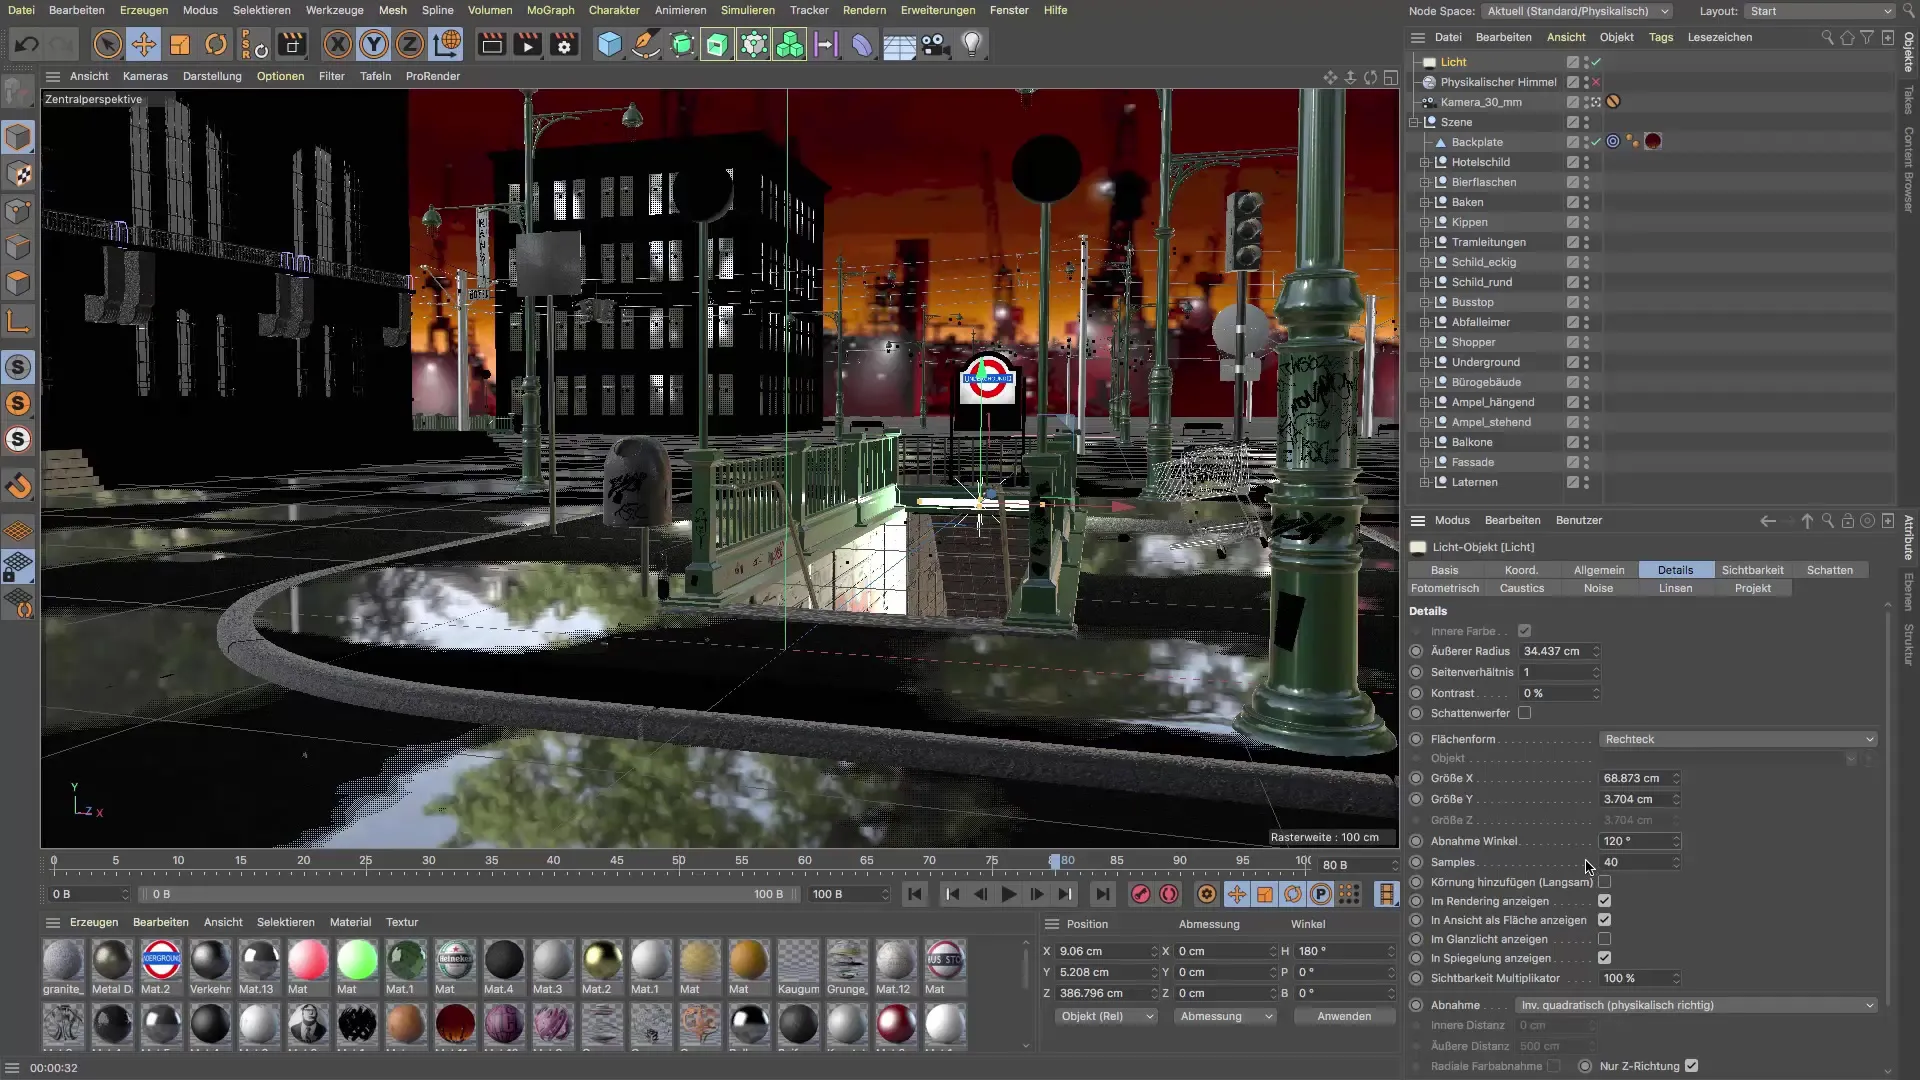
Select the light source again and go to the details. Here you can adjust the angle of emission to achieve a more realistic distribution of light. Reduce the angle from 180° to 120° to ensure that less light shines upwards.
Make fine adjustments
It’s not about making the scene overwhelmingly bright, but about setting accentuated light. Lower intensity can often make a greater impact here. Check the light and adjust the intensity as needed to achieve the desired result.
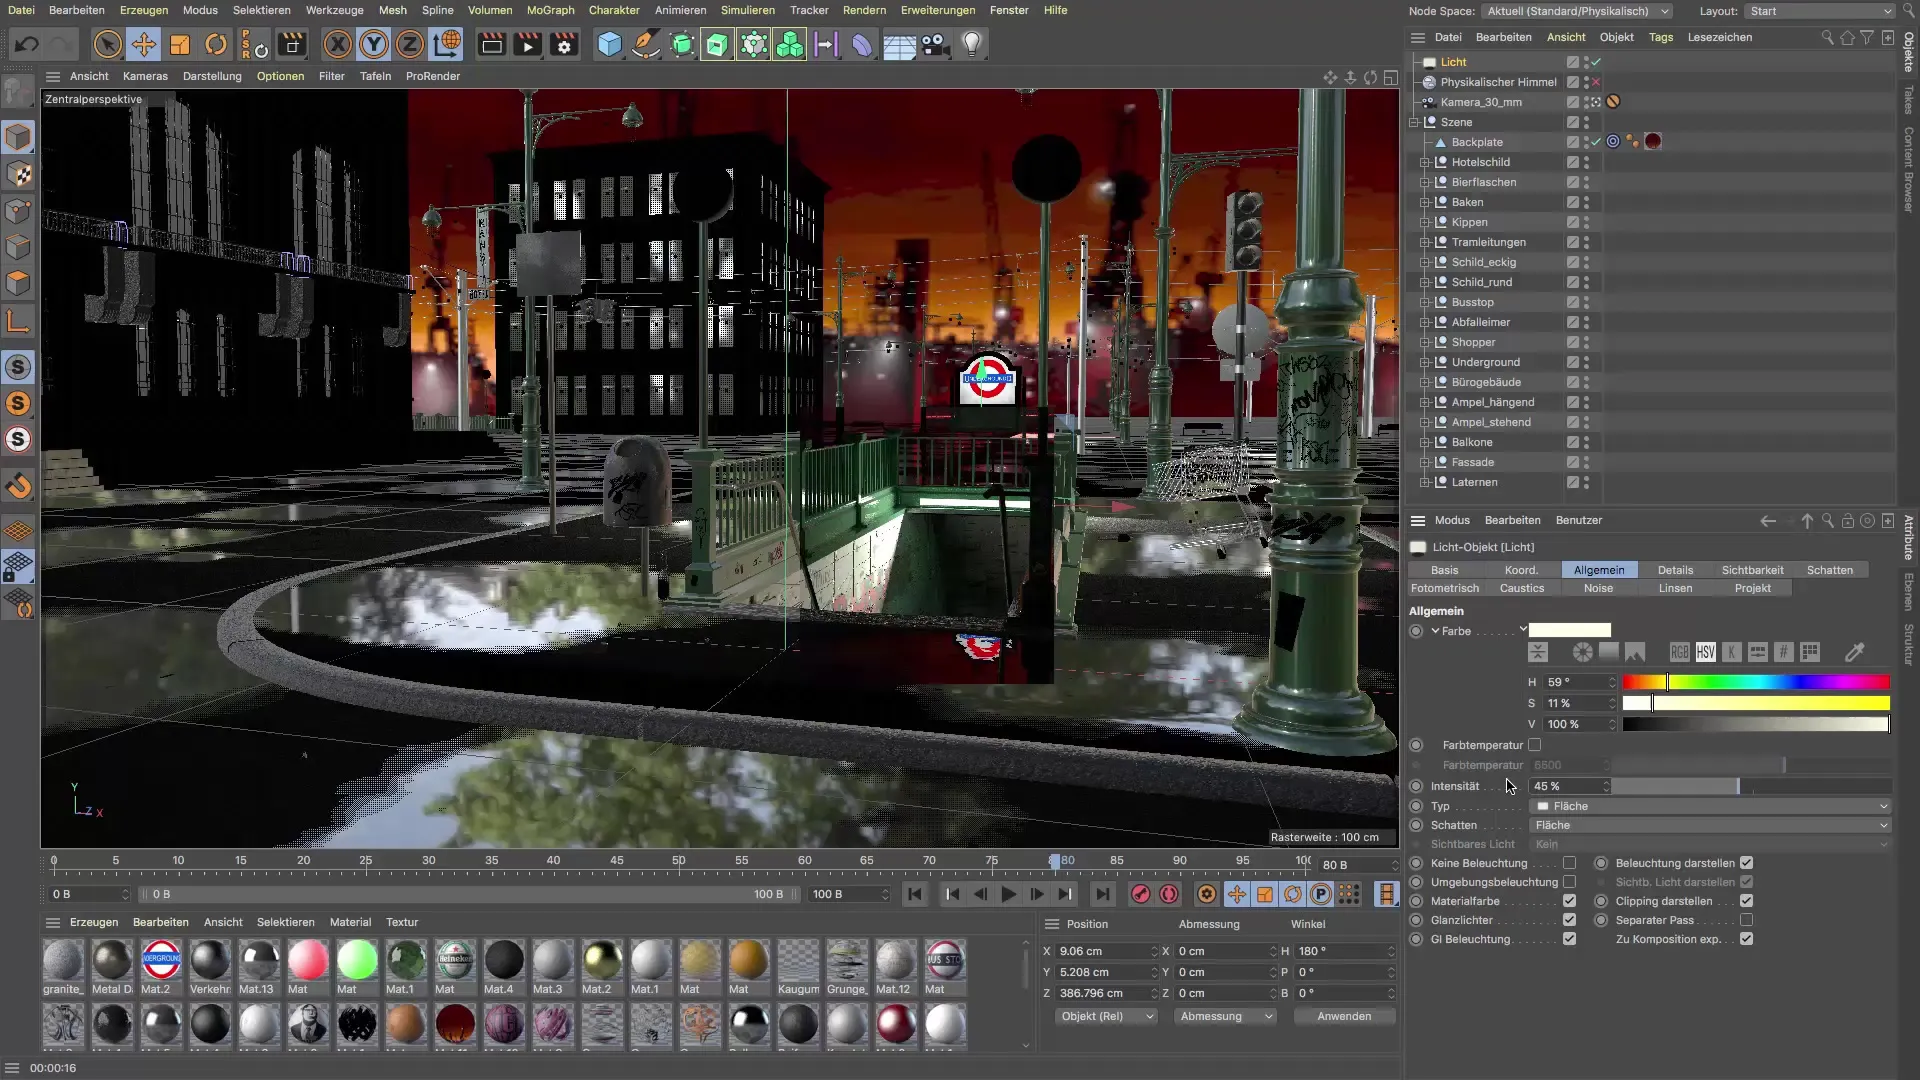
Summary – Neon lights in Cinema 4D: A step-by-step tutorial
In this tutorial, you learned how to create a mysterious, impressive atmosphere in a subway scene in Cinema 4D by intentionally placing and adjusting neon lights. By first analyzing the environment without light and gradually adding light sources, you can precisely control the design of your scene.
Frequently Asked Questions
How can I change the color of the light in Cinema 4D?You can adjust the color option in the general settings of the light source.
Why should I use a physical light instead of an area light?A physical light offers default settings for shadows and light decay, making configuration easier.
How can I reduce the render time for a test render?Disable the subpolygon displacement option in the render settings.
