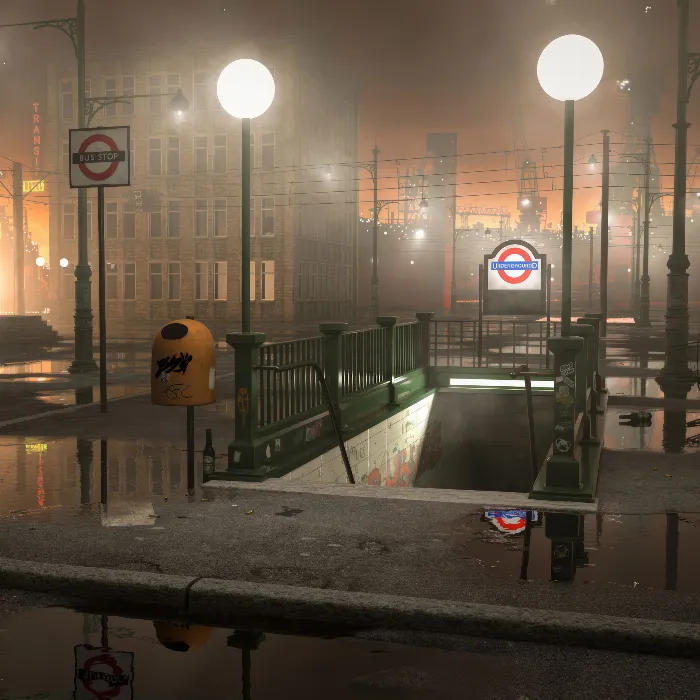
With Photoshop, you can intentionally design and improve the light in your images without having to worry about technical details. In this tutorial, I will guide you through the necessary steps to efficiently adjust your brushes and prepare the required brush tips for your light painting. This allows you to work creatively and quickly. We will set shortcuts for increasing and decreasing brush sizes and download the brushes needed for that. Let's get started!
Key Insights
- Using shortcuts to adjust brush size speeds up the workflow.
- The right brush set is crucial for light painting.
- Proper brush settings, especially angle jitter, ensure an appealing result.
Step 1: Load Image in Photoshop
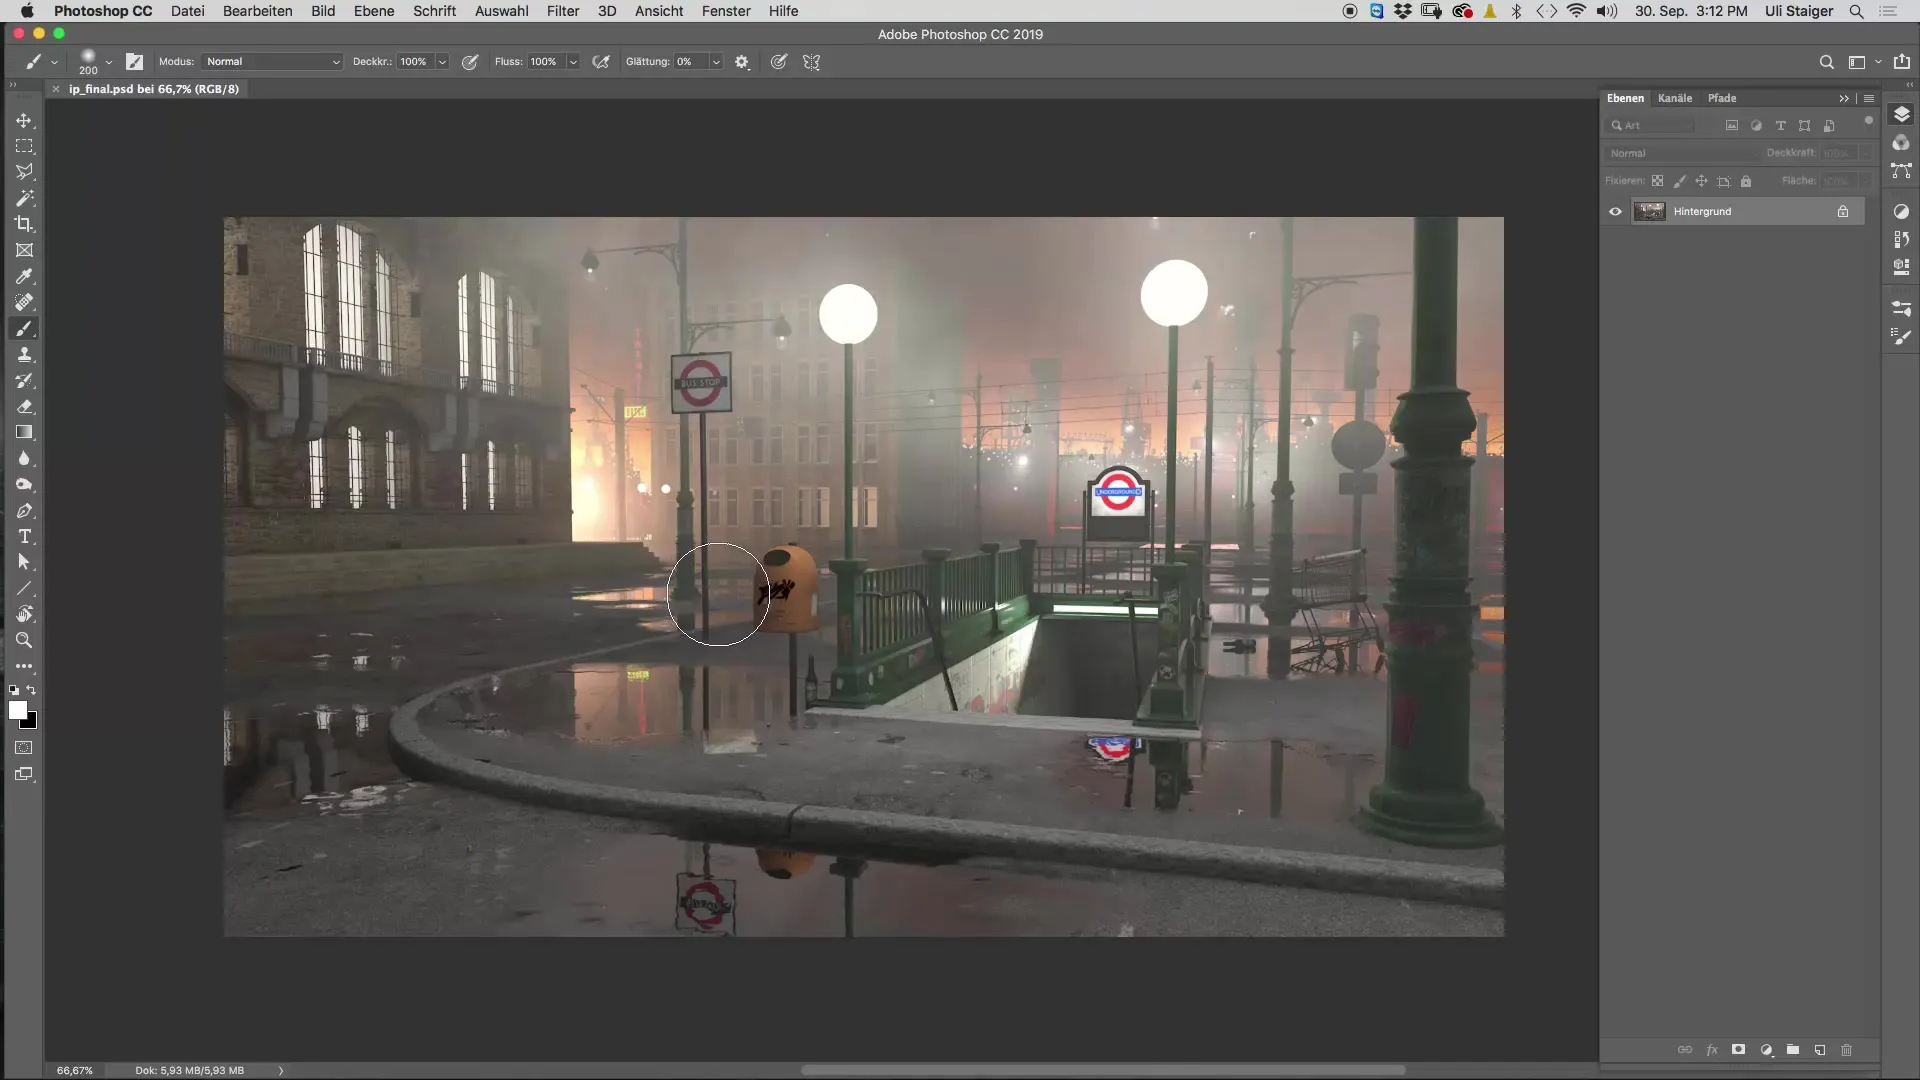
First, you should open your image in Photoshop. You will notice that it already has some cool visual components, but there is still room for improvement, especially concerning light design. When you render an image, it helps to edit it in Photoshop to add clarity and structure and to optimize the overall picture.
Step 2: Set Shortcuts for Brush Sizes
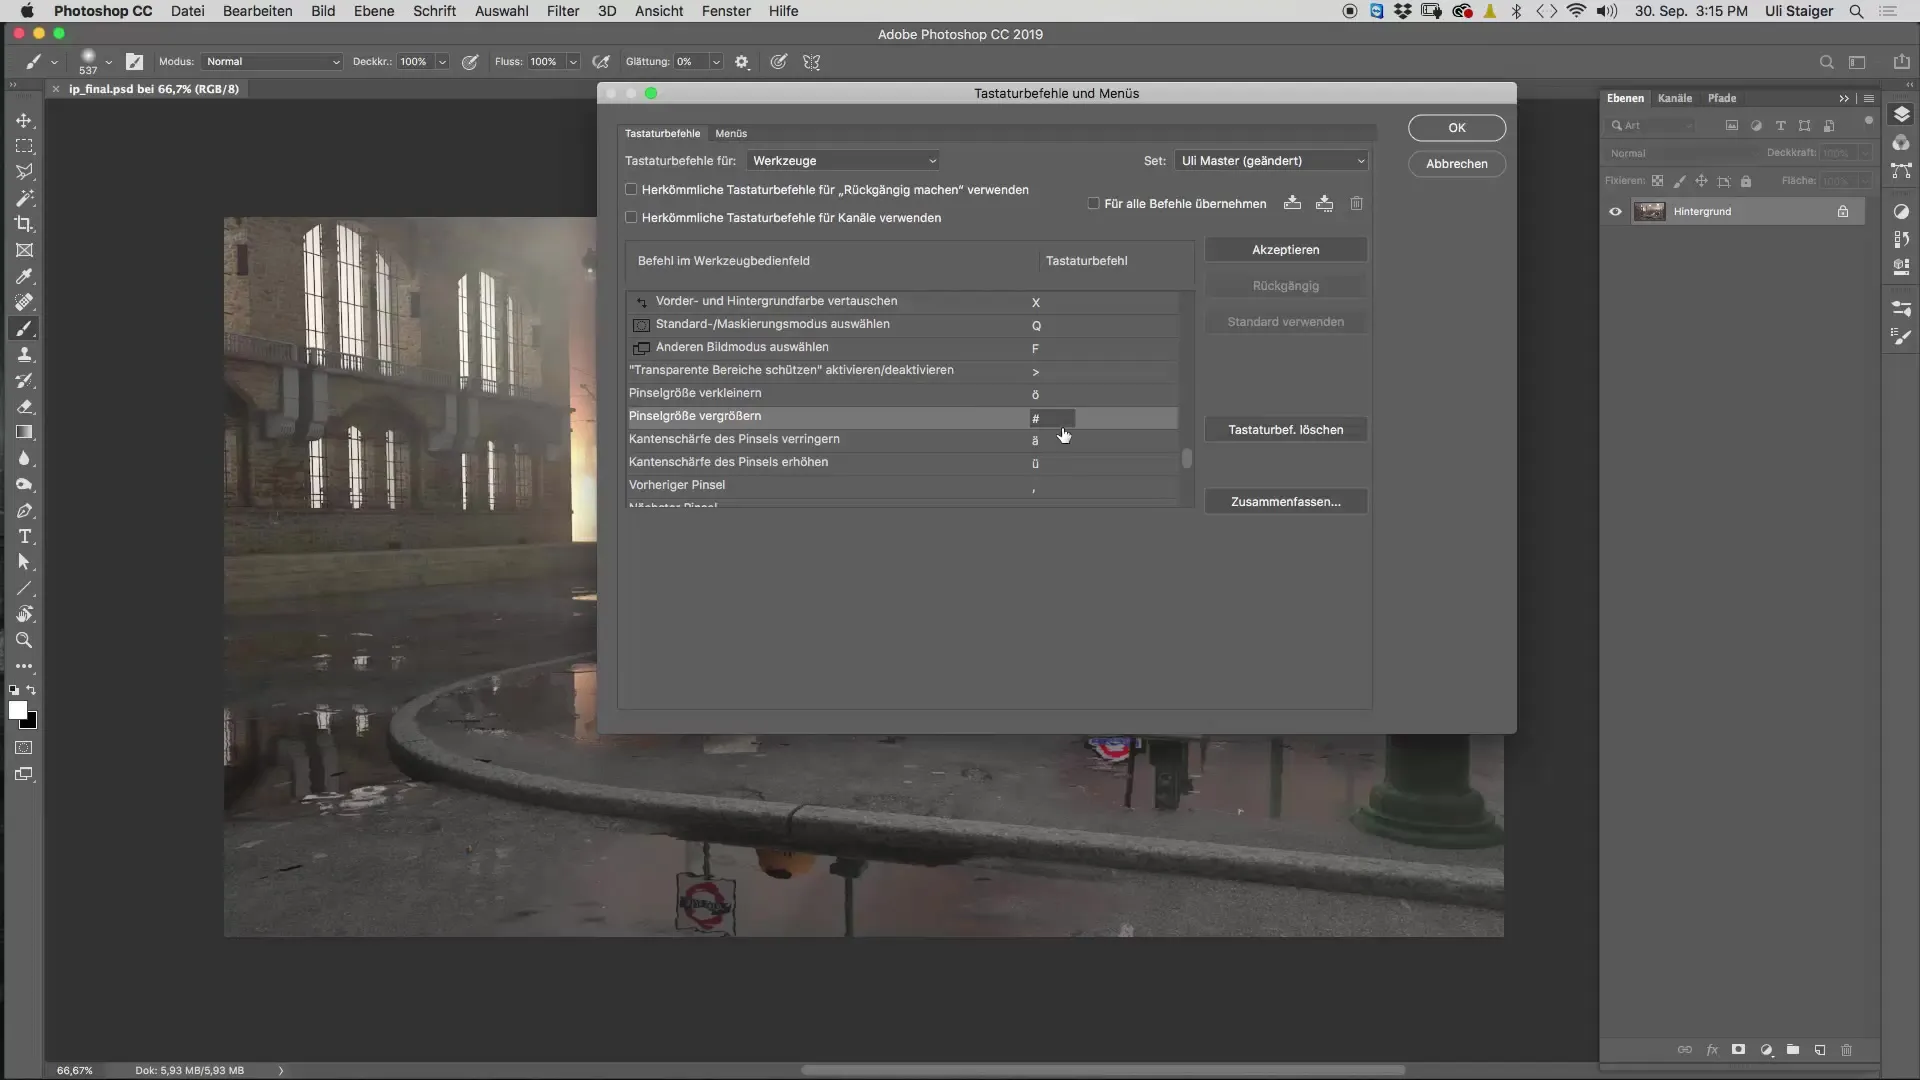
To quickly adjust the brush size, it's useful to customize the settings in Photoshop. Go to the "Edit" menu and select "Keyboard Shortcuts." There, you can specifically adjust the functions for decreasing and increasing brush size. Look in the list for "Decrease Brush Size" and "Increase Brush Size."
I recommend using "ö" for decreasing and "hash" for increasing. This way, you can quickly adjust the brush tip via your keyboard, saving you a lot of time.
Step 3: Import Brushes
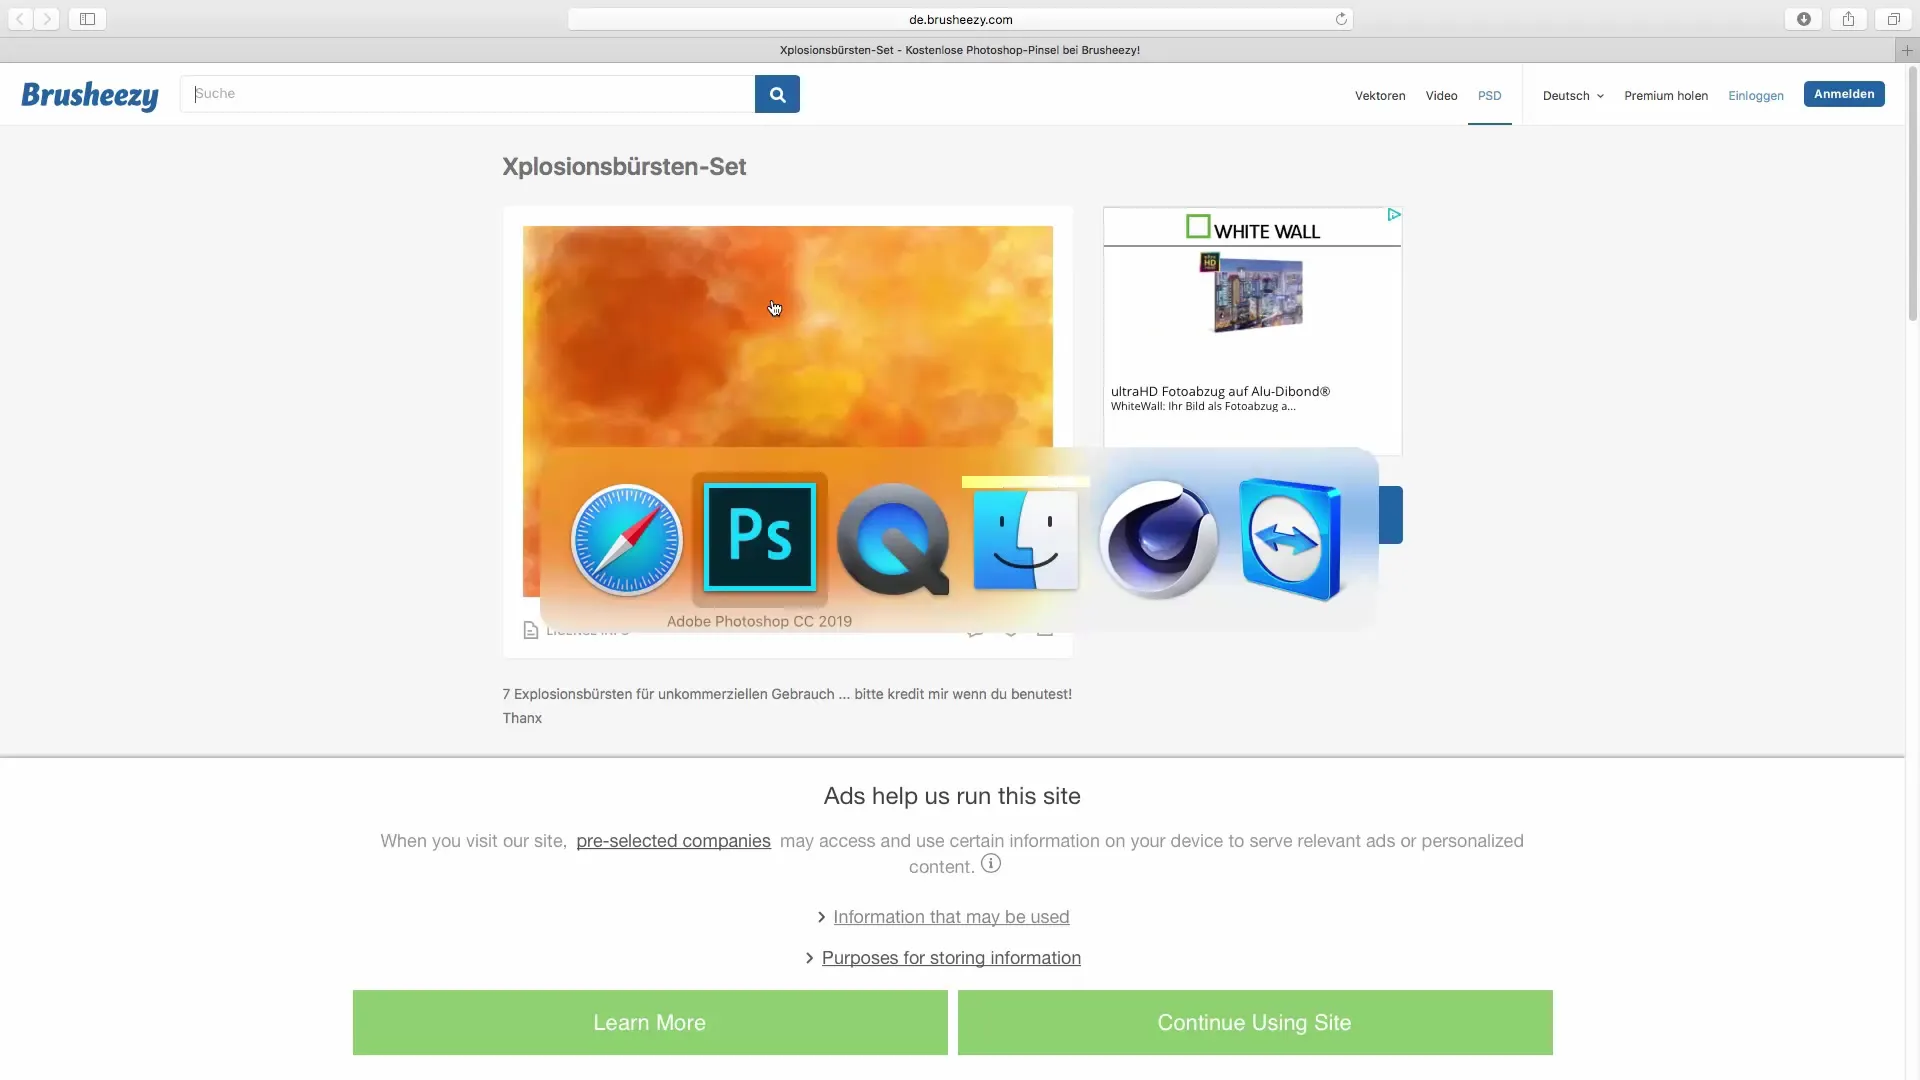
Next, you need a suitable brush set. You can either use the standard brushes or download a special set. The "Brush Easy" set is particularly well-suited for creating realistic light effects or fog. Go to the website and download the set. After that, import the brushes via "Import Brushes" in Photoshop.
After you have imported the brush set, you will see the new brushes at the bottom of your brush overview.
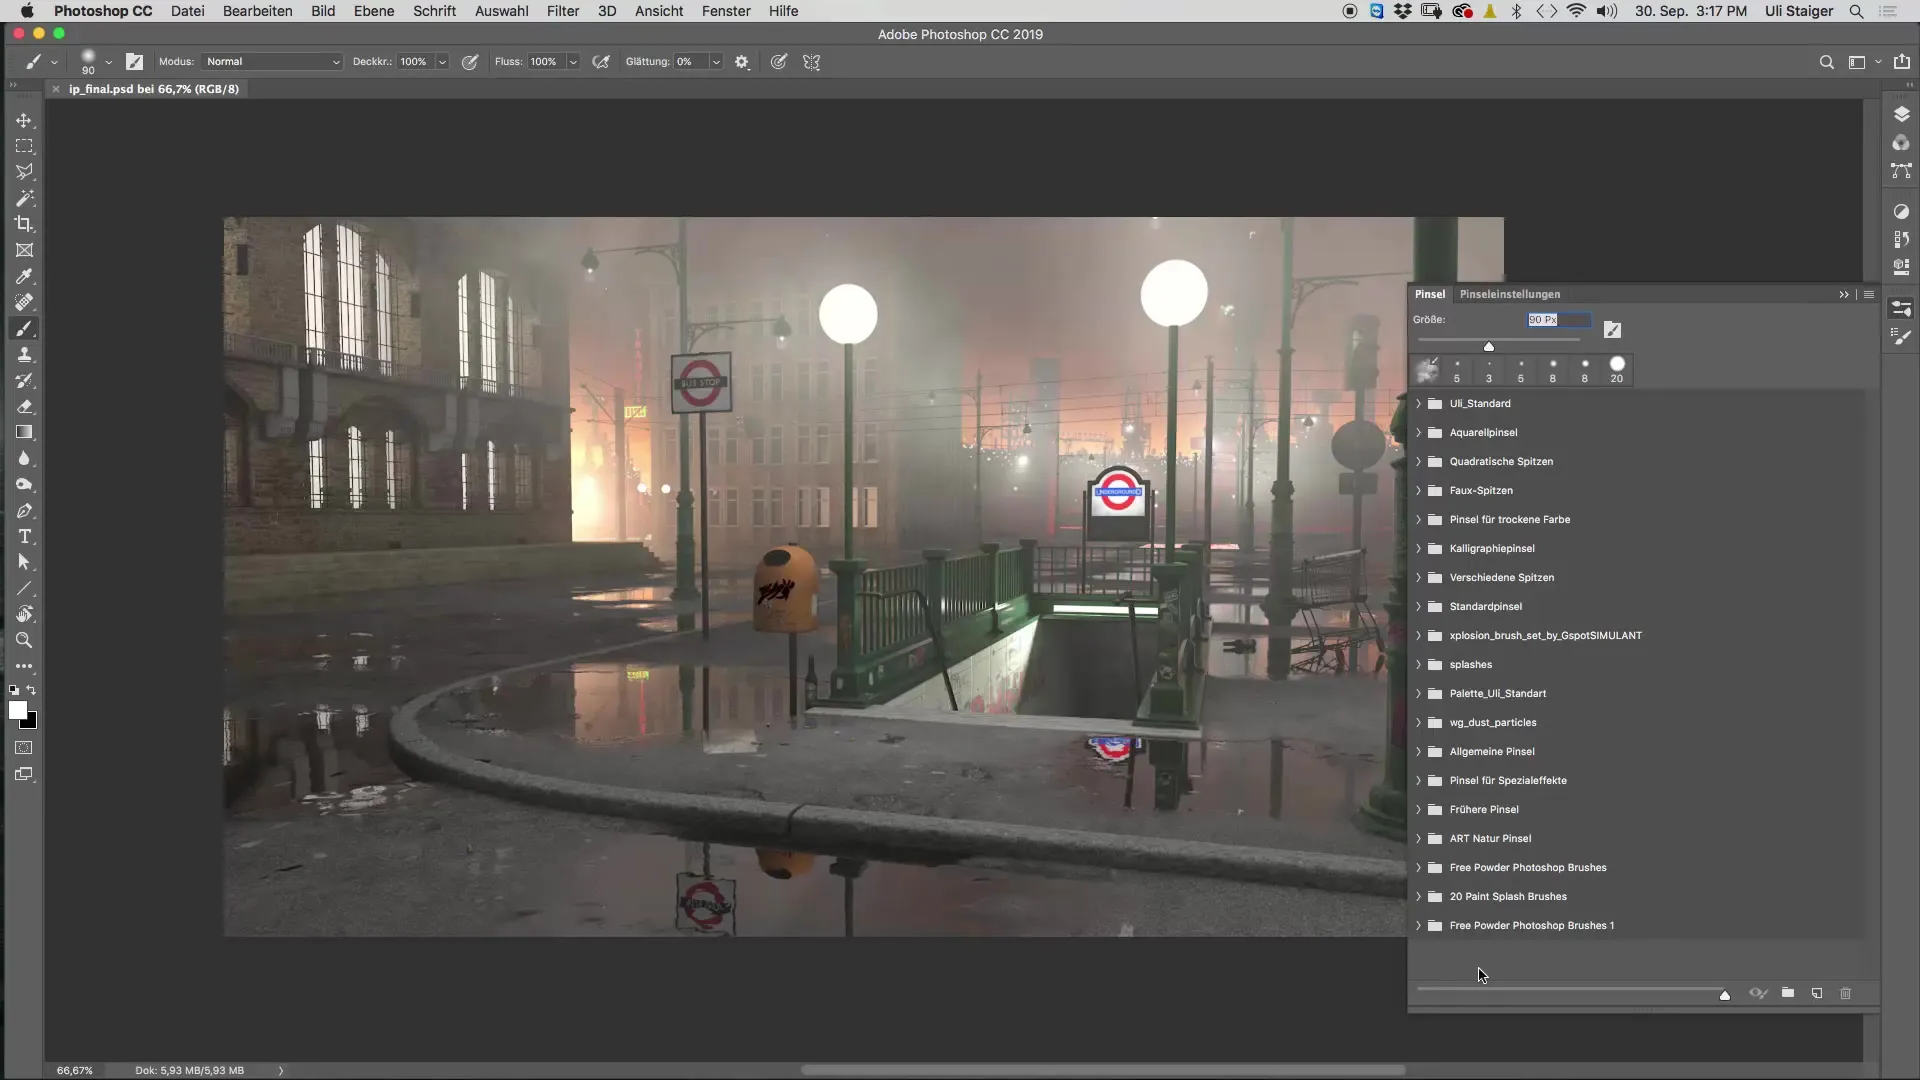
Step 4: Adjust Brushes
Select a brush you want to use and make sure to adjust the settings for the brush shape. Go to the brush settings and select the "Shape Dynamics" option. Activate the "Angle Jitter" function to vary the repetition of your brush strokes. Set the angle to approximately 50%–80% to achieve an interesting effect.
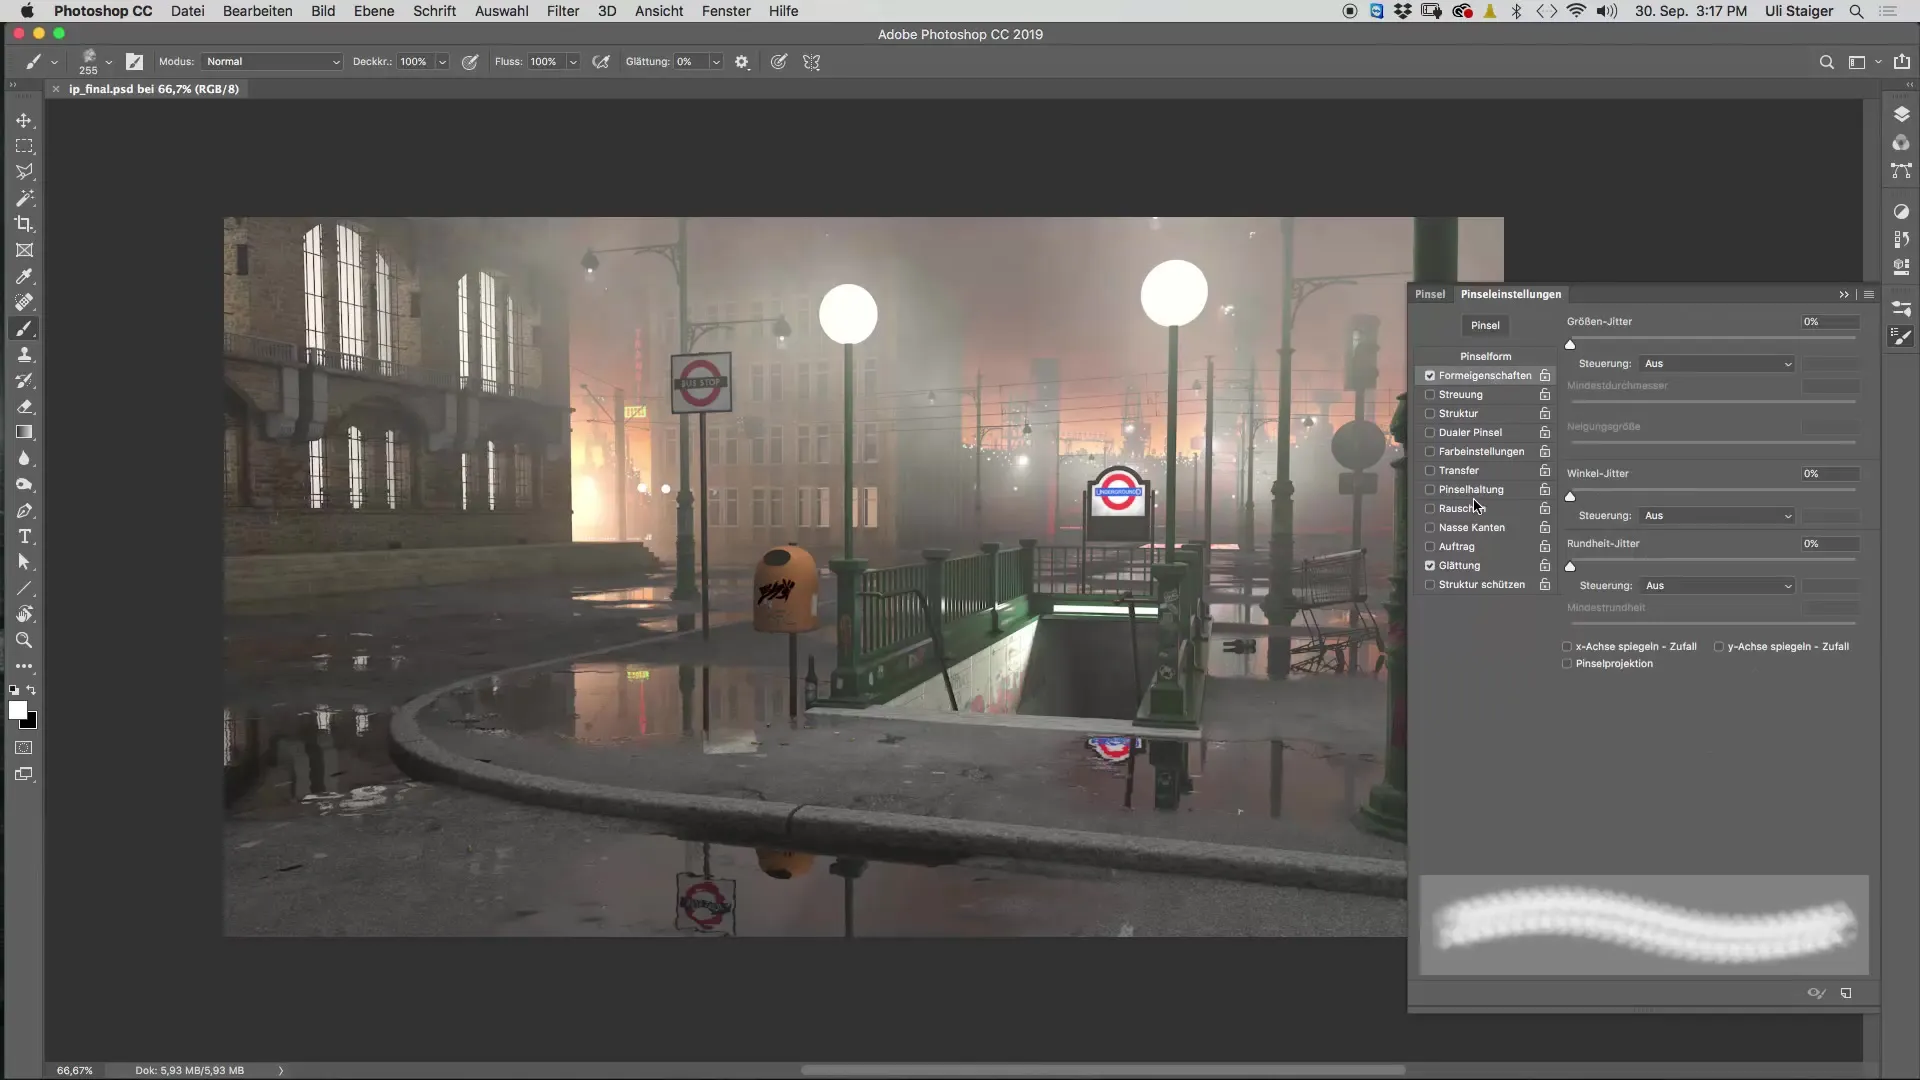
With these adjustments, you are ready for the next steps of light painting.
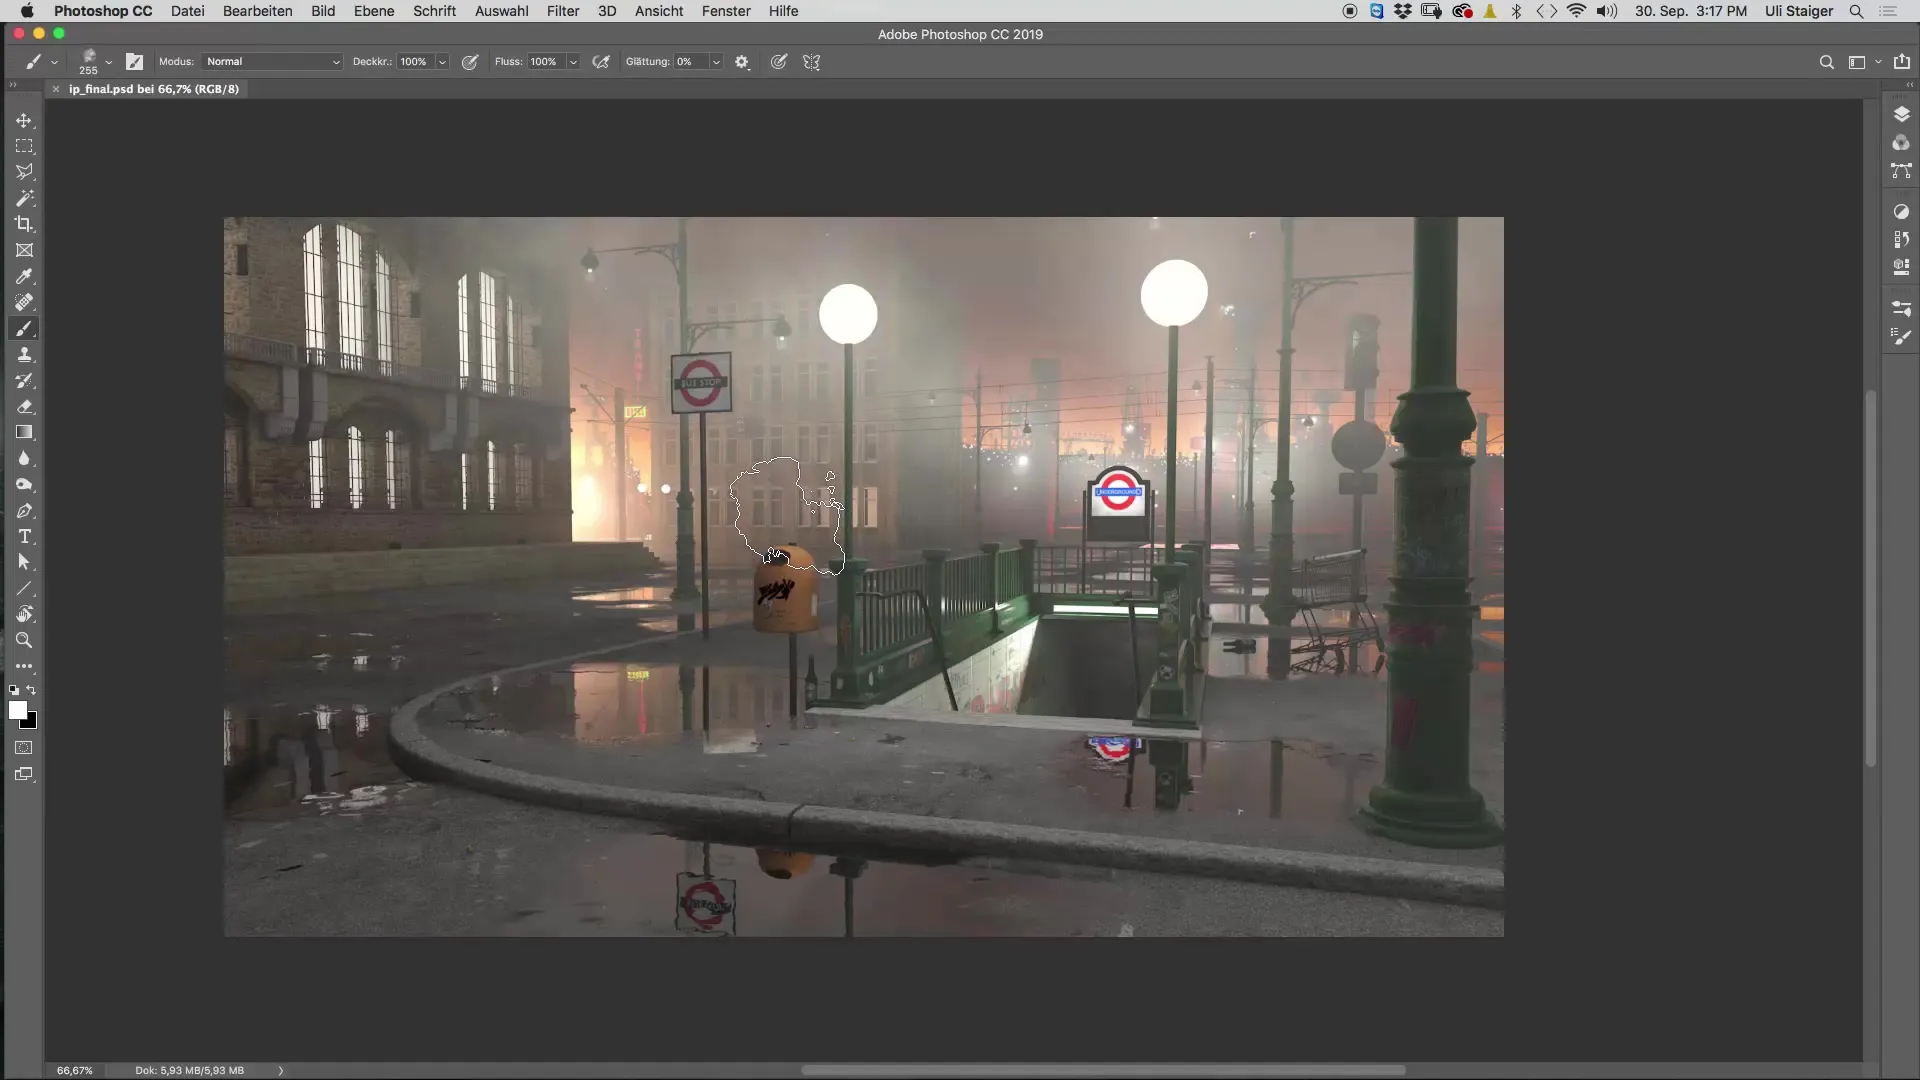
Summary – Photoshop for Light Painting: Efficient Brush and Shortcut Settings
With these simple steps, you have configured Photoshop to quickly adjust brush sizes and use a suitable brush set. This makes your light painting both more effective and more creative.
Frequently Asked Questions
How do I download the brush set?Visit the "Brush Easy" website and download the brush set in the desired format.
How do I import brushes into Photoshop?Go to "Brush" and select "Import Brushes." Find the downloaded file and import it.
Which shortcuts should I use for brush sizes?You can use "ö" to decrease and "hash" to increase the brush size.
How do I set the brush settings?Click on the brush settings, select "Shape Dynamics," and activate the "Angle Jitter" function.
Can I also create my own brushes?Yes, in Photoshop, you can also create and customize your own brushes to achieve individual effects.
