If you want to simulate the exciting art of spraying graffiti in a realistic way in Cinema 4D, it is crucial to work effectively with masking. In this tutorial, you will learn how to mask tags and graffiti on a rough surface like a subway entrance to achieve an aesthetically pleasing and realistic result. Let's get started!
Key Insights
- The use of smart objects in Photoshop makes it easier to apply multiple filters.
- A balanced masking of the tags increases the credibility of the representation.
- The use of selection tools and masks is crucial for a good final result.
Step-by-step Guide
1. Preparing the Material
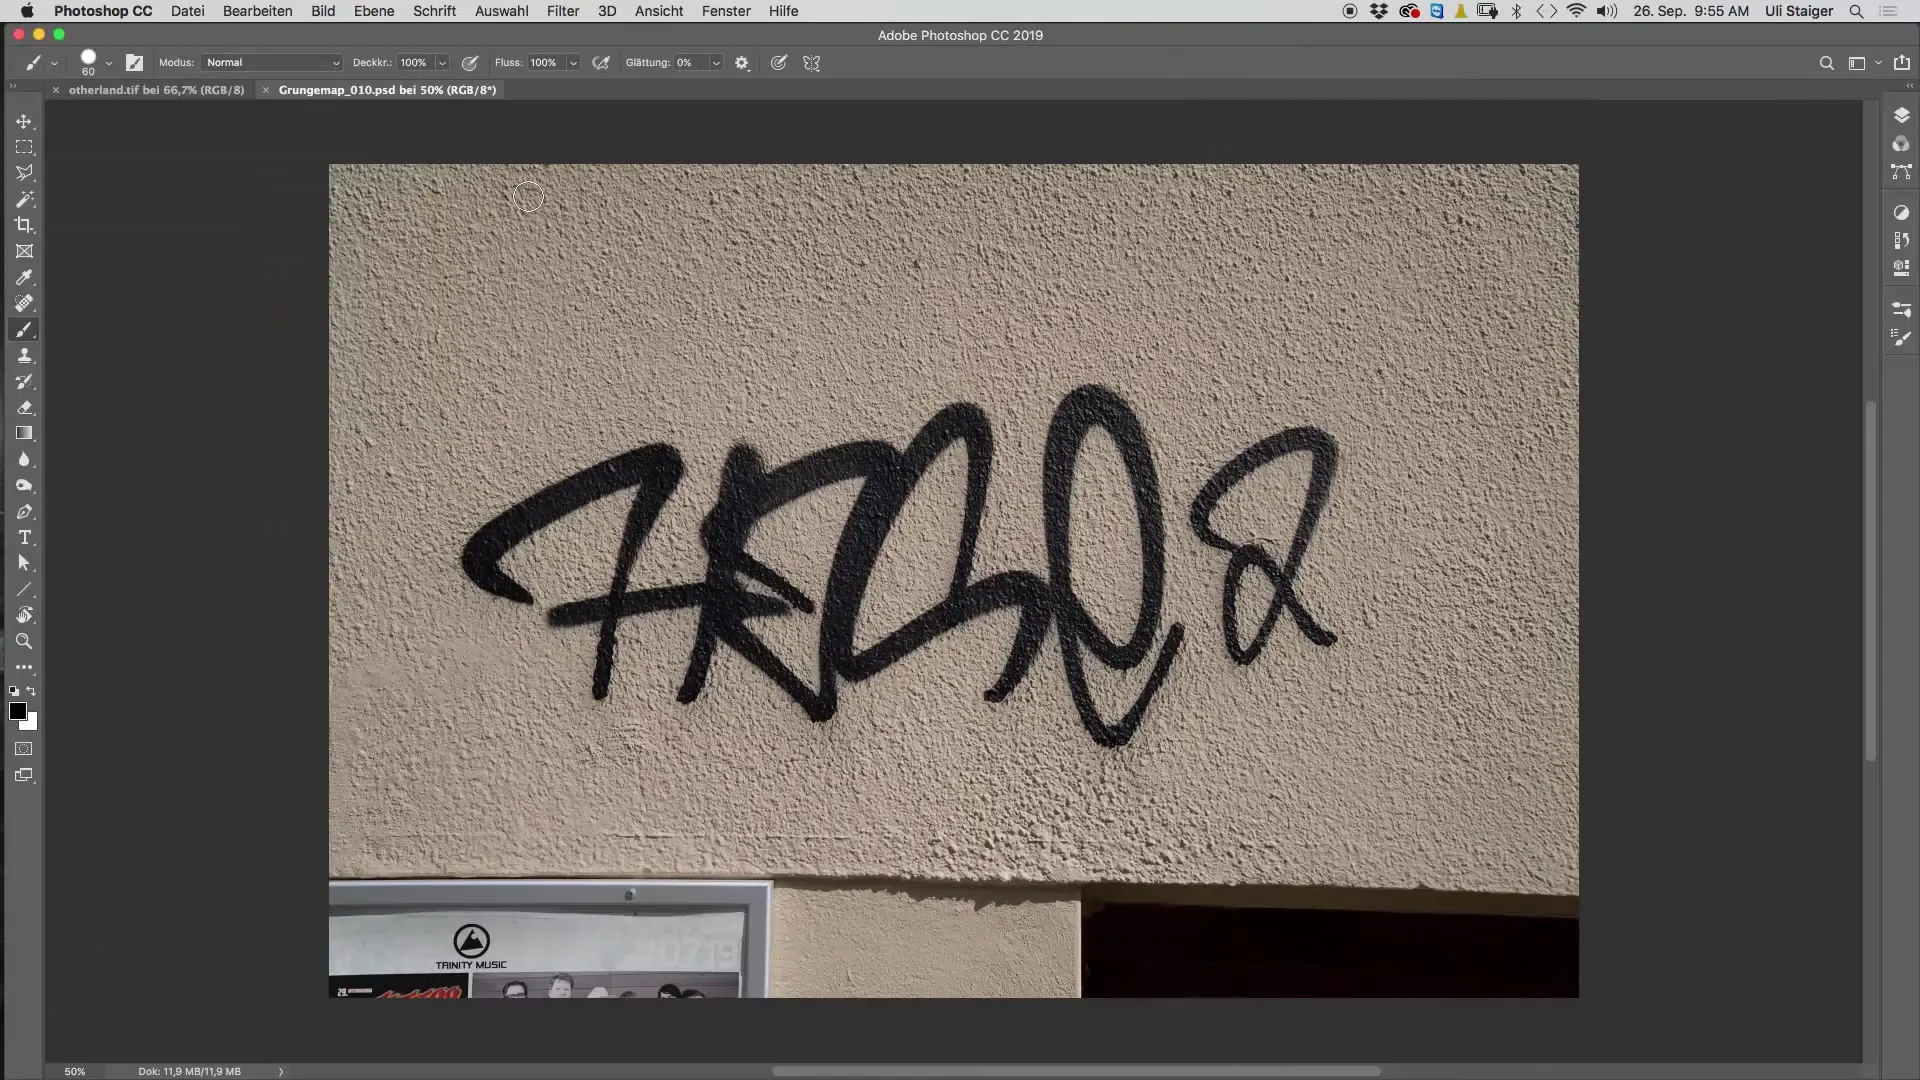
To start with the masking of your tag, you first need the right material. Open Photoshop and load the material you want to rehabilitate.
2. Converting to a Smart Object
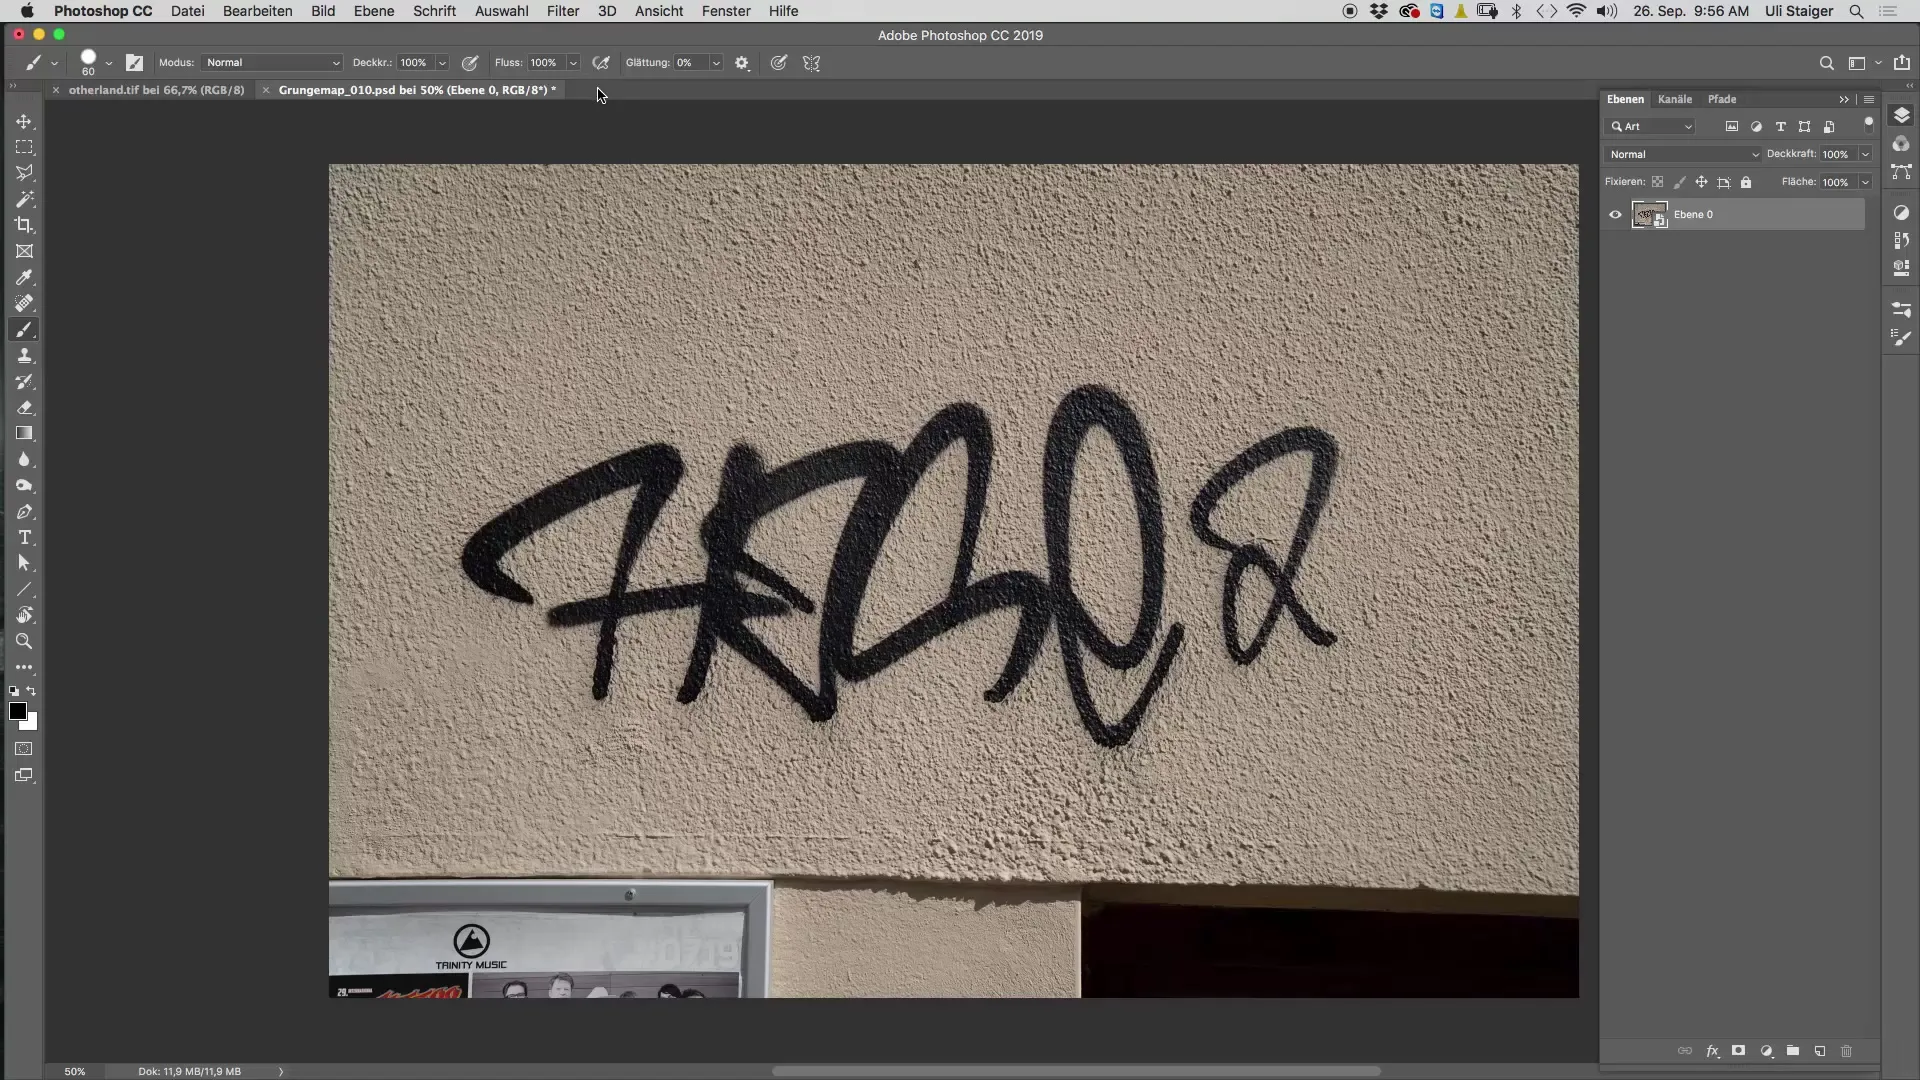
Use the "Convert to Smart Object" function to convert your layer. This comes into play when you want to apply multiple filters later that may interact with each other.
3. Interpolating Brightness
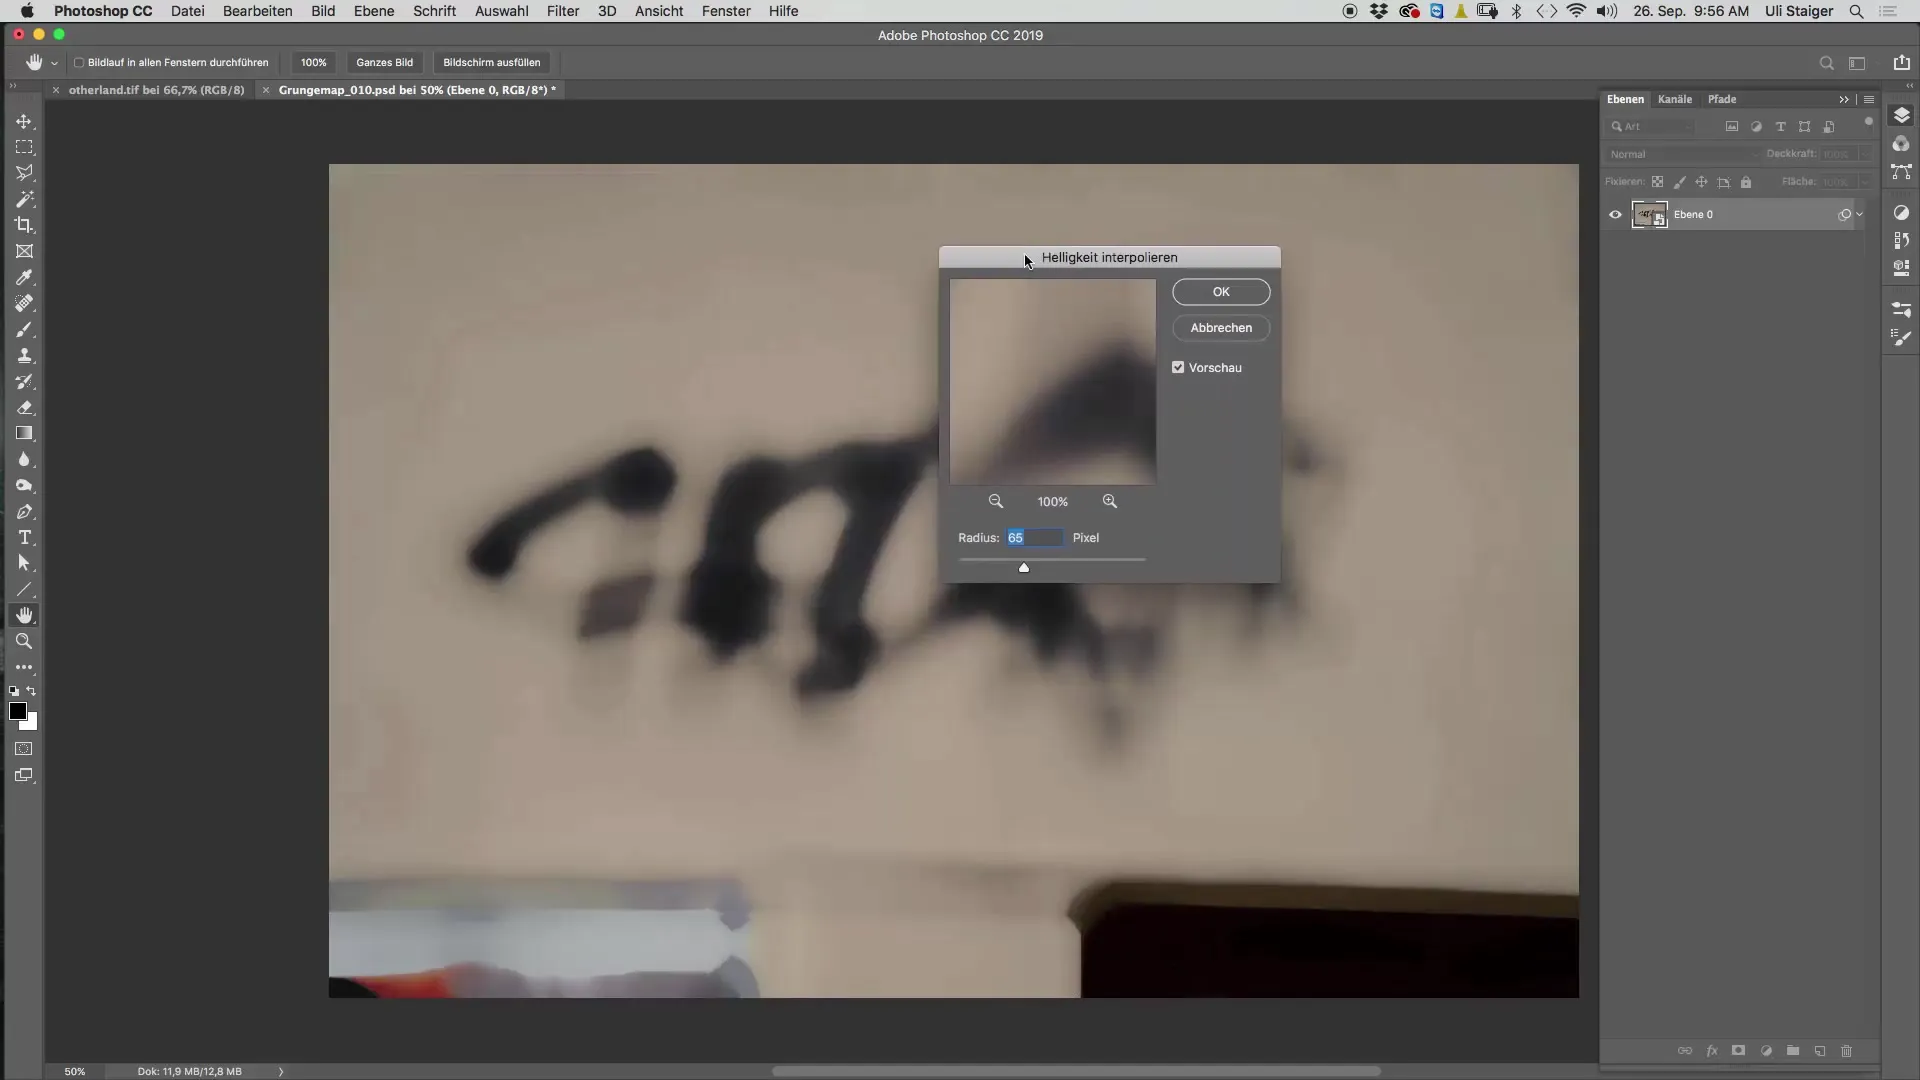
Apply the "Interpolated Brightness" filter to harmoniously connect the textures of the tag with the surface it is applied to. Set the radius so that the textures are optimized without losing the typical details of the tag.
4. Refining the Texture
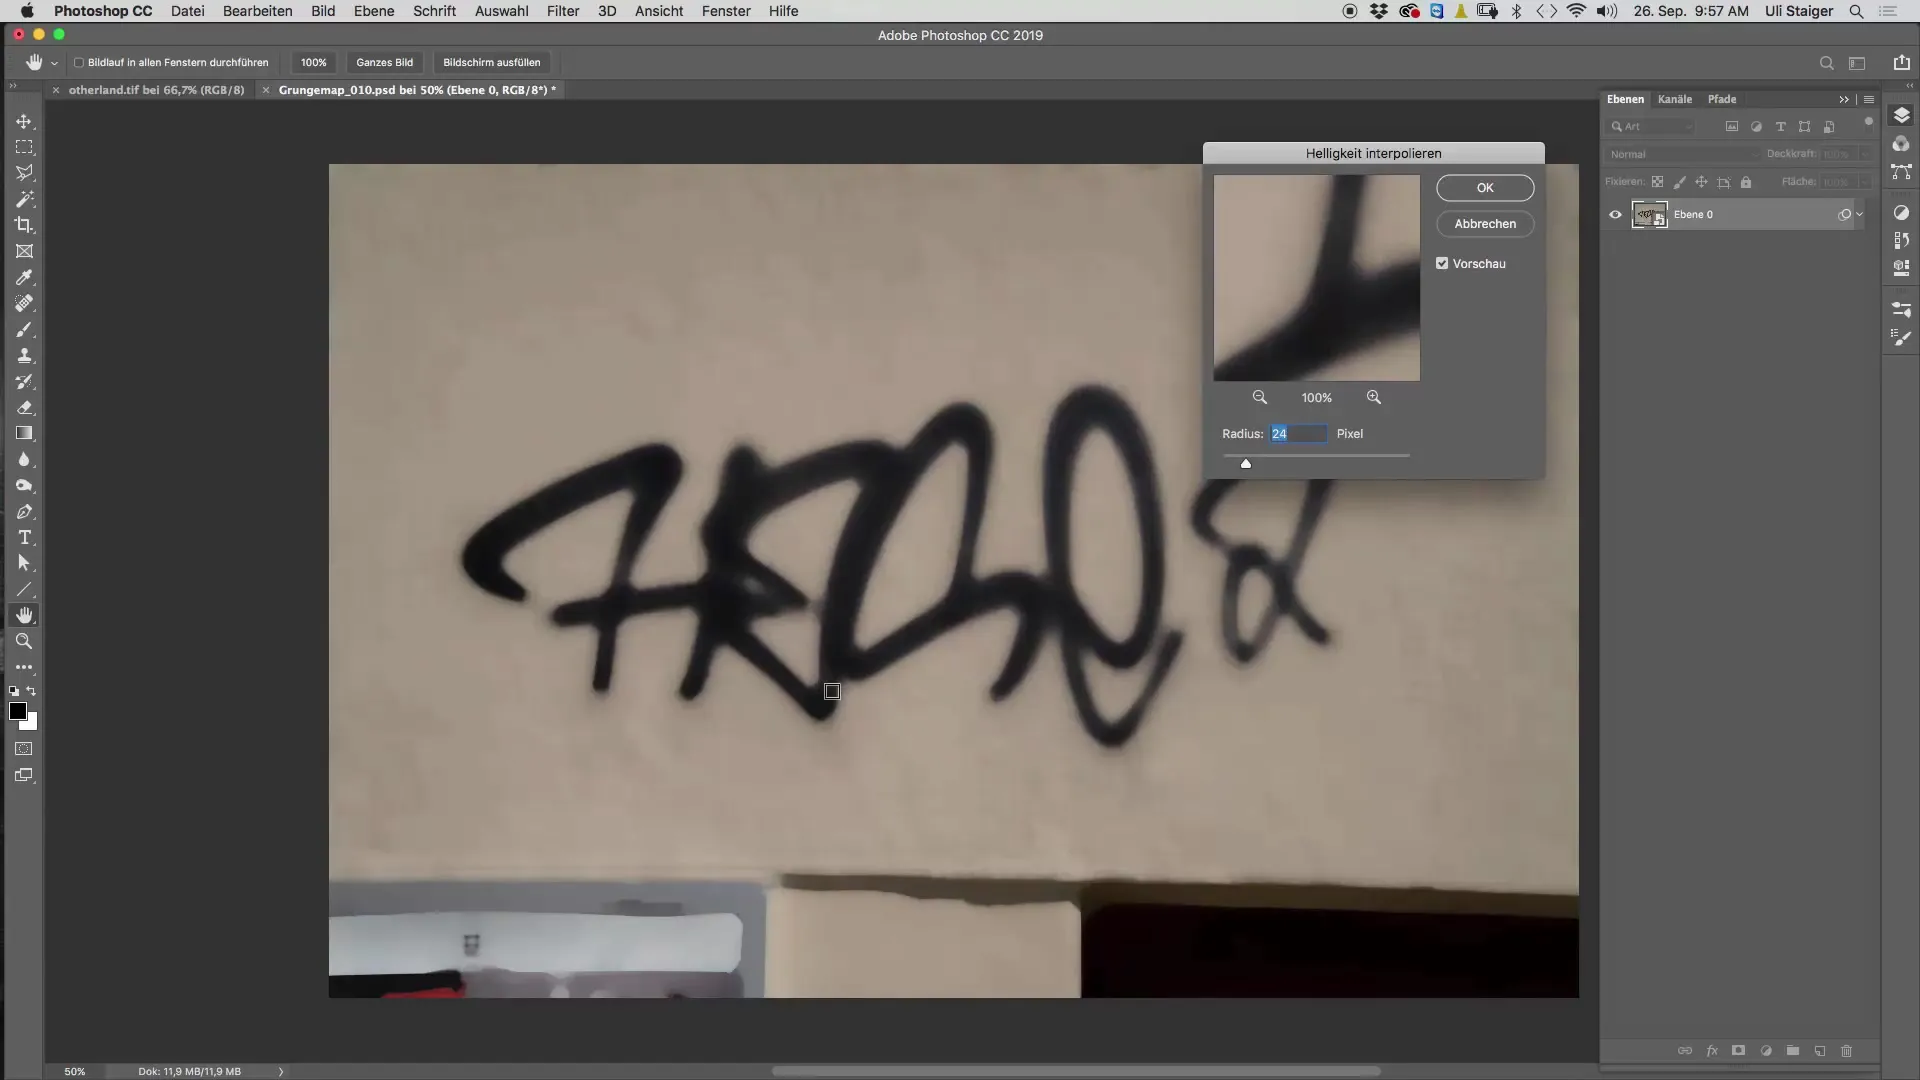
After applying the first filter, you should see a significantly reduced texture density in the tag. Now start to balance the maximum and minimum brightness differences to align the textures.
5. Applying a Blur Filter
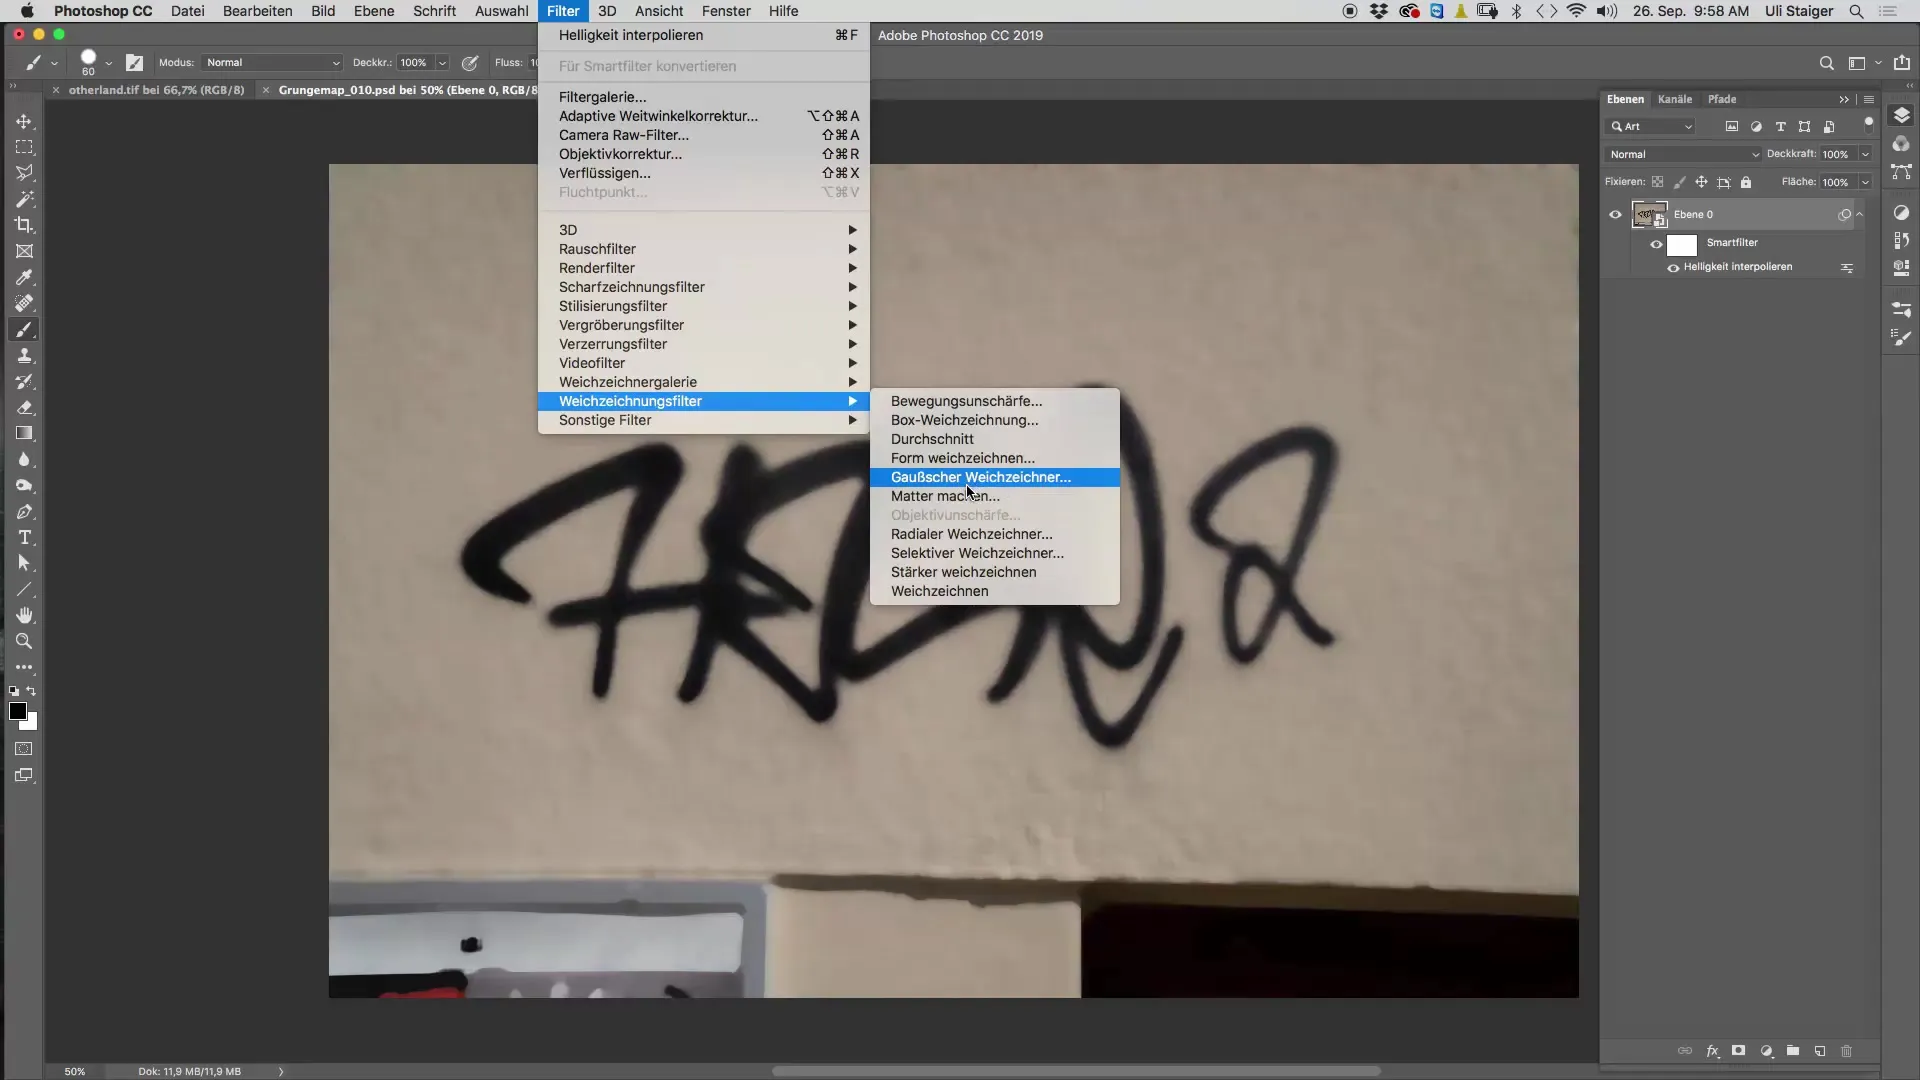
The next step involves using a blur filter that better defines the contours. Go to "Filter" and select the macro function to define the edges while blurring the background.
6. Setting the Selection Area
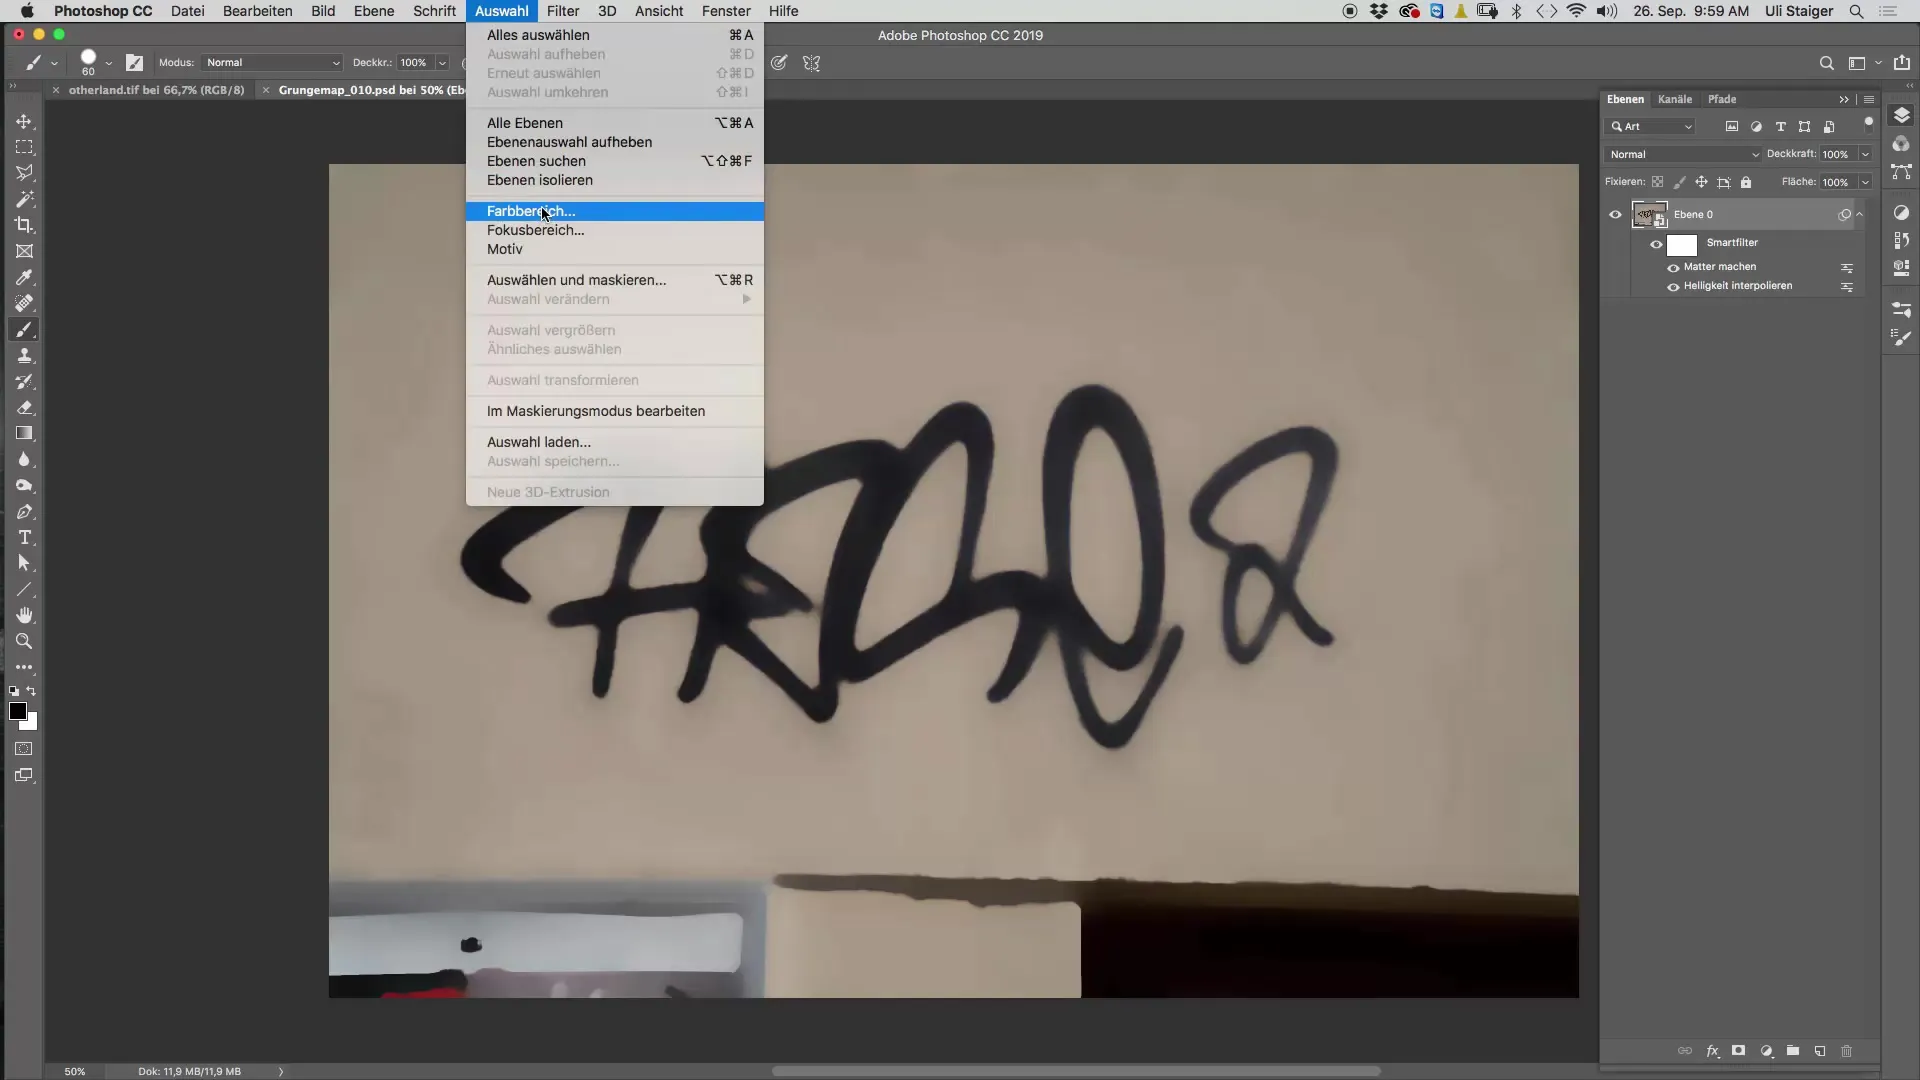
Use the selection tool to select the desired part of your tag. Set the tonal value to about 200 to catch all tonal values and then go back to the tolerance.
7. Refining the Edges
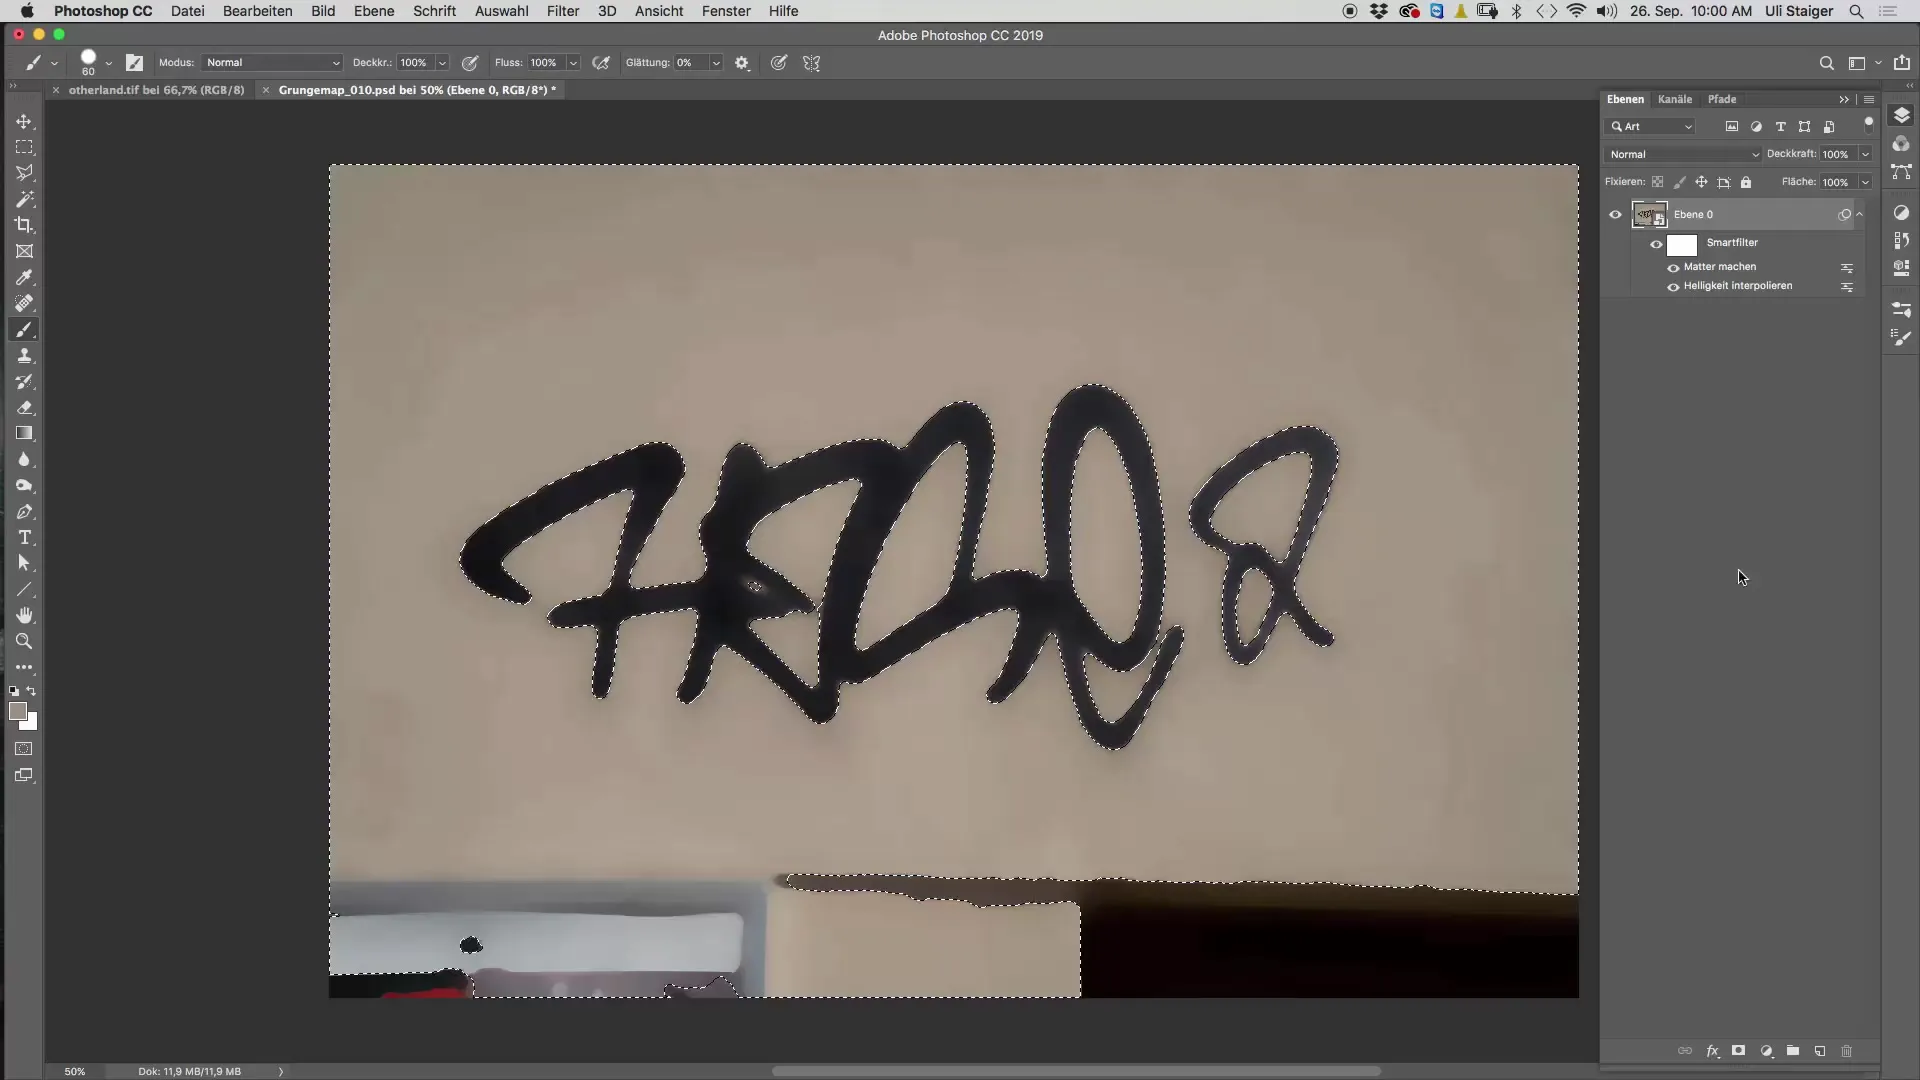
It is often necessary to refine the selection edges. Make sure you do not get hard edges; a certain degree of transparency can also be beneficial here to emphasize the authenticity of the sprayed tag.
8. Creating a Layer Mask
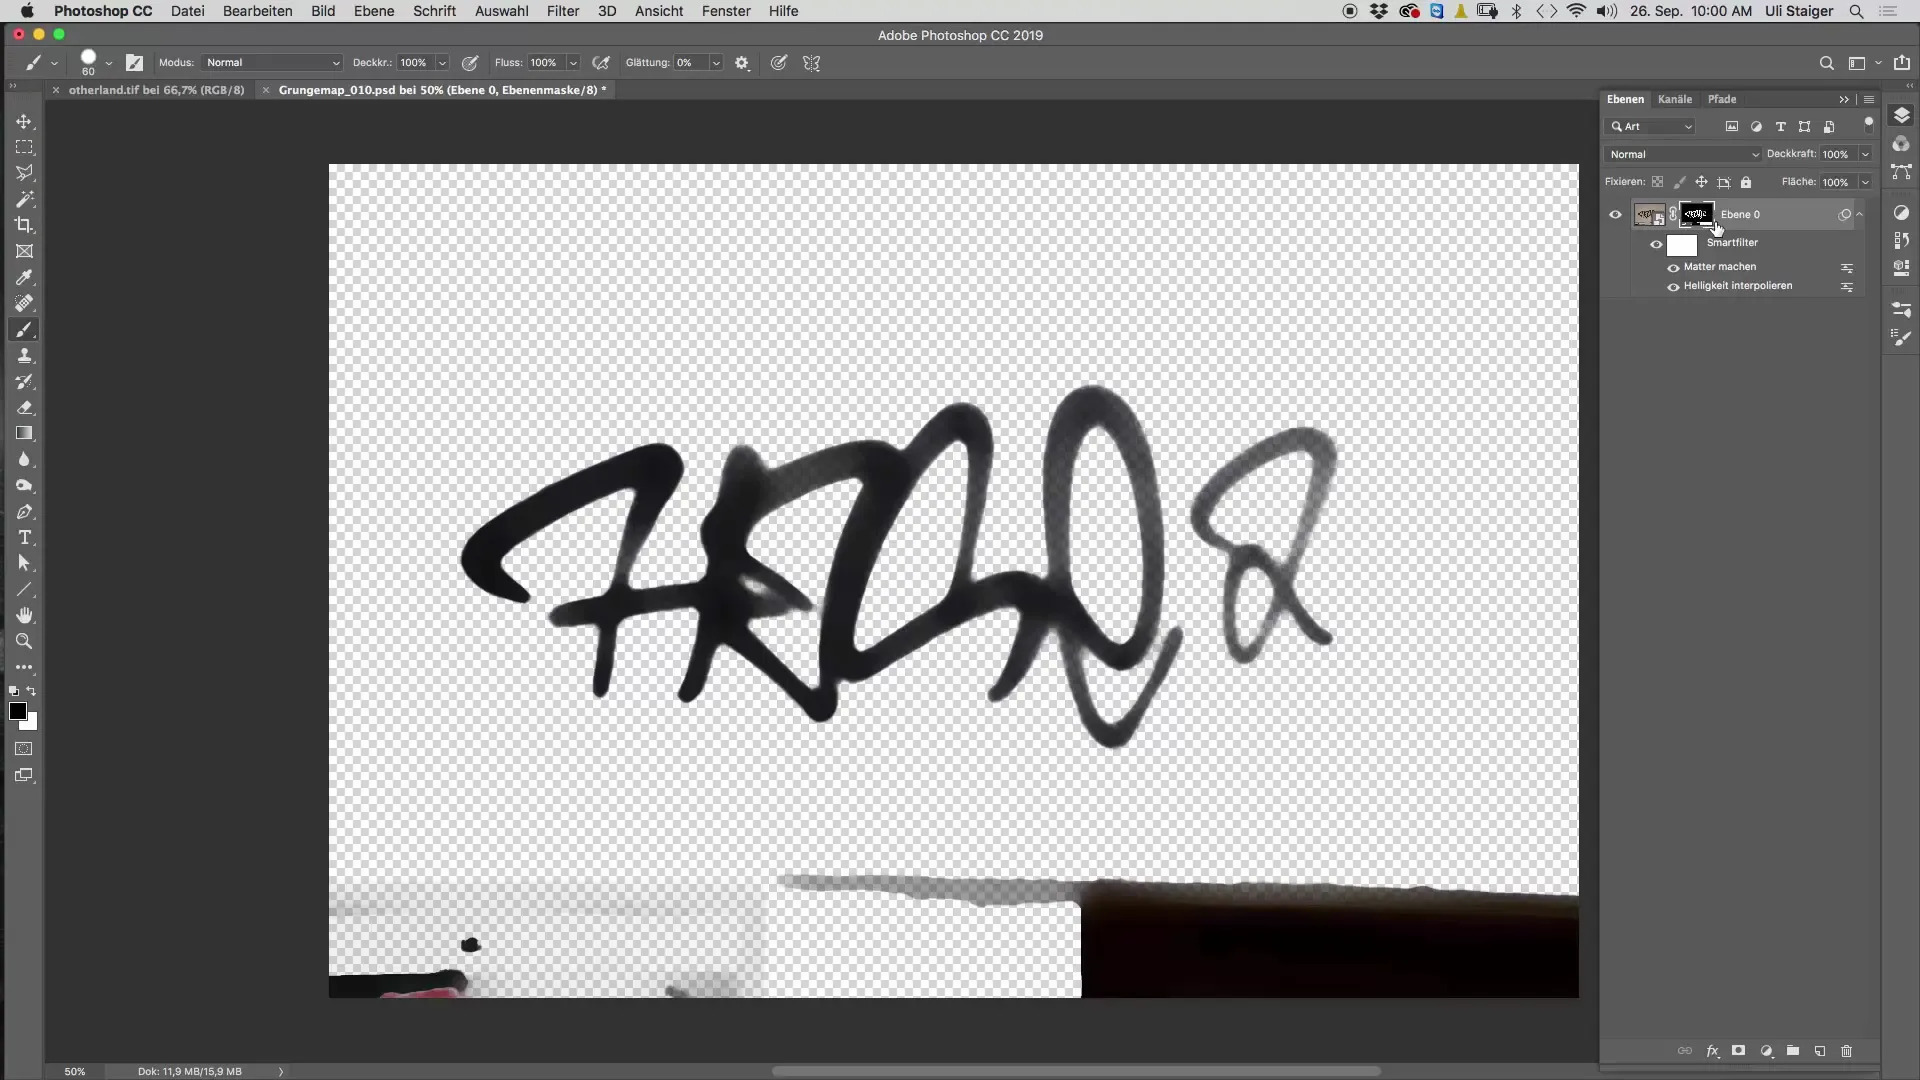
Once you have made your selection, create a layer mask by pressing the Alt key to immediately invert the selection. This helps you target the areas to be edited.
9. Adjustments with Brush Tool
Now comes the finishing touch: Use the brush tool with 100% opacity to cut out or add any unwanted areas in your mask. Be sure to leave enough space to complement the contours and details of your tag.
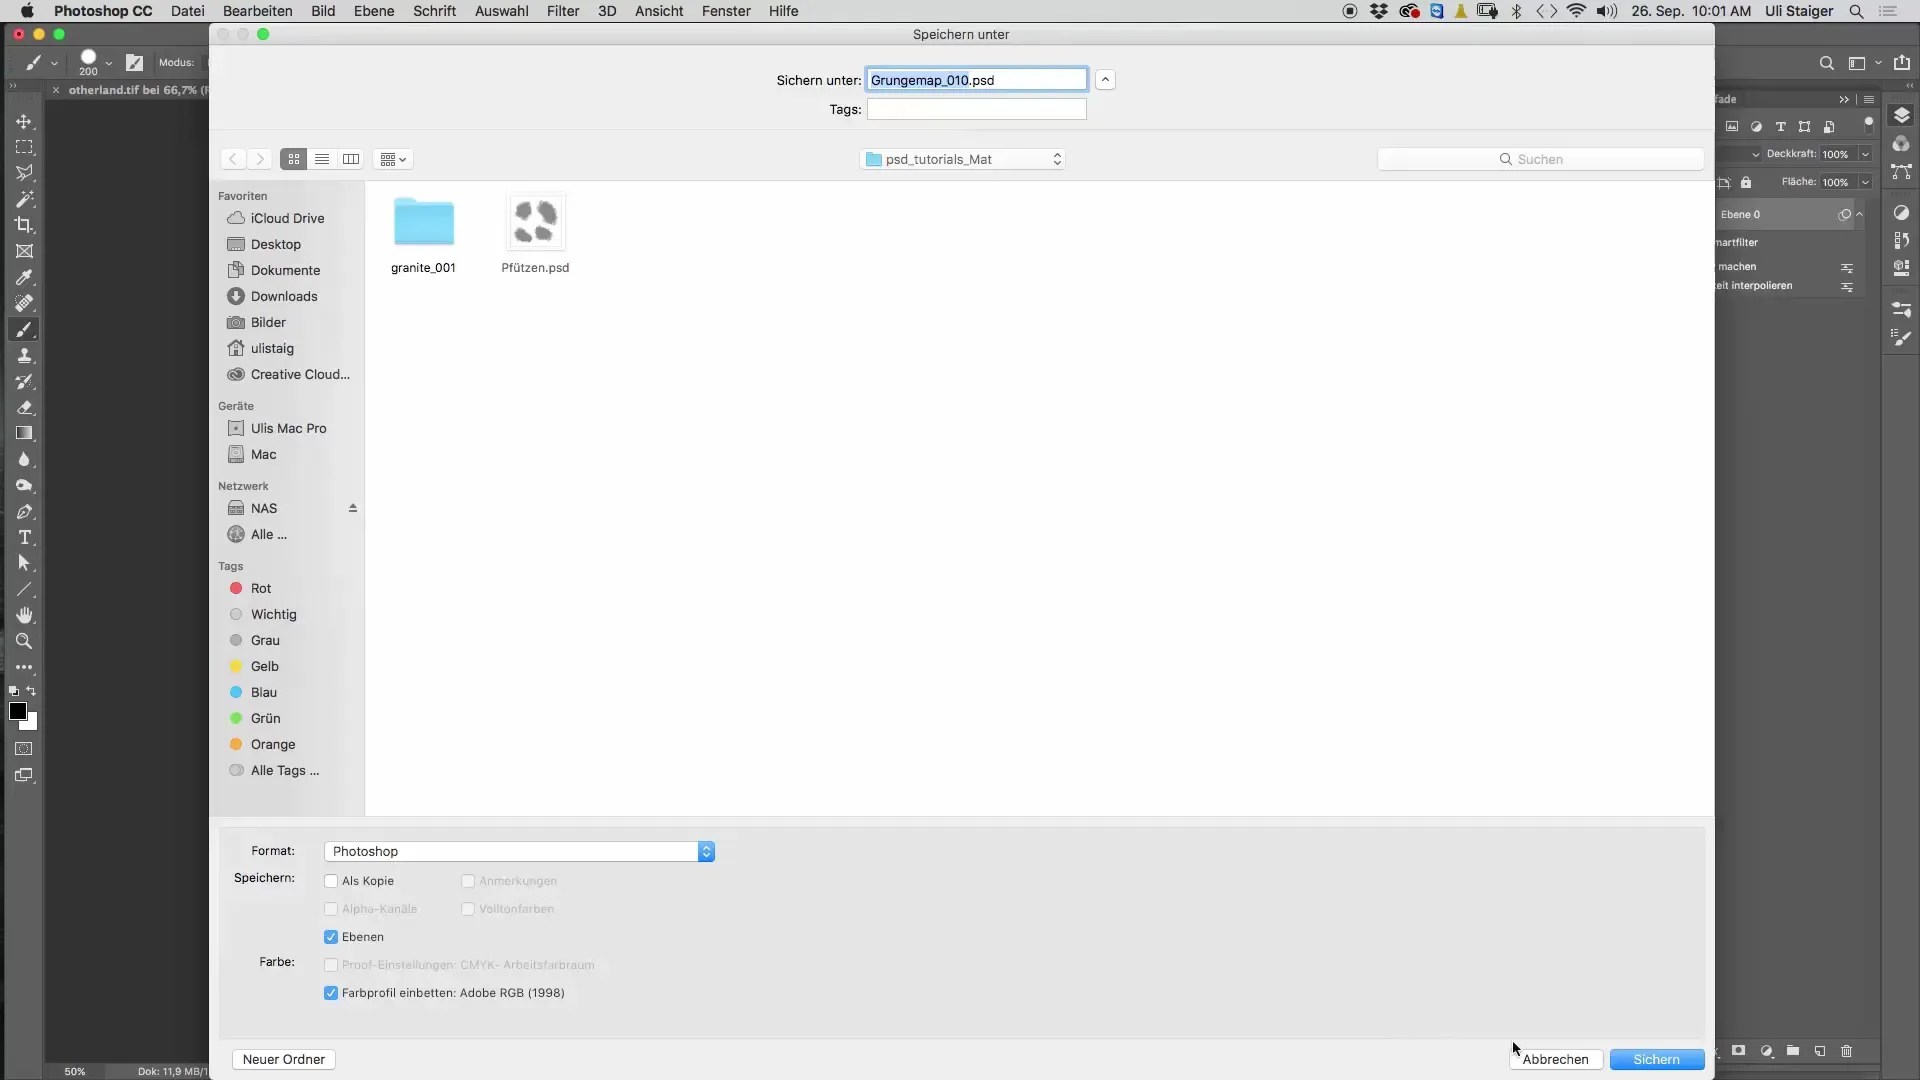
10. Final Adjustments and Saving
Once you are satisfied with the masking, you can save the material. You have the option to apply color and tonal corrections to the layer mask to make the transitions even smoother.
Summary - Cinema 4D Tutorial "Underground": Masking a Tag
In this tutorial, you learned how to effectively mask tags on rough surfaces with Photoshop. You now know how to cleverly use filters and layer masks to create realistic results in Cinema 4D.
Frequently Asked Questions
How can I ensure that my tags look realistic?Use the right filters in Photoshop and pay attention to the textures and lighting conditions.
What should I do if my edges are too hard?Reduce the tolerance in the selection to achieve softer edges.
How do I save my edited material?Just drag your material as a PSD file into Photoshop and save it there.
