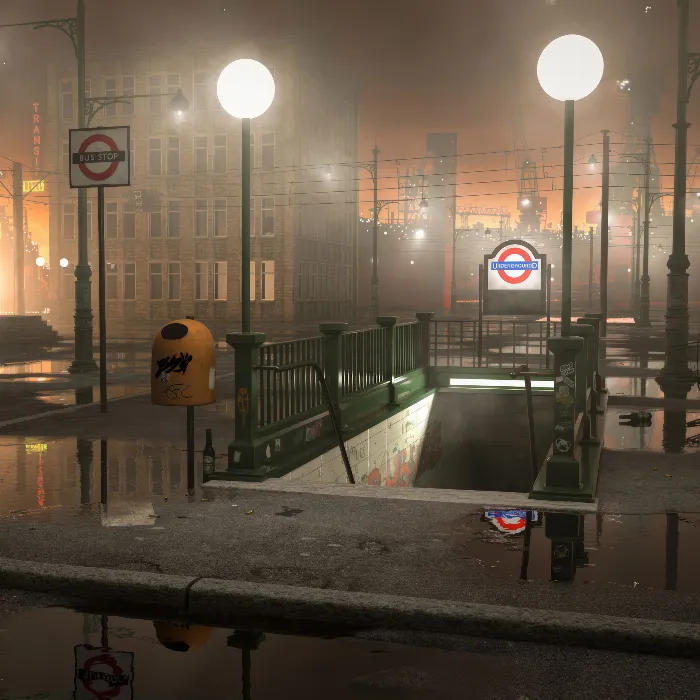
Light sources are an important part of any 3D scene. They significantly contribute to the mood and visual quality. In this tutorial, you will learn how to integrate point lights into Cinema 4D streetlights, so they physically affect the atmosphere of your scene. By skillfully organizing your objects into layers, working becomes more efficient.
Key Takeaways
- By using light sources, you can create a realistic atmosphere.
- The organization of objects into layers simplifies working with complex scenes.
- Maintaining the hierarchy is crucial for correctly positioning the light sources.
Step-by-Step Guide
1. Navigating the Scene
Start by navigating your current 3D scene. It is important to get a clear view of the streetlights you want to work with. Use Cinema 4D's tools to rotate and move the scene as needed. This will make it easier to access the objects you want to edit later.
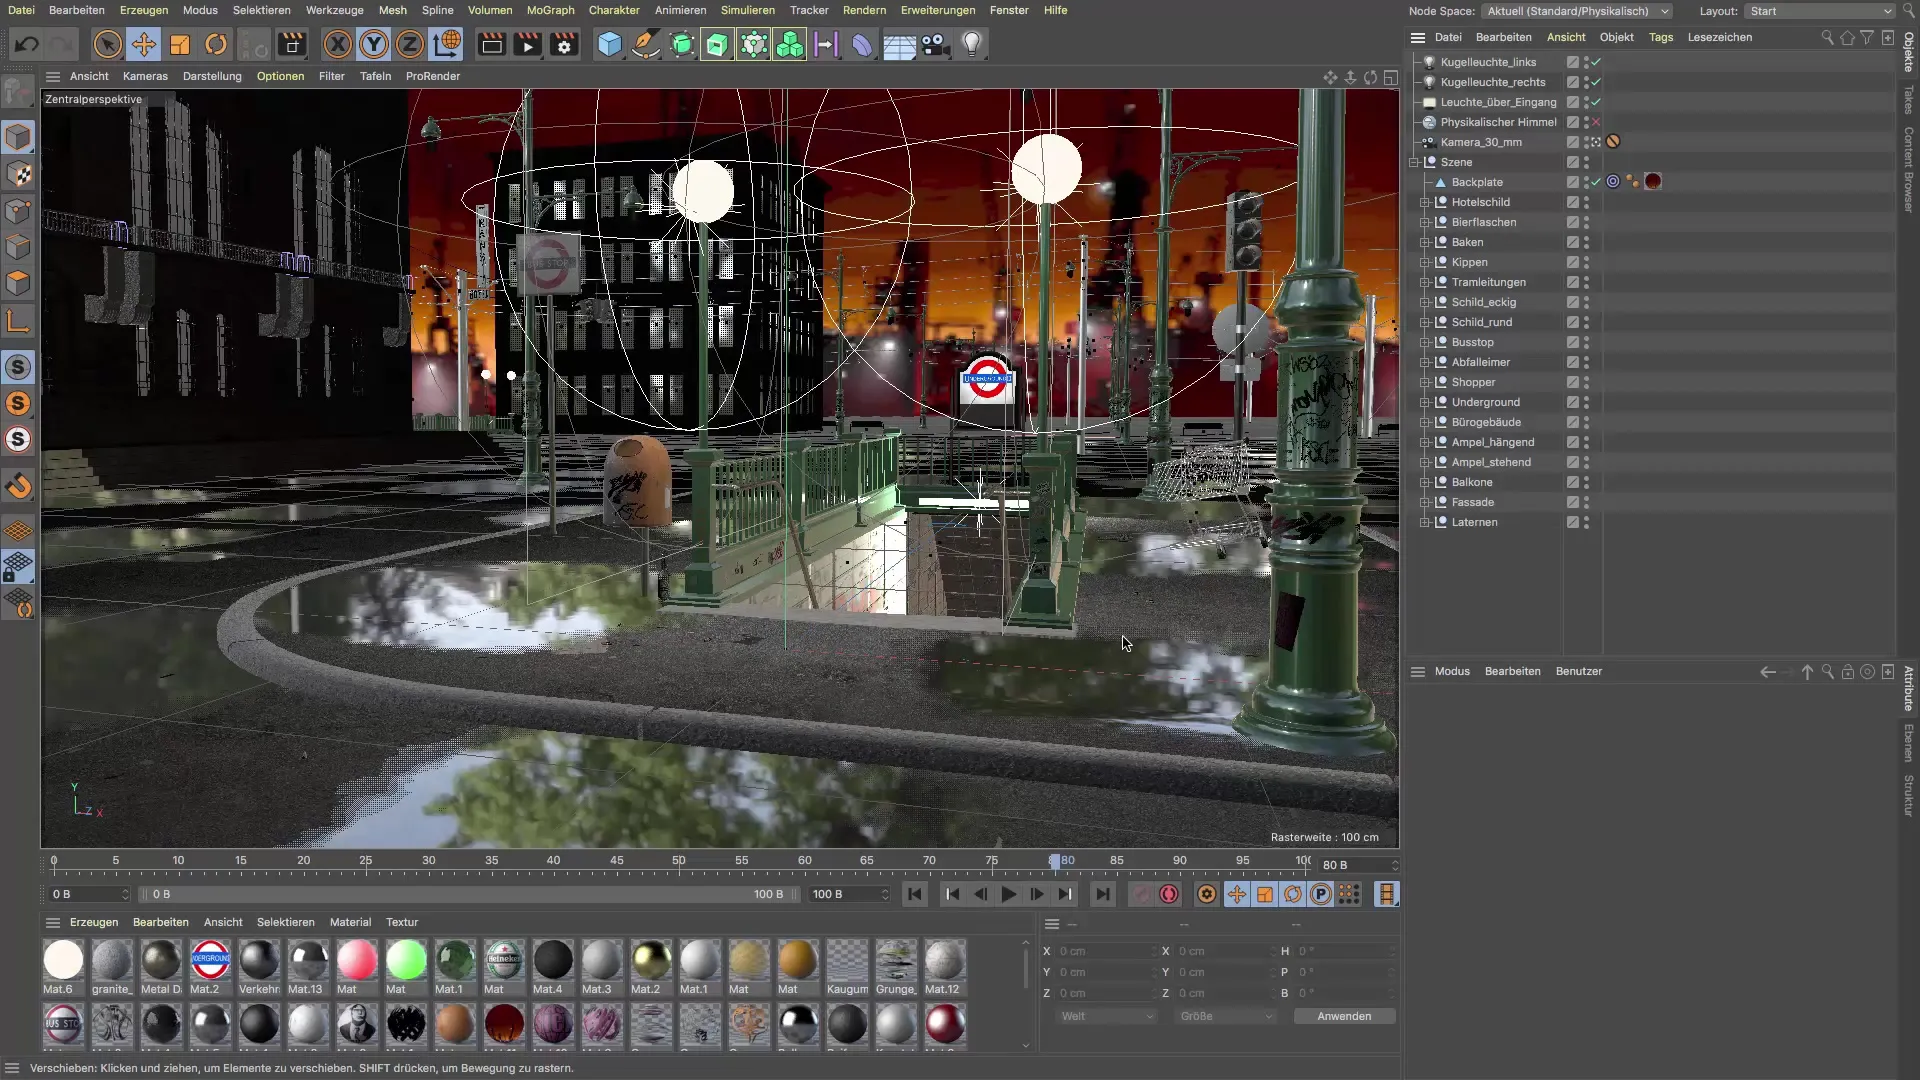
2. Creating a New Layer
To control the visibility of objects, create a new layer. Name it "Streetlights." To do this, go to the layer options and add a new layer. Using layers allows you to keep only the relevant objects visible and simplifies navigation.
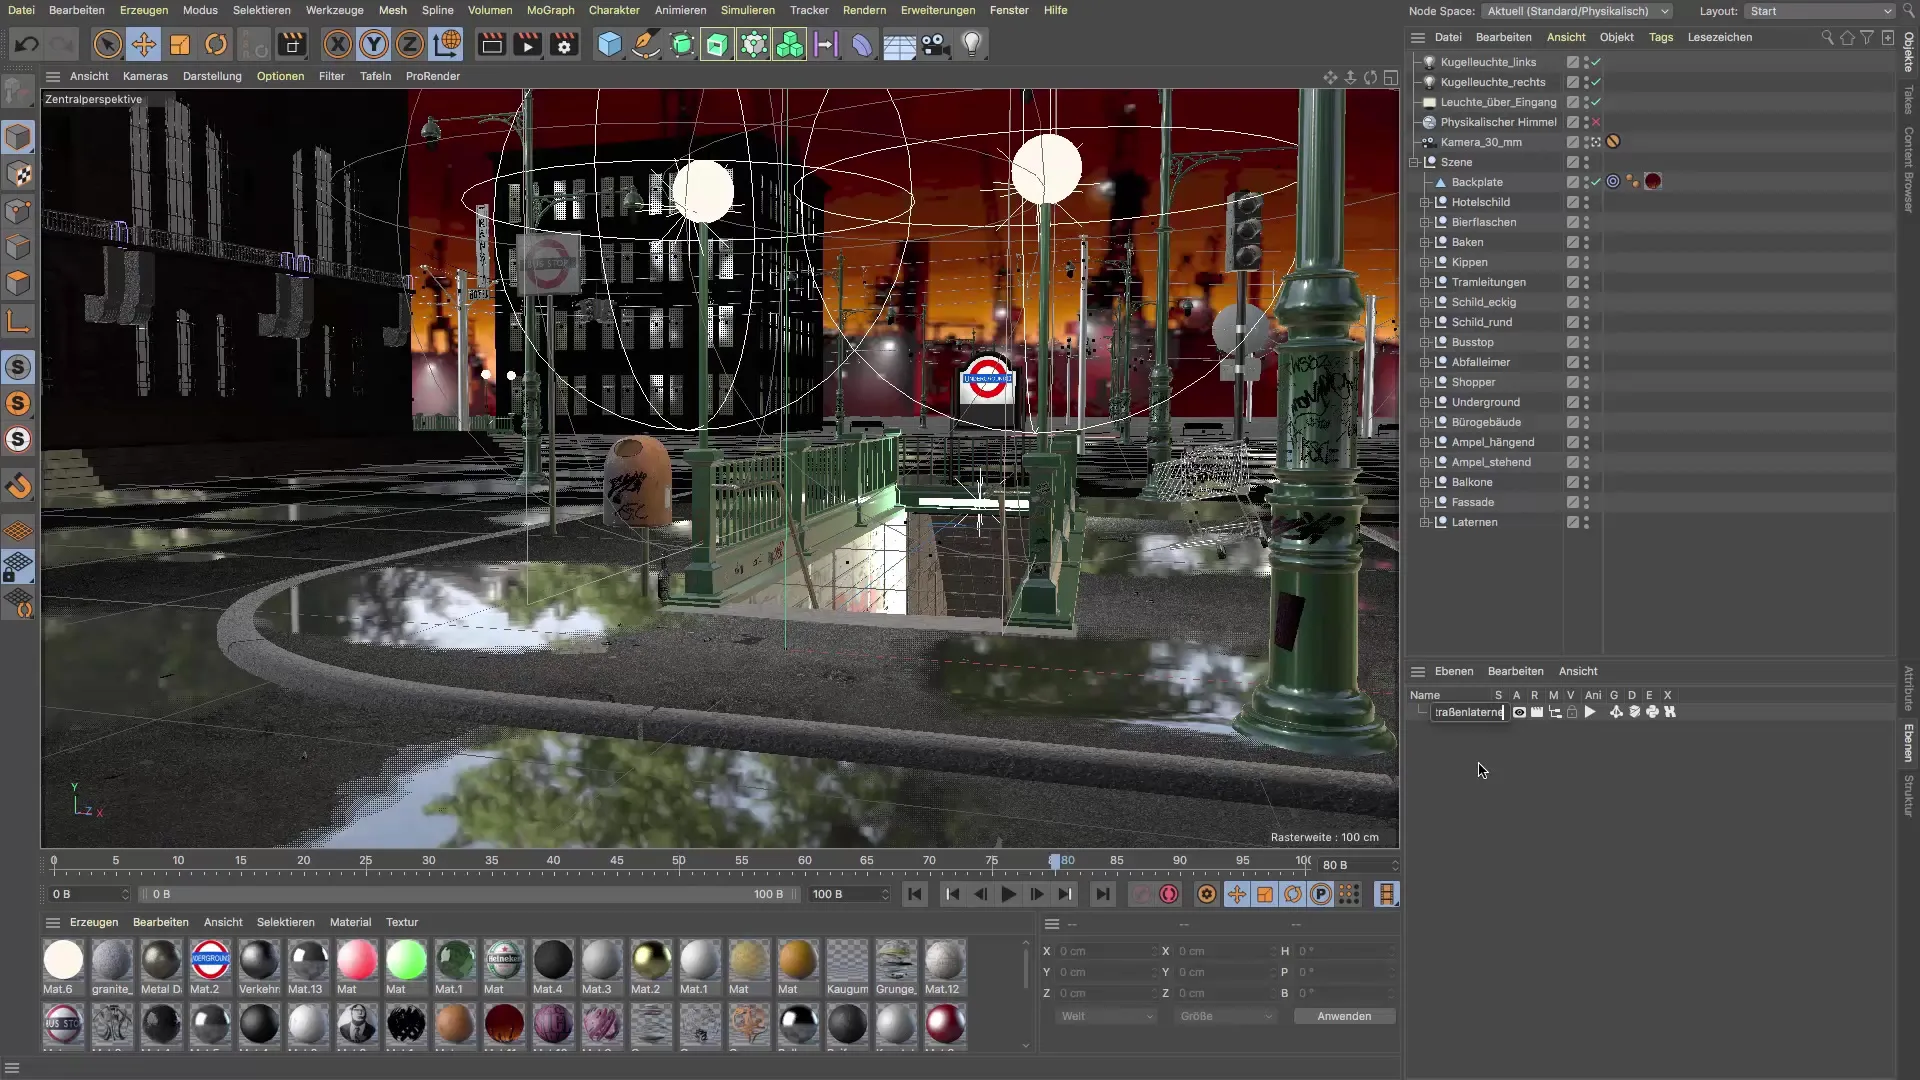
3. Connecting the Objects
Drag the streetlights into the new layer. This works best if you hold down the control key while dragging the objects into the layer. This will correctly connect not only the null objects but also all instances within that layer.
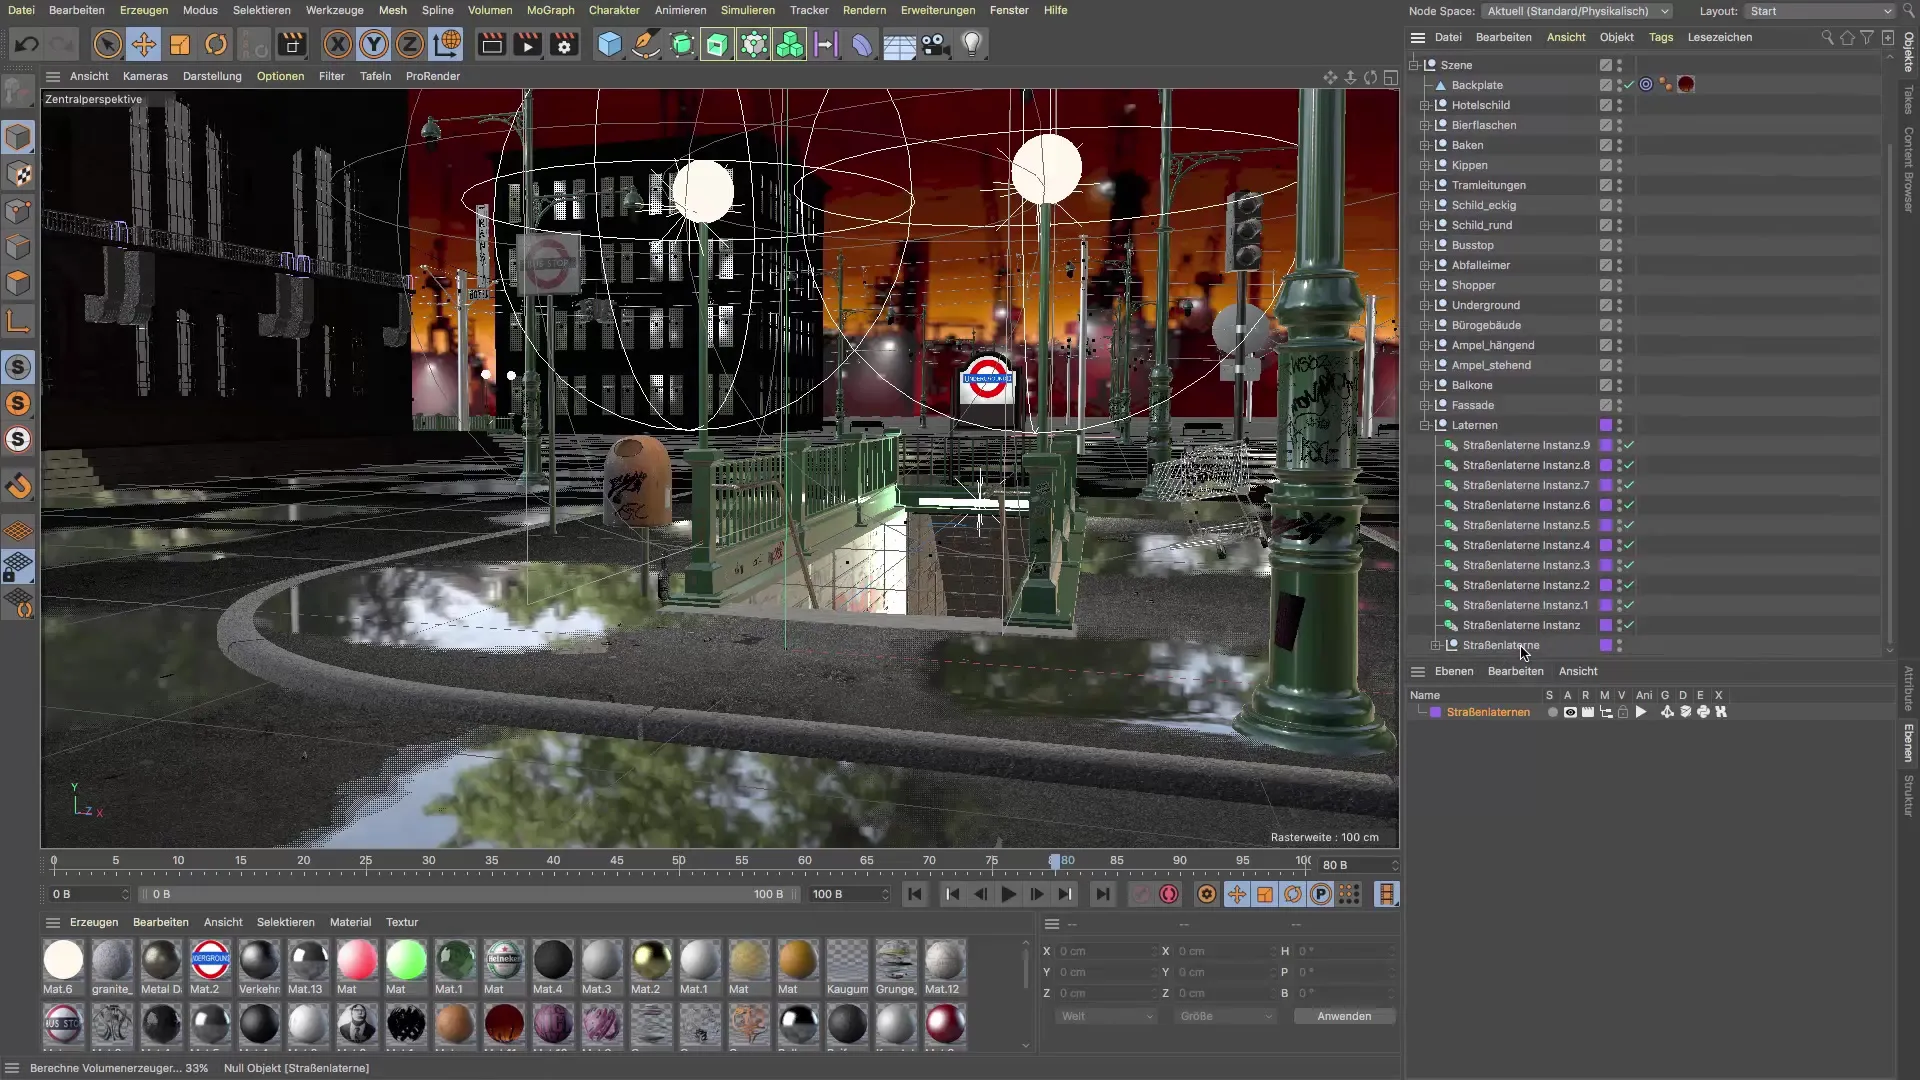
4. Activating Solo Mode
To further optimize navigation, activate solo mode for the streetlights layer. This will make only the lights visible, significantly easing the editing process.
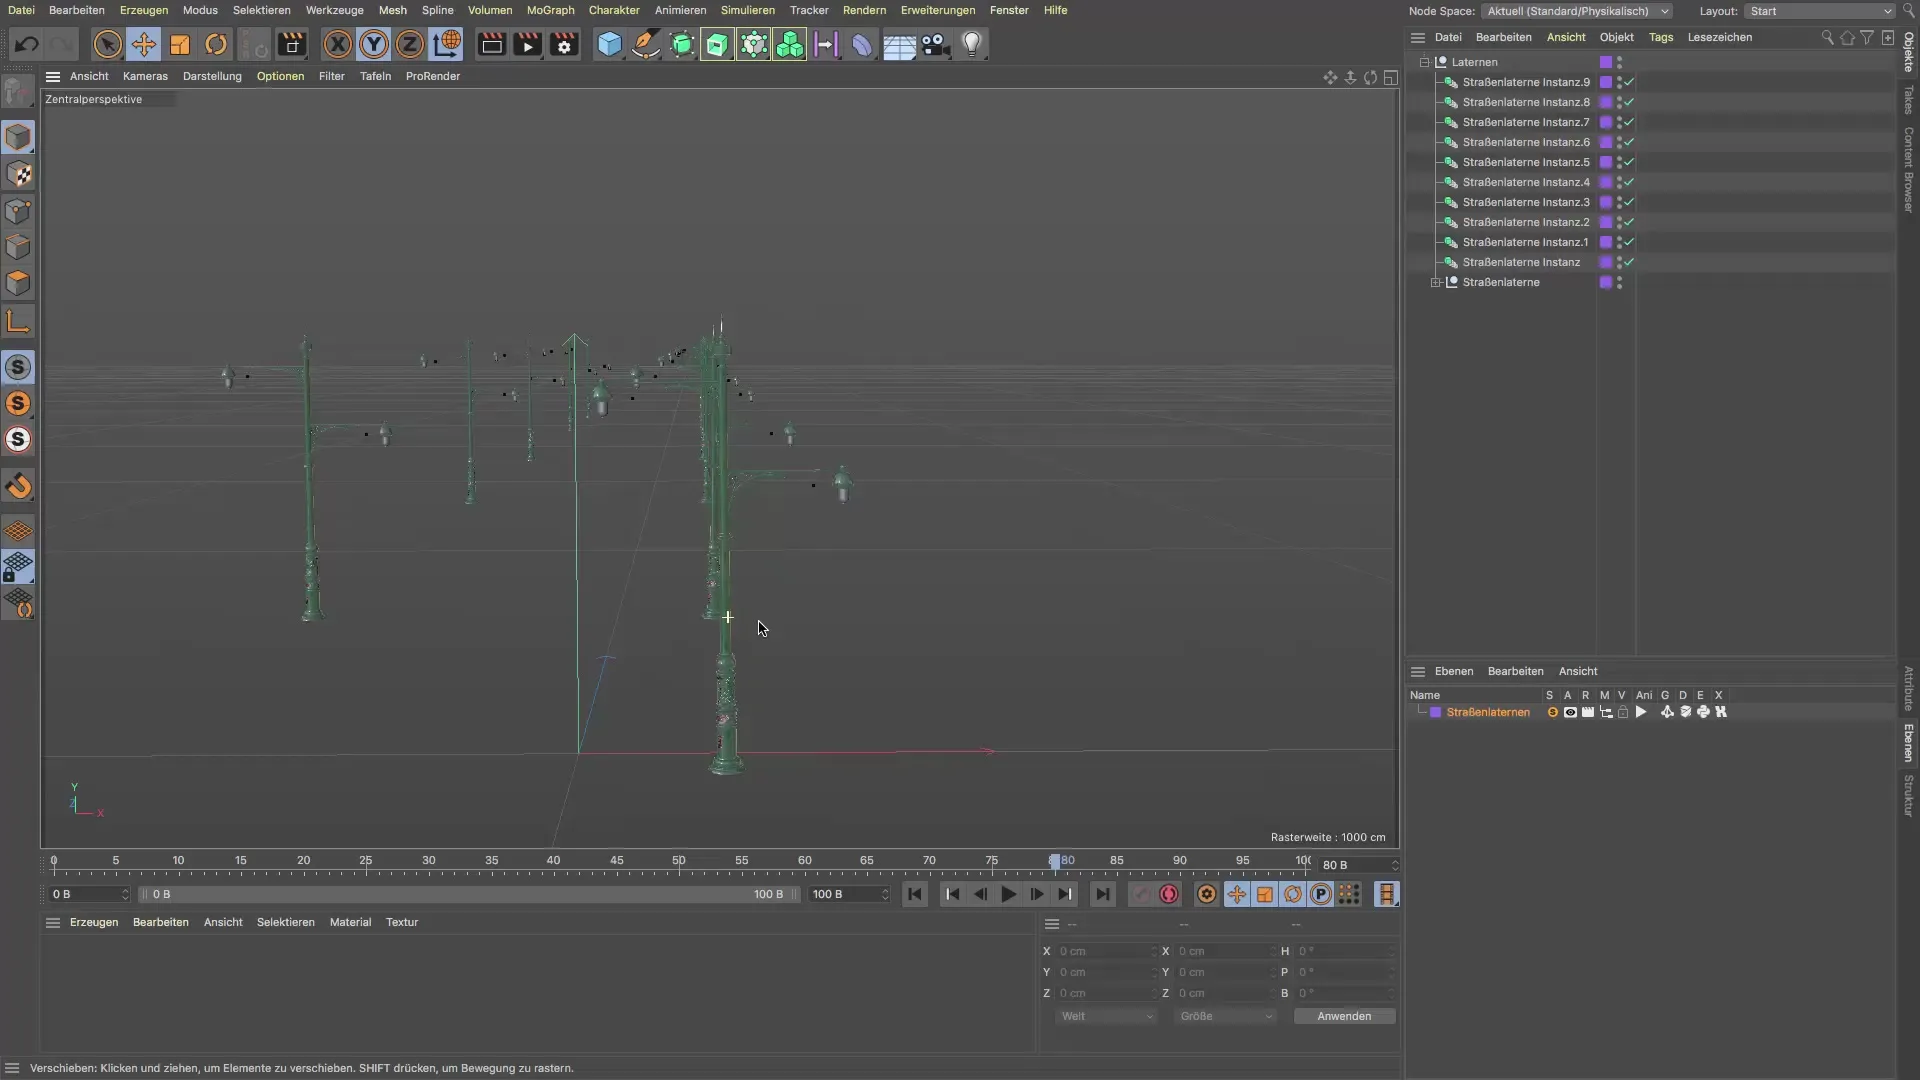
5. Creating a New Glass Material
To shape the glass body of the streetlight, create a new material. Double-click on the material manager for this. Remove the color and keep the reflectivity and transparency active. This material will later be applied to the glass area of the lamp.
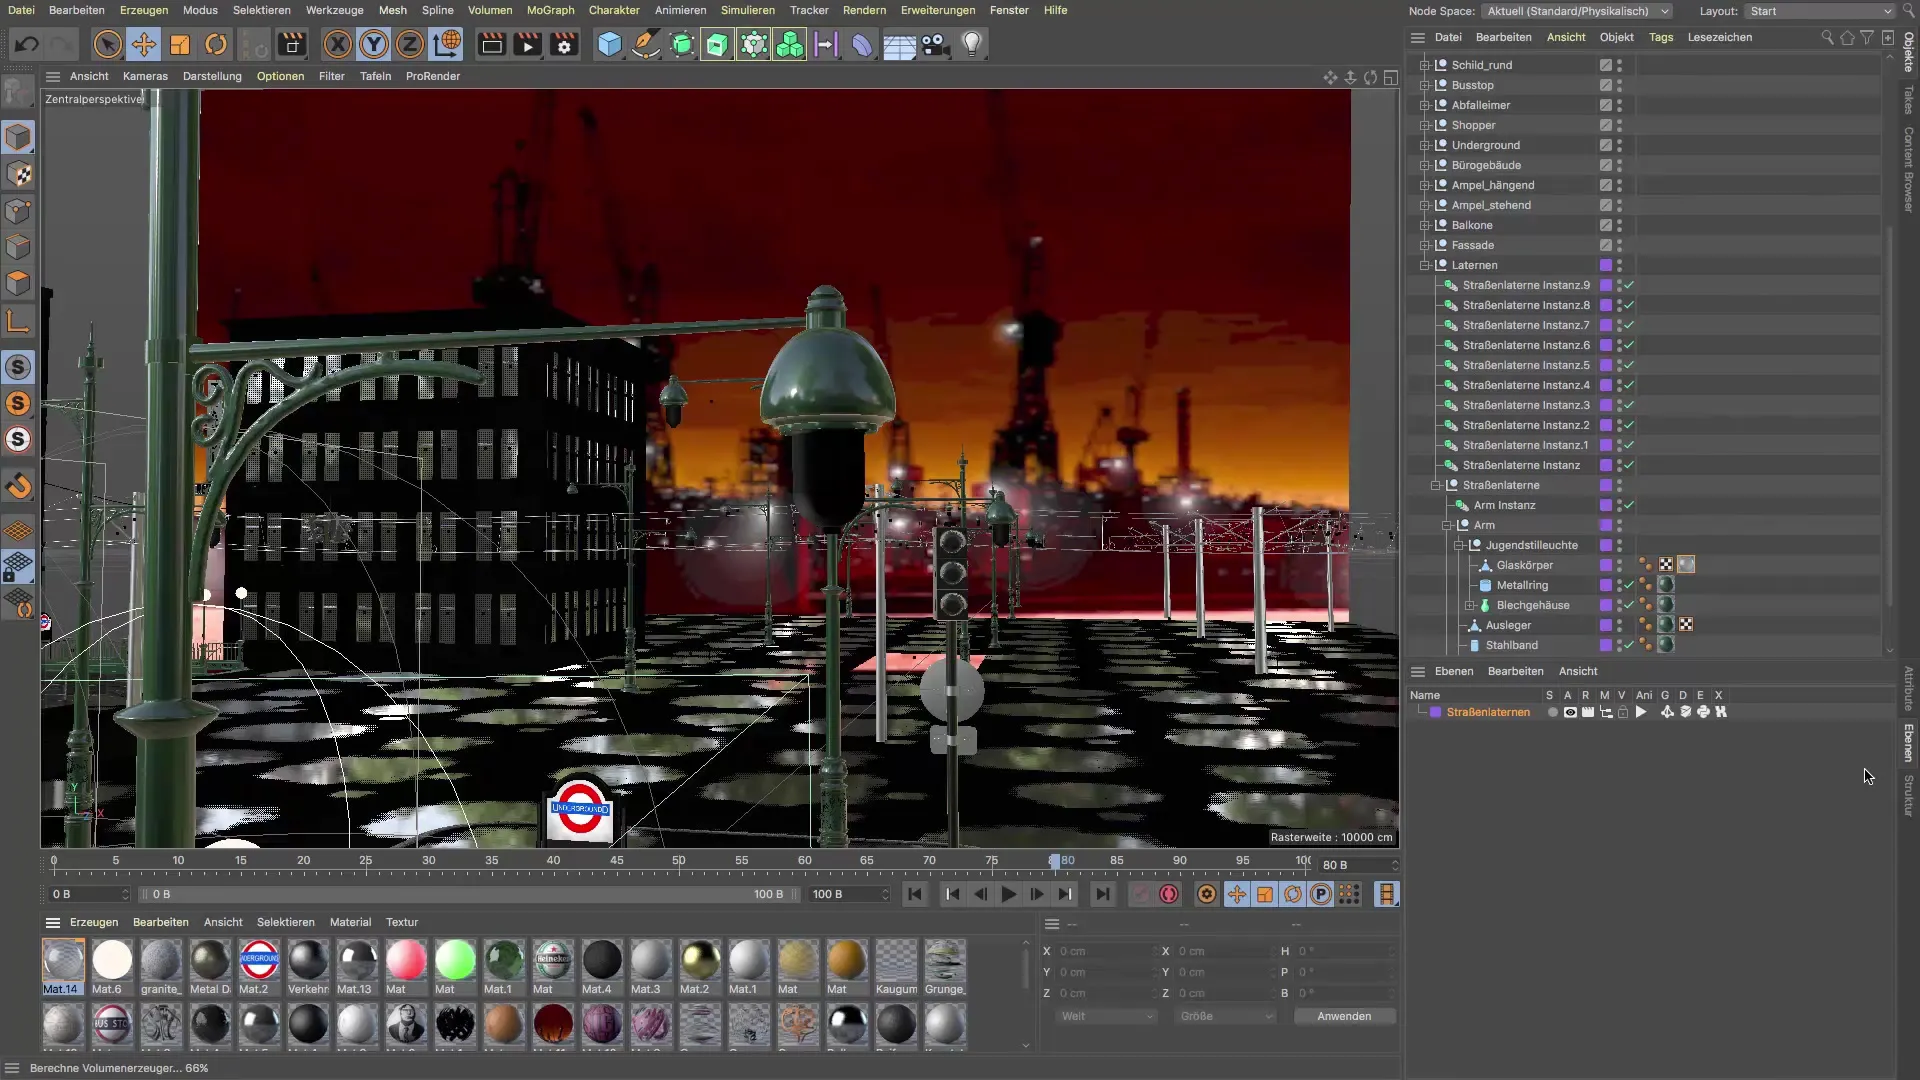
6. Applying the Glass Material
Then apply the glass material you just created to the glass body of the streetlight. To do this, click on the relevant part of the lamp and drag the material onto it.
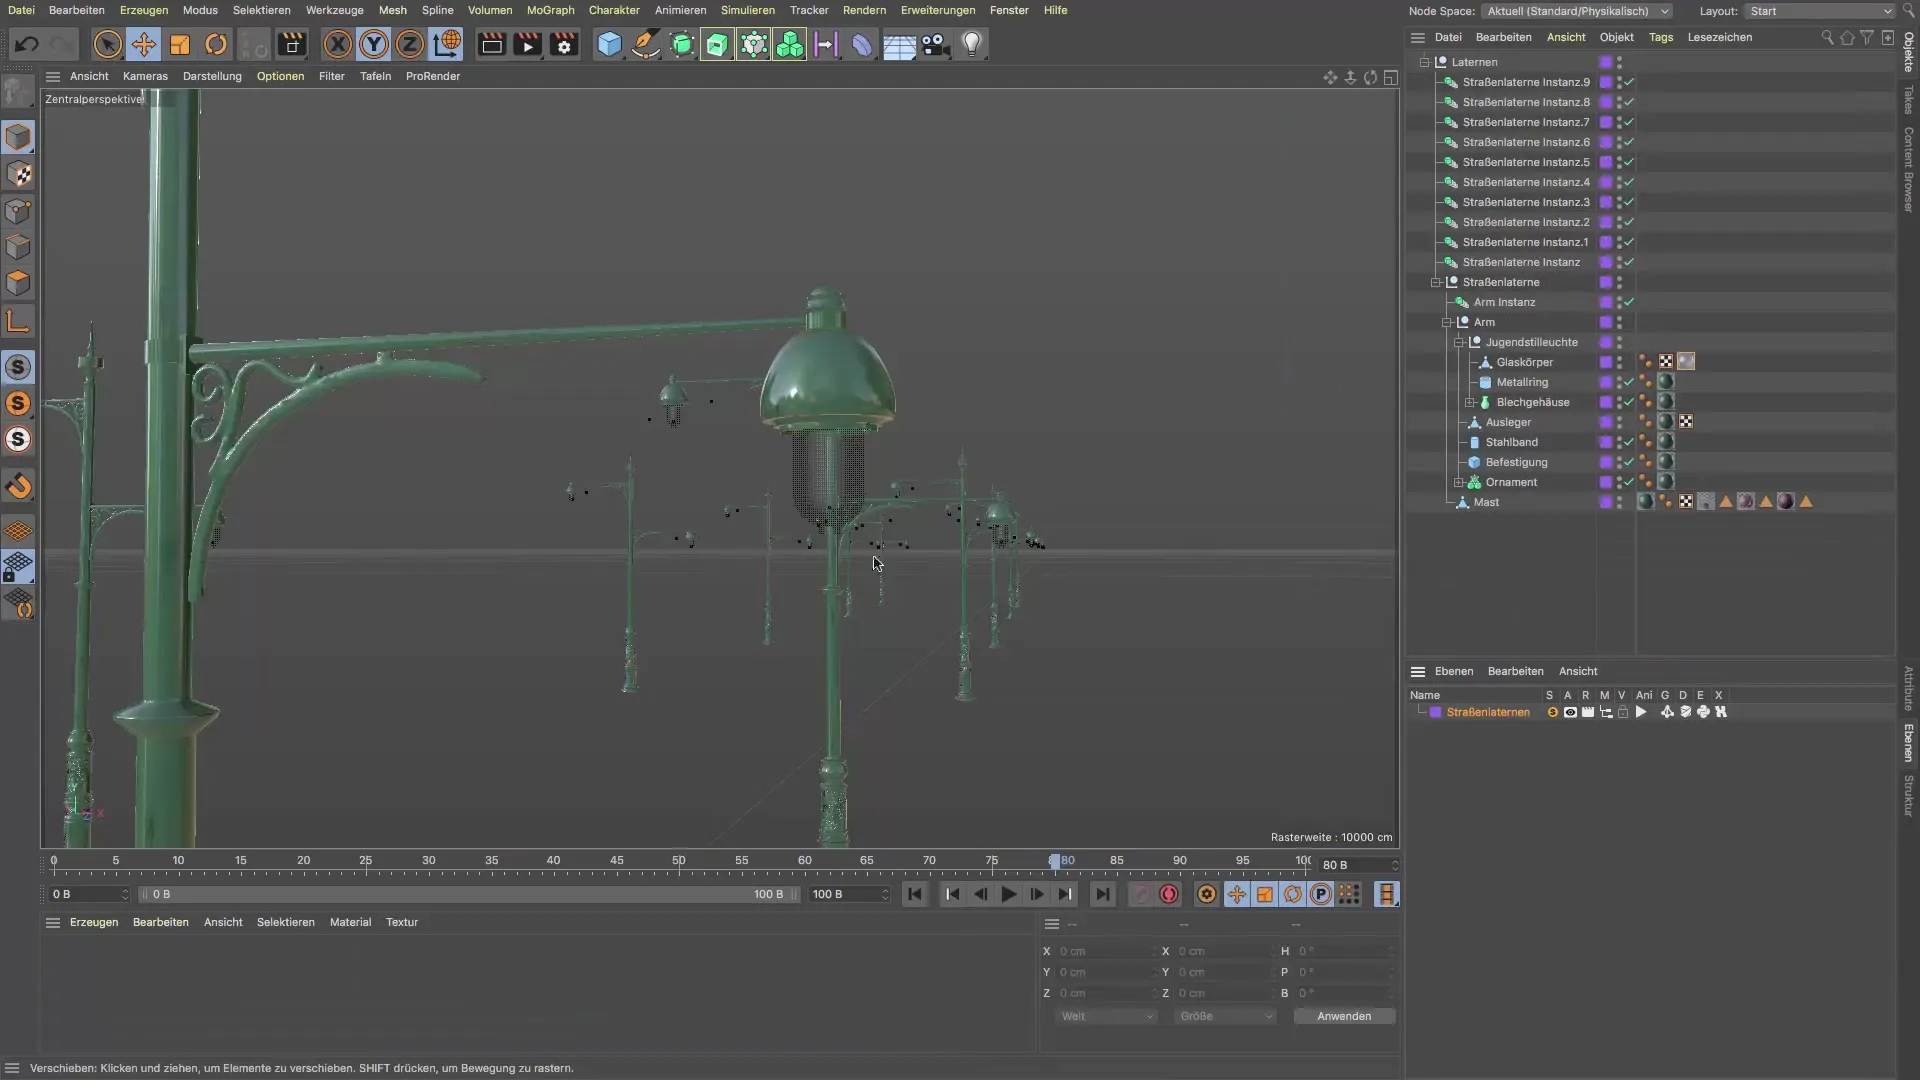
7. Preparing the Light Source
Before you add the light source, make sure you do not use the sphere light directly, but create a new light source that you will position later. Copy the original sphere light (Ctrl+C and Ctrl+V) and place it in the correct location.
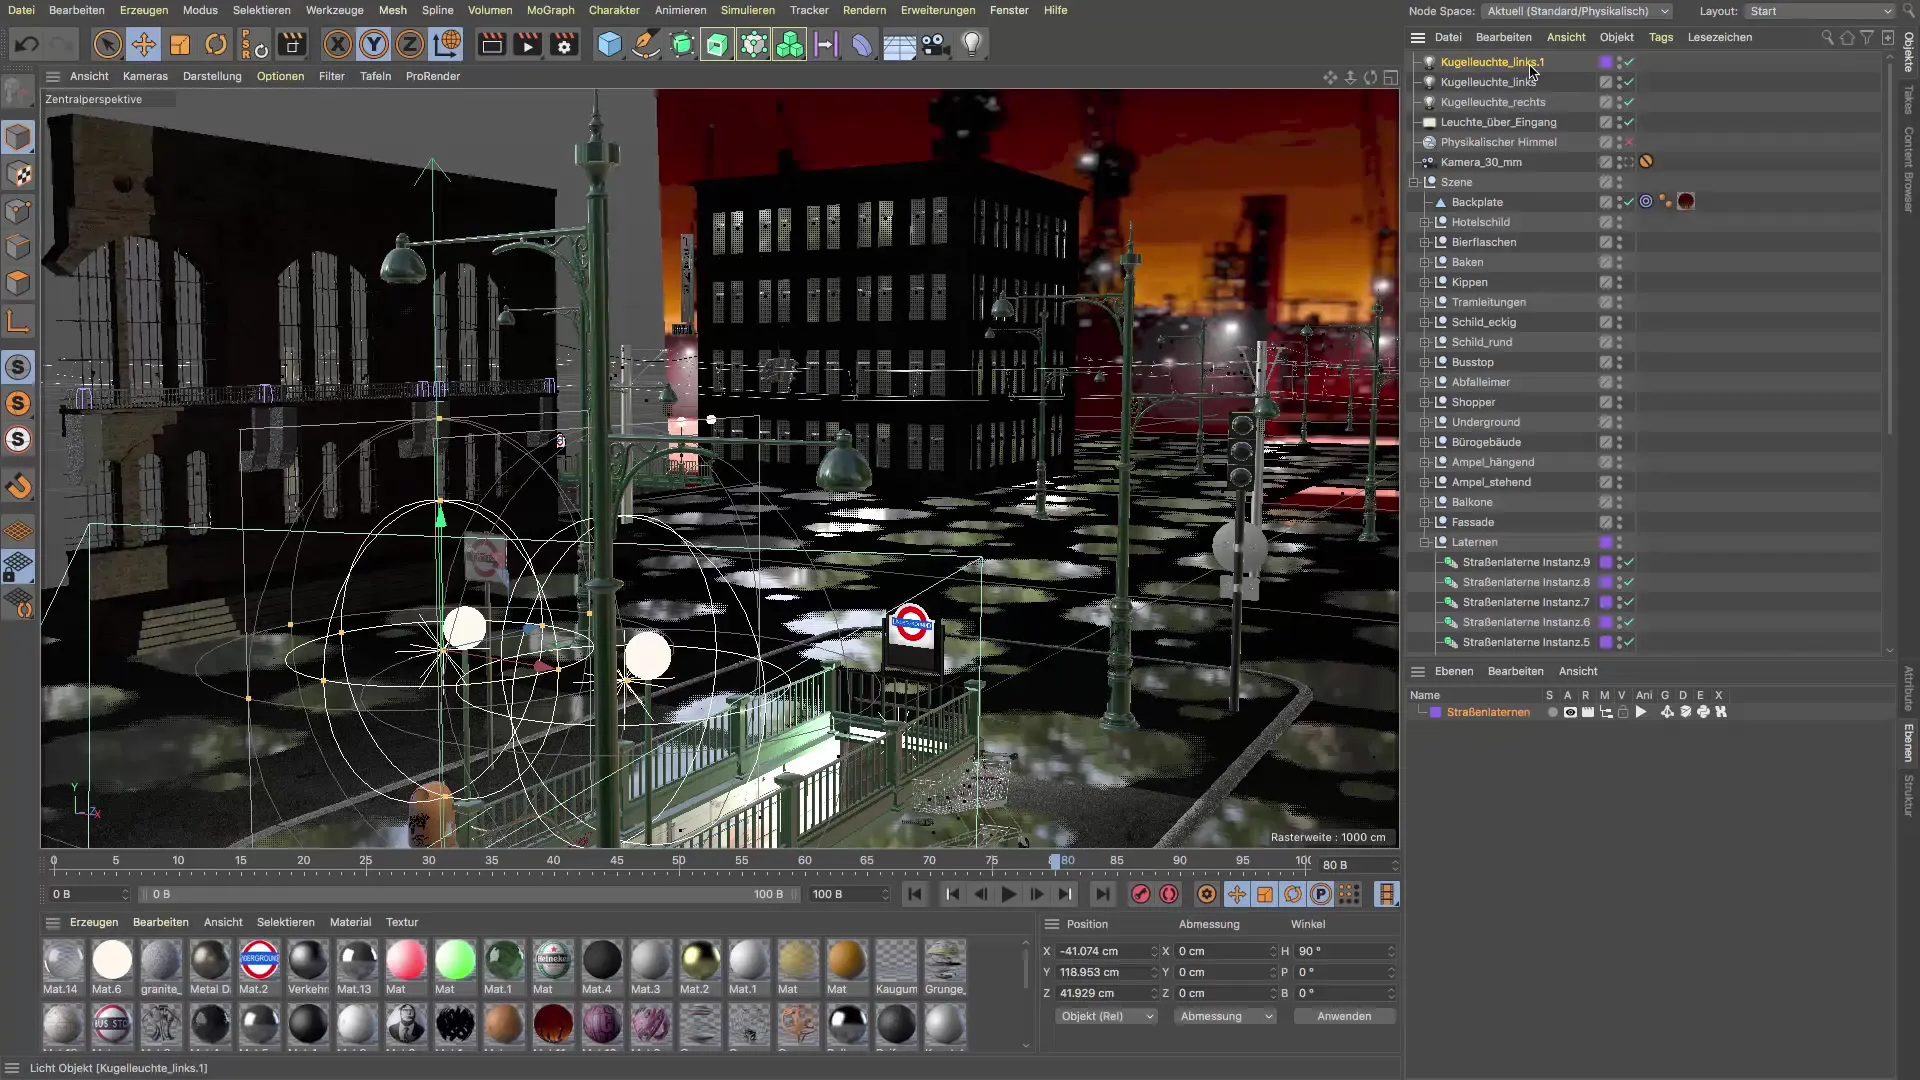
8. Assigning the Light Source
Now it's time to assign the light source. Select the light source, go to the tool settings, and choose the apply command. In the attribute manager, the glass body is already entered as the target. Click on "Assign" to correctly integrate the light source into the hierarchy.
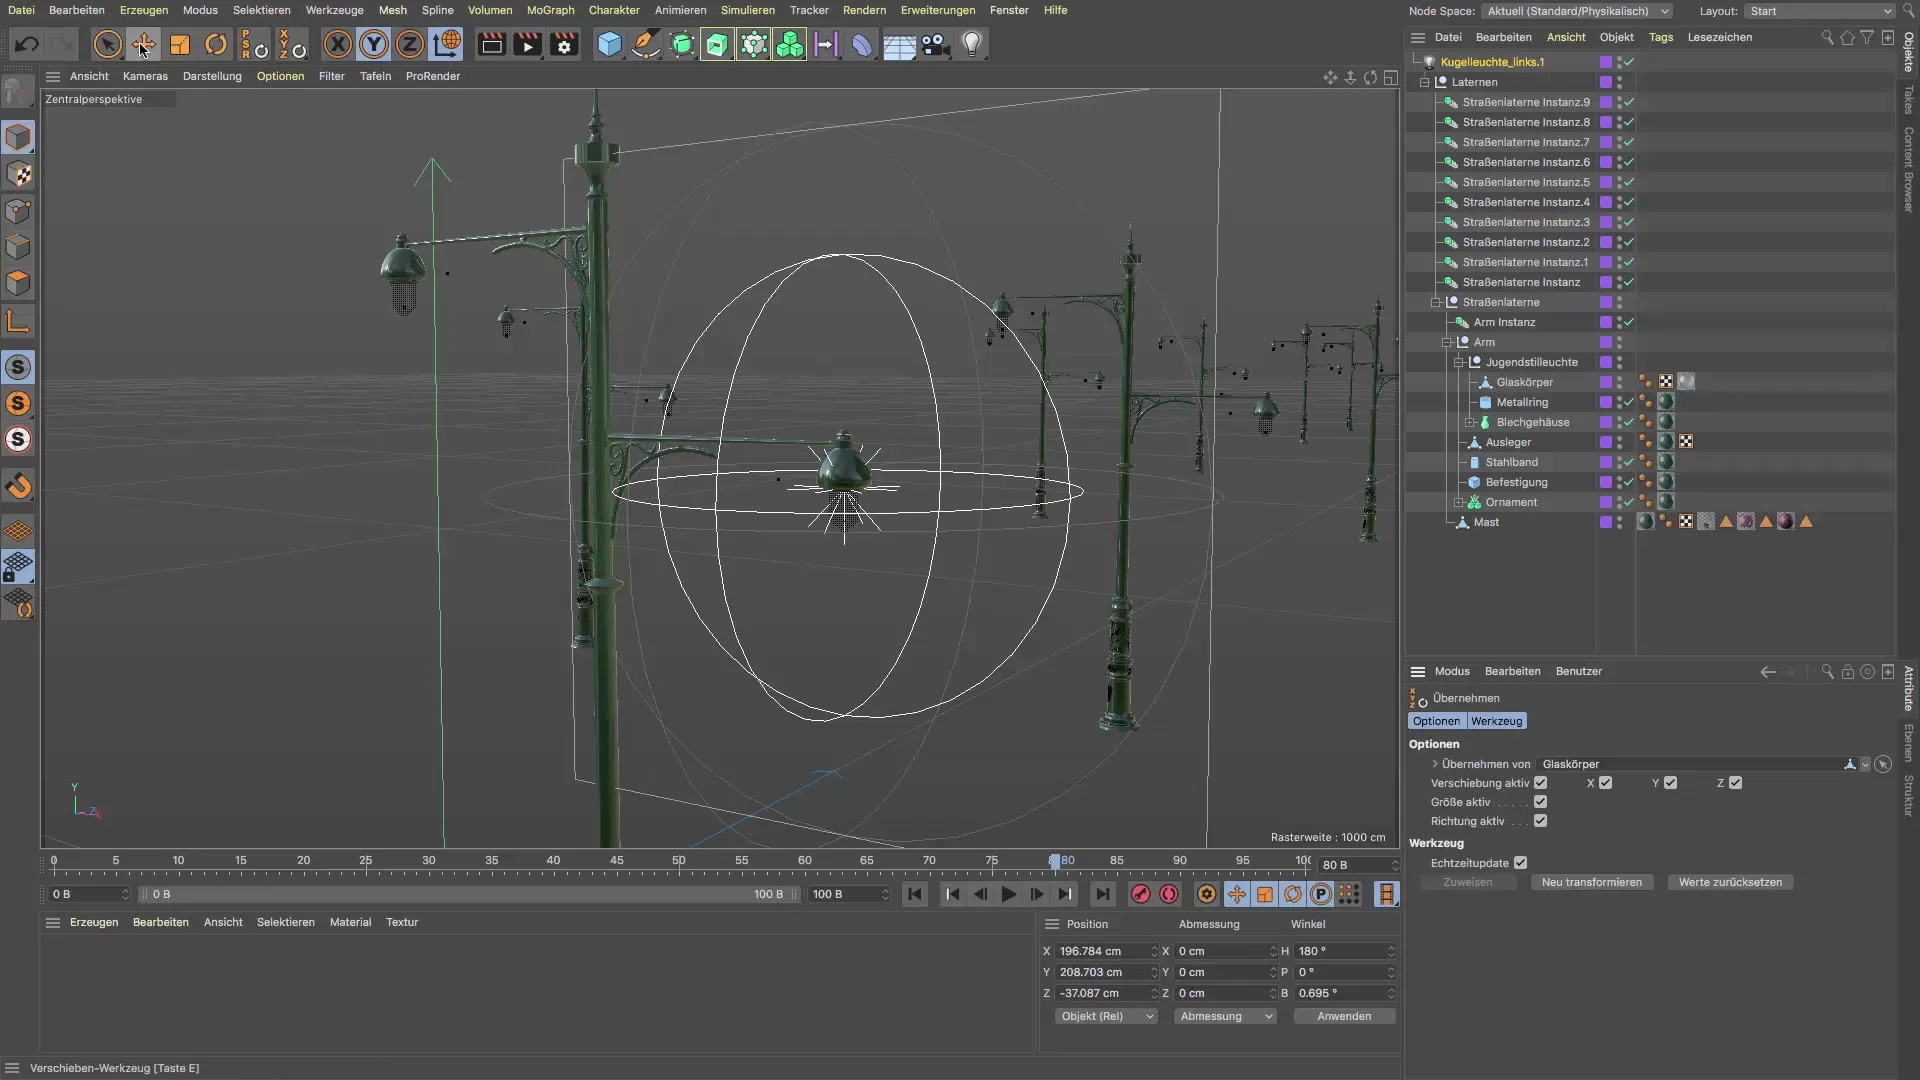
9. Creating the Small Sphere as a Light Source
Create a small sphere that represents the light symbol and place it in the streetlights layer. Make sure its diameter is 3 cm and that its material is also assigned for consistency.
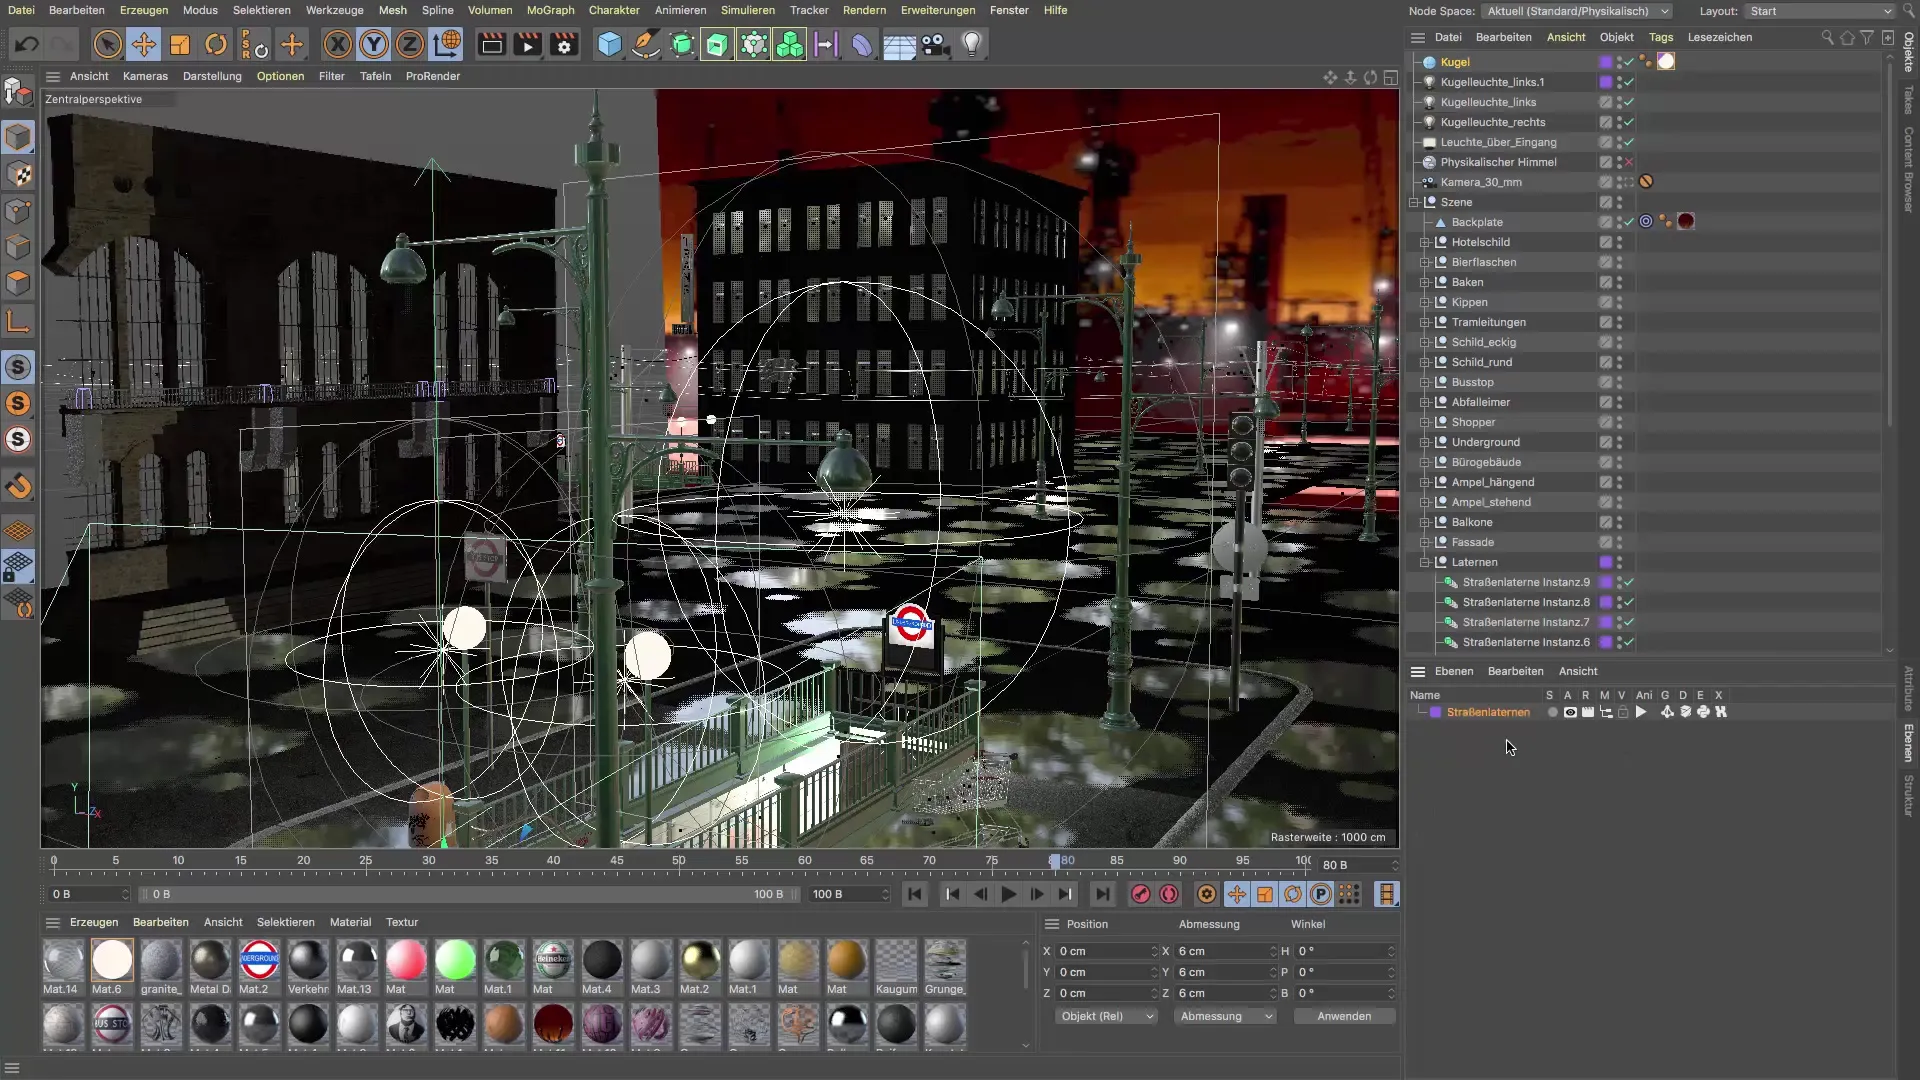
10. Adjusting to the Hierarchy
The light source now needs to be moved to the correct place in the hierarchy. Drag it down in the structure so that it ends up in the correct instance for the streetlight. These steps ensure that all objects in the scene interact correctly.
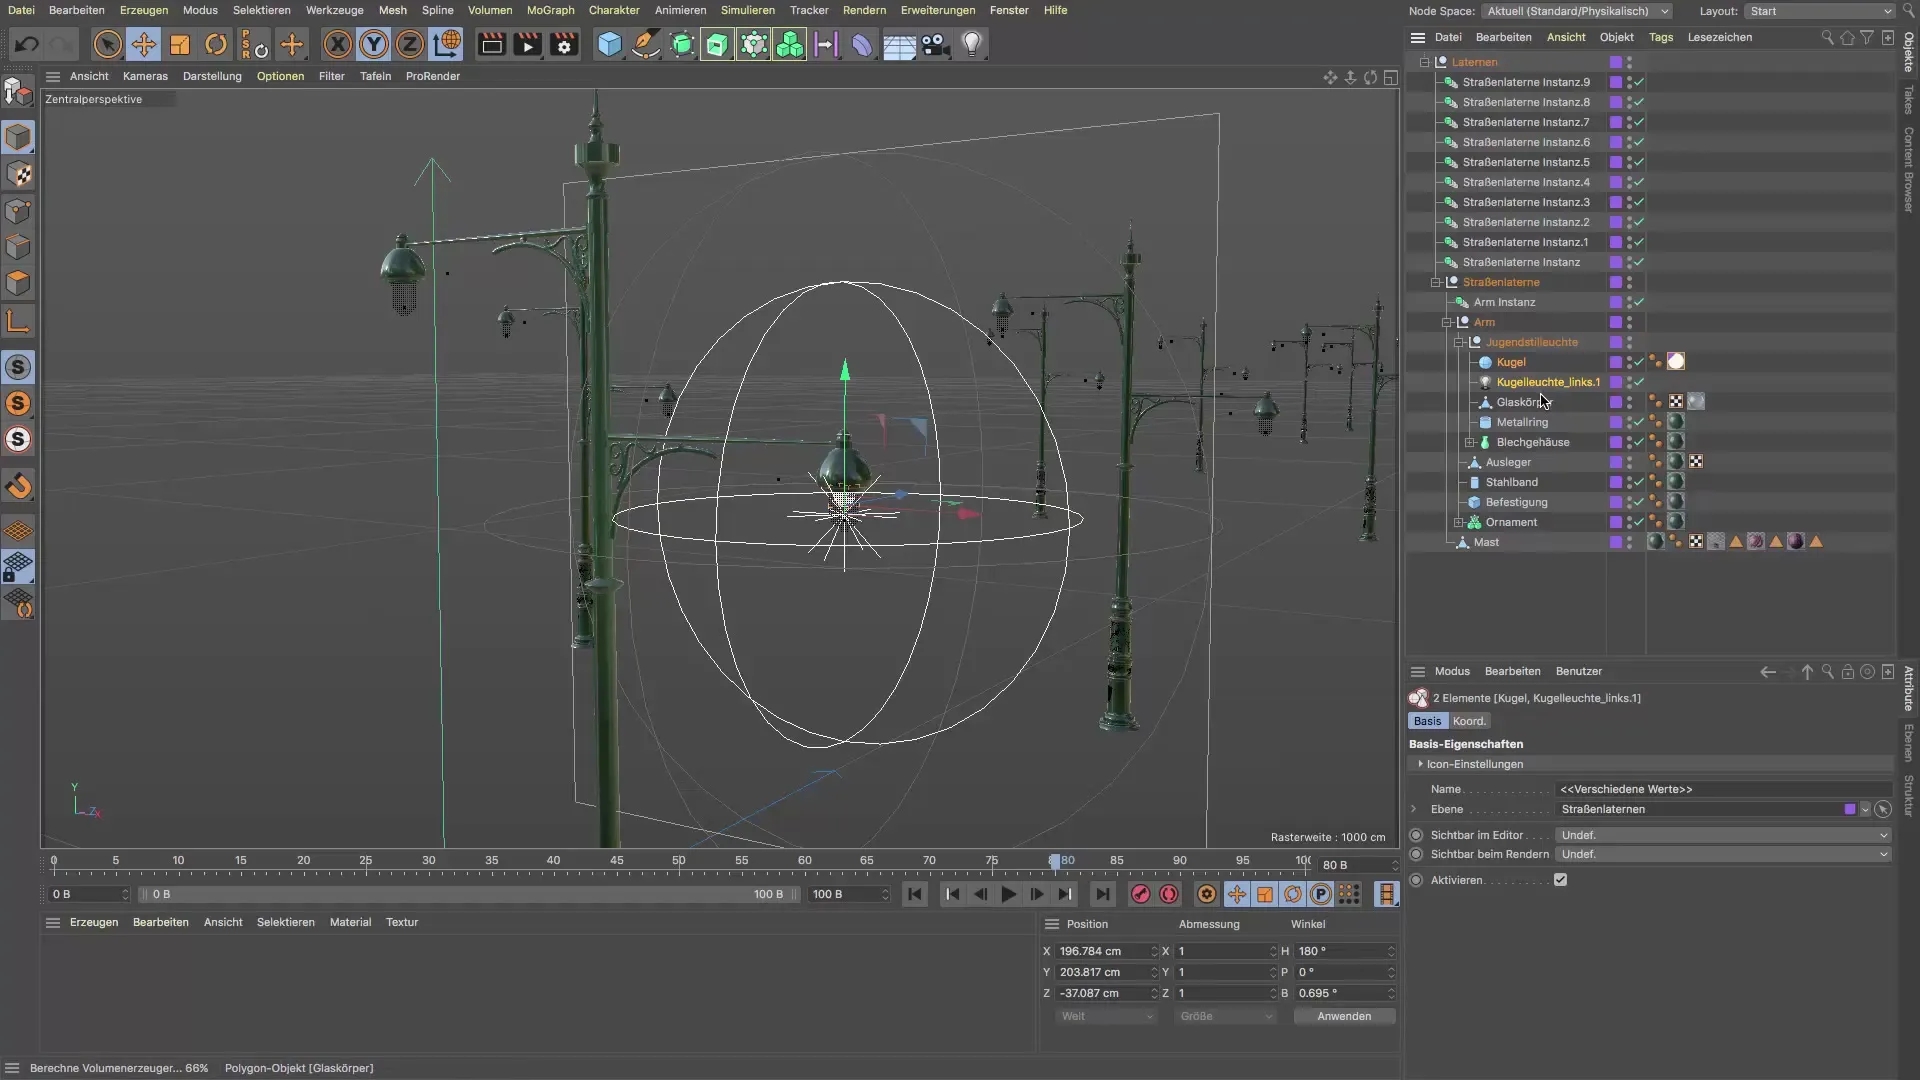
Summary - Guide to Creating Light Sources in Cinema 4D for Streetlights
You have now gone through all the steps to effectively integrate light sources into your streetlights. By organizing in layers and properly assigning materials and objects, you have created a solid foundation for your 3D scene.
Frequently Asked Questions
What is solo mode in Cinema 4D?In solo mode, you can make only the objects of a specific layer visible, which simplifies editing.
How do I create a new material?A new material is created with a double-click in the material manager.
Why is a proper hierarchy important?A good hierarchy ensures that light sources and other objects are correctly aligned to the instances and interact with each other.
