You are about to create a realistic subway scene in Cinema 4D and want to integrate an authentic handrail bracket? The effective implementation of this bracket can make the difference between a simple 3D representation and a convincing, lively object. This guide will take you step by step through the process of creating a handrail bracket using the Sweep tool in Cinema 4D, while benefiting from the new features starting with version R21.
Key Insights
- With the Sweep tool and new features in Cinema 4D R21, you can create impressive and realistic models.
- The surface caps of a sweep are crucial for the visual outcome of your bracket.
- It is helpful to start with a new file to manage complex models more easily.
Step-by-Step Guide
Below, I will describe the steps necessary to create the bracket for the handrail. I will add screenshots to illustrate the process.
Step 1: The Basic Shape of the Bracket
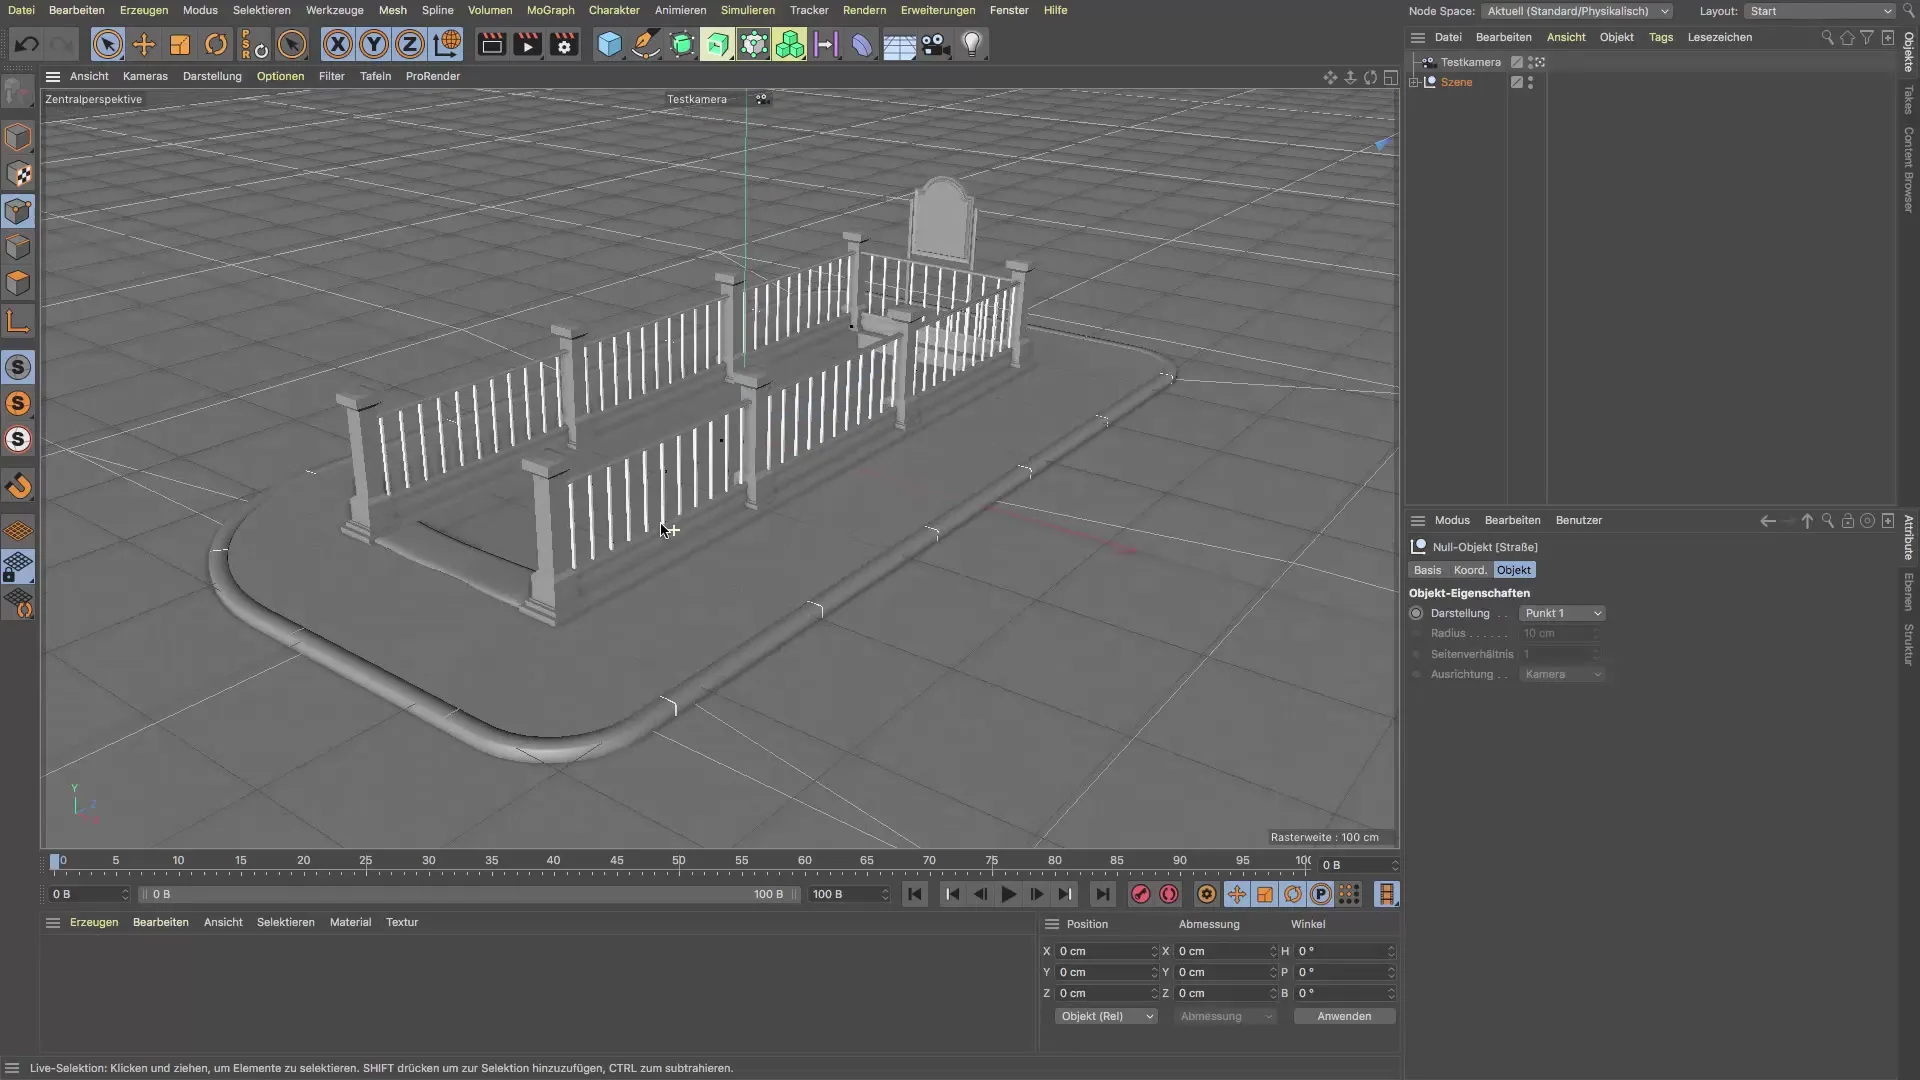
Start by creating a new file in Cinema 4D. You can create the handrail bracket in a separate file to keep things organized. First, create a cylinder that represents the basic shape of your bracket. However, note that a simple cylinder often only provides round surface caps, which is not always ideal.
Step 2: Create a New Rectangle
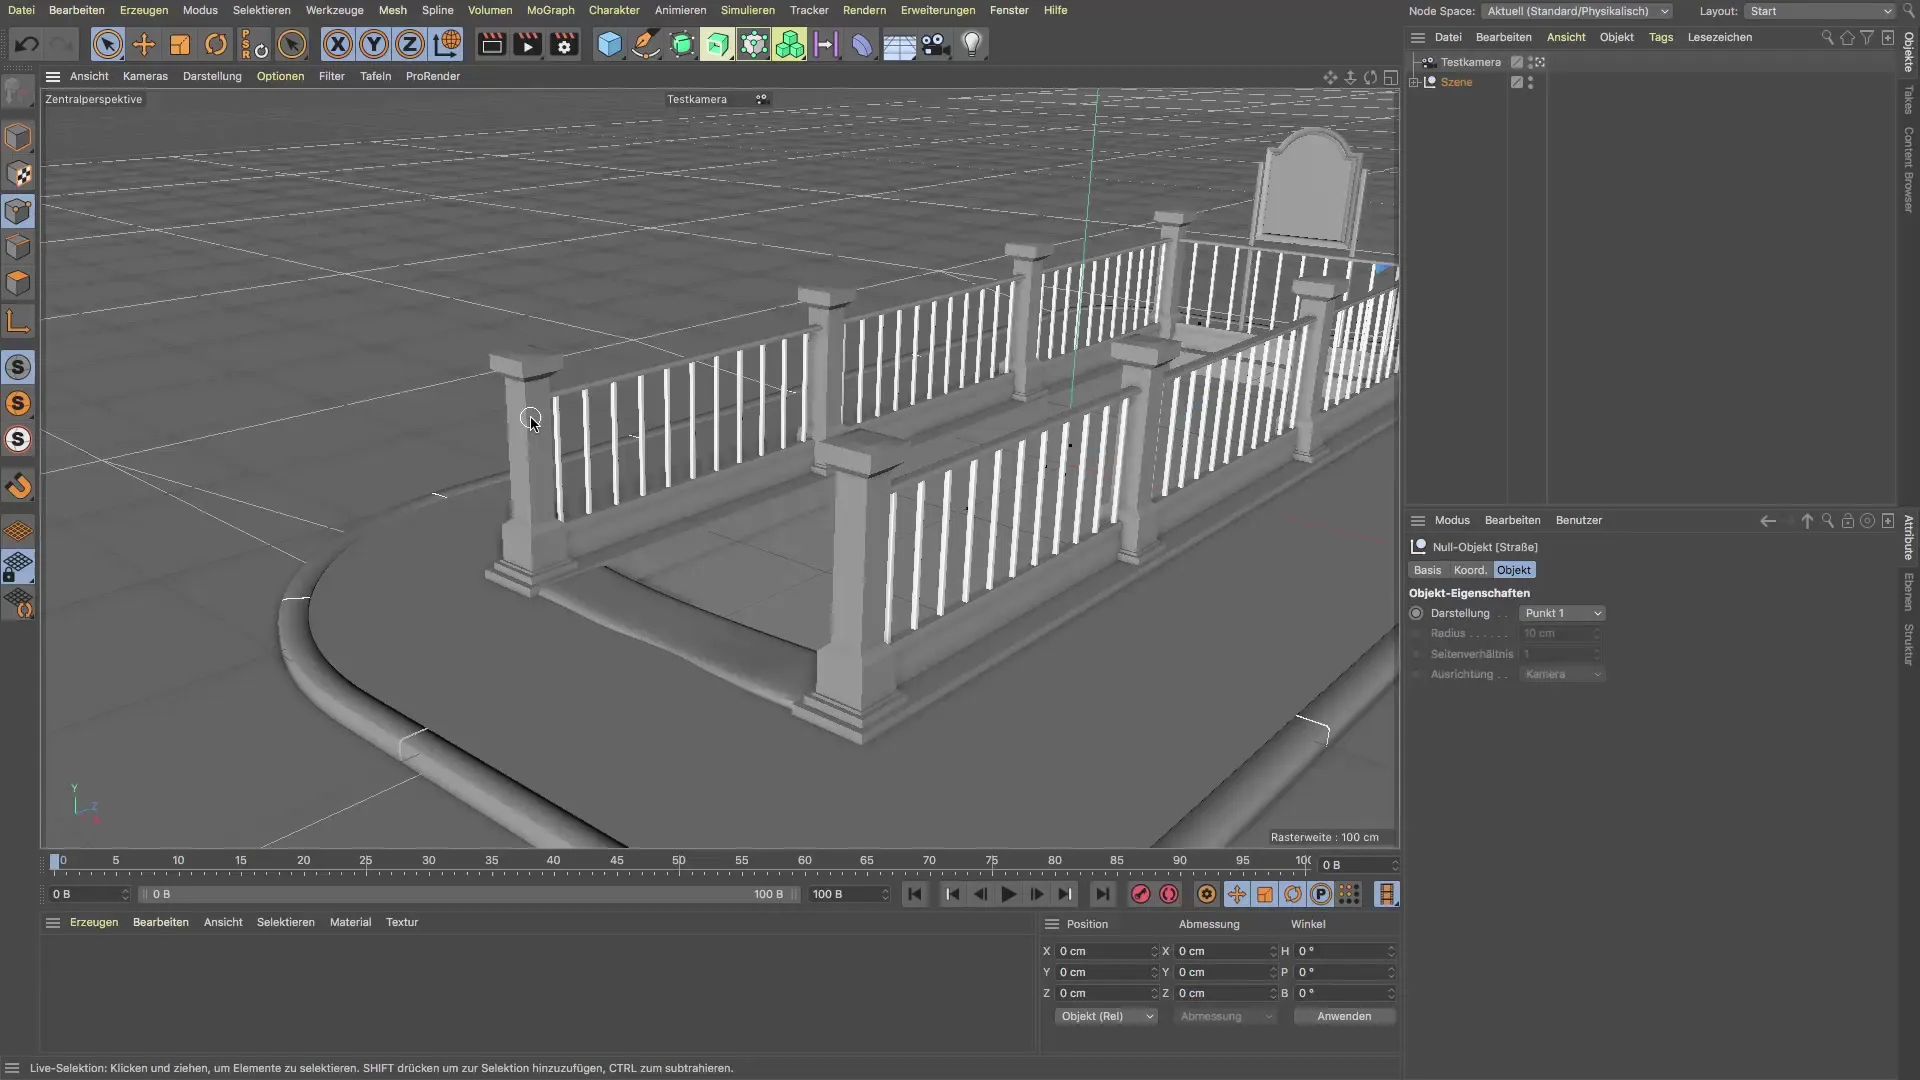
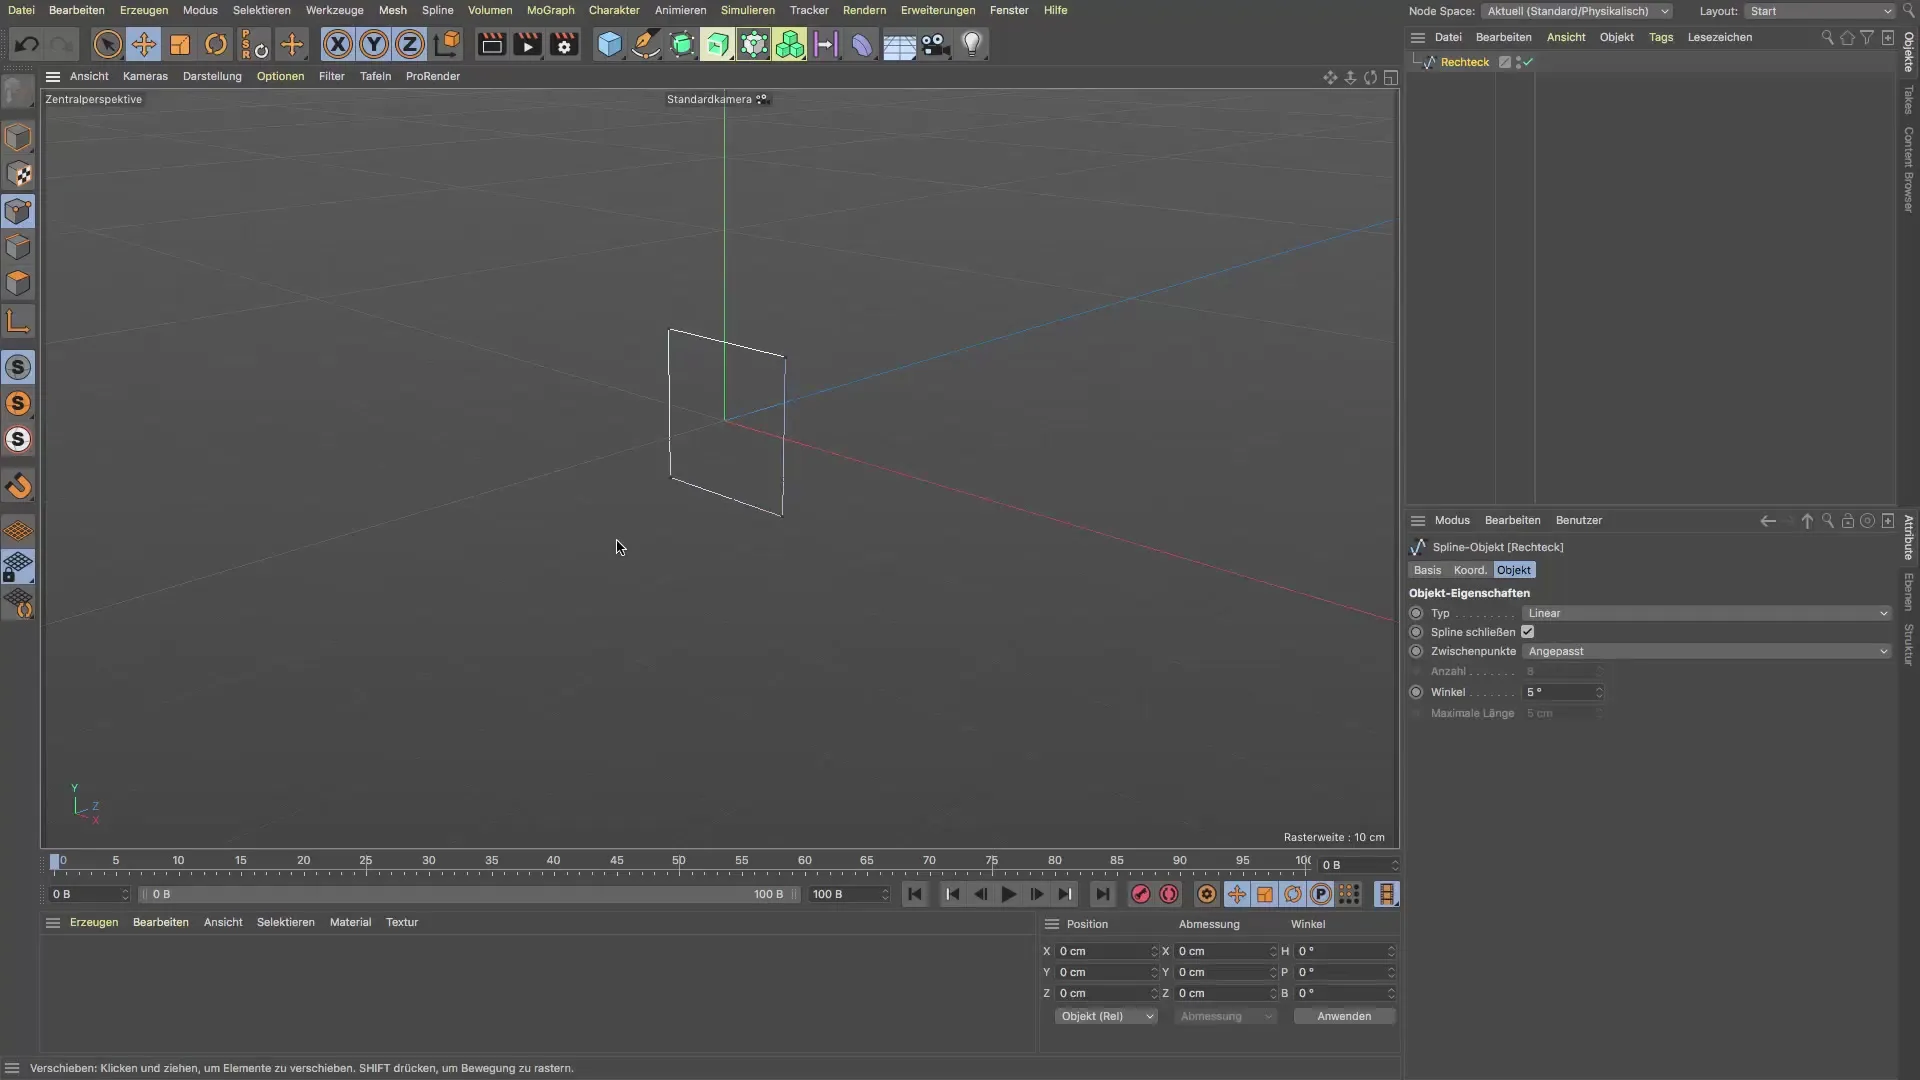
To have more control over the surface caps, design a rectangle as the base for your bracket. Set the width of the rectangle to 20 cm. This dimension provides a realistic size for the bracket between the subway post and the handrail. The exact width is not critical, but a measure around 20 cm is optimal in this case.
Step 3: Editing the Rectangle
Convert the rectangle to point mode by pressing the "C" key. Use the Live Selection to delete the bottom two points of the rectangle. The remaining point will serve as the basis for the handrail bracket.
Step 4: Create a Circle
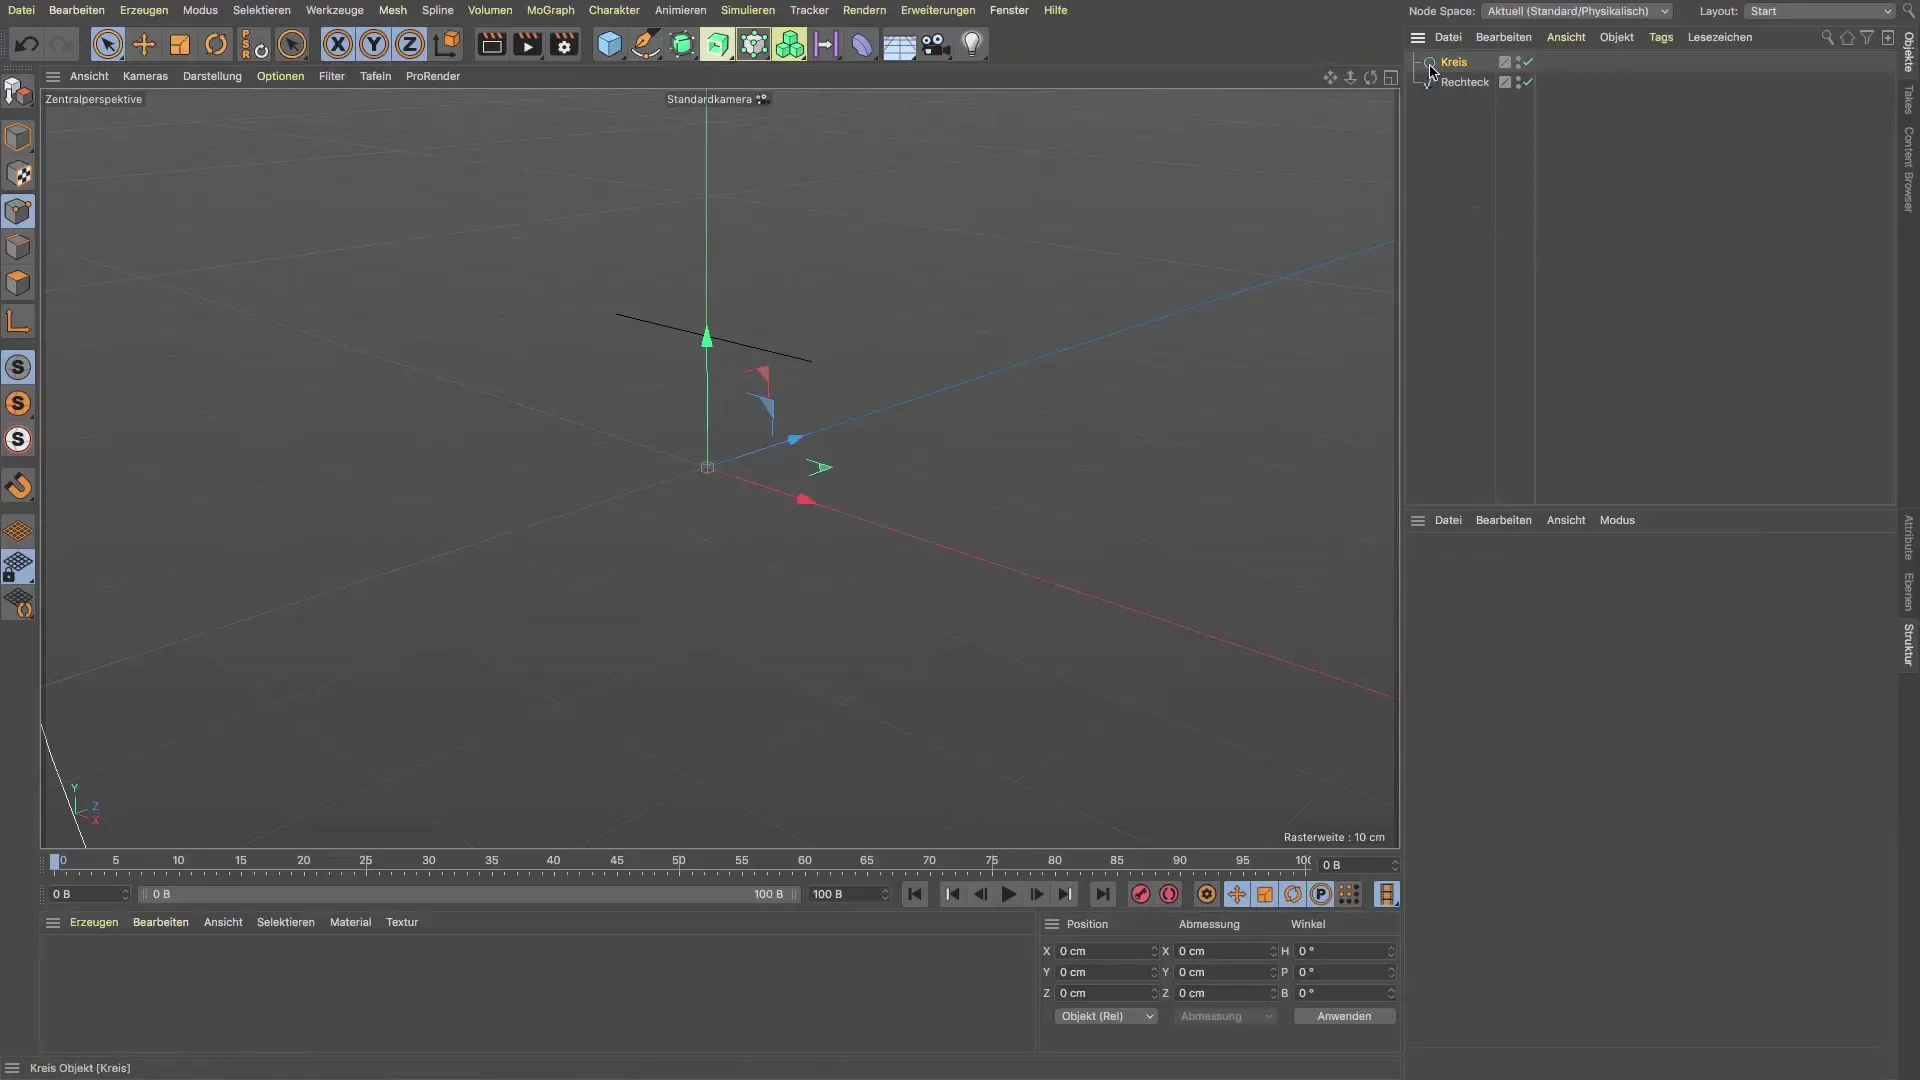
To further define the bracket, create a circle that should have a diameter of 2 cm (1 cm radius). This circle will be used as a profile that will be combined with the rectangle.
Step 5: Create Sweep
Combine the rectangle and the circle into a "Sweep" object. This allows you to create a continuous shape that represents the bracket. Check the settings for the surface caps and ensure they are visible by checking the respective boxes in the Attribute Manager. Make sure the spline you are using is not closed.
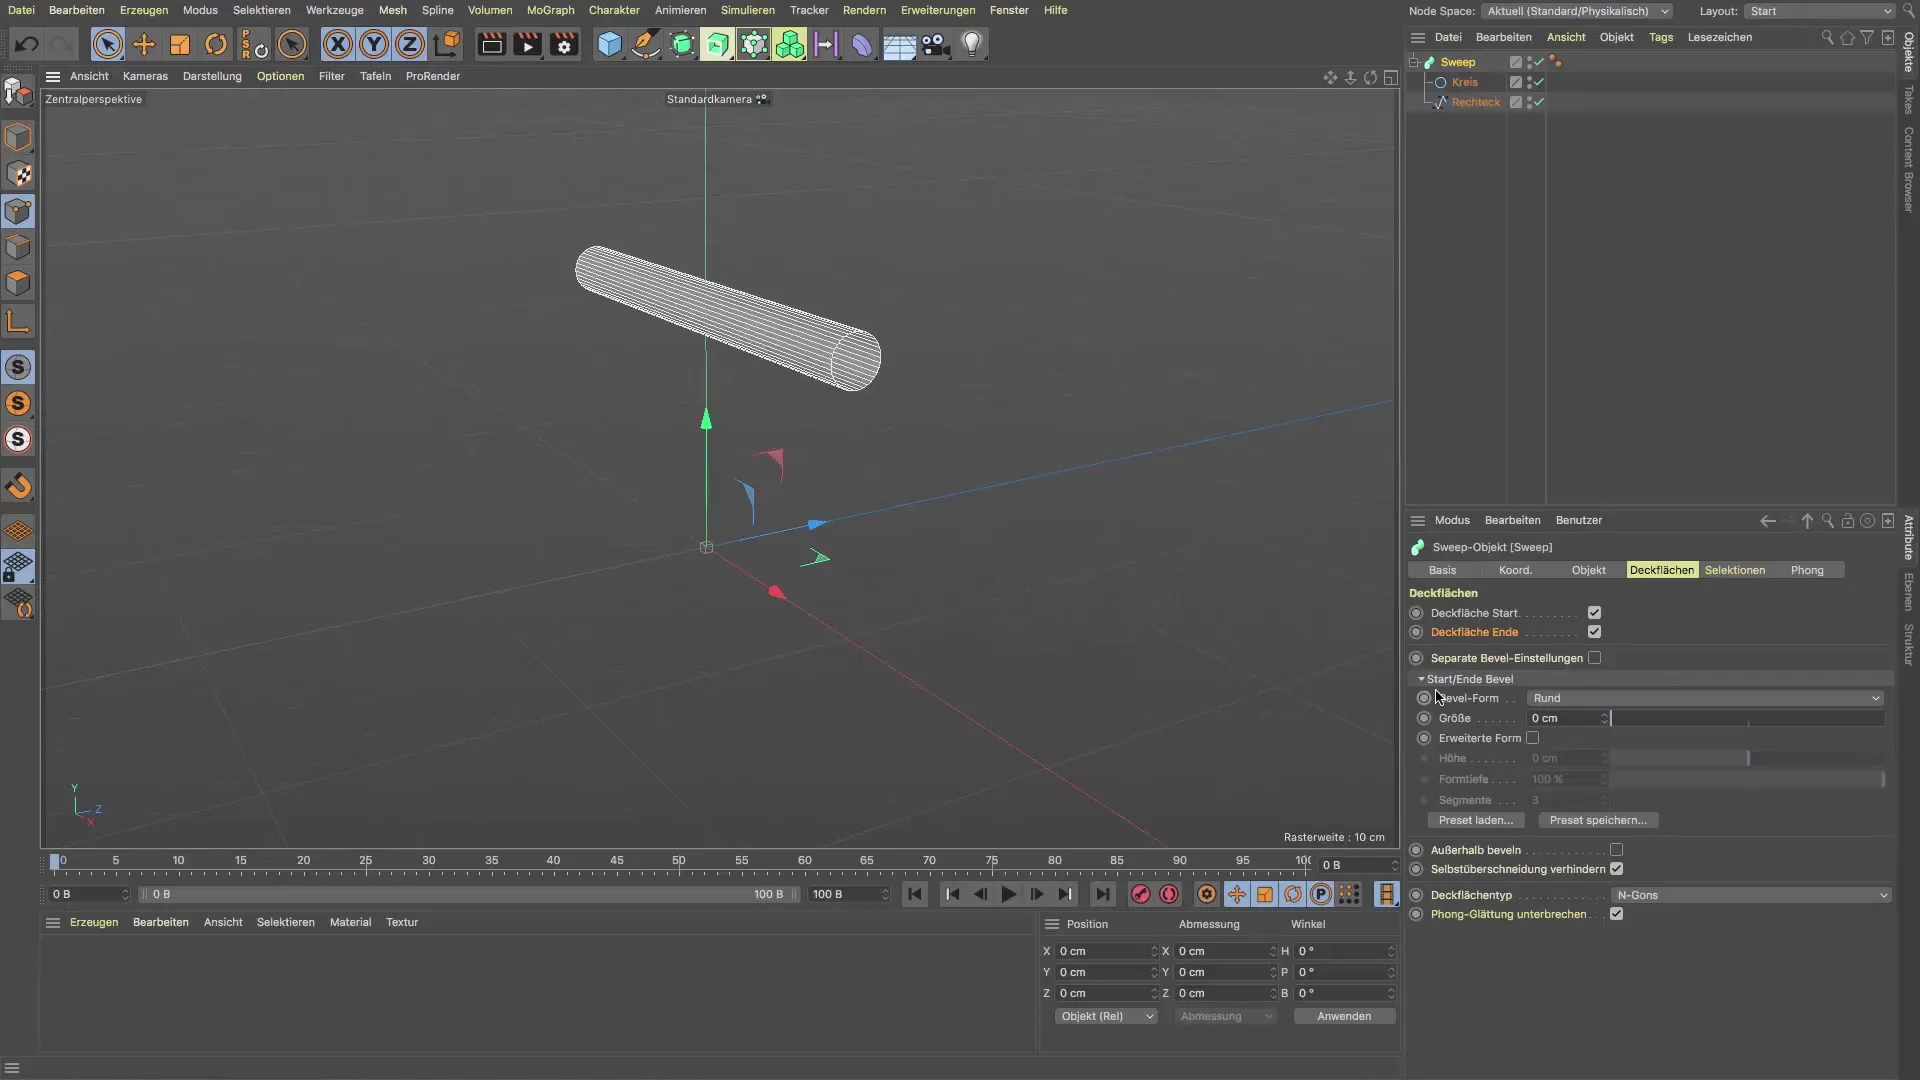
Step 6: Adjusting the Bracket
Now you can play with the settings of the "Sweep". Through the Attribute Manager, you can adjust the shape depth and other parameters to refine the appearance of the bracket. Experiment with the options to ensure your bracket looks realistic and fits the design.
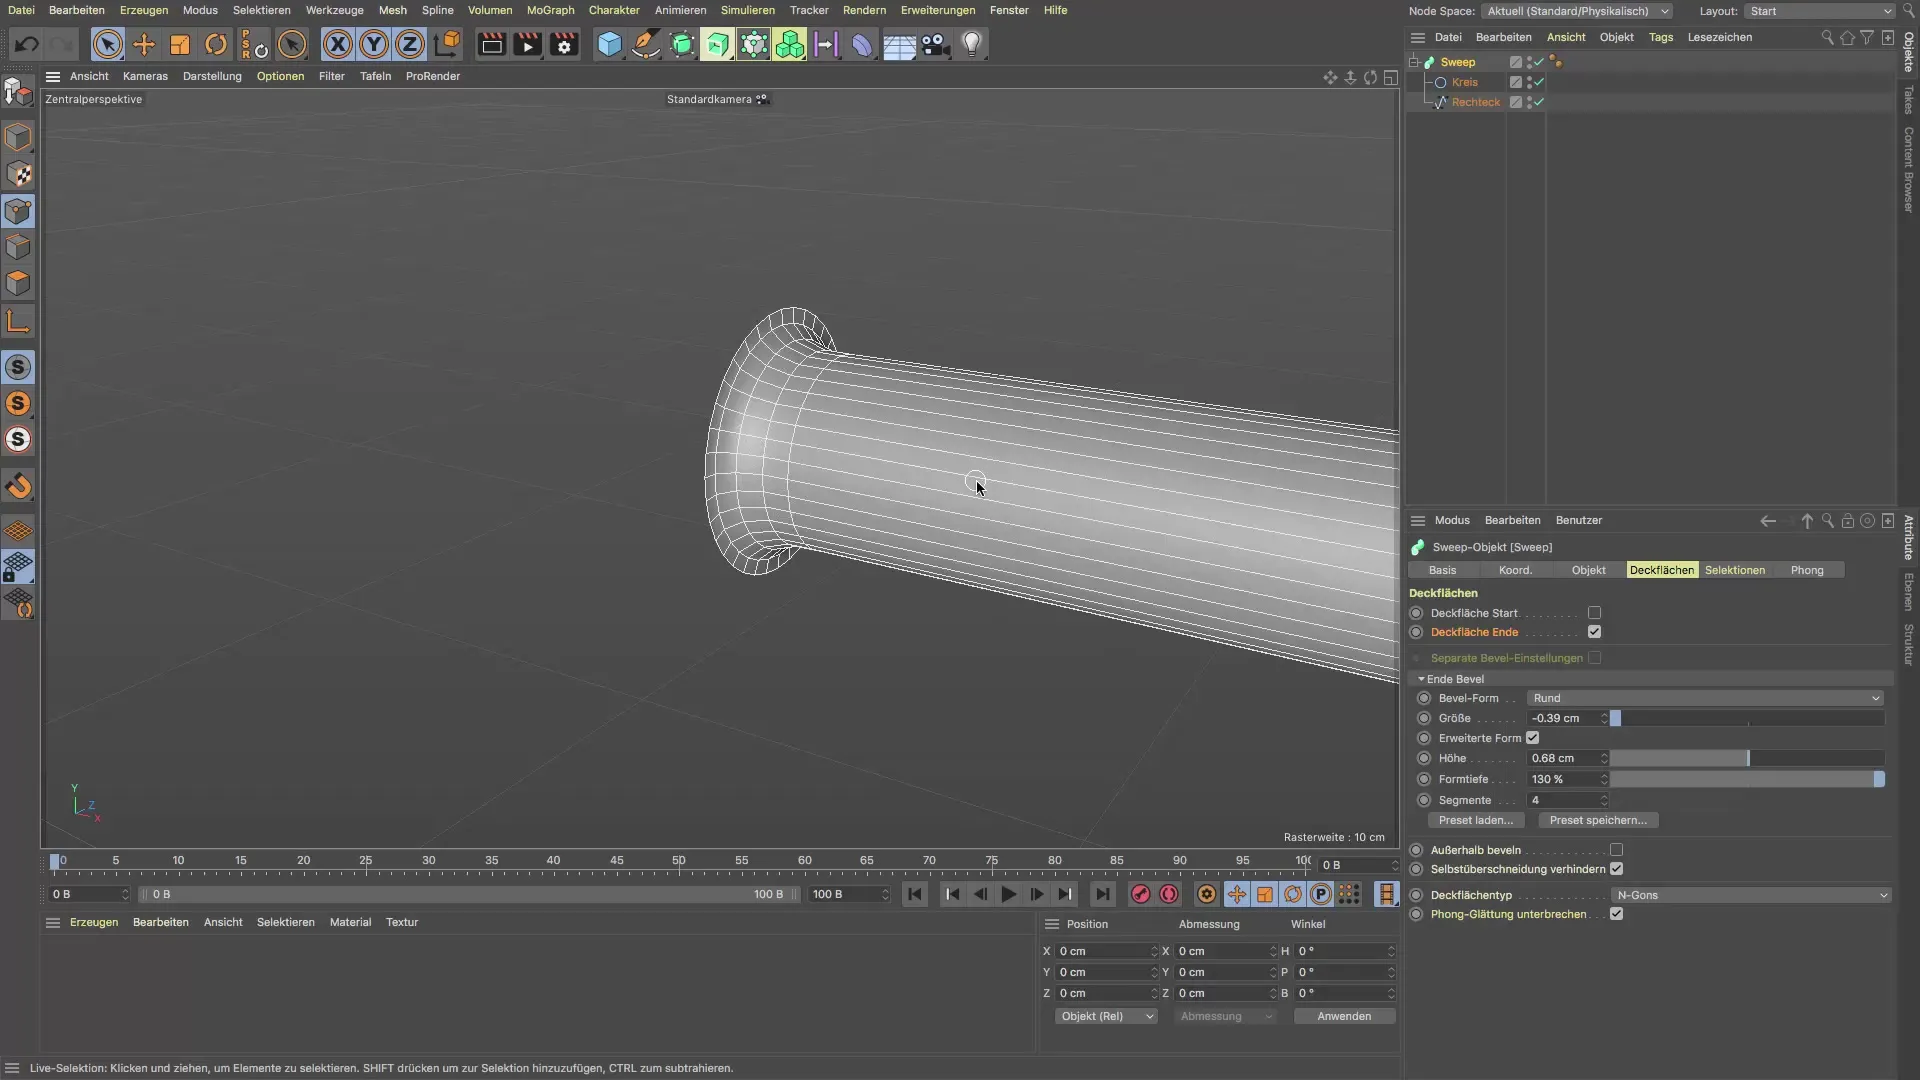
Step 7: Transfer to the Subway Scene
When you are satisfied with the design, copy the bracket into your subway project. You can do this by accessing the "IP" window and pasting the bracket there. Ensure that it is inserted to scale into your scene so that it looks realistic.
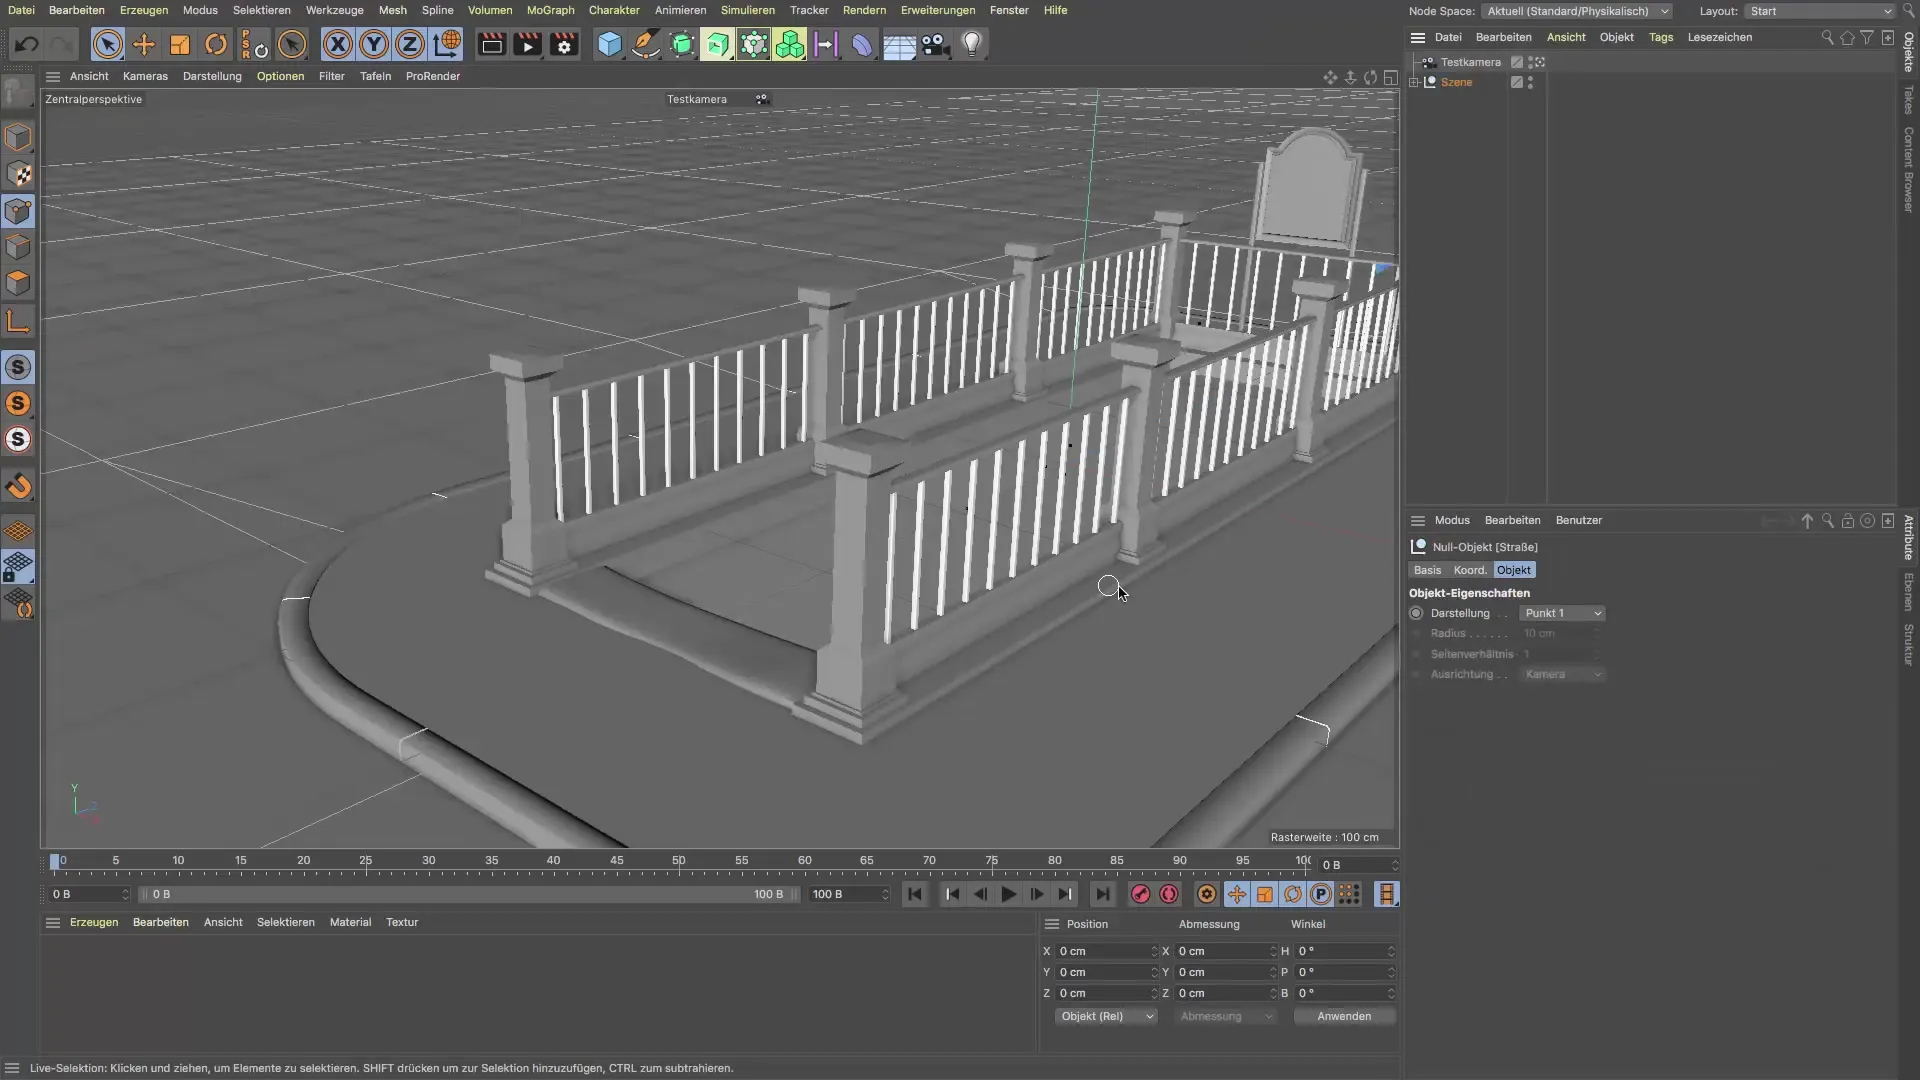
Step 8: Make Final Adjustments
Consider the bracket in the context of the entire subway scene and make adjustments if necessary. Ensure that it is positioned correctly and matches the lighting conditions of the scene. Proper lighting is crucial to optimize the final appearance.
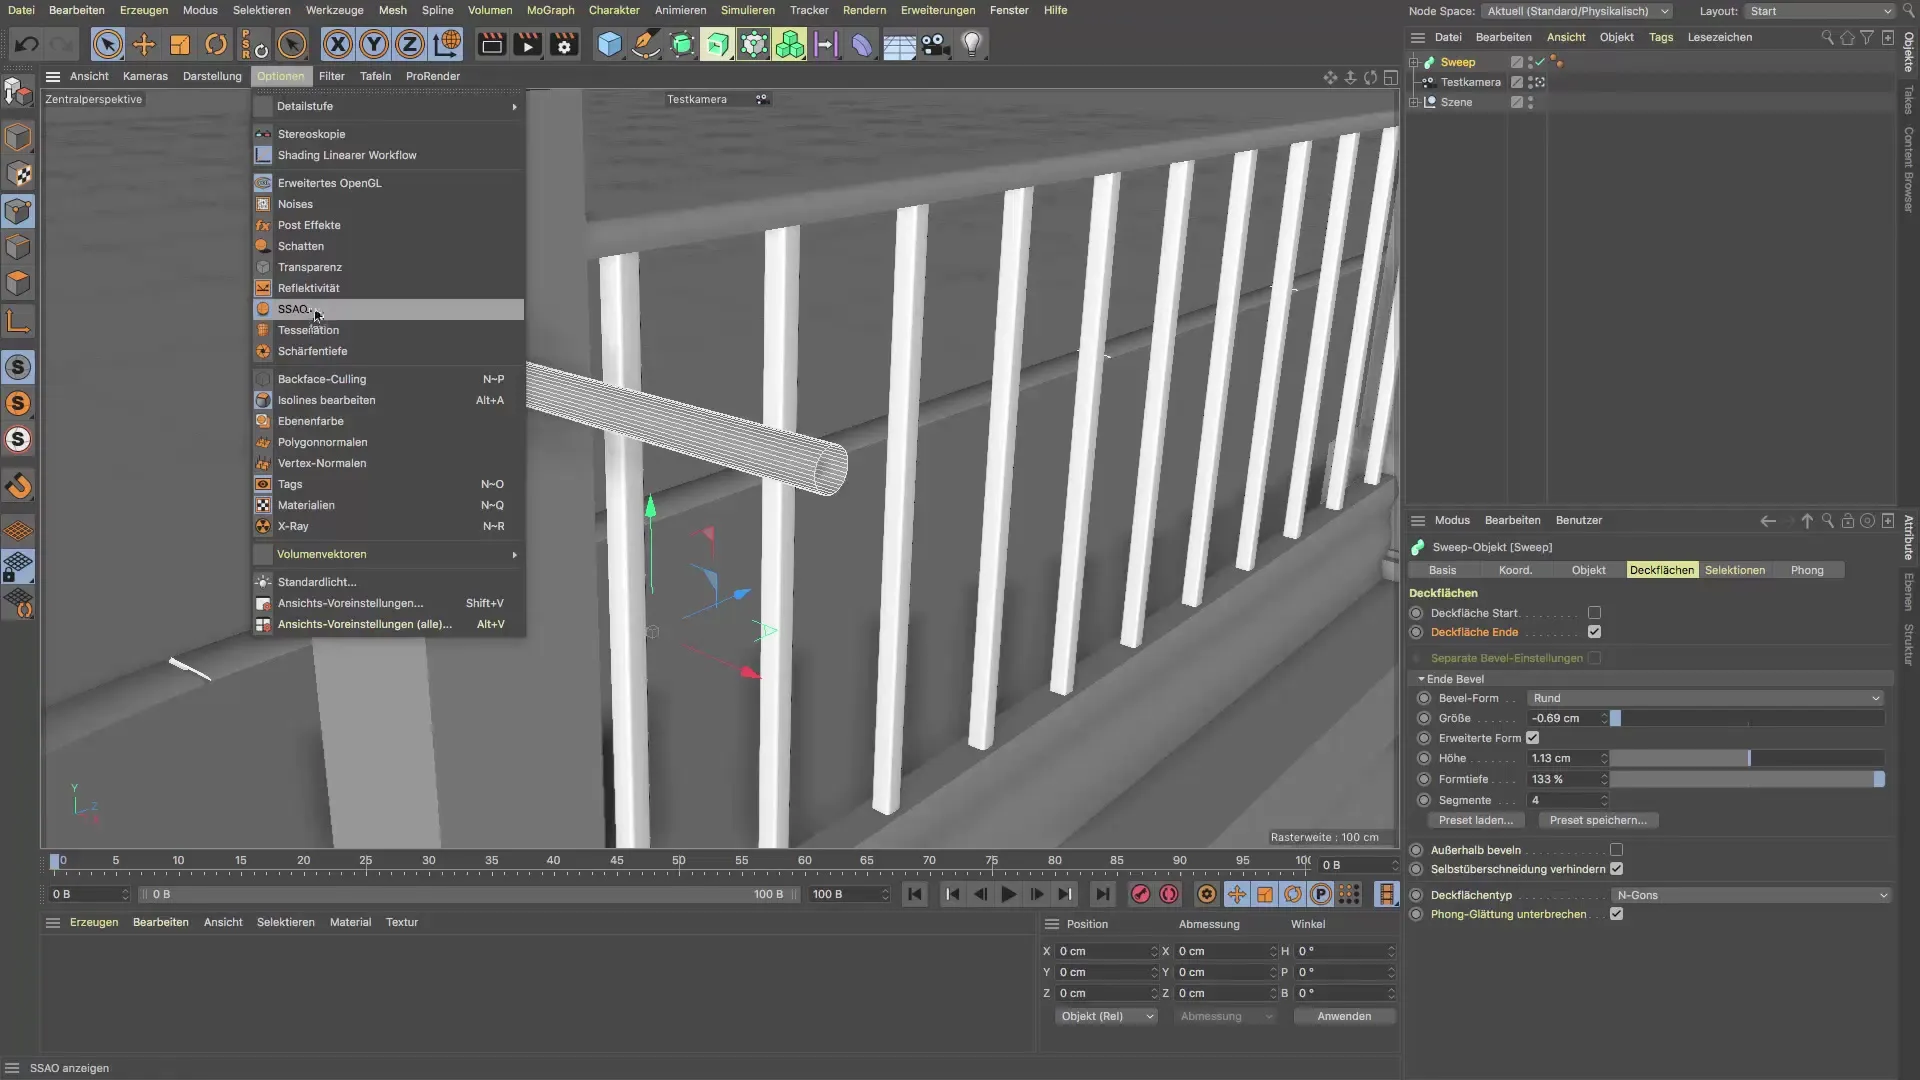
Step 9: Ready for the Handrail
Now that the bracket has been successfully created, you should turn your attention to the handrail itself. You can add further details and material effects to make your project even more realistic.
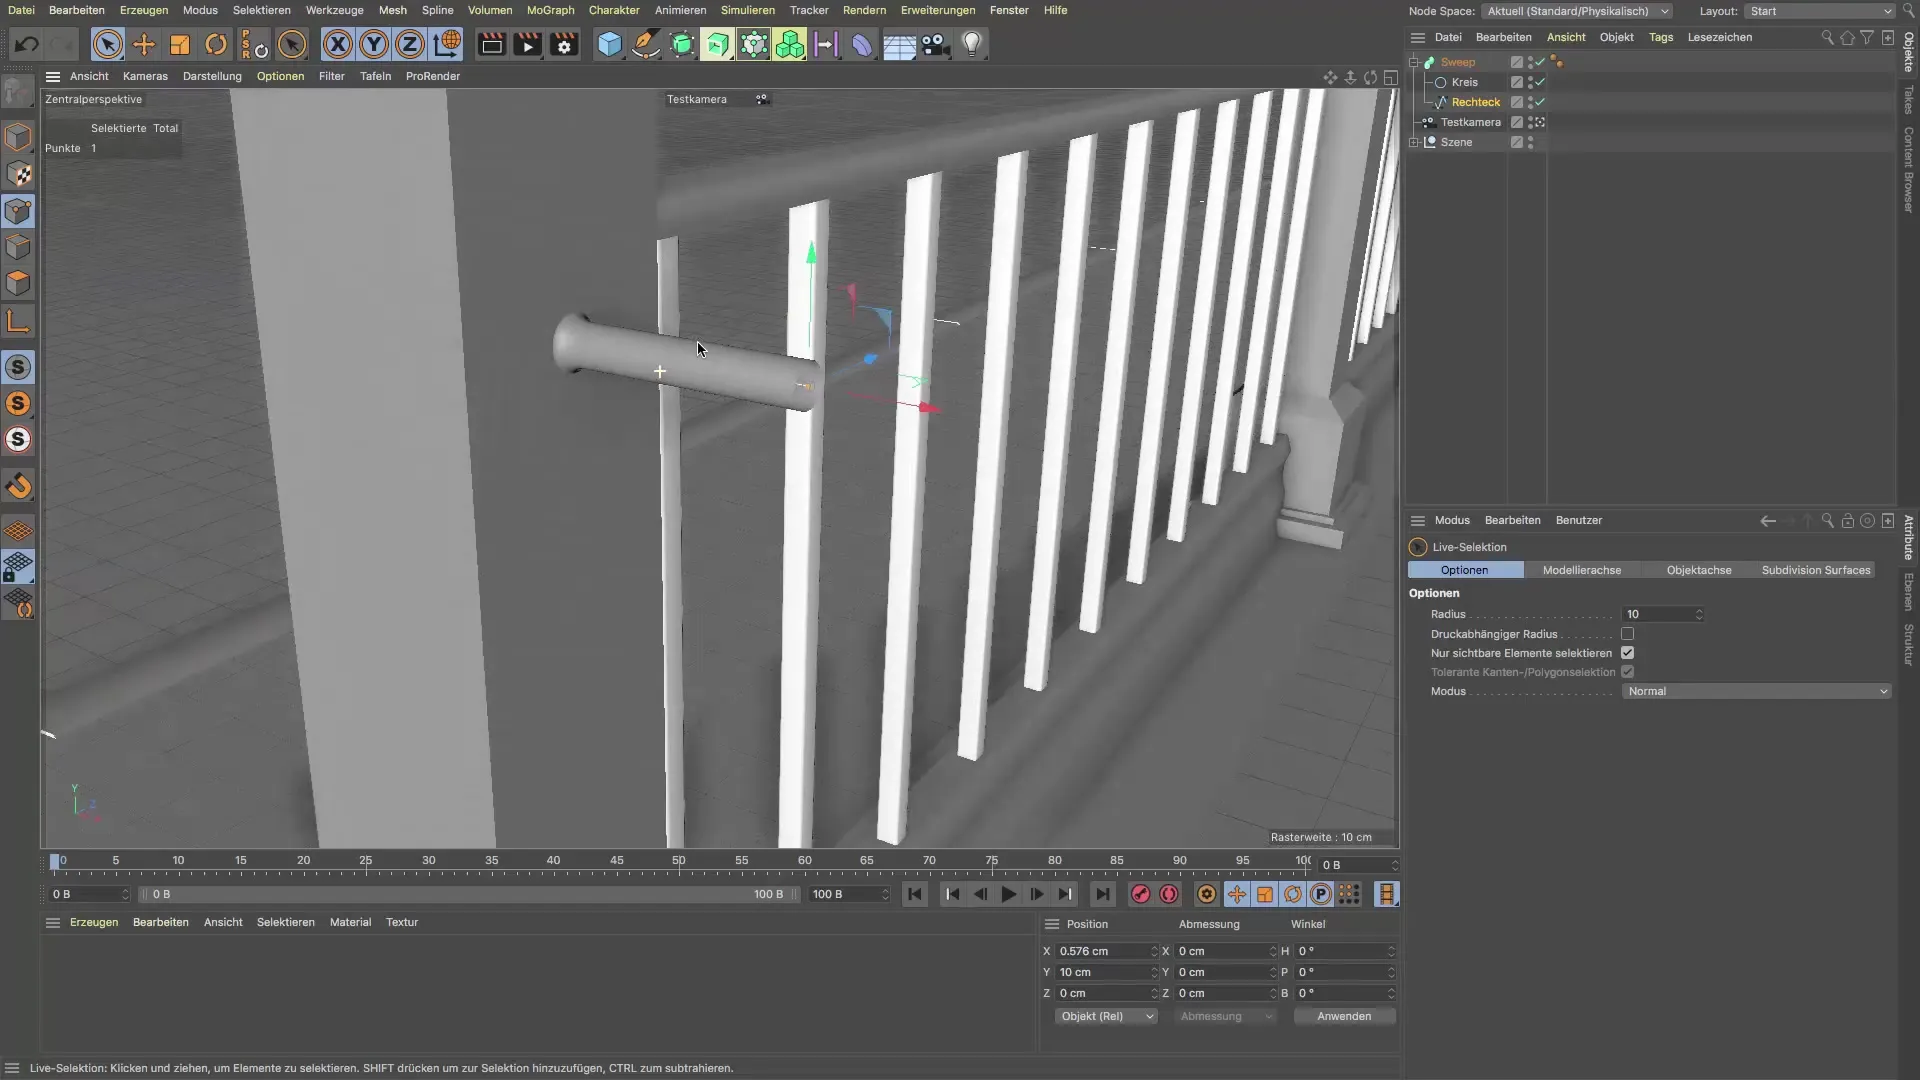
Summary - Guide to Creating a Handrail Bracket in Cinema 4D
In this guide, you learned the steps to create a bracket for the handrail in Cinema 4D. You learned how to use a rectangle and a circle to create effective and realistic models with the Sweep tool. These fundamentals are crucial to adding more details and authenticity to your subway scene design.
Frequently Asked Questions
How can I make the surface caps of the sweeps visible?You need to ensure the boxes for the surface caps are checked in the Attribute Manager and that your spline is not closed.
What dimension should the bracket have?A width of 20 cm is a good choice, as it corresponds to the realistic size needed between post and handrail.
Can I further customize the design of the bracket?Yes, the Sweep tool offers many customization options to vary and improve the shape, depth, and details of the bracket.


