In the world of 3D design, detail accuracy plays a crucial role. If you want to create a realistic background in Cinema 4D, it's essential to insert precise and technical elements. In this tutorial, I will show you how to creatively design a metalbaseboardbetween posts. We will take a simple plane, transform it into a profile, and extrude it to createthe final element.
Key Insights
- You will learn how to create a profile from a plane and extrude it in Cinema 4D.
- The use of different tools for fine-tuning and moving objects will be explained.
- I will demonstrate how to use SSAO to enhance the representation.
Step-by-Step Guide
First, you need a simple plane that serves as the base for your foundation.
Creating the Plane
Start by generating a new plane. You can find this in the Object menu. The dimensions of the plane should initially be chosen arbitrarily, but we will orient ourselves to a size of 4 x 4 cm here. The width will be set to 3 segments and the height to 7 segments to allow for a detailed profile.
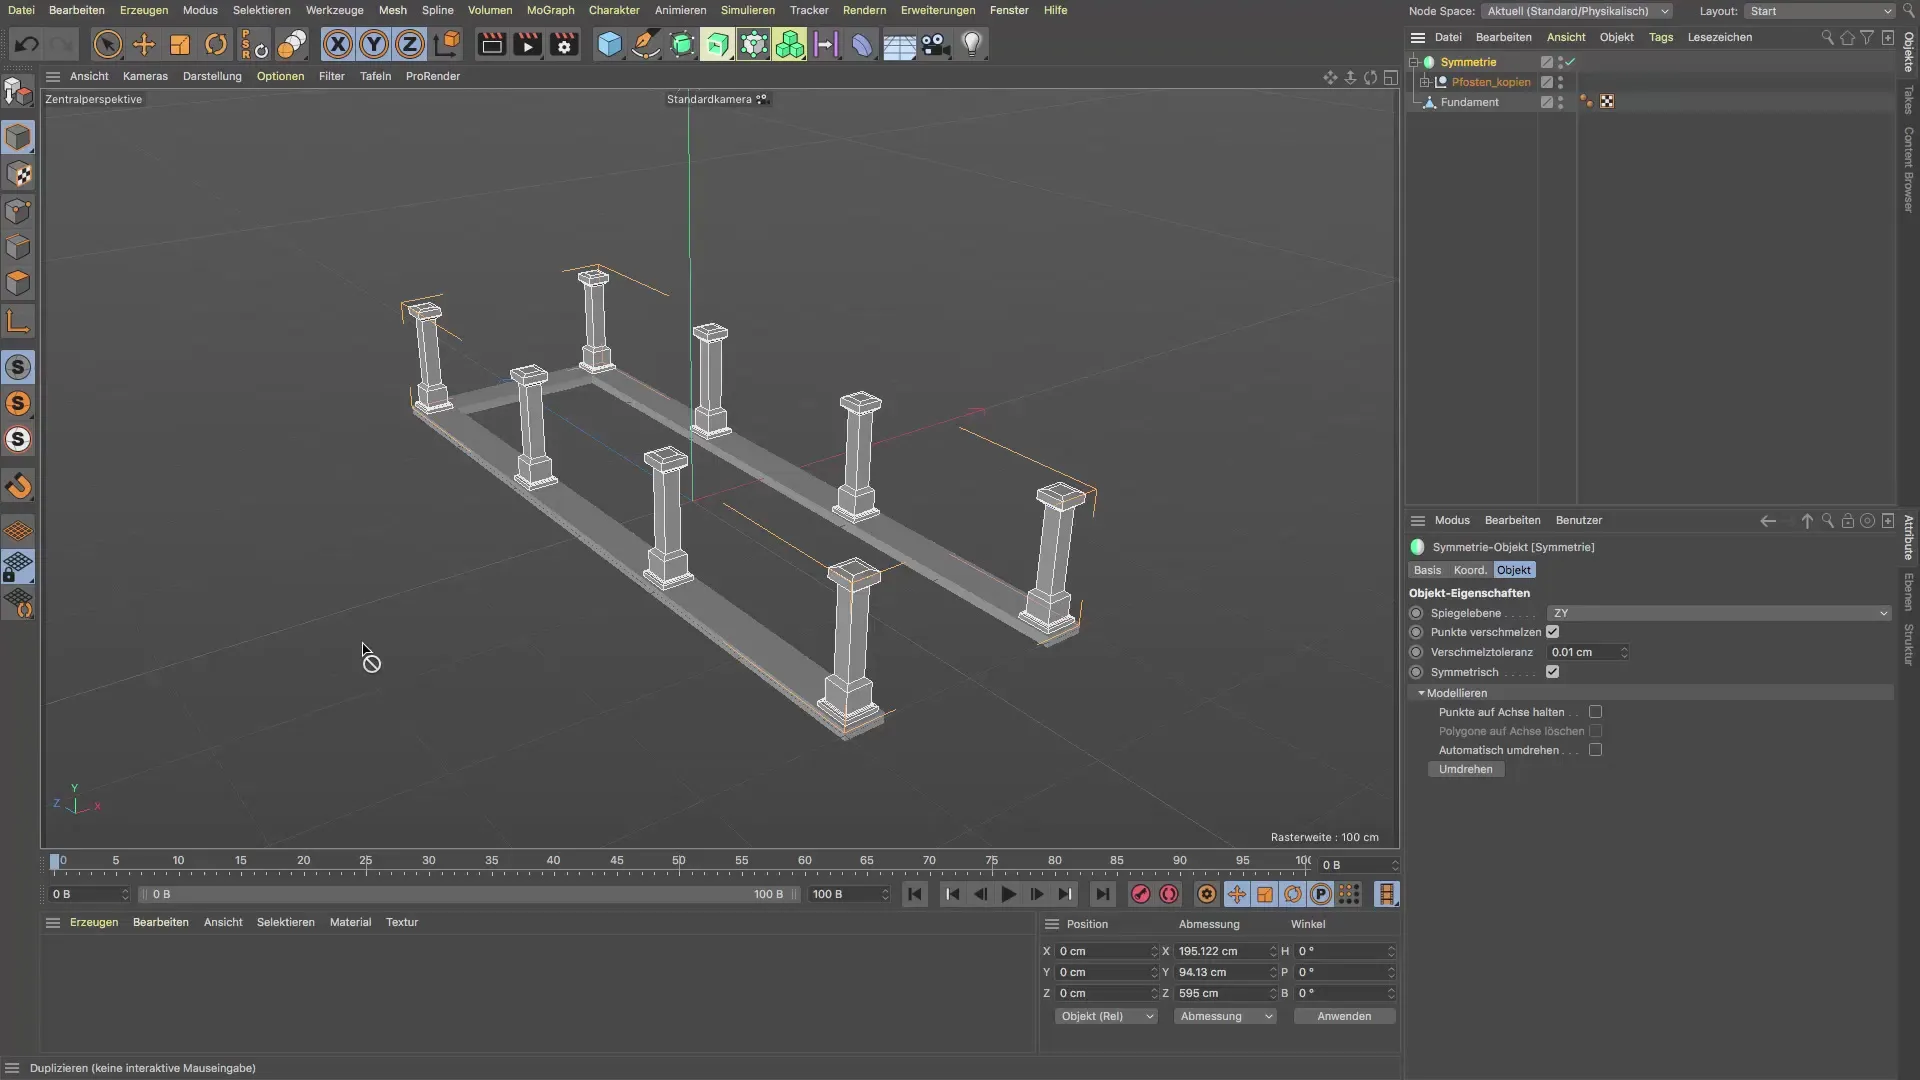
Adjusting the View
Now switch to the front view to accurately determine the size and position of the object. You can do this using the move tool so that you place the plane at the desired location. Make sure that the plane is anchored in the area of the foundation so that it is correctly represented in the scene.
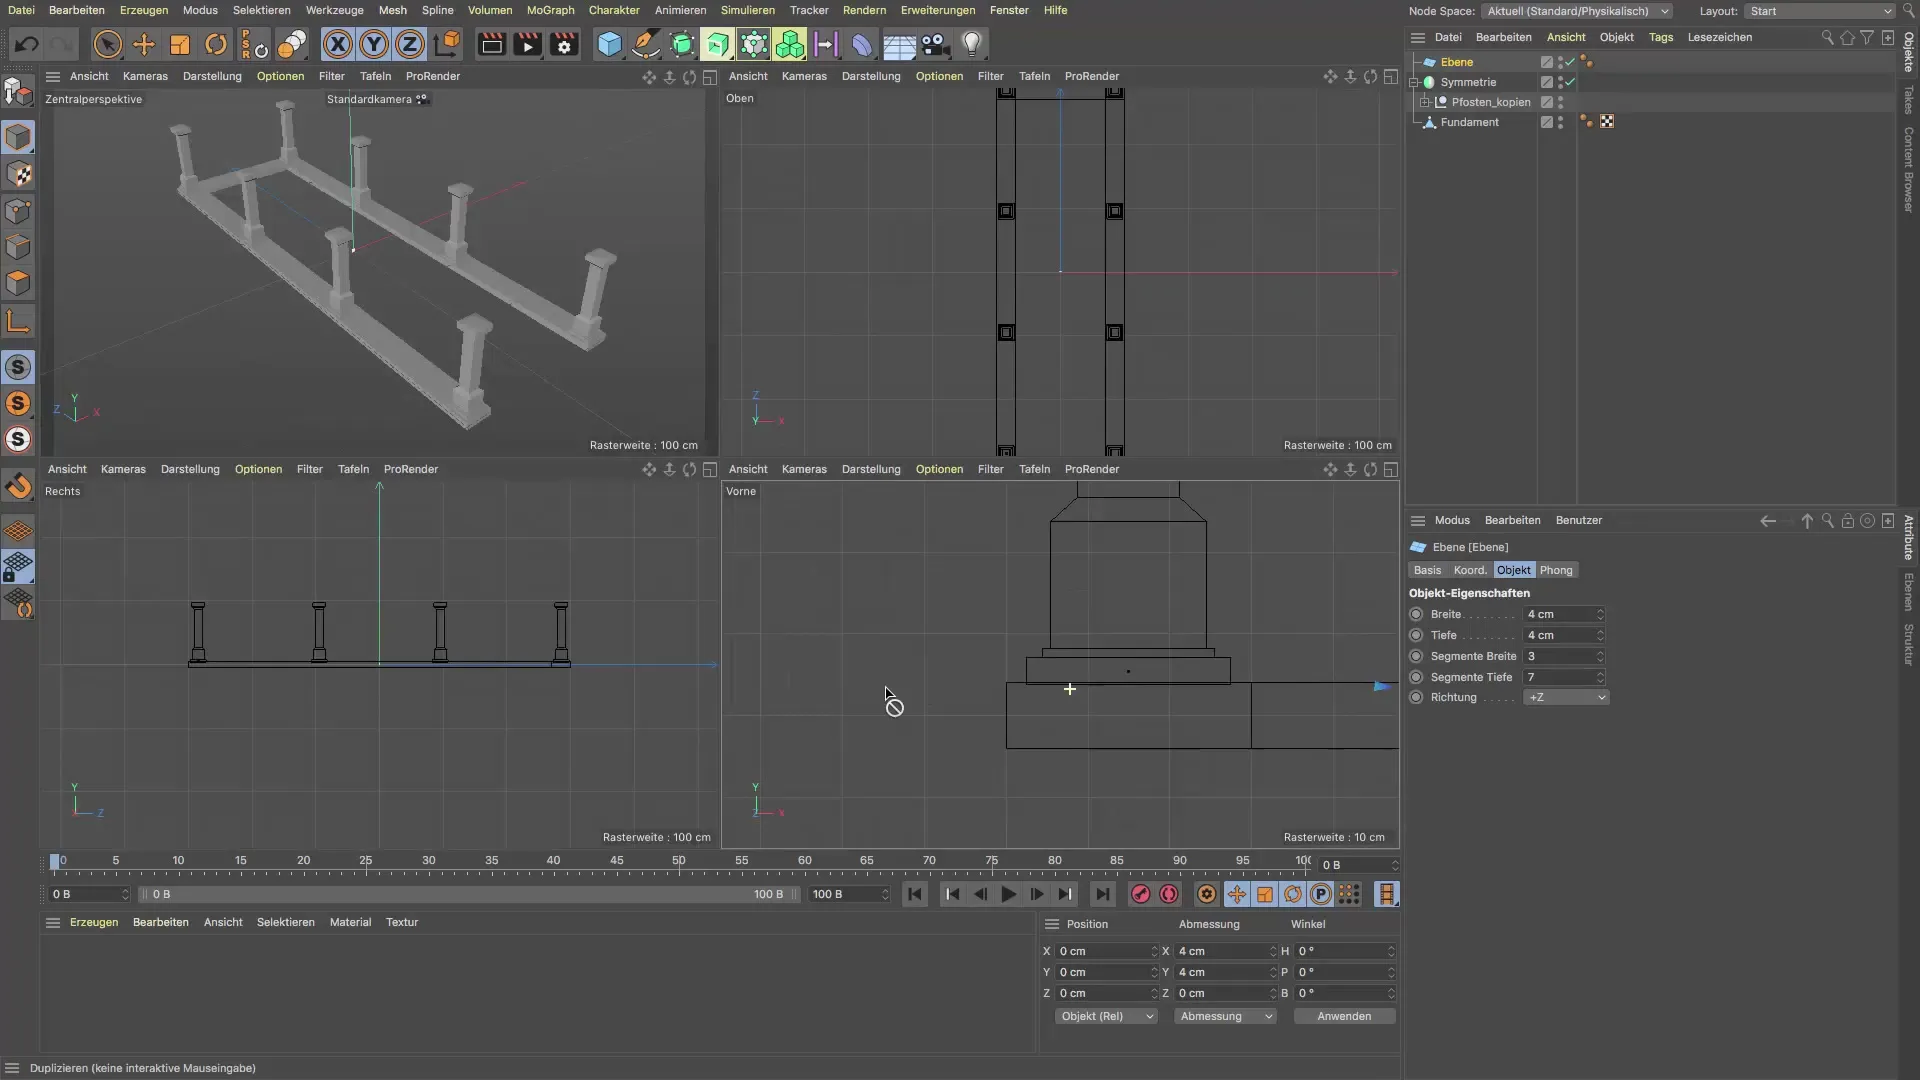
Transforming the Object
Before you can make further adjustments, you should convert the plane into a polygon object. Press the C key and observe that the segments are now represented as polygons. This is an important step to continue the detail work.
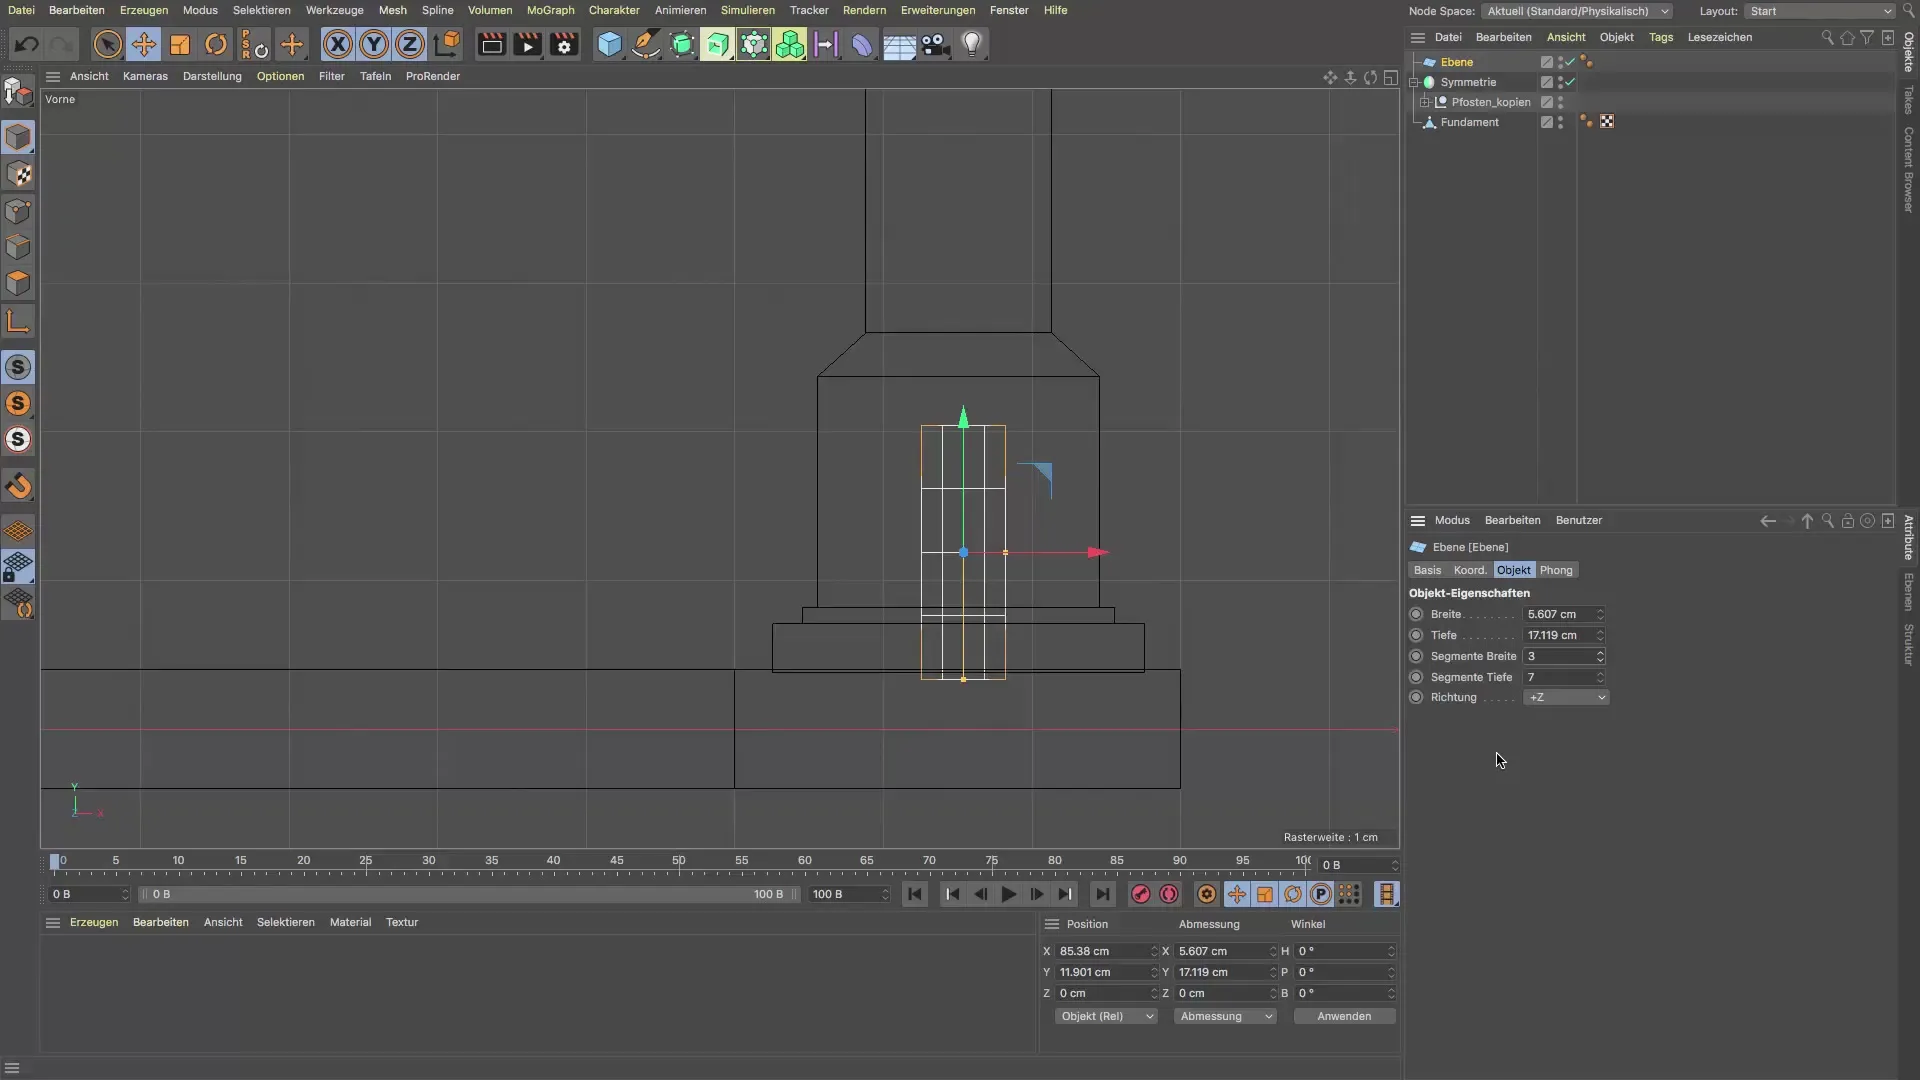
Scaling and Shaping
Now activate the edge edit mode to adjust the contours of the baseboard. Here you can select the edges or points and modify the shapes using the T key or the scaling tool. Pull the edges together to create the desired shape of the metal base.
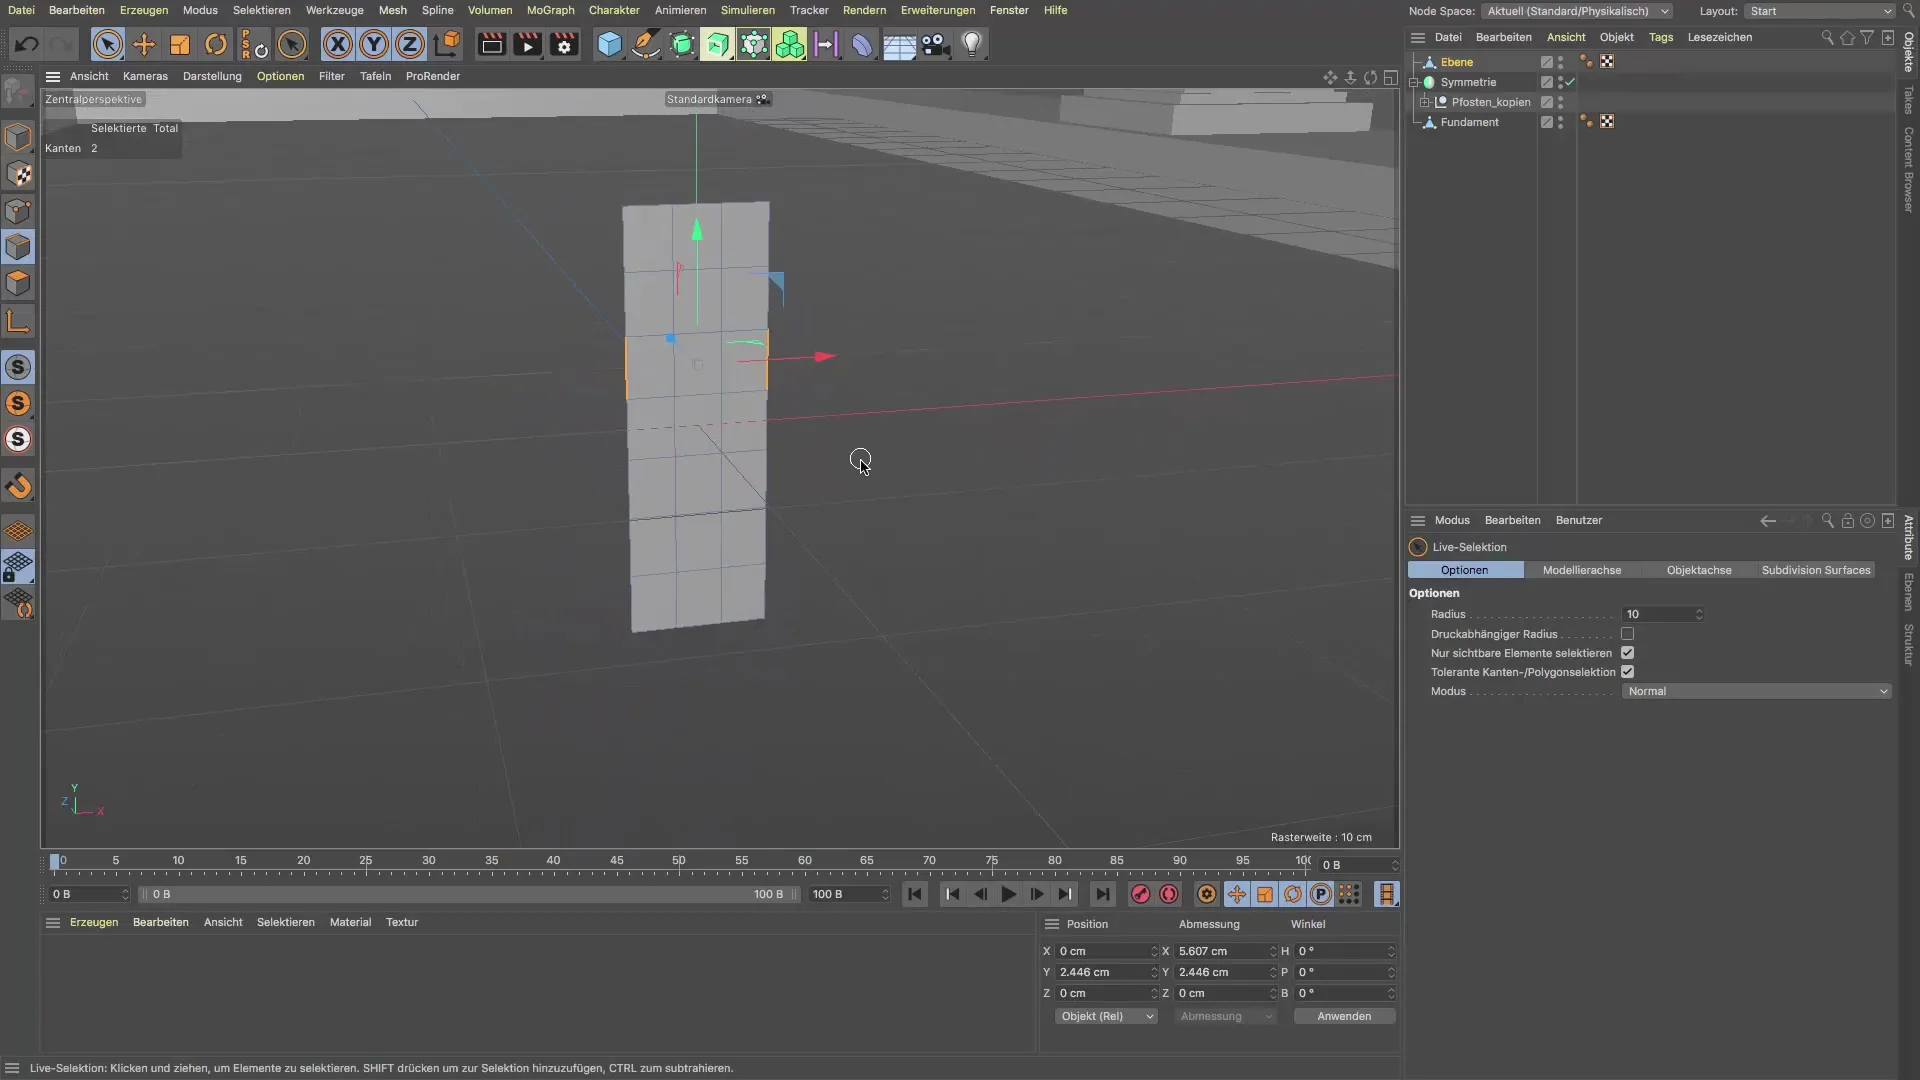
Positioning at the Origin
For precise placement, bring the object back to the origin of the world grid. Since version 21, a PSR button is available, which you can use to quickly and easily reset your object.
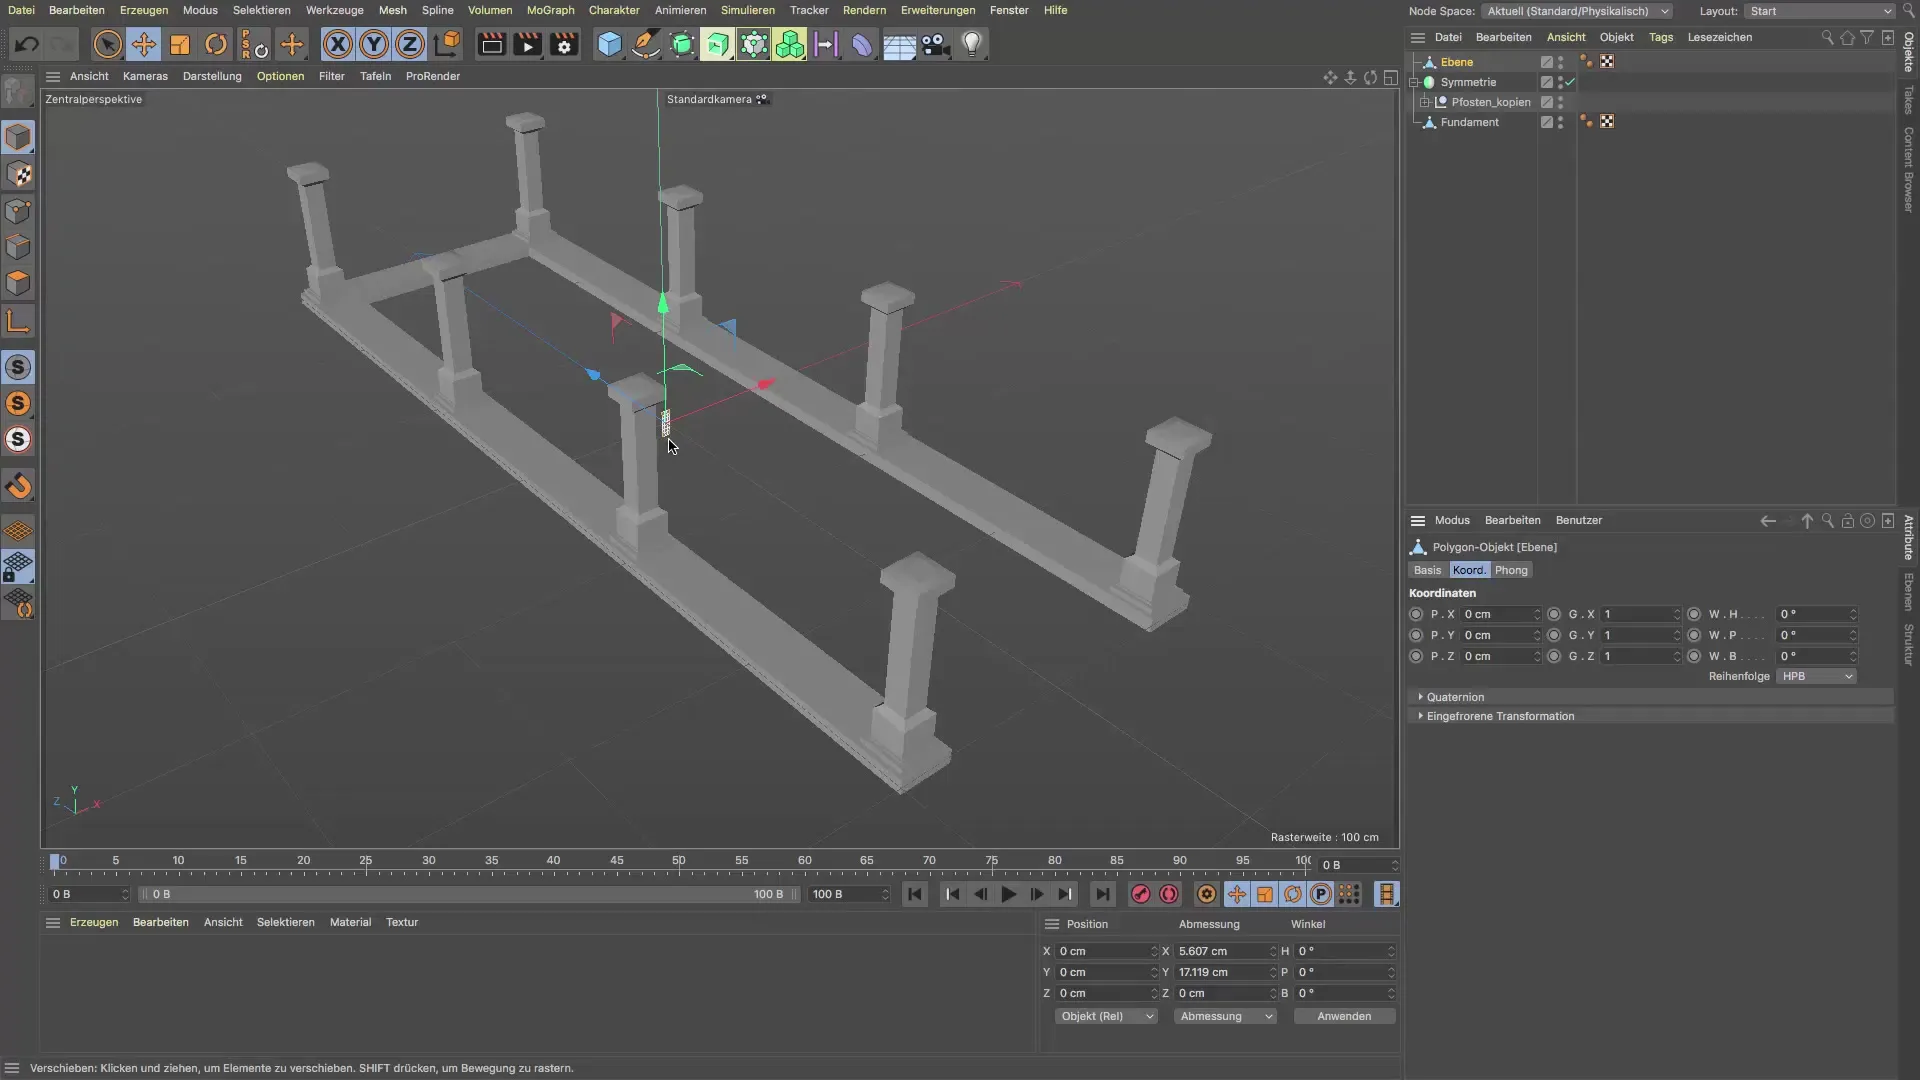
Moving to the Correct Position
Again use the move tool to position the baseboard between the posts. You can do this visually or enter precise coordinates to ensure that it looks symmetrical.
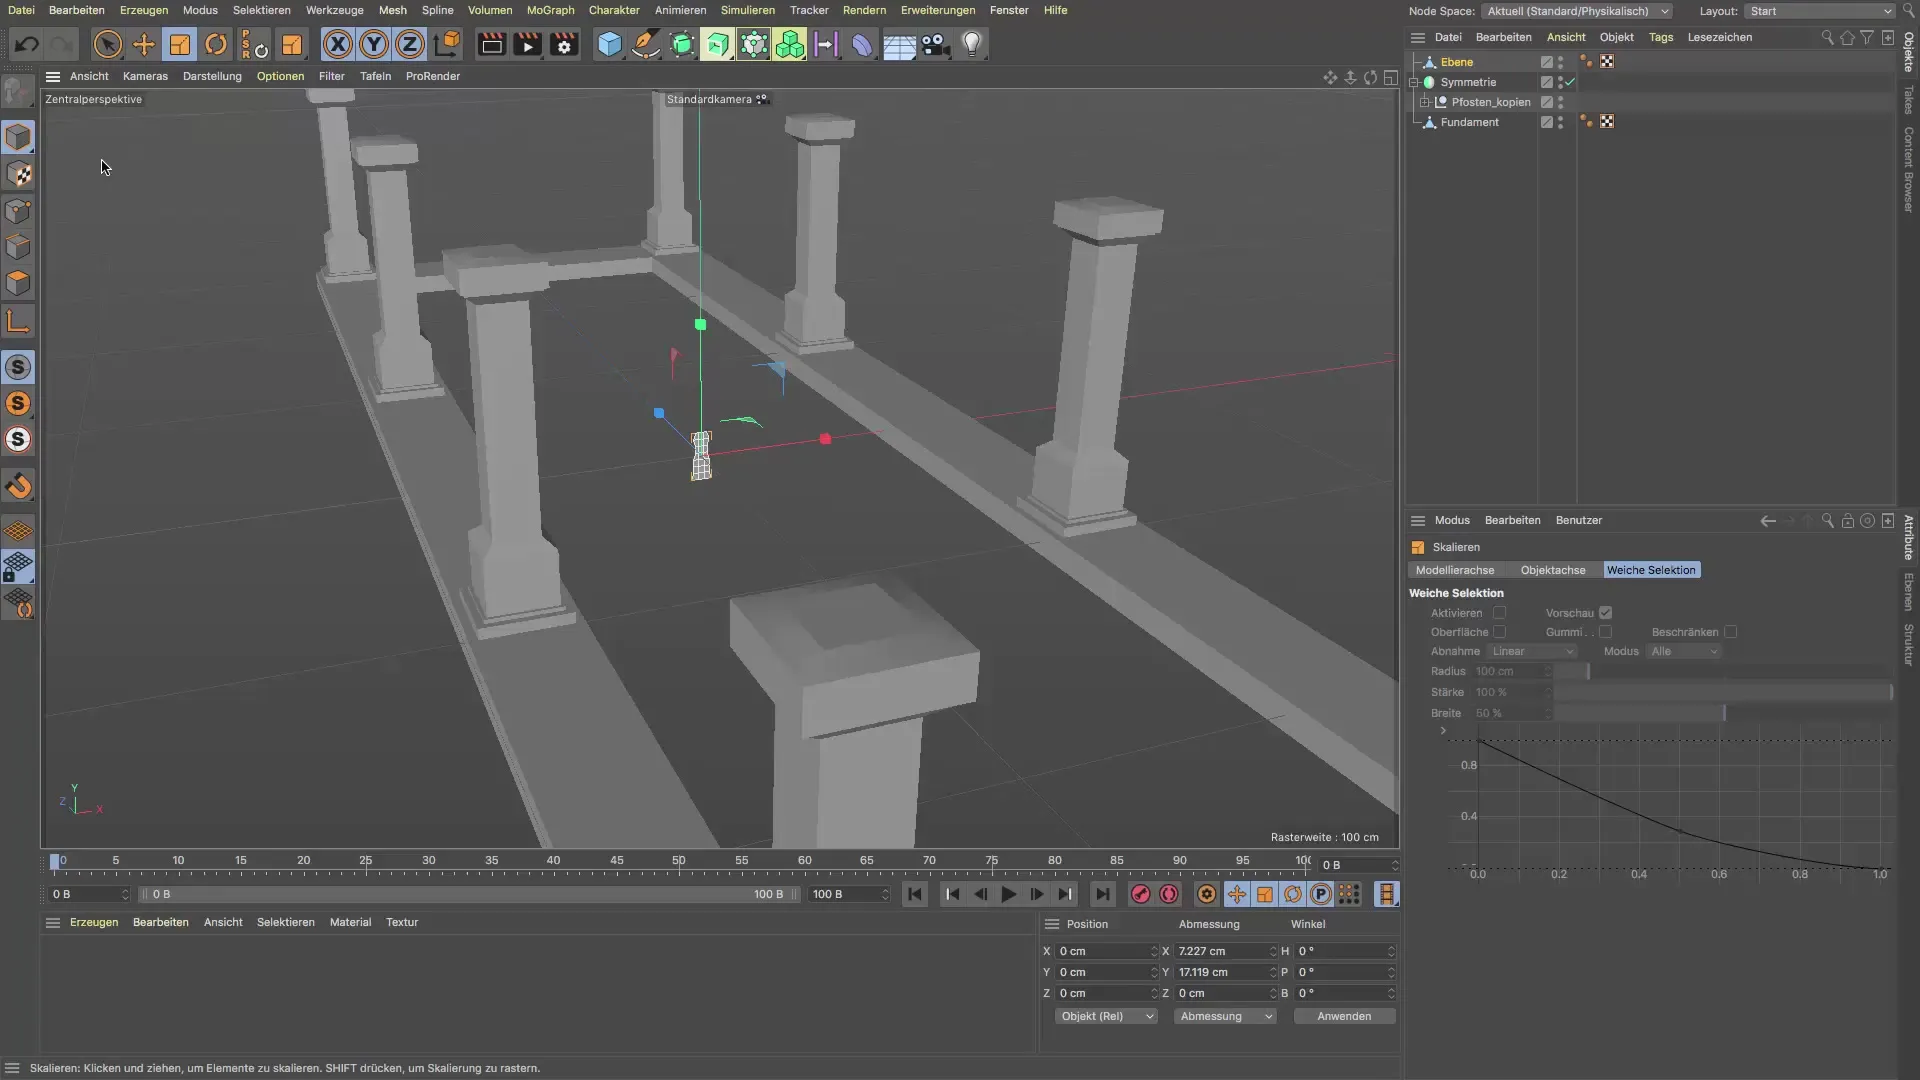
Extruding the Object
Now is the time to extrude the profile. Go back to the polygon edit mode and press the D key for the extrusion function. Pull the edge in the direction you need to shape the foundation exactly between the posts until you reach the optimal depth.
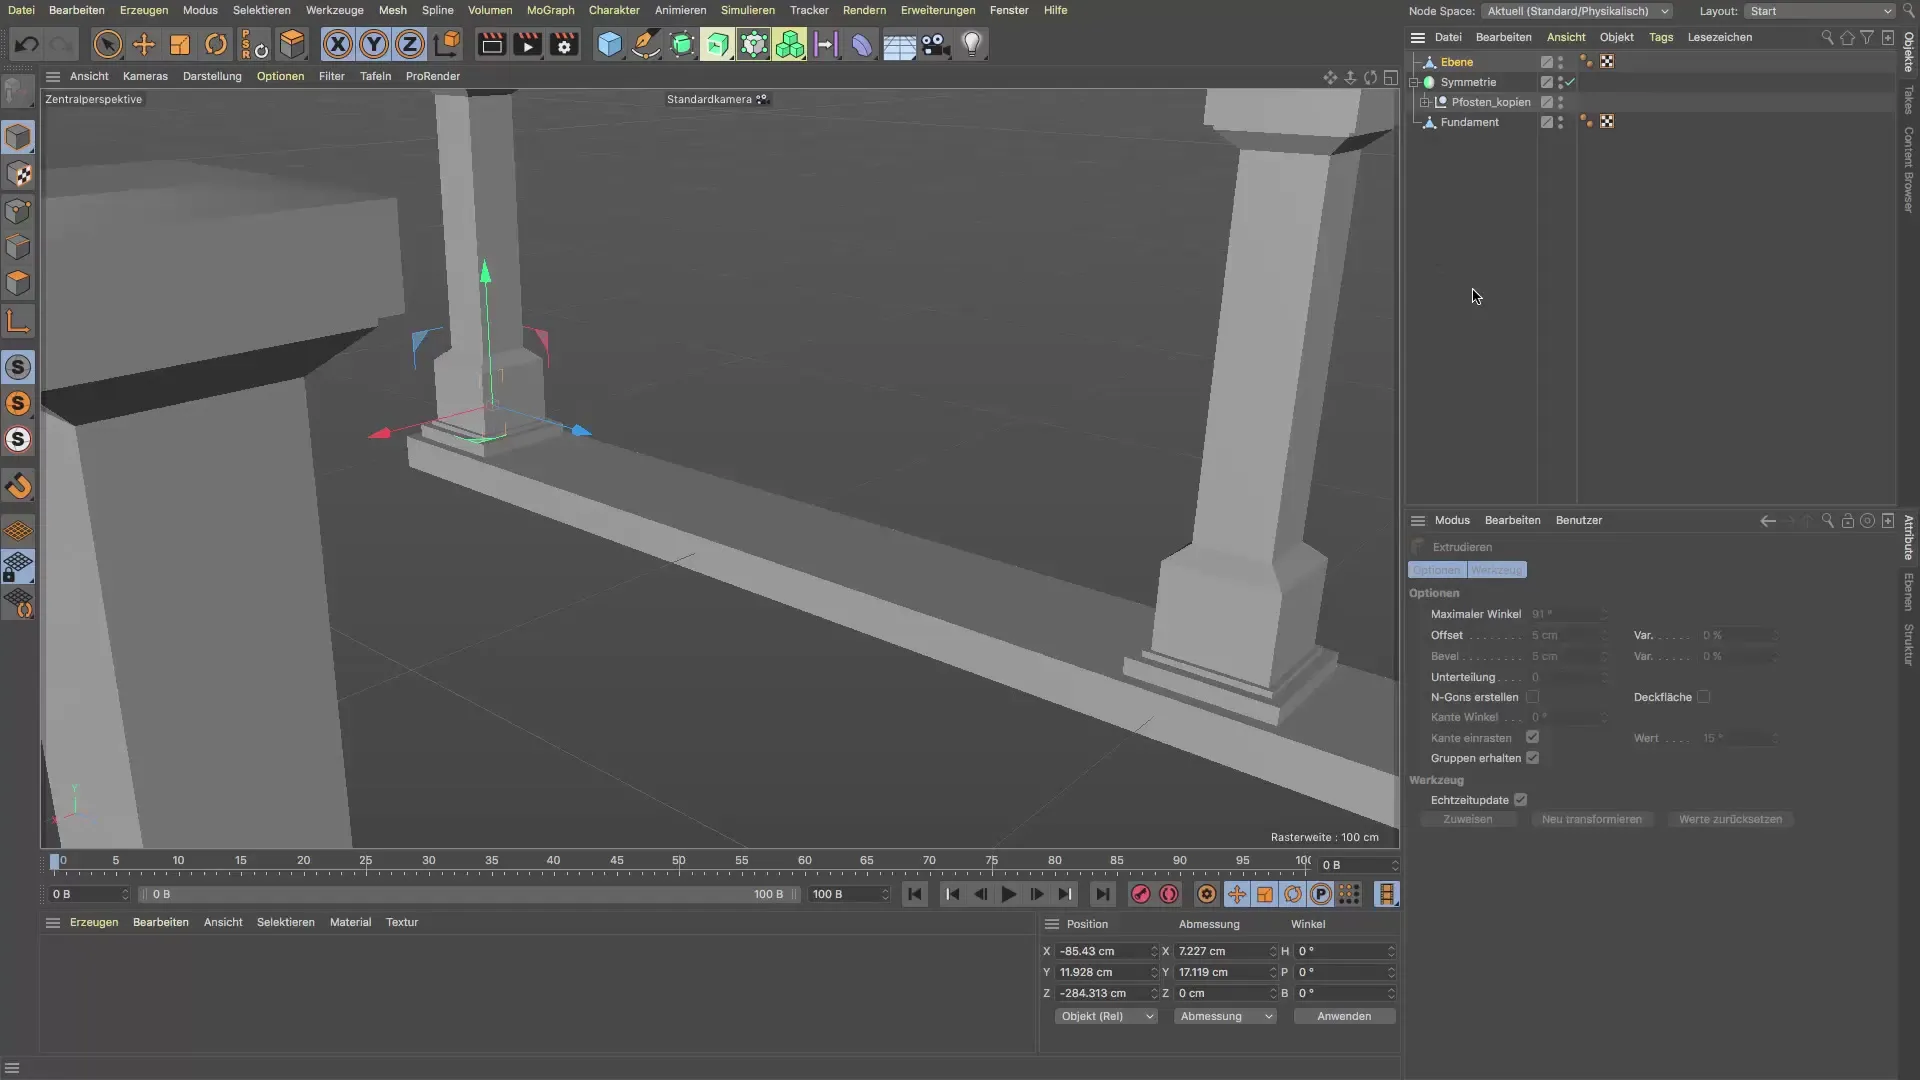
Improving the Representation
To make your modeled baseboard look more detailed, you can change the display to "Gouraud shading with lines." Another way to increase the level of detail is to use screen-based ambient occlusion (SSAO), which you can activate under the options.
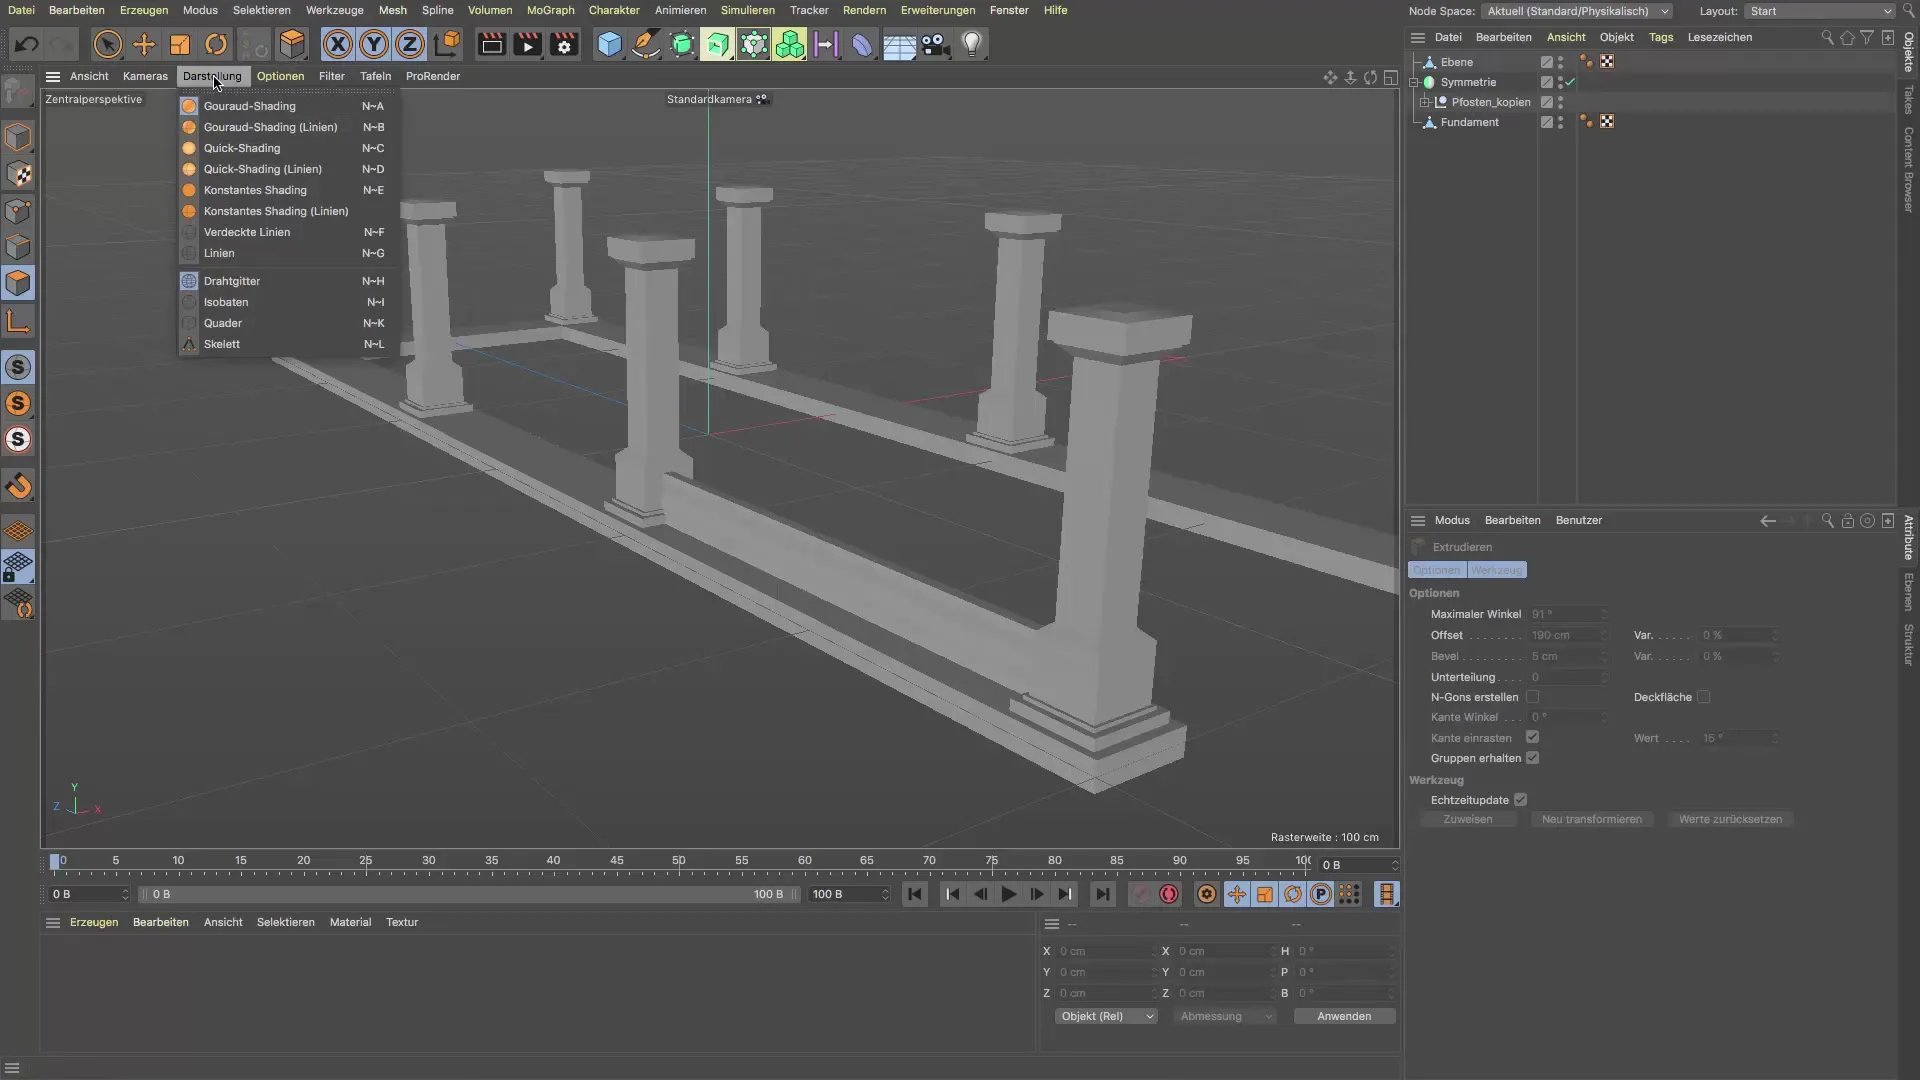
Summary - Creating a Metal Baseboard in Cinema 4D
In this tutorial, you have learned how to create a metal baseboard between posts in Cinema 4D and effectively adjust it. Through detailed edge editing and skillful use of object manipulation features, a high-quality result has been achieved.
FAQ
What is the first thing I should do in Cinema 4D?Start by creating a simple plane as the base for your object.
How do I go about editing the edges?Switch to edge edit mode and use the scaling tool.
How can I improve the representation of my models?Use Gouraud shading with lines, or enable SSAO in the options for more realistic effects.
Can I adjust the placement of objects in space?Yes, you can use the PSR options to easily reset your object to the origin.
How do I extrude an object in Cinema 4D?Switch to polygon edit mode and press the D key to activate the extrusion tool.


