The design of realistic materialsis a central aspect of 3D modeling with Cinema4D. The Content Browser offers a variety of high-quality PBR(Physically Based Rendering) materials that greatly expand the scope for creativity. In this guide, I will show you step by step how to select, apply, and optimize mapping for metal shaders from the Content Browser for effective visualization.
Key takeaways
- The Content Browser is a valuable resource for high-quality materials in Cinema 4D.
- The use of metallic materials can significantly enhance the visual quality of your projects.
- Adjusting the material mapping is crucial for a realistic appearance of your 3D objects.
Step-by-step guide
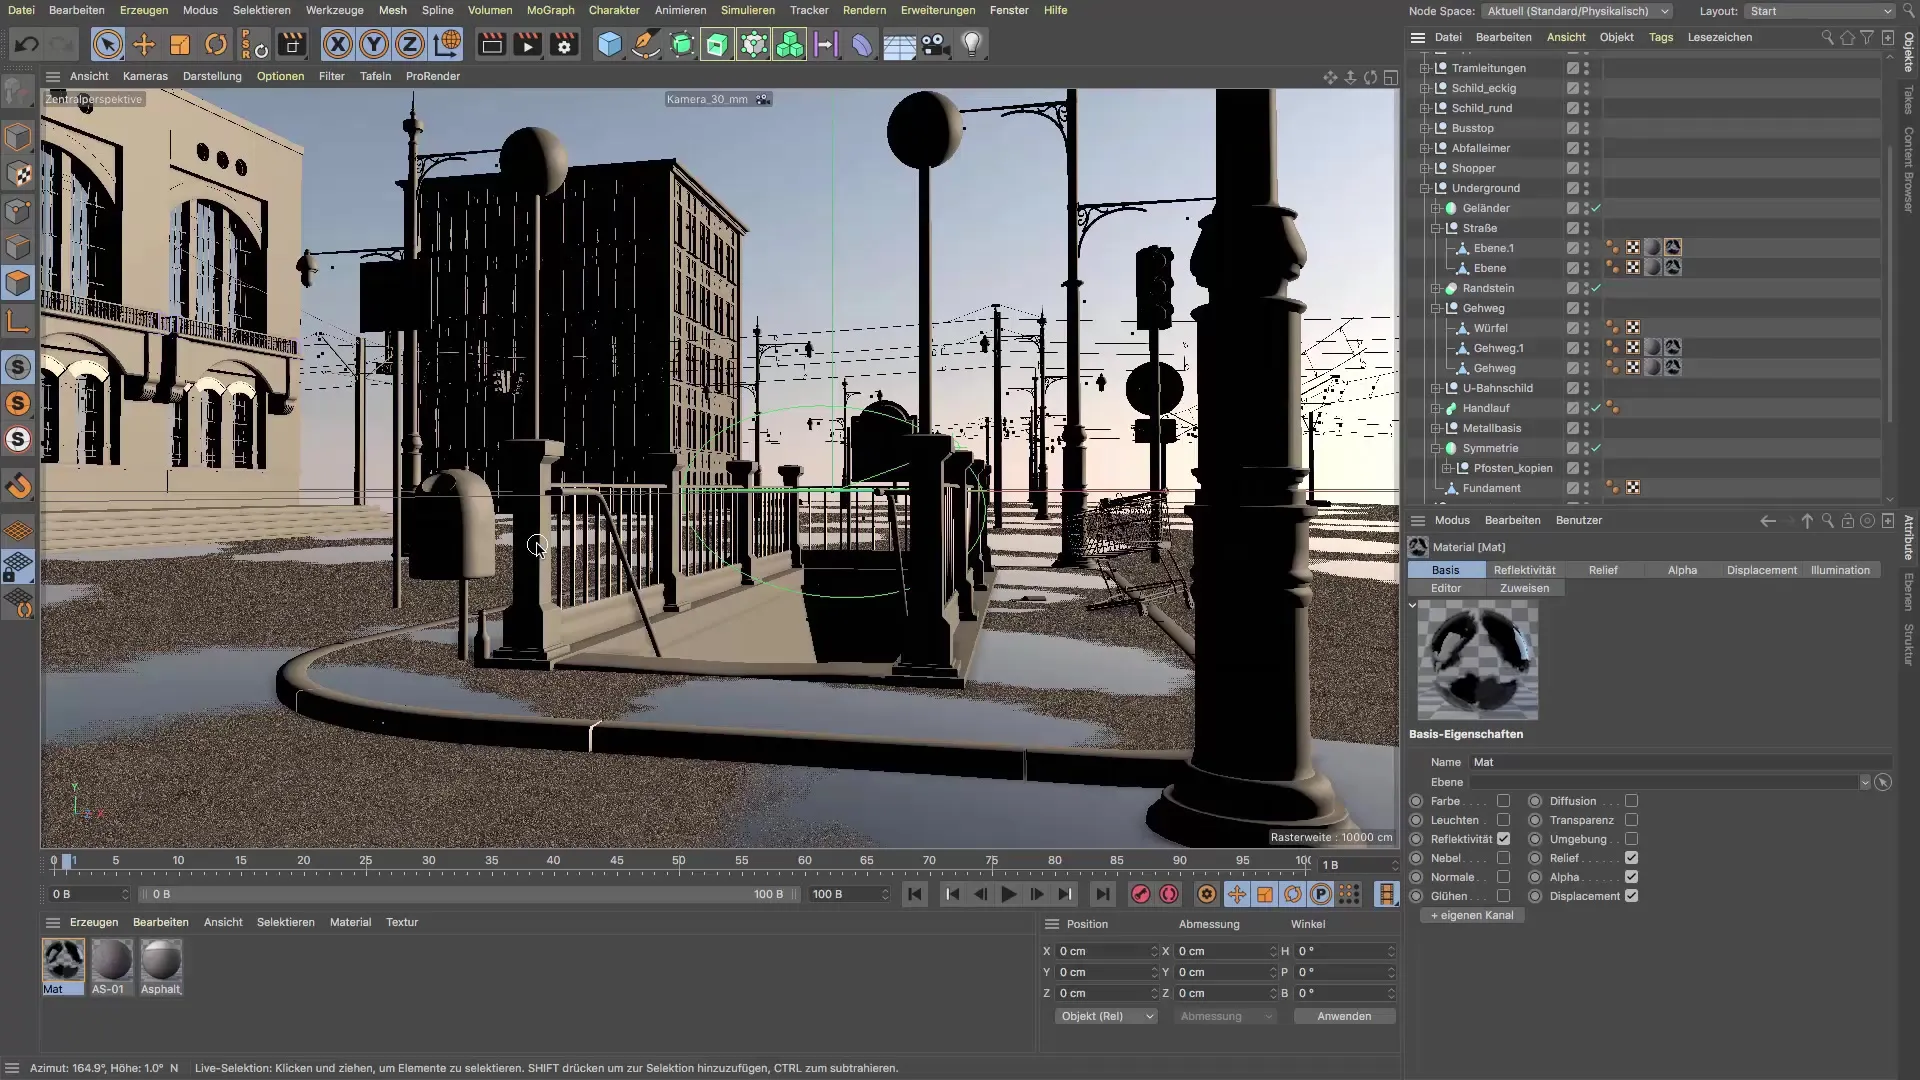
First, let's take a look at how to load materials from the Cinema 4D Content Browser and apply them to your object.
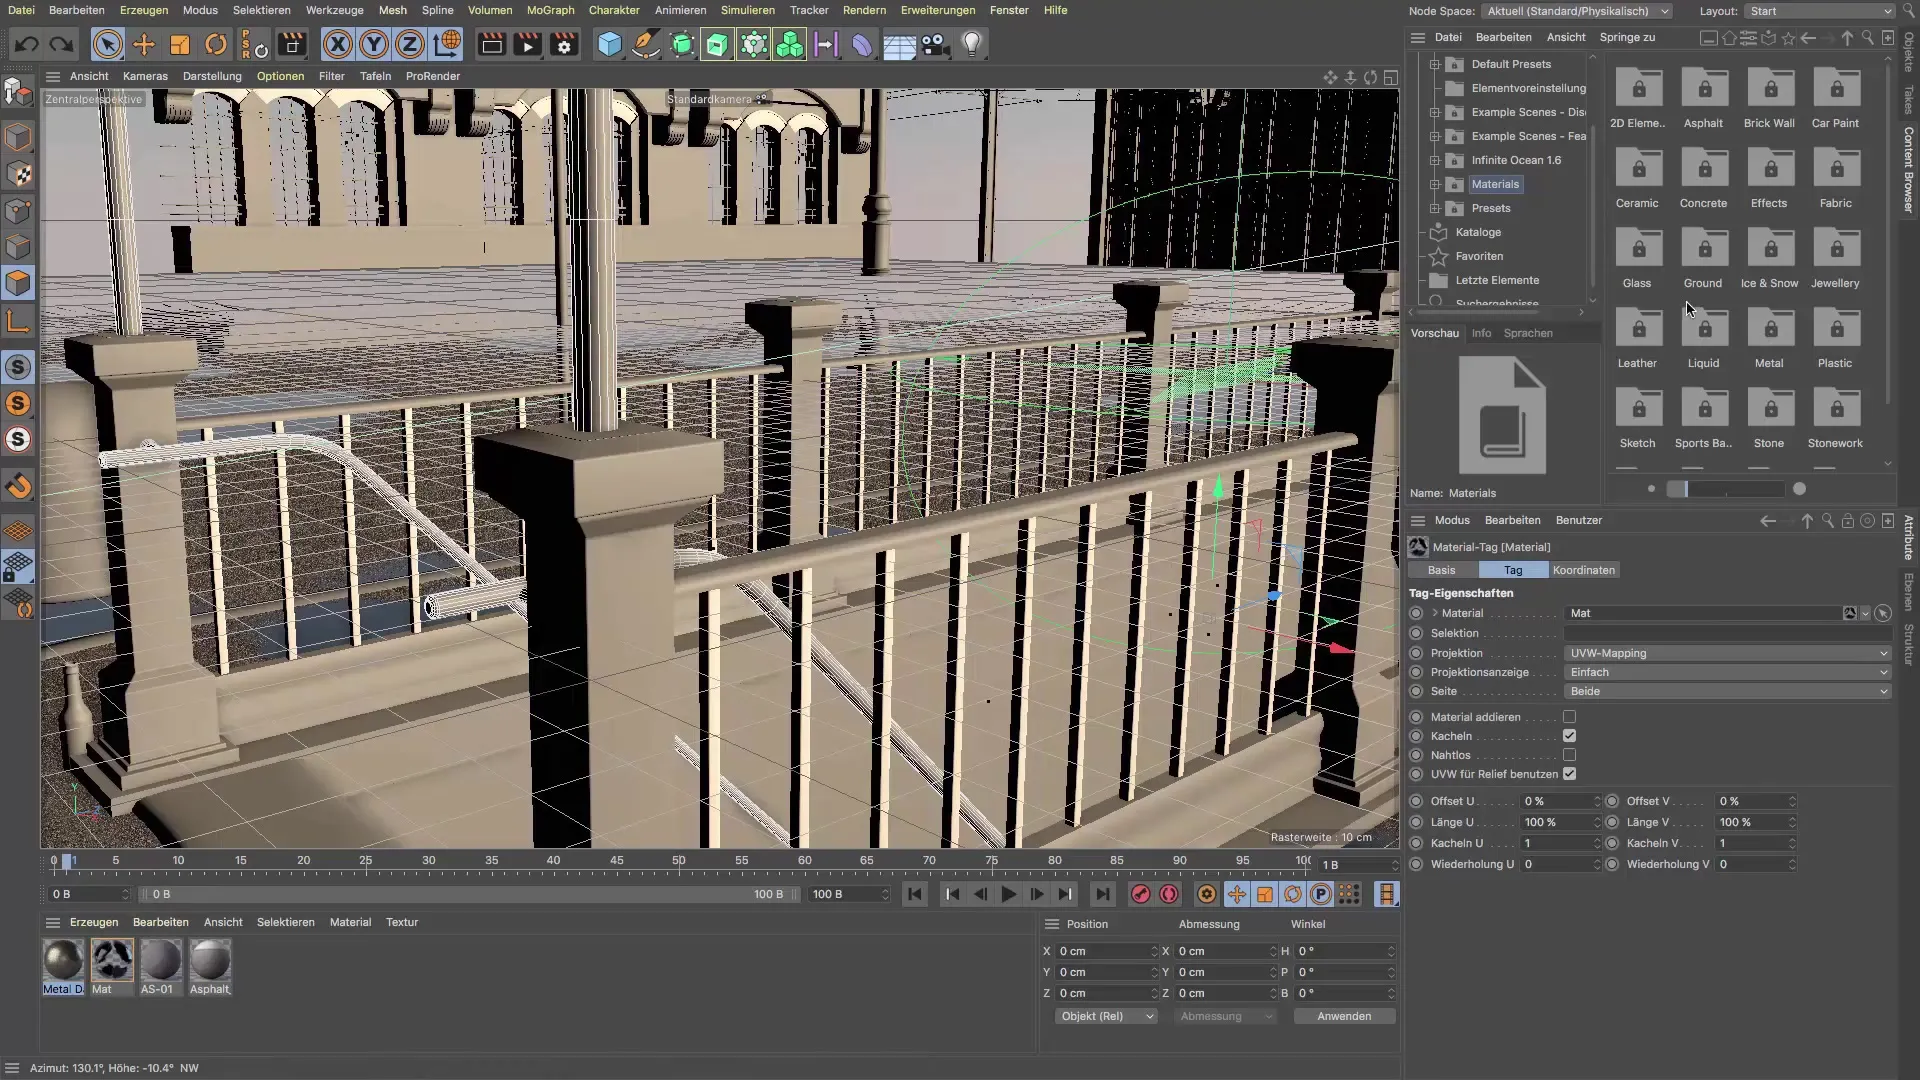
First, go to the Content Browser in the top right corner of the interface. This is where you can select materials. To find a suitable material, click on "Materials" and choose "Metal". Make sure to enable the detail view to see the materials better.
In the metal section, you have a wide selection of various materials. Experiment with the different options to see which one best fits your project. I recommend setting the display to "high" to view the textures optimally. An interesting choice is the "Metal damaged" material, which offers a unique surface and might be well suited for your railing.
Once you have found the desired material, double-click on it to place it in the material manager. Now you need to assign the material to the correct object – in this case, the railing. To do this, select the railing and drag the material into the material ID of the desired surface.
If you accidentally dragged the material to the wrong place, simply undo it and drag it again onto the correct object. To see the registered materials simultaneously, you can open the material manager. There you will see all the materials you have created or loaded so far.
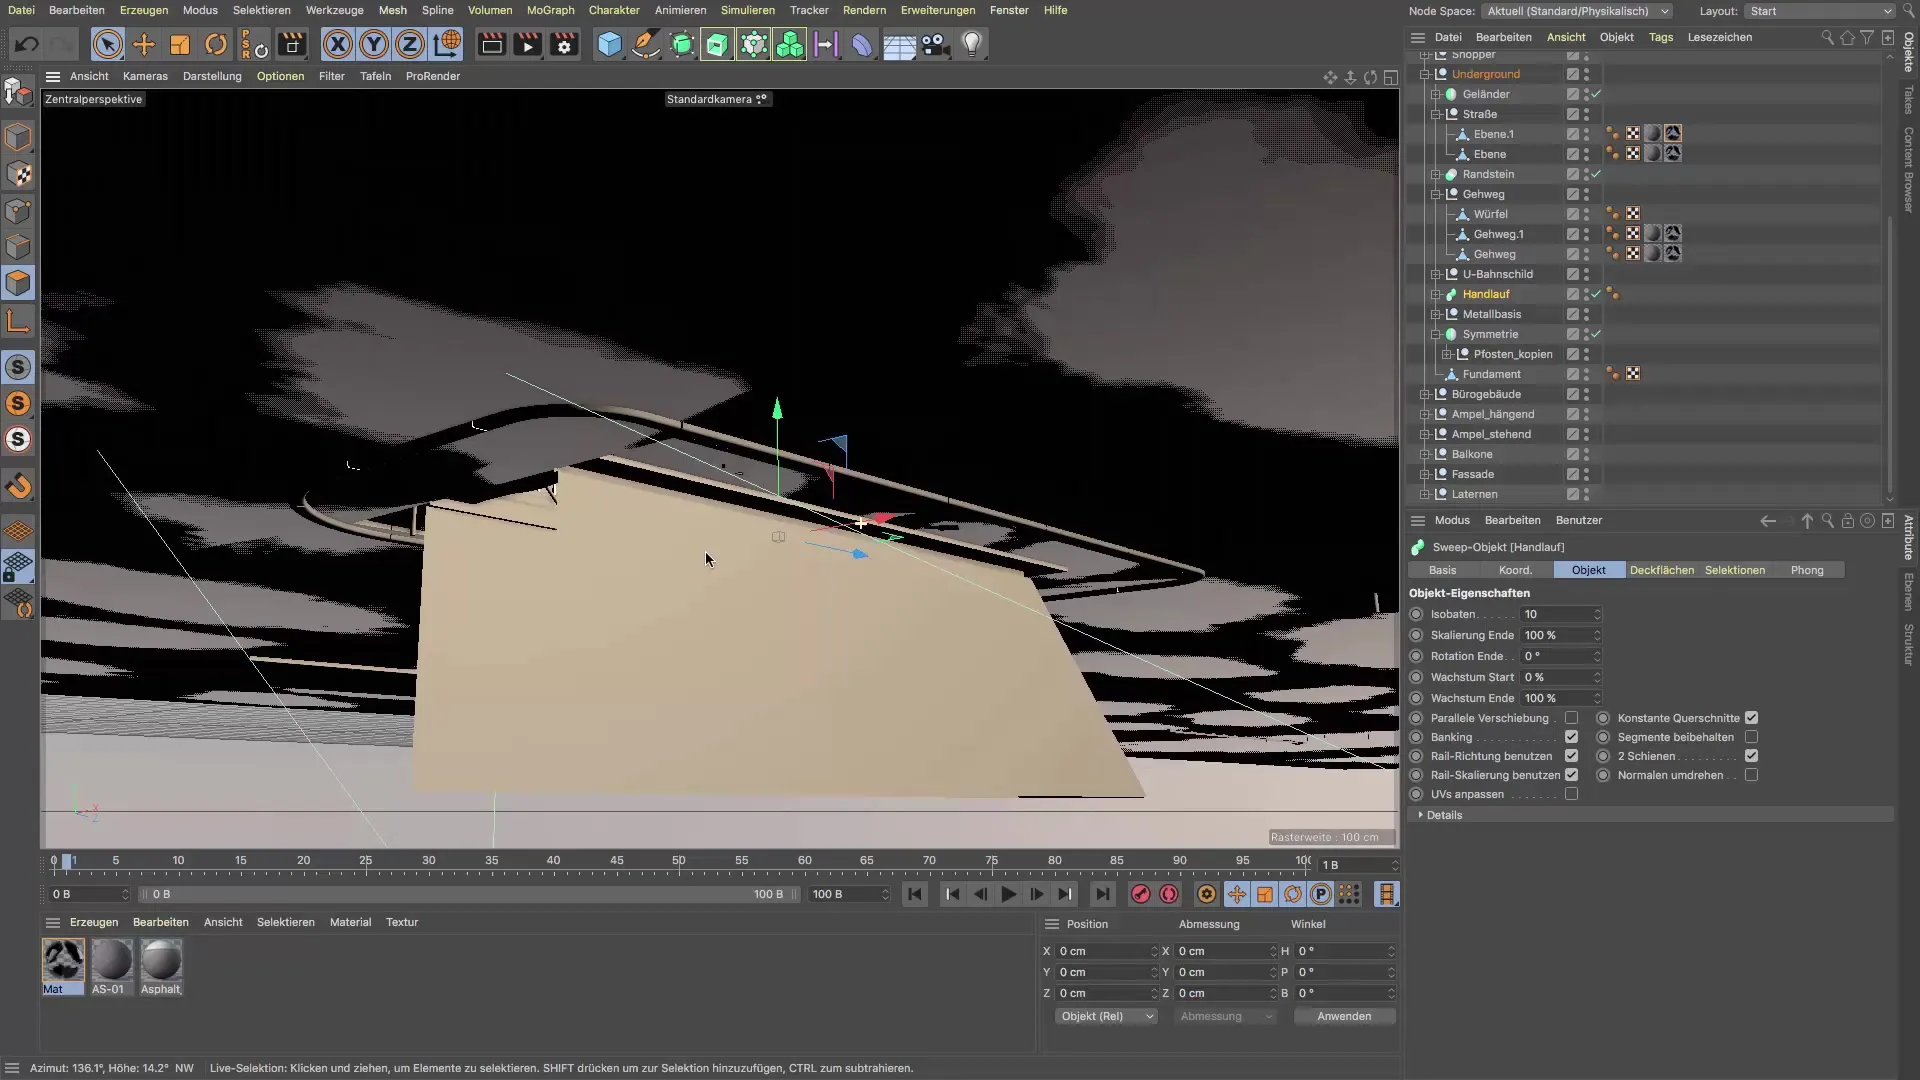
An exciting challenge arises when the material is applied to the object. Document how the material appears on your handrail. It often becomes clear that the textures are not optimally distributed. This is because the railing is based on a spline object. To make the material look realistic, the correct mapping is crucial.
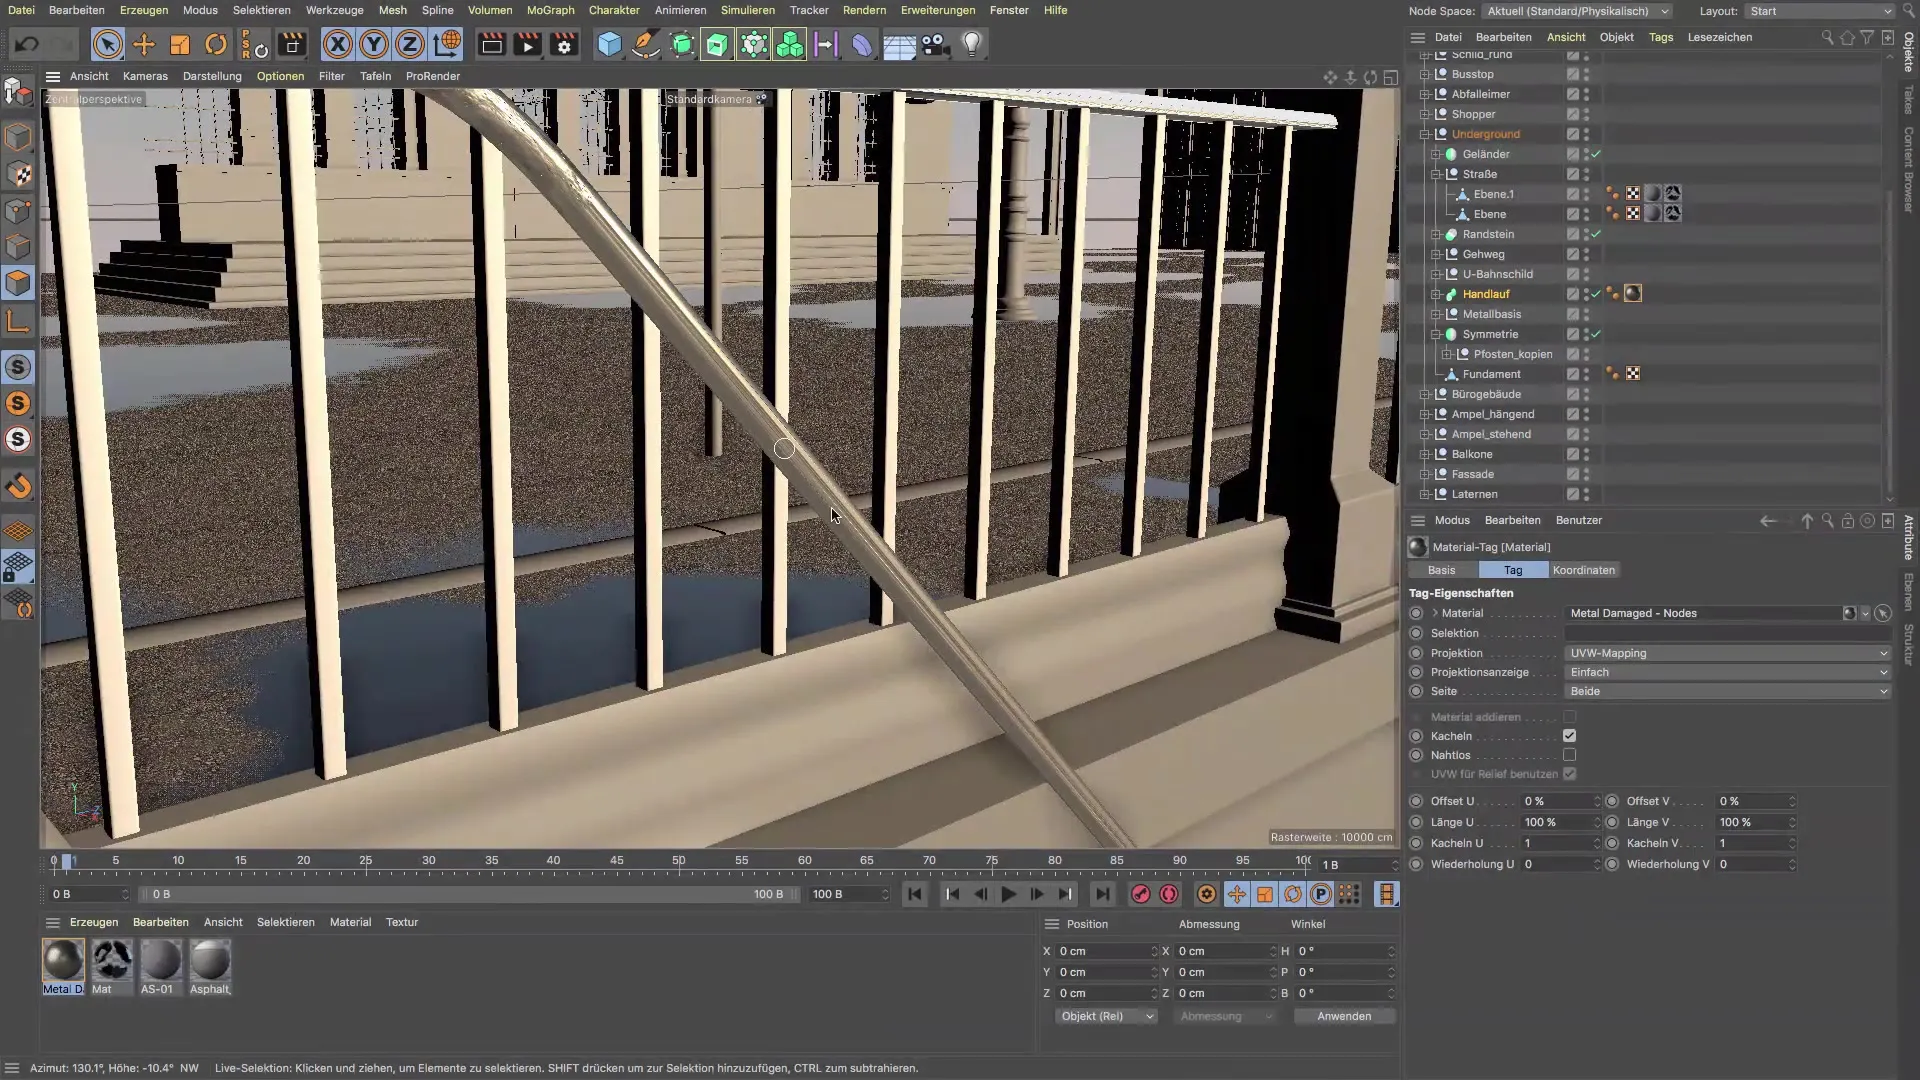
Turn on the spline for the railing to better visualize the structure. Here you can see how the points are distributed along the spline. Make sure that the UV mapping settings are well suited to evenly distribute the texture.
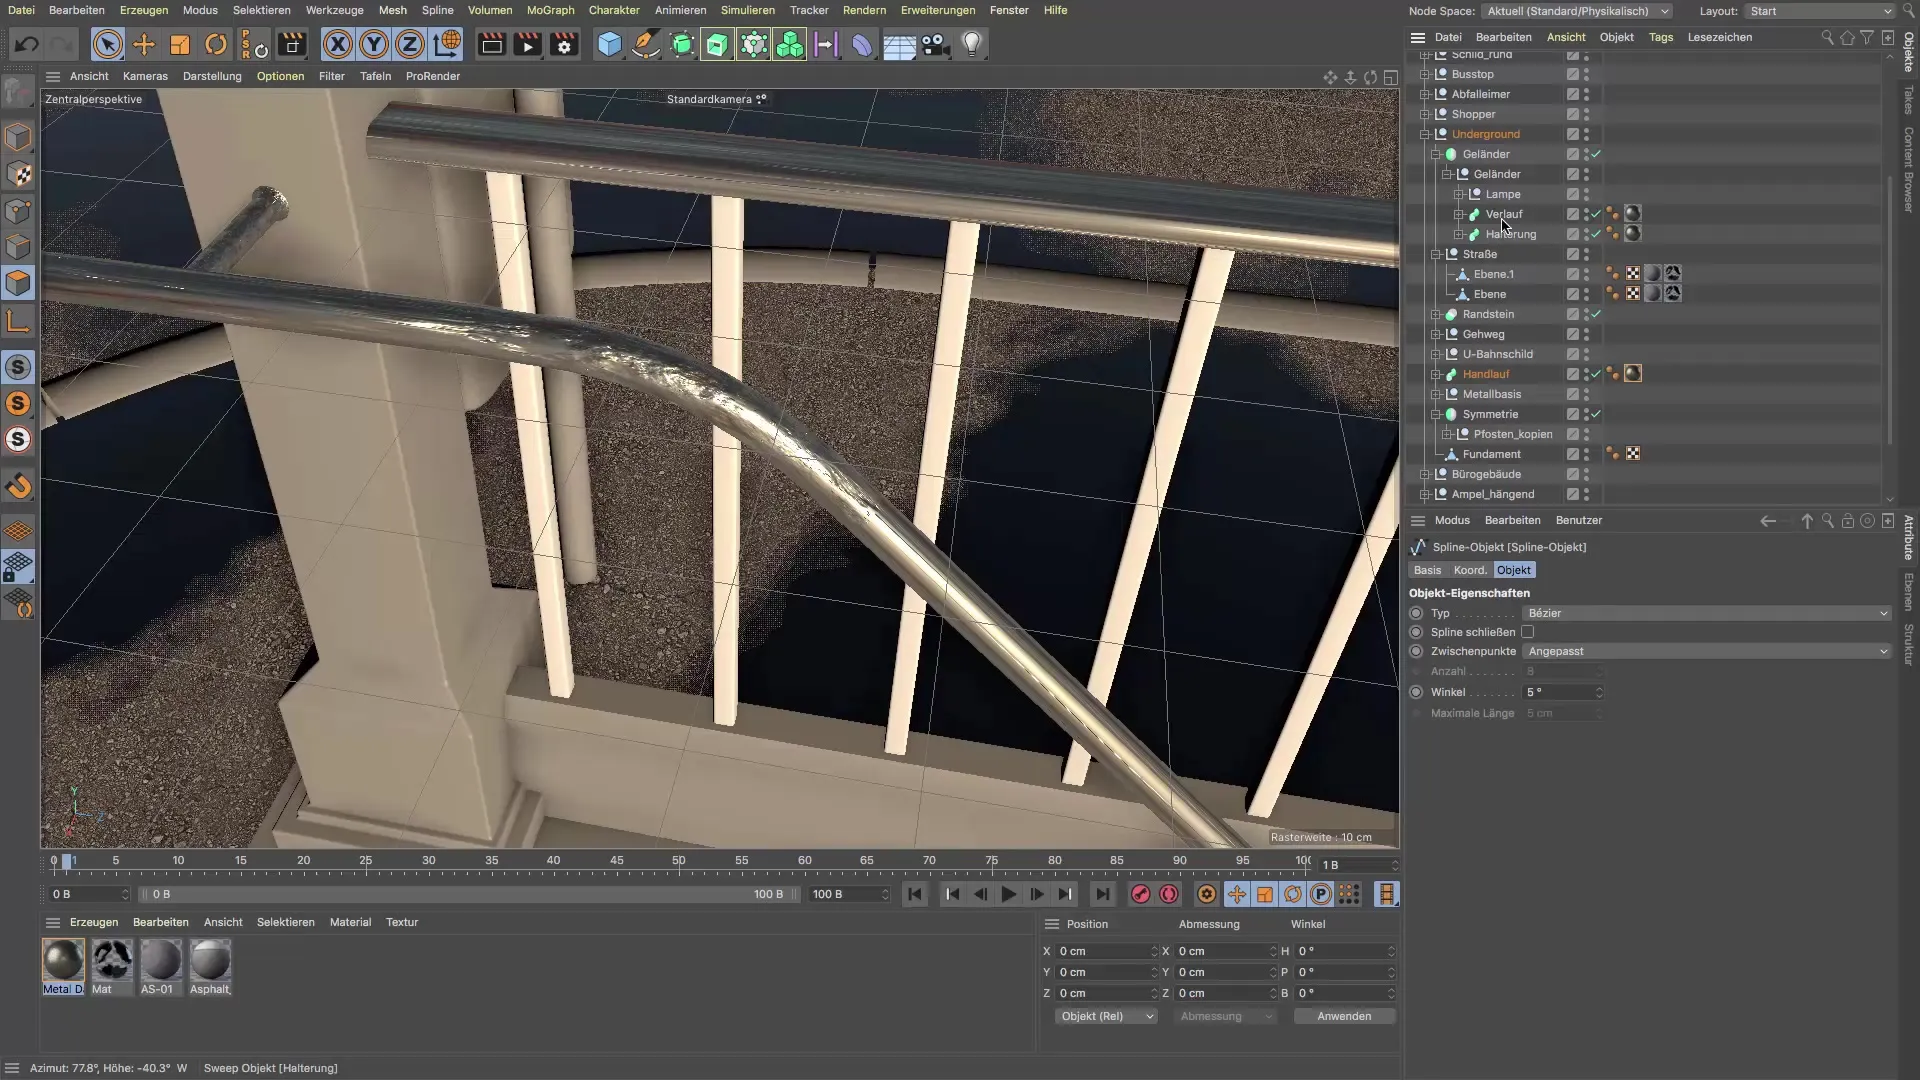
If the texture does not look as you envisioned, you can work with the UVW mapping options. Go to the material settings and adjust the subdivision to make the texture more realistic. Here you can specify the desired angle and the maximum subdivision length.
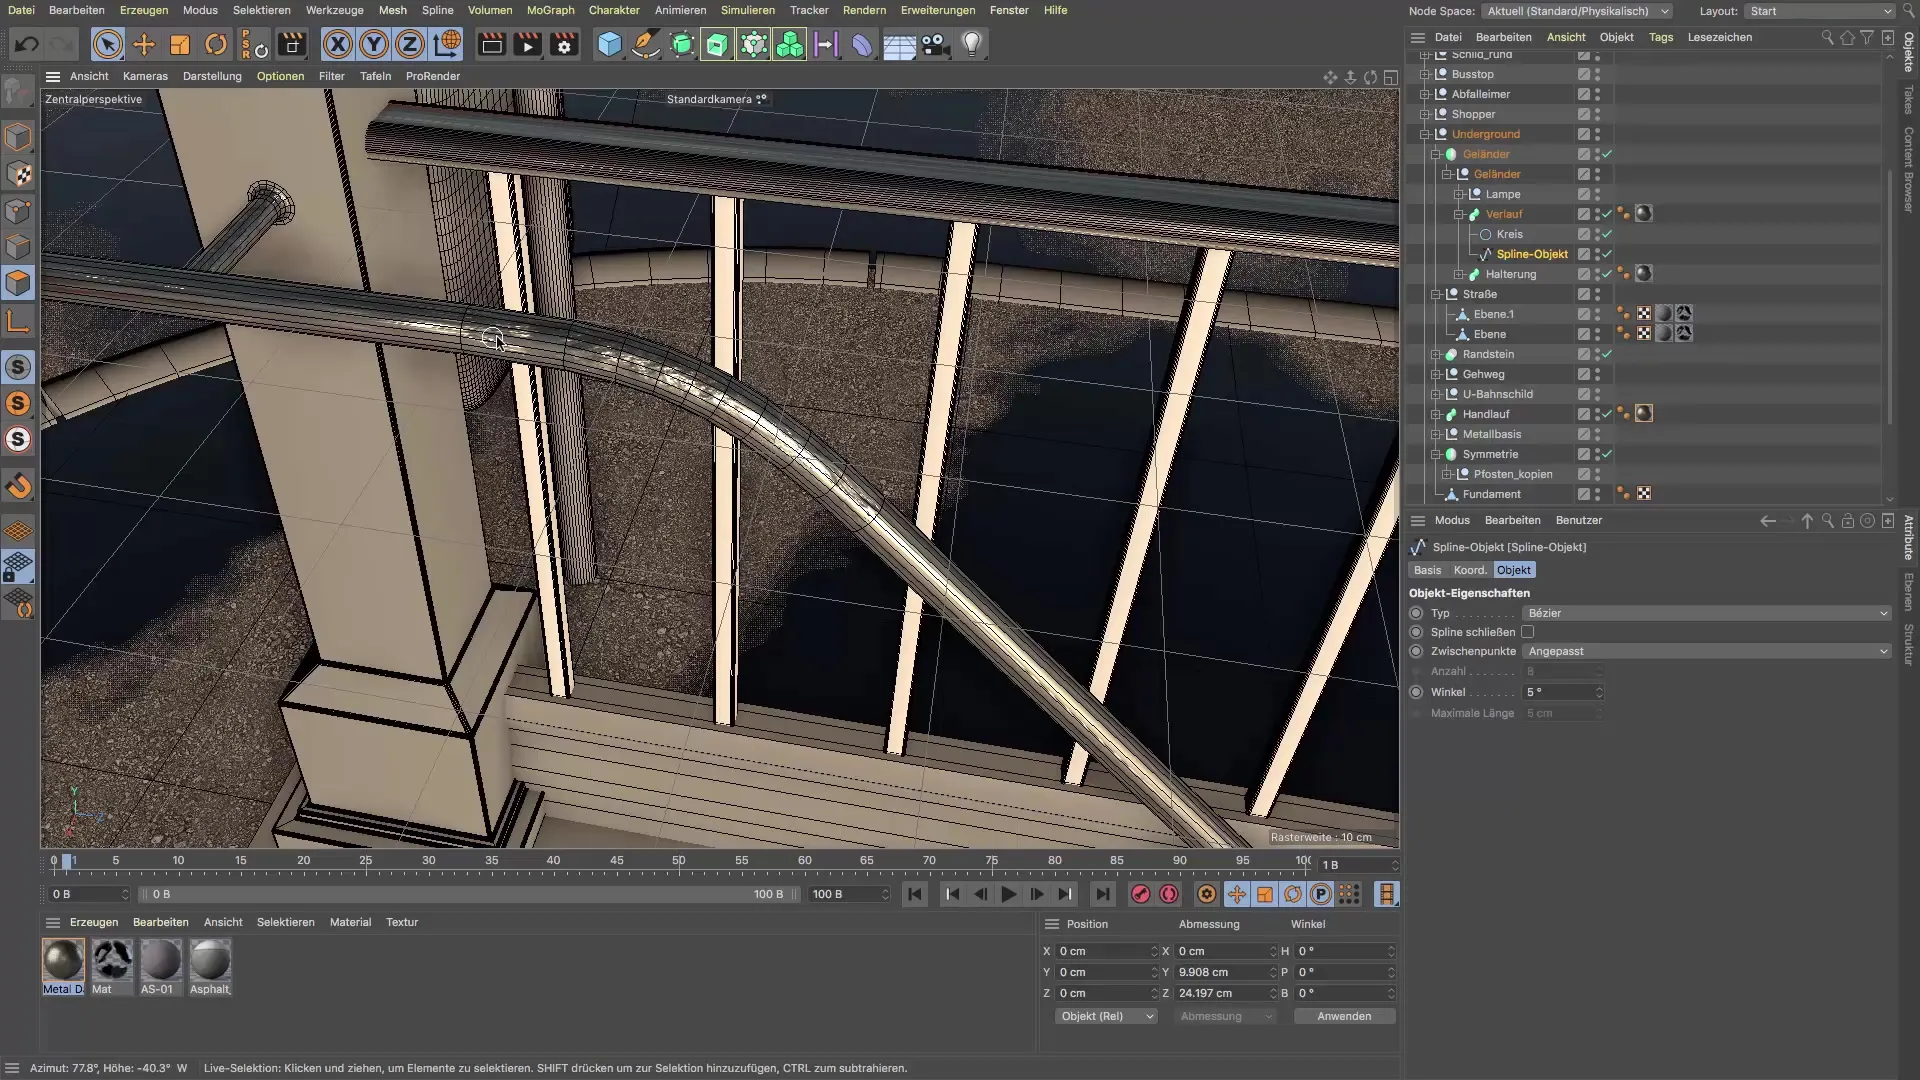
By increasing the number of subdivisions, you will immediately see an improvement in the material mapping. It's these adjustments that ensure that the texture looks consistent and realistic everywhere. For a better result, you can play with the polygons and increase the number of subdivisions to achieve the desired quality.
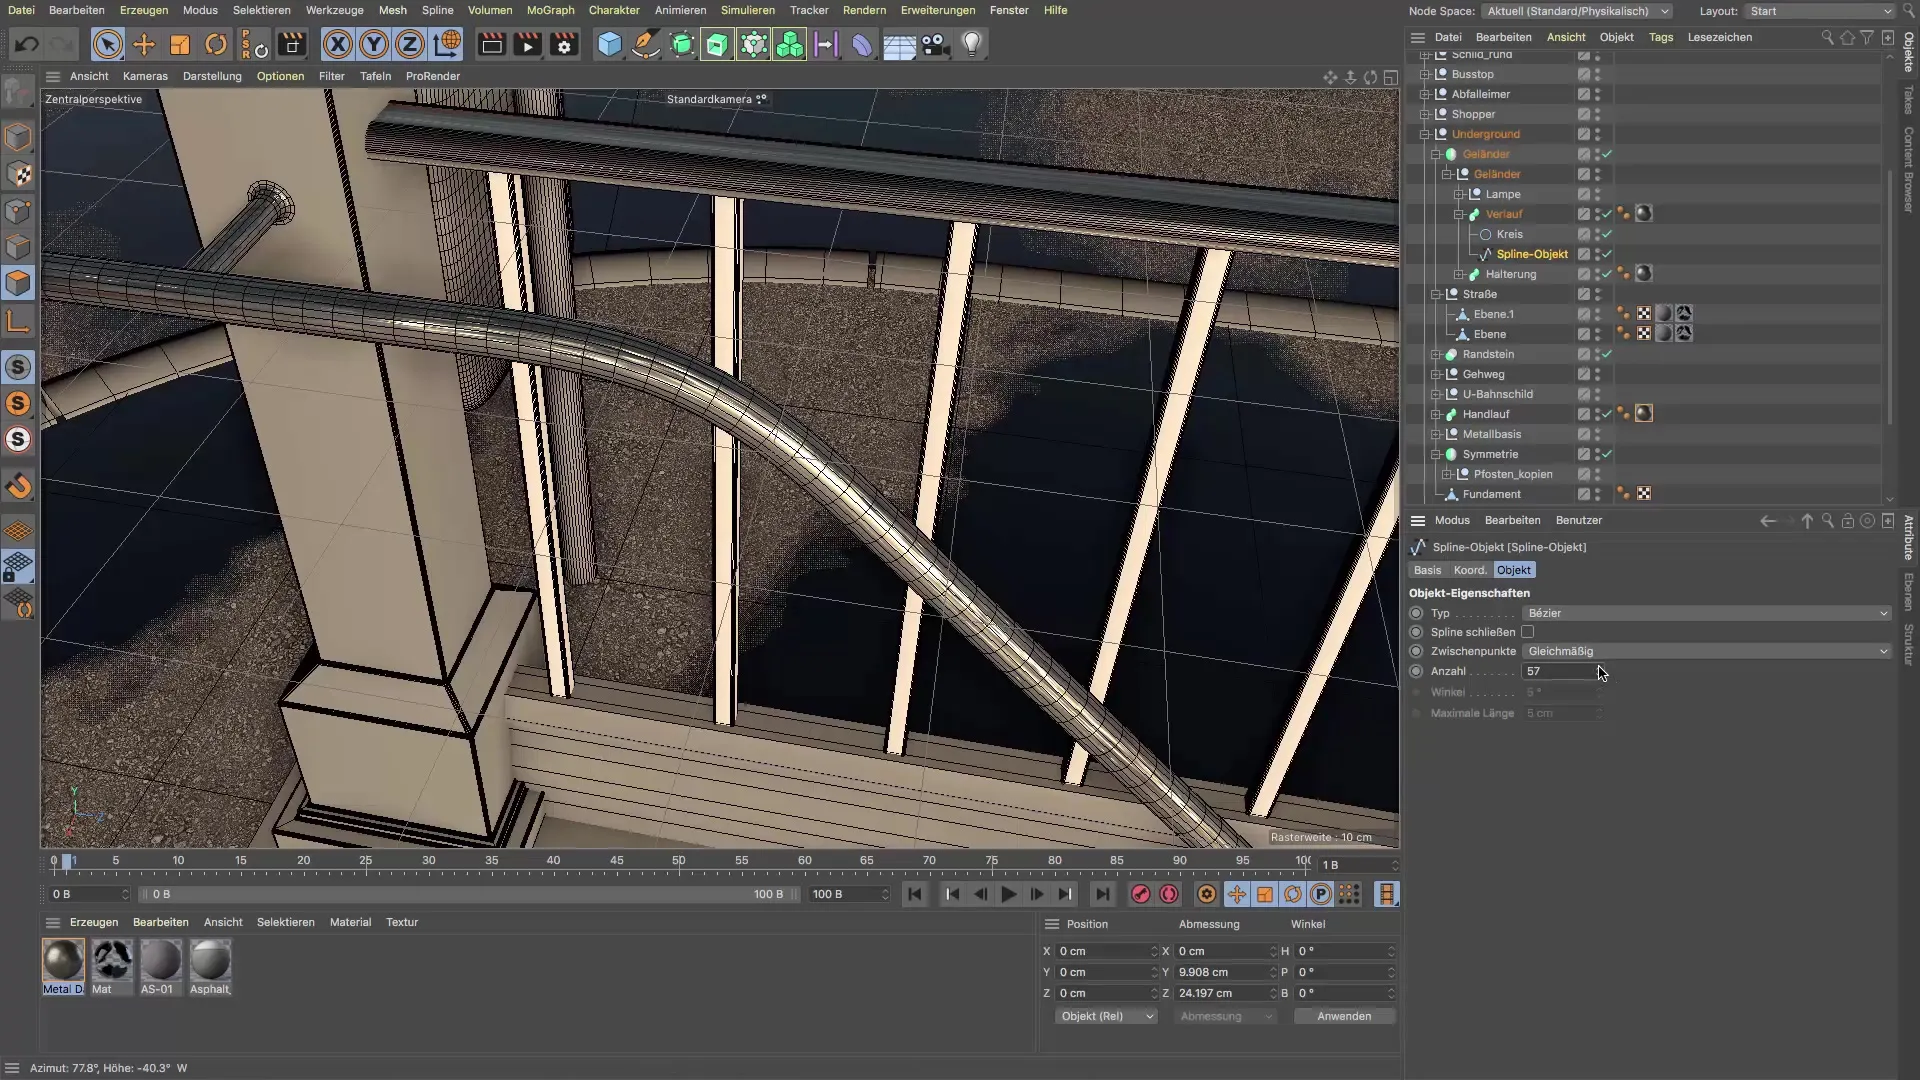
We have now successfully applied the material to the railing and optimized the texture to ensure a consistent and realistic representation.
Summary – Guide to Using the Content Browser in Cinema 4D for PBR Materials
In this guide, you have learned how to use high-quality metal shaders from the Content Browser in Cinema 4D and apply them effectively to your railing. You have also learned how important material mapping is to achieve a consistent and realistic appearance in your projects.
