Creating realistically appearing curbs can be a challenging task in Cinema 4D, especially when it comes to accurately subdividing the individual stones. In this tutorial, you will learn how to efficiently subdivide a curb to achieve realistic effects. We will go through the steps to subdivide a curb using clones and Boolean operations.
Key Insights
- You will learn how to use a cube as a base object to realize the subdivision of curbs.
- The use of clone objects allows for easy and flexible distribution of the subdivisions.
- Boolean operations help add the desired shapes and dimensions.
- Adjustments to the subdivisions are always possible to optimize the results.
Step-by-Step Guide
Start by creating the base model of the curb. You can use a simple cube for this. Click on “Create” in the menu and select “Polygon Primitives,” then “Cube.” Place the cube at a suitable location in the scene view.
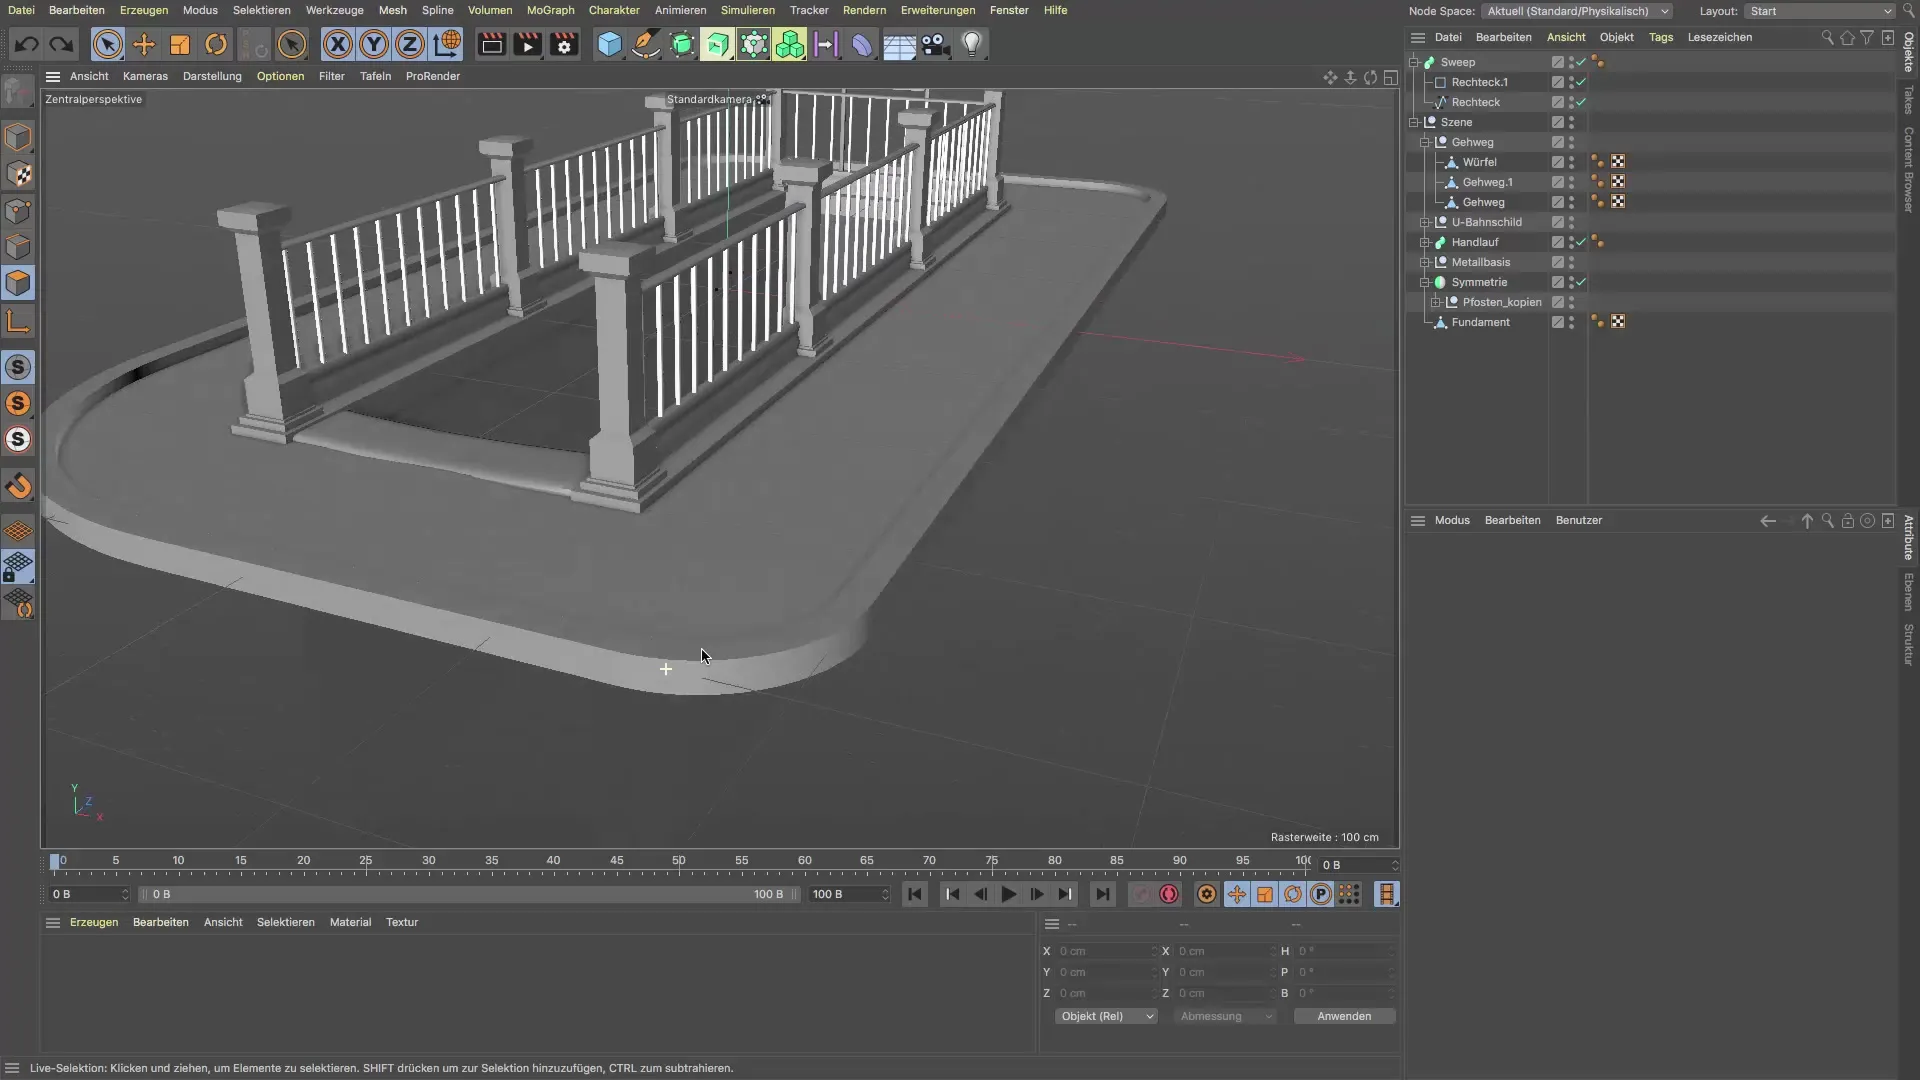
This cube provides the basis for the subsequent subdivision of the curbs. Set the edge lengths of the cube to 20 x 20 cm to ensure a realistic structure.
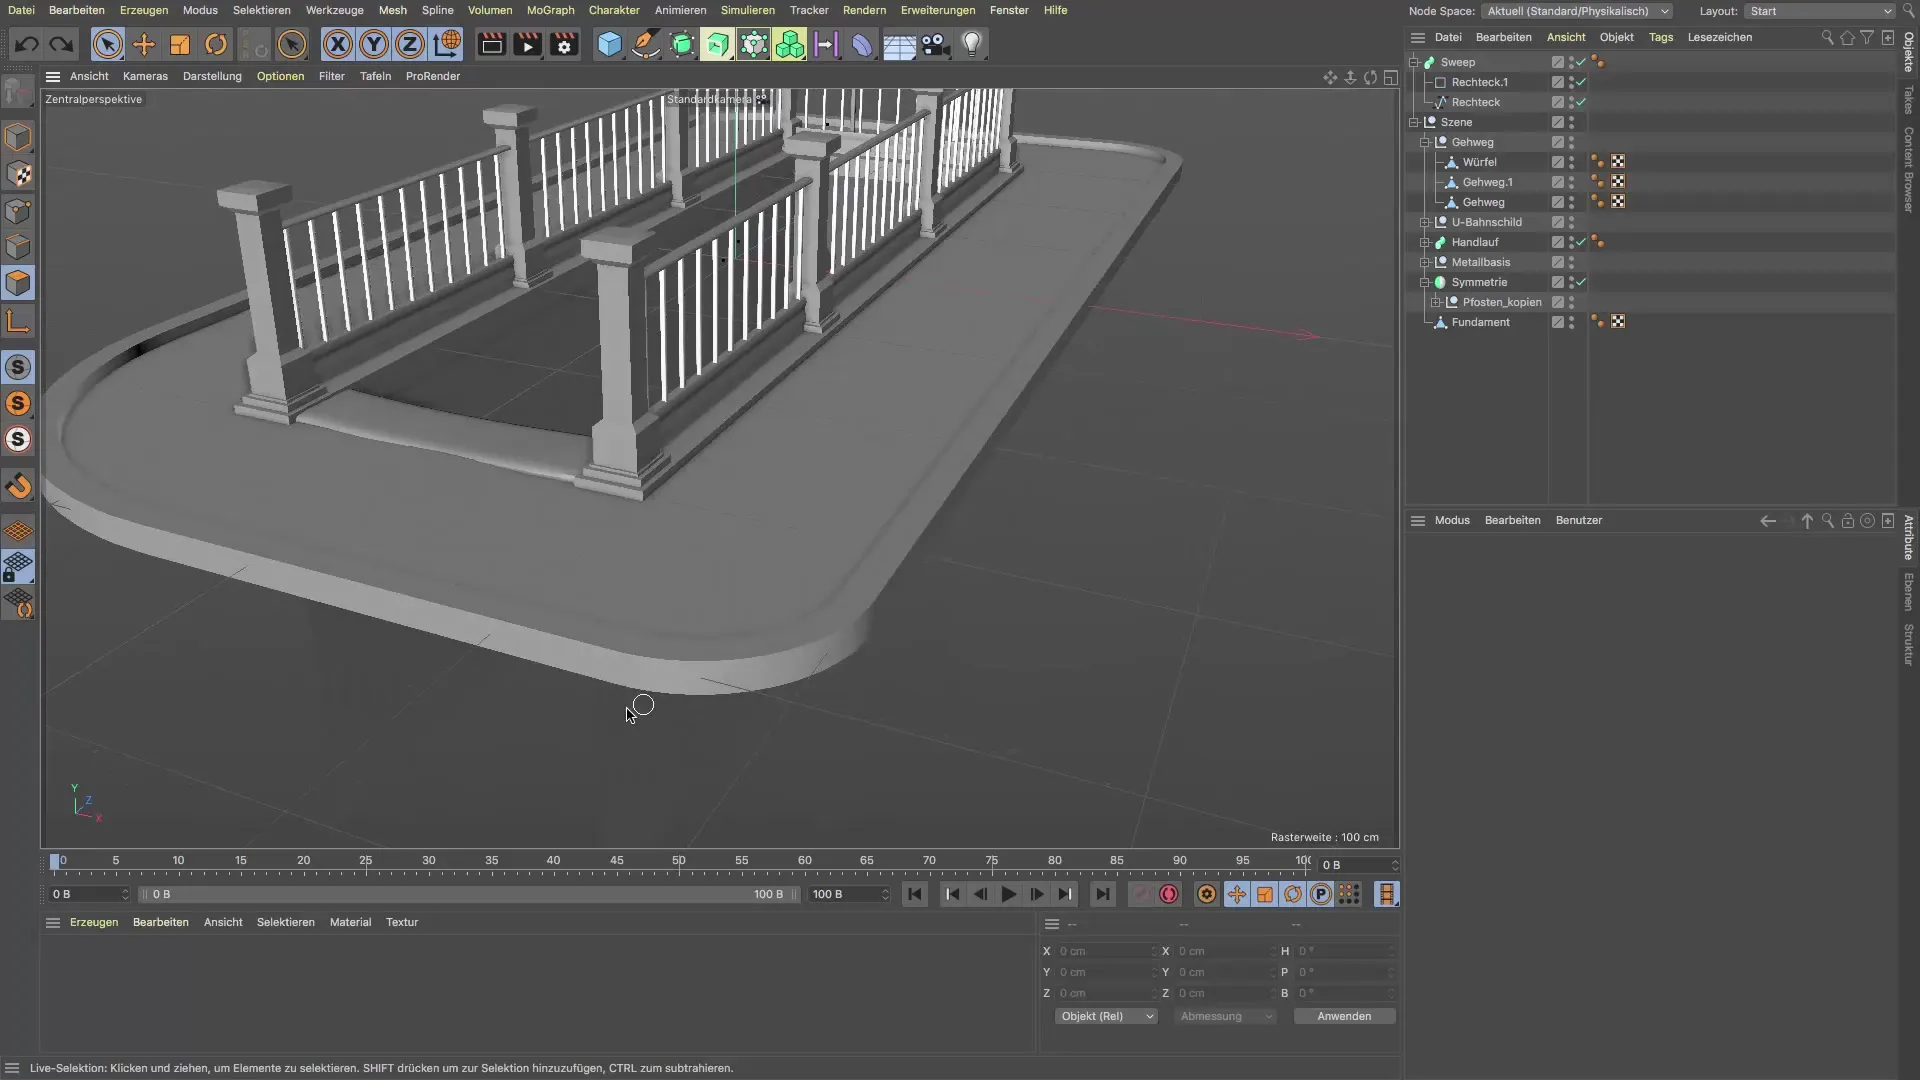
Next, hold the Alt key and click on the clone object to create a copy of the cube. Ensure that the cube is selected beforehand. This will create the clone in a way that the cube is subordinate to the clone object.
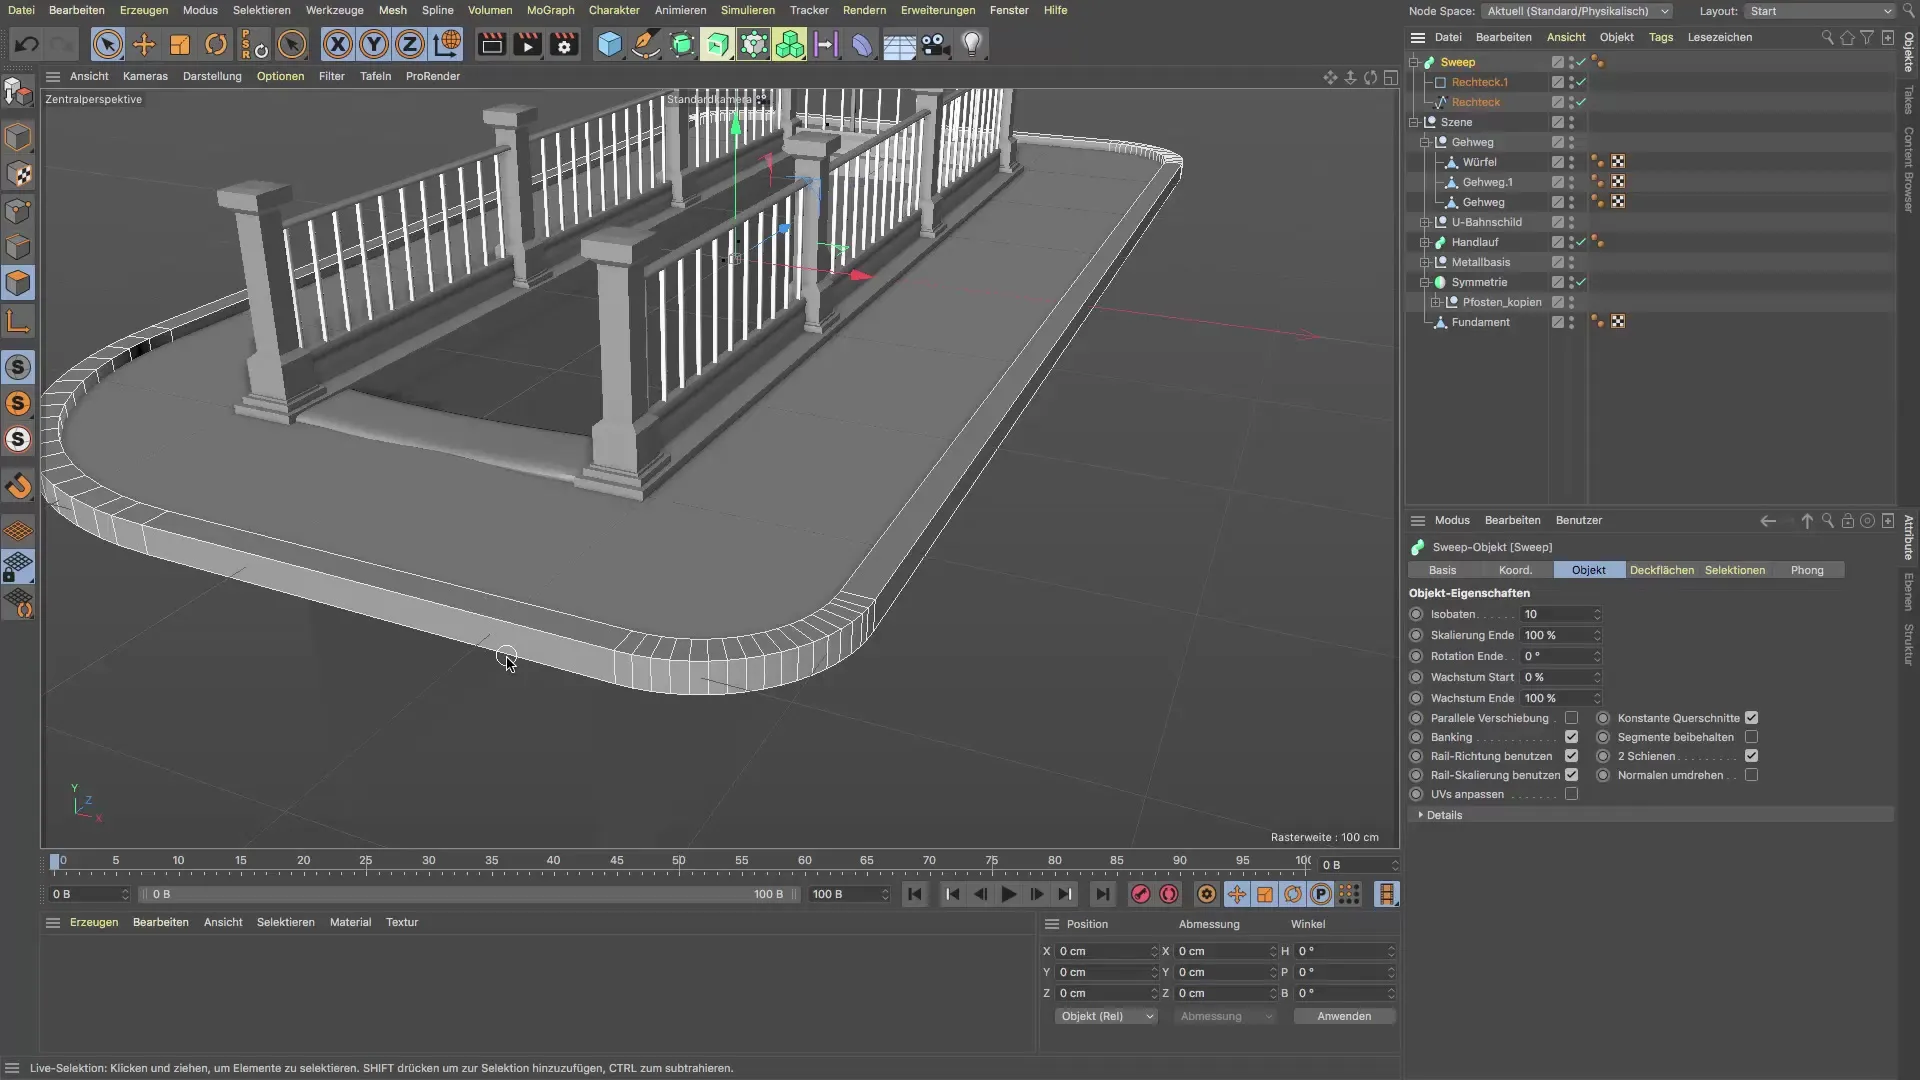
Now select the clone object and switch to “Distribute” mode. Choose the “Z-Mode” and set the object you want to clone to the previously created “rectangular spline” (RectSpline). This will evenly distribute the clones along the spline.
To adjust the subdivisions, go to the properties of the clone object. Increase the number of clones to get more subdivisions until you reach an appropriate number of about 17 to 24 clones. Make sure the clones are evenly distributed and that the transition between curves and straight stones appears smooth.
Now, it’s time to adjust the width of the cubes as desired. Click on the cube in the clone object and change the edge lengths to about 1.1 cm. This will control the thickness of the subdivision and should be sufficient for your design.
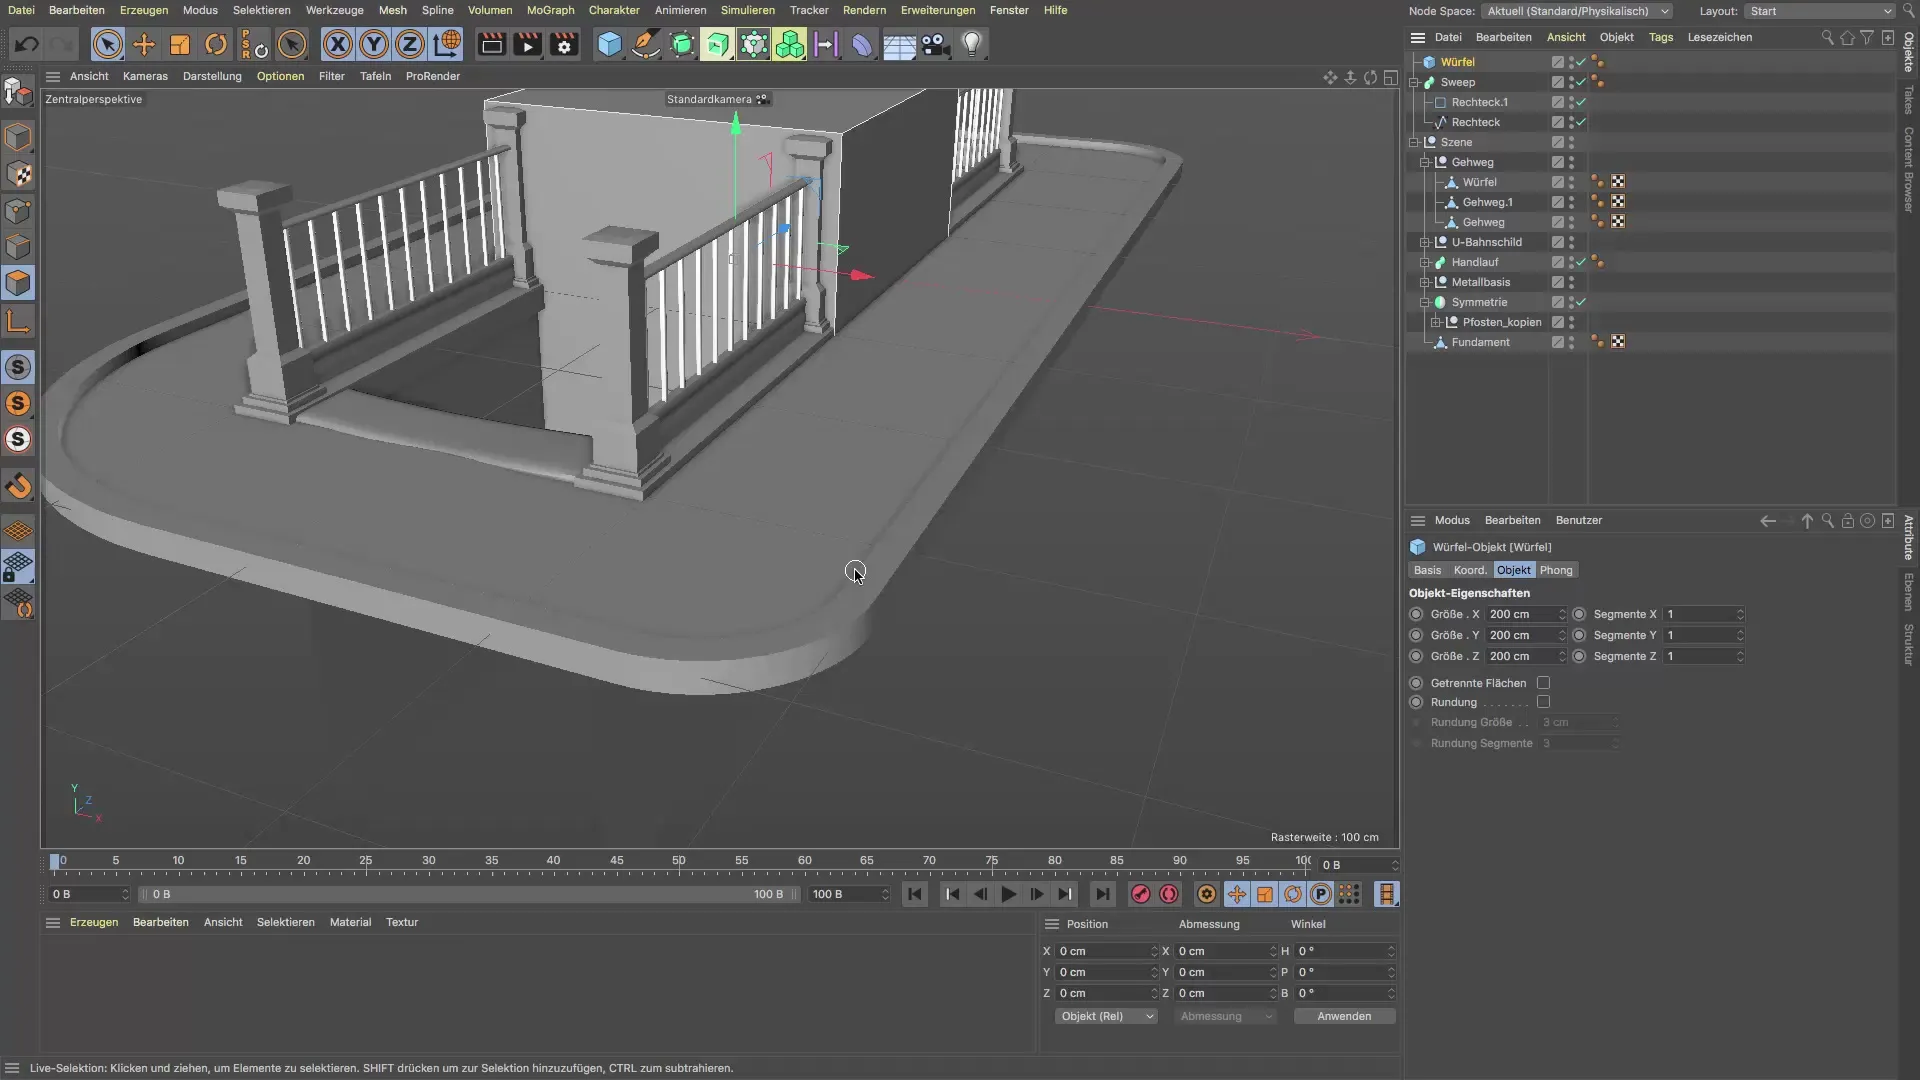
Now connect the two elements using a Boolean object. Create a new Bool object and place both objects there – the curb and the clone object. This linkage will subdivide your curb and show the desired gaps between the blocks.
It is important to check that the subdivision is not too coarse. Ensure that the subdivision does not stand out too much during texturing in the later work. Ideally, keep the subdivision as fine as possible.
To further refine the geometry of the curbs, you can increase the number of subdivisions in the settings of the spline object. Ensure that the curves of the curb are smooth and not angular. Also, test how high the subdivision should be at the corners.

For an even more appealing result, you can use the “Bevel Deformer” to round off the corners of the curb. Move the Bevel Deformer into the hierarchy under the Sweep object. Make sure it is placed directly under the Sweep to achieve the shape you desire.
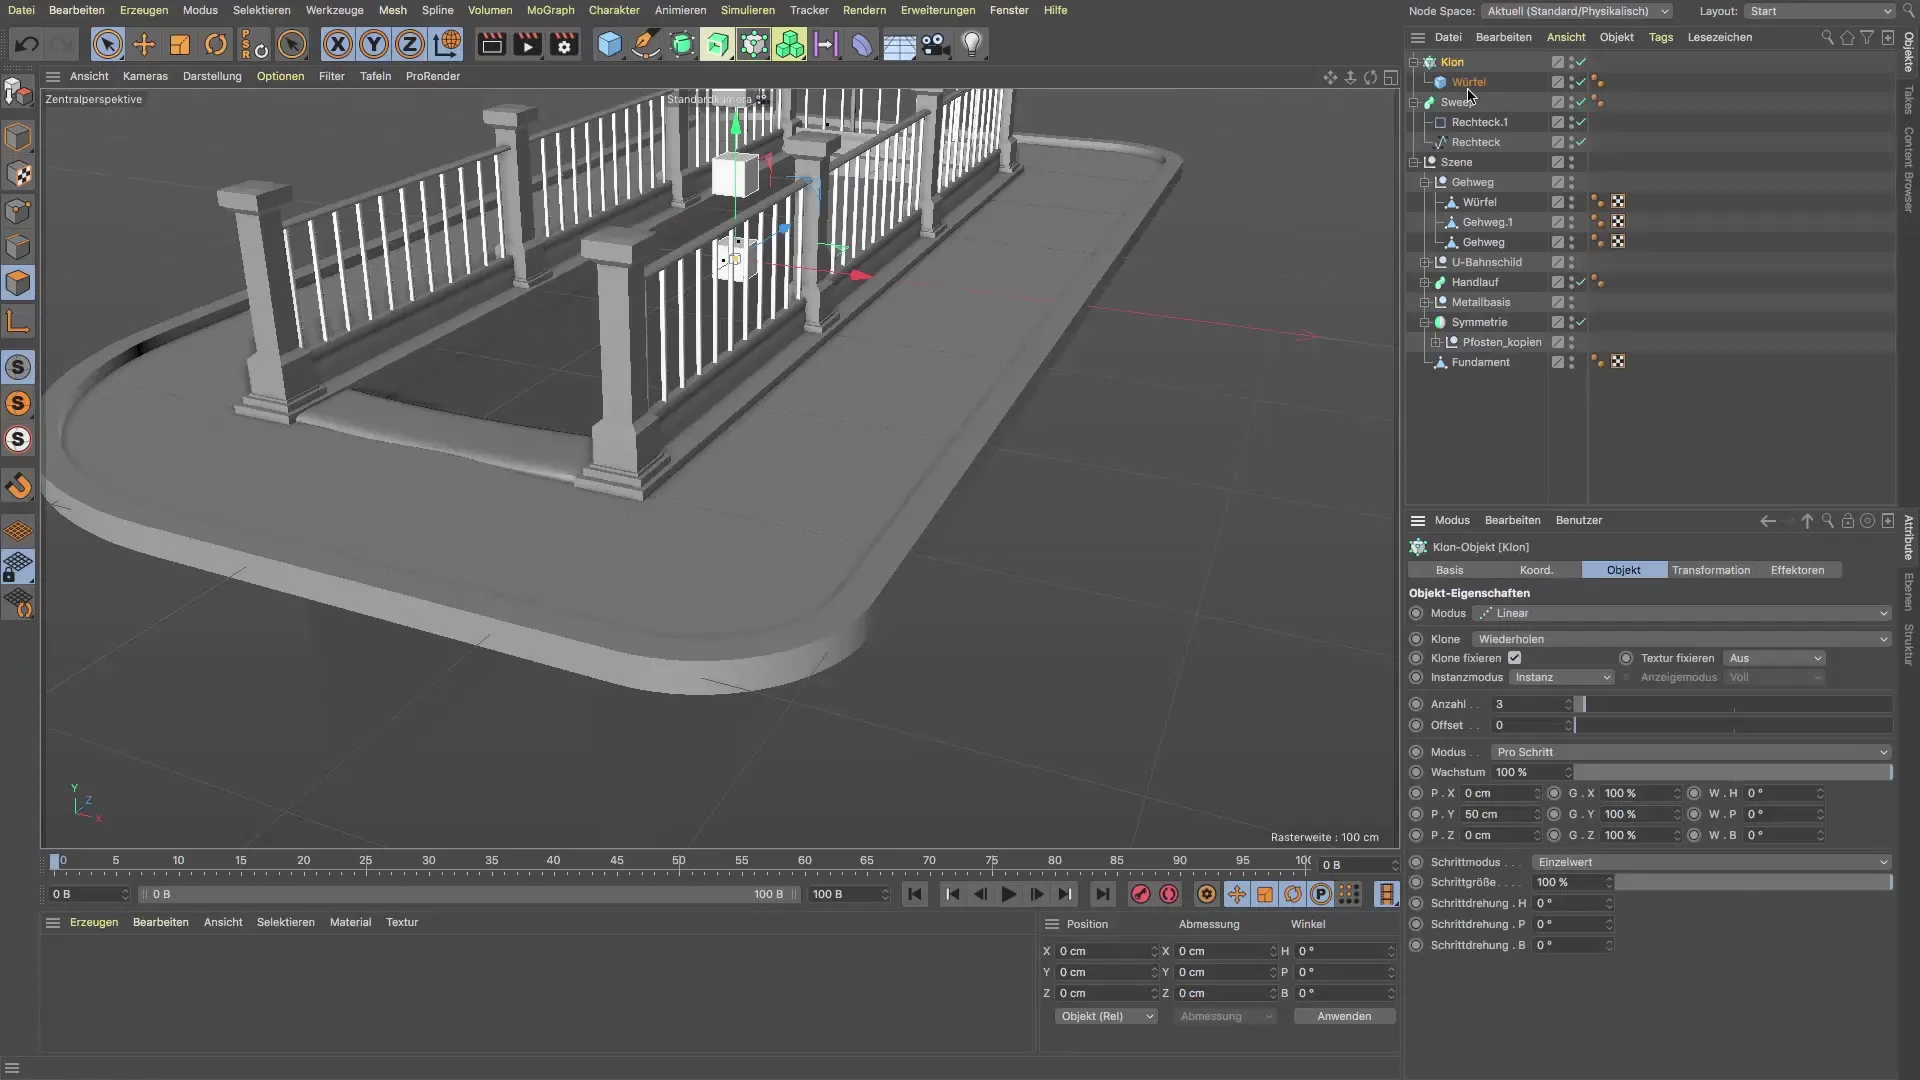
Finally, test the textures that will be applied to the surface of the curb. Ensure that the UV mapping is done in a continuous pattern and that it does not apply too thickly at the angled spots.
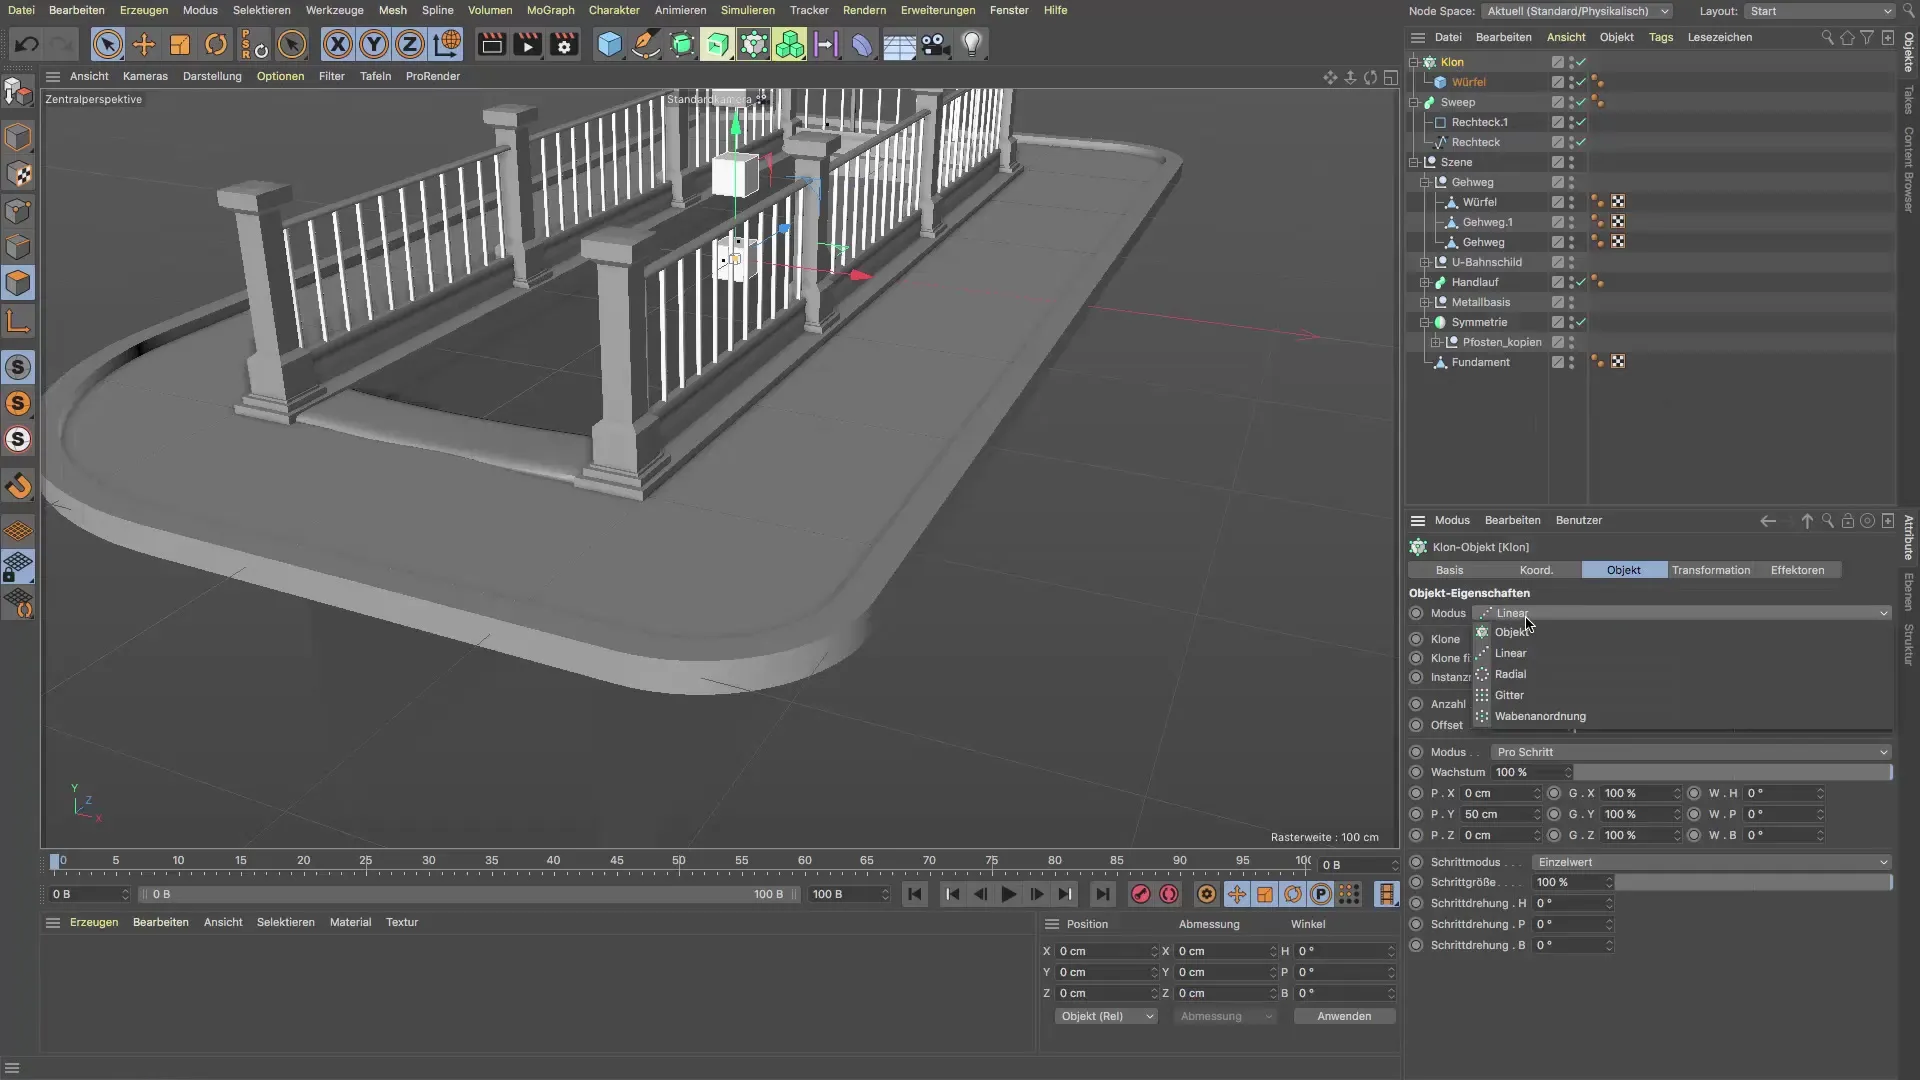
After making all adjustments, give your object a meaningful name, such as “curb,” and organize it within your scene layout to ensure everything is in the right place.
Summary – Subdivision of Curbs in Cinema 4D
The subdivision of curbs in Cinema 4D is a central step in creating realistic landscape models. A targeted use of clones and Boolean operations ensures that the subdivisions meet the desired design and that working with textures looks impressive.
Frequently Asked Questions
How can I adjust the number of subdivisions?You can adjust the number of subdivisions in the clone object under the distribution settings.
Can I change the subdivisions at any time?Yes, you can adjust the edge lengths of the cube in the clone object at any time to refine the subdivisions as desired.
Why do I use the Bevel Deformer?The Bevel Deformer is excellent for rounding the corners of the curb, resulting in a more realistic appearance.
Can I change the distribution of the cubes?Yes, the distribution of the cubes can be optimized by adjusting the parameters in the clone object.
Is it important to pay attention to UV mapping?Yes, to ensure that the textures are applied evenly and attractively, UV mapping is crucial.
