Creating models in 3D can be one of the most fascinating aspects of digital art. In this tutorial, I will show you how to create a simple U-bahn-sign in Cinema 4D. With the new features from version R21, the modeling process is significantly simplified and you can let your creativity run wild. Preparation and accuracy are crucial when it comes to achieving appealing results. Let’s dive right in.
Main Insights
- The U-Bahn sign is created by combining splines and an extrude object.
- The new feature of caps in R21 greatly facilitates modeling.
- Spline snapping is an important tool for achieving precise placements.
Step-by-Step Guide
To create a U-Bahn sign, start with the following steps:
1. Create the Rectangle
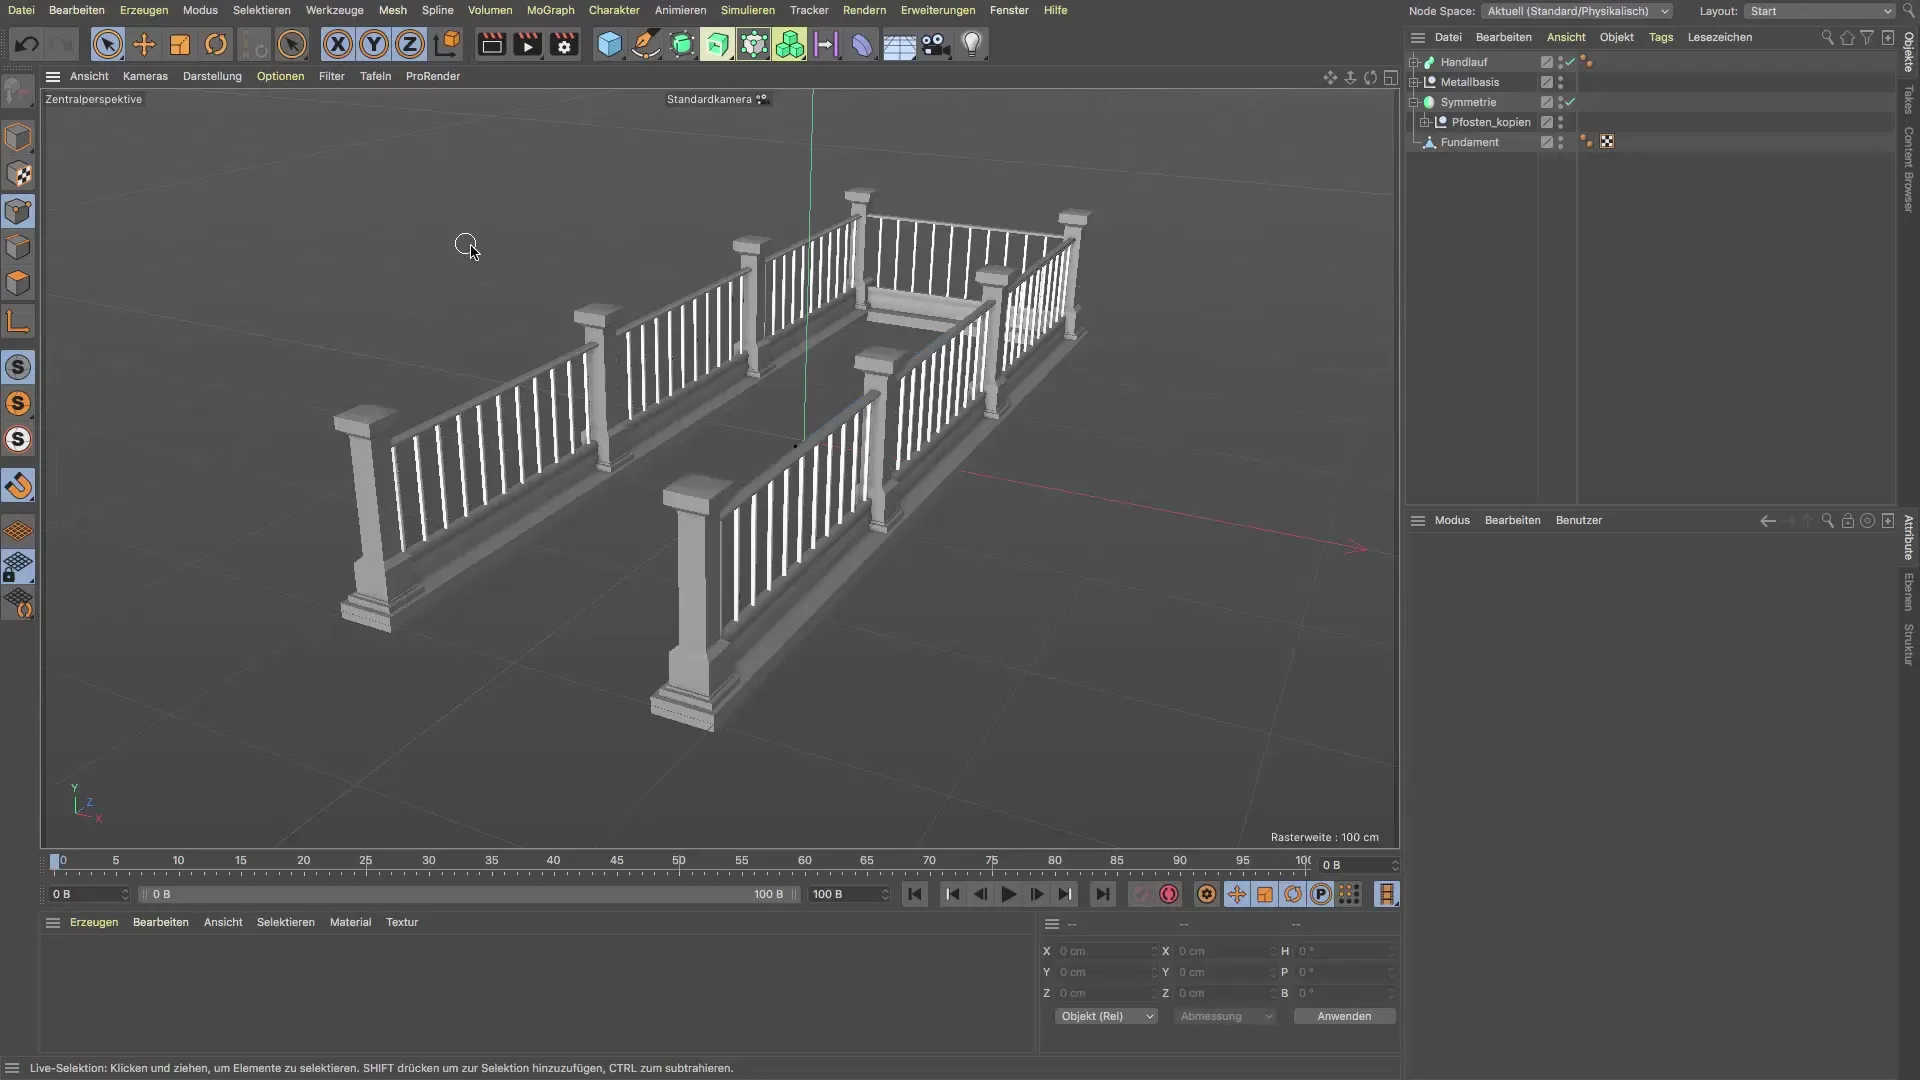
Open Cinema 4D and select the rectangle spline tool. Set the dimensions to 60 x 60 cm. Position the rectangle so that it floats correctly above the railing. It should extend slightly over the railing to create the base for the sign. This is important because two supports will be integrated on the left and right later. Important: Make sure snapping is enabled to place the rectangle precisely.
2. Add the Semi-Circle
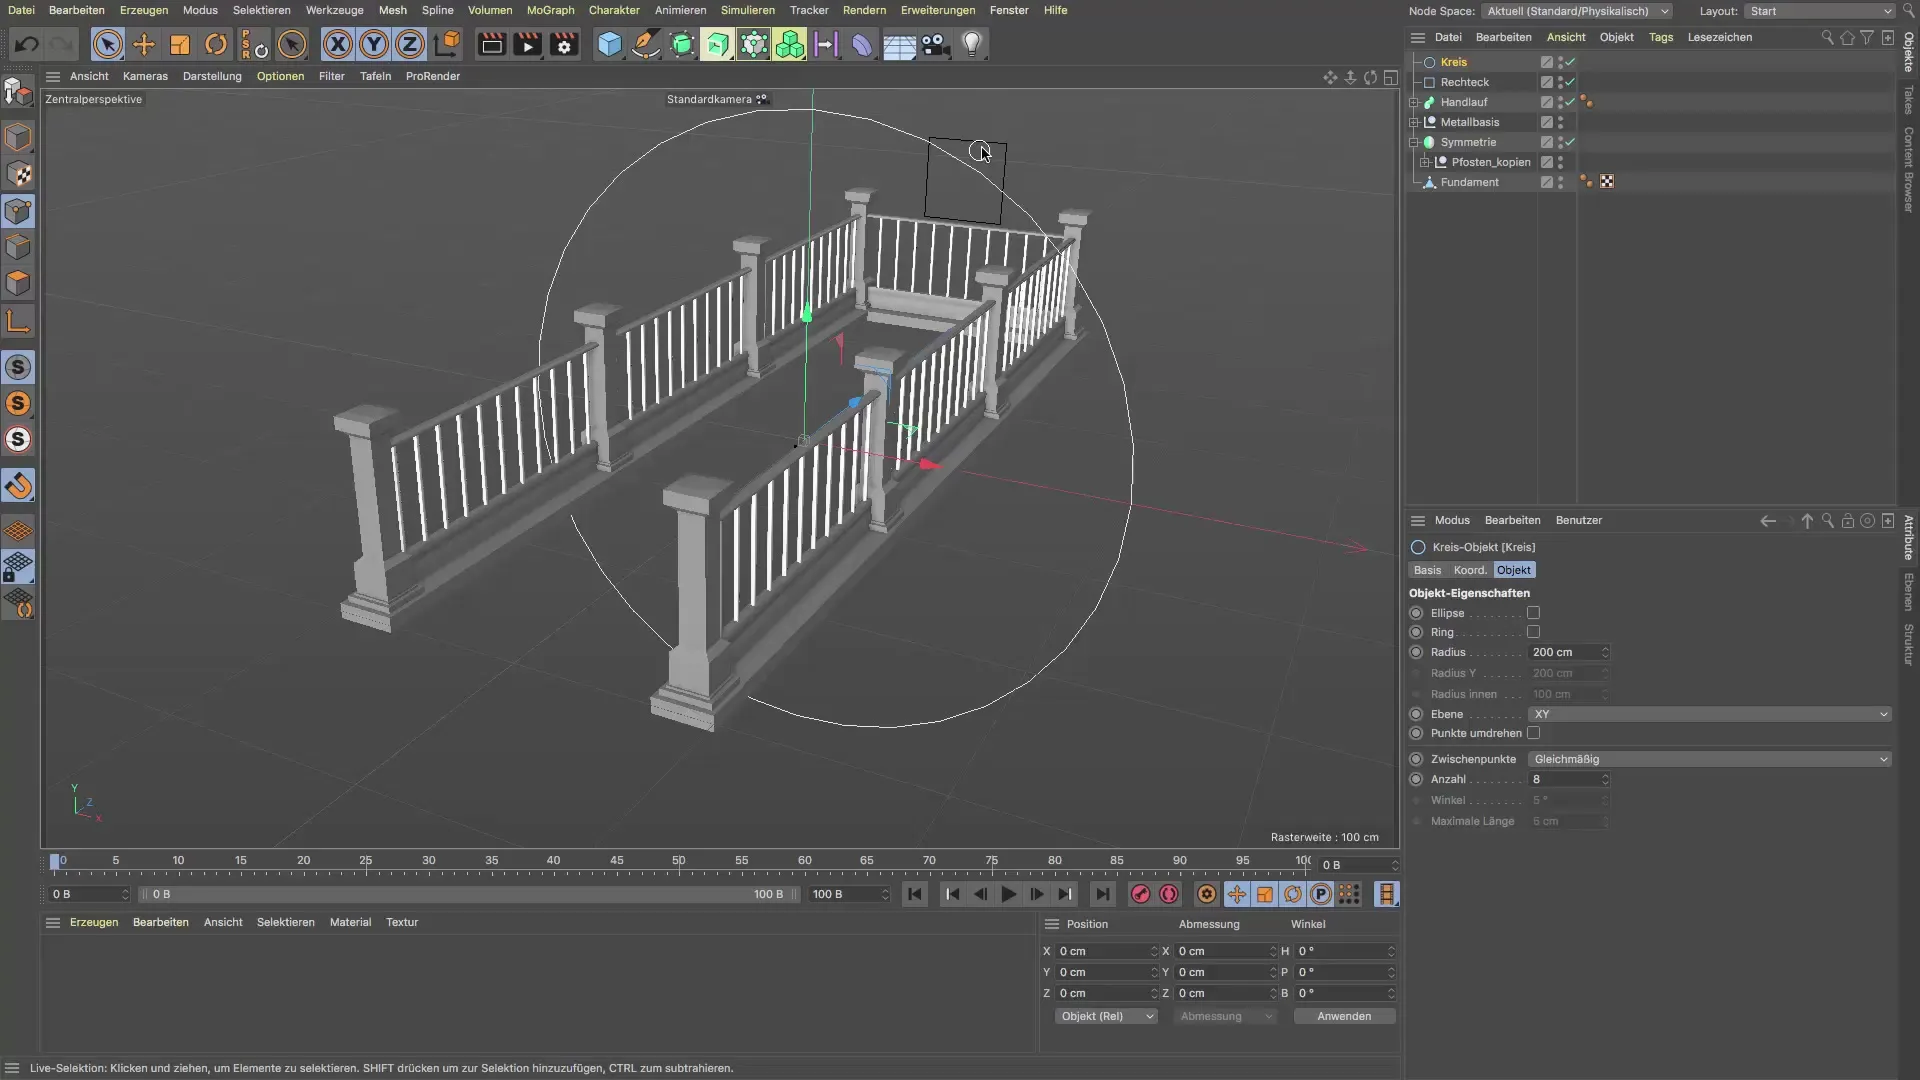
Now add a circle with a diameter of 50 cm (thus a radius of 25 cm). This will represent the top of your sign. Position the circle so that it sits exactly on the rectangle. Again, make sure to use snapping to ensure a perfect overlap.
3. Use Spline Mask
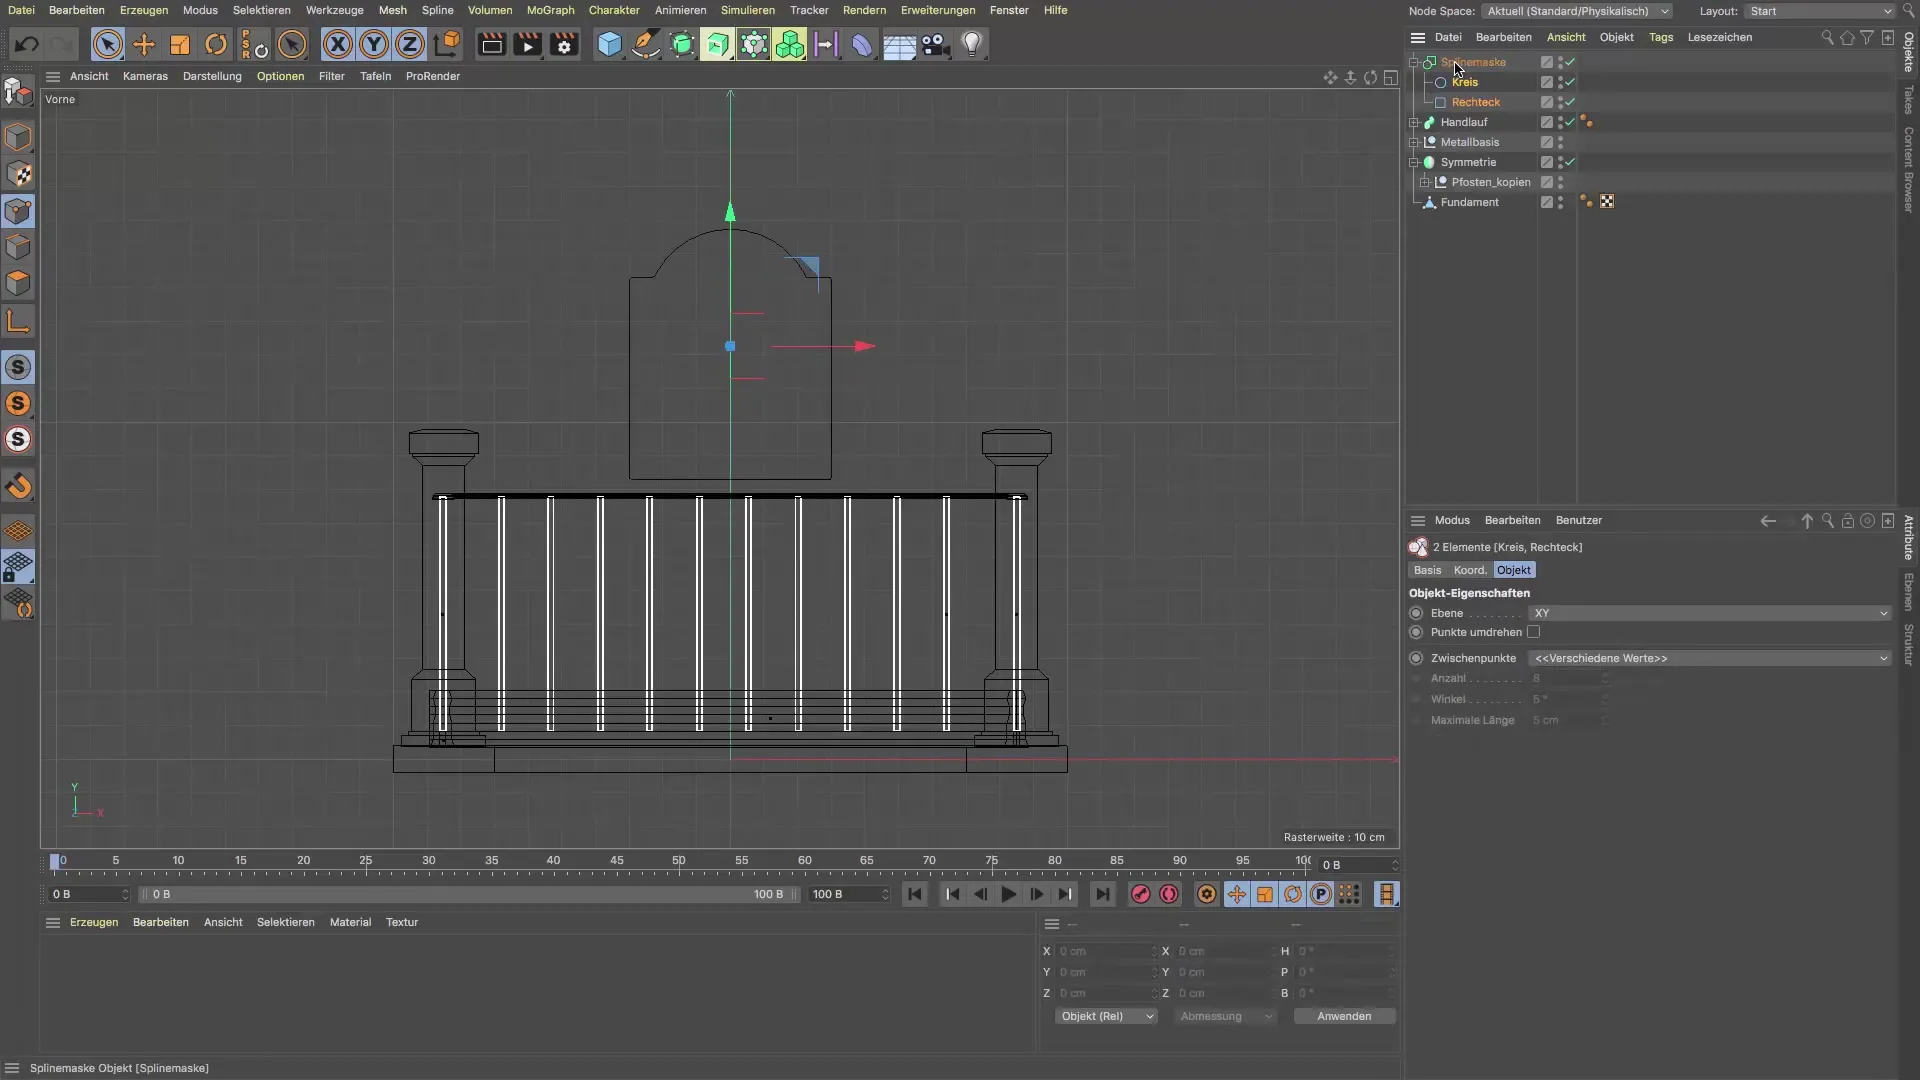
To unite the two splines, use the spline mask. Insert the rectangle and the semi-circle into the spline mask. This will give you a cohesive outline for the sign, making the modeling process easier. After this step, you will already see the shape we want to create.
4. Extrude the Sign
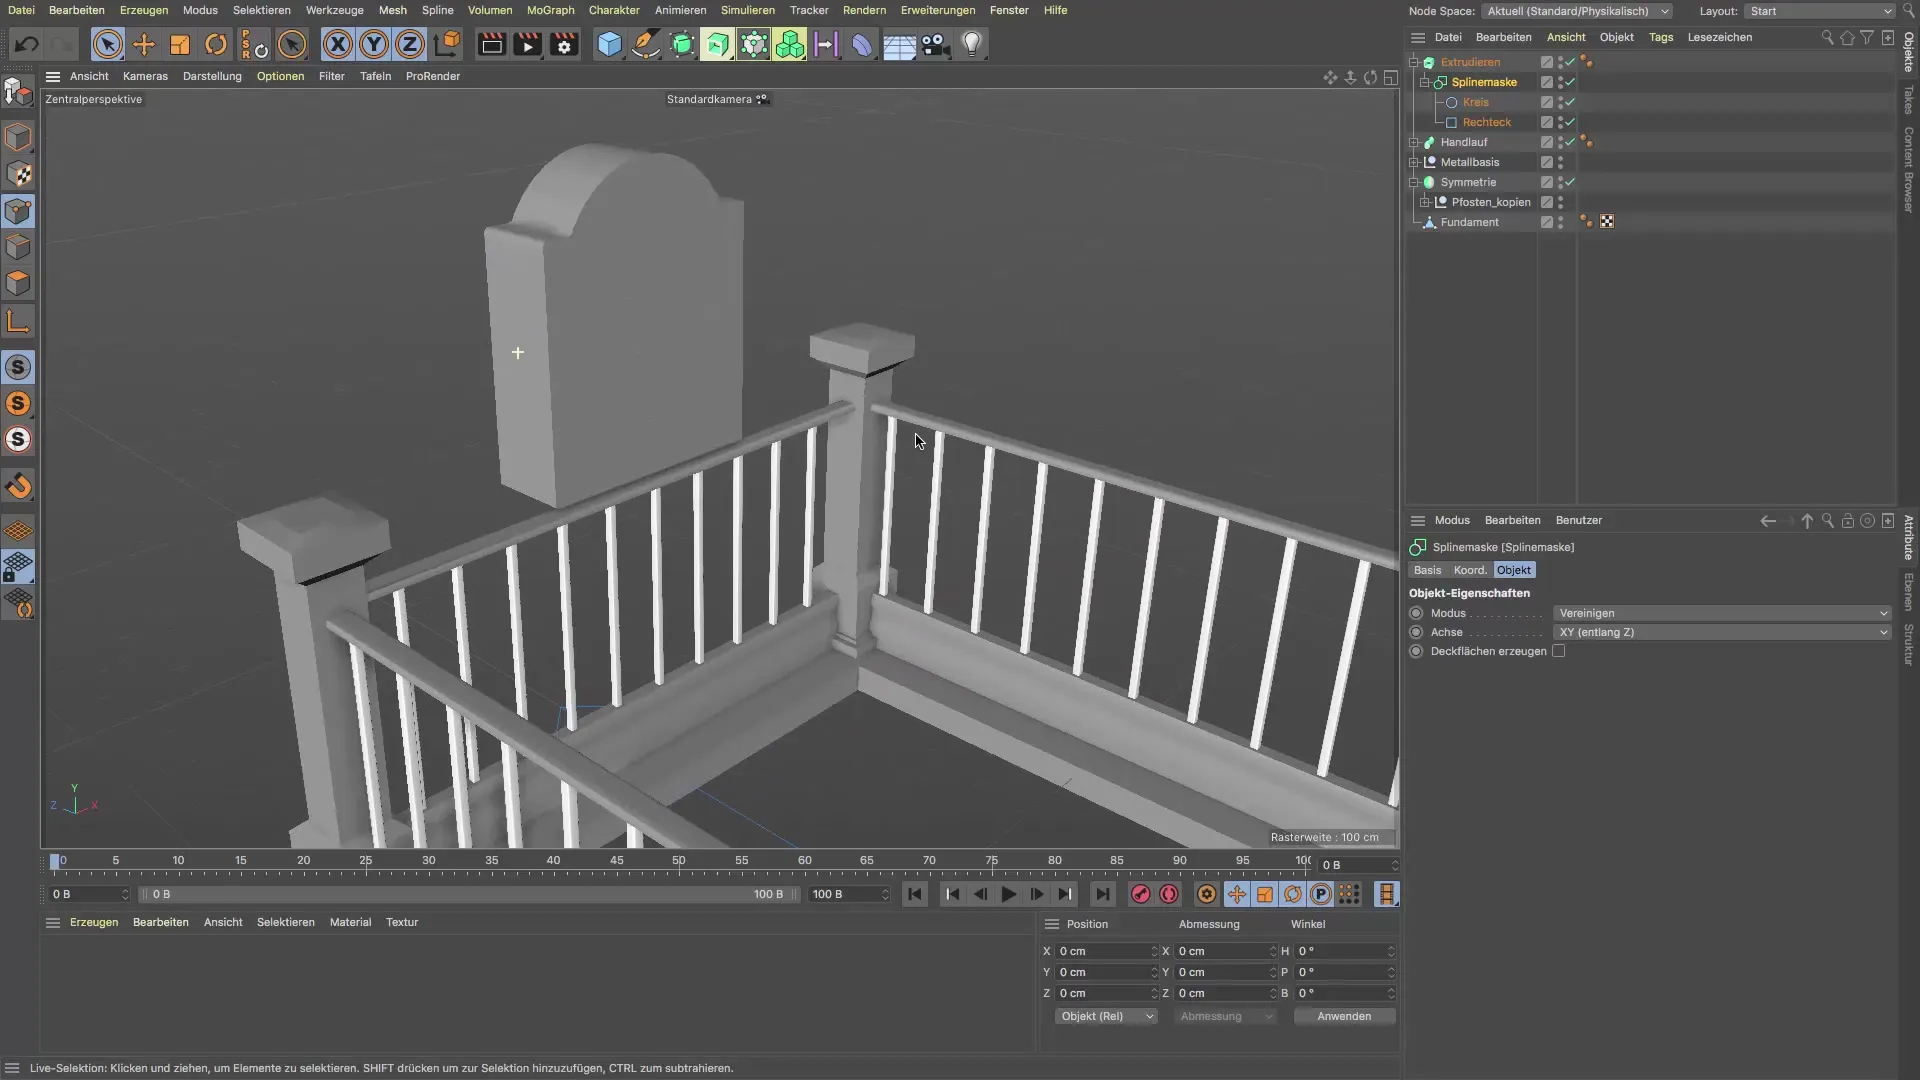
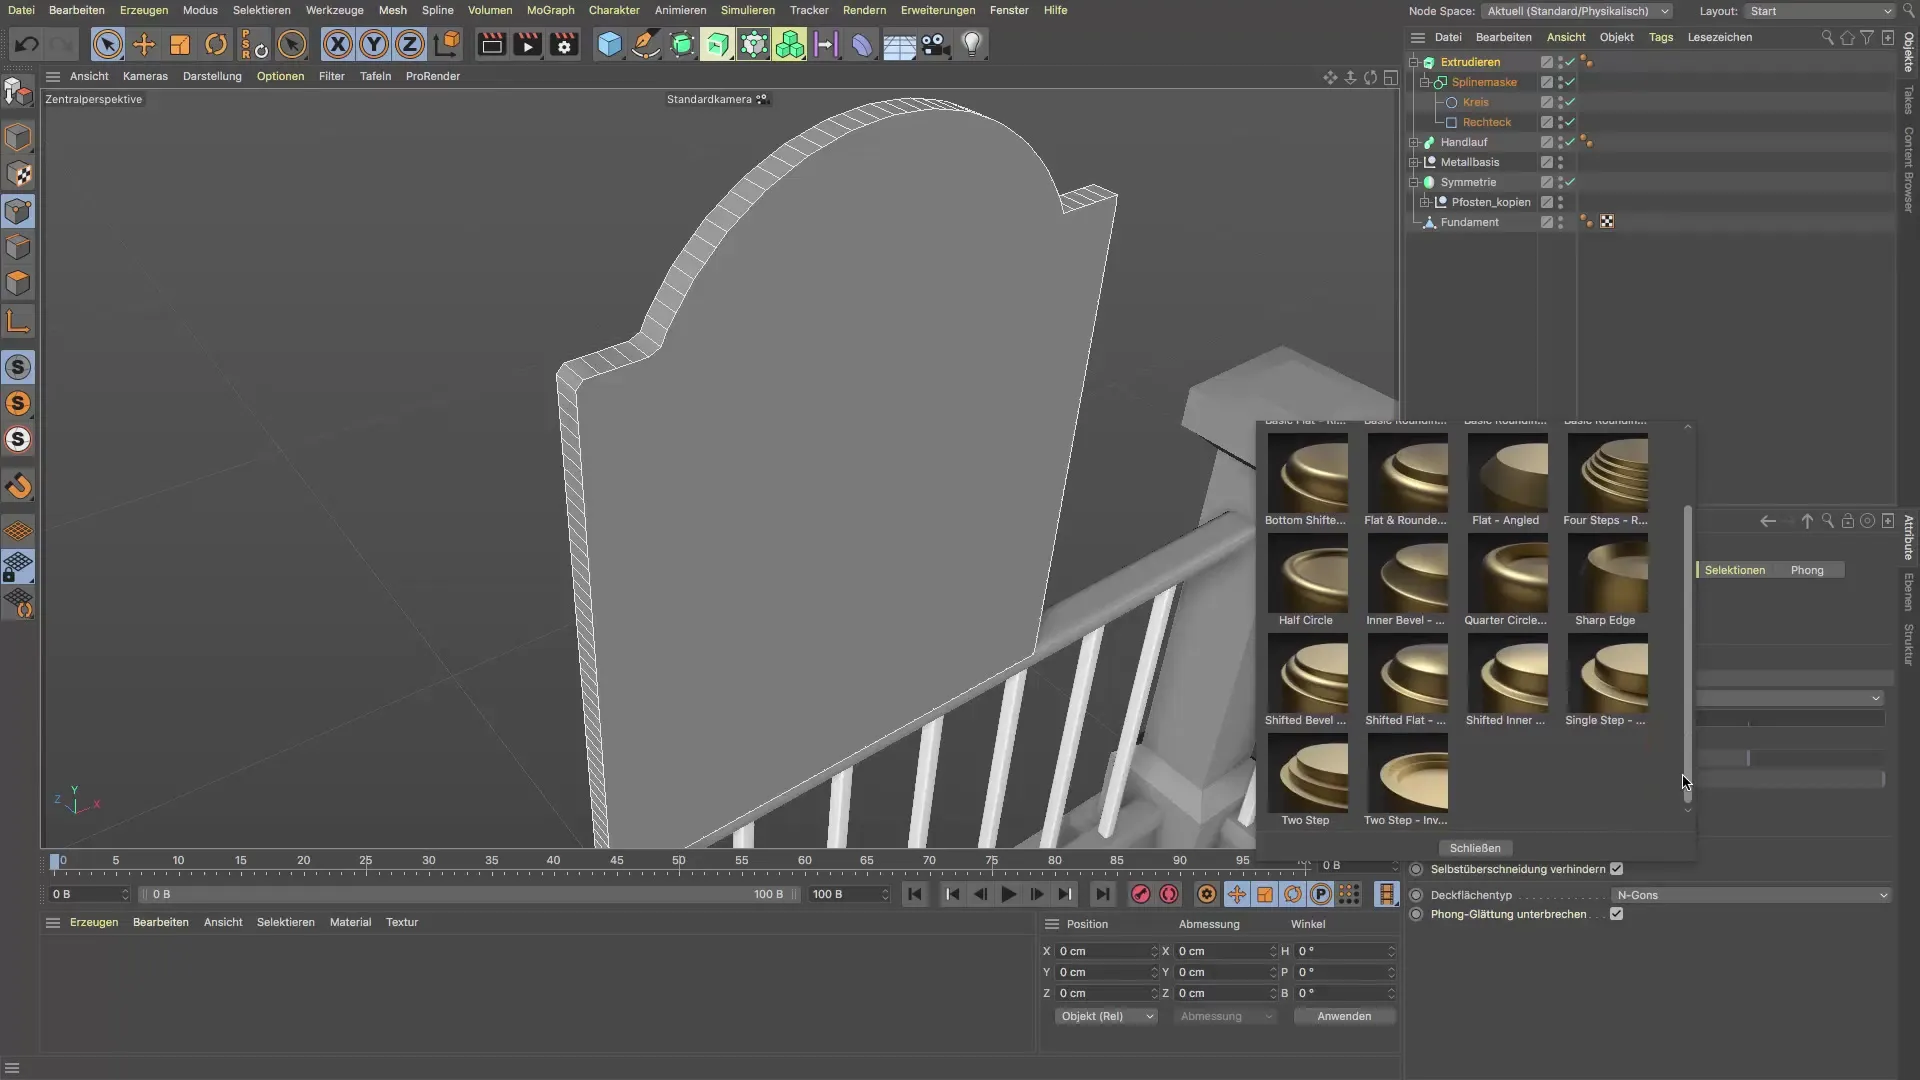
To give the sign thickness, create an extrude object. Set the thickness to about 3-4 cm. Make sure that the extrude object is correctly connected to the spline mask. Also check the caps settings to ensure that the transitions are clean and overlap-free. The presets in the extrude object will help you achieve an appealing result.
5. Refine the Edges
To make the edges of the sign visually more appealing, you can try different presets for rounding. You will find that the polygon structure is not negatively affected by the various presets. Experiment with the settings to achieve the desired look.
6. Position the Supports
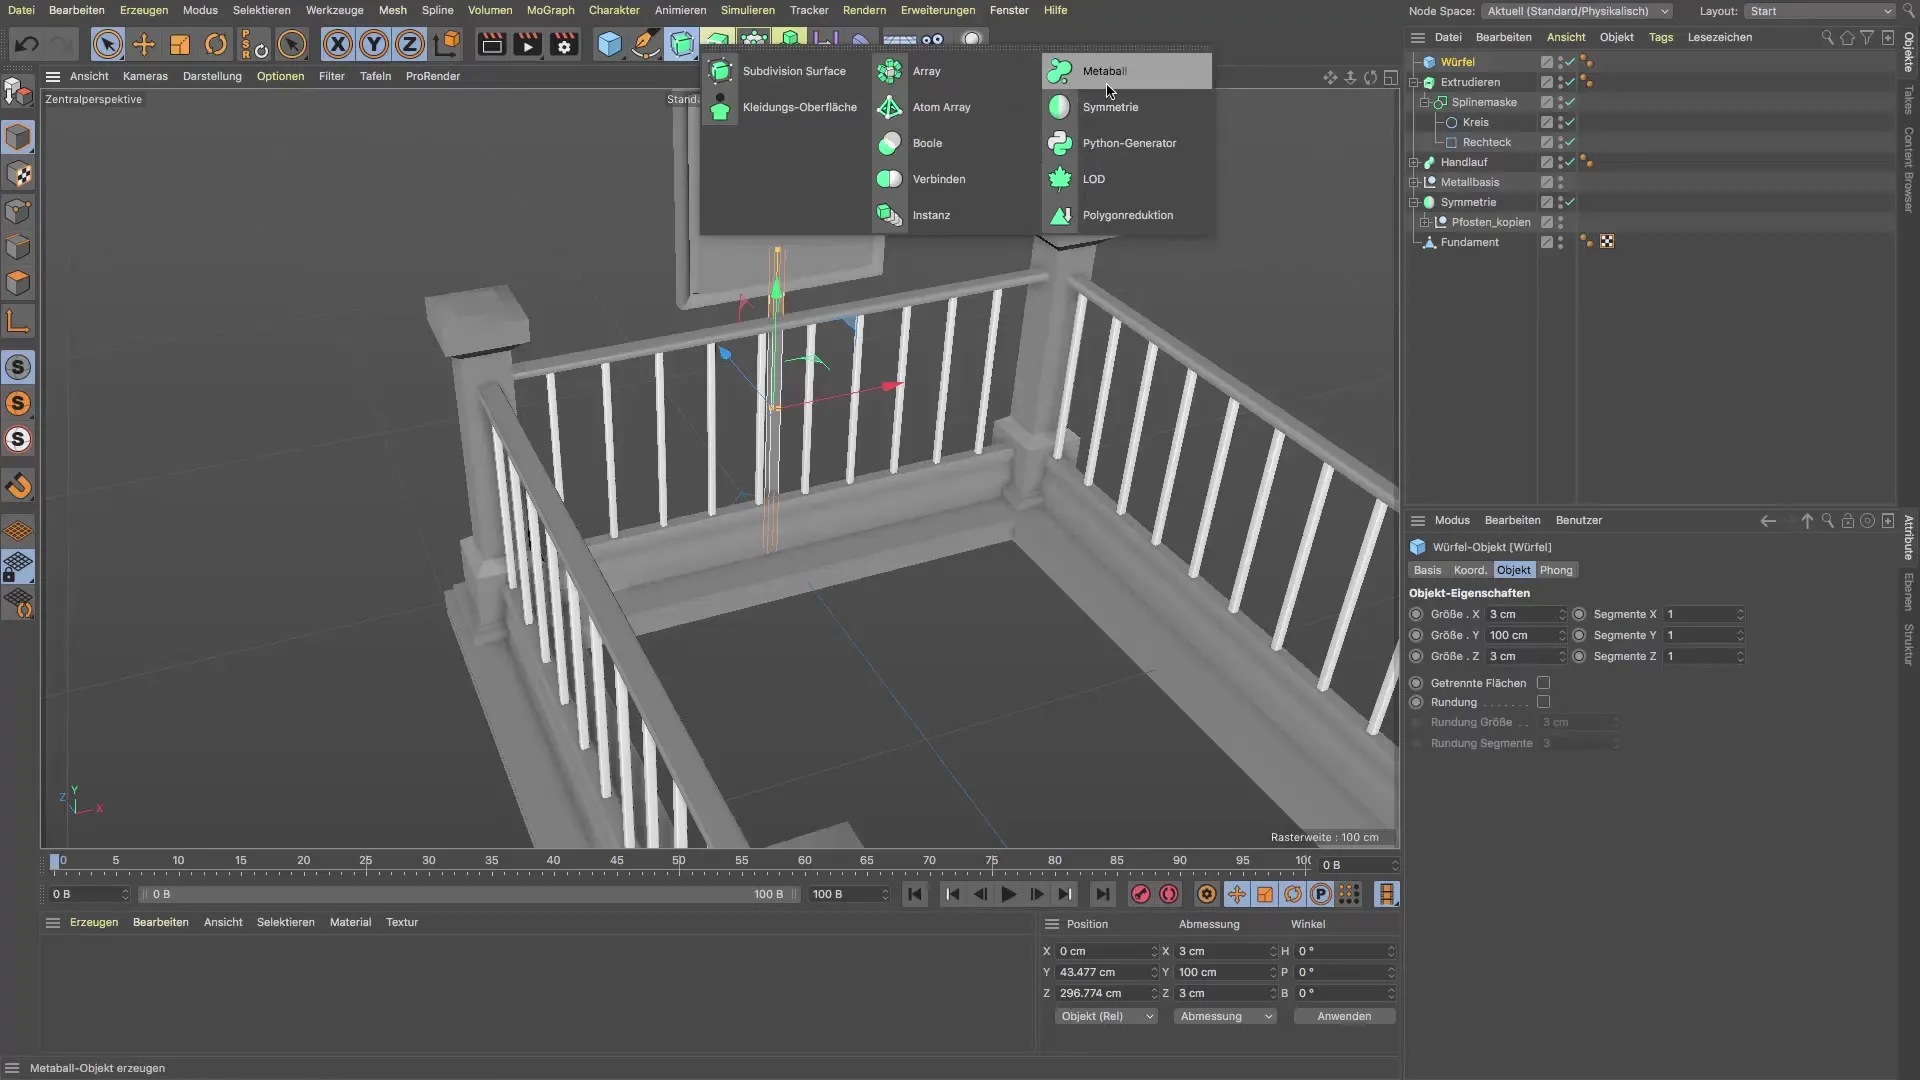
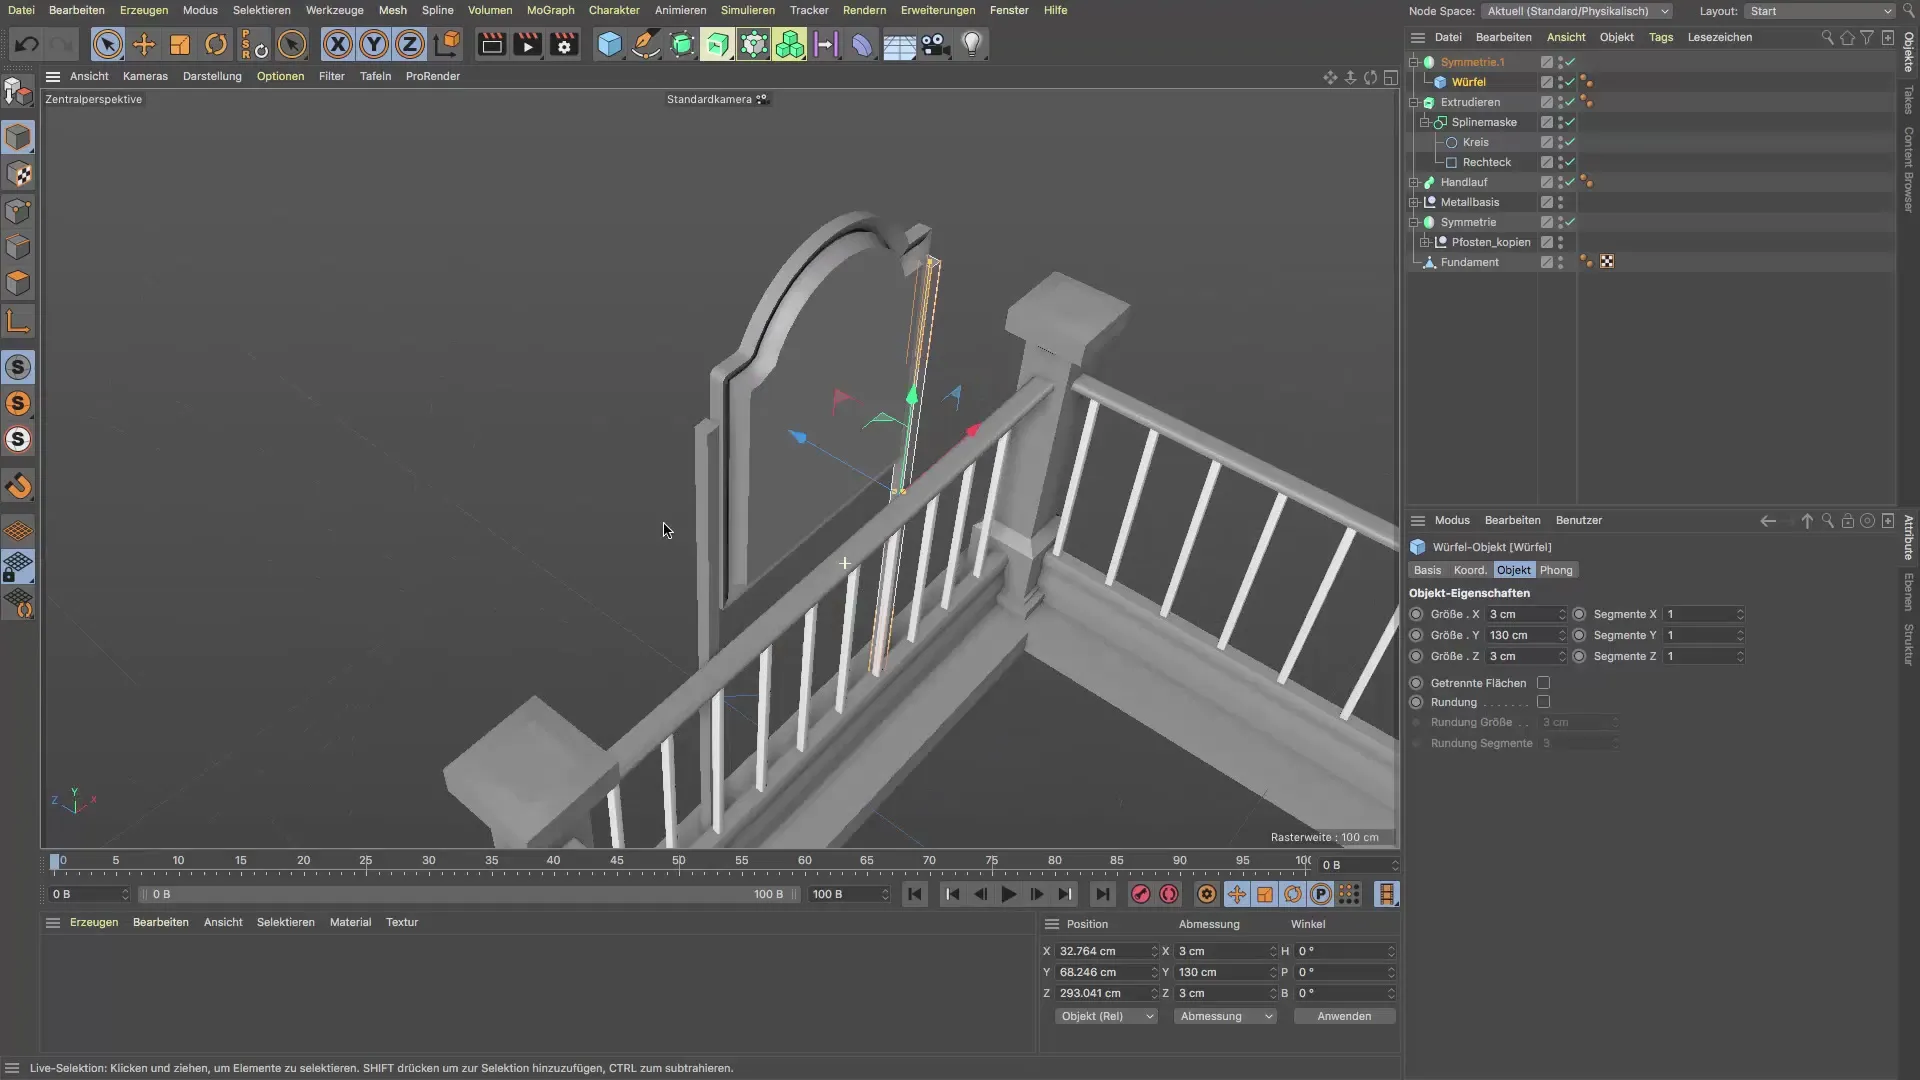
Now you need two supports to hold the sign. Create two cubes and set their dimensions to 3 x 3 cm for the cross-section and about 130 cm height. Position these supports so that they lie directly below the sign holder. Use the symmetry object to efficiently duplicate the supports.
7. Create the Connections
To securely attach the sign, you can use cylinders that act as connections. Place these through the supports and shorten them to the desired length. Make sure they are positioned correctly.
8. Merge the Elements
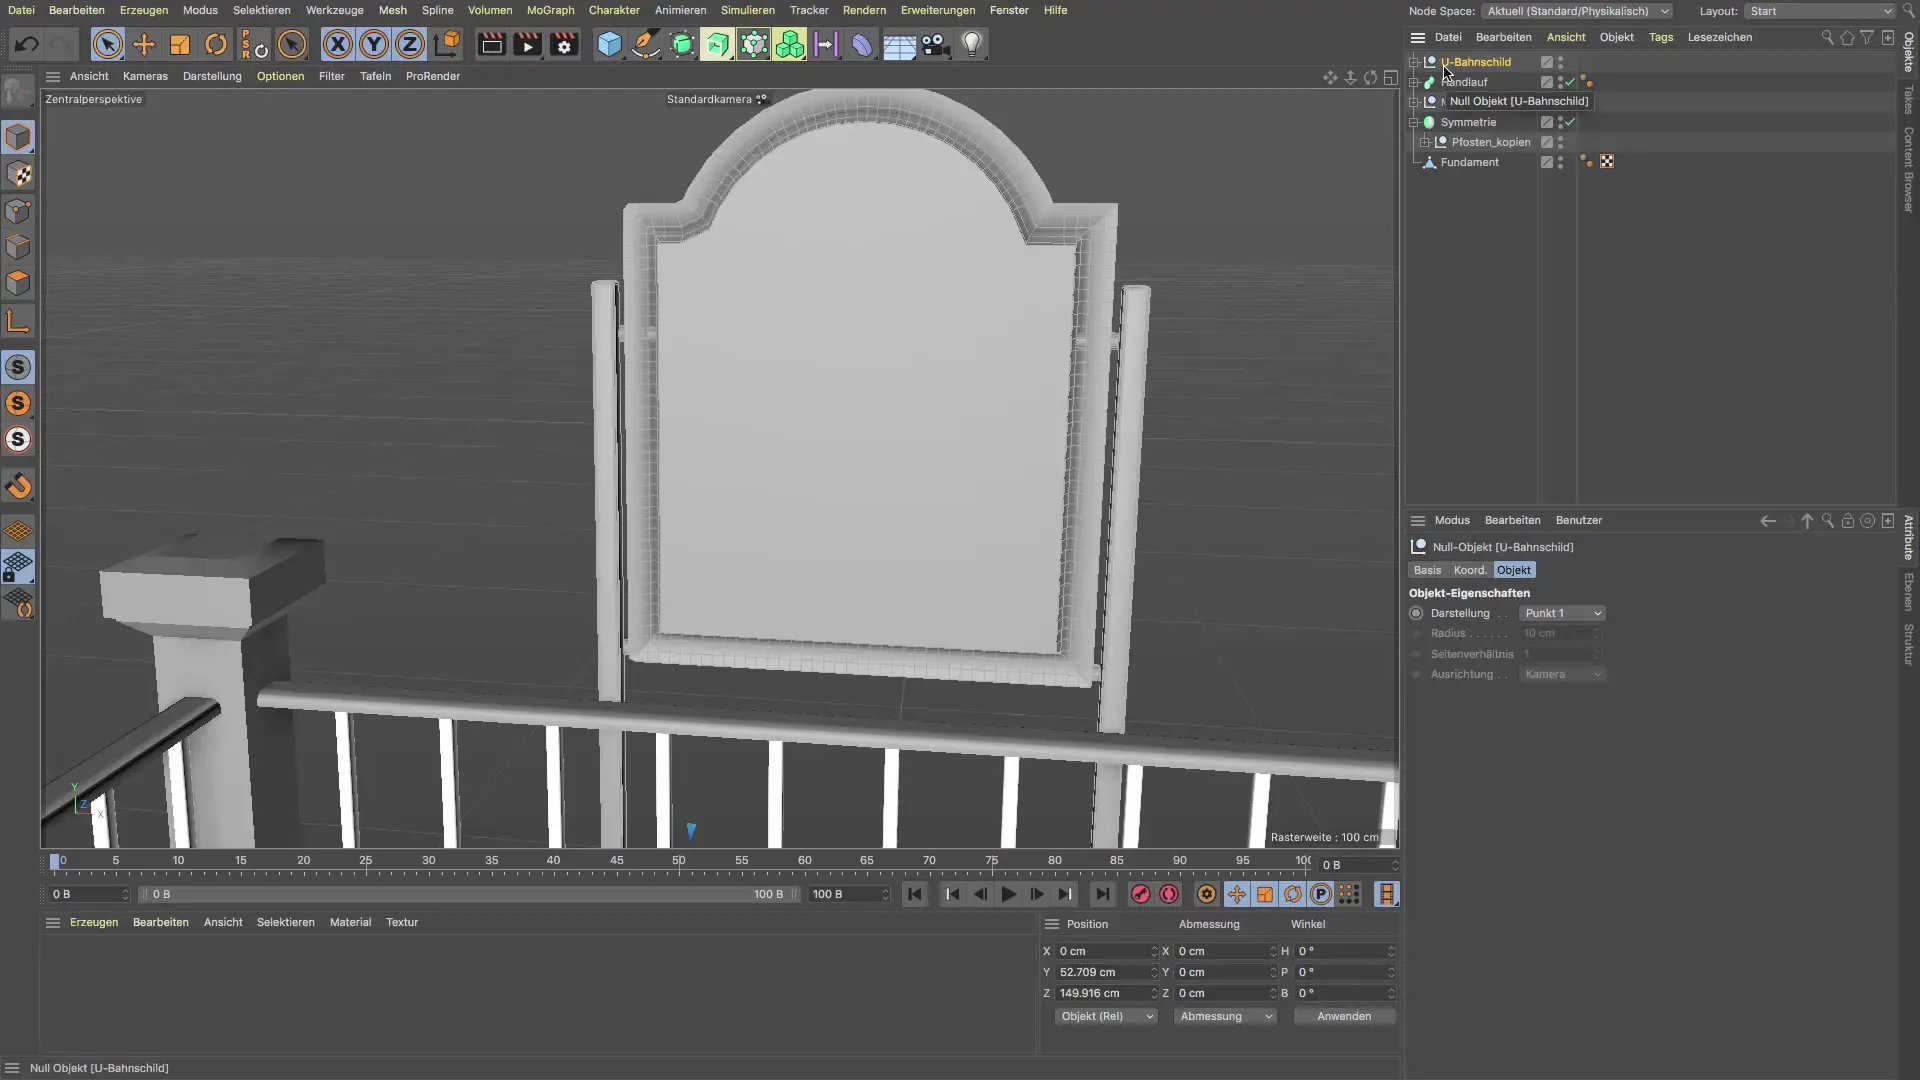
Finally, group all elements into a single object. Name this object "U-Bahn-Sign". This ensures a clean structure in your scene and makes it easy to move and edit the entire model.
Summary - Guide to Creating a U-Bahn Sign in Cinema 4D
In this guide, you learned how to create a U-Bahn sign in Cinema 4D. You saw how to effectively combine splines, use the extrude object, and work with the new features of R21. The application of snapping tools helped you achieve precise results. With these techniques, you can now realize your own creative projects.
Frequently Asked Questions
How many splines are needed for the sign?A total of two splines are needed: one rectangle for the base and one semi-circle for the top.
Can I use different shapes for the sign?Yes, you can use any shape you want, as long as it meets the requirements of your design idea.
How does spline snapping work in Cinema 4D?Spline snapping makes it easier to align objects precisely by providing visual feedback when drawing or placing splines.
What are the advantages of the new caps feature in R21?The caps feature gives you better control over the cap surfaces of extrude objects, resulting in cleaner outcomes.
Can I change the dimensions of the sign?Yes, you can adjust the dimensions of any part of the sign to fit your design.
