Embedding a Google Maps map on your WordPress website can be helpful for visitors to quickly find a location. With Elementor, this process is particularly simple. In this guide, I will show you step by step how to insert a Google Maps link into your webpage and customize the display of the map according to your wishes.
Key insights
- Google Maps can be easily integrated into Elementor.
- The address must be entered precisely to be displayed correctly.
- You can make various adjustments to the map, such as zoom levels and styling options.
Step-by-Step Guide
To insert a Google Maps link in Elementor, follow these simple steps:
Step 1: Add Google Maps Element
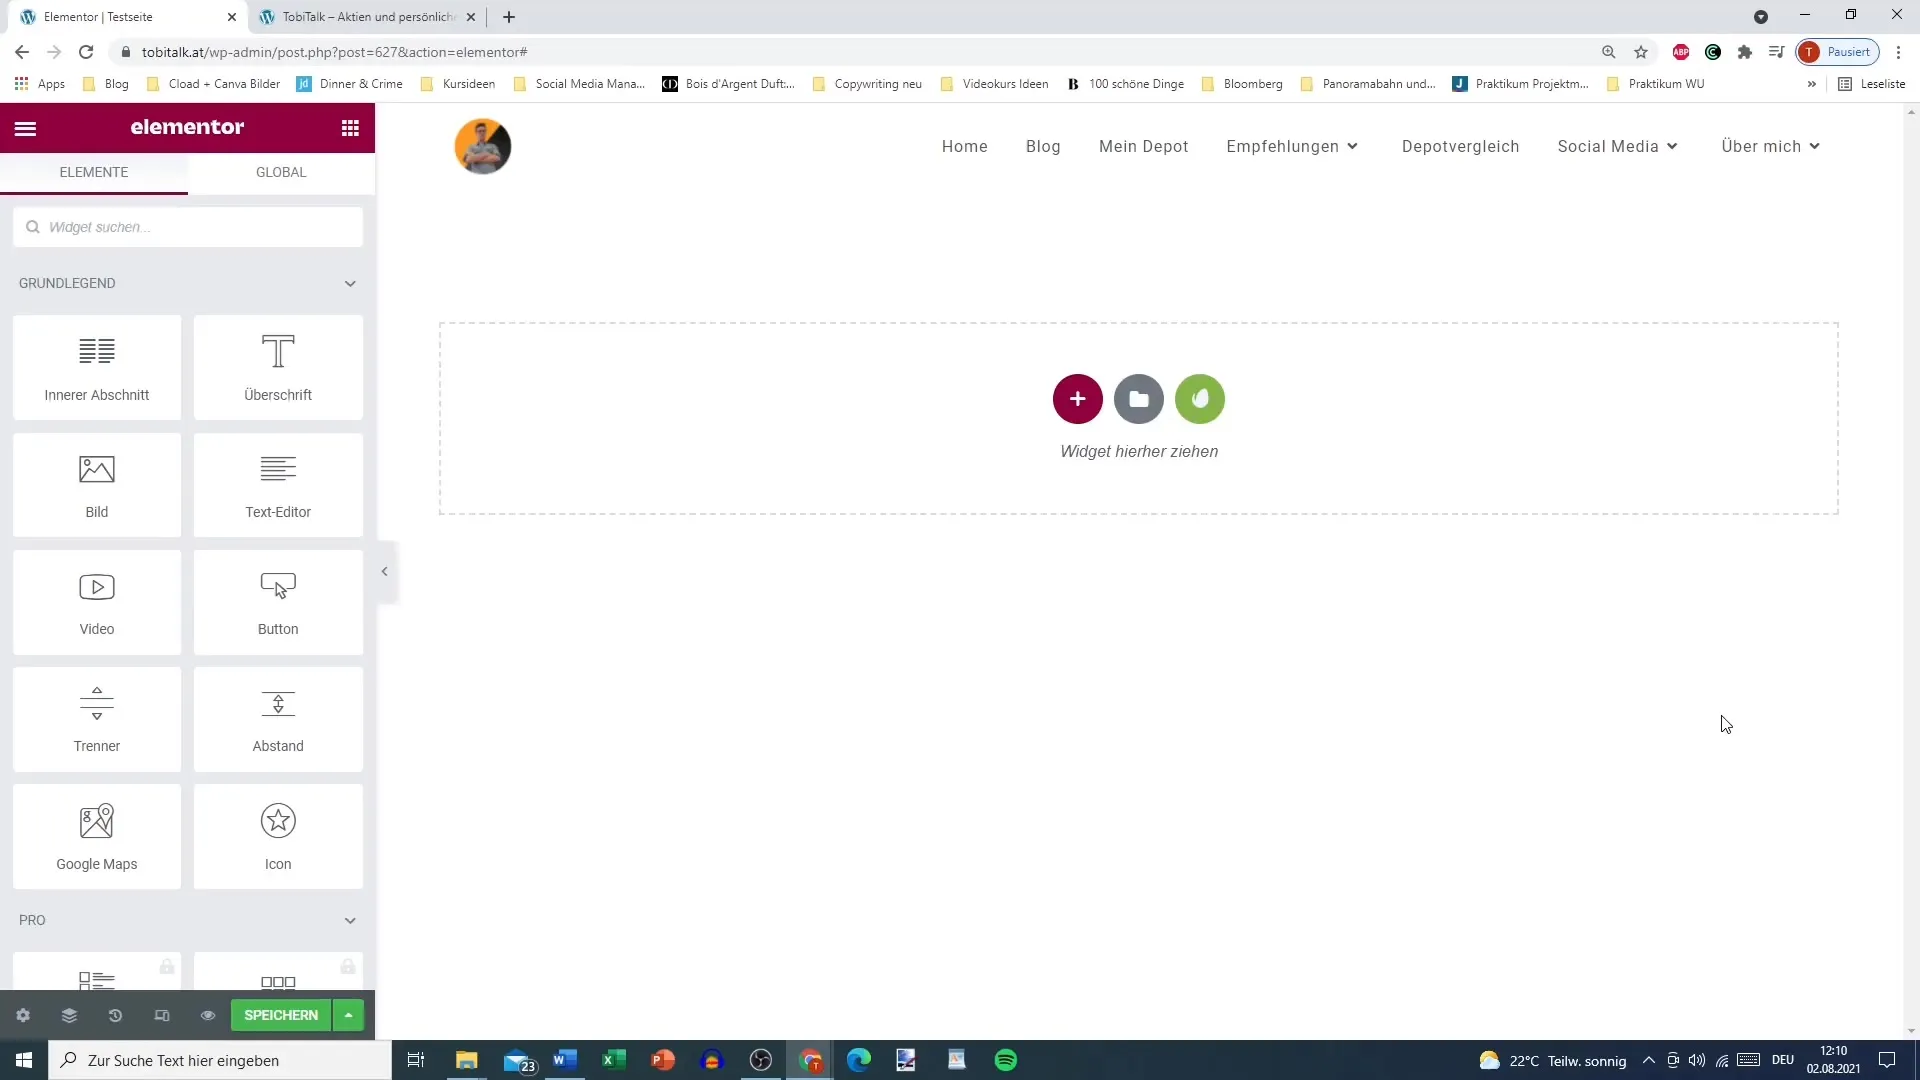
Start by dragging the Google Maps element into your Elementor editor. To do this, open the Elementor interface and use the drag-and-drop principle.
Step 2: Enter Location
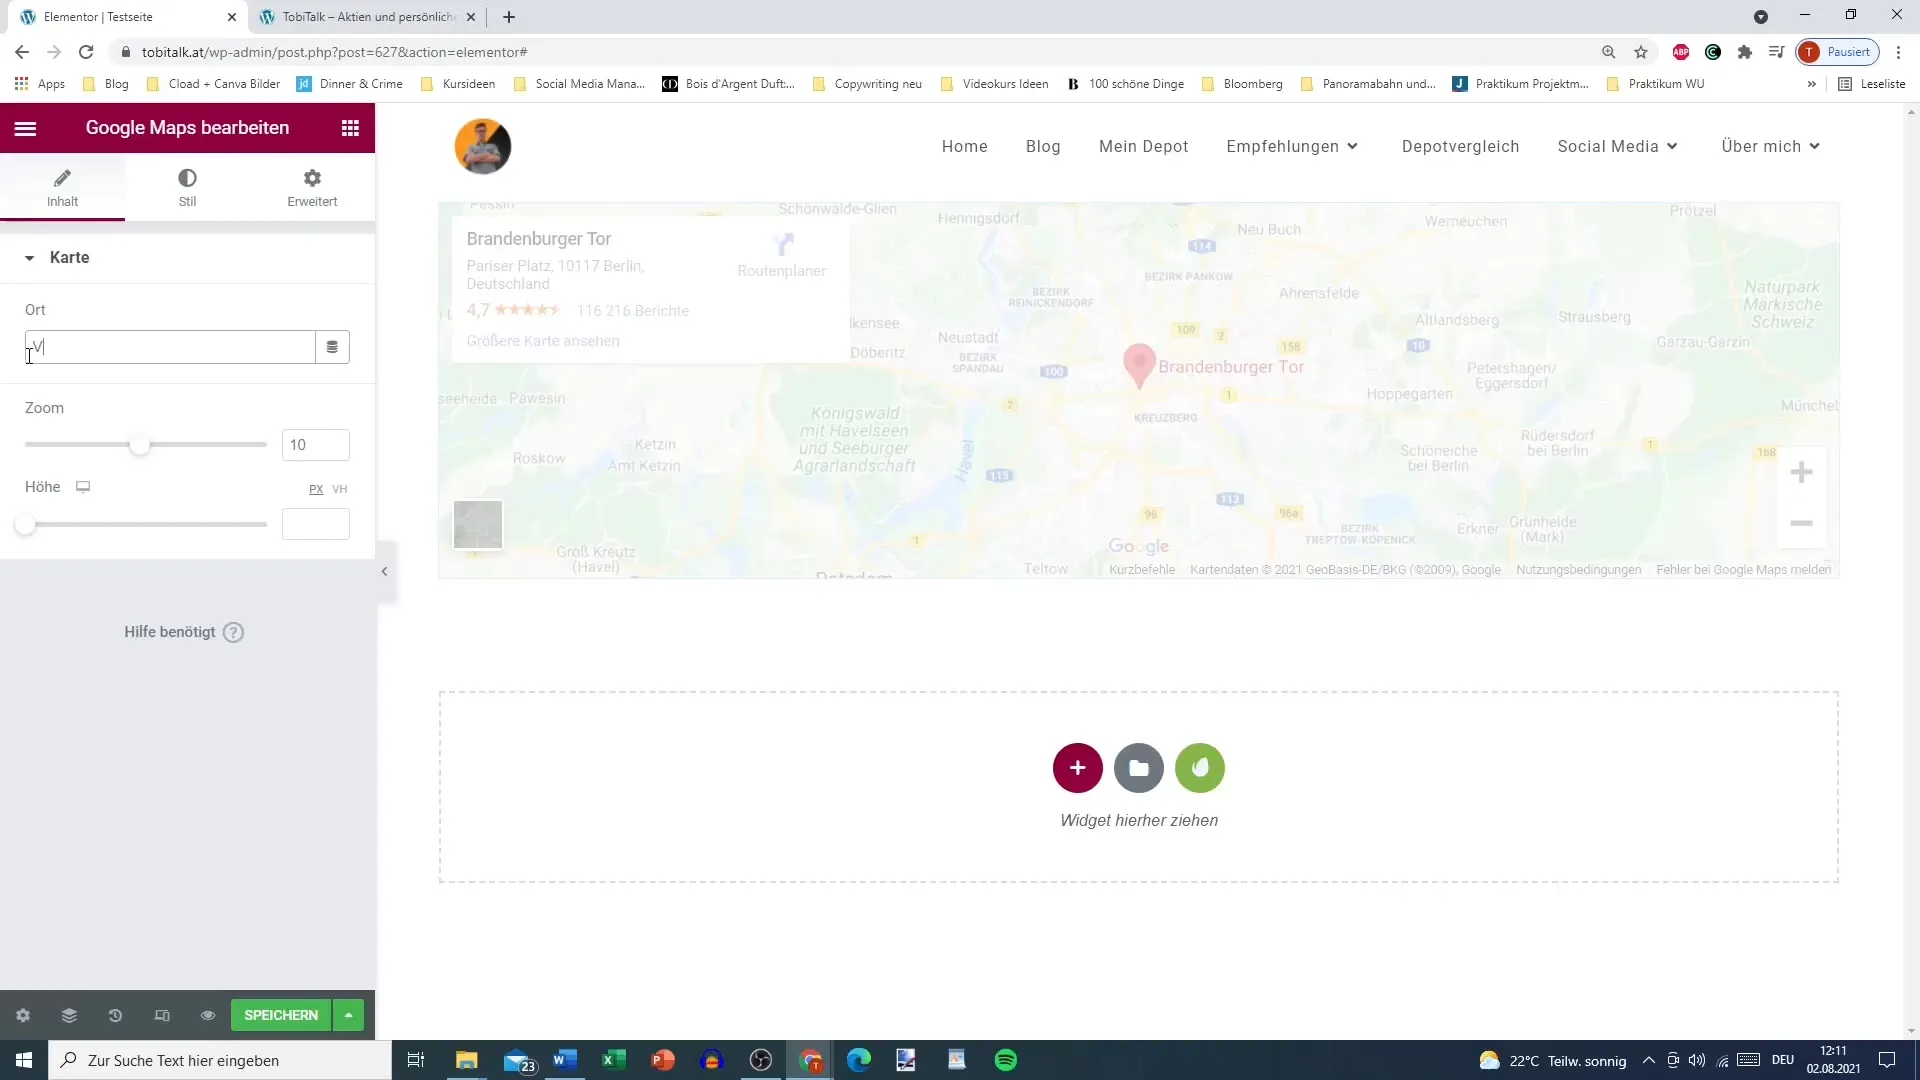
Once you have added the element, you can enter the specific address that should be displayed. For example, “Brandenburg Gate, Berlin.” Elementor will automatically load the map for this location.
Step 3: Adjust Location
Do you want to display a different location? Simply enter the new address. Make sure you write the address correctly, as mistakes can lead to incorrect results. If you enter “Mariahilferstraße, Vienna,” ensure that the spelling is accurate.
Step 4: Set Zoom Level
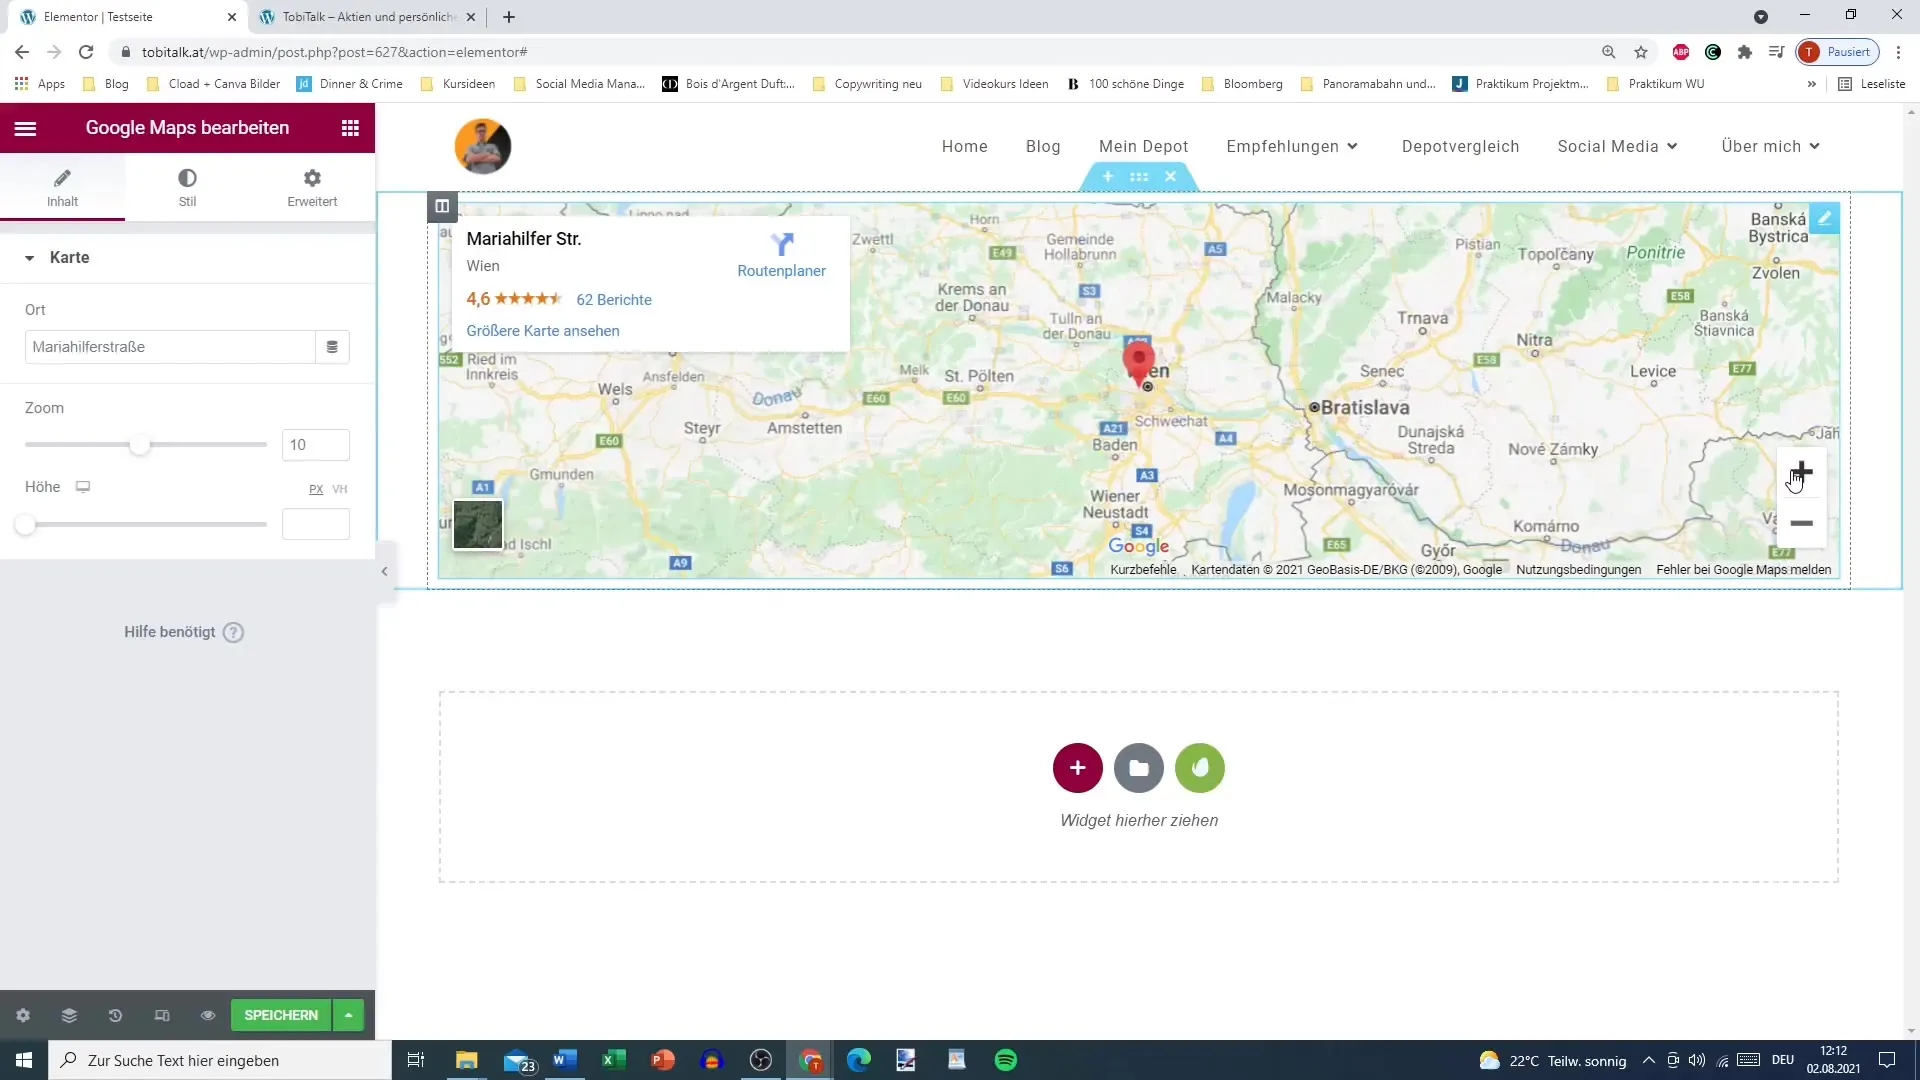
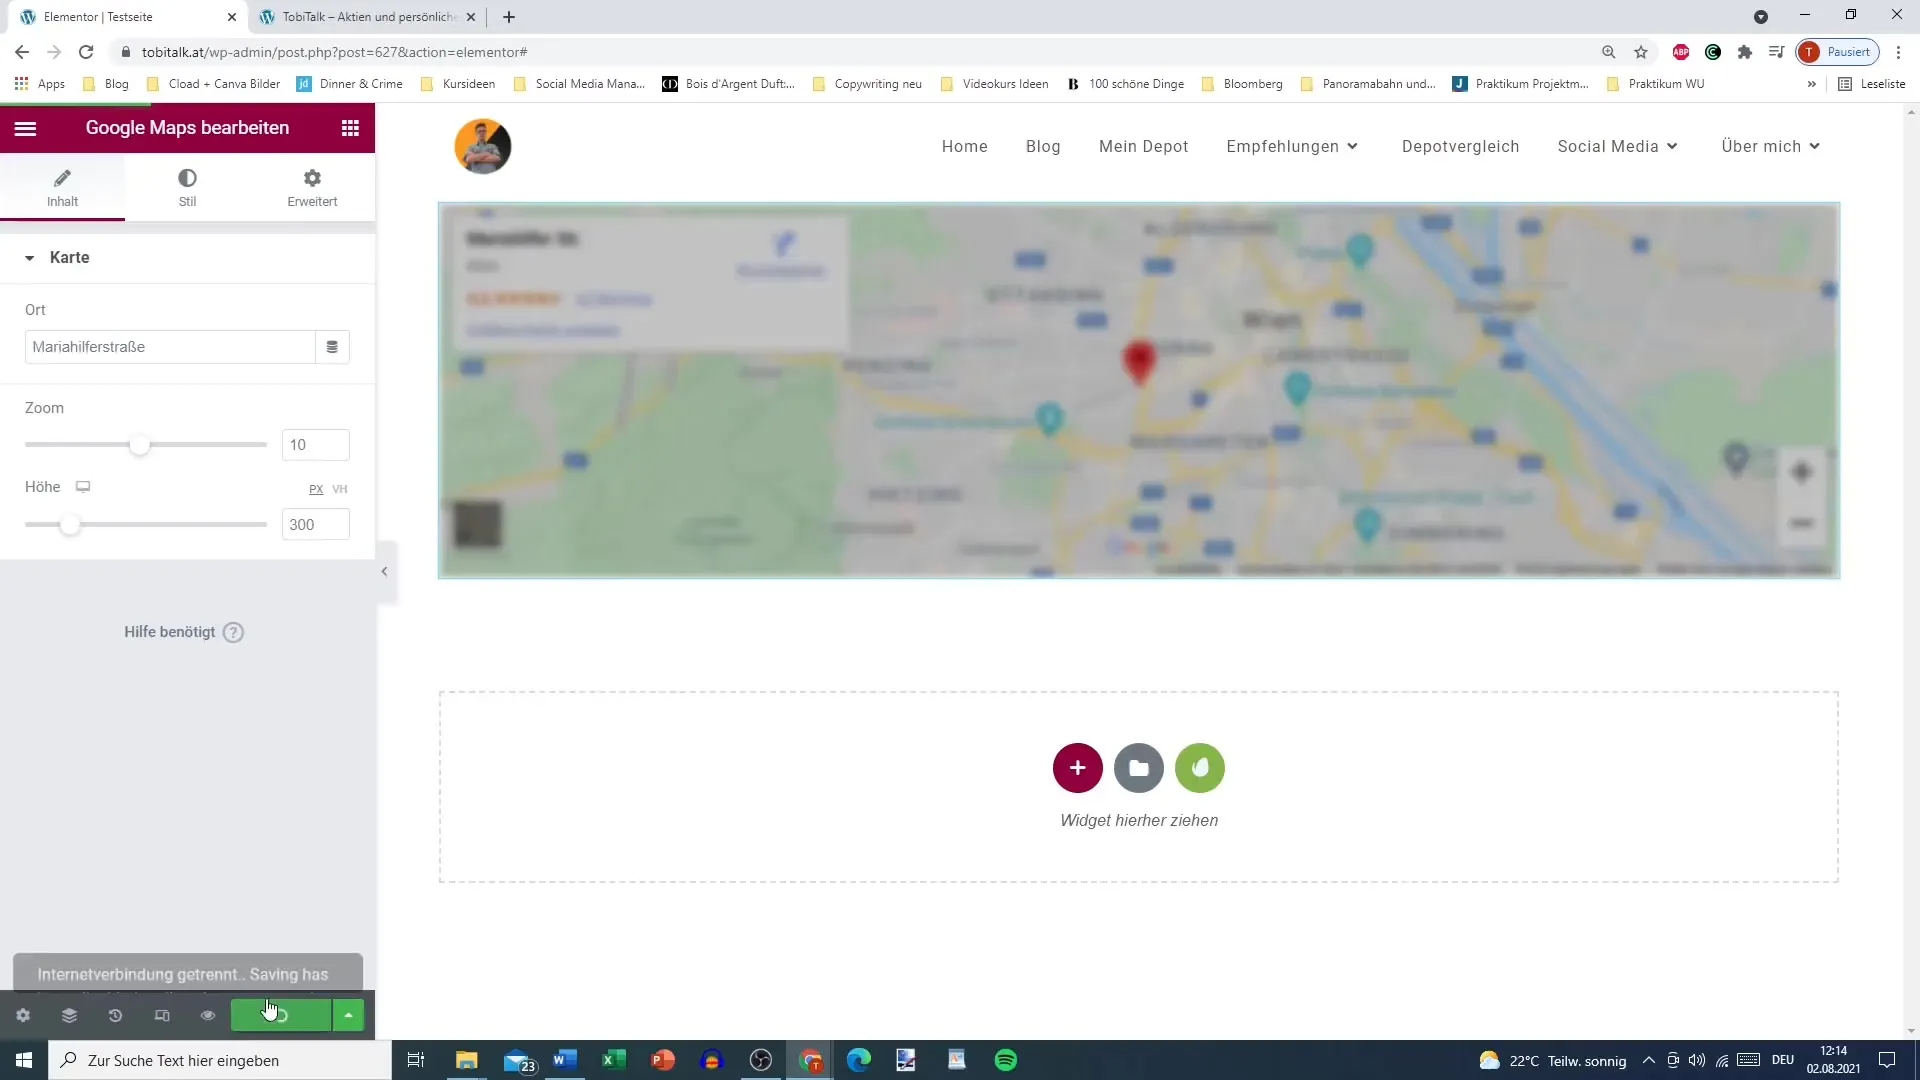
In Elementor, you can adjust the zoom level of the map. A lower number (e.g., 4) shows a larger view, while a higher number (e.g., 20) provides a detailed view of a specific point. Make sure to select the zoom level according to your needs.
Step 5: Set Height of the Map
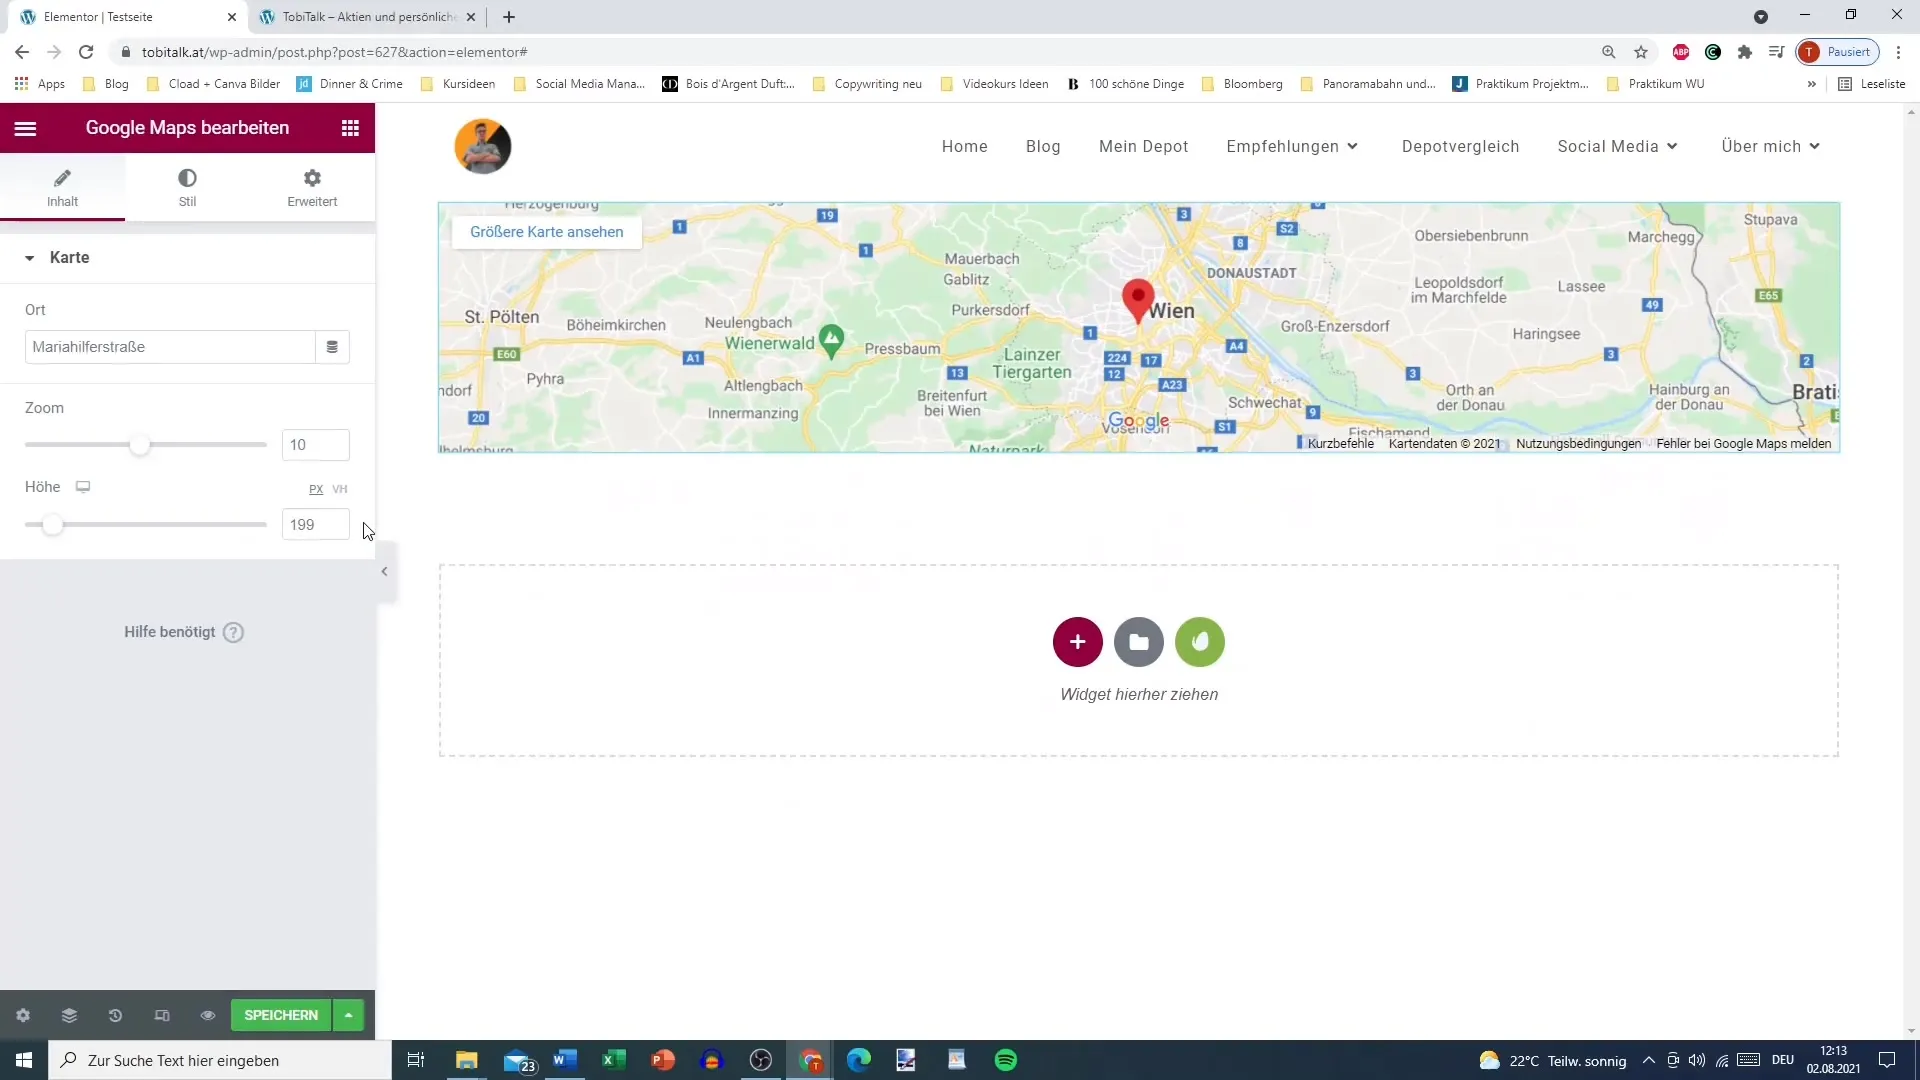
To optimize the visual presentation, you can also adjust the height of the map. Consider whether 200 or 300 pixels are sufficient to make the location visible to visitors.
Step 6: Adjust Map Style
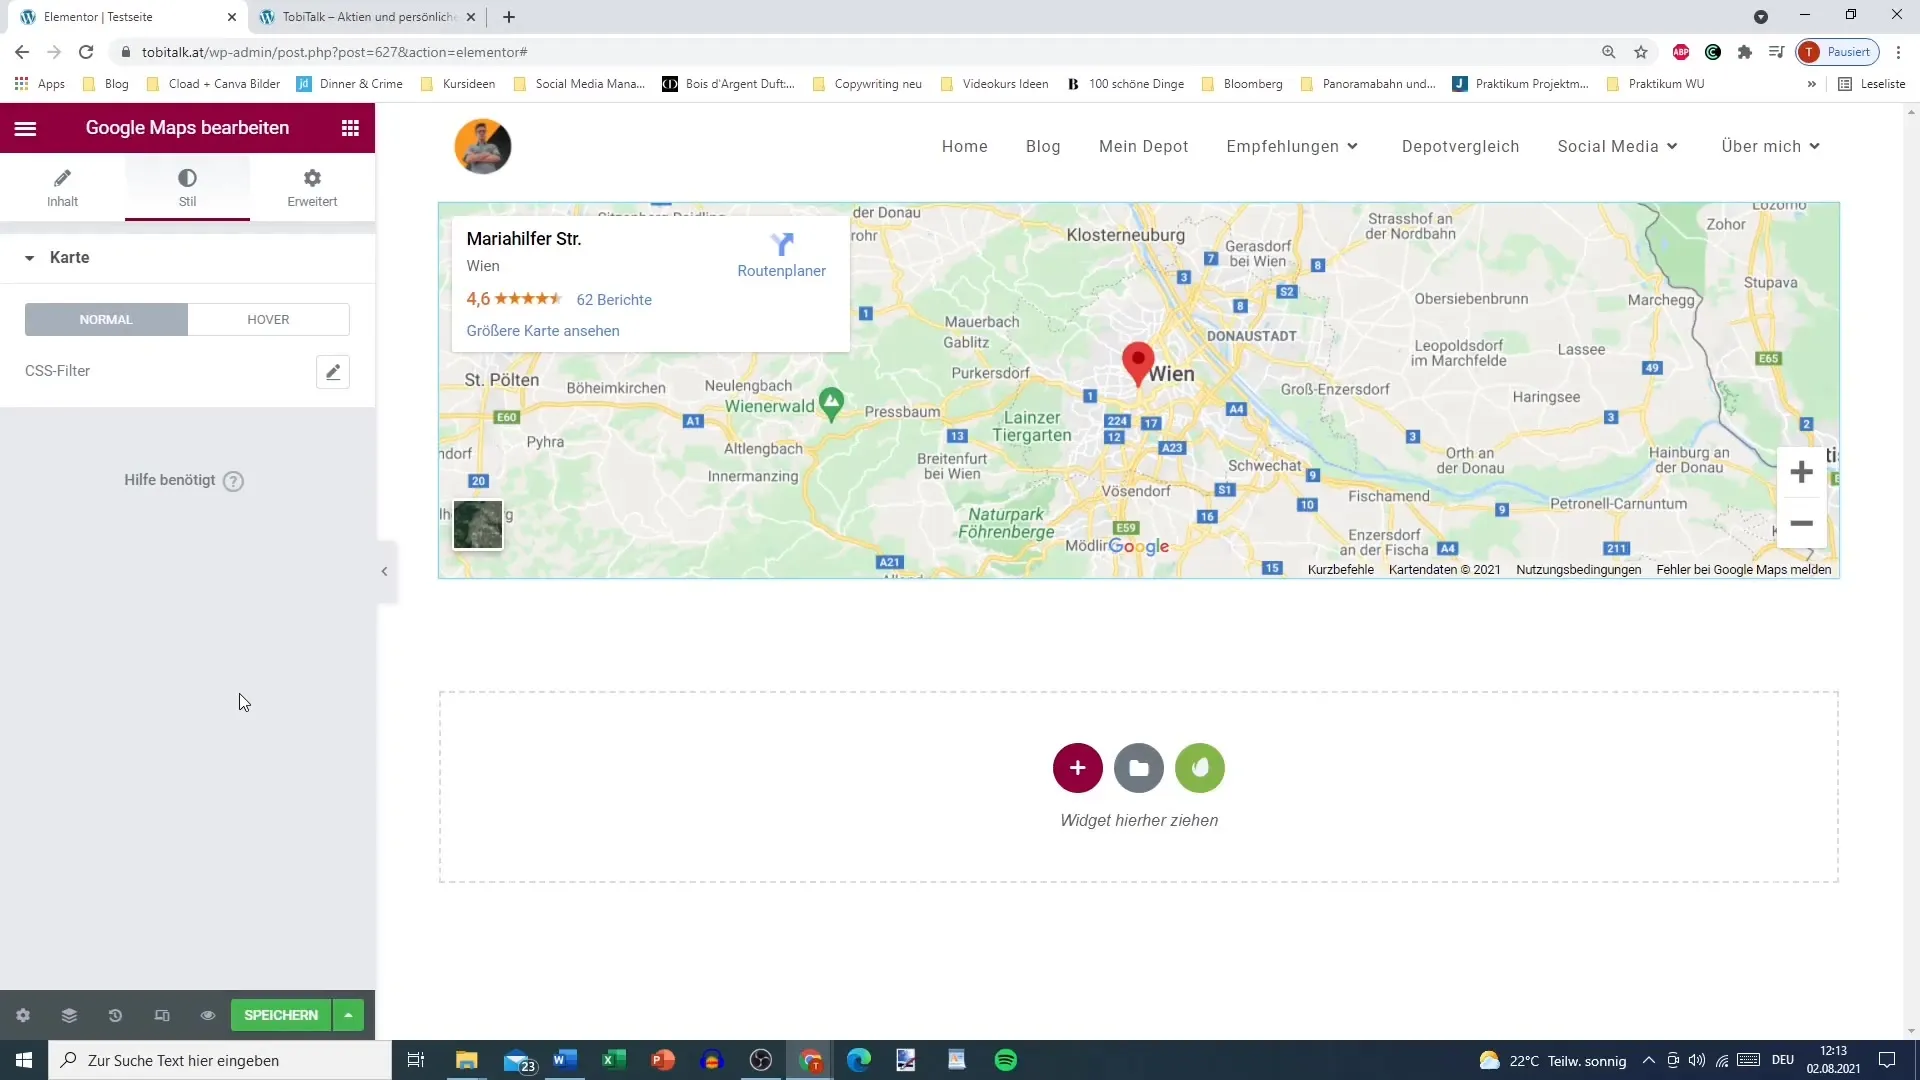
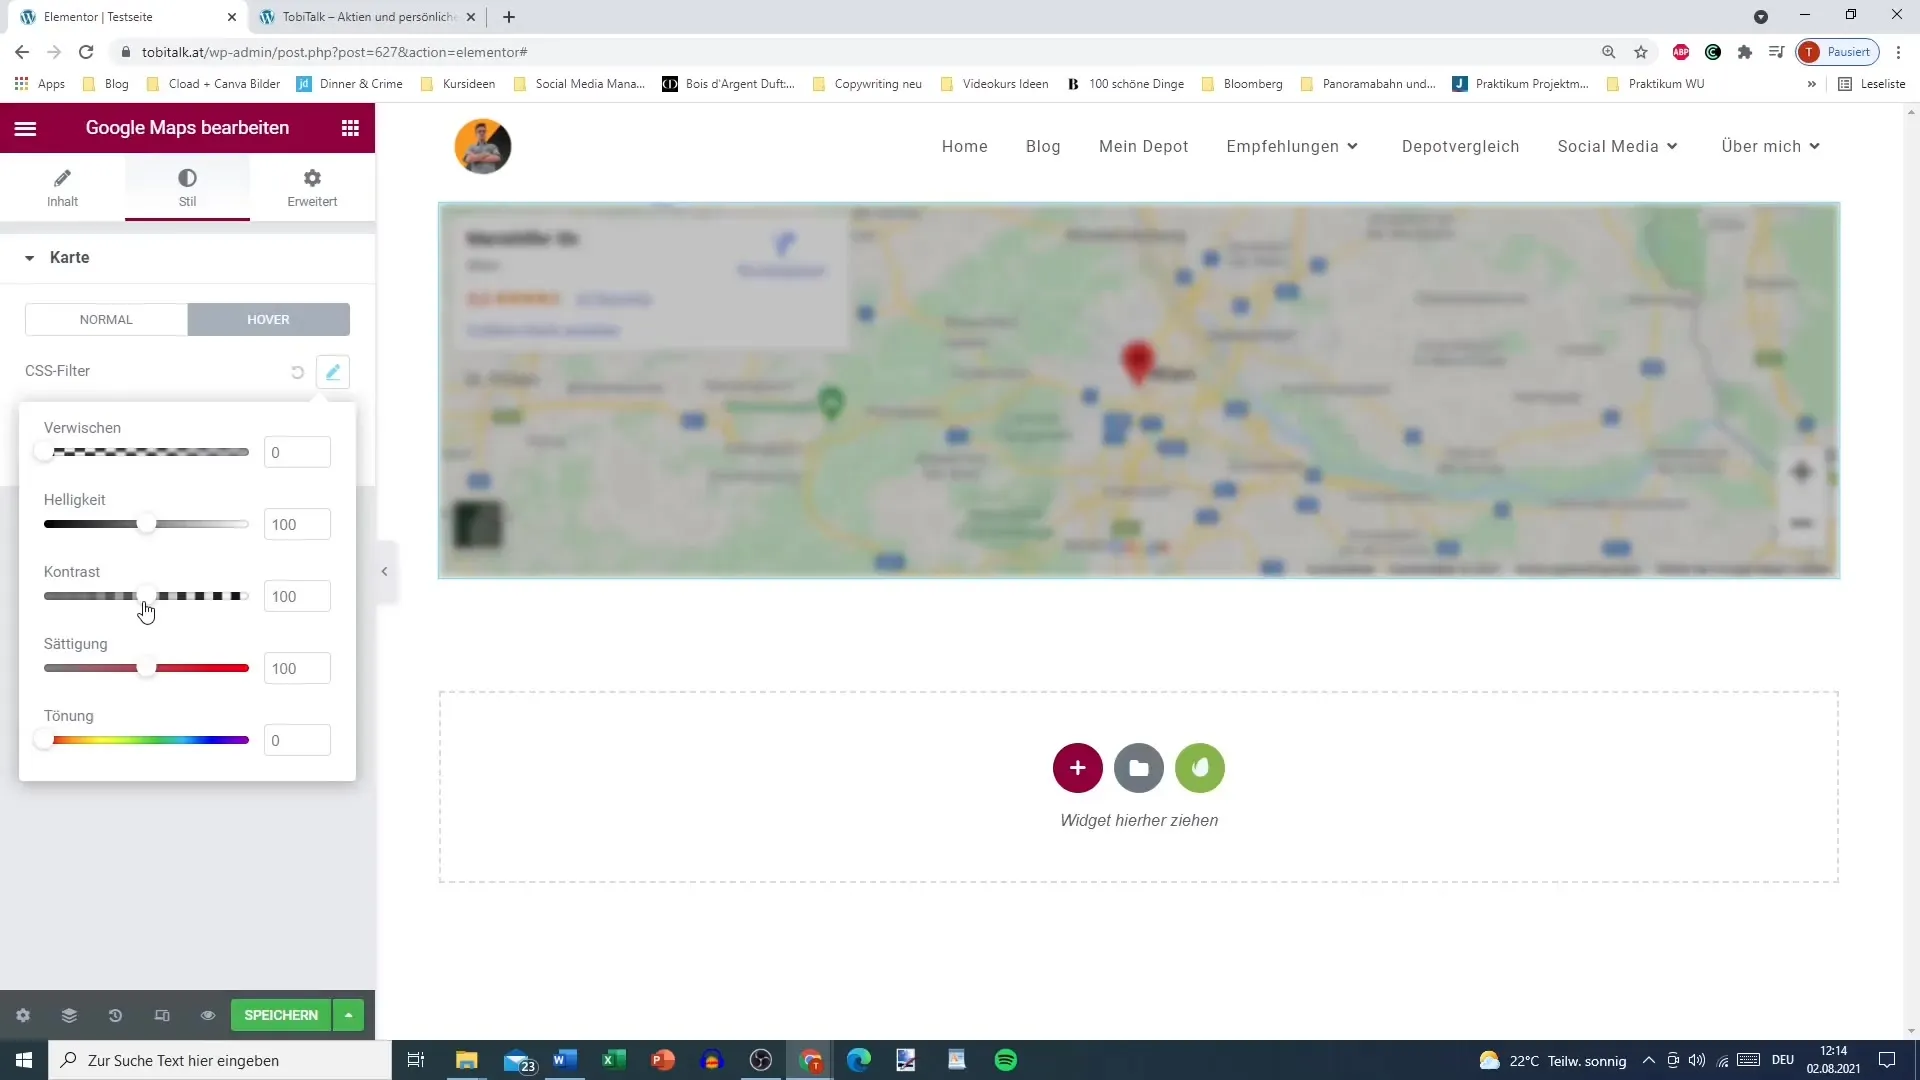
The next step involves adjusting the style of the map. You can edit settings such as brightness, saturation, and contrast. These adjustments are primarily achieved through CSS filters. Consider what effect you want to create while moving the mouse pointer over the map.
Step 7: Add Transition Effects
To create an interactive user experience, you can add transition effects. For example, you can set the transition duration to 2 seconds and configure the CSS filter so the map appears smoothly depending on how the user interacts with it.
Step 8: Save and Preview
After making all the adjustments, save your changes and preview them. Make sure everything looks as you envisioned it.
Step 9: Test Interaction with the Map
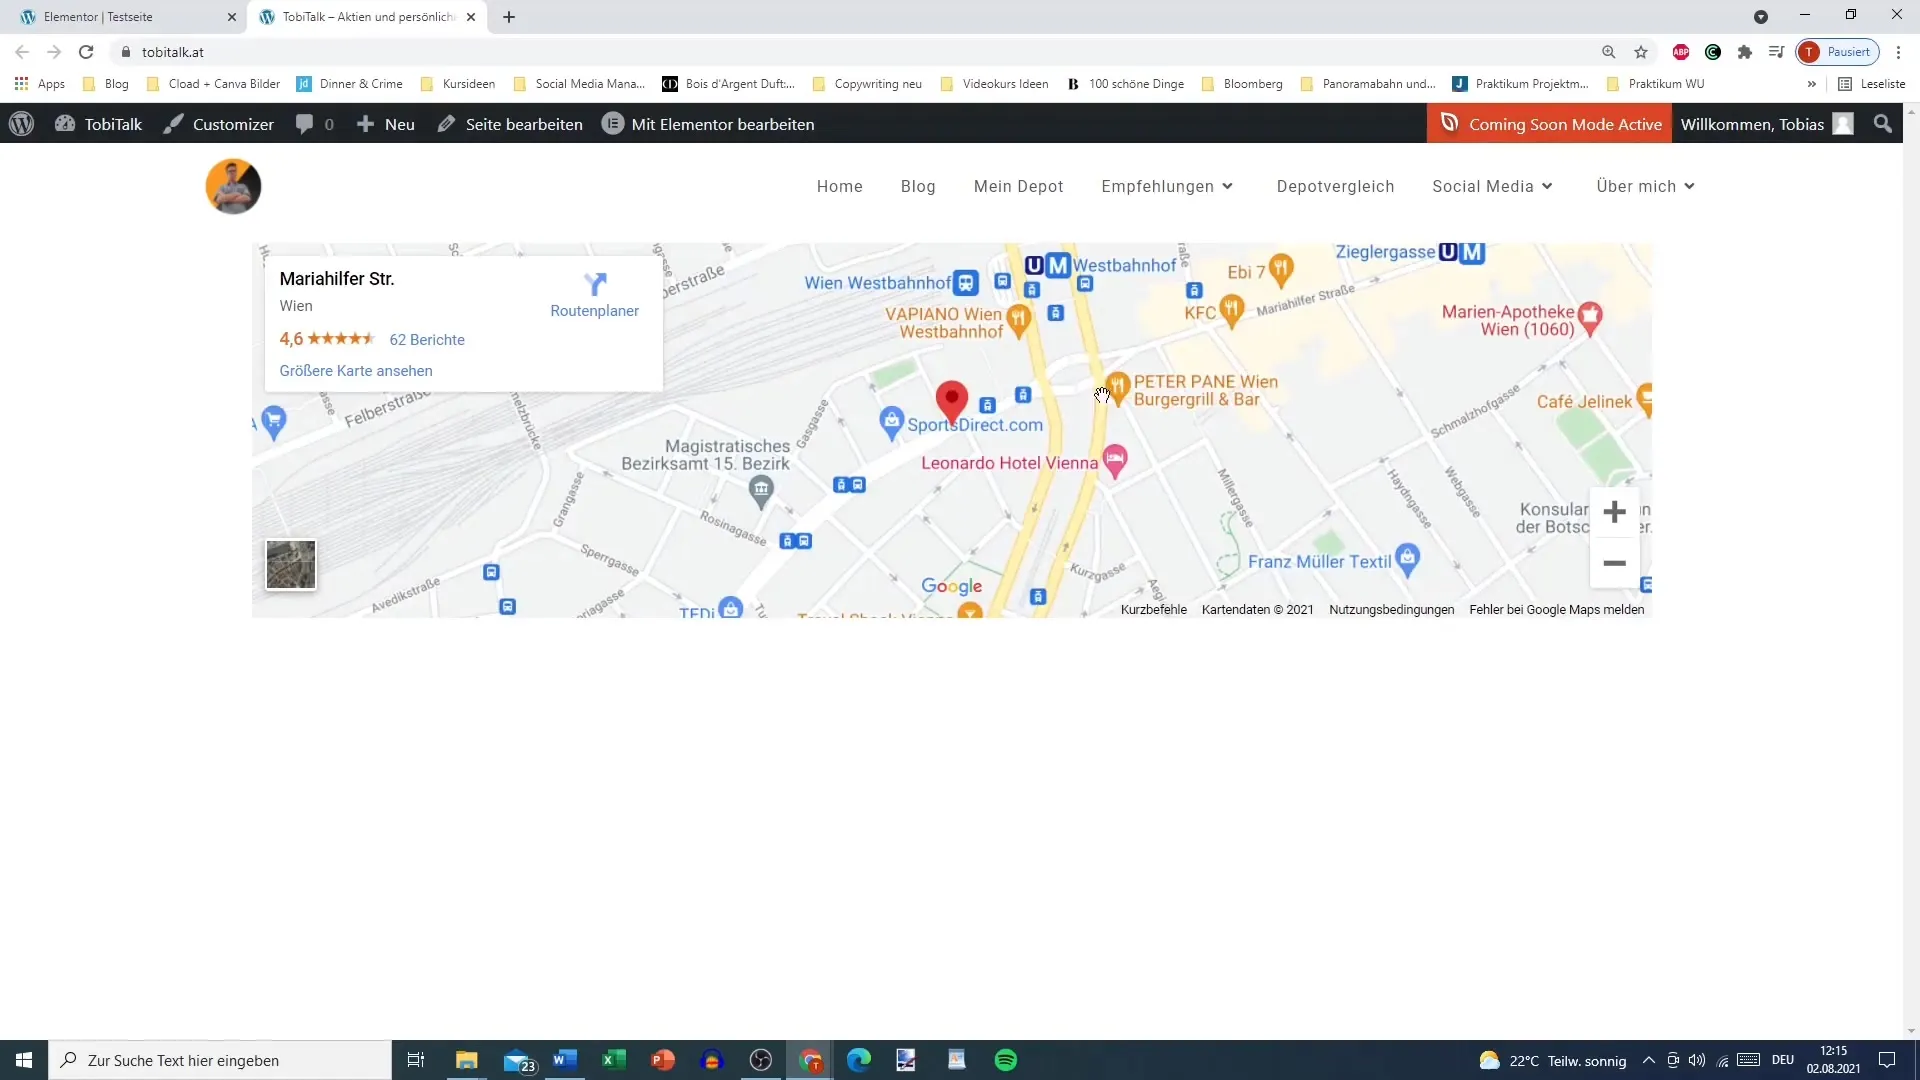
In the frontend of your website, you should now see the Google Maps map. Test how users can interact by zooming in and out or by clicking the “View Larger Map” link to open the map directly in Google Maps.
Summary - Inserting Google Maps Link in Elementor
Integrating Google Maps into your website is a breeze with Elementor. With careful adjustments and accurate address entries, you make it easy for your community to access important locations. This guide helps you successfully insert the map and design it according to your preferences.
Frequently Asked Questions
How do I insert Google Maps in Elementor?You drag the Google Maps element into the editor and enter the desired address.
What do I do if my address is not displayed?Ensure that the address is entered correctly, including embellishments and correct spelling.
How can I adjust the zoom of the map?In the element, you can set the zoom level by entering numbers between 1 and 20.
How do I change the height of the map?In the settings of the Google Maps element, you can adjust the height in pixels.
Can I also view the map in the frontend?Yes, after saving your changes you can preview and test the map in the frontend.


