Do you want to integrate Testimonials effectively into your WordPress site while making optimal use of the Elementor interface? In this guide, you will learn how to create engaging reviews using Elementor's testimonial element. Testimonial elements are not only a great way to build trust with your visitors but can also help present your content in a visually appealing manner.
Key Insights
- The use of the testimonial element in Elementor is simple and user-friendly.
- Customization options like text formatting, image adjustment, and border options help to tailor testimonials to your style.
- The integration of star ratings can further highlight multiple positive feedbacks.
Step-by-Step Guide
Step 1: Select the Testimonial Element
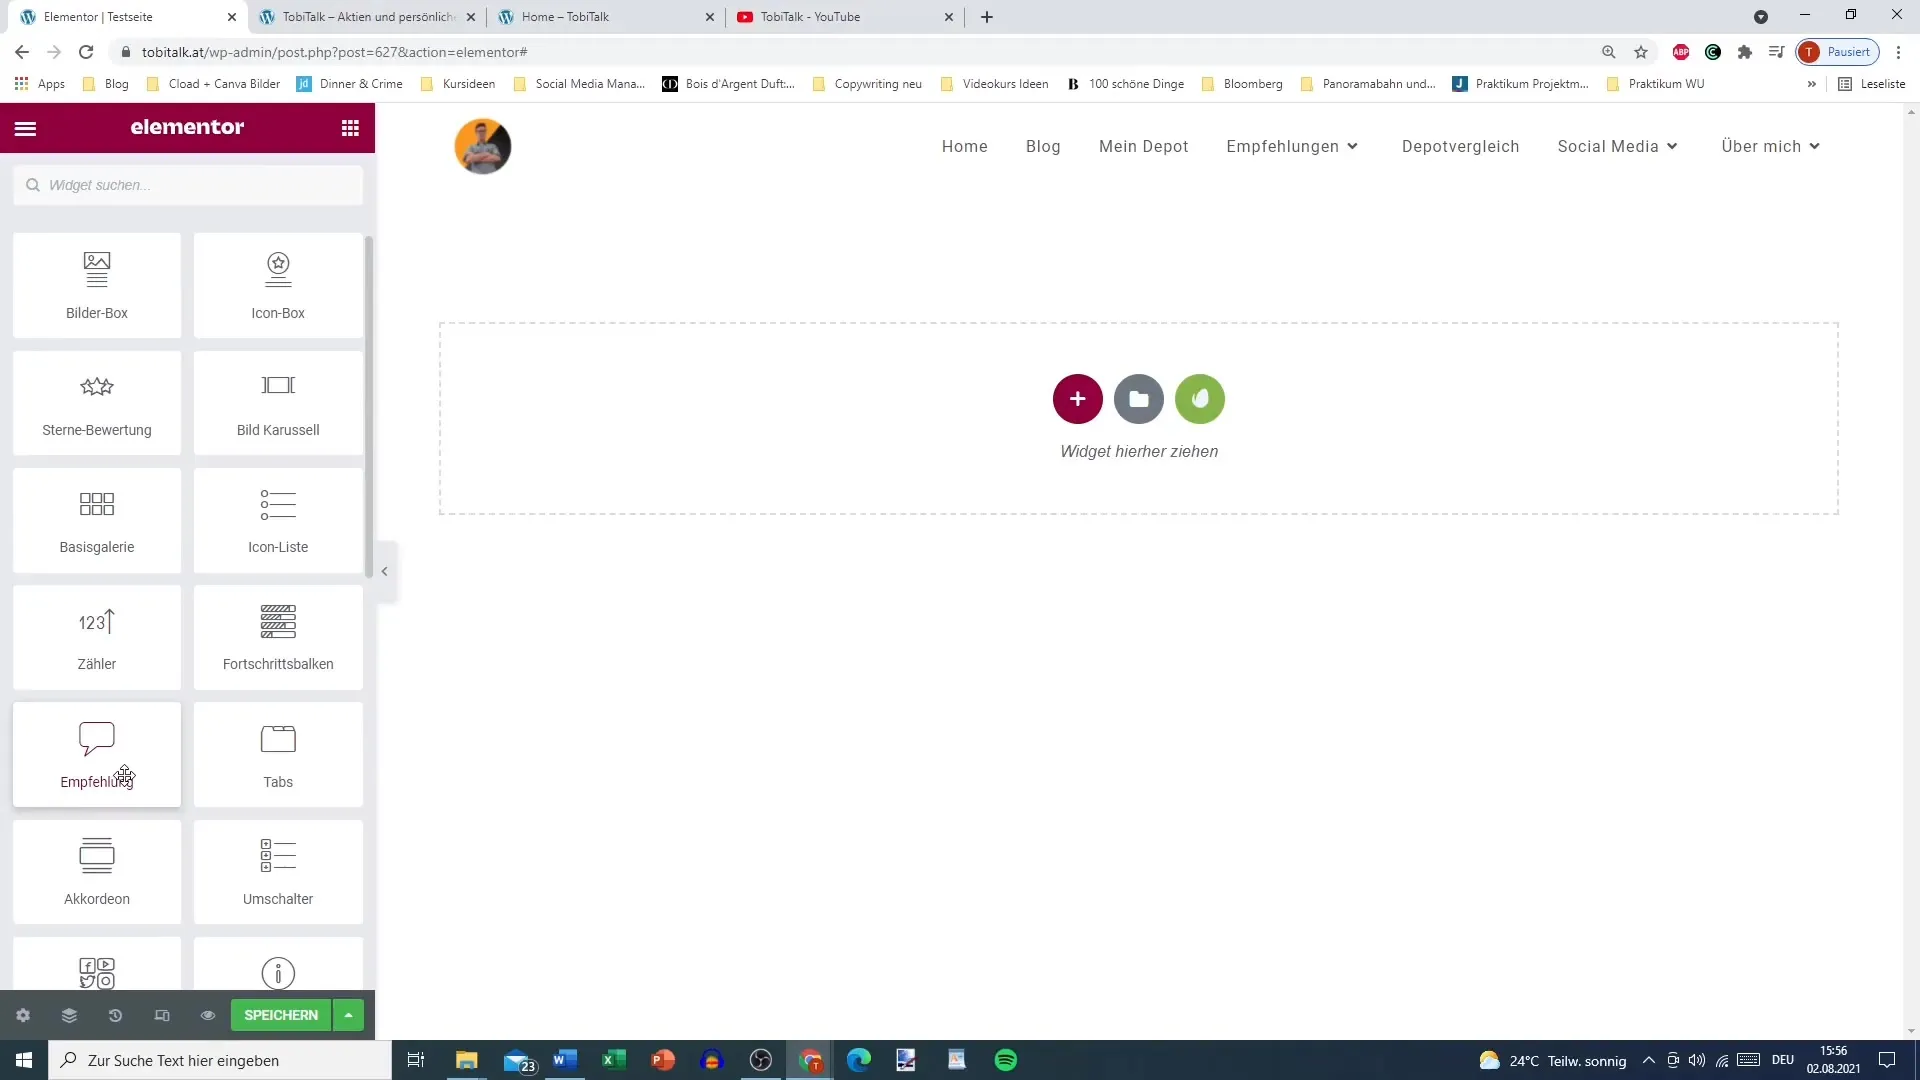
First, you need to place the testimonial element from Elementor into your layout. It is structured similarly to the image box or picture box and gives you the opportunity to integrate both text and images.
Step 2: Add Text for the Testimonial
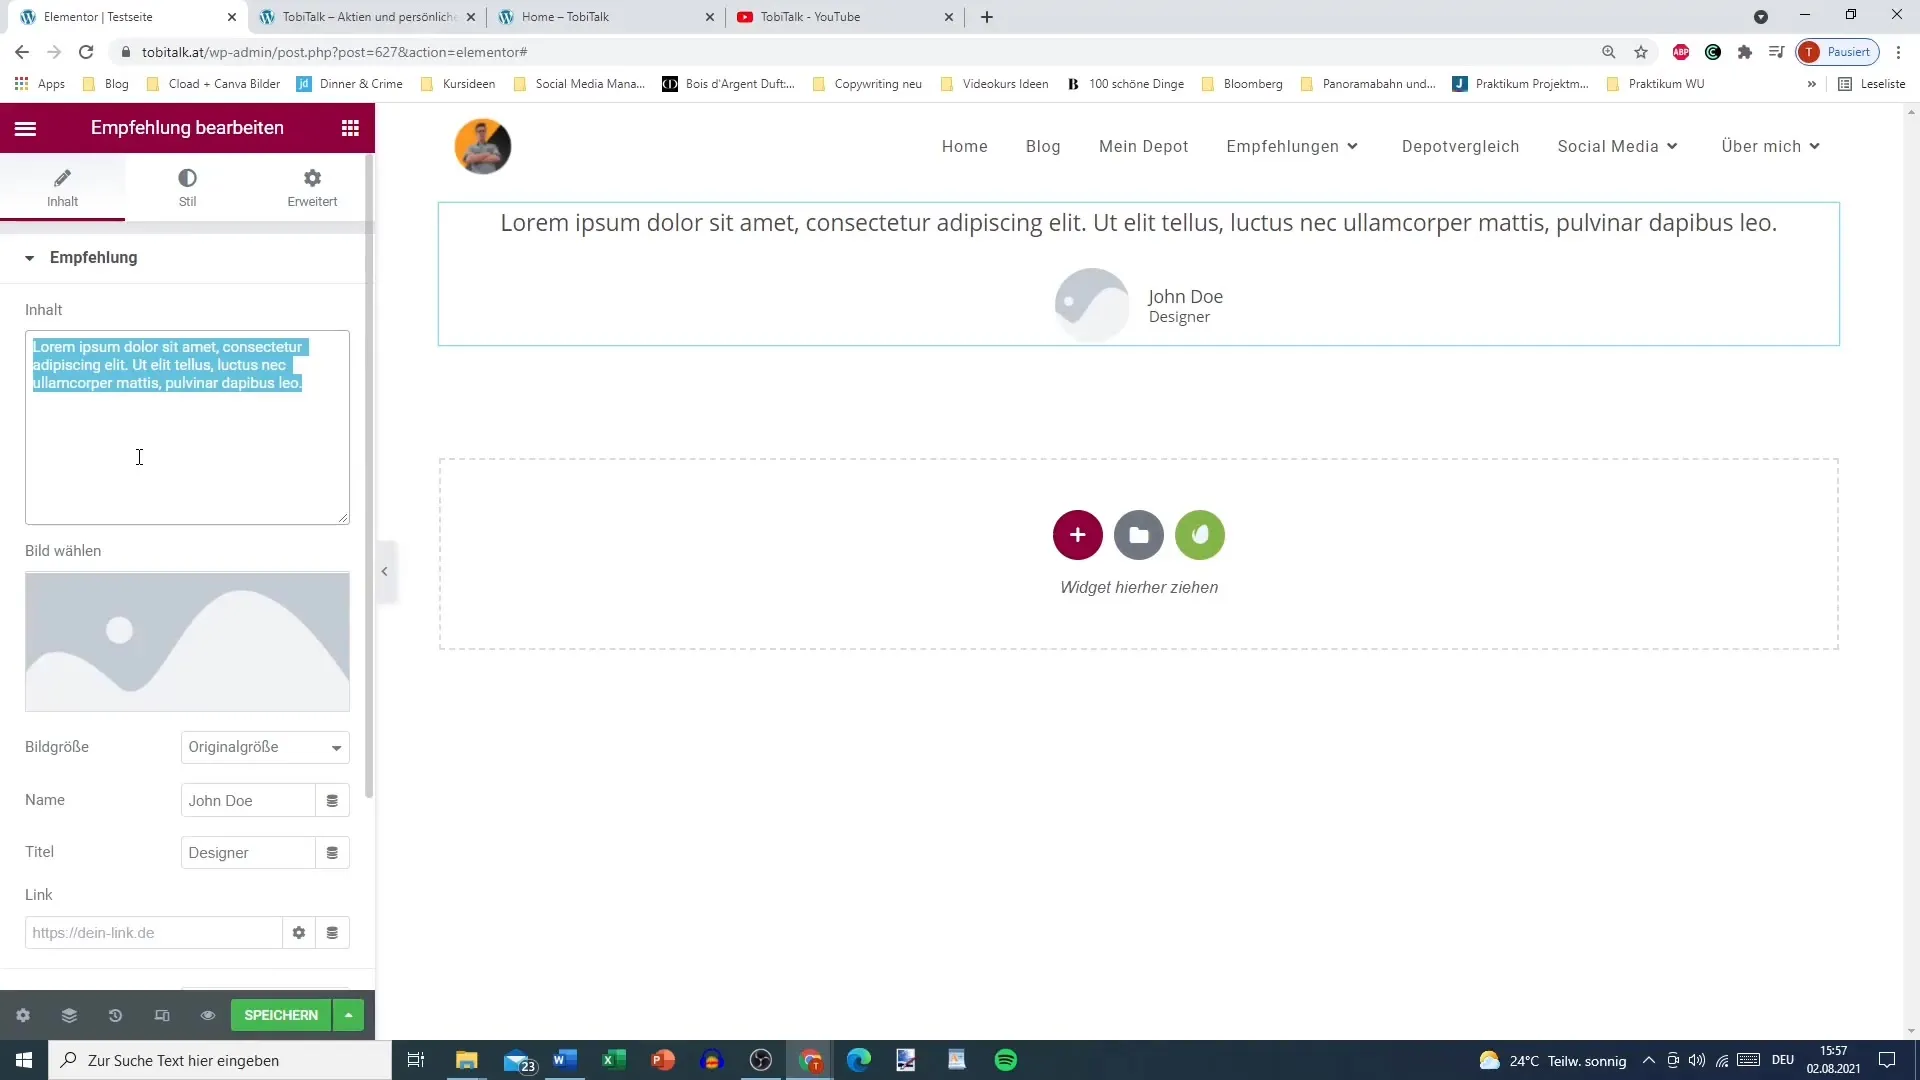
Copy the text for the testimonial you would like to present. For example, you could use a positive review or a personal recommendation. Make sure the text expresses enthusiasm for the product or service.
Step 3: Upload an Image
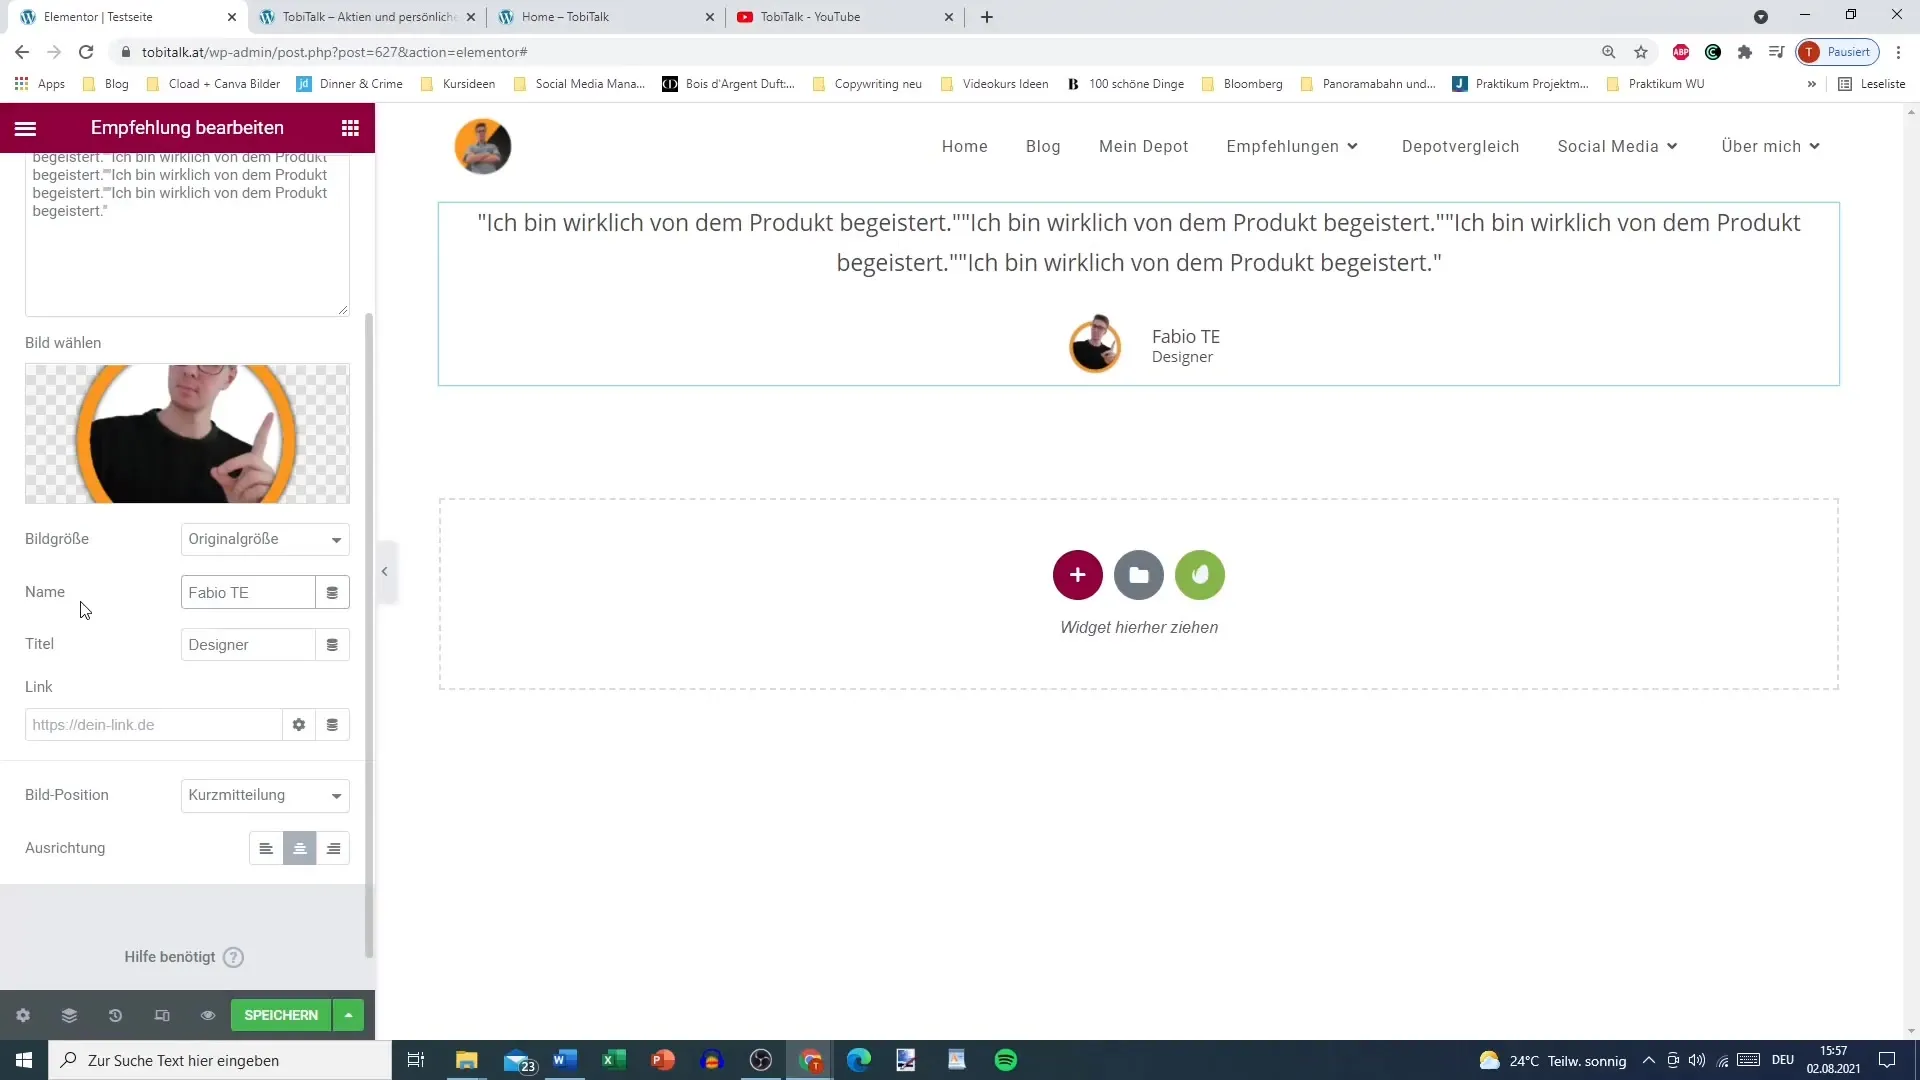
After entering the text, choose an image that fits your testimonial optimally. This could be the product photo or a picture of the author of the testimonial, for example, of yourself.

Step 4: Add Name and Title
Now it's time to insert the name of the person who wrote the testimonial. Be sure to also add a title to increase credibility. You could, for example, use "Designer" or "Satisfied Customer."
Step 5: Link the Product
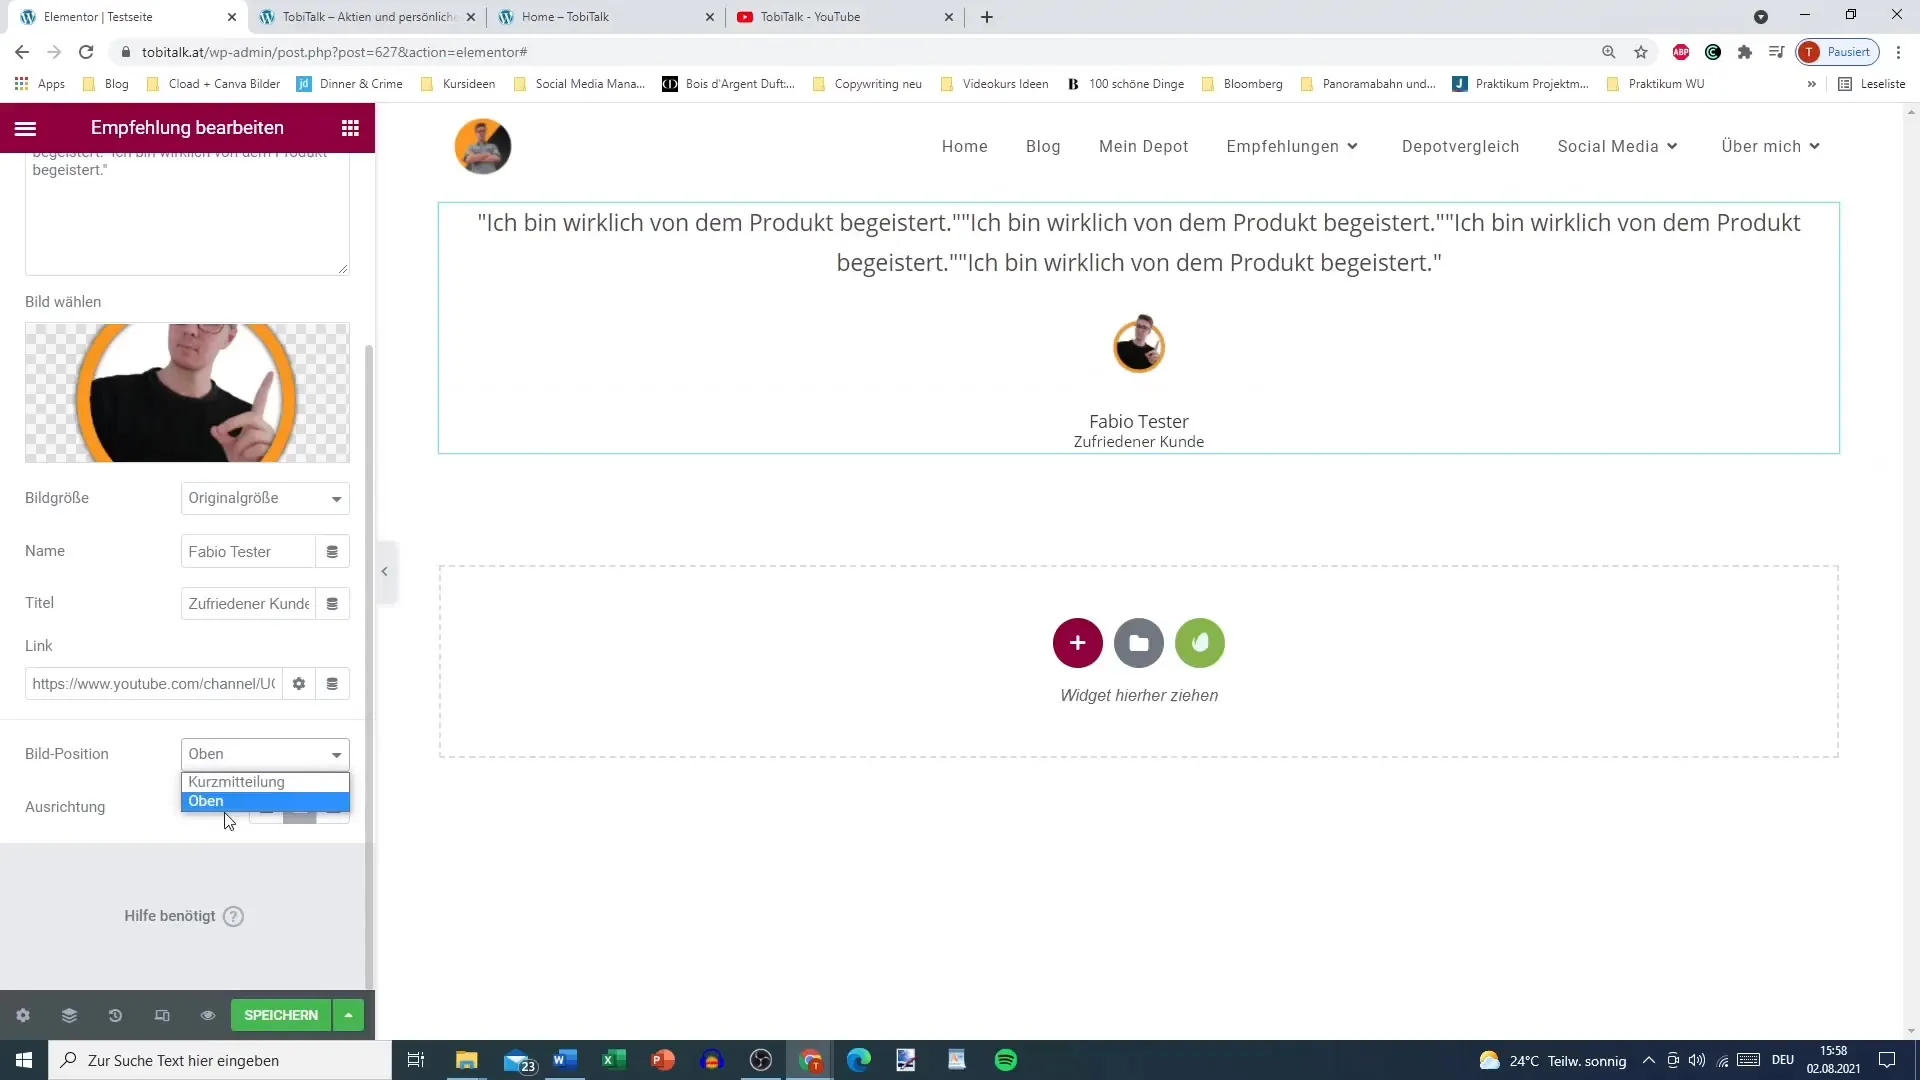
If there is a link to the reviewed product, add it here. This can establish a direct connection to the testimonial and create more interactivity.
Step 6: Adjust Image Position
There are various ways to position the image relative to the text. You can decide whether the image should be placed above, next to, or even in a completely different position. It is often advisable to place the image next to the name, as this appears more visually appealing.
Step 7: Style the Text
To highlight the content, you can style the text in black or in other bold colors. This ensures that the reviews are clearly visible and appealing.
Step 8: Set Image Size and Border
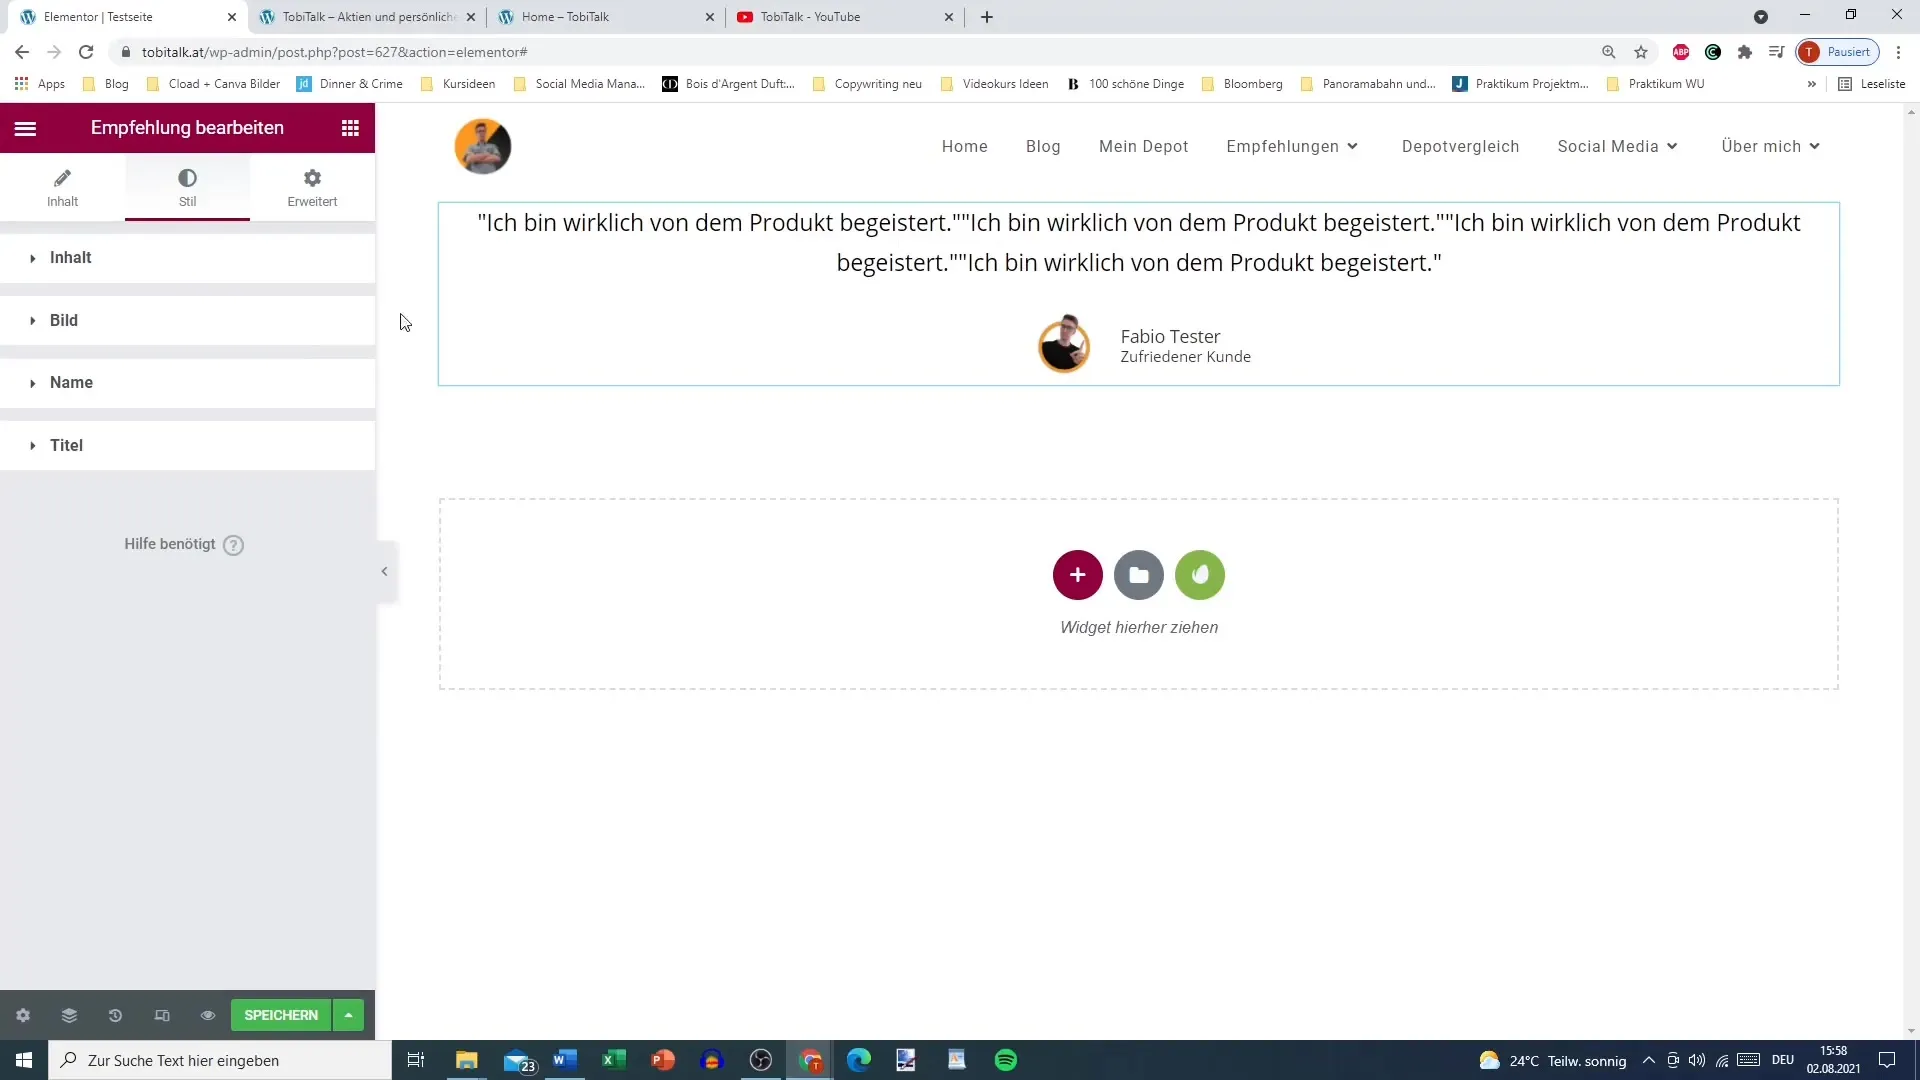
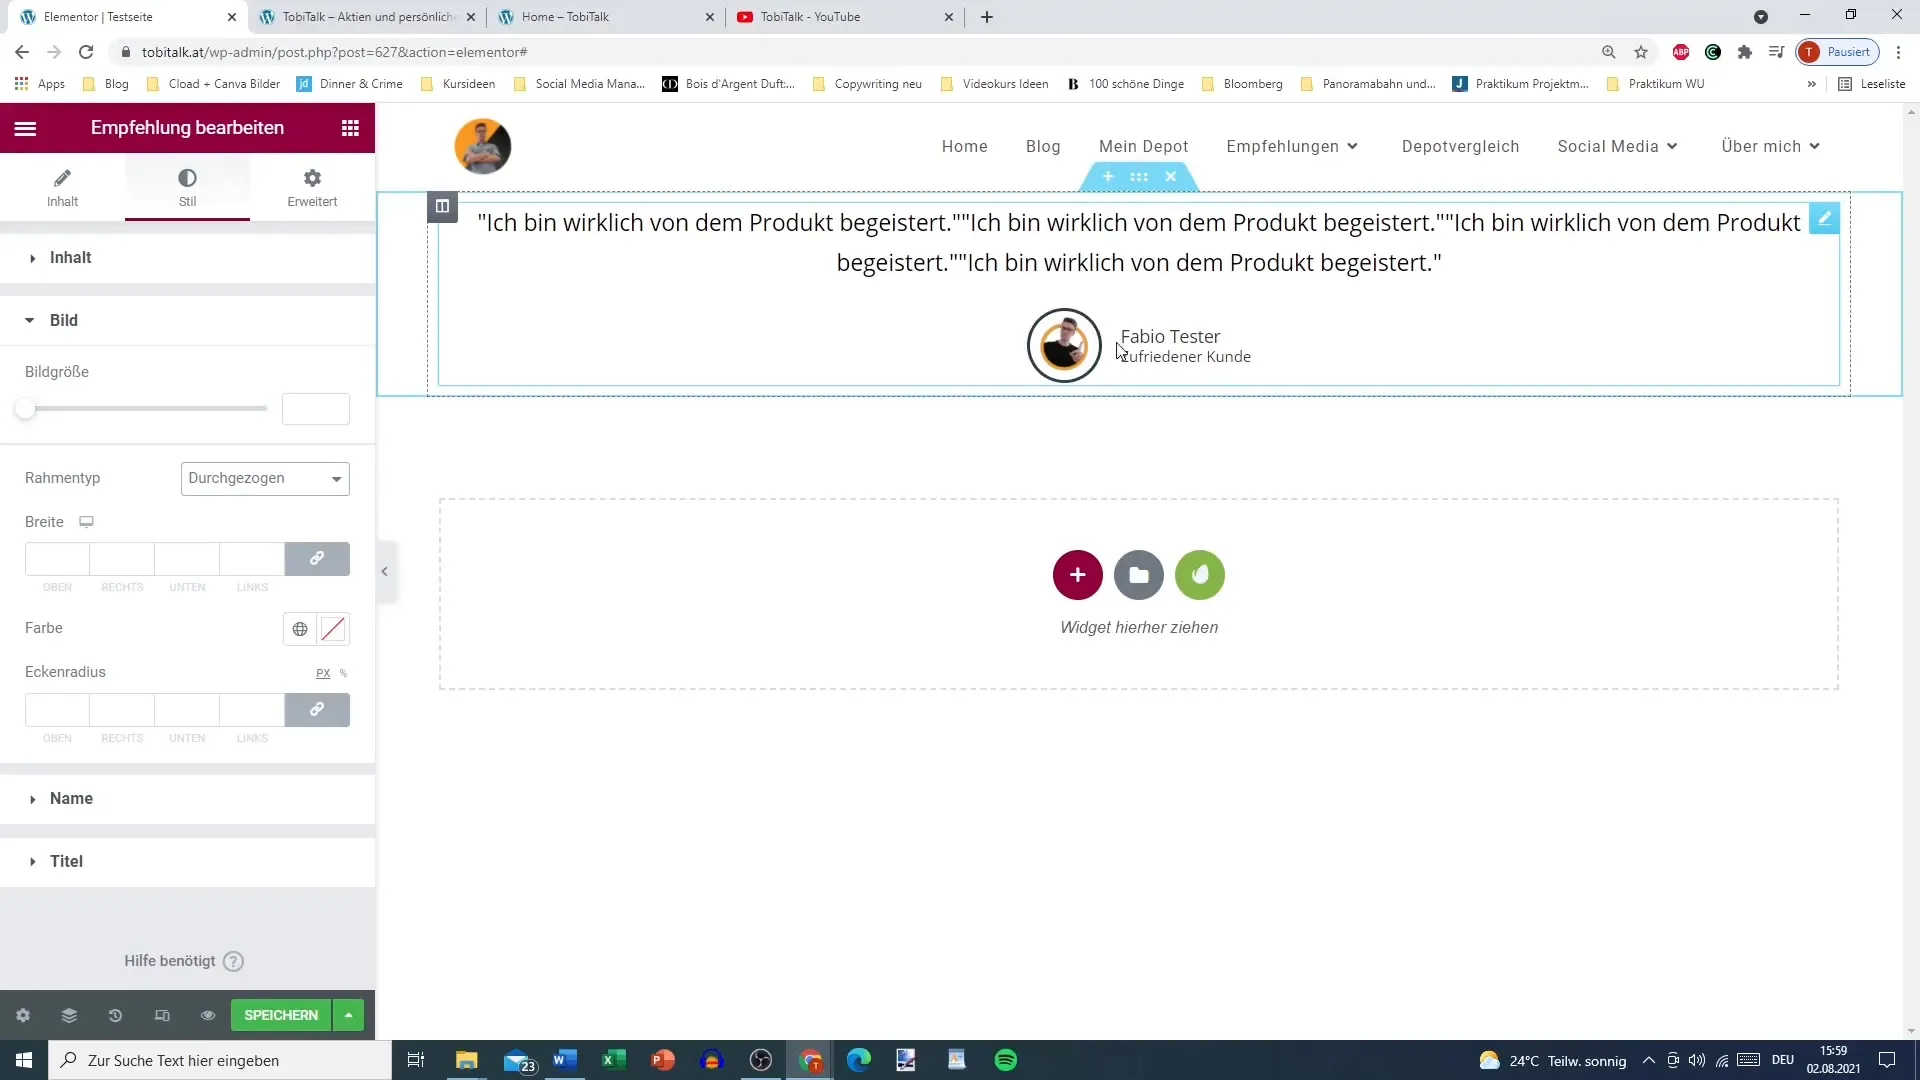
You can adjust the size of the image as well as add borders and corner radii to visually enhance the testimonial. However, make sure that the background of the image matches well with the selected borders to ensure a harmonious look.
Step 9: Adjust Text Color for Name and Title
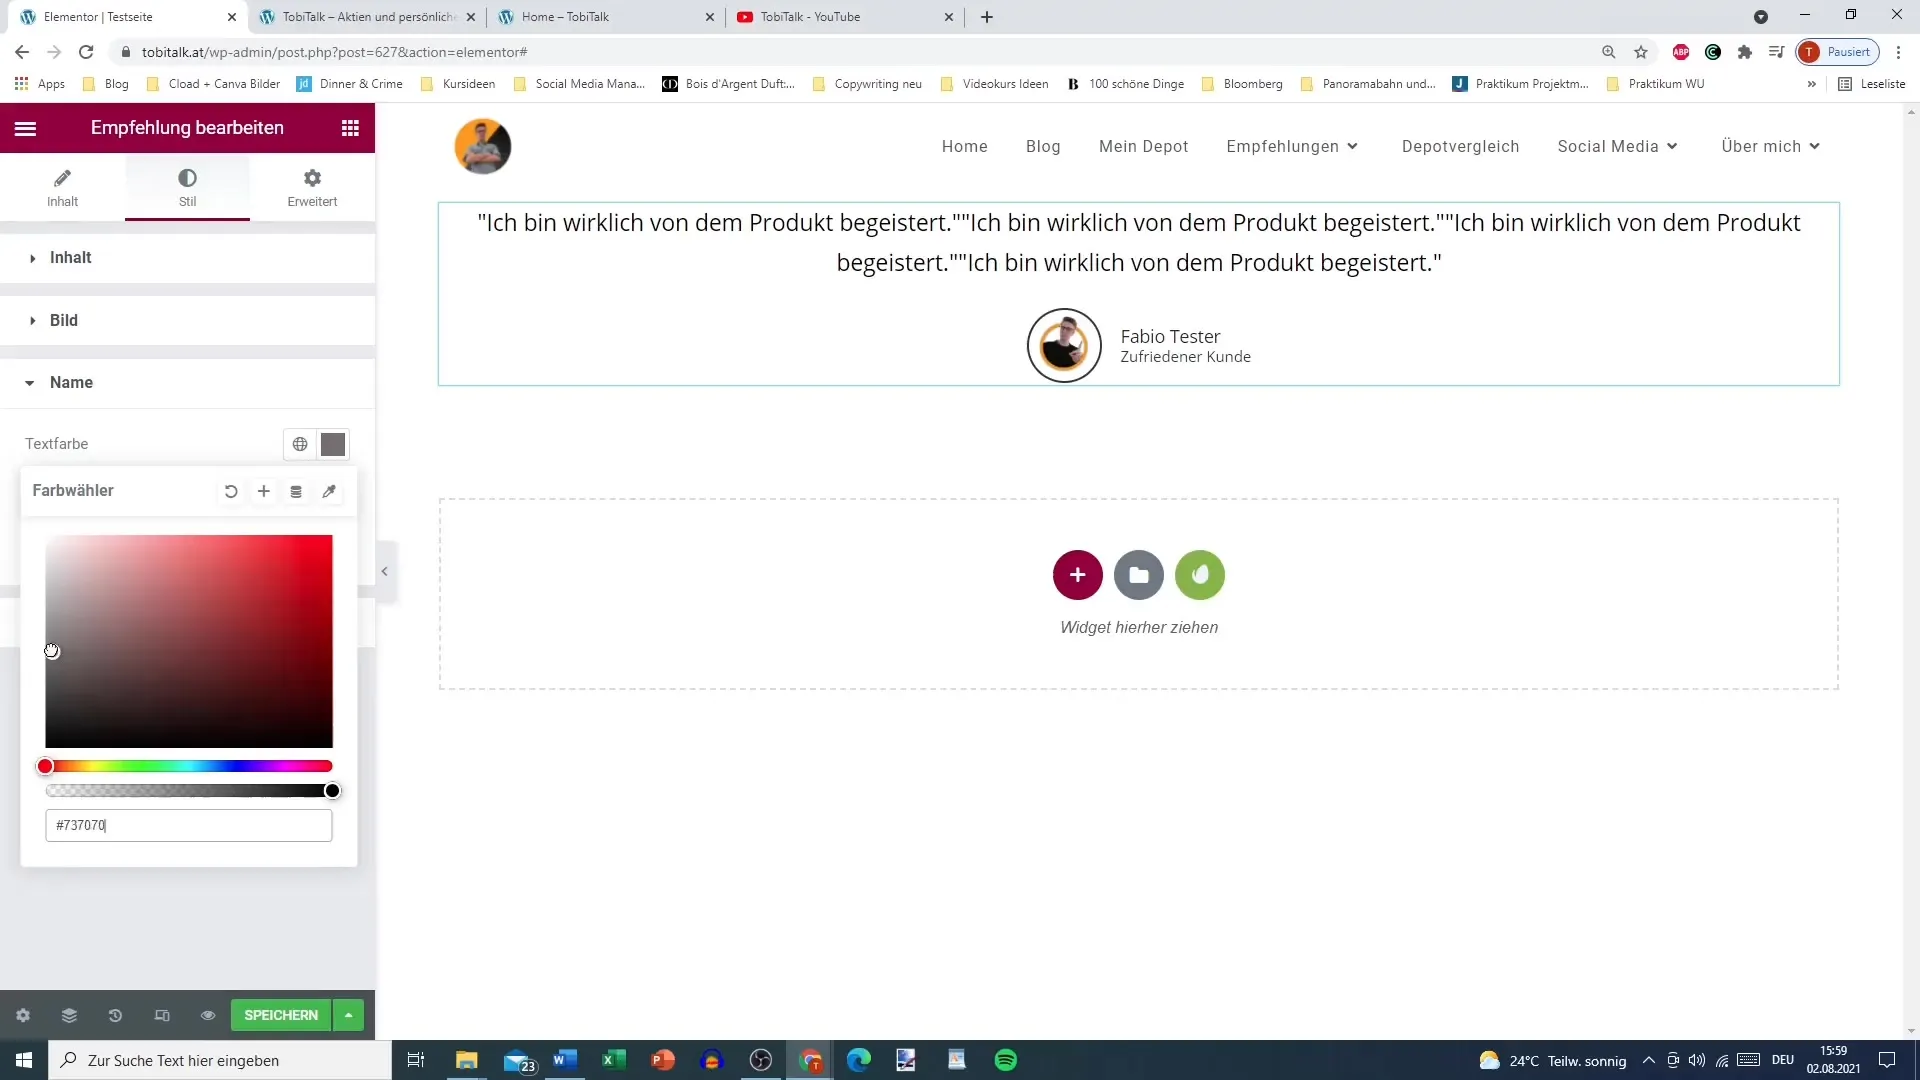
Adjust the text color for the name and title by using subtler tones. A muted color tone ensures that the focus remains on the testimonial itself.
Step 10: Integrate Star Rating
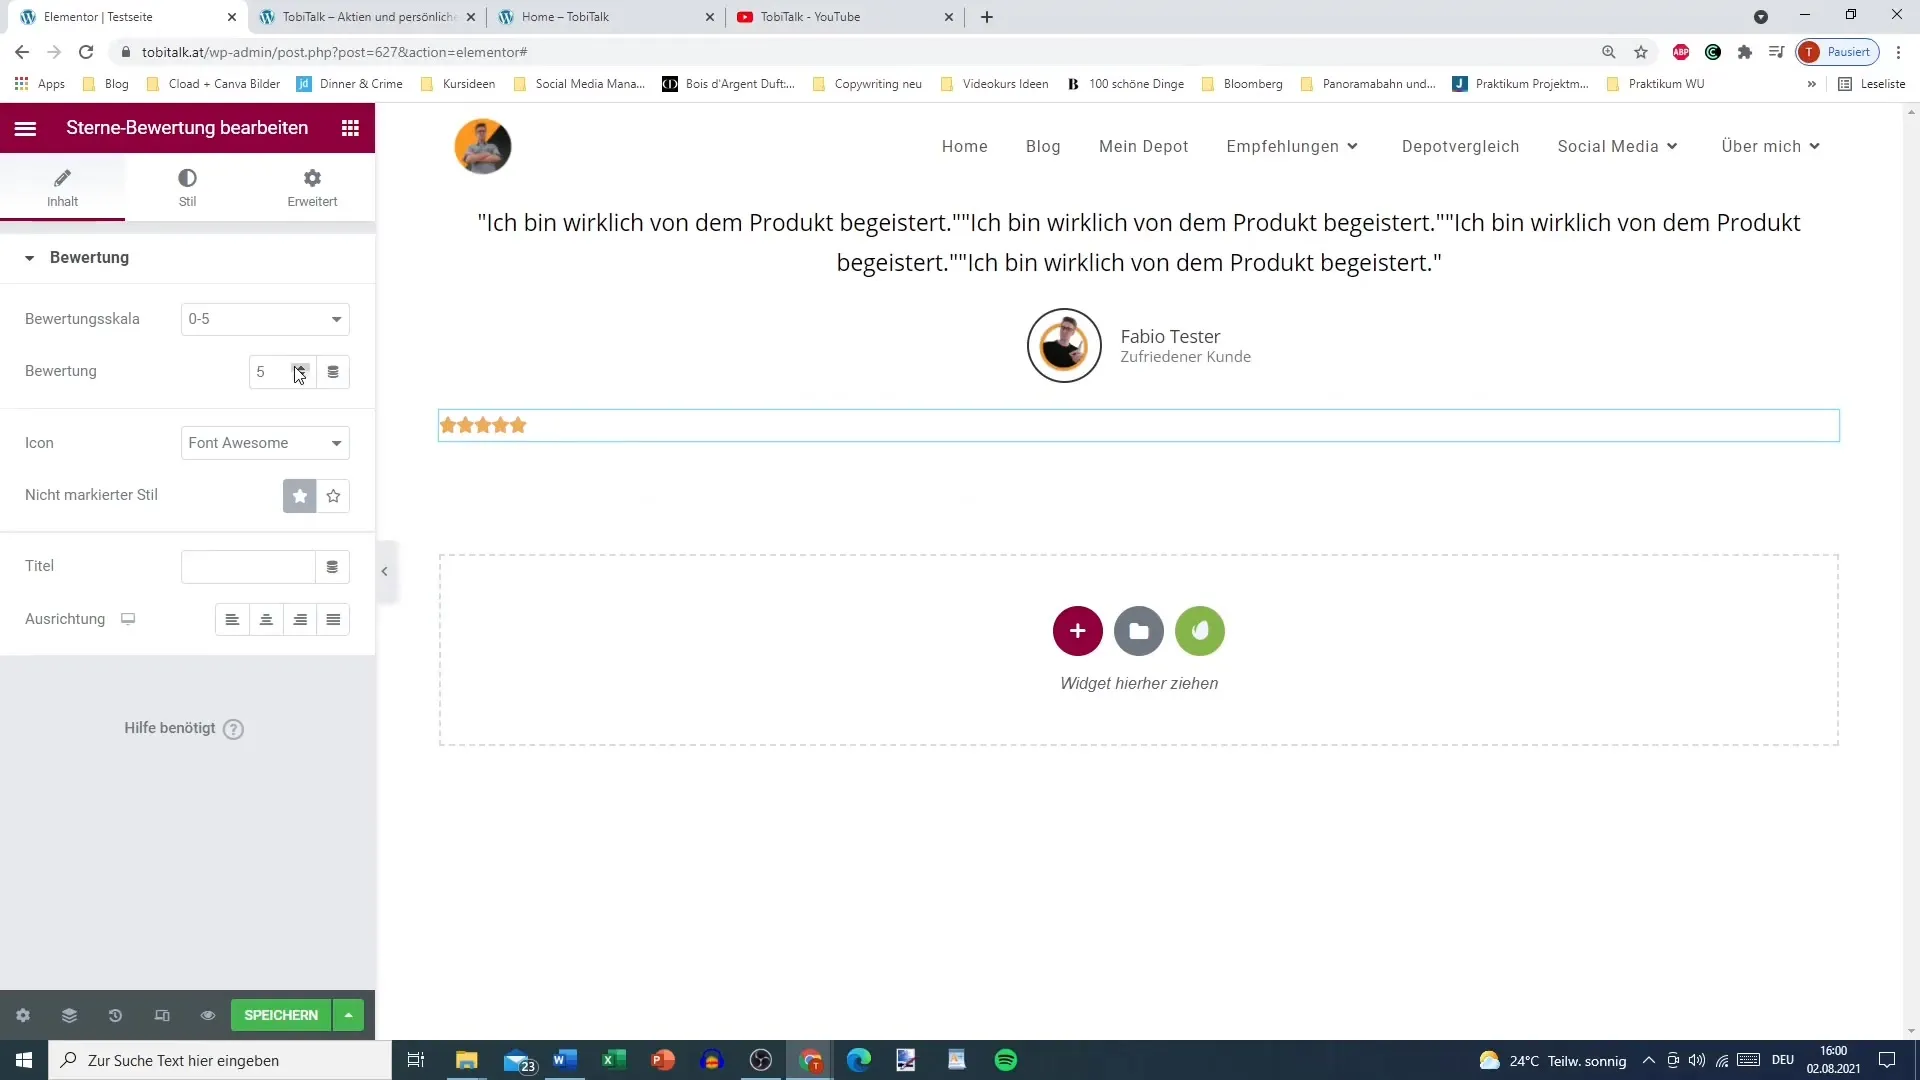
If you wish, you can also add a star rating to further beautify the testimonial. A rating of 4.8 stars, for example, can strengthen potential buyers' trust and intensify the positive perception of the product.
Step 11: Present the Testimonial
Once you have added all the elements, you can view your testimonial and make adjustments if necessary. Ensure that the overall design looks attractive and matches your website's identity.
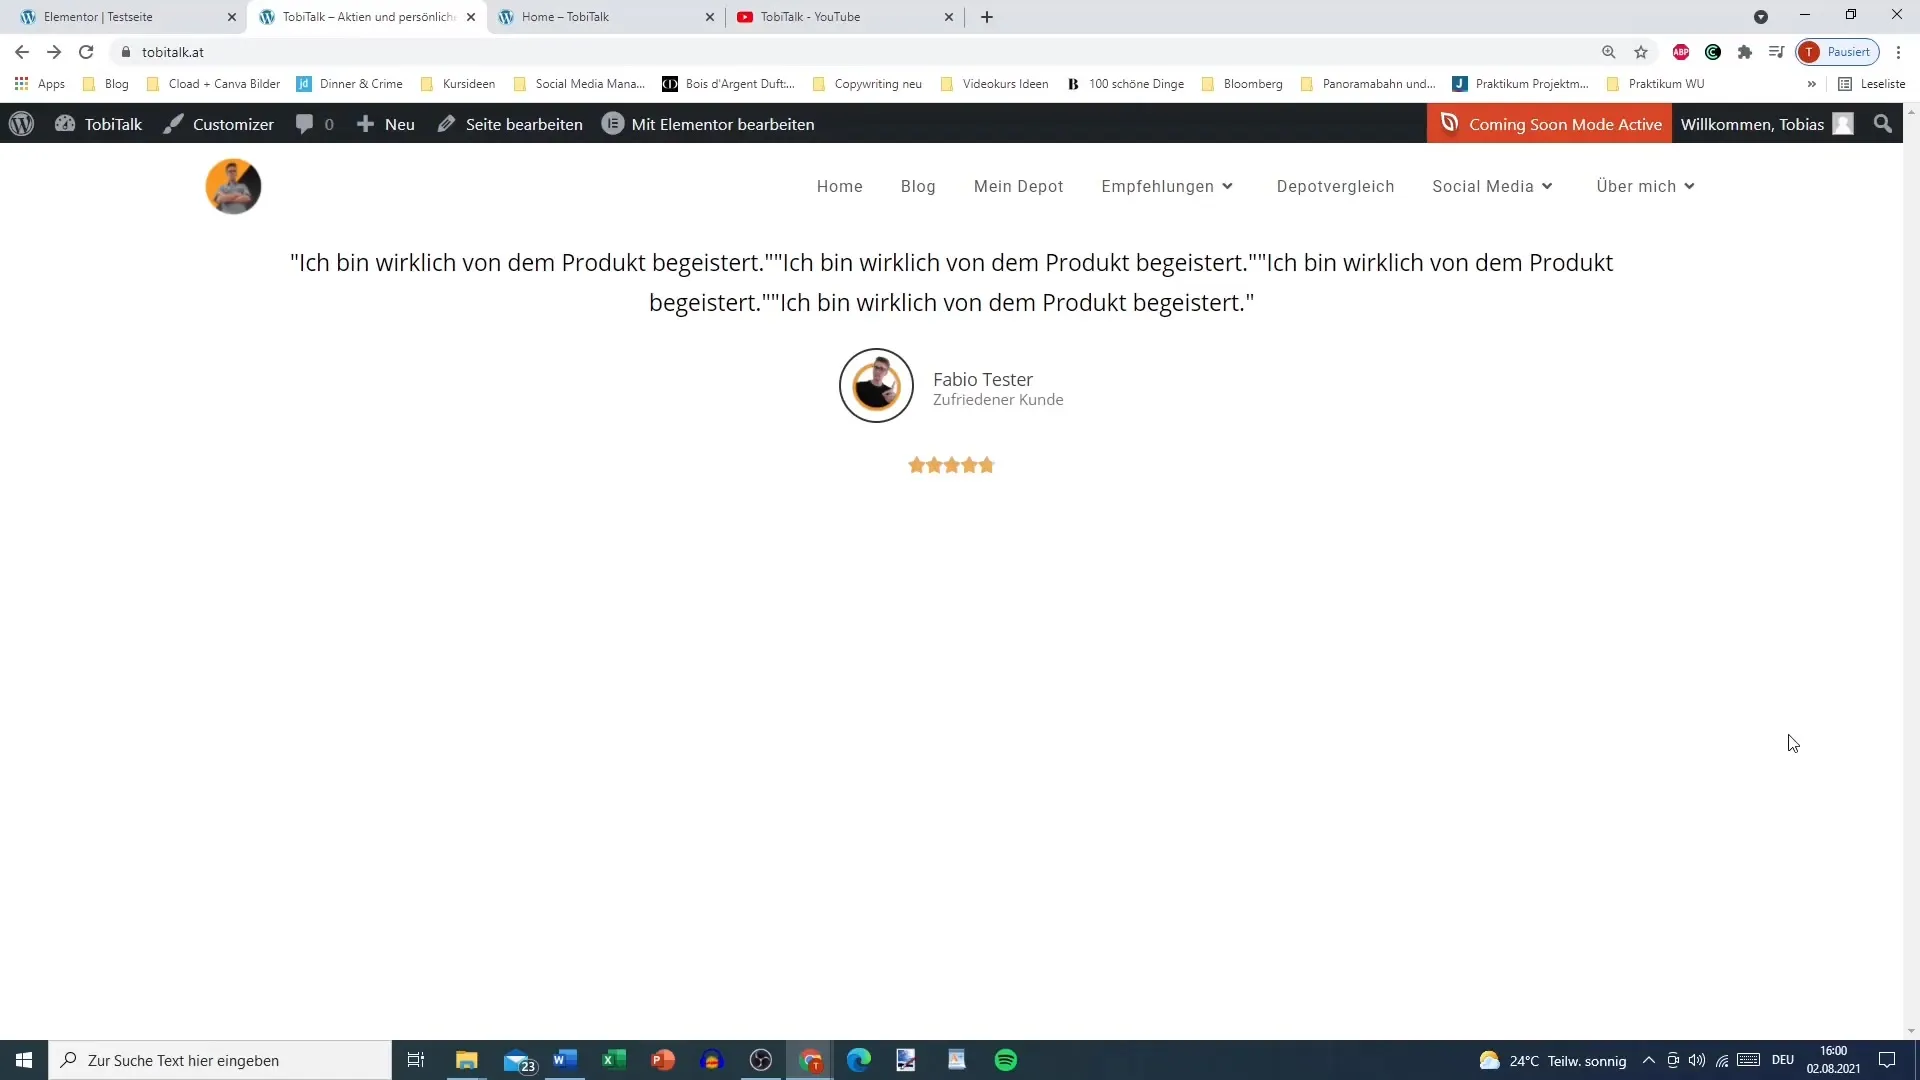
Summary – Implementing Recommendations Easily with Elementor for WordPress
With these steps, you can quickly and easily add testimonials in Elementor. Customizing text, image, and star ratings ensures that the recommendations are not only informative but also visually appealing to your visitors.
Frequently Asked Questions
What is the testimonial element in Elementor?The testimonial element allows you to present reviews or recommendations easily on your website.
How do I customize the design of the testimonial?You can adjust the text color, image size, and borders to personalize the testimonial.
Can I add star ratings?Yes, you can integrate star ratings to increase the credibility of your testimonial.


