Integrating a login function into your WordPress website can help users access protected areas such as an online store. In this guide, you will learn how to use the login element in Elementor Pro to create an effective and user-friendly login form.
Key Takeaways
- Elementor Pro provides a simple login element.
- You can customize the form elements to make them more user-friendly.
- The redirect options are important for the user experience after login or logout.
Step-by-step guide
First, you need Elementor Pro to access the login function. Once you have installed and activated the plugin, you can proceed with the following steps.
1. Add the login element
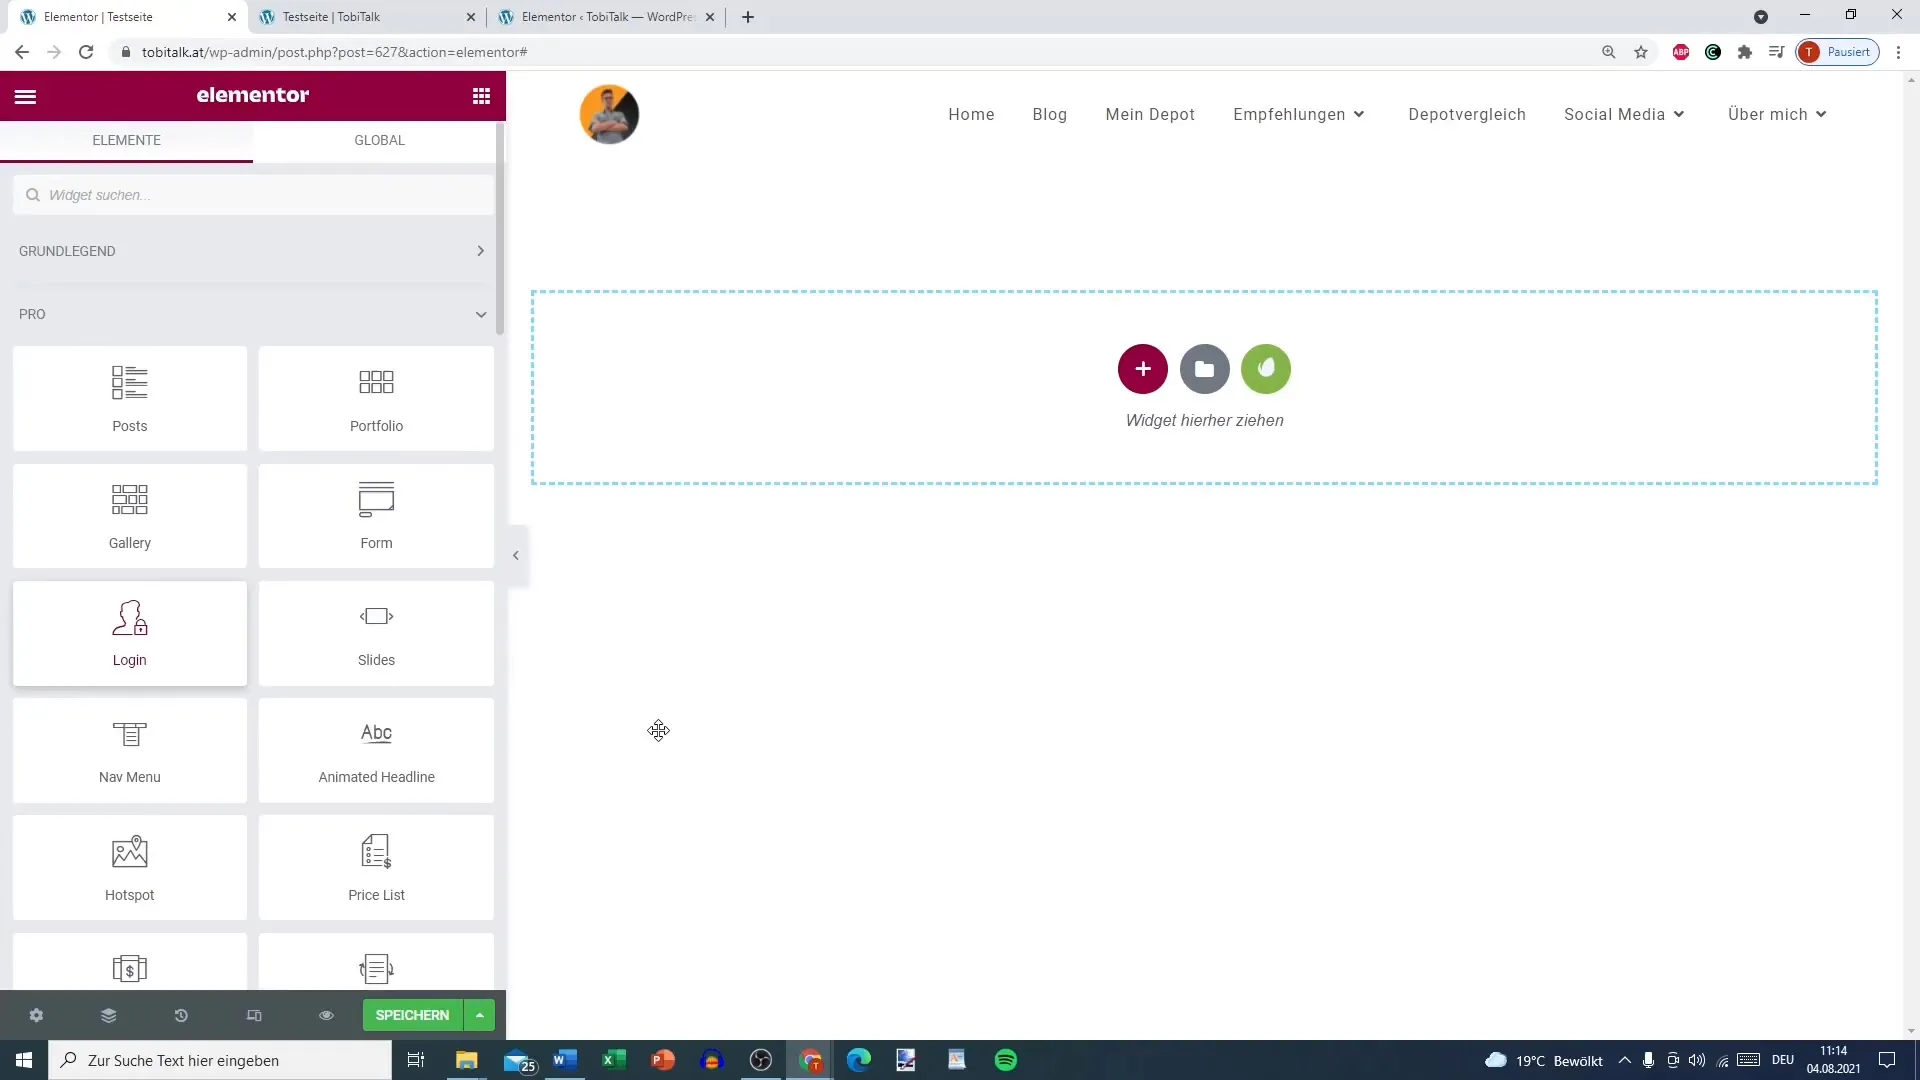
Start by editing a new or existing page in Elementor. Look for the login element in the Elementor panel. Drag the element to the desired location on your page.

2. Customize the login form
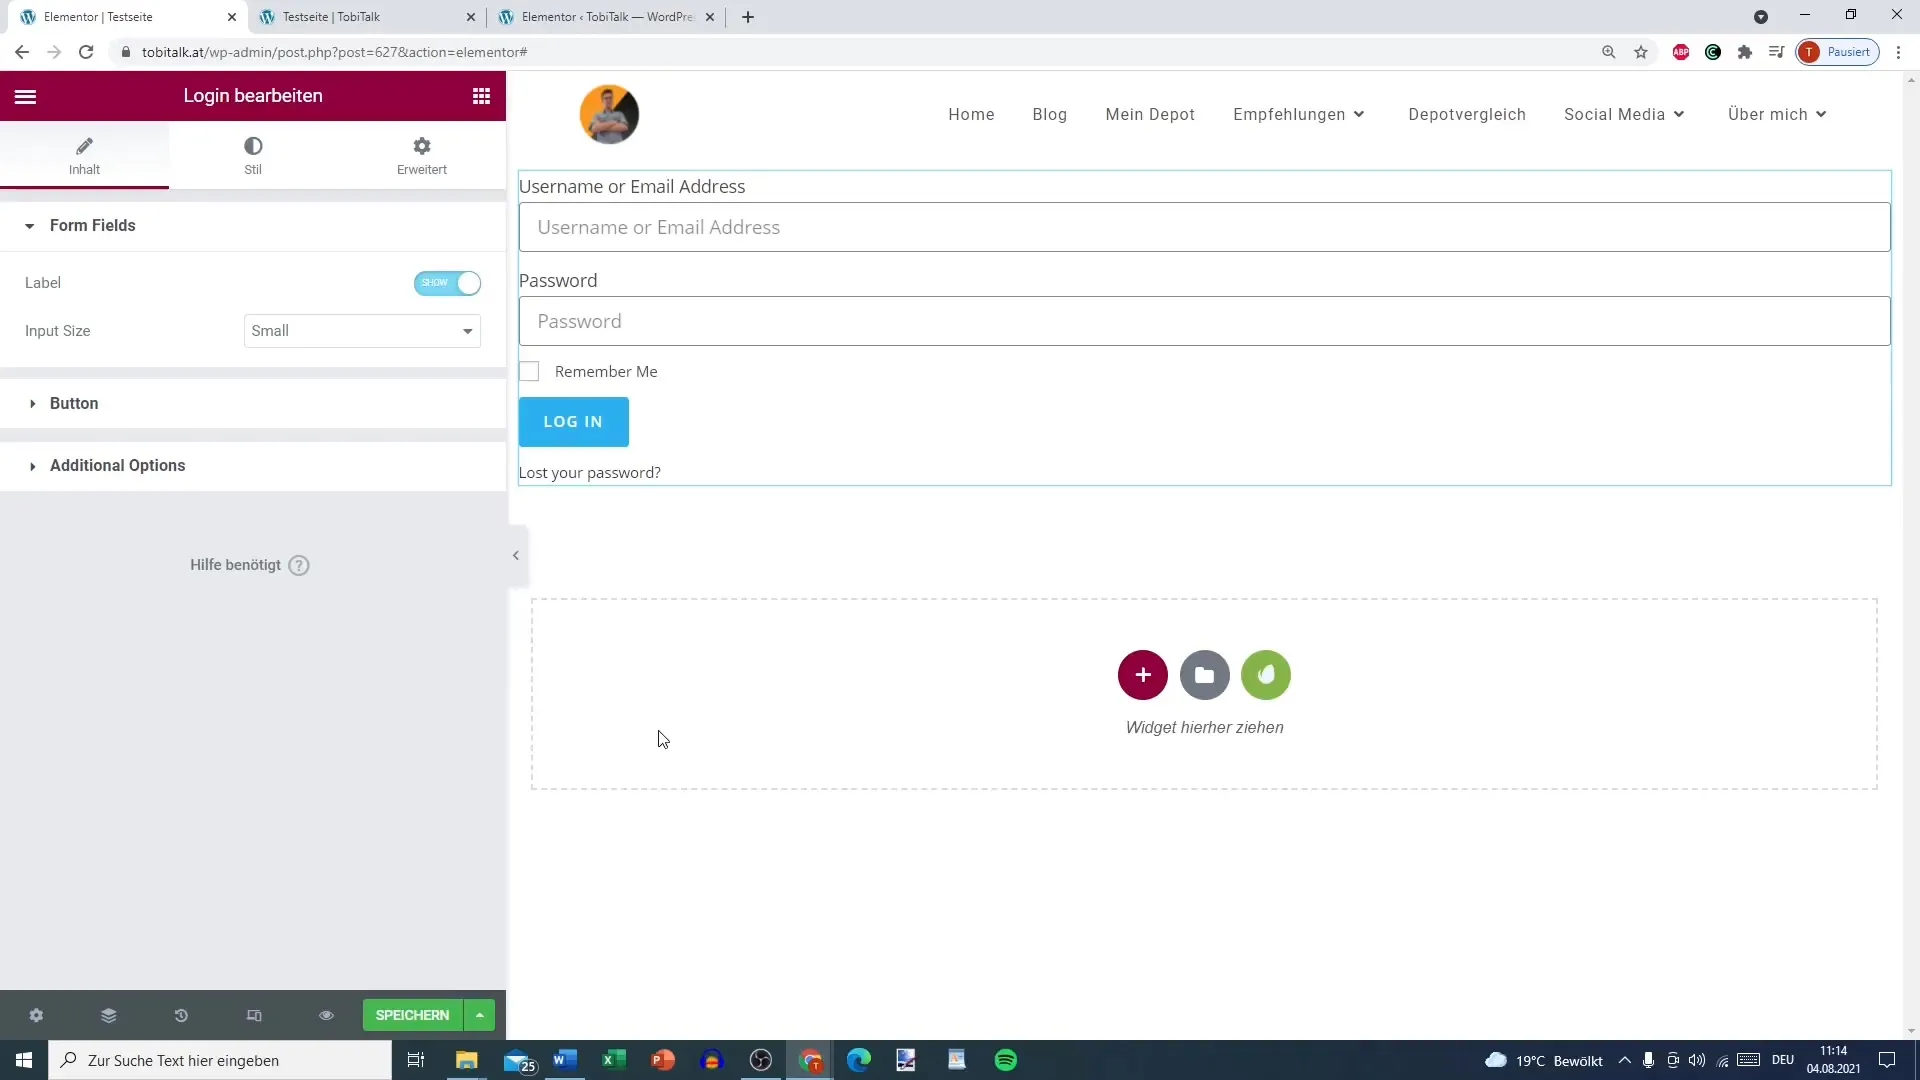
After adding the login element, you can make customizations. You have the option to remove or change the headings to personalize the form and adapt it to your design.

3. Set the size of the element
You can decide whether the login element should be small or medium based on your design preferences. This option helps you tailor the form to the overall style of your website.
4. Customize the button
The login button can also be customized as needed. There are various settings to change the text, color, and design of the button. Ensure the button is visually appealing.

5. Additional options and redirects
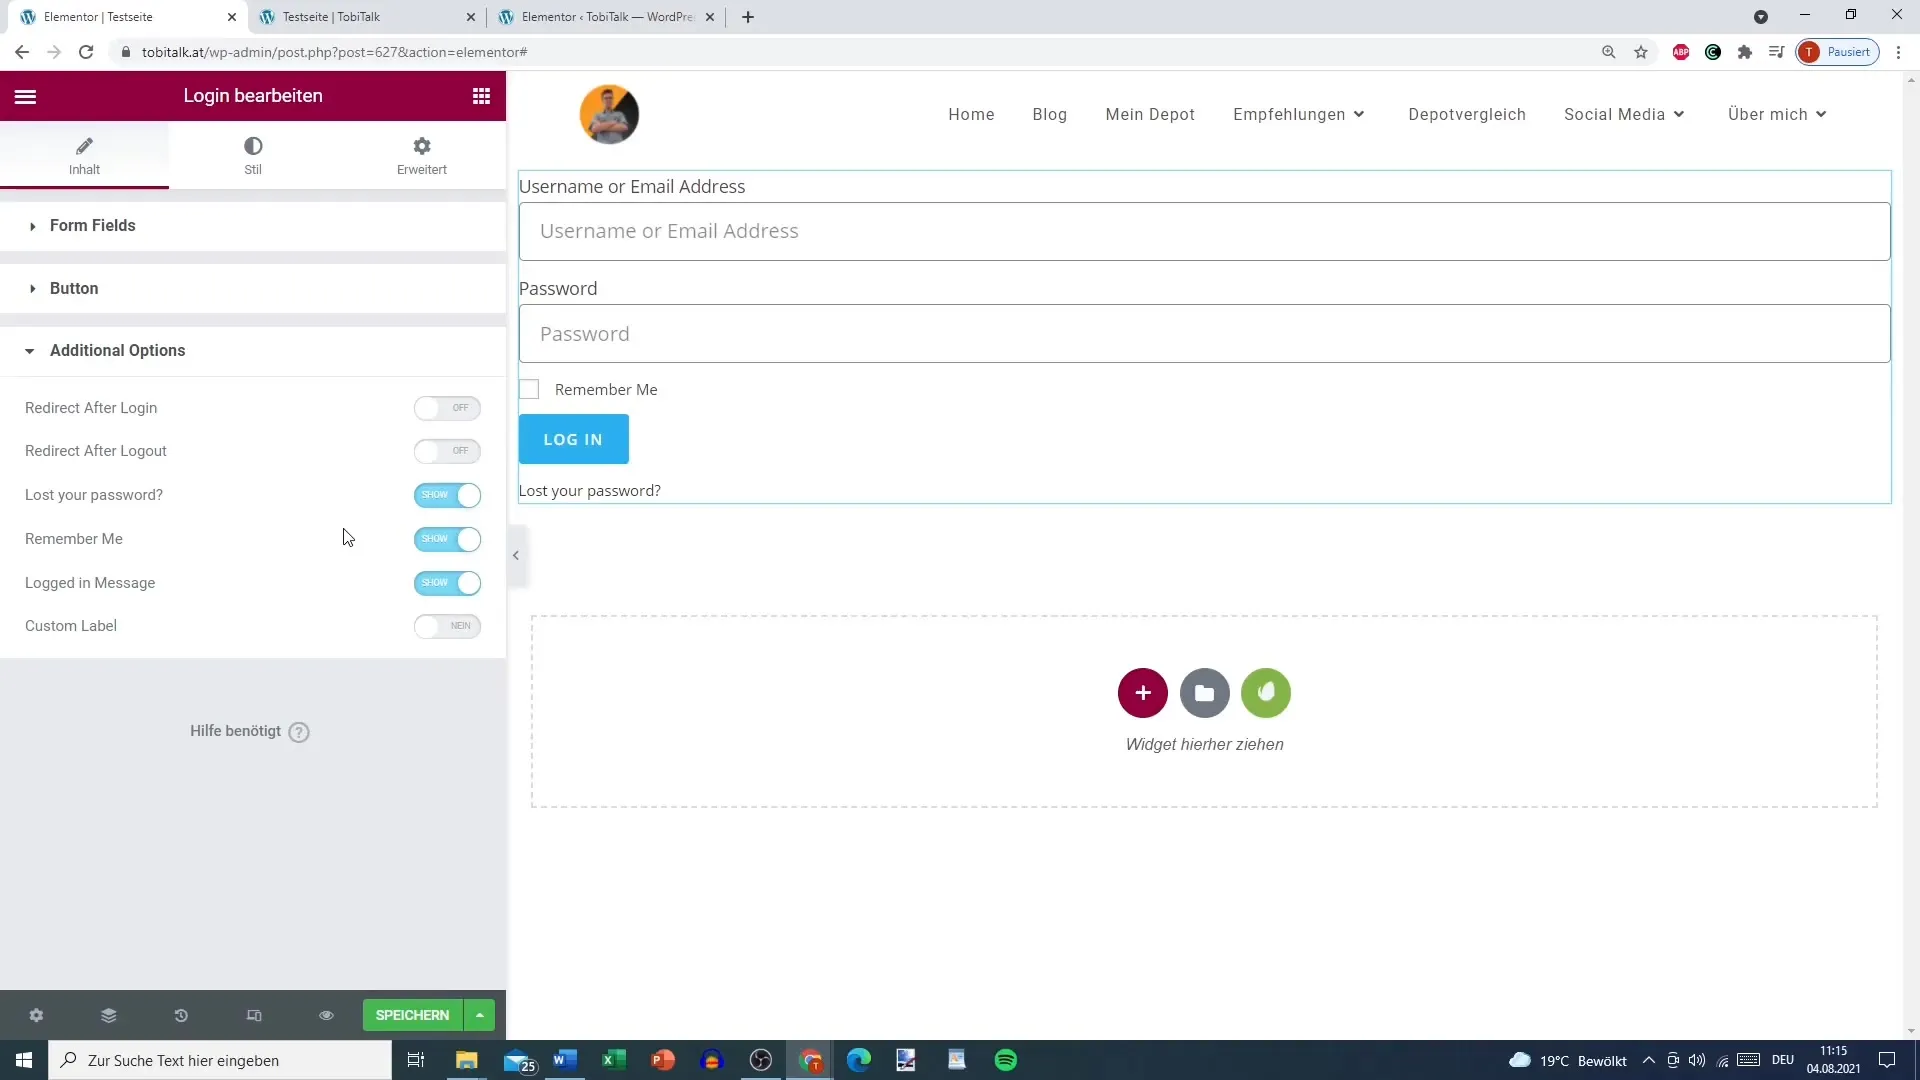
The additional options are crucial for the user experience. You can specify where users will be redirected after login. It is advisable to enable the "Remember Me" function so users do not have to enter their login details on every visit.
6. Enable password recovery
If a user forgets their password, the "Lost your password?" function allows password recovery directly from the login form. This is a convenient feature that enhances the user experience.
7. Redirect after logout and login
Remember to set redirect options for post-logout and post-login times. A possible address for logout could be a thank you page, while the login redirect page could be the homepage or another relevant page.
8. Final checks
Before saving your changes, ensure you check the functionality on the live page. Do you want to use the login form for a blog page or an online store? Depending on your needs, you can further customize the settings.
Summary
In this step-by-step guide, you learned how to set up an effective login function in Elementor Pro on your WordPress site. We covered the necessary steps from integrating the login element to customization options to redirect settings. Implementing this feature not only enhances the user experience on your site but also provides users with advanced access to protected content.
Frequently Asked Questions
What is the login element in Elementor Pro?The login element allows users to sign in on your WordPress site.
How do I customize the text on the login button?You can adjust the text, color, and design of the login button in the element's settings.
Can I use the login form without Elementor Pro?The login element is only available to Elementor Pro users.
Are the redirect options important?Yes, they enhance the user experience by allowing users to be redirected to specific pages after login or logout.
What are the benefits of the "Remember Me" function?This function allows users to keep their login details saved, simplifying repeated logins.


