The Testimonial-Carousel is an impressive tool to present customer reviews appealingly on your WordPress website. With the help of Elementor, you can create a carousel in just a few steps that is not only visually appealing but also enhances your company's credibility. In this guide, I will show you how to effectively set up the Testimonial Carousel and customize it to your needs.
Key insights
- Use the Testimonial Carousel to showcase customer opinions.
- Customizations for layout, style, and functionality are easily possible.
- Attention to detail increases the professionalism of your website.
Step-by-Step Guide
Step 1: Add Testimonial Carousel
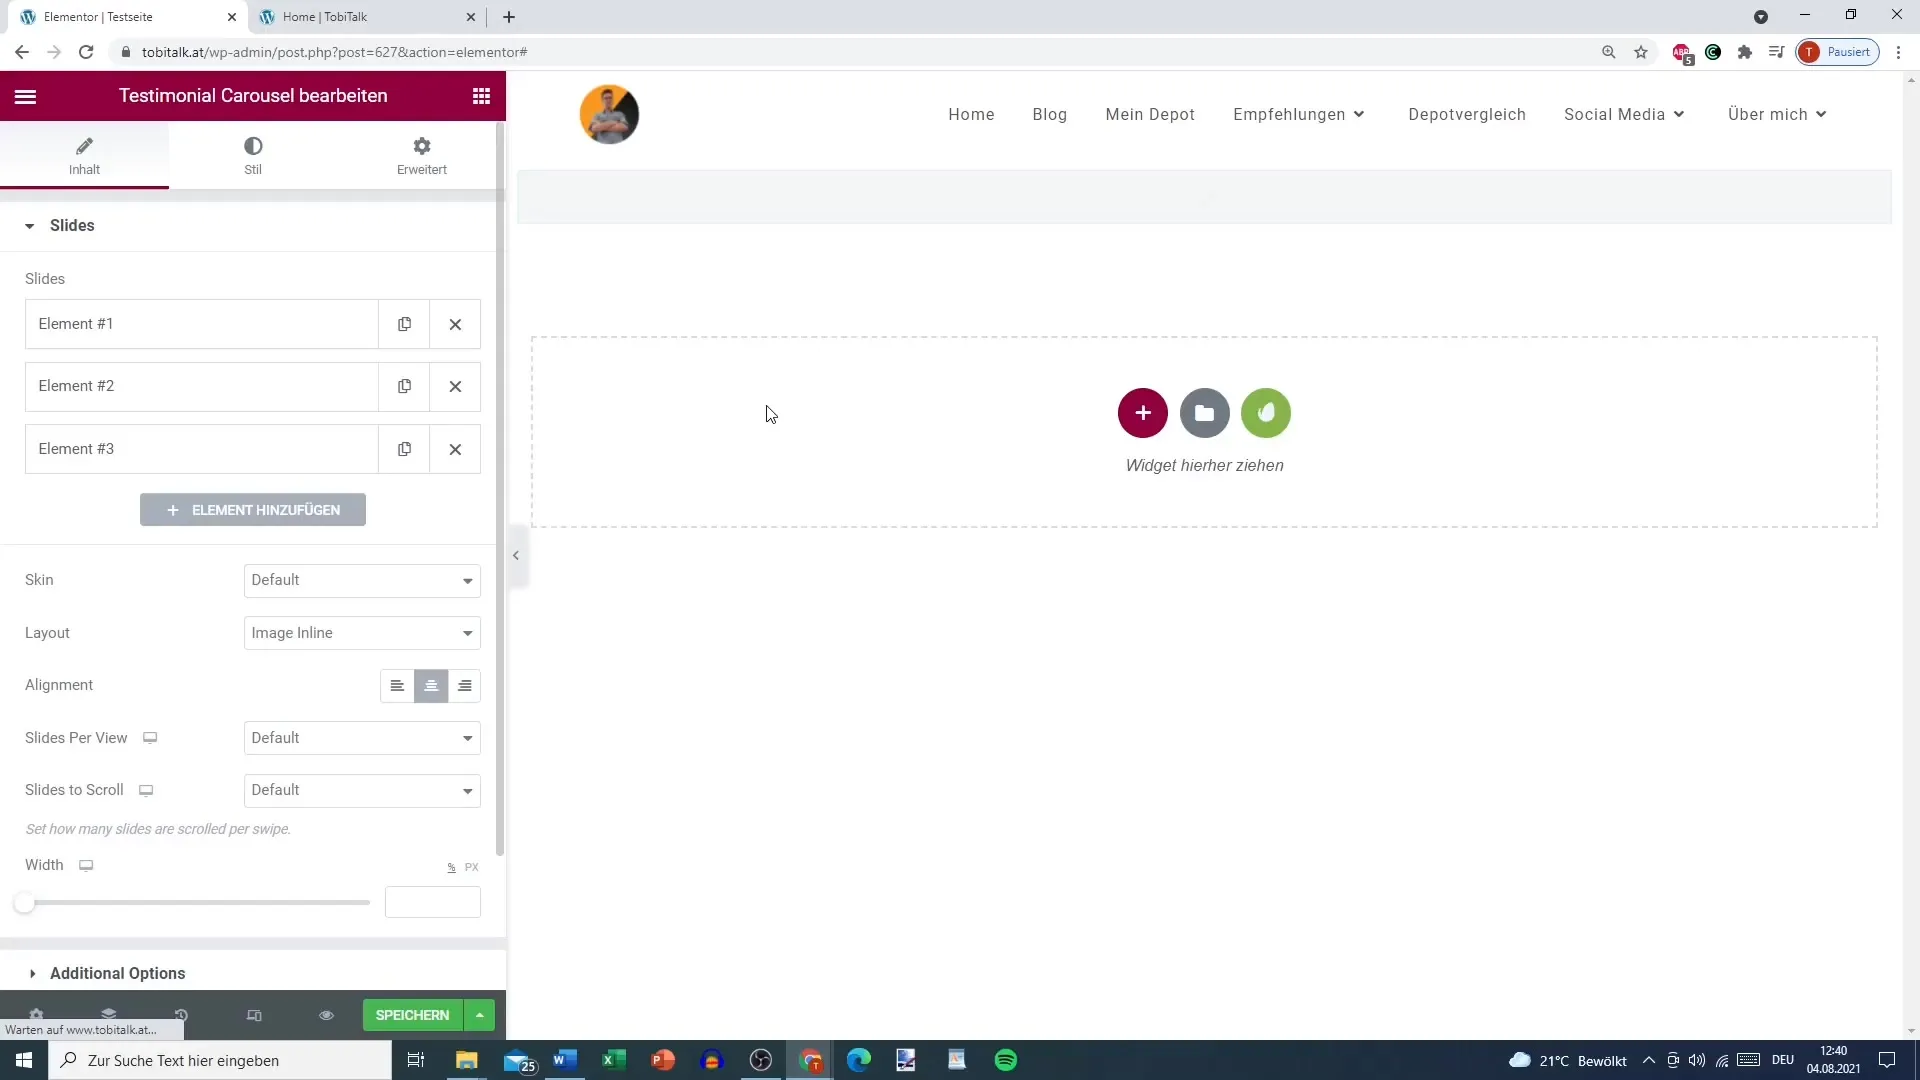
To start creating the Testimonial Carousel, you need to open Elementor and find the corresponding widget.
Step 2: Insert Content
Here you can insert the individual reviews. Each testimonial consists of a review text, an image of the customer or the product, as well as the name and title of the sender.
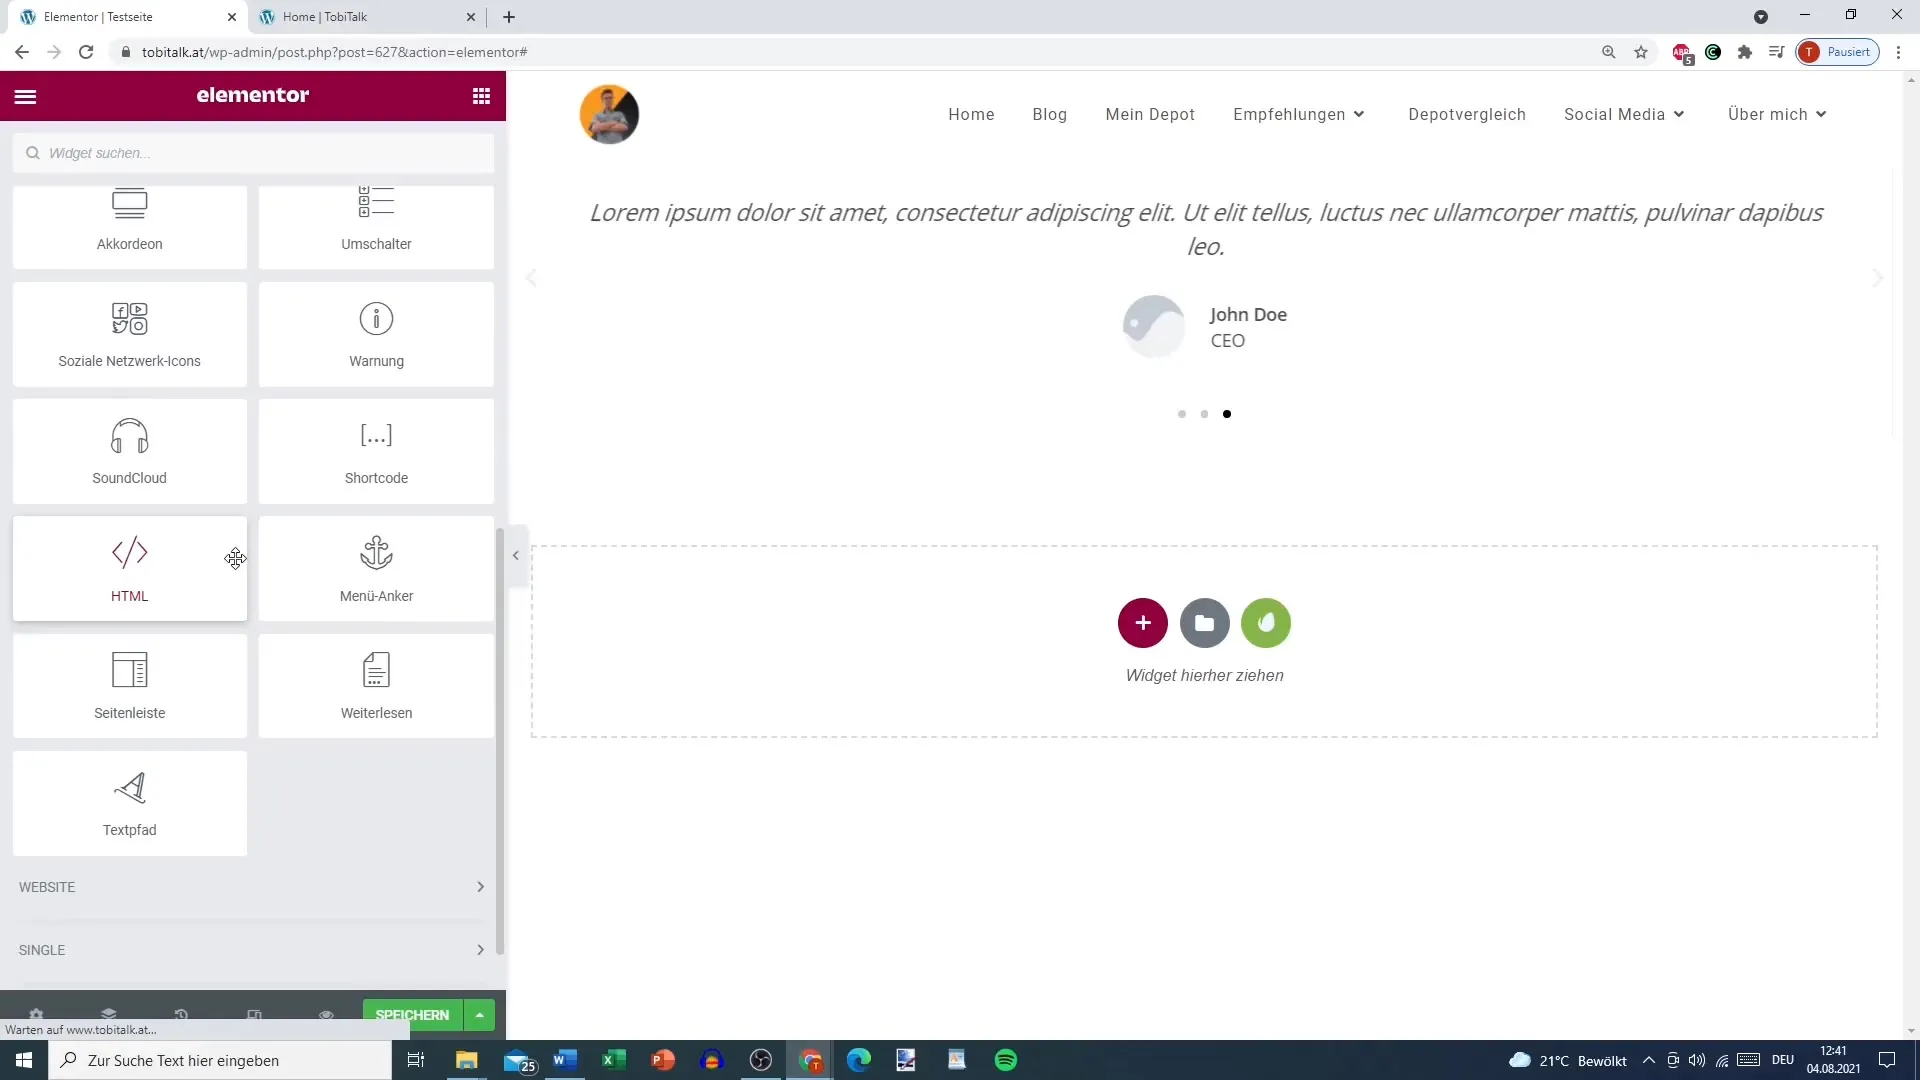
Step 3: Add Image
Add images of the people or products related to the testimonial. You can easily upload the images through the corresponding field so that they are displayed in the carousel.

Step 4: Customize Testimonial
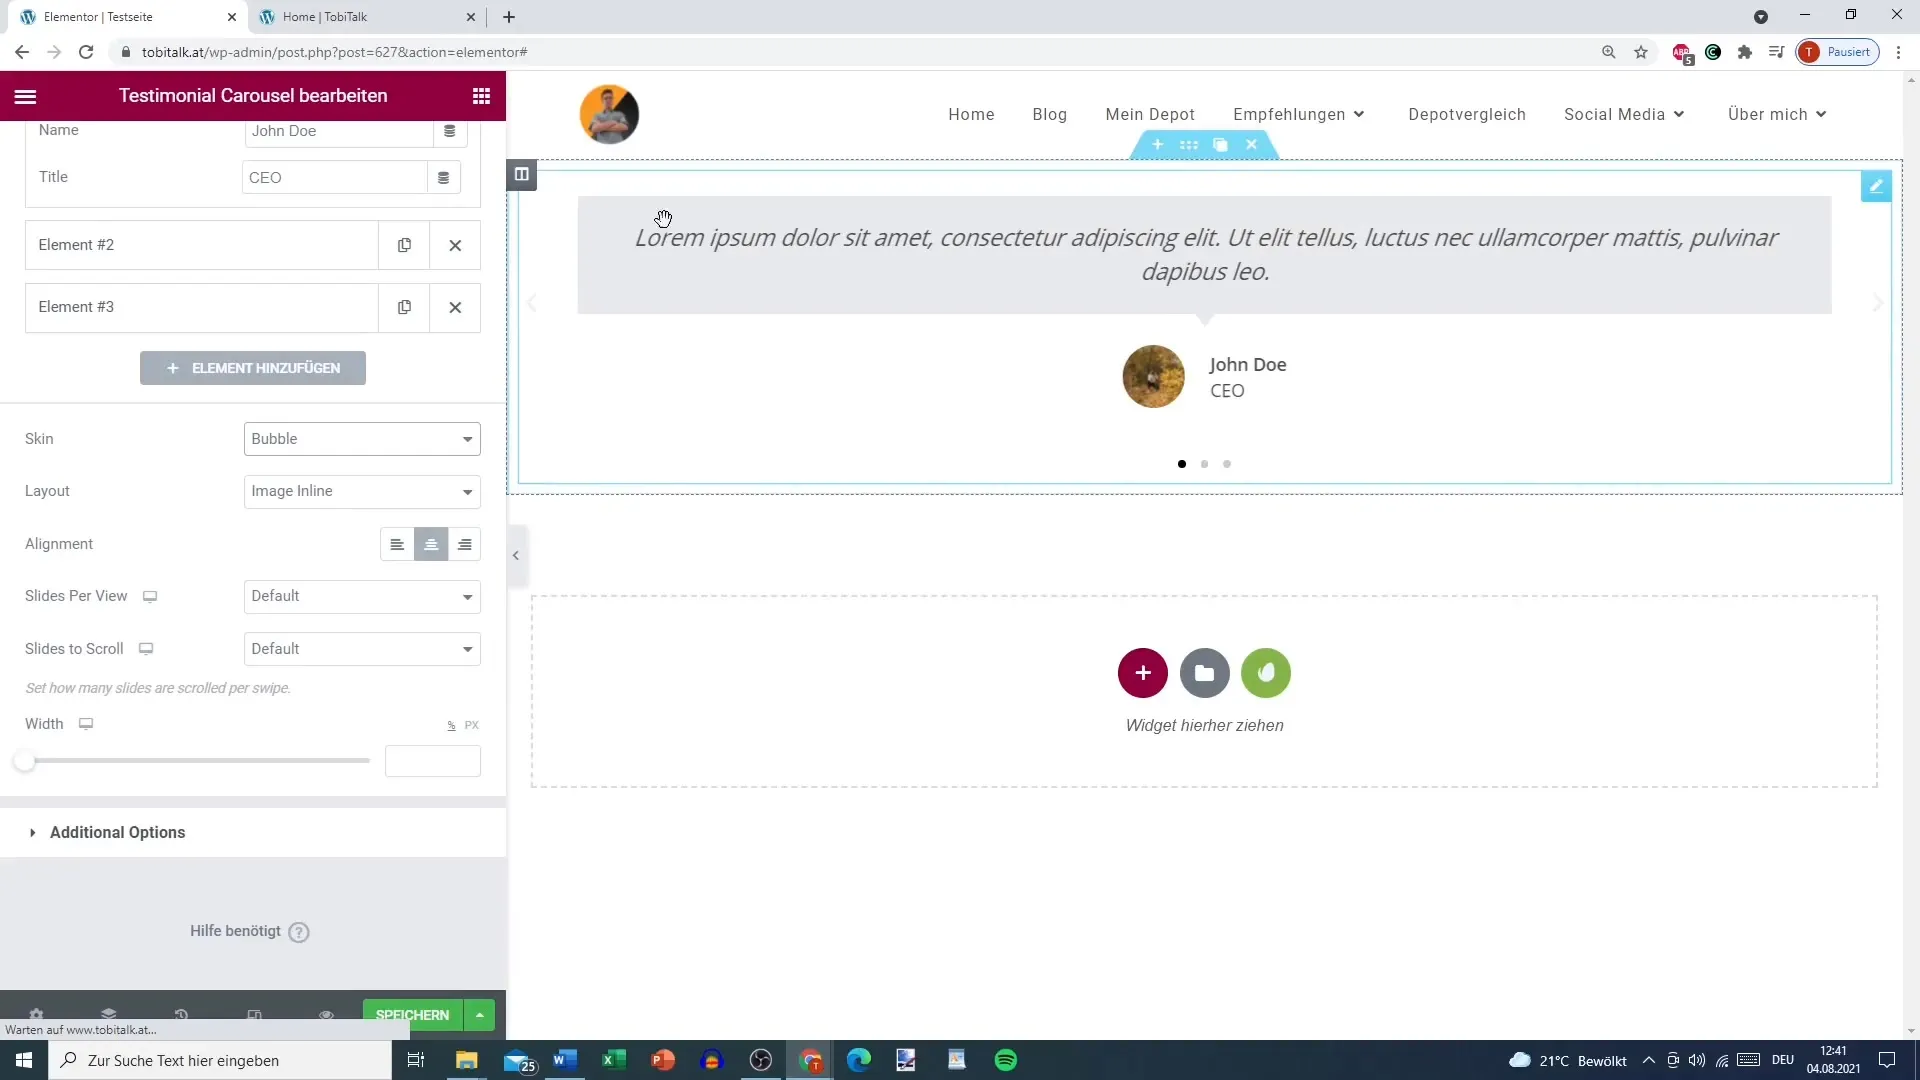
For an appealing presentation, you can format the review text. There are various layout options you can use: standard text, bubble layout with a gray background, or other formats.
Step 5: Choose Layout Options
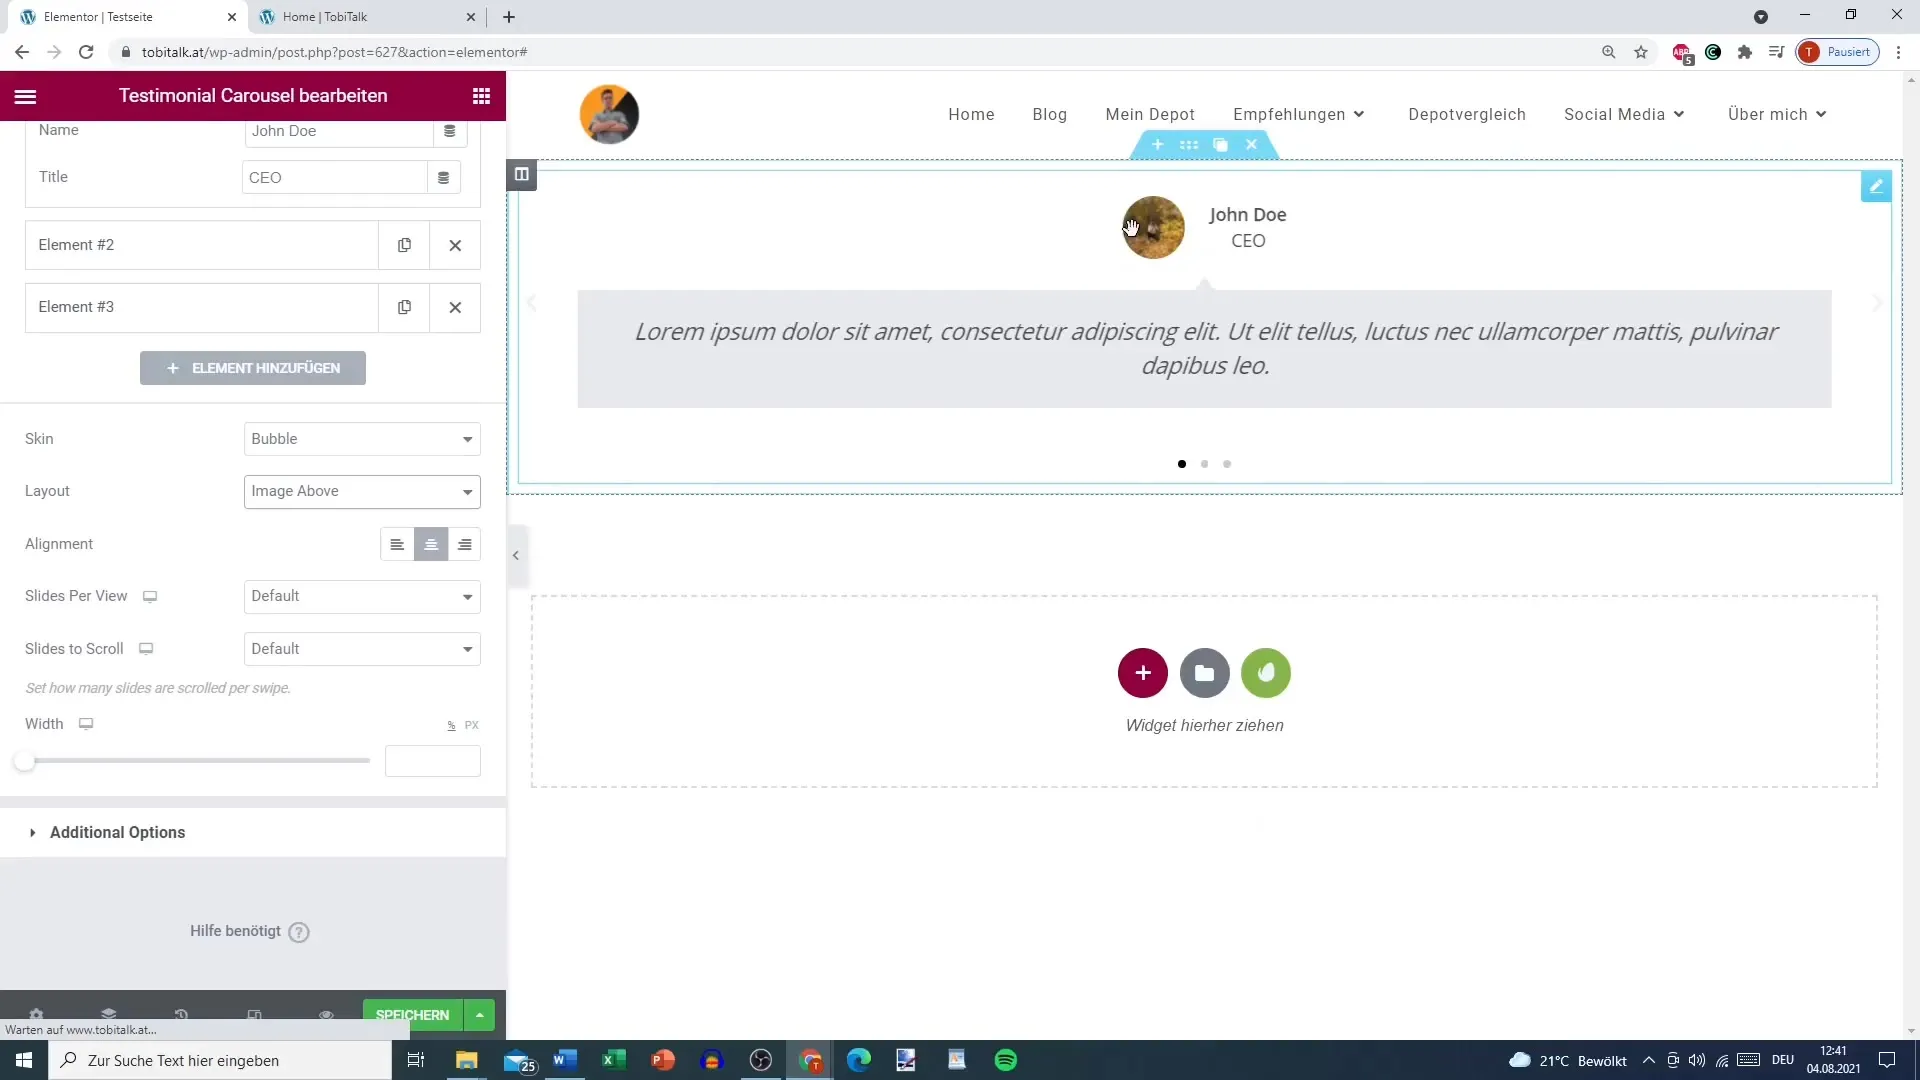
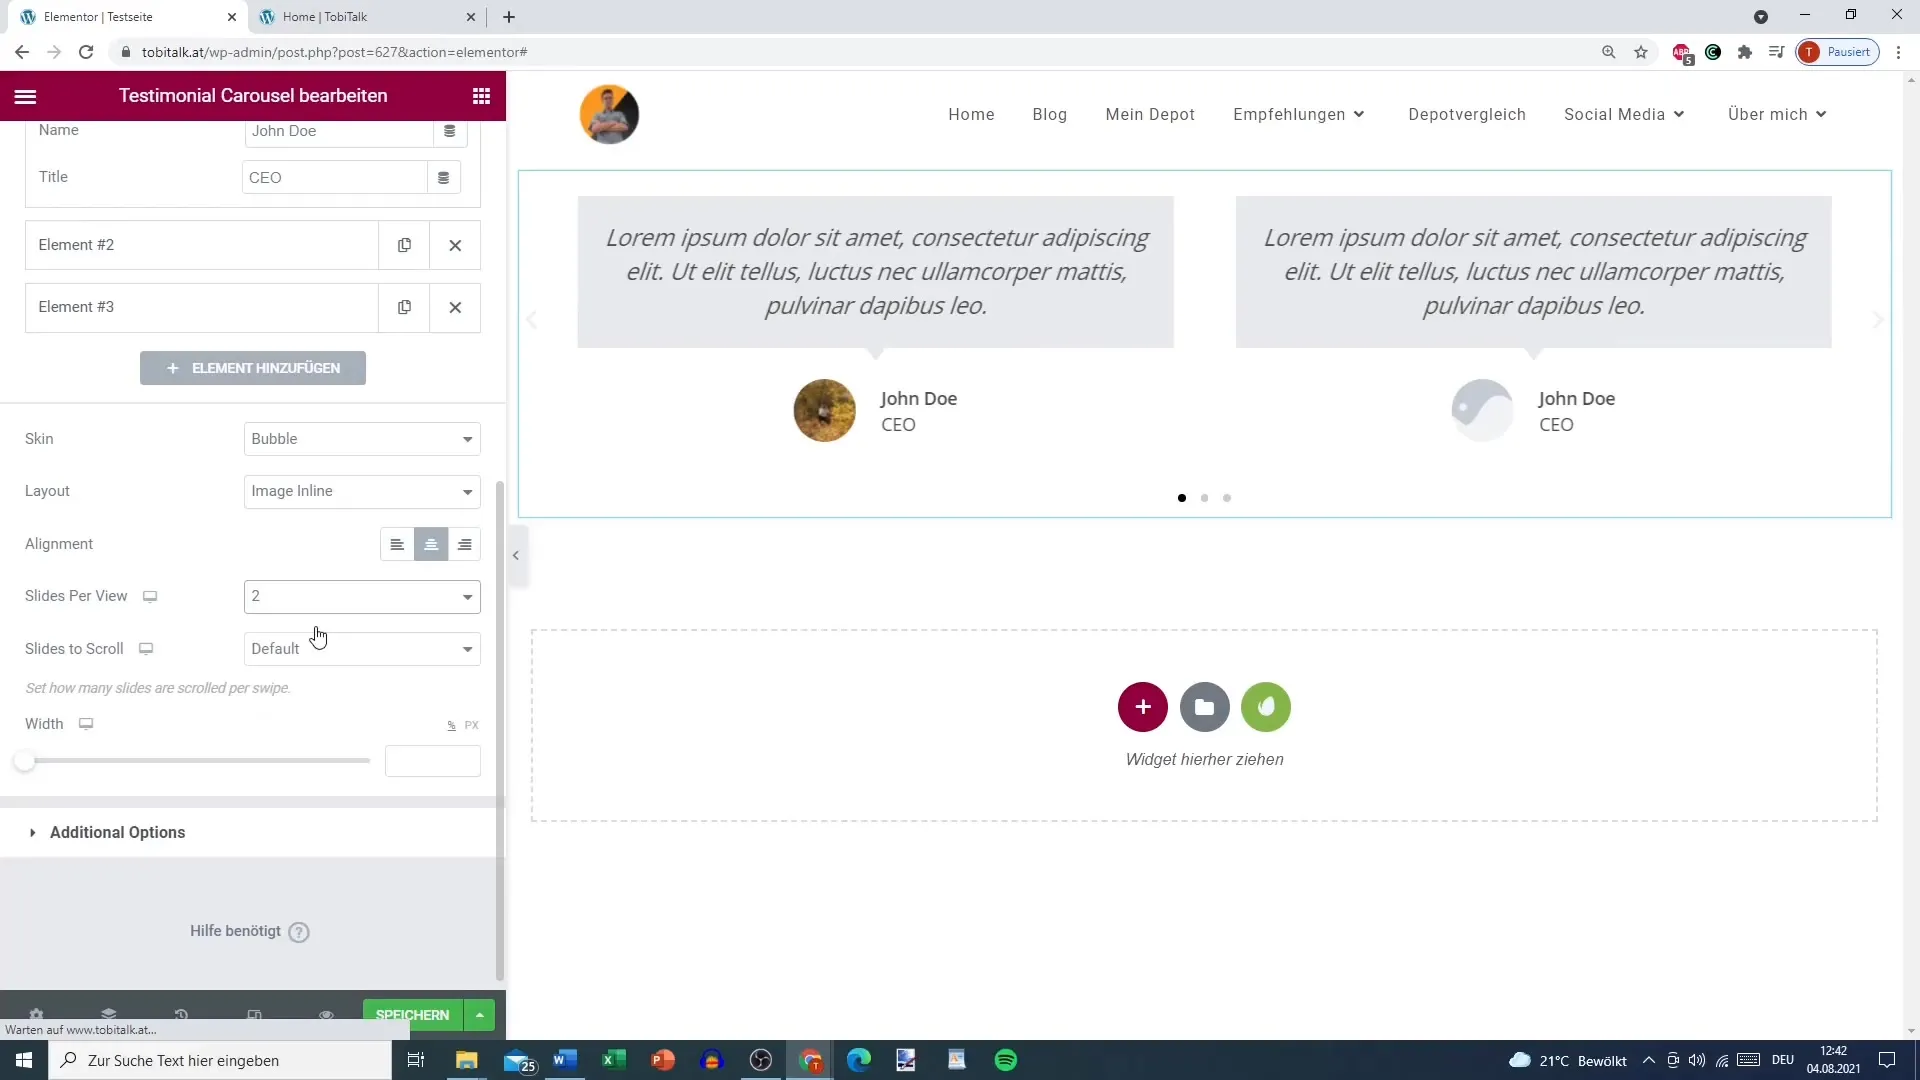
Here you have the option to define the layout for the carousel. Depending on your preference, you can insert the image in different positions (e.g., top, left, or right).
Step 6: Set Slides
Determine how many testimonials should be displayed per slide. Generally, one or two are better to maintain readability.
Step 7: Navigation and Autoplay
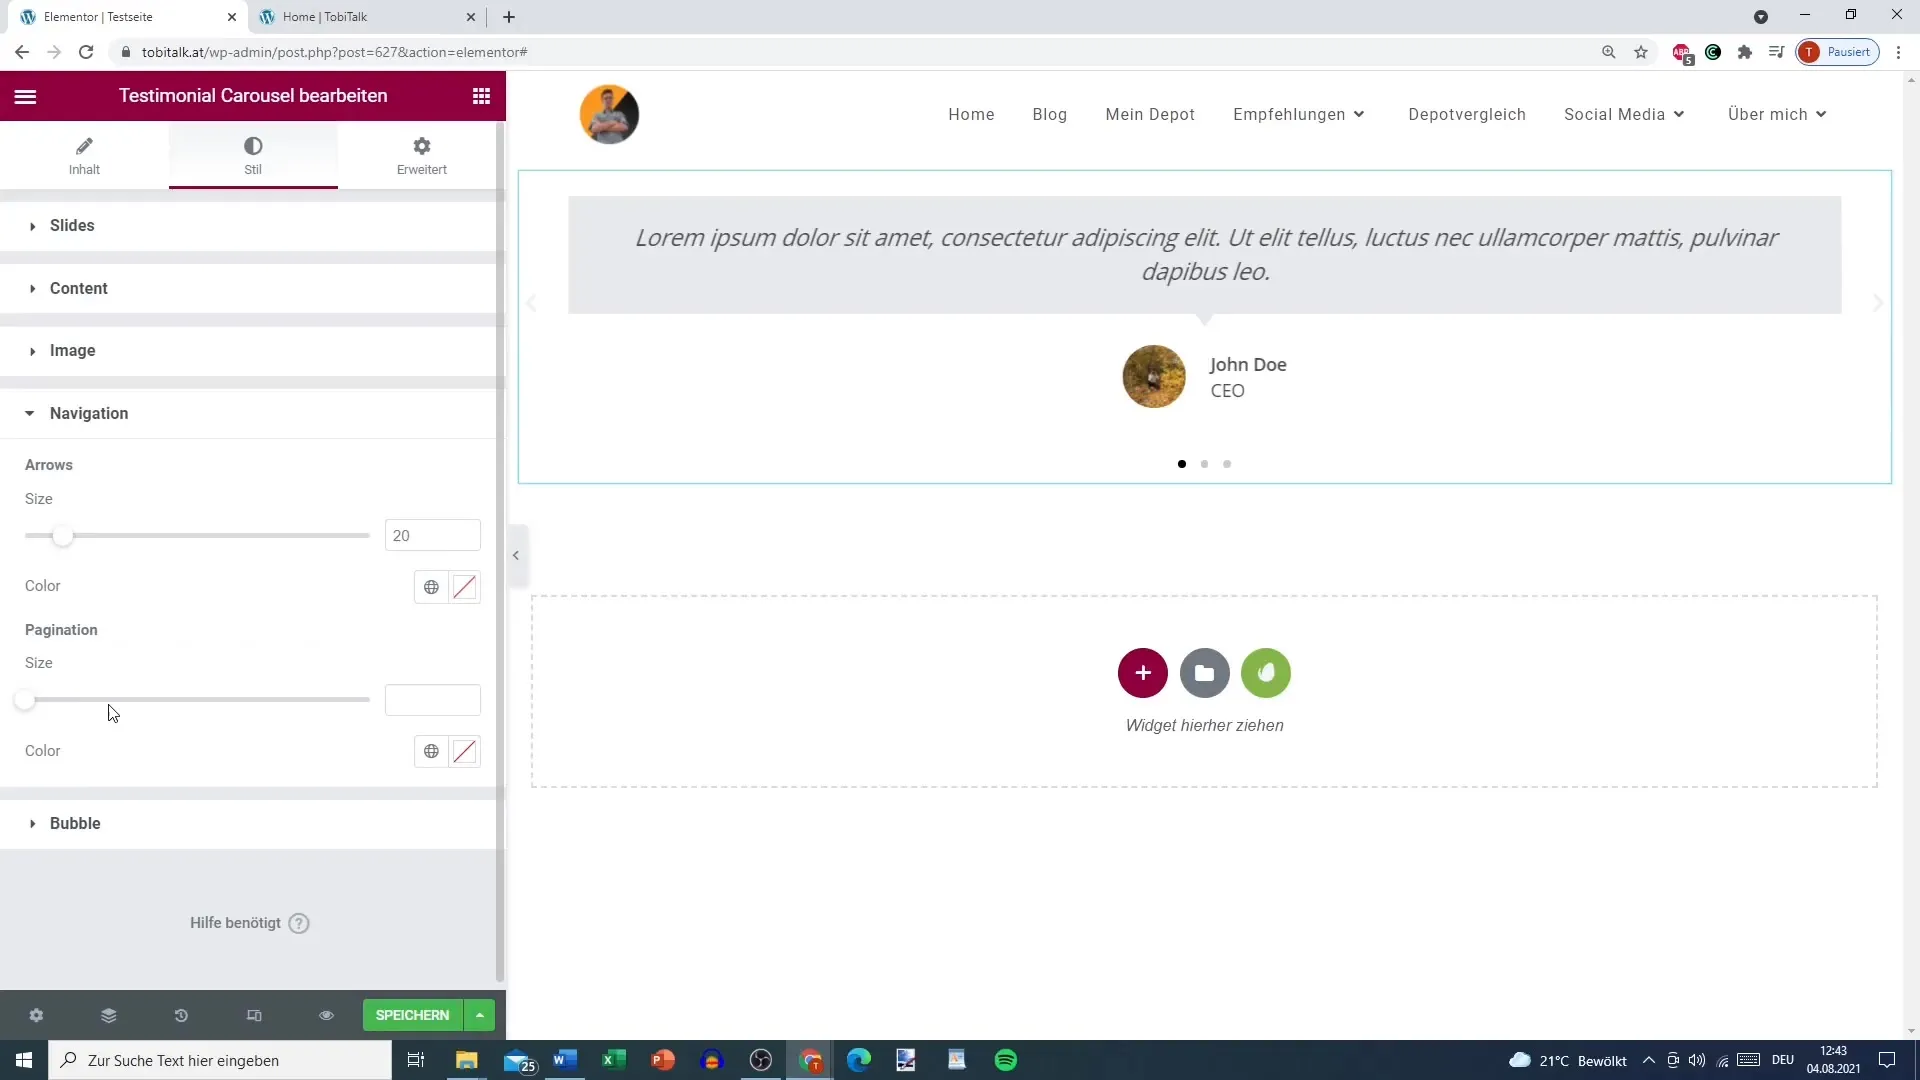
Activate the navigation elements by selecting whether you want to enable arrows and dots for navigation. Autoplay can also be set so that the carousel scrolls automatically through the testimonials.
Step 8: Determine Interaction Options
Decide if the carousel should pause when the user hovers over it with the mouse or clicks. This depends on your handling of the carousel.
Step 9: Adjust Style and Spacing
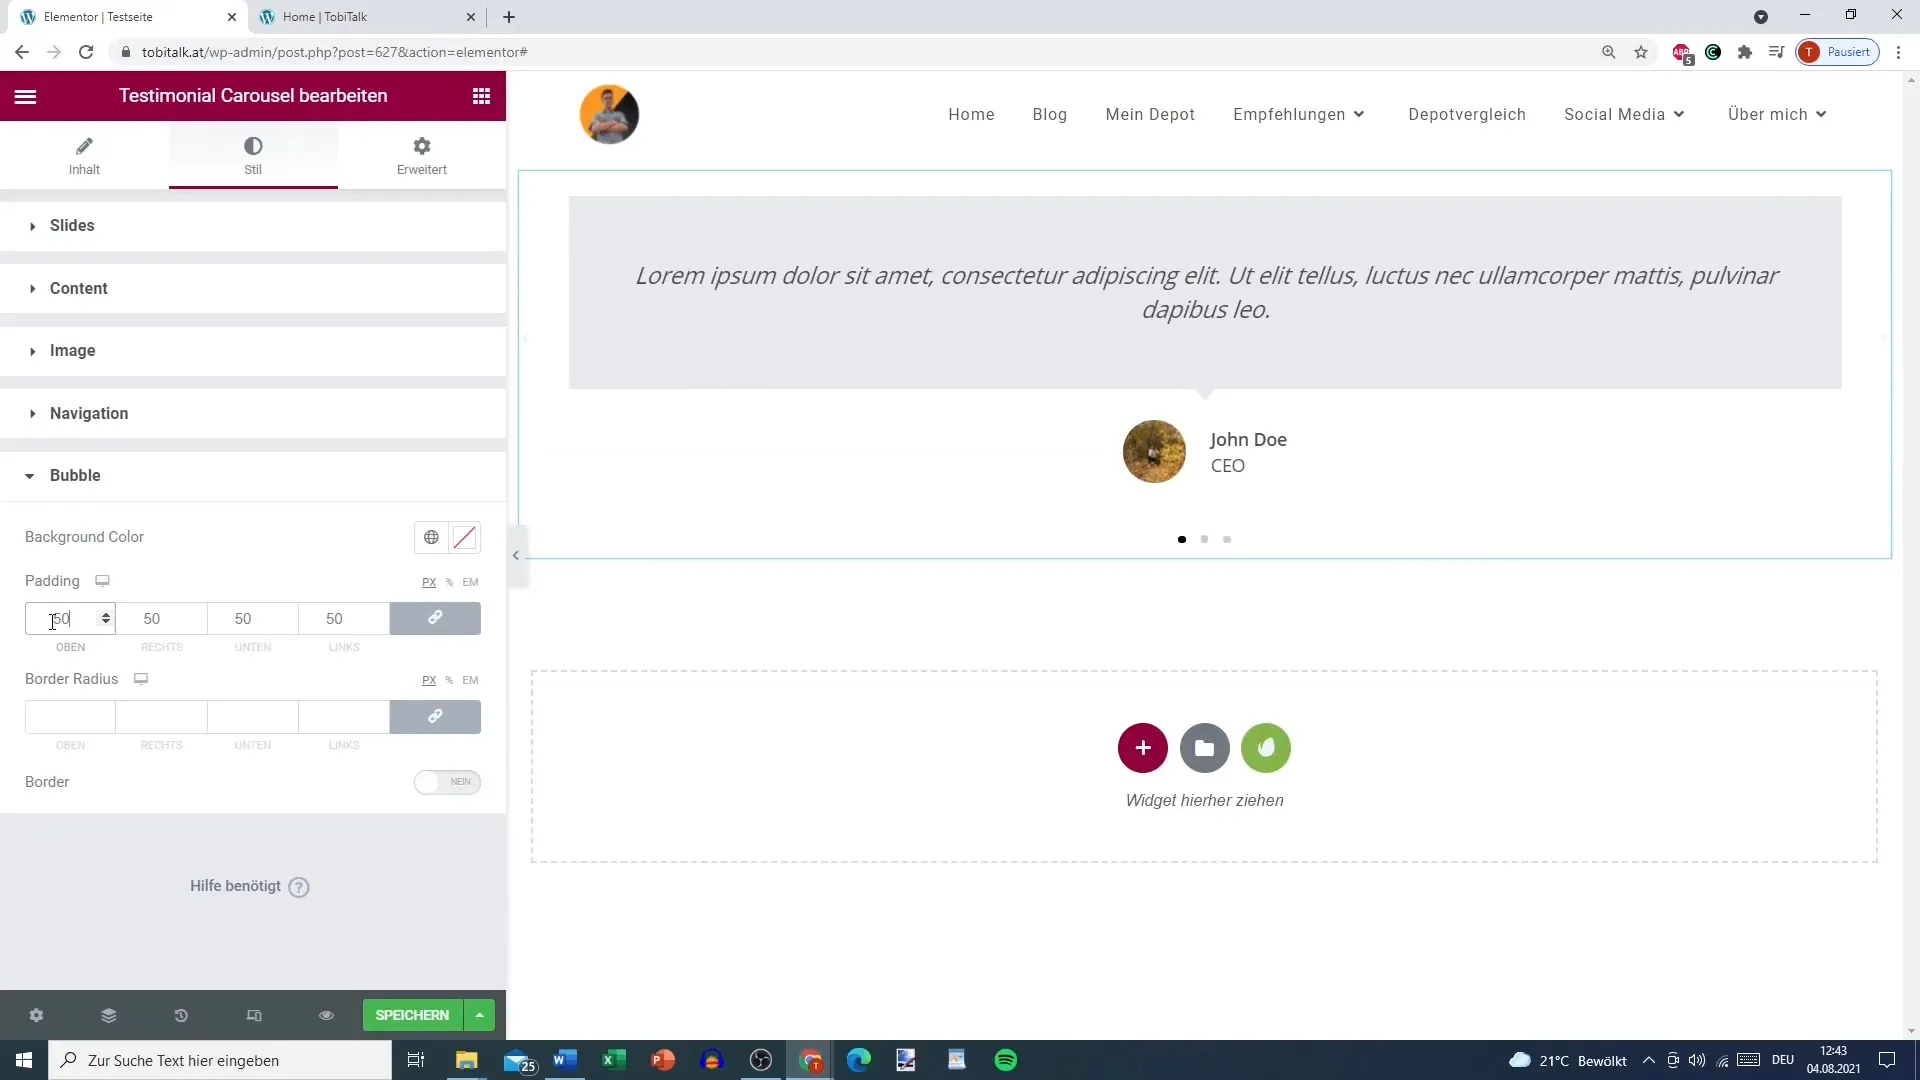
Now, focus on the style of the carousel. You can individually set the spacing to the text and image to create a harmonious overall picture.
Step 10: Make Layout Optimizations
Experiment with visual options such as border radius or frame for the testimonial bubble to refine the design.
Summary – Testimonial Carousel in Elementor: Tips and Tricks
The Testimonial Carousel in Elementor is a versatile and easy-to-implement element that gives your customer reviews a professional framework. You have the possibility to make individual adjustments that make the carousel both functional and visually appealing. By carefully placing testimonials, you contribute to a positive user experience on your website and thus support your business growth.
Frequently Asked Questions
How do I add a Testimonial Carousel in Elementor?Go to the widgets in Elementor, select the Testimonial Carousel, and place it where you want on your page.
Can I change the order of the testimonials?Yes, you can move the testimonials in the order you prefer by simply dragging them in the Elementor backend.
How many testimonials should be displayed on a slide?It is advisable to display one or two testimonials per slide to maintain readability.
Can I customize the design of the Testimonial Carousel?Yes, Elementor offers many options for customizing the layout, style, and spacing of the carousel.


