The insertionof imagesinto your WordPresswebsite with Elementorcan be a valuable way to create visual interest and engaging content. The possibilities are diverse, and you can customize the image display according to your preferences. In this guide, you will learn how to efficiently insert, edit, and optimize images to get the most out of your web design.
Key Insights
- Elementor allows for easy and flexible insertion of images.
- You can upload images from the media library or external sources.
- Adjusting image size, alignment, and layout is straightforward.
- Using captions and customization settings enhances the user experience.
Step-by-Step Guide
Step 1: Add a New Section
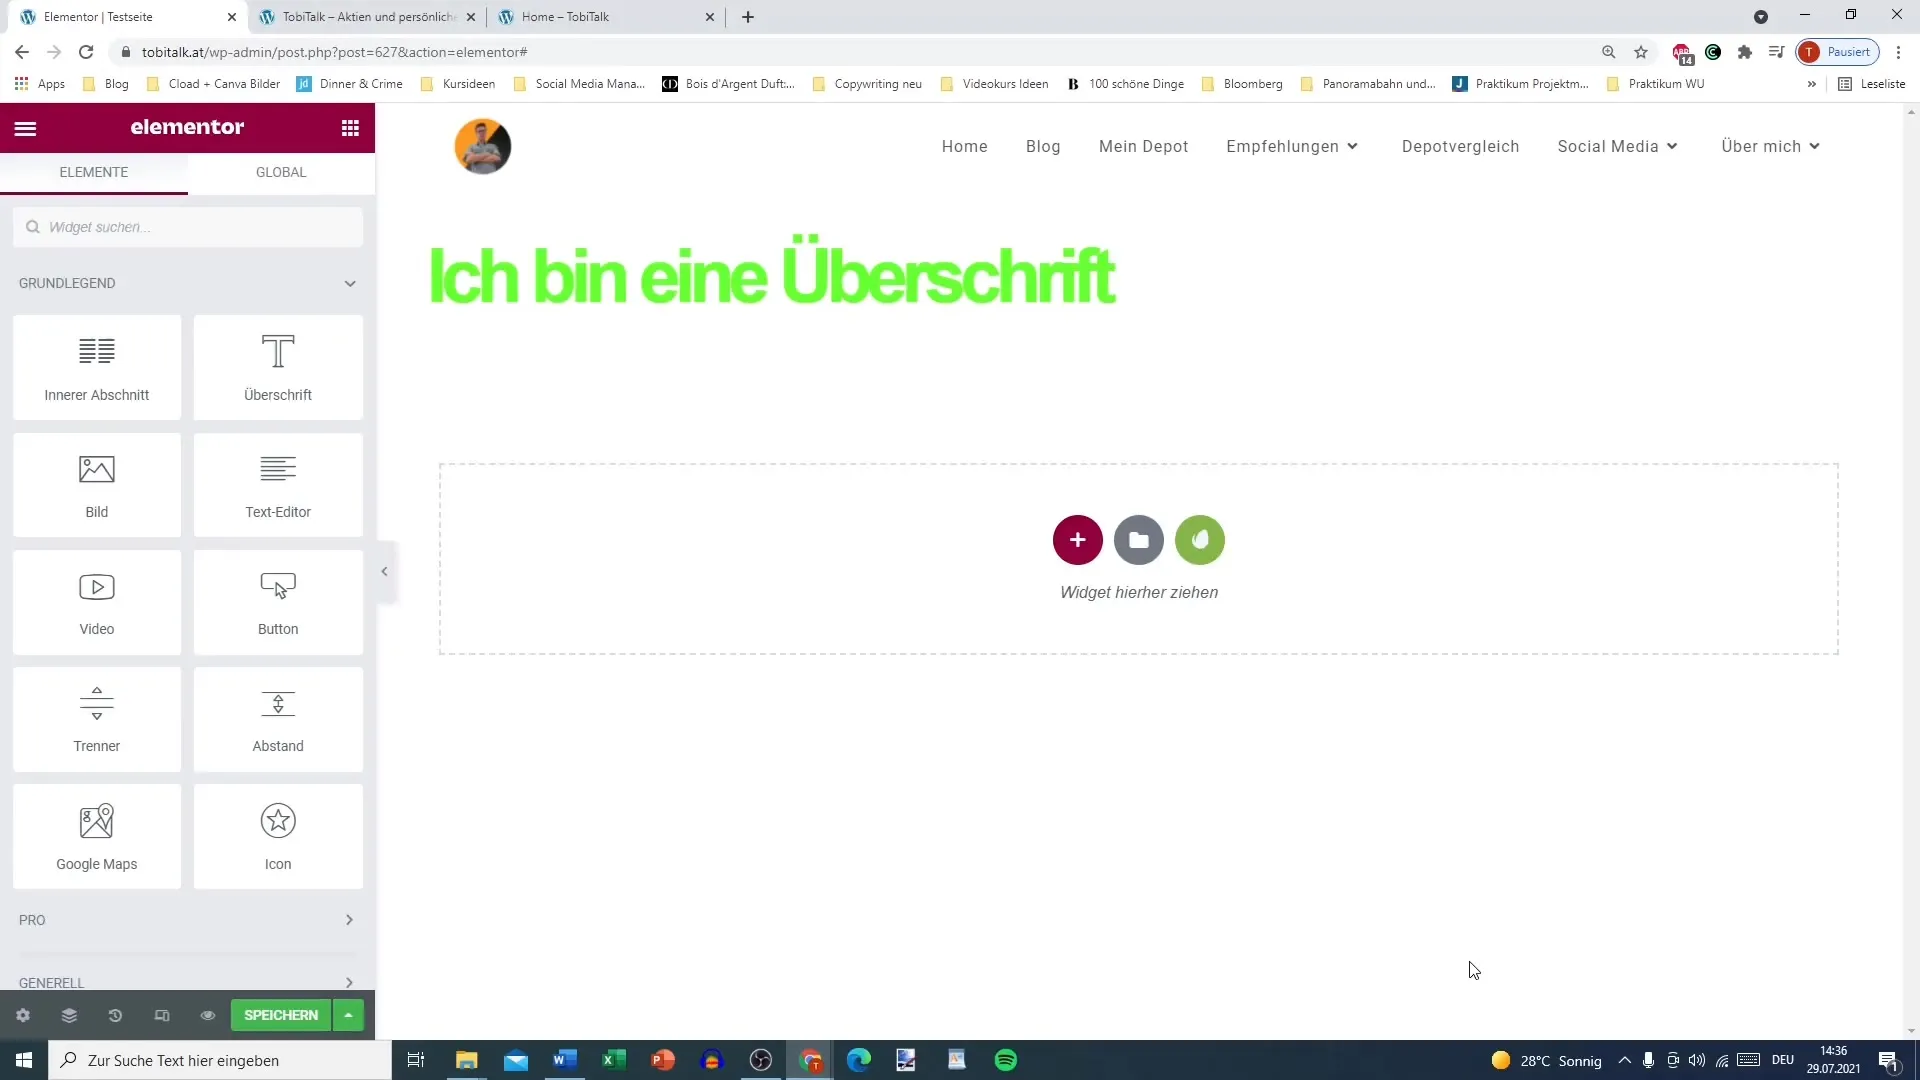
To insert images into your Elementor page, start by creating a new section. Simply click the plus sign to add a new area.
Step 2: Select Image Widget
In the new section, drag the image widget to the desired location. Typically, this is a simple drag-and-drop process. Select the image widget and place it in the section.
Step 3: Select an Image
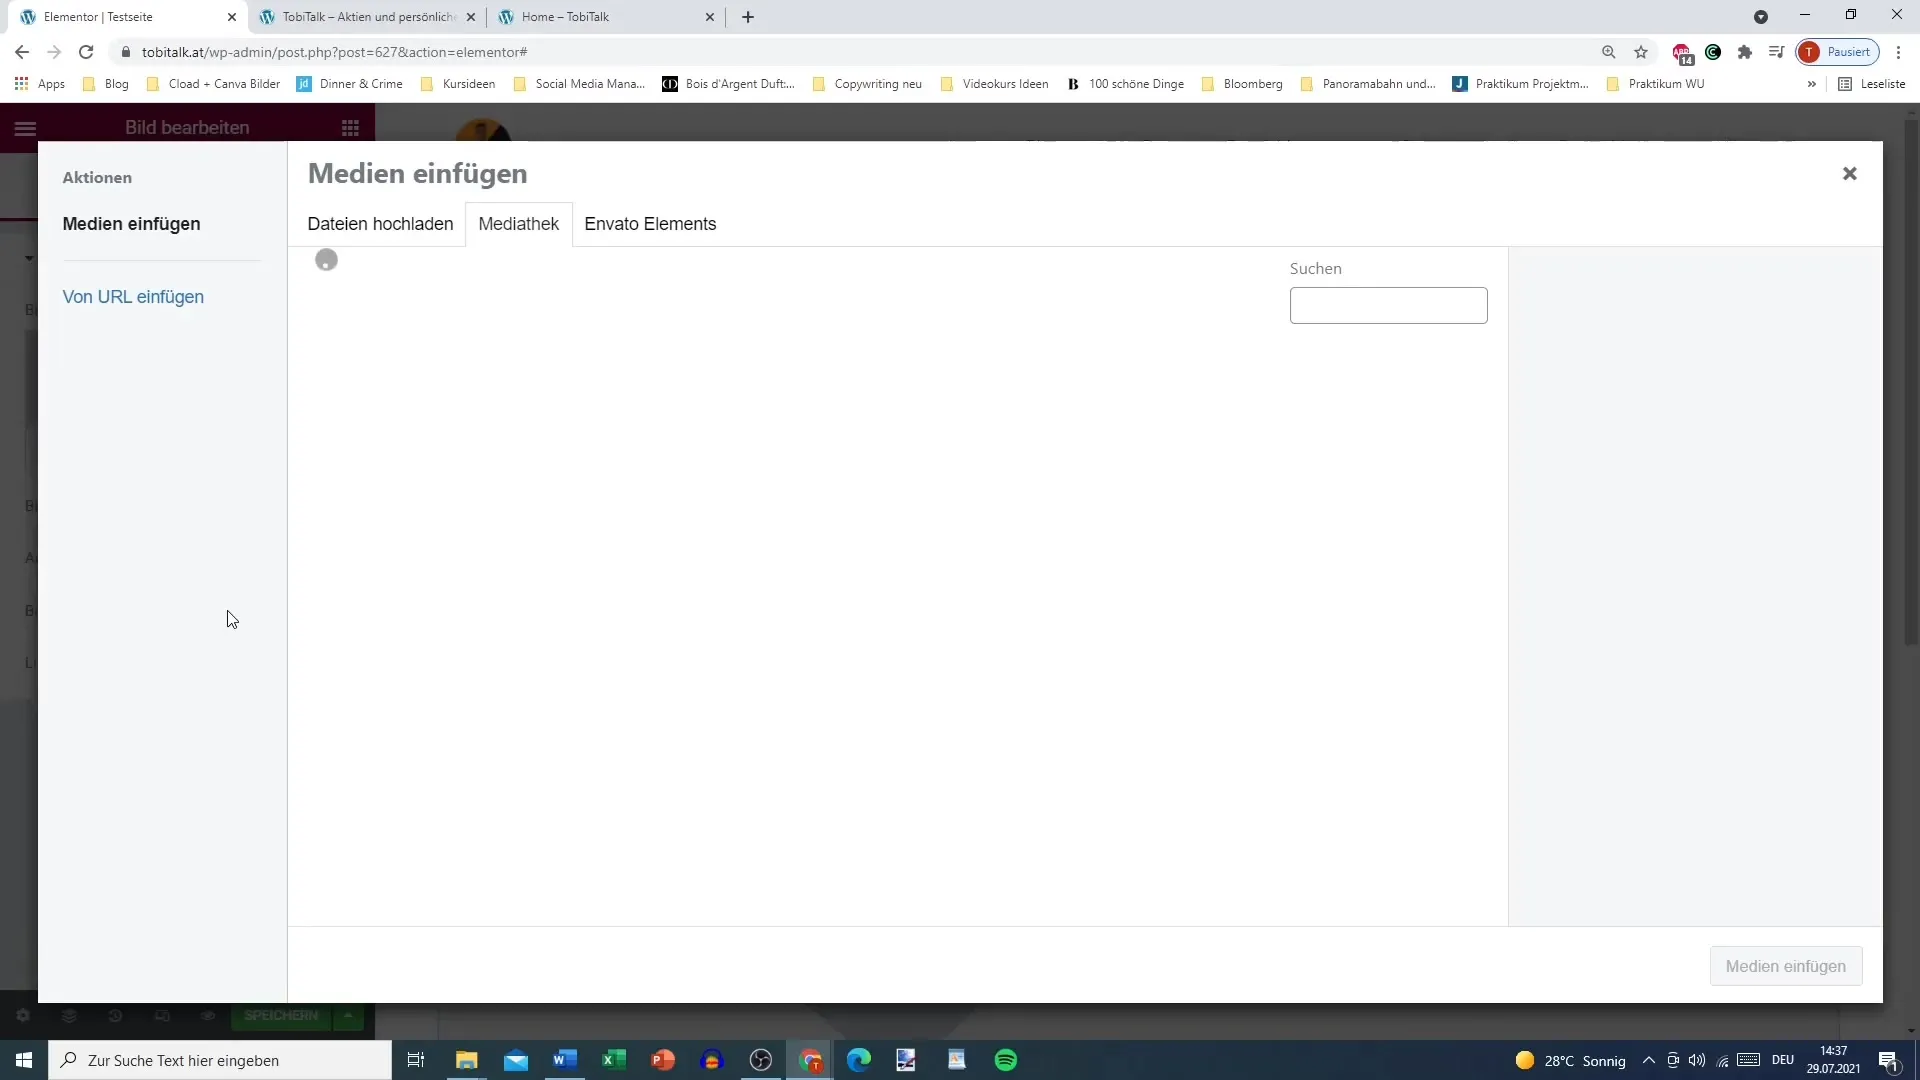
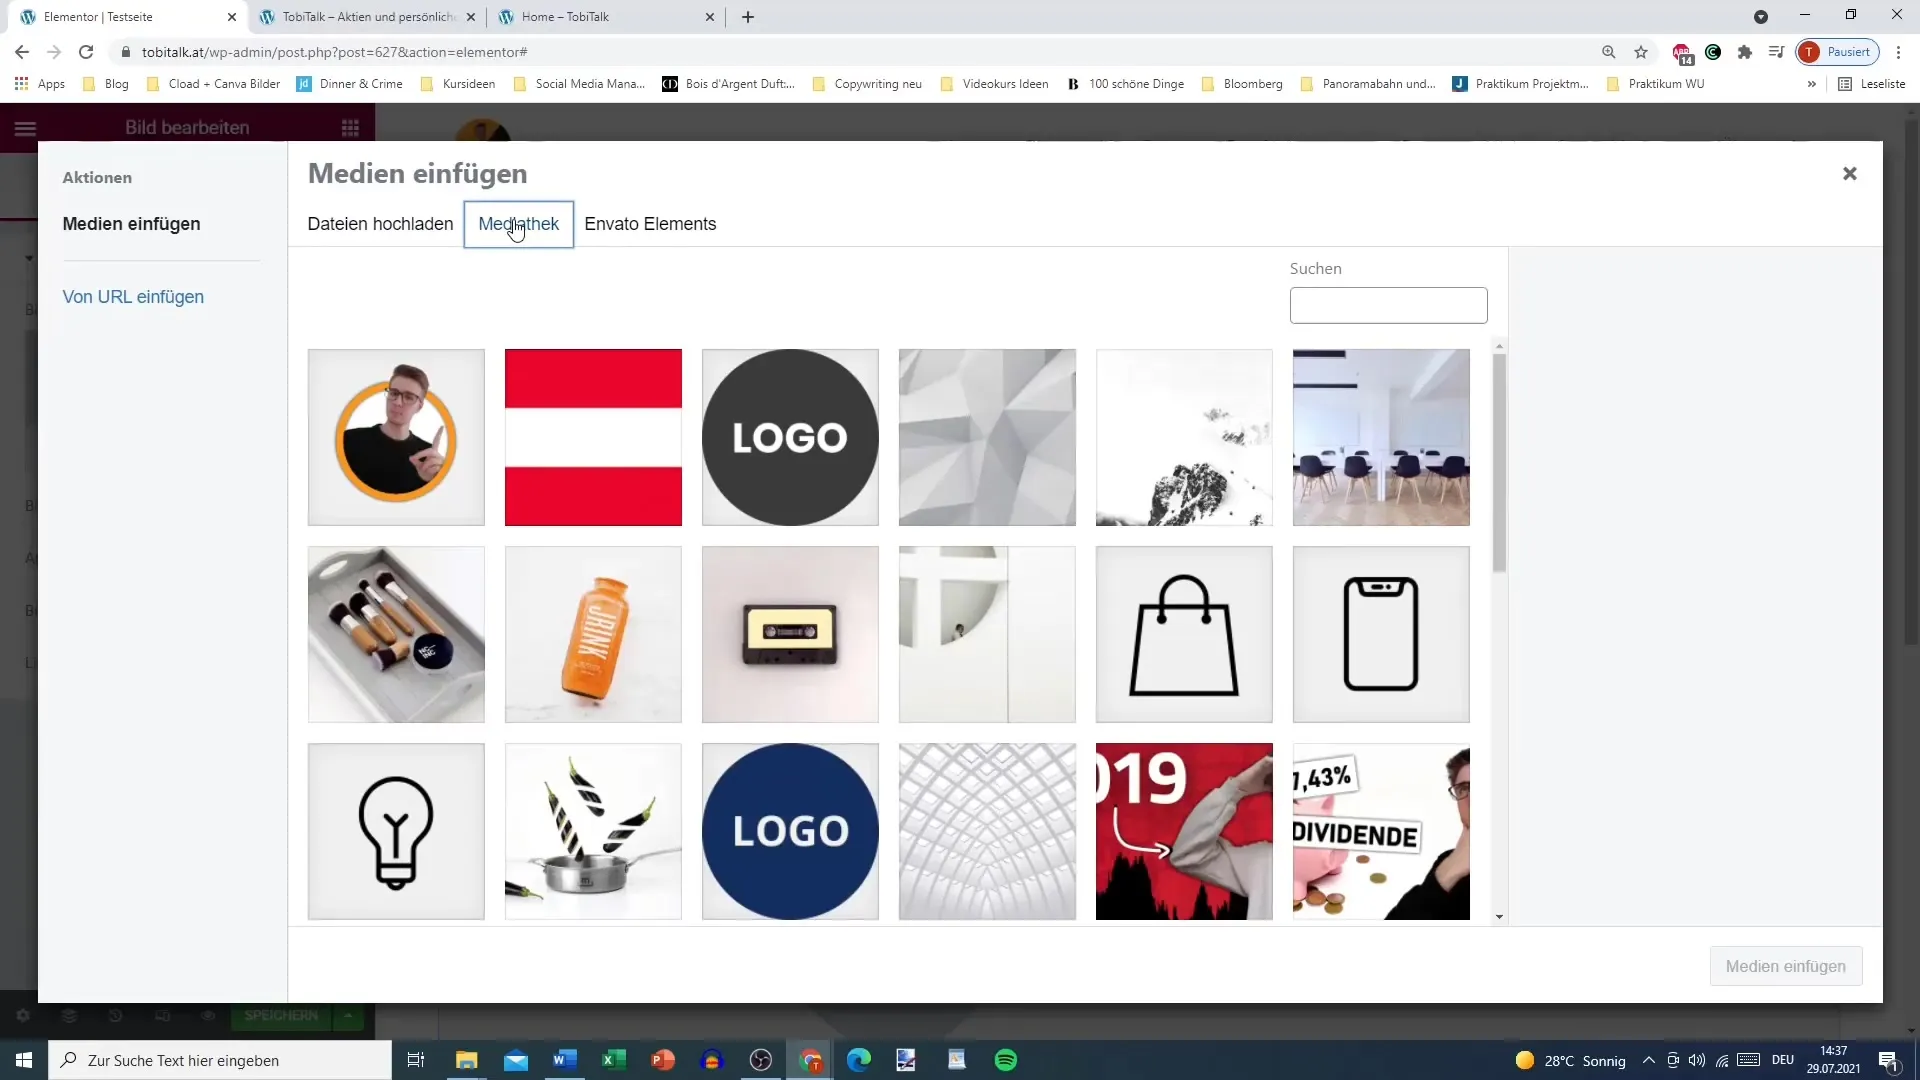
Now you can select the image you want to insert. Click on the “Select Image” button to open the media library. Here you will find images you have already uploaded, or you can upload a new image.
Step 4: Upload a New Image
If there is no suitable image in your media library, you have the option to upload a new image. Ensure the file size does not exceed 200 MB – this ensures a fast loading time.
Step 5: Use Envato Elements
A useful feature of Elementor is the integration with Envato Elements. Here you can search for graphics that enhance your design. Search for specific images, such as “apple,” to receive relevant results.
Step 6: Adjust Image Size
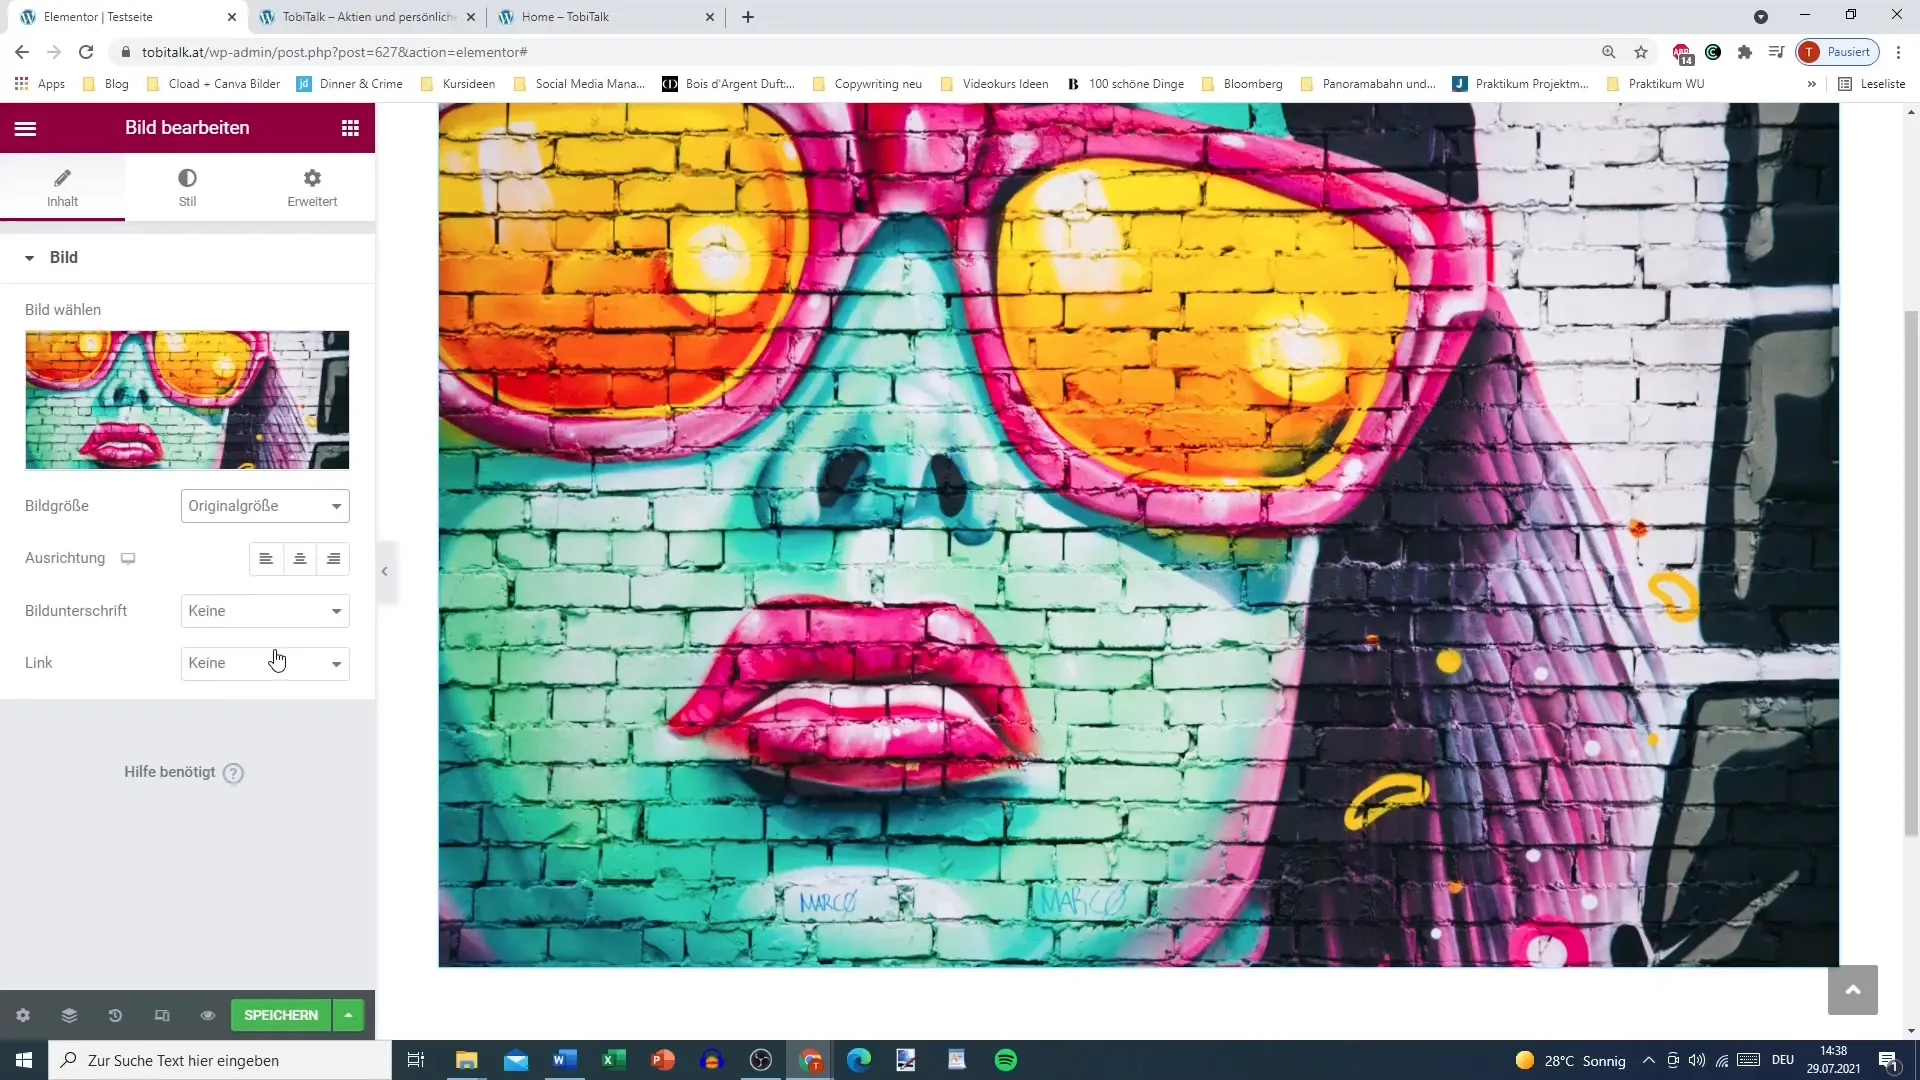
After inserting the image, you can set the image size. By default, the size “Large” is displayed, but you can also choose the original size or custom dimensions. Experiment with different sizes to see what looks best.
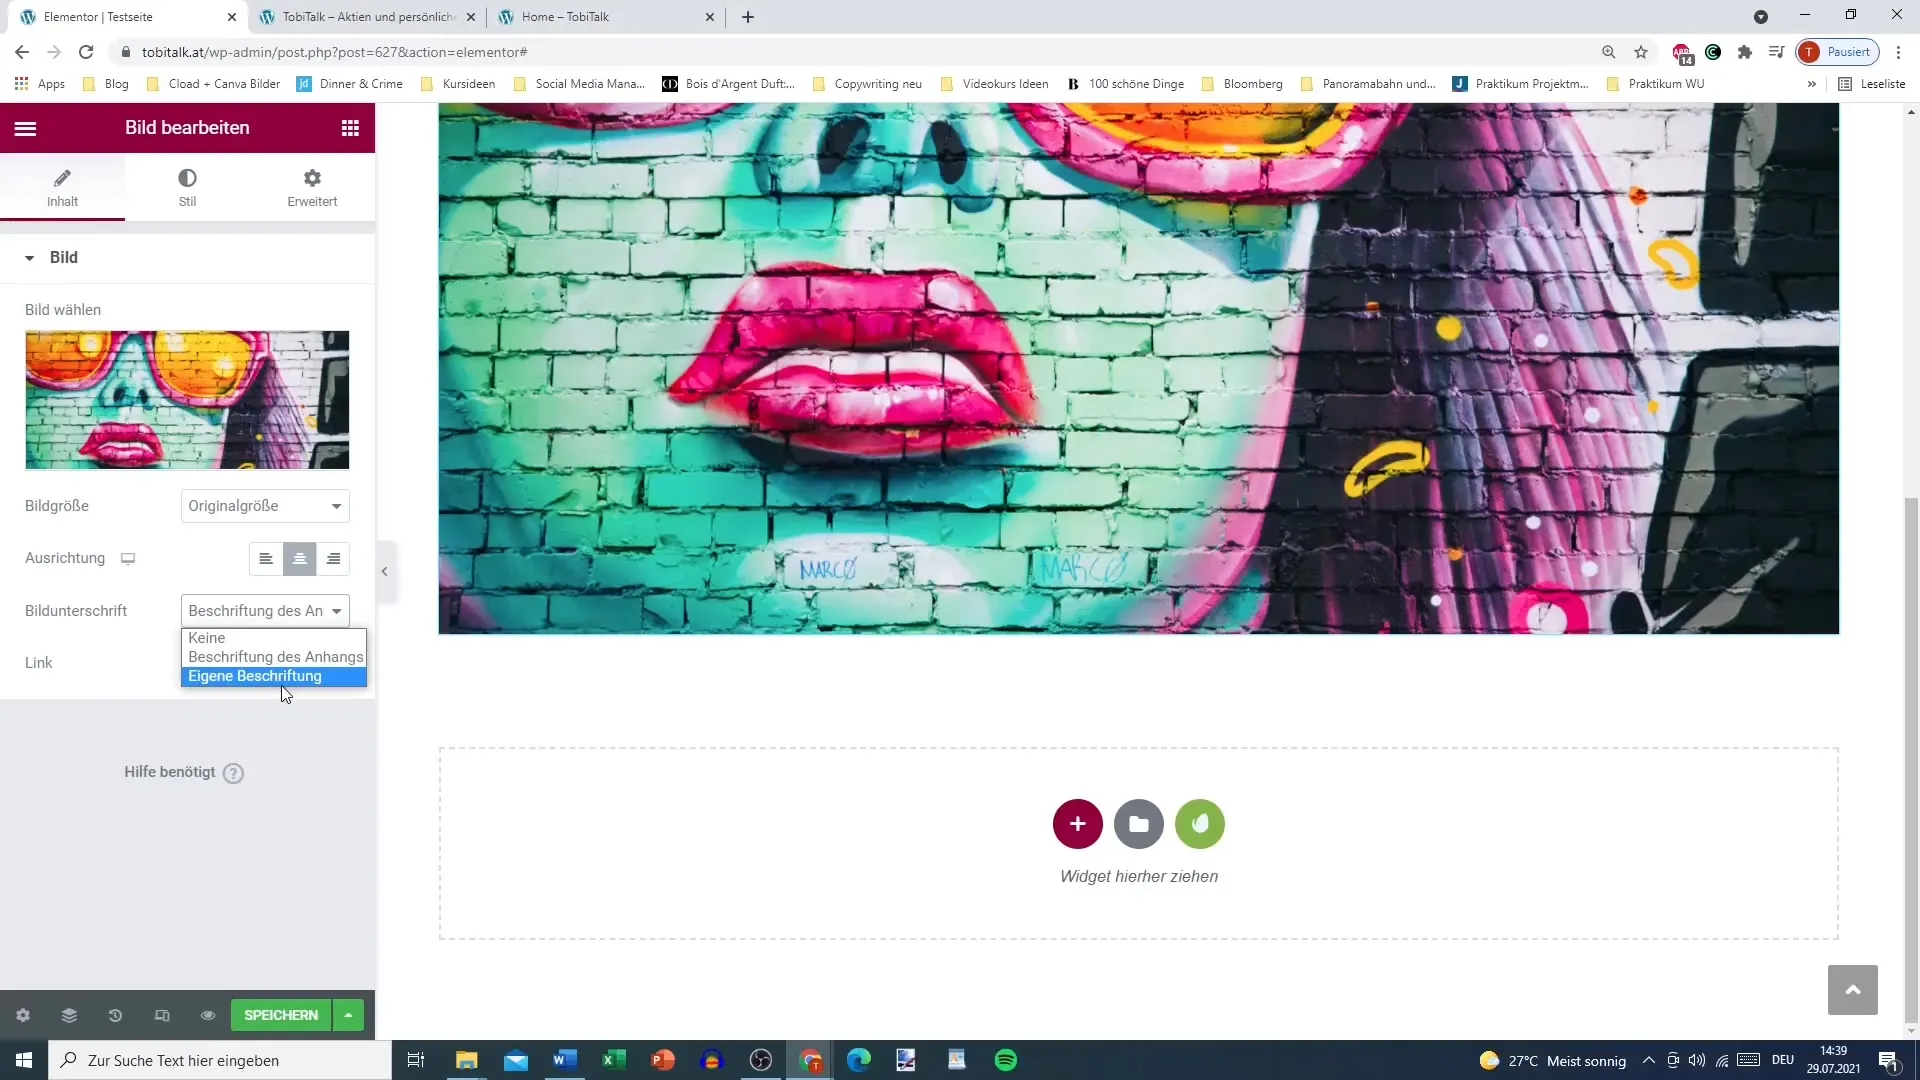
Step 7: Add Caption
An image caption provides additional context. To add one, simply input the corresponding text. This not only adds clarity but can also bring SEO benefits.
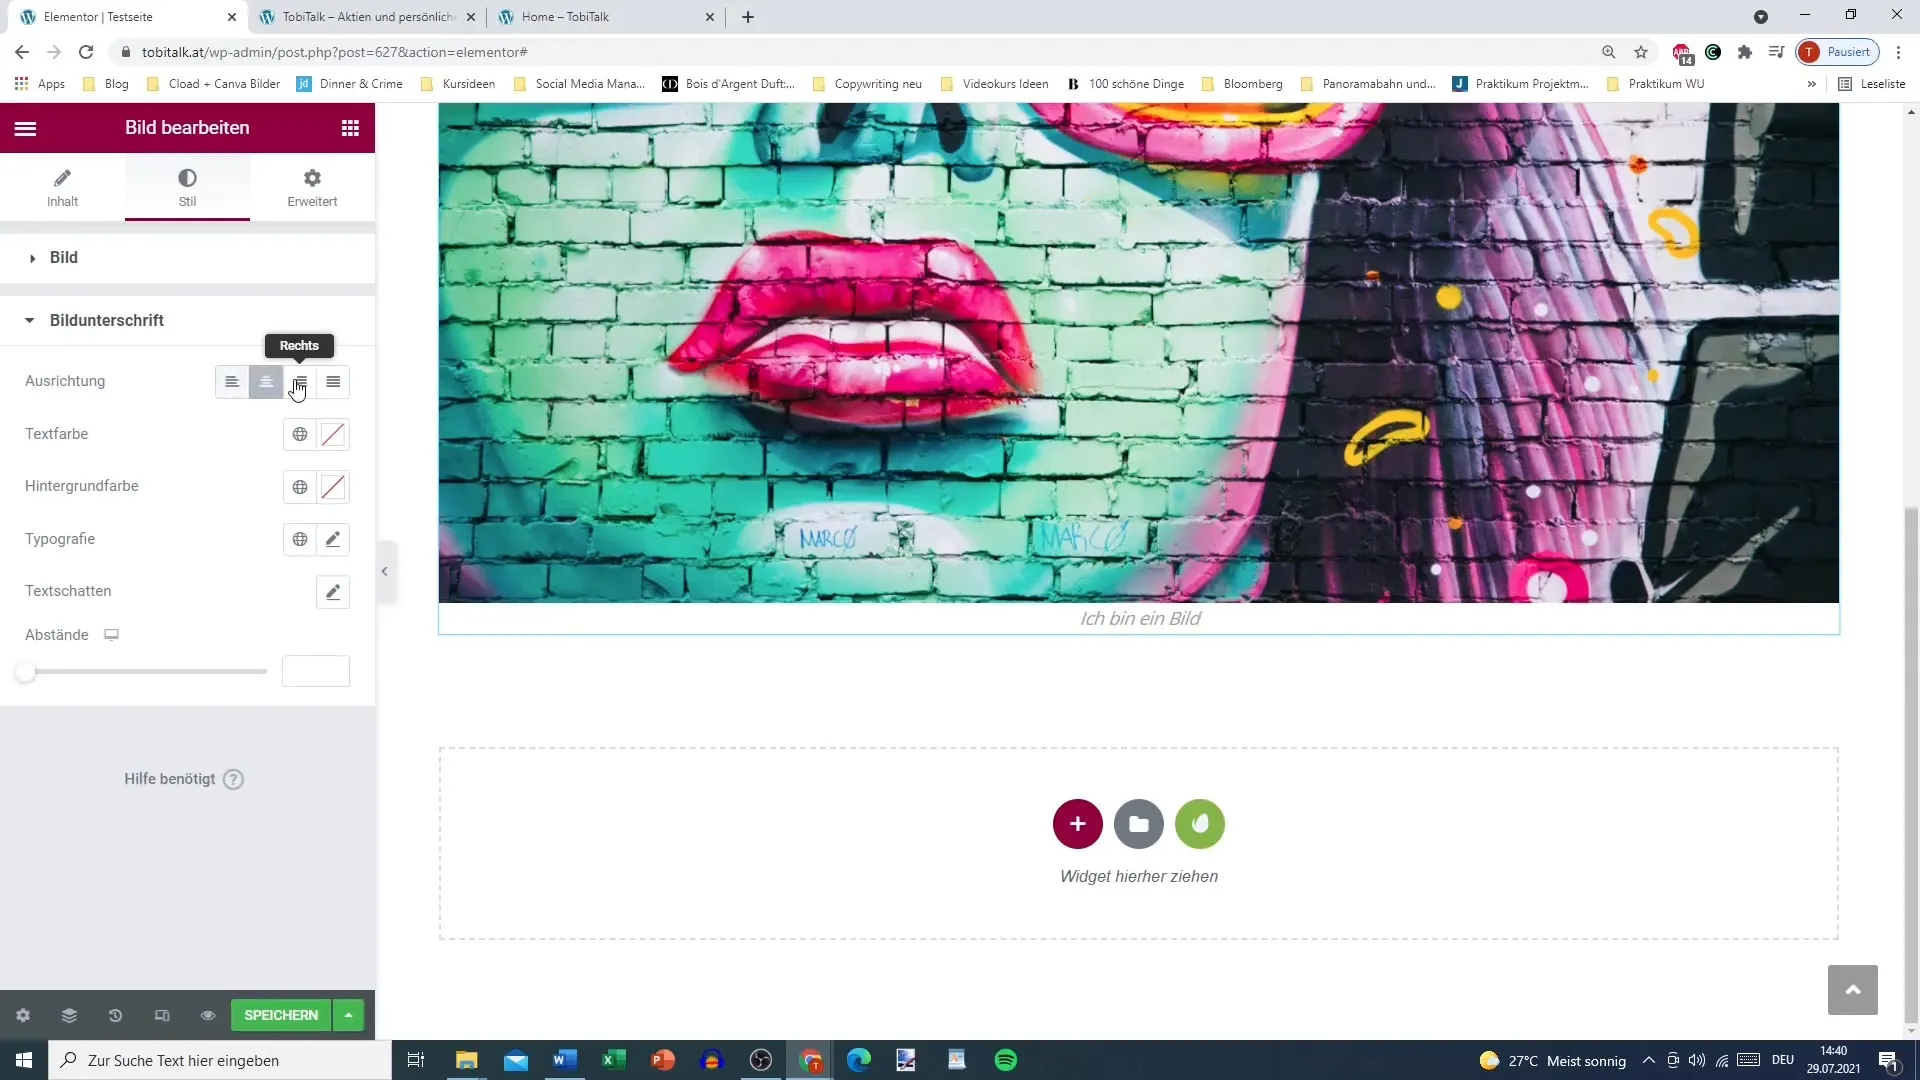
Step 8: Adjust Text Style
You can set the alignment of your image caption. Choose between left, center, or right. Additionally, you can adjust the text color, font, and background color to achieve the desired look.
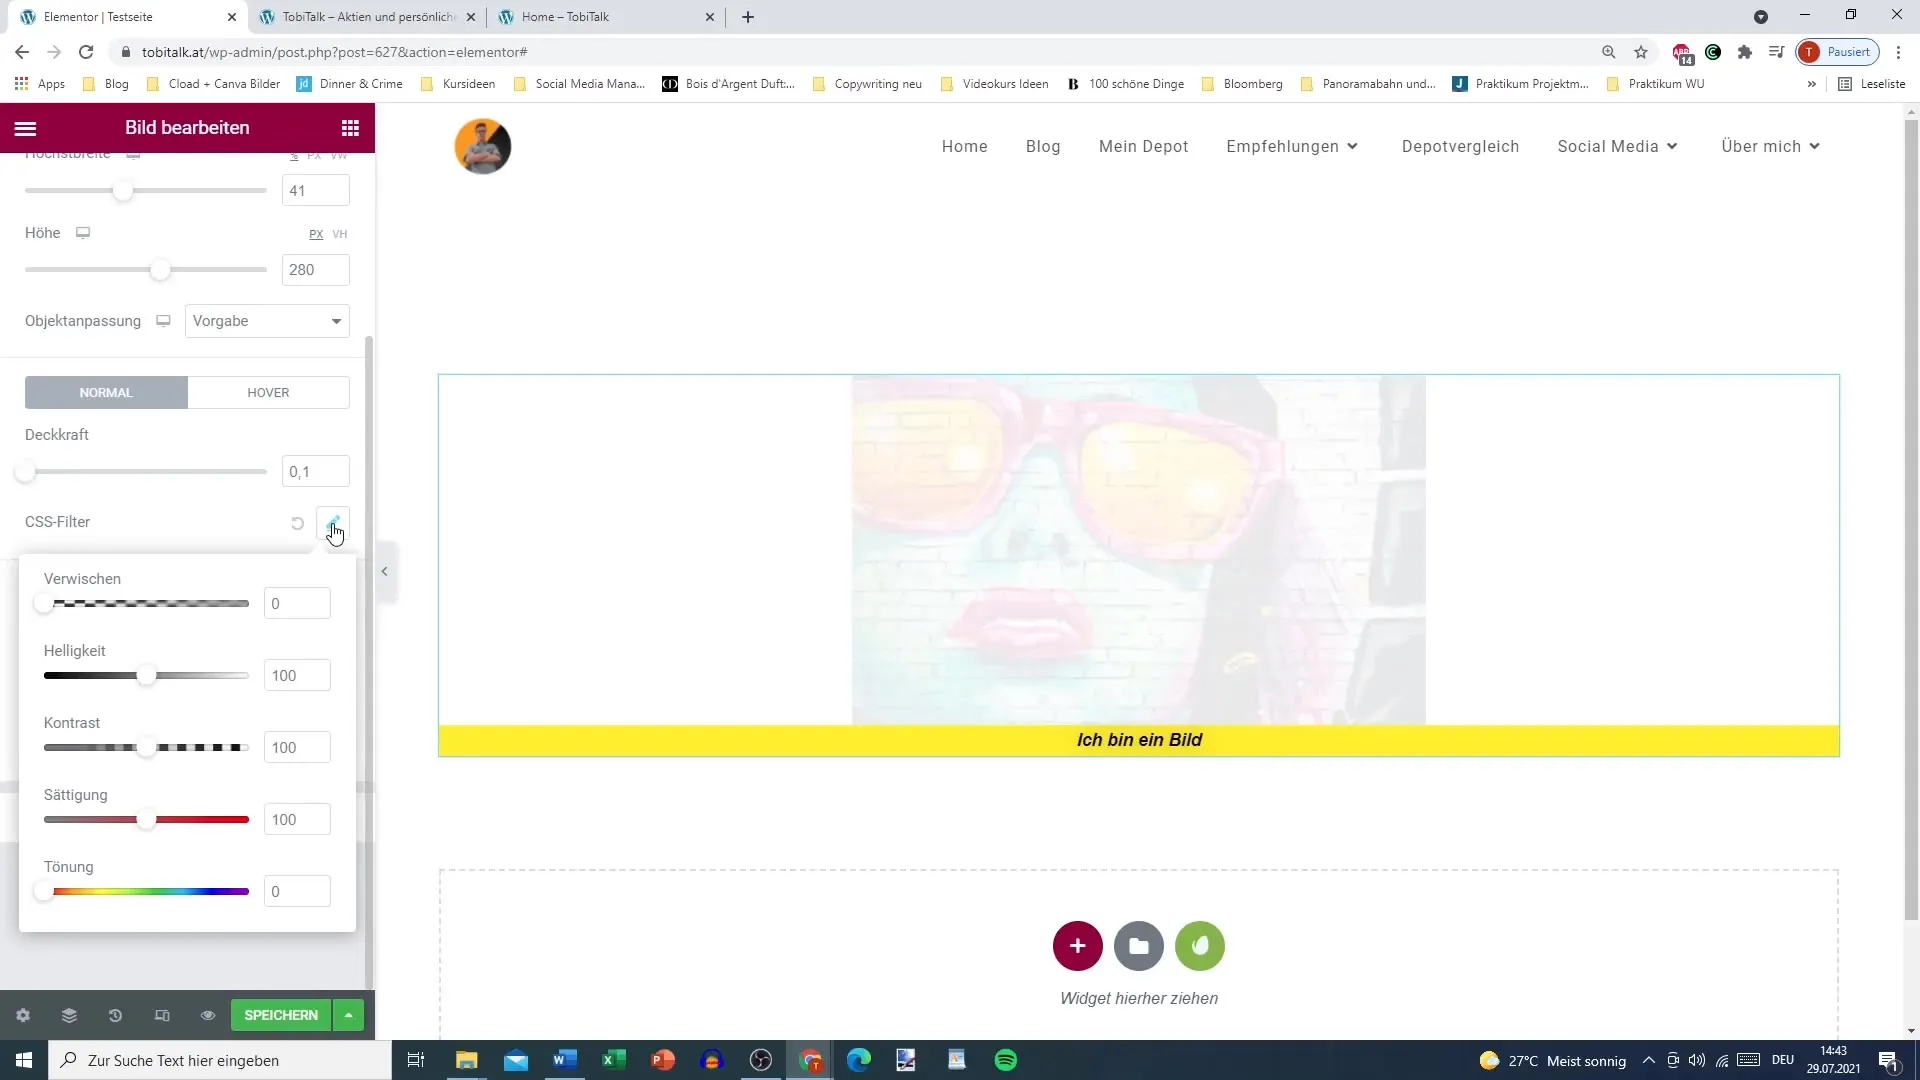
Step 9: Adjust CSS Filter for Image
To make the image visually appealing, you can apply CSS filters. You have the option to add effects such as blurring, hue adjustments, or brightness changes.
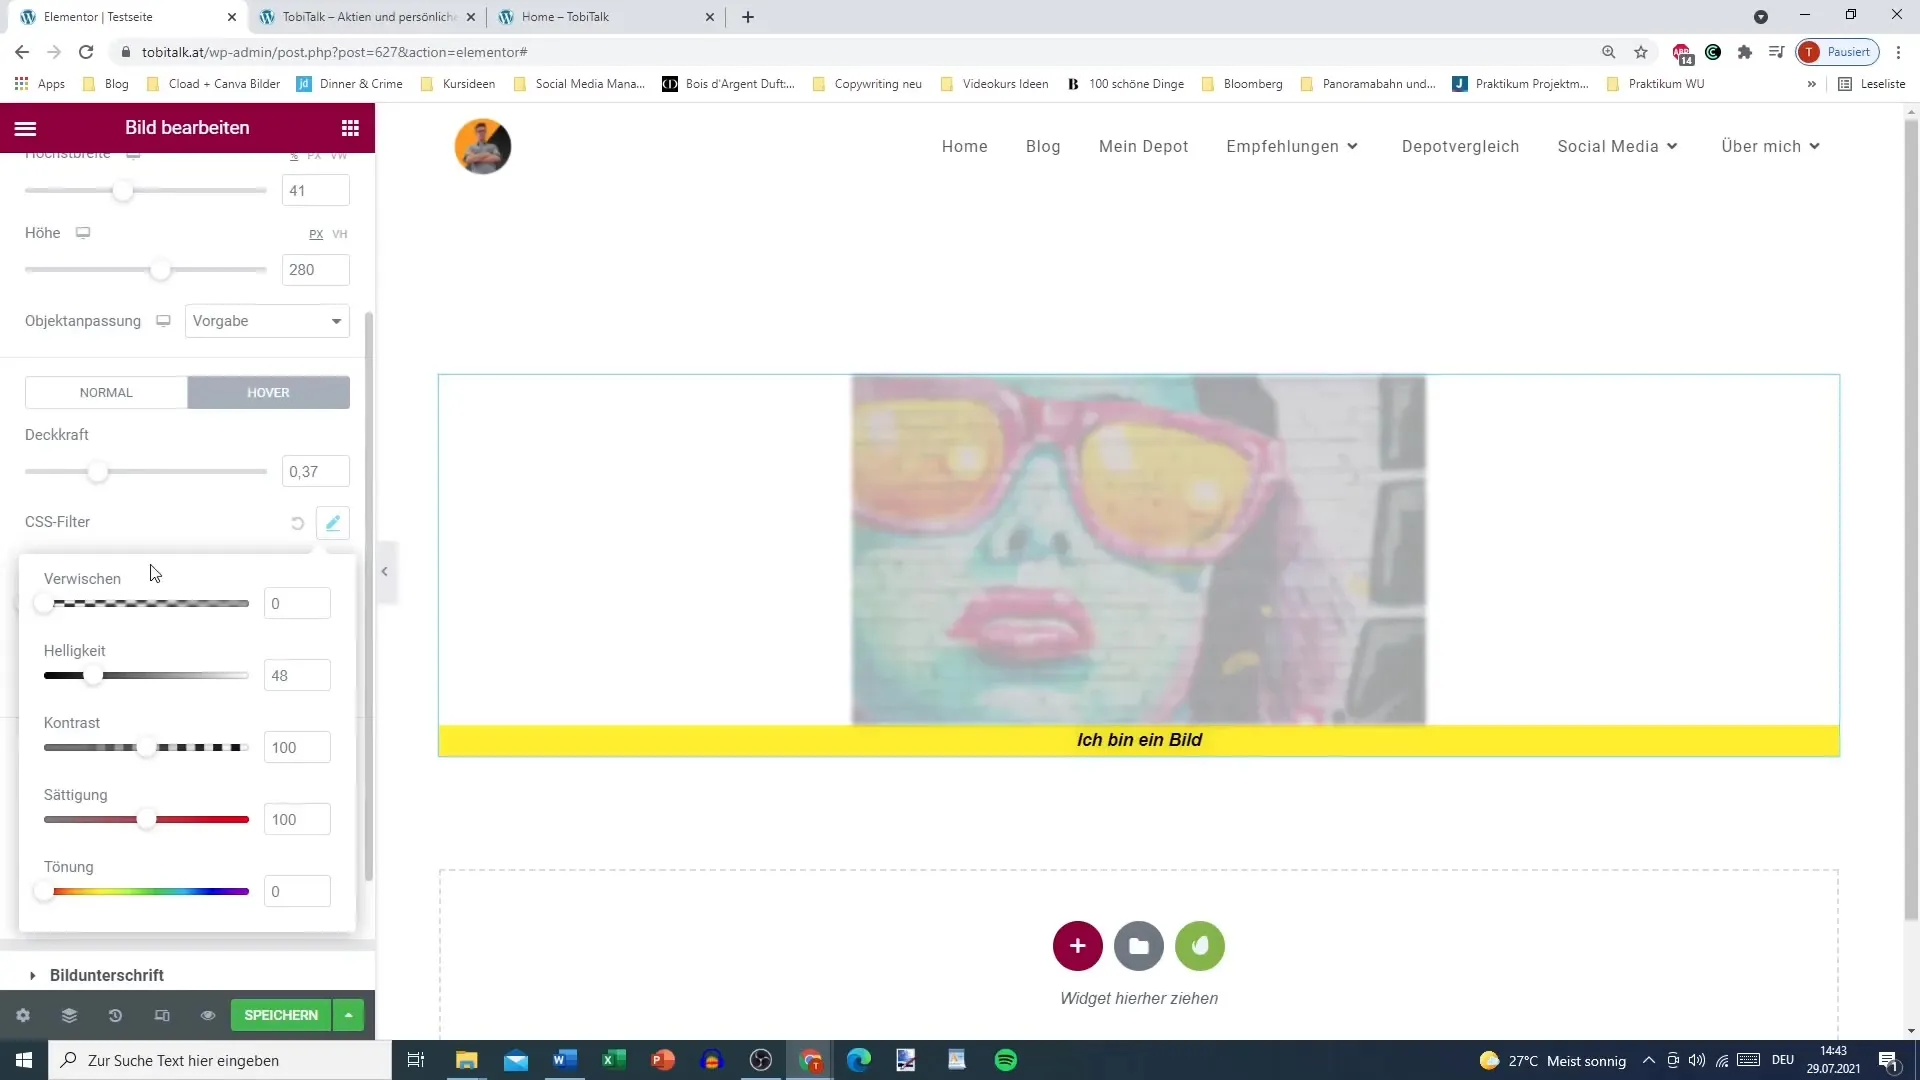
Step 10: Add Hover Effects
Another exciting customization is adding hover effects. For example, you can choose an effect where the image darkens when the user hovers over it. This promotes an interactive user experience.
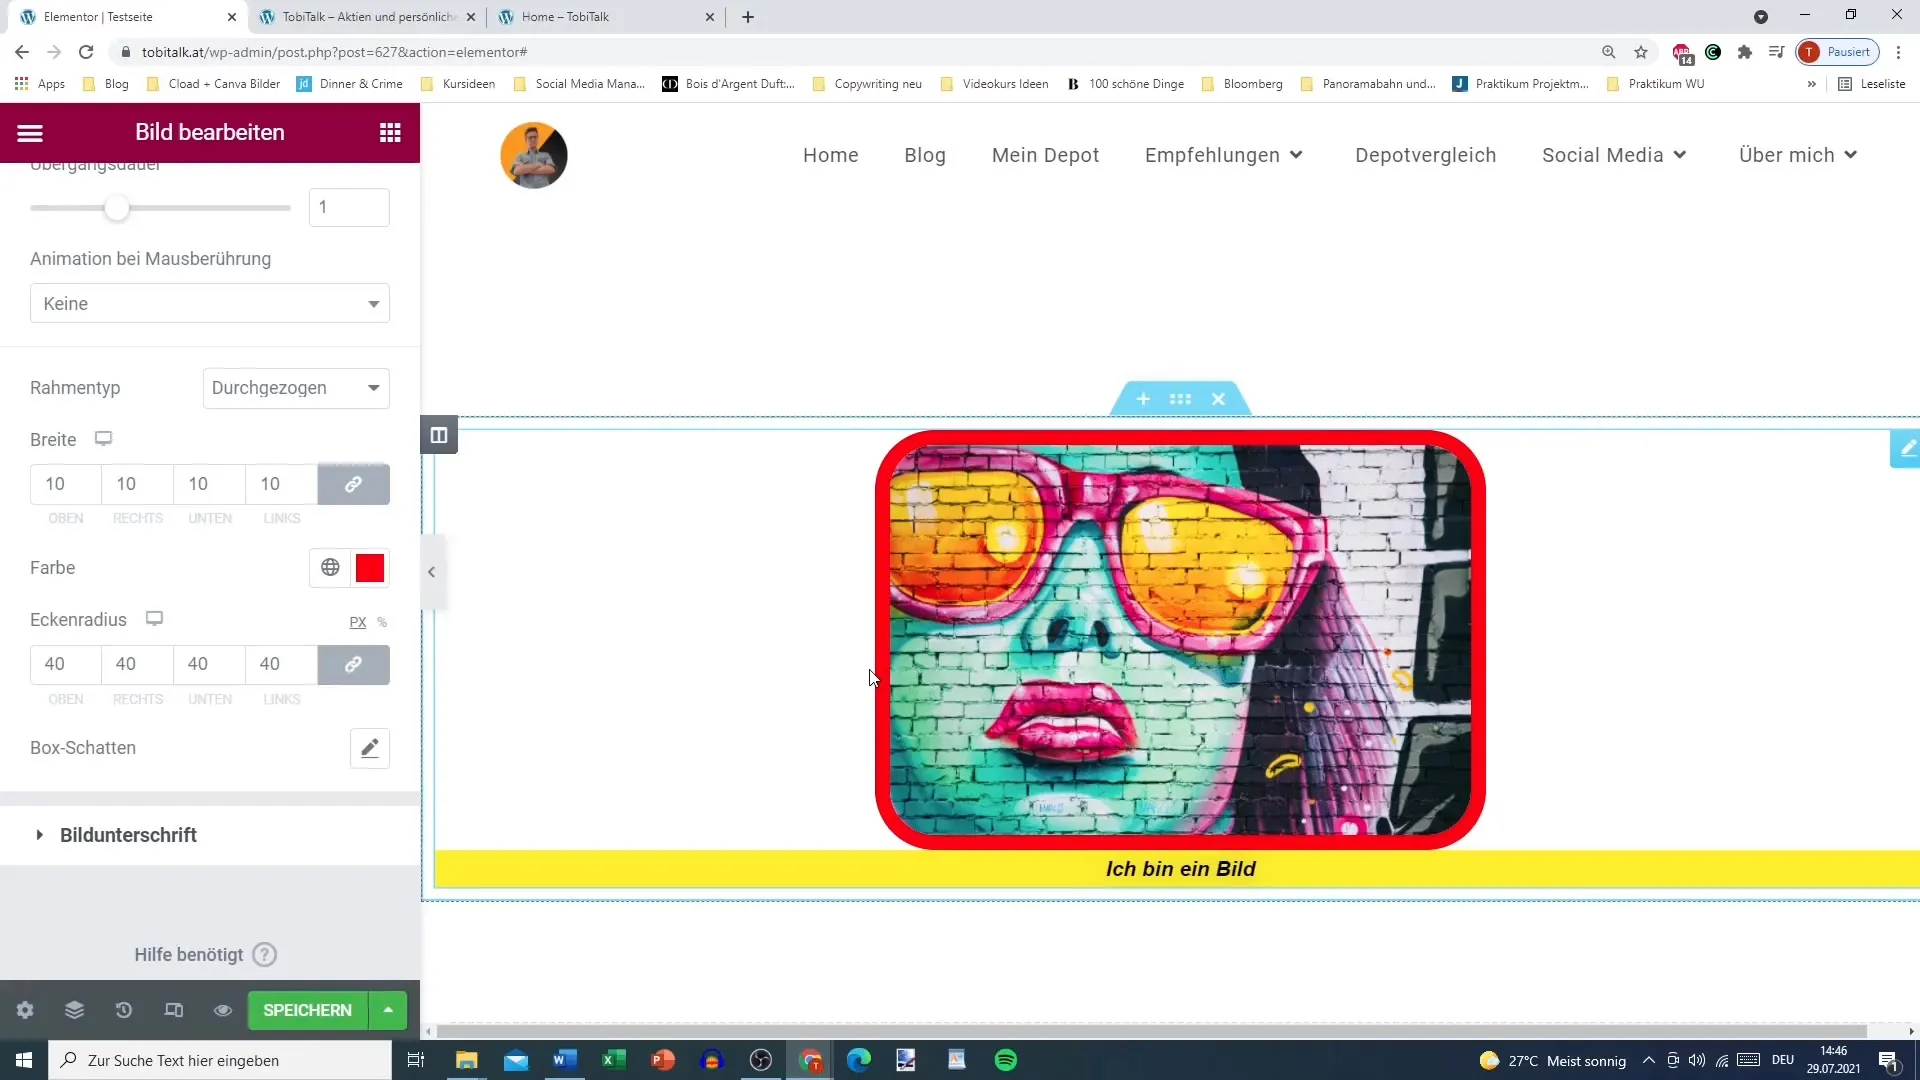
Step 11: Adjust Borders and Shadows
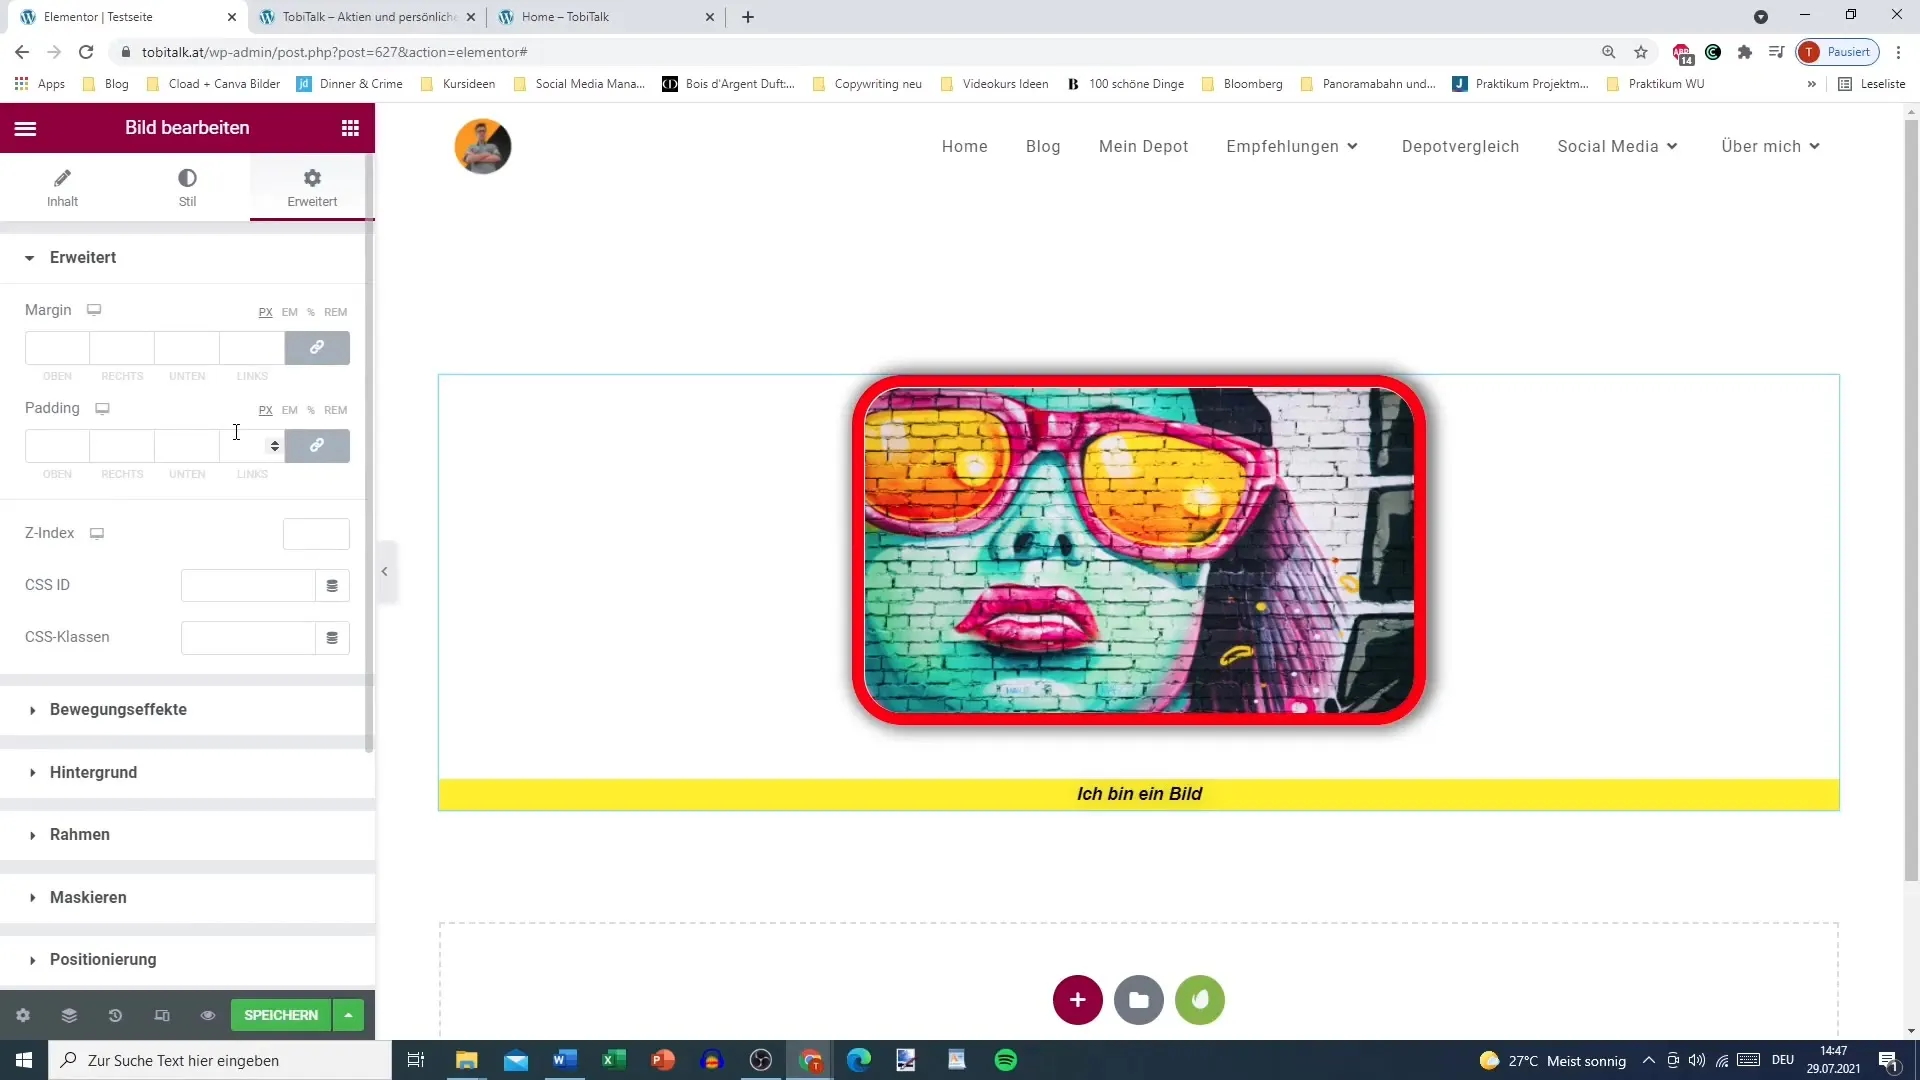
With Elementor, you can also add borders around your image. Set the color, width, and corner rounding. Additionally, you can add a shadow to highlight the image and make it visually more interesting.
Step 12: Use Advanced Options
Utilize the advanced options to make individual adjustments for your image. These options are available just like for sections, headings, or other widgets and allow for deeper customization of your image widget.
Summary - Elementor for WordPress: Setting Up Images
In this guide, you have learned how to efficiently insert and customize images in WordPress using Elementor. From selecting the image to detailed design options, Elementor provides a powerful platform for engaging web design.
FAQ
Which image formats does Elementor support?Elementor supports common image formats such as JPG, PNG, and GIF.
How can I change the size of an image in Elementor?Select the image widget and adjust the size under the settings options.
Can I insert an image from an external URL?Yes, you can also use an external URL to upload an image.
How do I add a hover effect to an image?Navigate to the image settings and select the desired hover effect under animation settings.
Can I add a shadow to my image?Yes, you can adjust different shadow and border options in the advanced settings for the image widget.
