The use of images is crucial for designing an attractive website. A well-structured gallery can significantly improve the visual quality of your page and enhance the user experience. In this guide, you'll learn how to create and customize an image gallery using Elementor to achieve the best results.
Key Takeaways
- The basic gallery in Elementor provides simple options for selecting, arranging, and formatting images.
- You can choose and name images from your media library or download folder.
- The design options for columns, image sizes, and spacing leave plenty of room for creative design.
- It's important to style the captions and borders attractively to optimize the gallery.
Step-by-Step Guide
To create an image gallery in Elementor, follow this detailed guide.
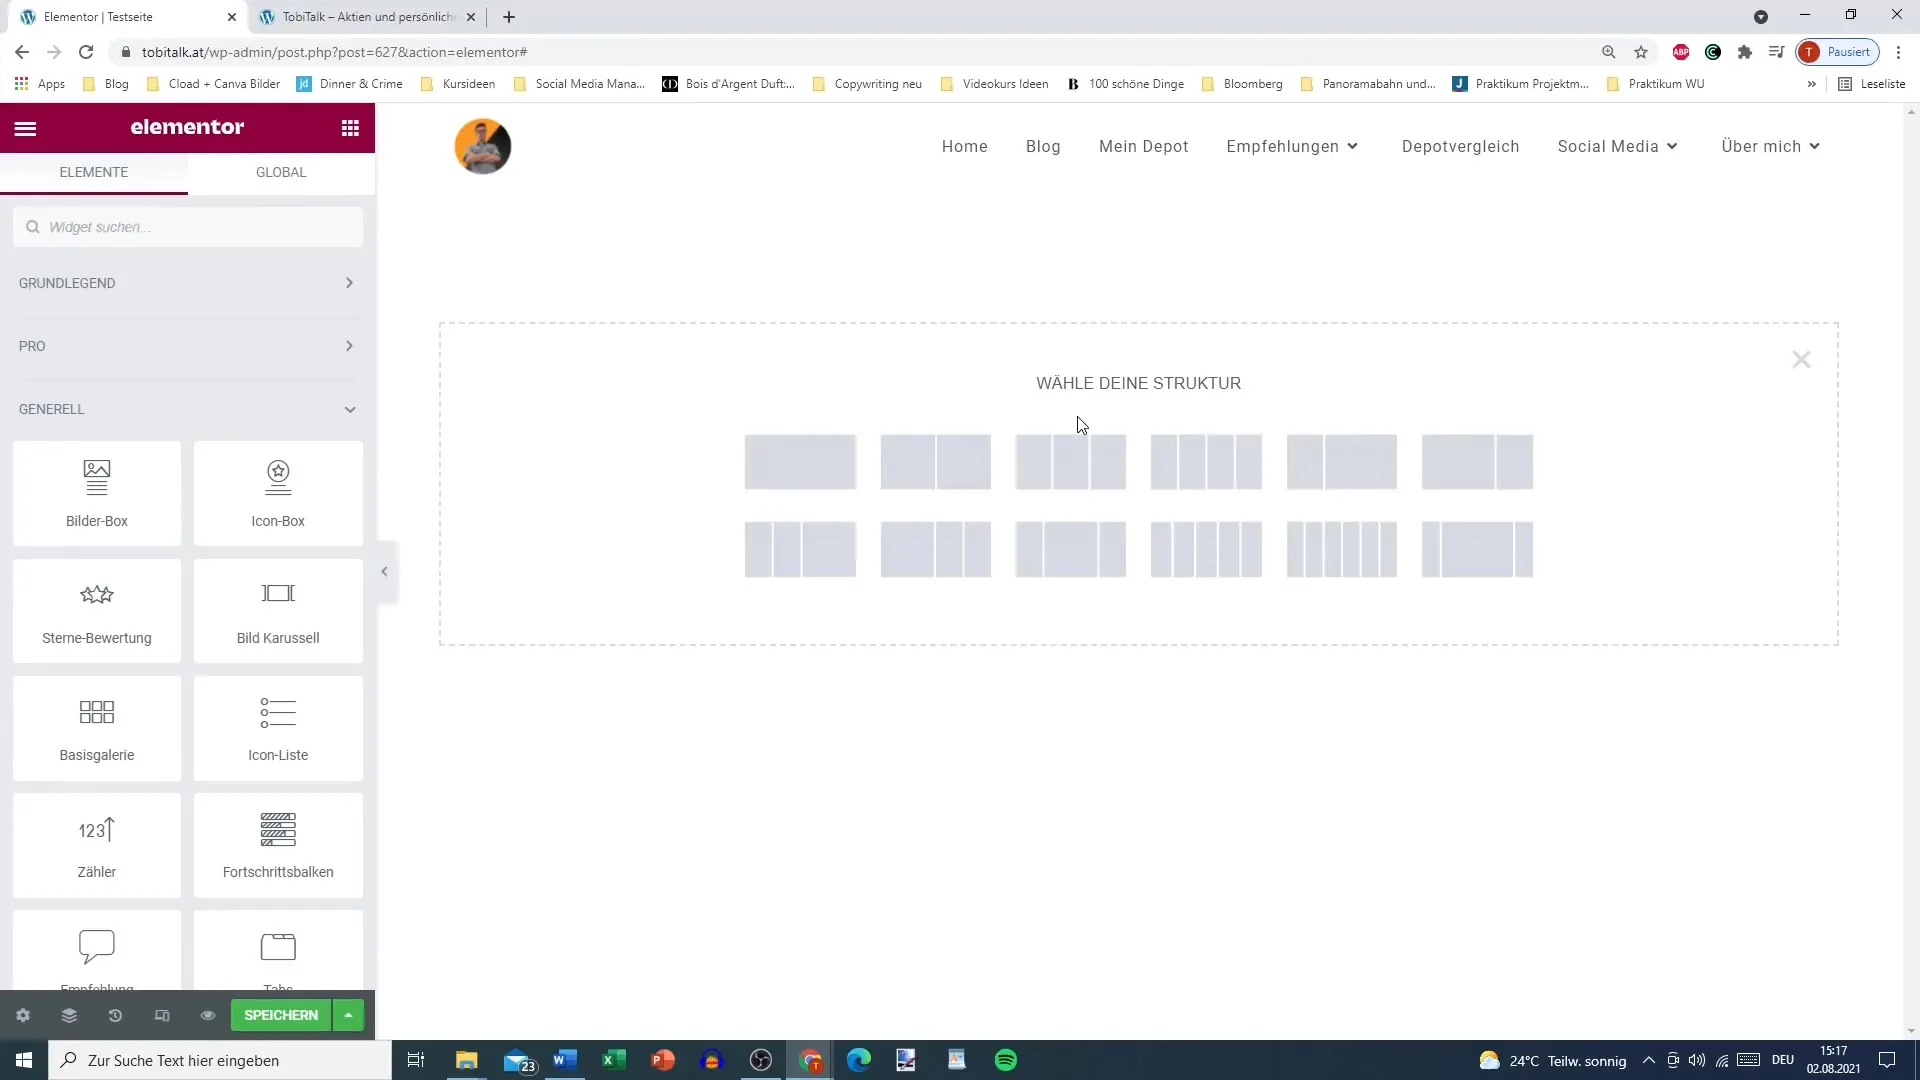
Step 1: Create a New Section
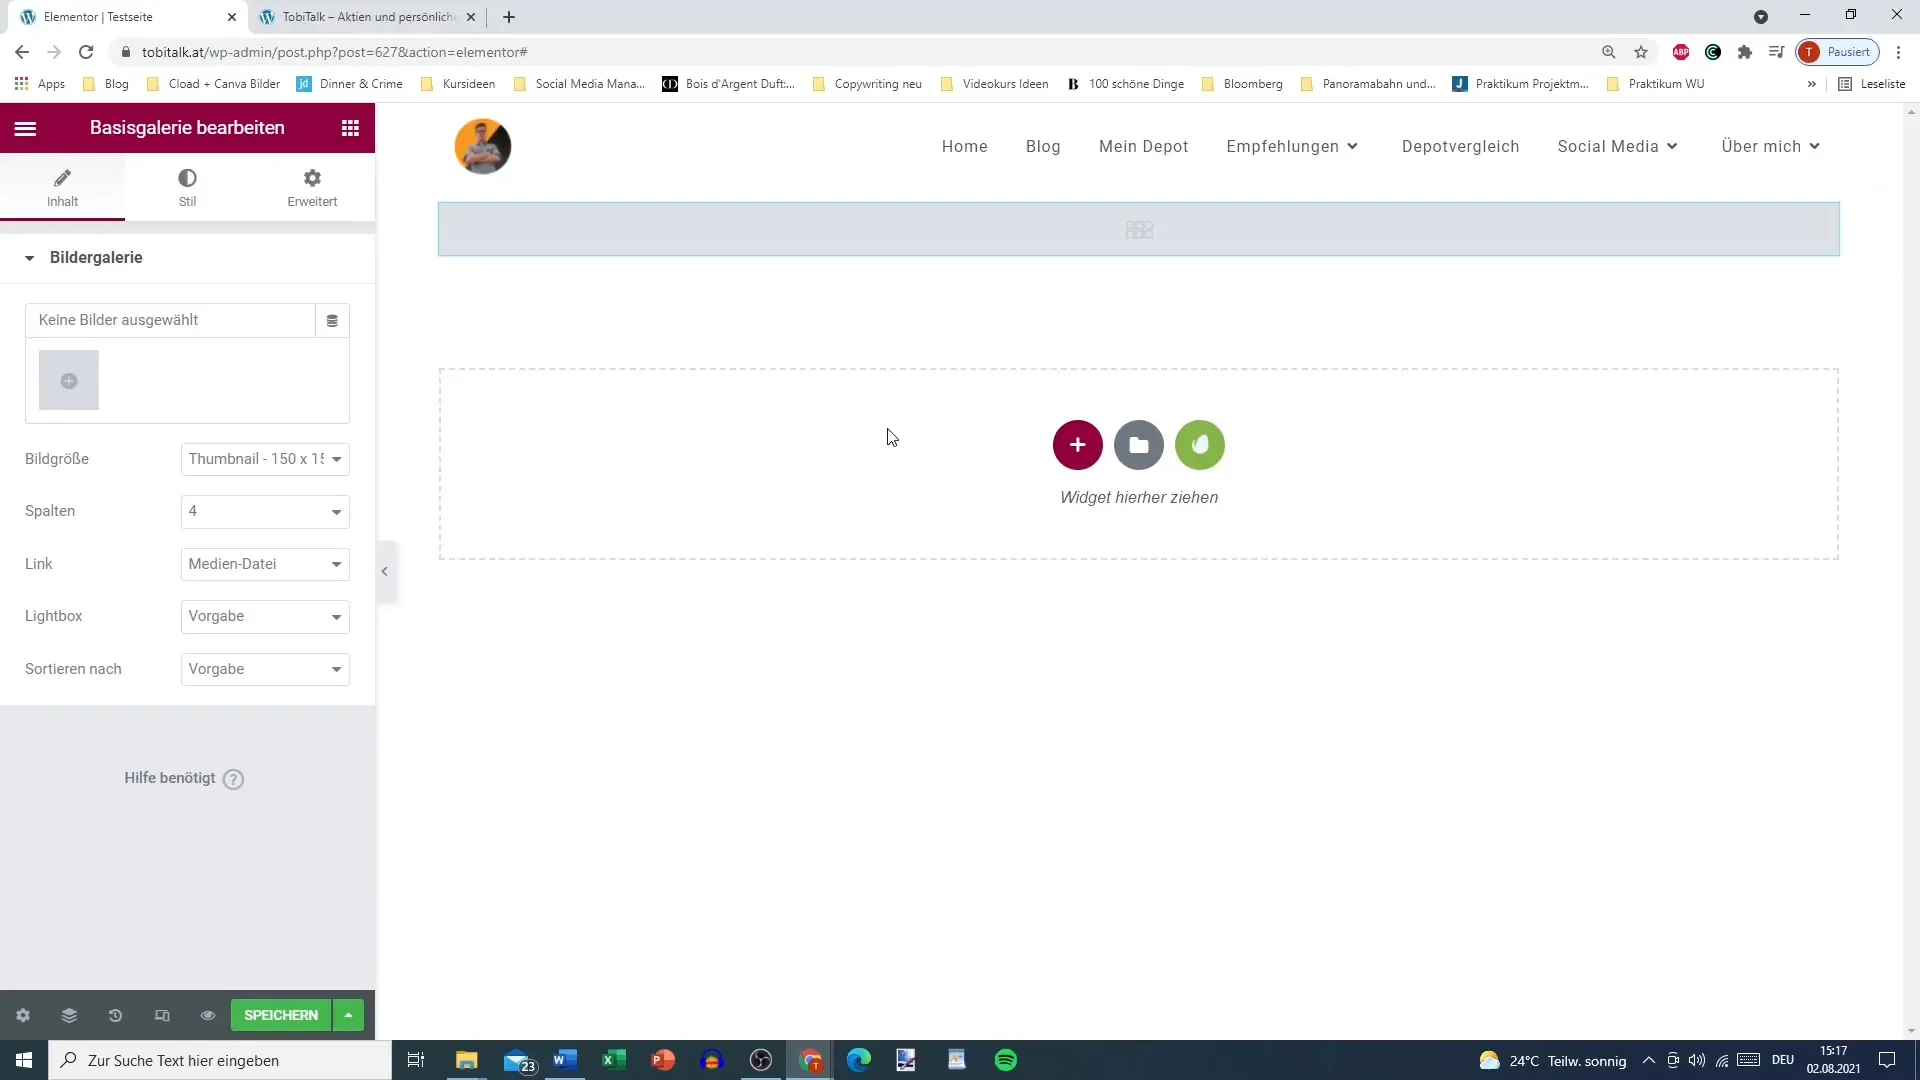
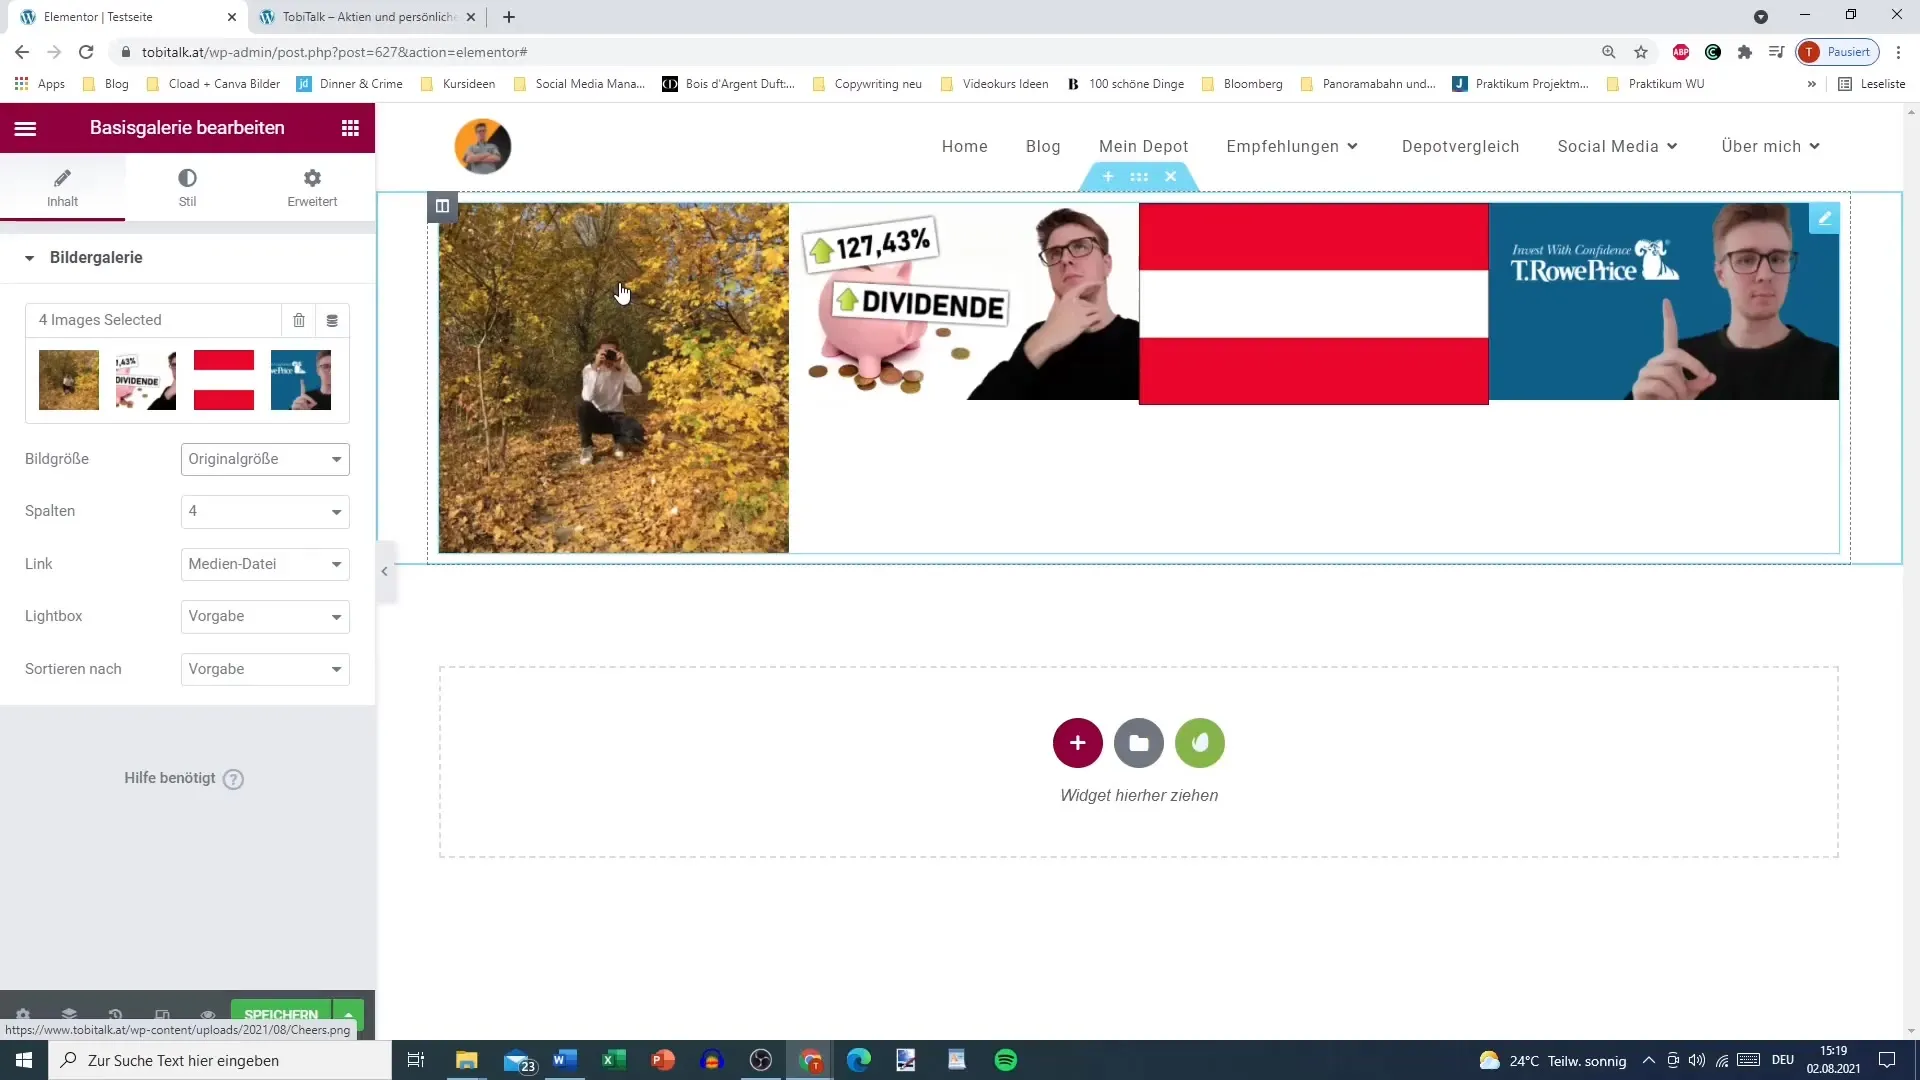
To start your image gallery, first open a new section in Elementor. Drag the basic gallery from the widget panel into the desired section of your page.
Step 2: Select Images
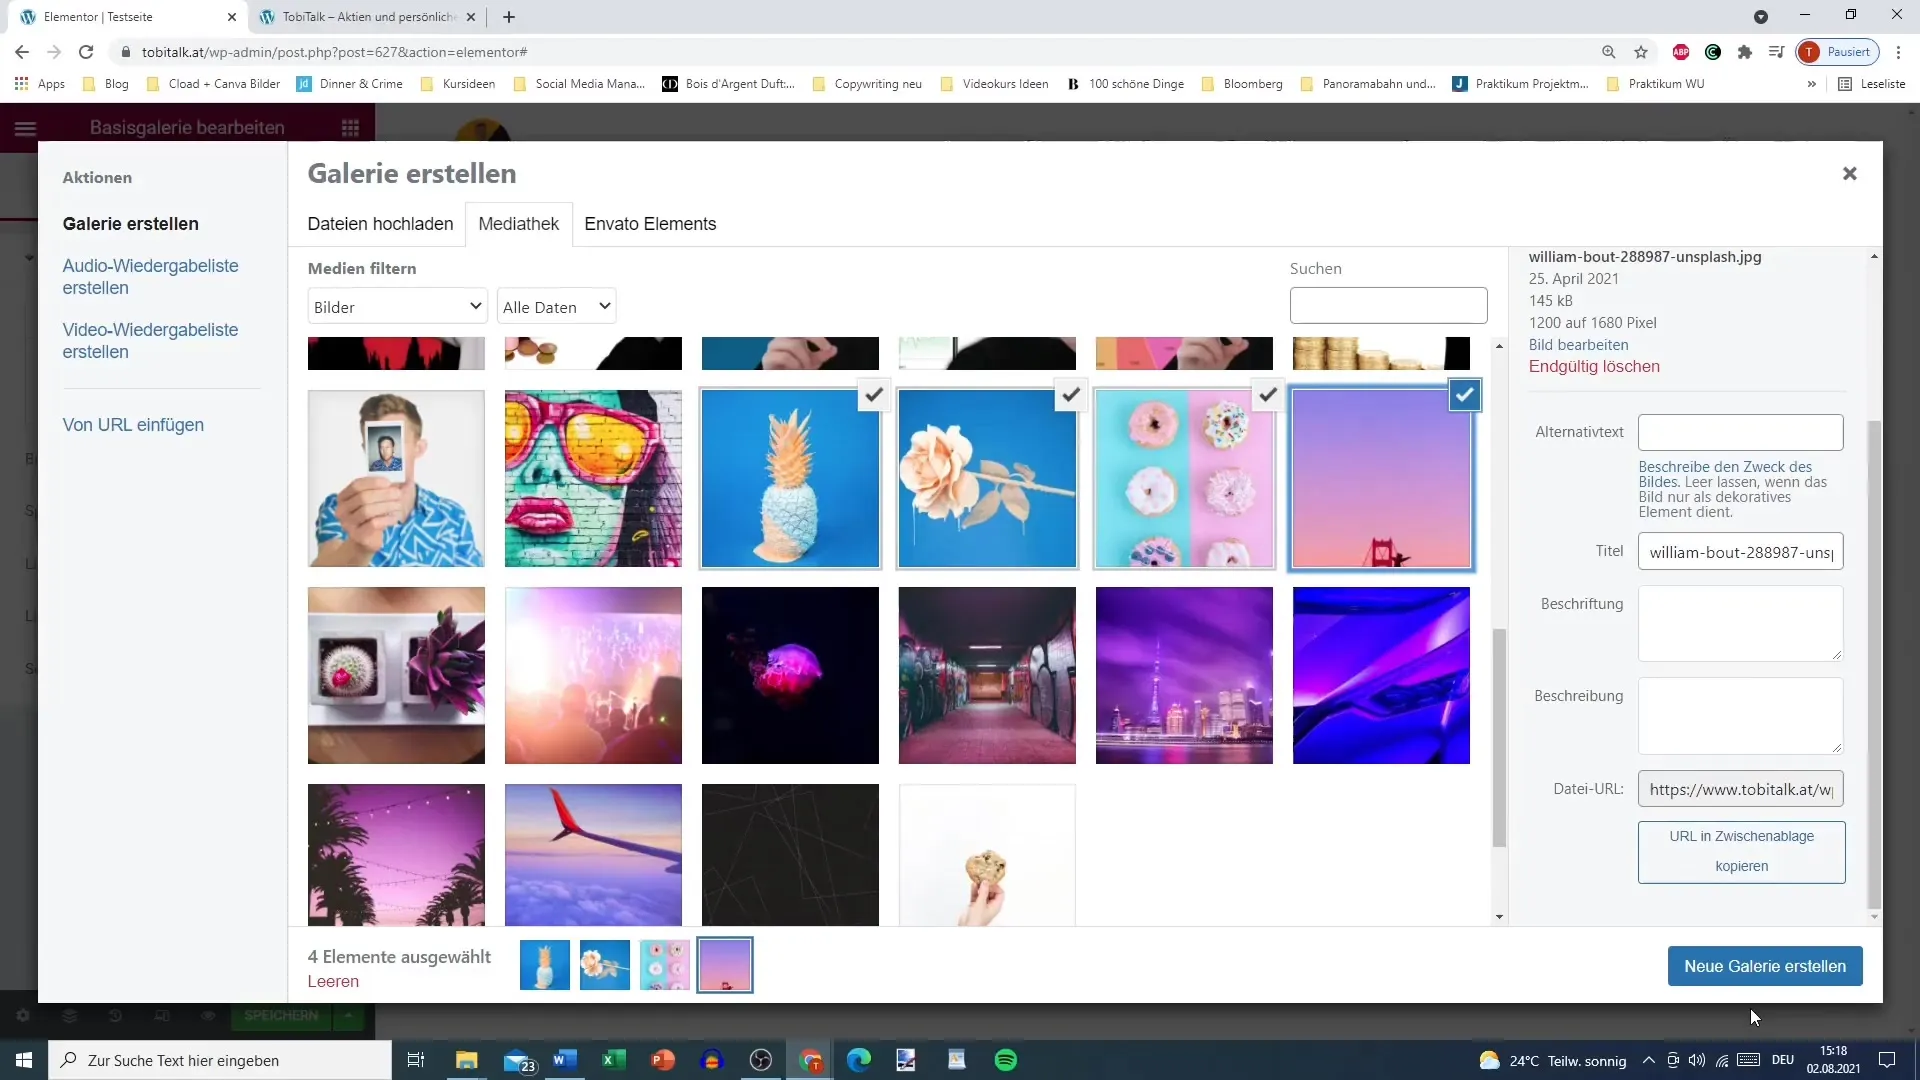
Now you can select the desired images. You have the option to choose images from your media library or upload from your computer. Simply select four images that you want to showcase in the gallery.
Step 3: Add Titles and Descriptions
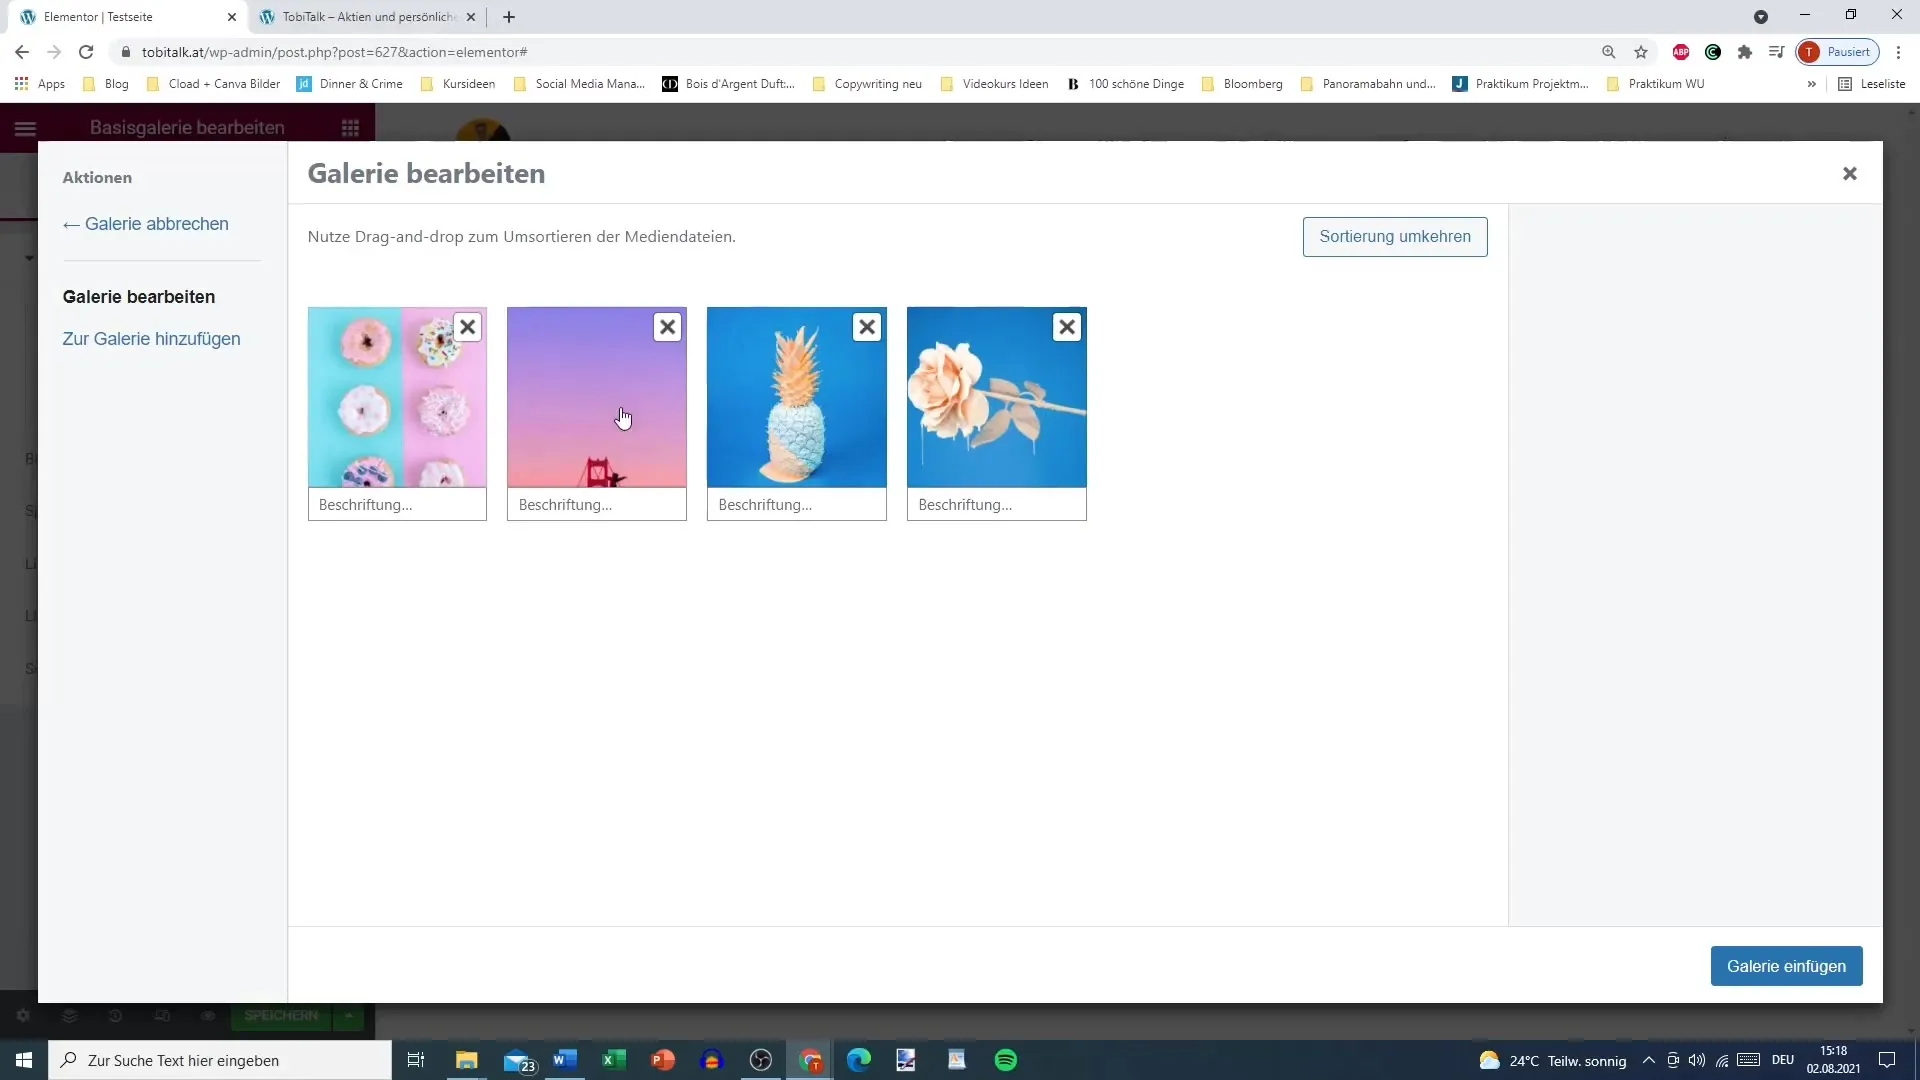
You can individually name and describe each image in your gallery. This provides visitors to your site with more context regarding the depicted content.
Step 4: Customize and Arrange the Gallery
To keep the gallery organized, you can set the order in which the images are displayed. Drag the images into the desired position – for example, place the pineapple in second and the rose in fourth.
Step 5: Determine Image Size and Number of Columns
Now select the image size. You can keep the original size or crop the images to a medium size. Also decide how many columns you want to use – two or three columns are often sensible, while five columns may look overcrowded.
Step 6: Configure Gallery Styles
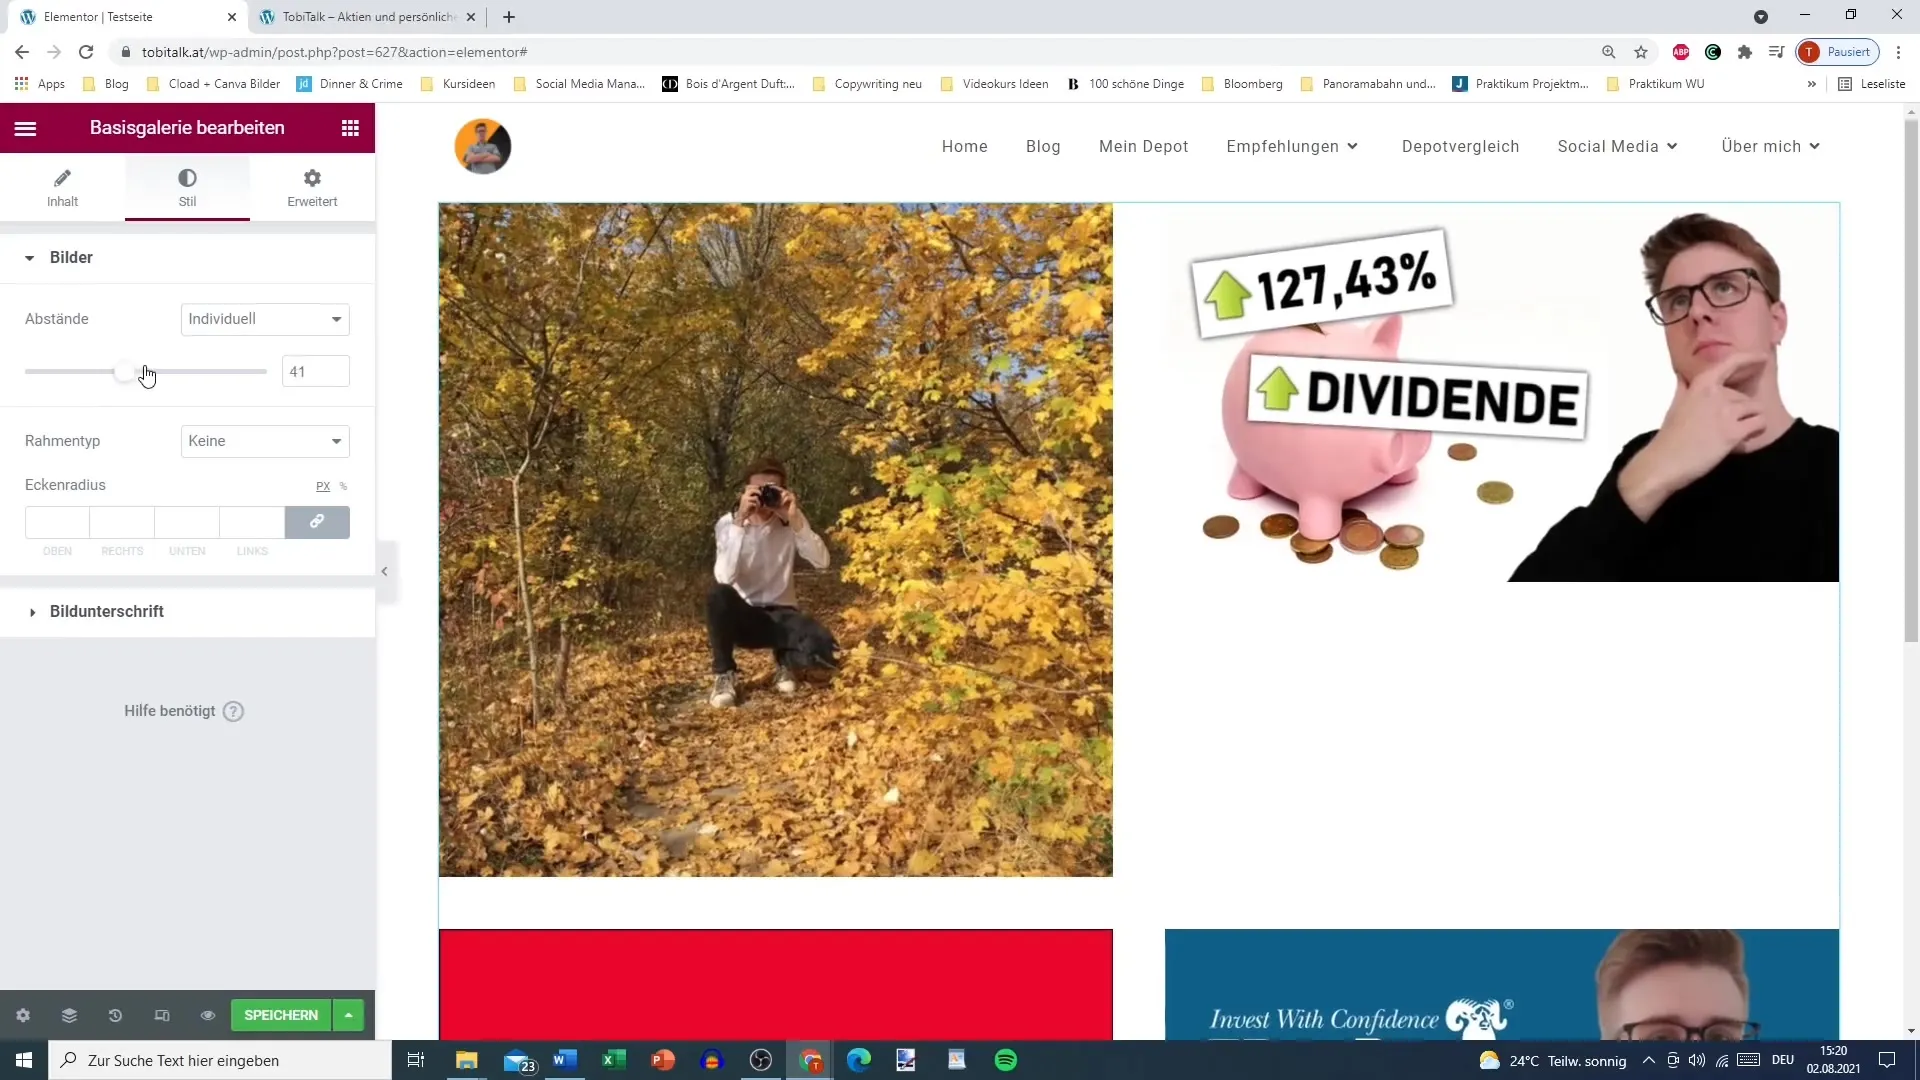
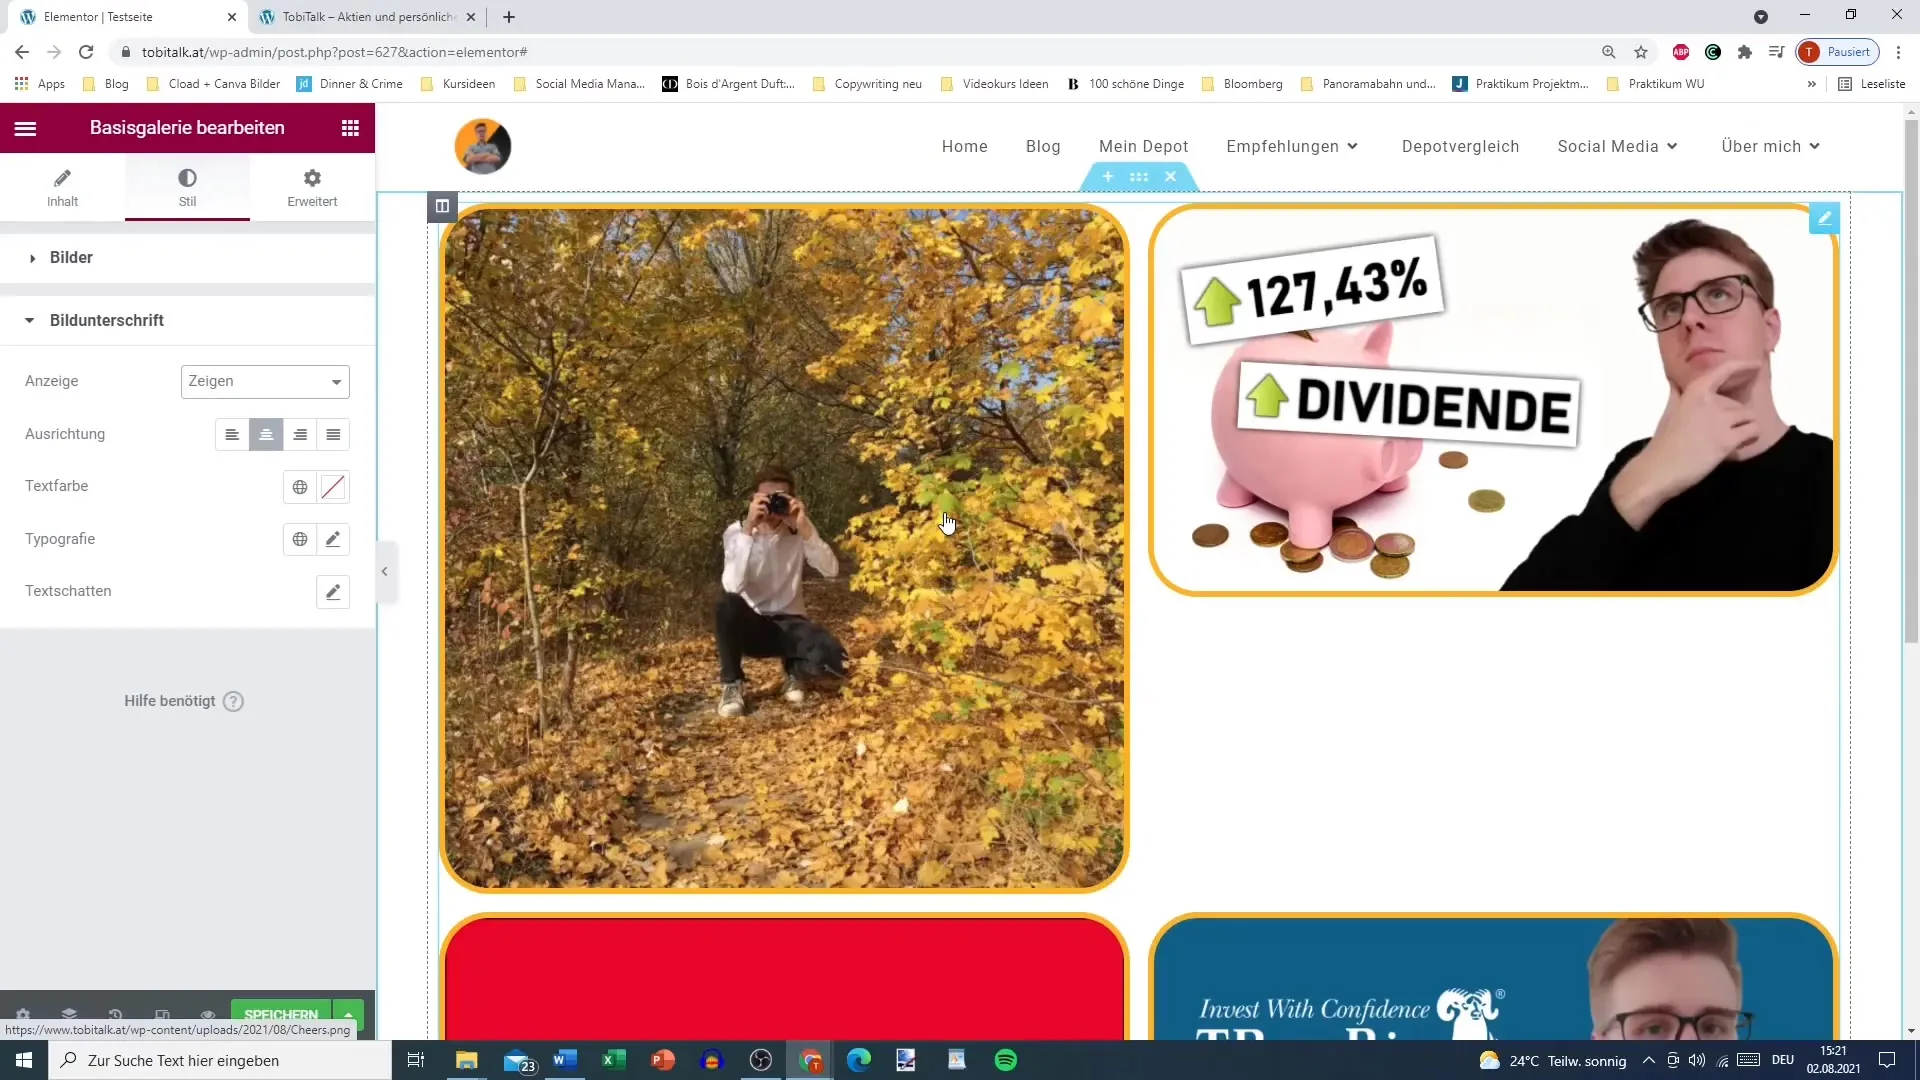
Now it's time to refine the layout of your gallery further. Here you can set spacing between the images so that they do not stand too close together. You can also add borders and customize their style – for example, with rounded corners.
Step 7: Manage Captions
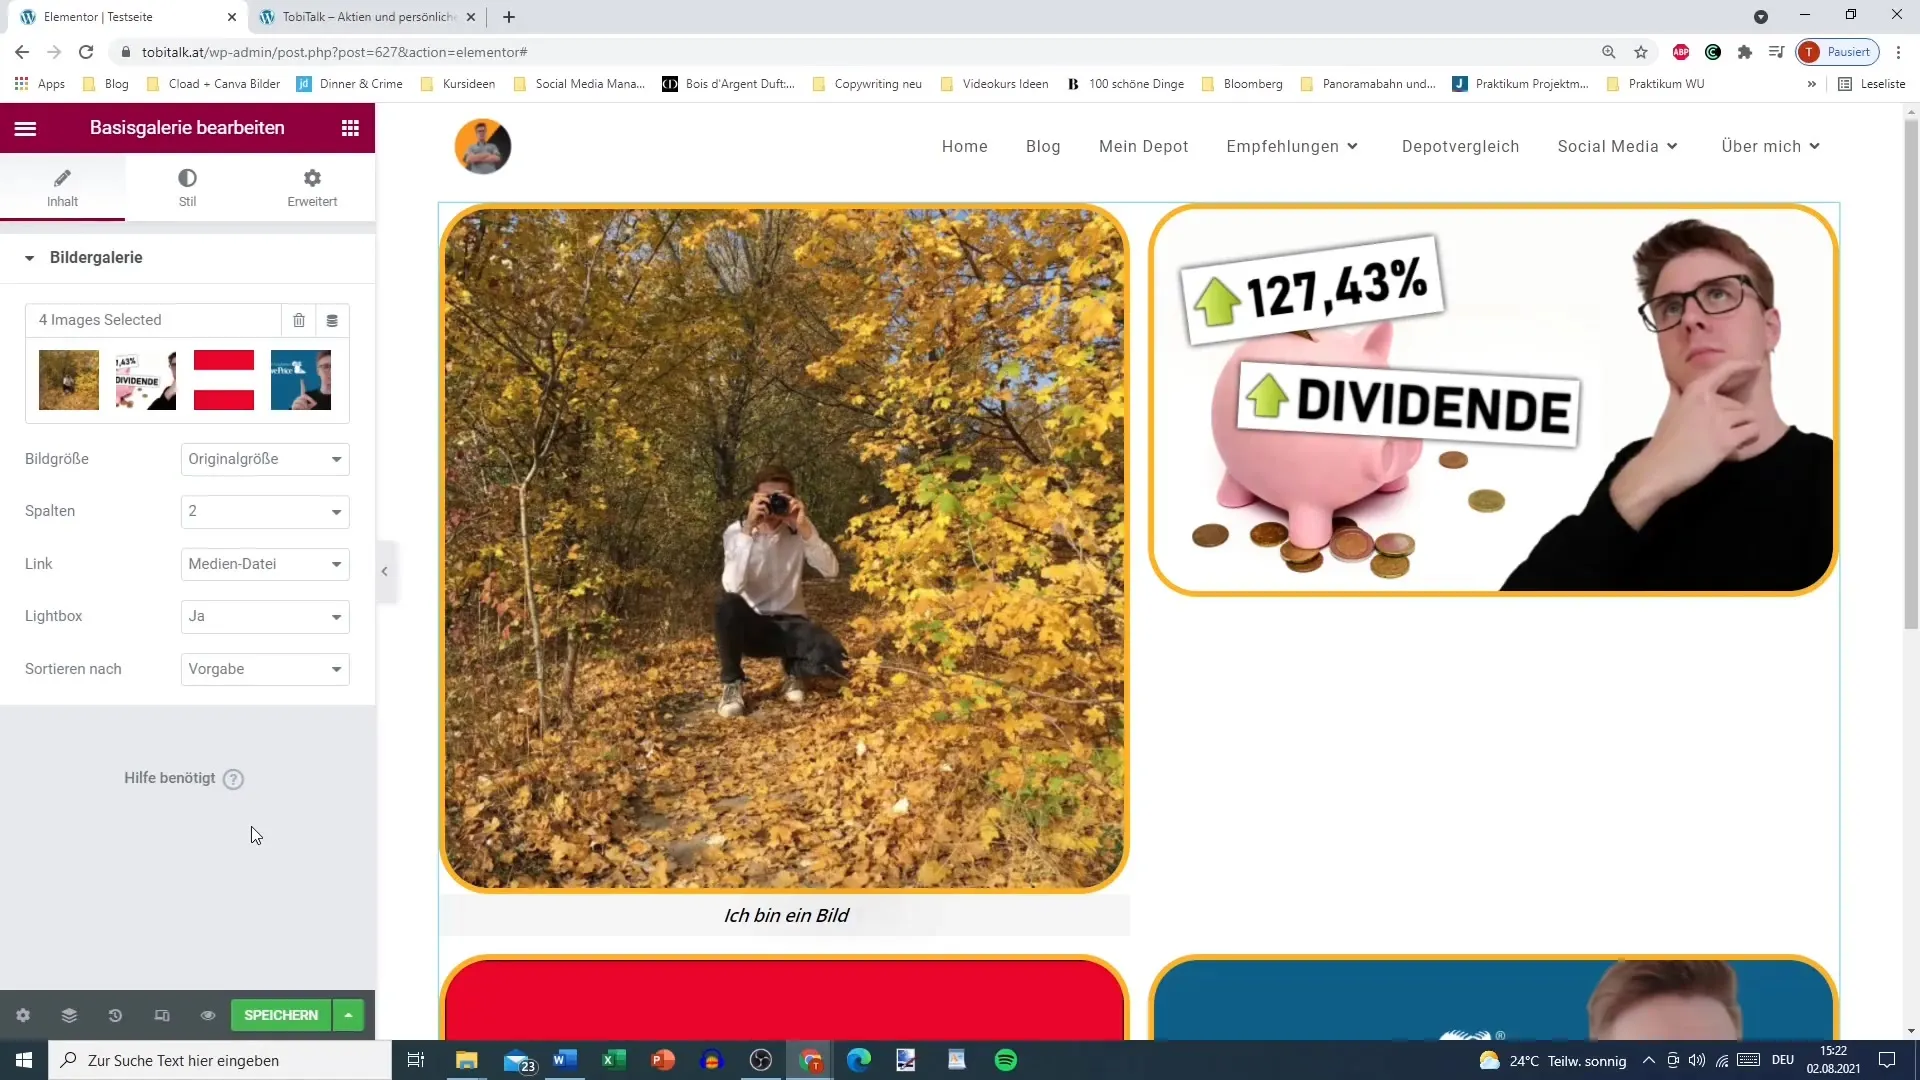
You can either display or hide the captions. If you want captions, add them directly in the media library. Then, you can set the alignment (right, left, or centered) of the captions and adjust their color and typography.
Step 8: Final Adjustments and Review
Make sure the images harmonize well. Avoid mixing images of different sizes as this can detract from the overall look. It is advisable to edit the images beforehand to ensure they have a consistent appearance.
Summary – Image Gallery in Elementor
By using Elementor to create an image gallery, you can make your website visually appealing. Through simple steps for selecting, arranging, and editing your images, you will obtain a professional gallery that your visitors will appreciate.
Frequently Asked Questions
How do I add images to my gallery?You can select and upload images from your media library or your computer.
How can I change the order of my images?Drag the images in the gallery to the desired position.
What image sizes can I choose from?You can choose the original size, medium size, or custom sizes.
Can I add captions?Yes, you can add titles and descriptions for each image in the gallery.
What can I do if the images are different sizes?It is advisable to edit the images beforehand to ensure a consistent appearance.


