Tabs are an effective means to present information on your WordPress website in a clear manner. They allow large amounts of content to be displayed in a compact format without making the page look overloaded. In this tutorial, I will show you step by step how you can use Tabs in Elementor to make your content attractive and user-friendly.
Key insights
- Tabs are a useful feature in Elementor for organized presentation of information.
- You can insert various content into Tabs, including text, images, and links.
- Customizing design elements like colors and fonts is crucial for personalizing the look of the Tabs.
Step-by-step guide
To create and edit Tabs in Elementor, follow the steps below.
Step 1: Select the Tabs widget
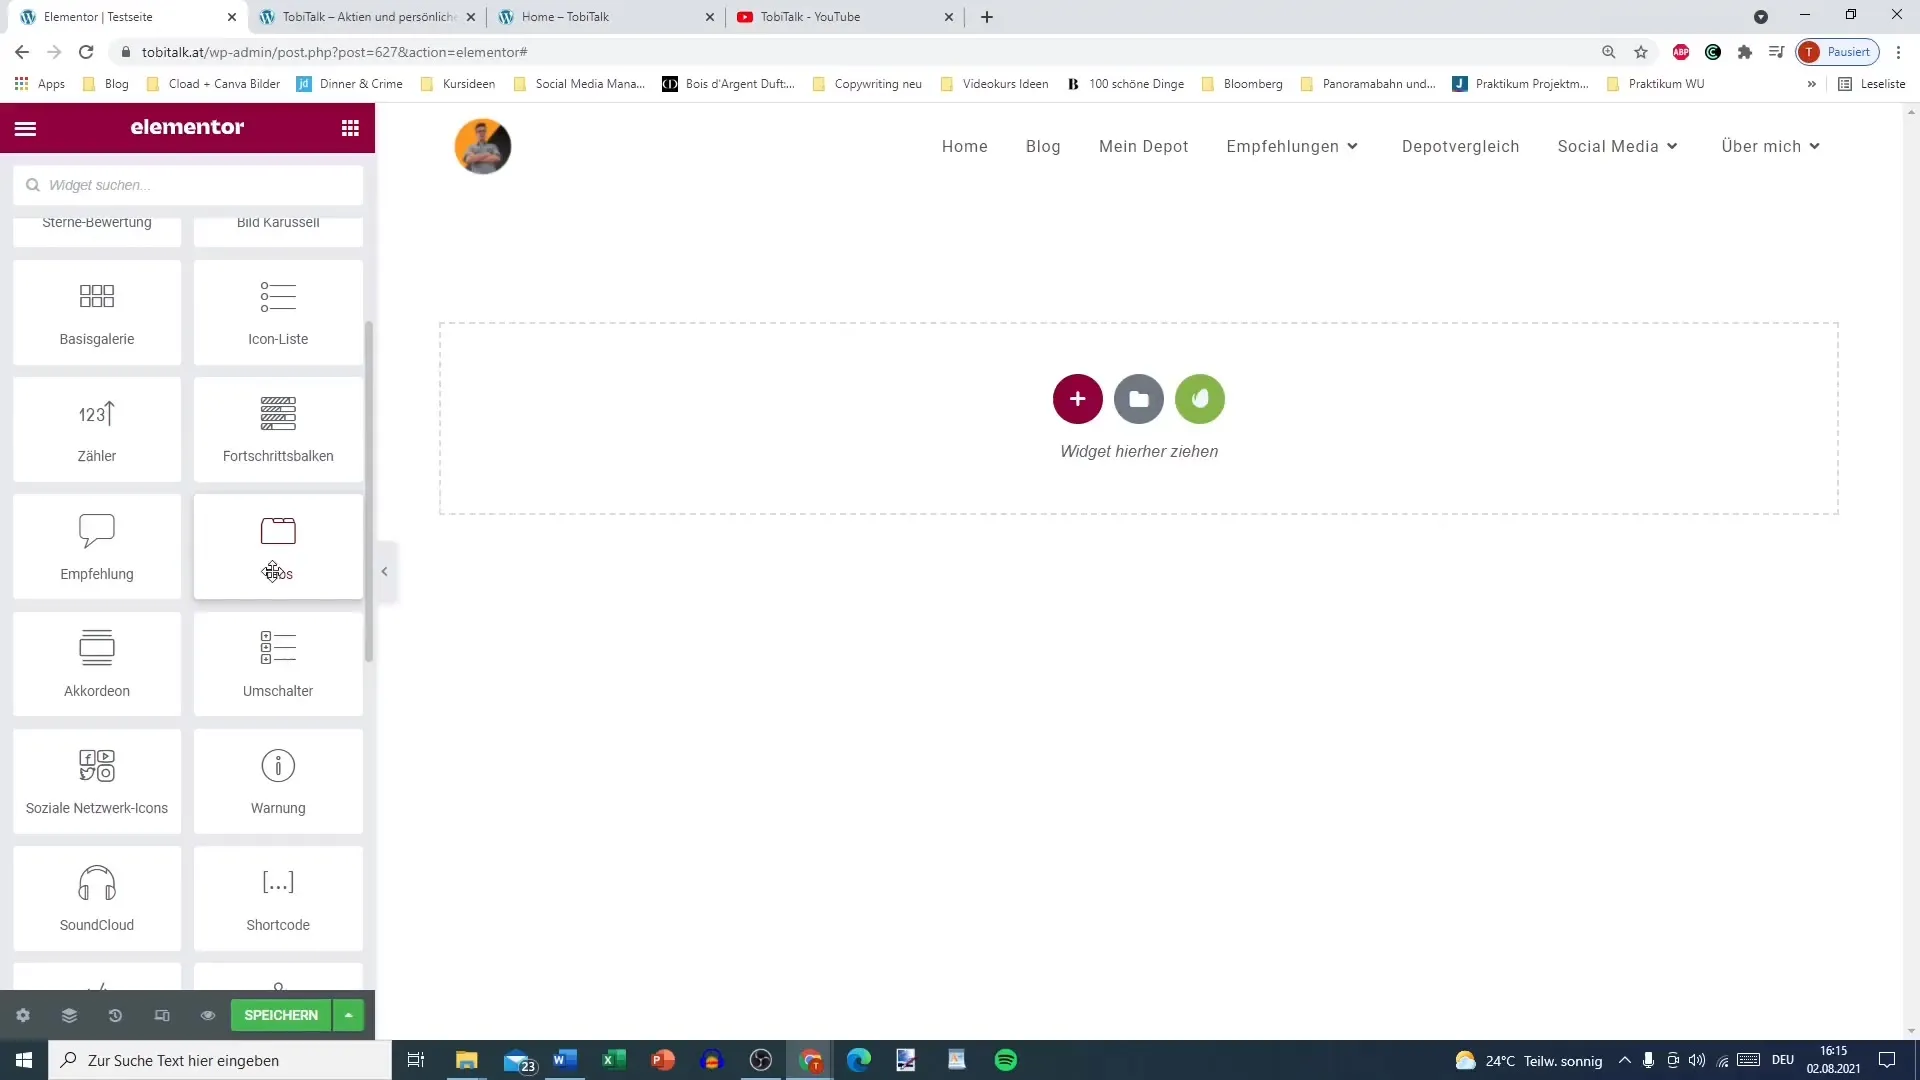
First, you need to find the Tabs widget in Elementor. This is located in the "General" section of your Elementor library. Look for the "Tabs" widget and drag it to the desired area of your page.
Step 2: Name the tabs
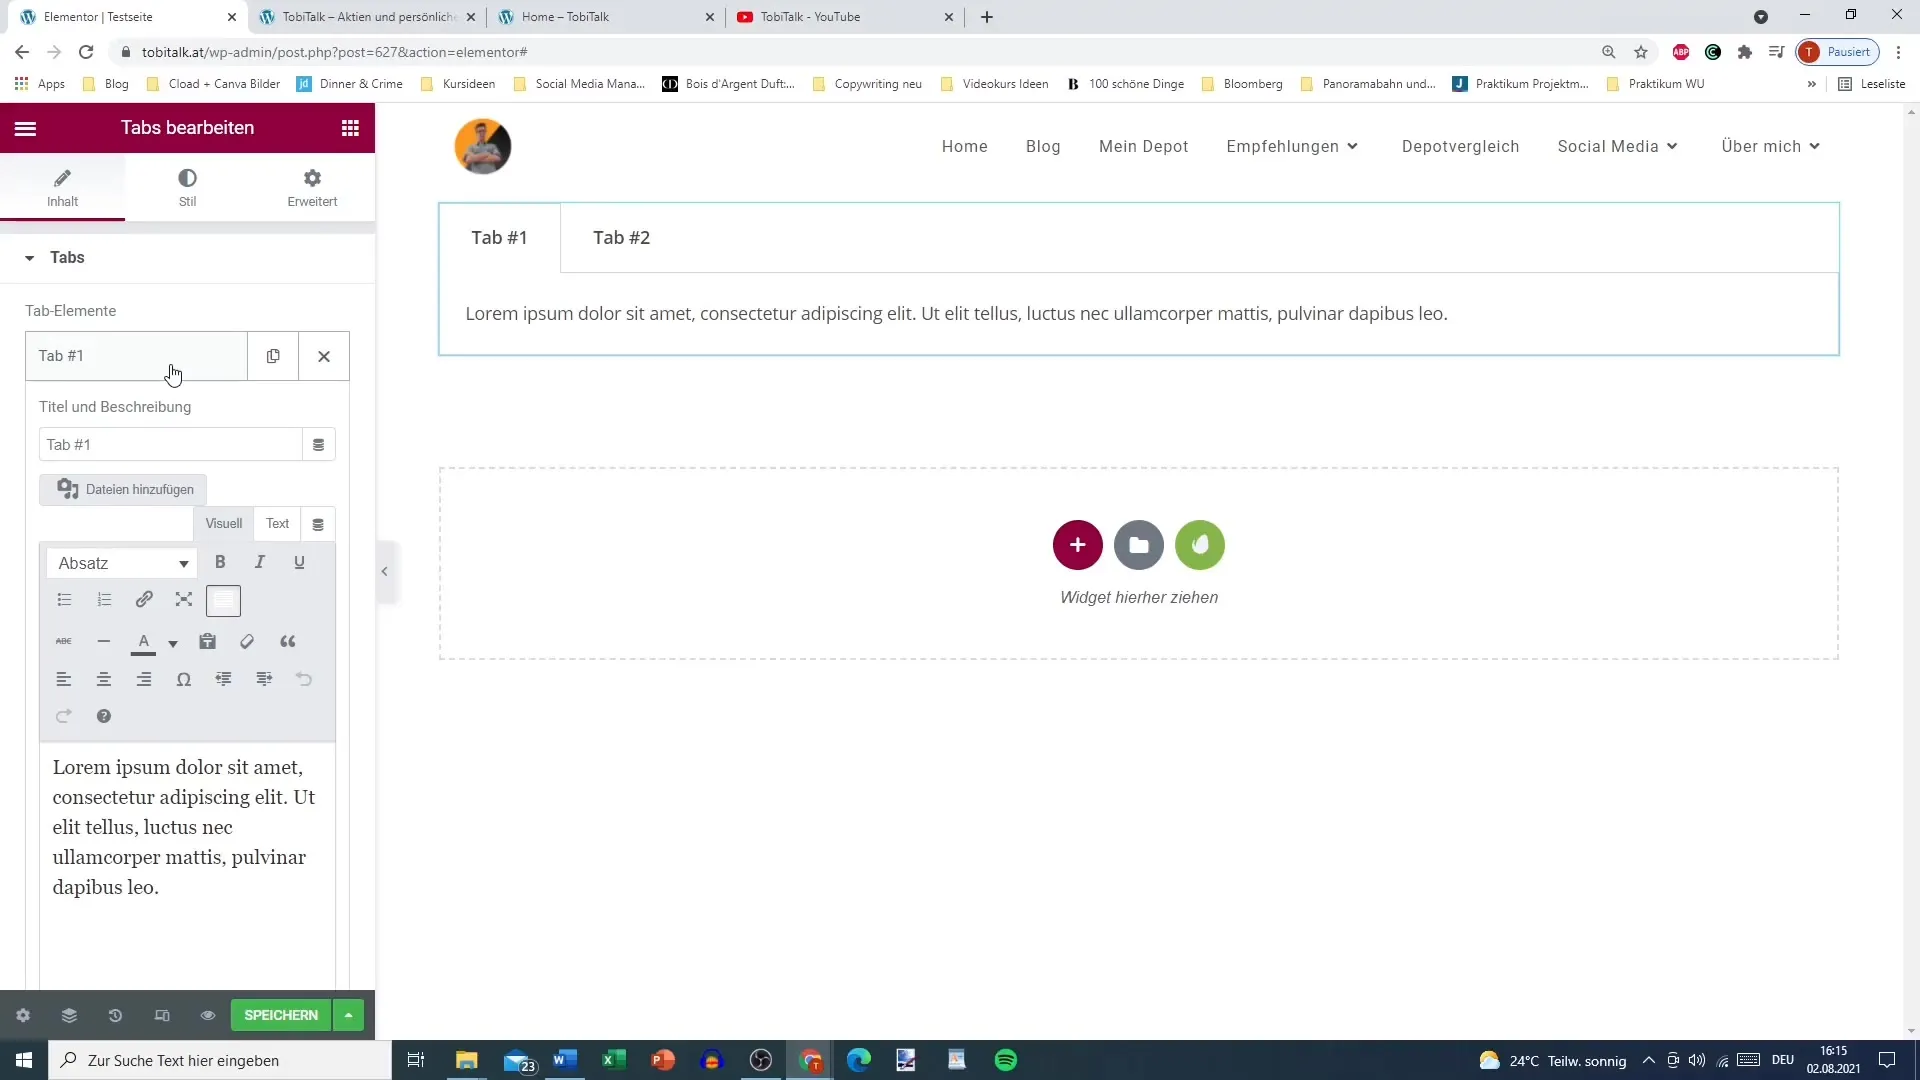
Now you can start naming your tabs. Click on the first tab and give it a name, for example, "Tab 1". Then add another tab with a name like "Tab 2". Here you can get creative and give the tabs meaningful titles that suit your content.
Step 3: Edit content
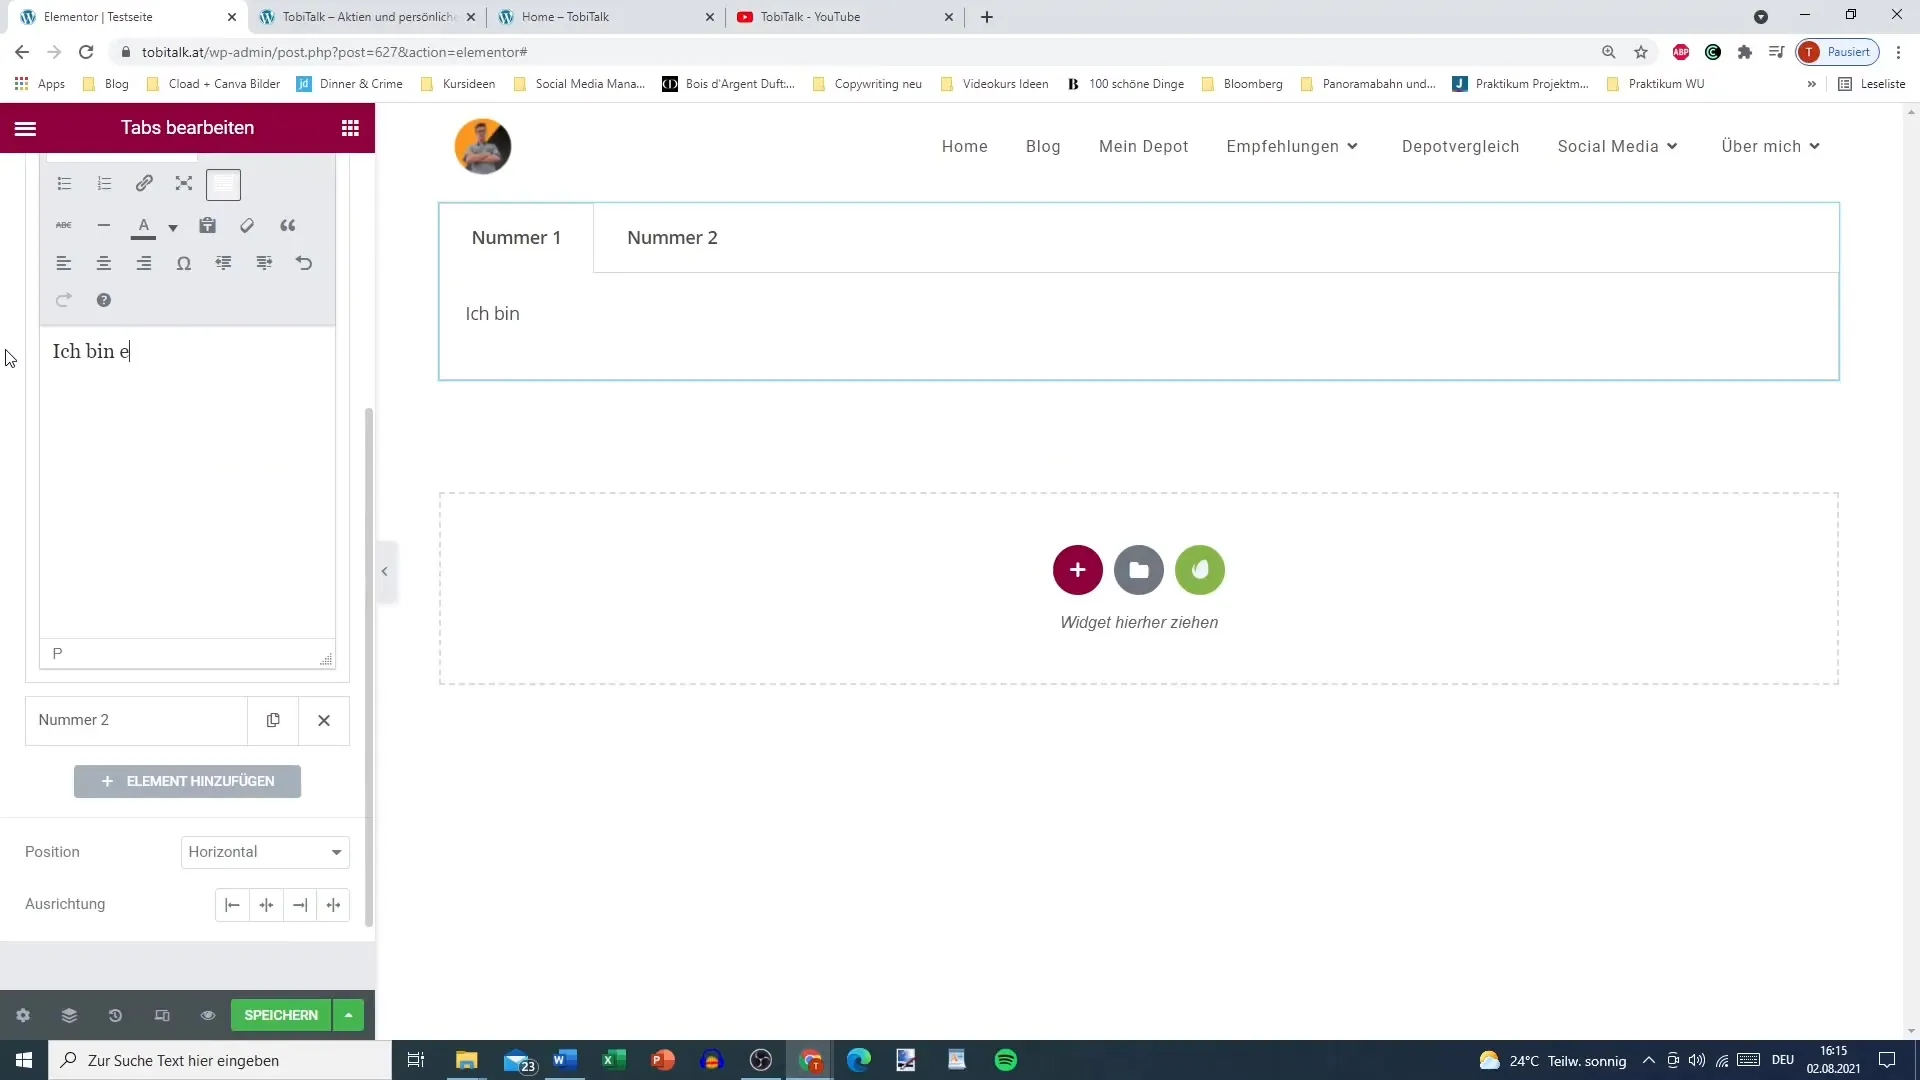
Once the tabs are named, it's time to insert the content. Click on the first tab to open the content editor. Here you can enter text. Make sure to format the text so that it is clear and informative for the reader. You can also insert images into the tab using the image tool.
Step 4: Add more content
If you want to perform additional actions, you can also insert links. Go back to the tab and look for the option to add links. You can set a link to an external website or to specific content on your own page.
Step 5: Customize design
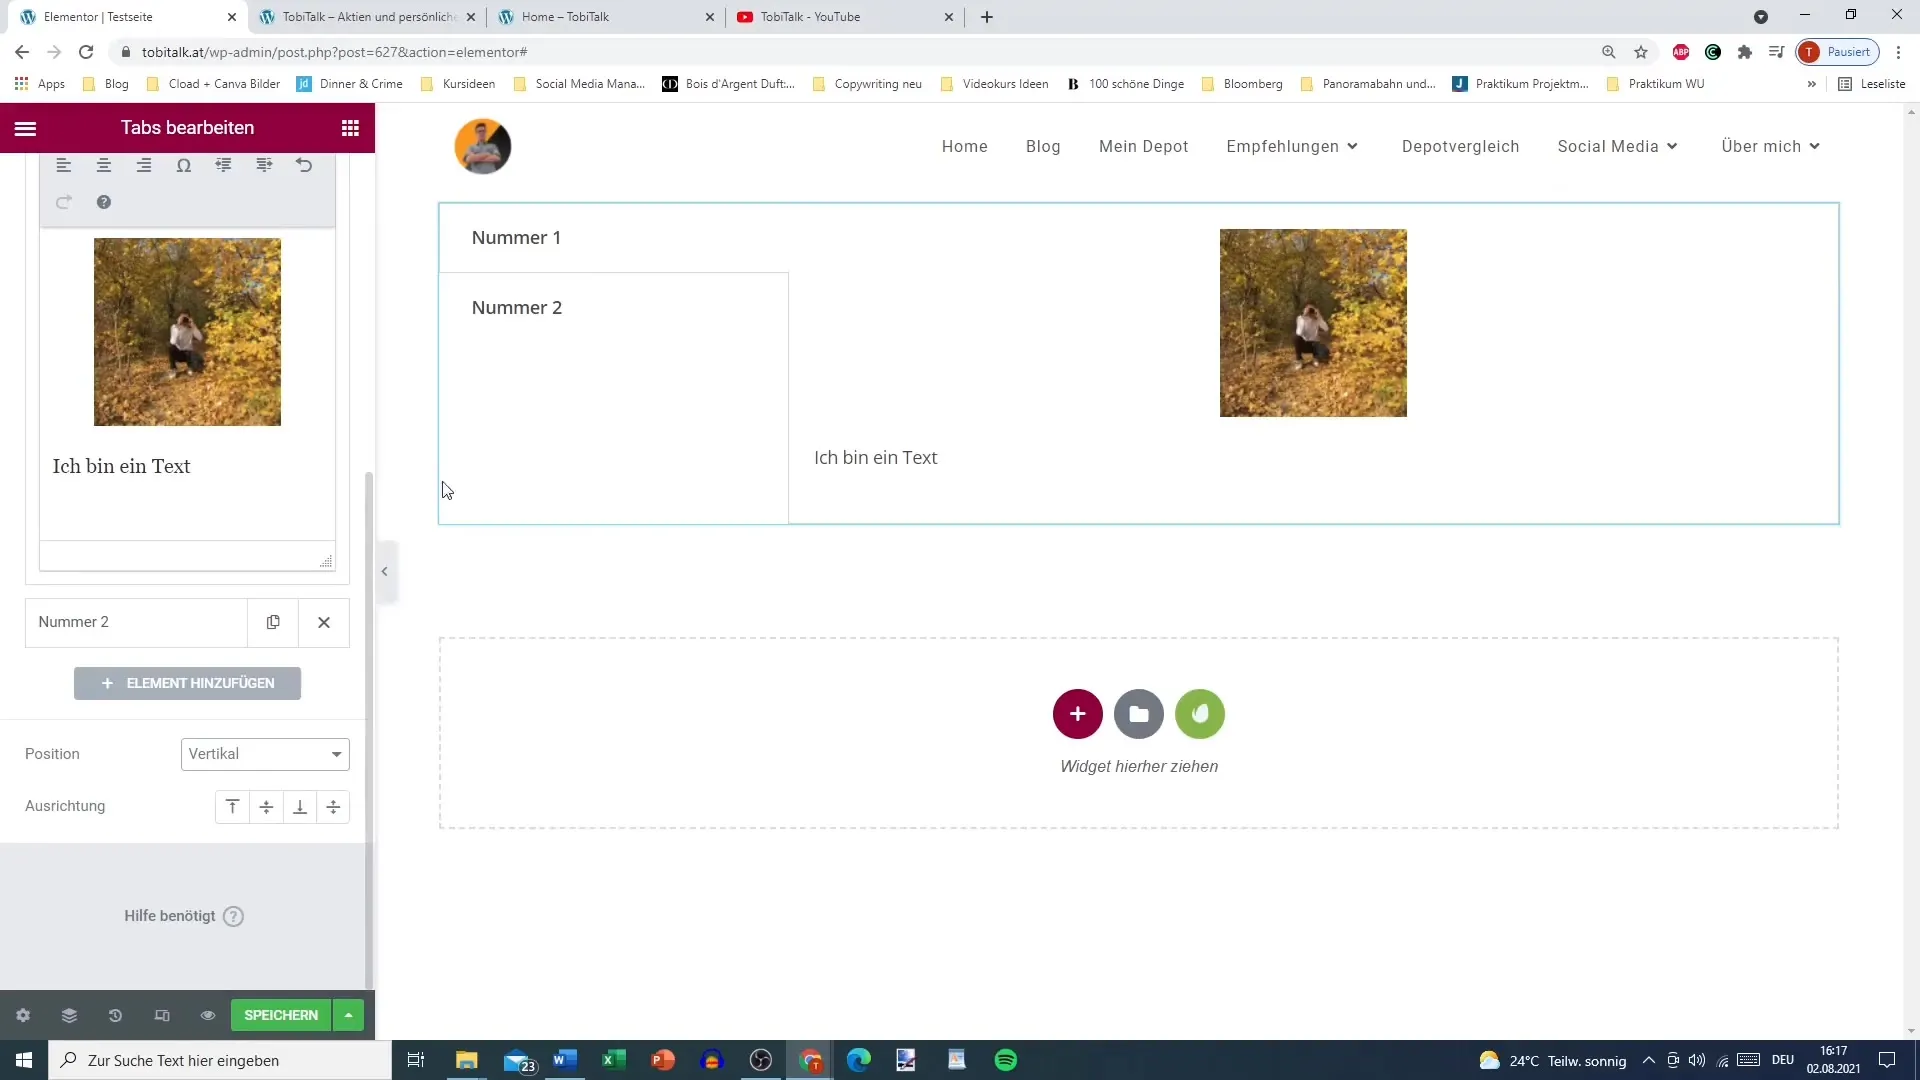
The next step is to customize the design of your tabs. Go to the tab settings and choose whether the tabs should be arranged horizontally or vertically. I recommend choosing the vertical arrangement as it is clearer in most cases.
Step 6: Set width and styles
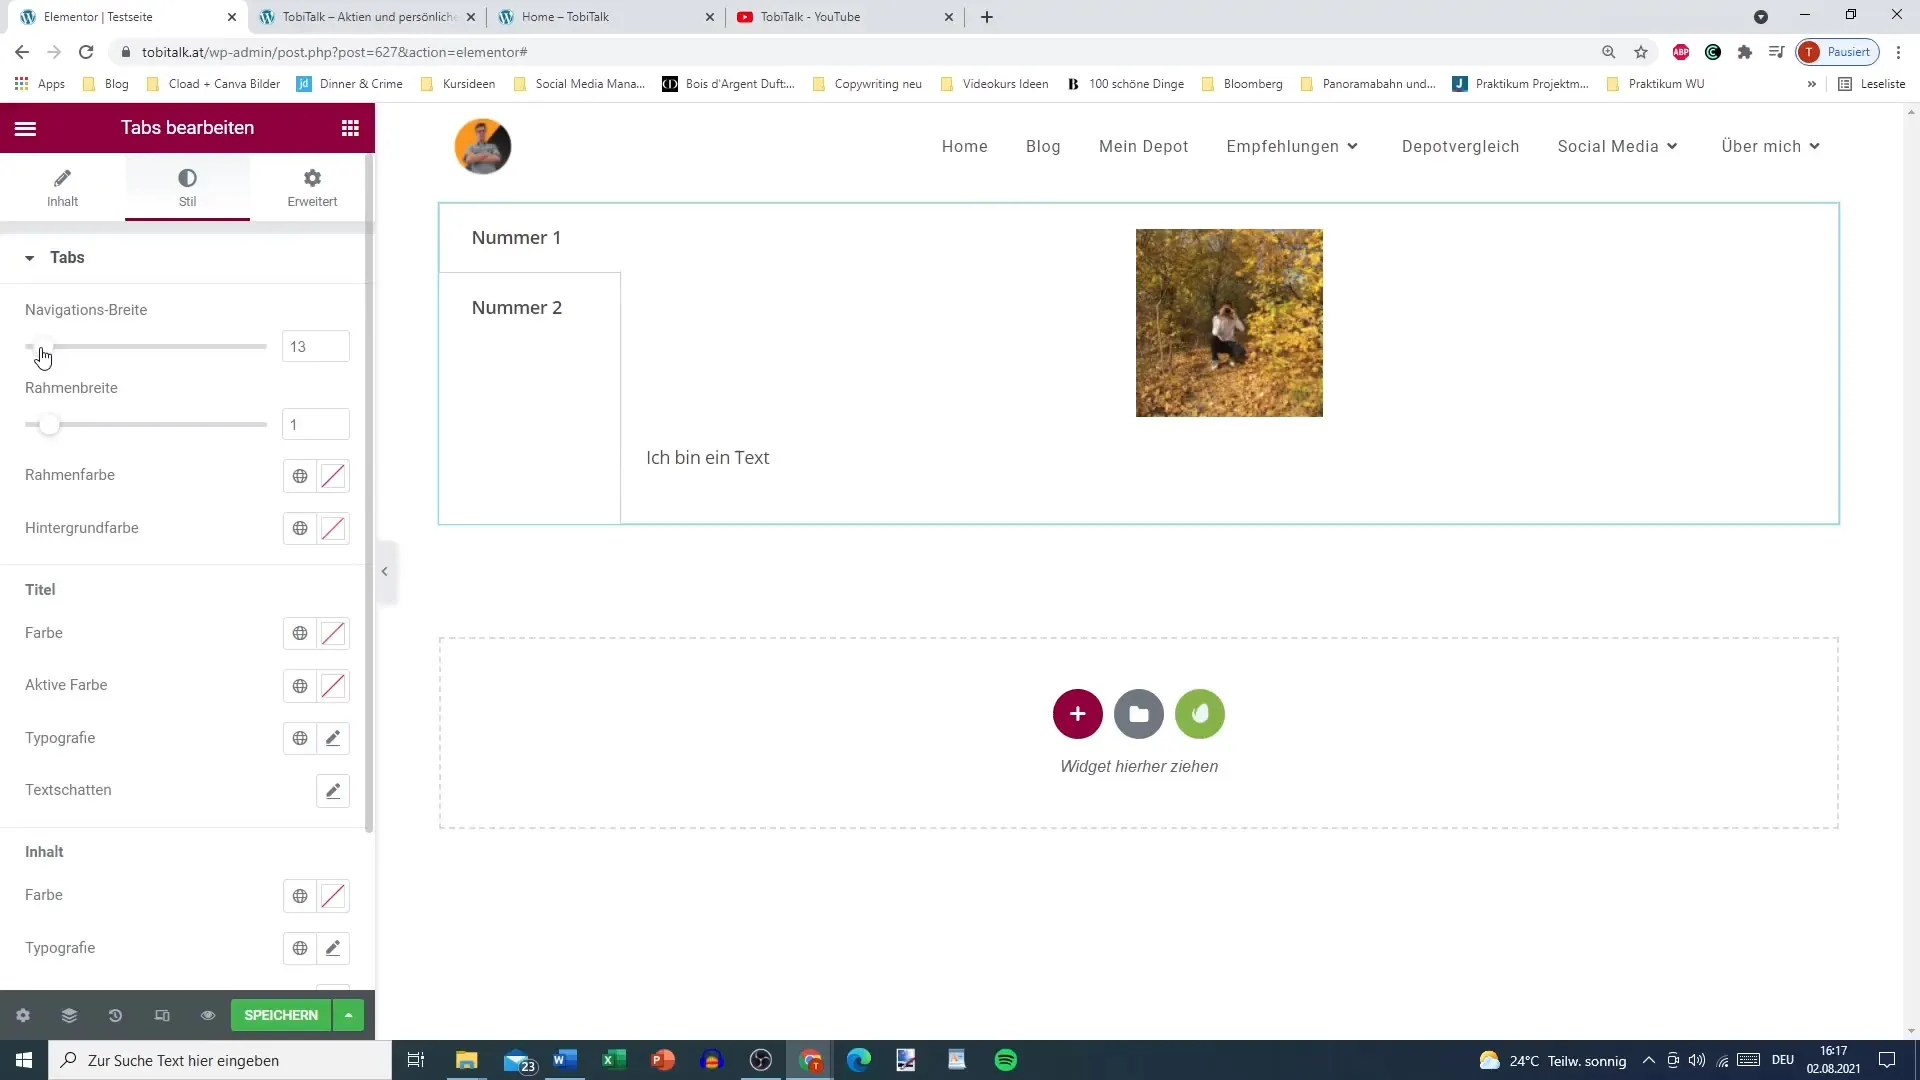
You can also adjust the width of the tab bar to ensure it fits well with your content. It is important to also define the border width as this affects the overall appearance of the tabs. You can choose from various sizes, with a narrow border often looking more elegant.
Step 7: Adjust colors
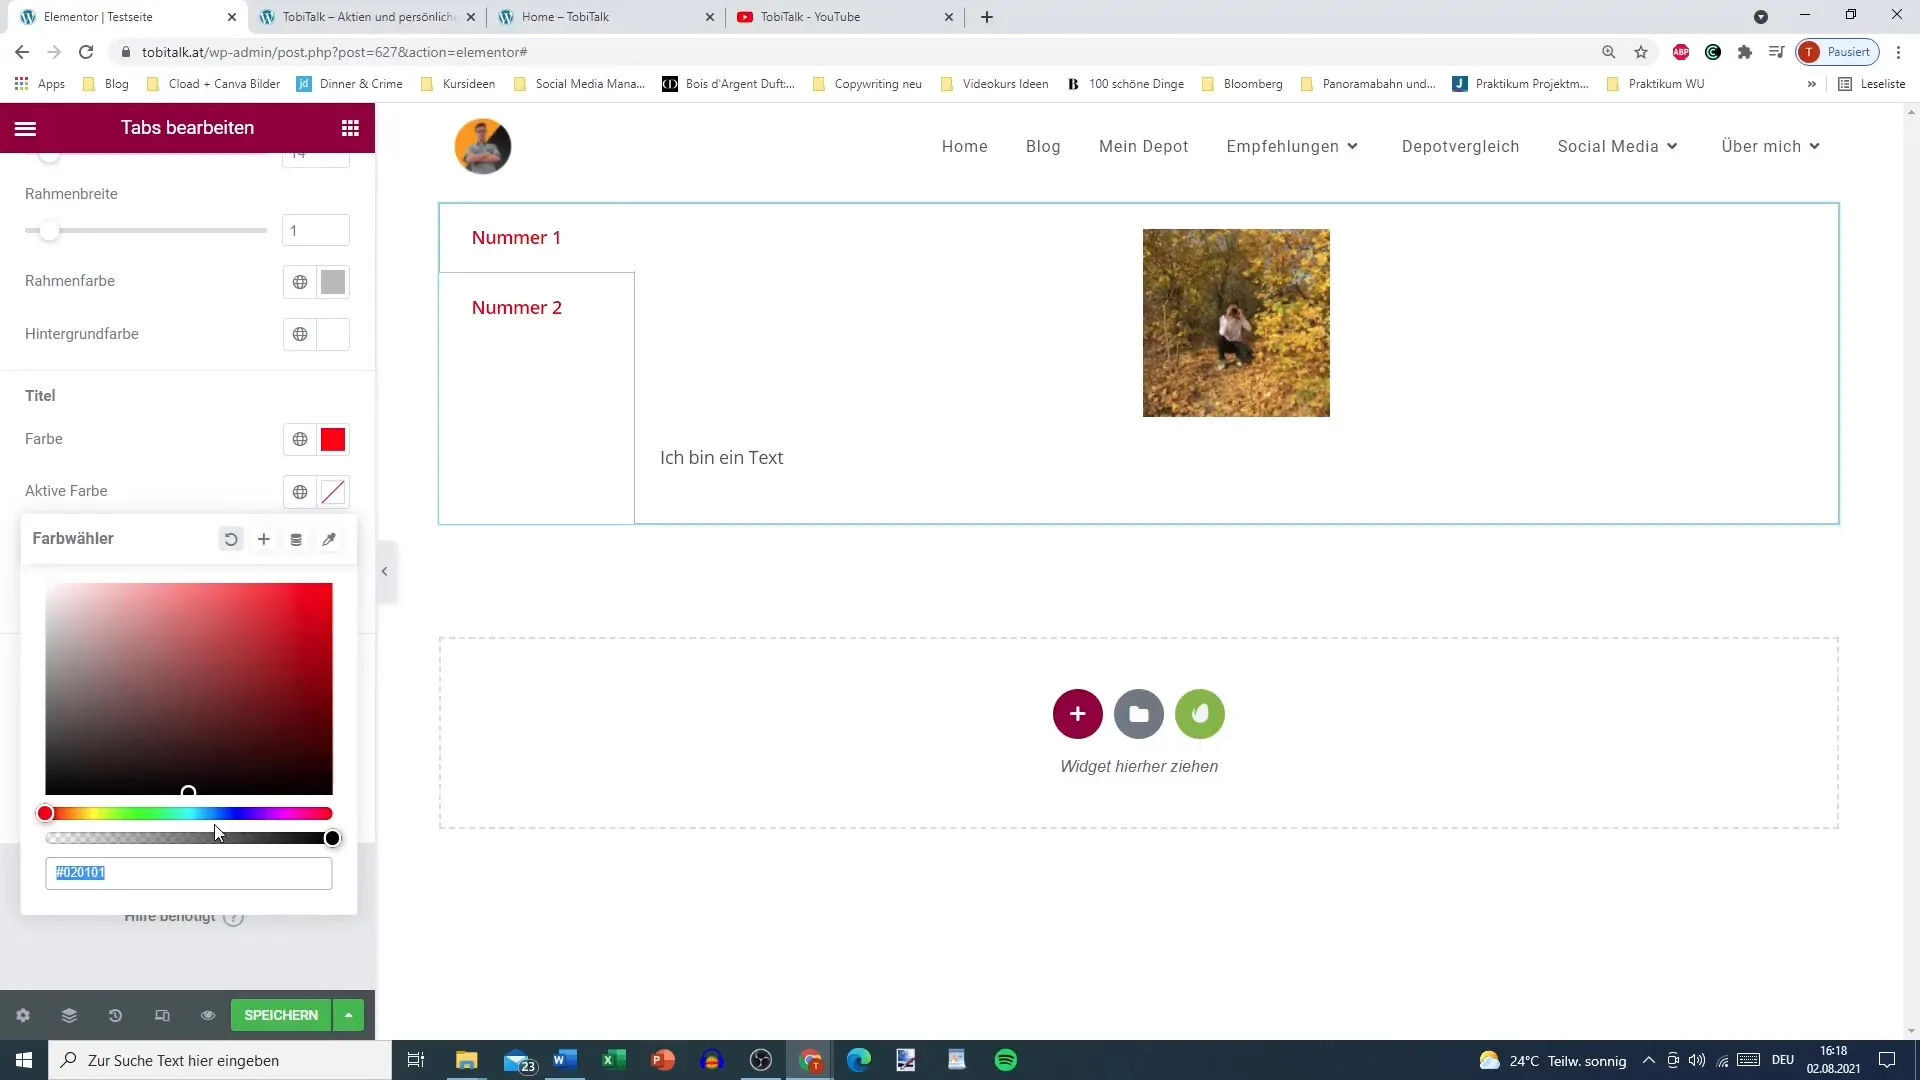
To make your tabs attractive, colors are very important. Choose a background color for the active and inactive tabs that matches your web design. For example, you might choose a blue color for the active tab and a darker color for the inactive ones.
Step 8: Add text styling
The last step in your process is text styling. You can change the font color, adjust fonts, and even add text shadows to enhance readability. Consider how to best optimize the font in relation to the overall design of your page to achieve a consistent appearance.
Summary – Successfully using Tabs in Elementor for WordPress
Using tabs in Elementor offers you an exciting way to present content on your WordPress website in an appealing and organized manner. This gives you control over the design and user experience, leading to a better website.
Frequently asked questions
How do I add tabs in Elementor?You can select the Tabs widget from the Elementor library and drag it to the desired location on your page.
Can I insert images in tabs?Yes, you can insert images and many other content like text or links into the tabs.
How do I adjust the colors of the tabs?You can adjust the colors for active and inactive tabs in the design options of the Tabs widget.
Does Elementor also support vertical tabs?Yes, in the settings you can arrange the tabs either horizontally or vertically.
What can I display in the tabs?You can display text, images, links, and many other content in your tabs.


