Are you looking for an effective way to enhance your WordPress website with pre-designed templates? Elementor offers you an extensive template-library that helps you design your pages faster and more attractively. In this guide, I will show you how to connect to the template library and what steps are required for that.
Main insights
- A free Elementor account is required.
- Access a variety of pre-designed pages and blocks.
- Easy integration into your WordPress environment.
Step-by-step guide
Step 1: Sign up for Elementor
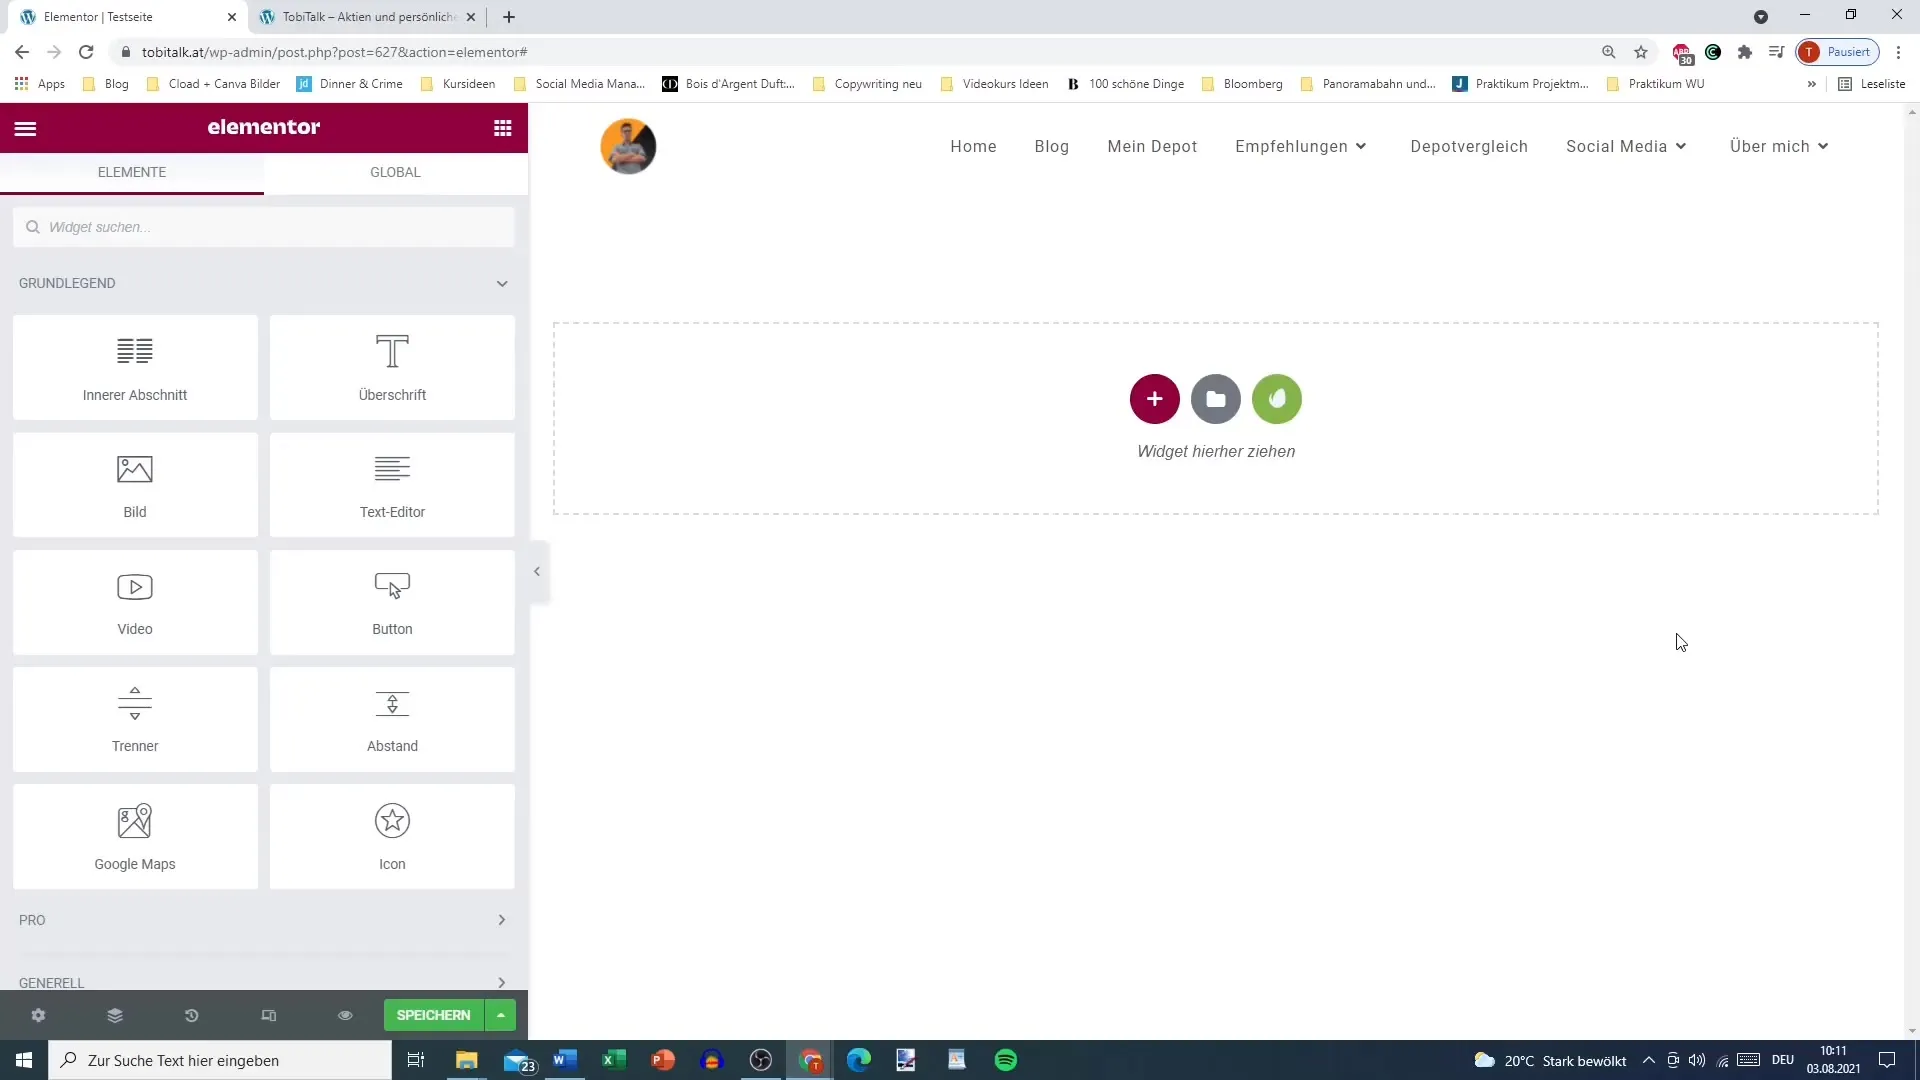
To access the template library, you first need to sign up on the official Elementor website. You don't need a Pro account; you can register for free. To get started, click on the template icon within your WordPress site. This is an important step to be able to utilize the library.
Step 2: Browse templates and blocks
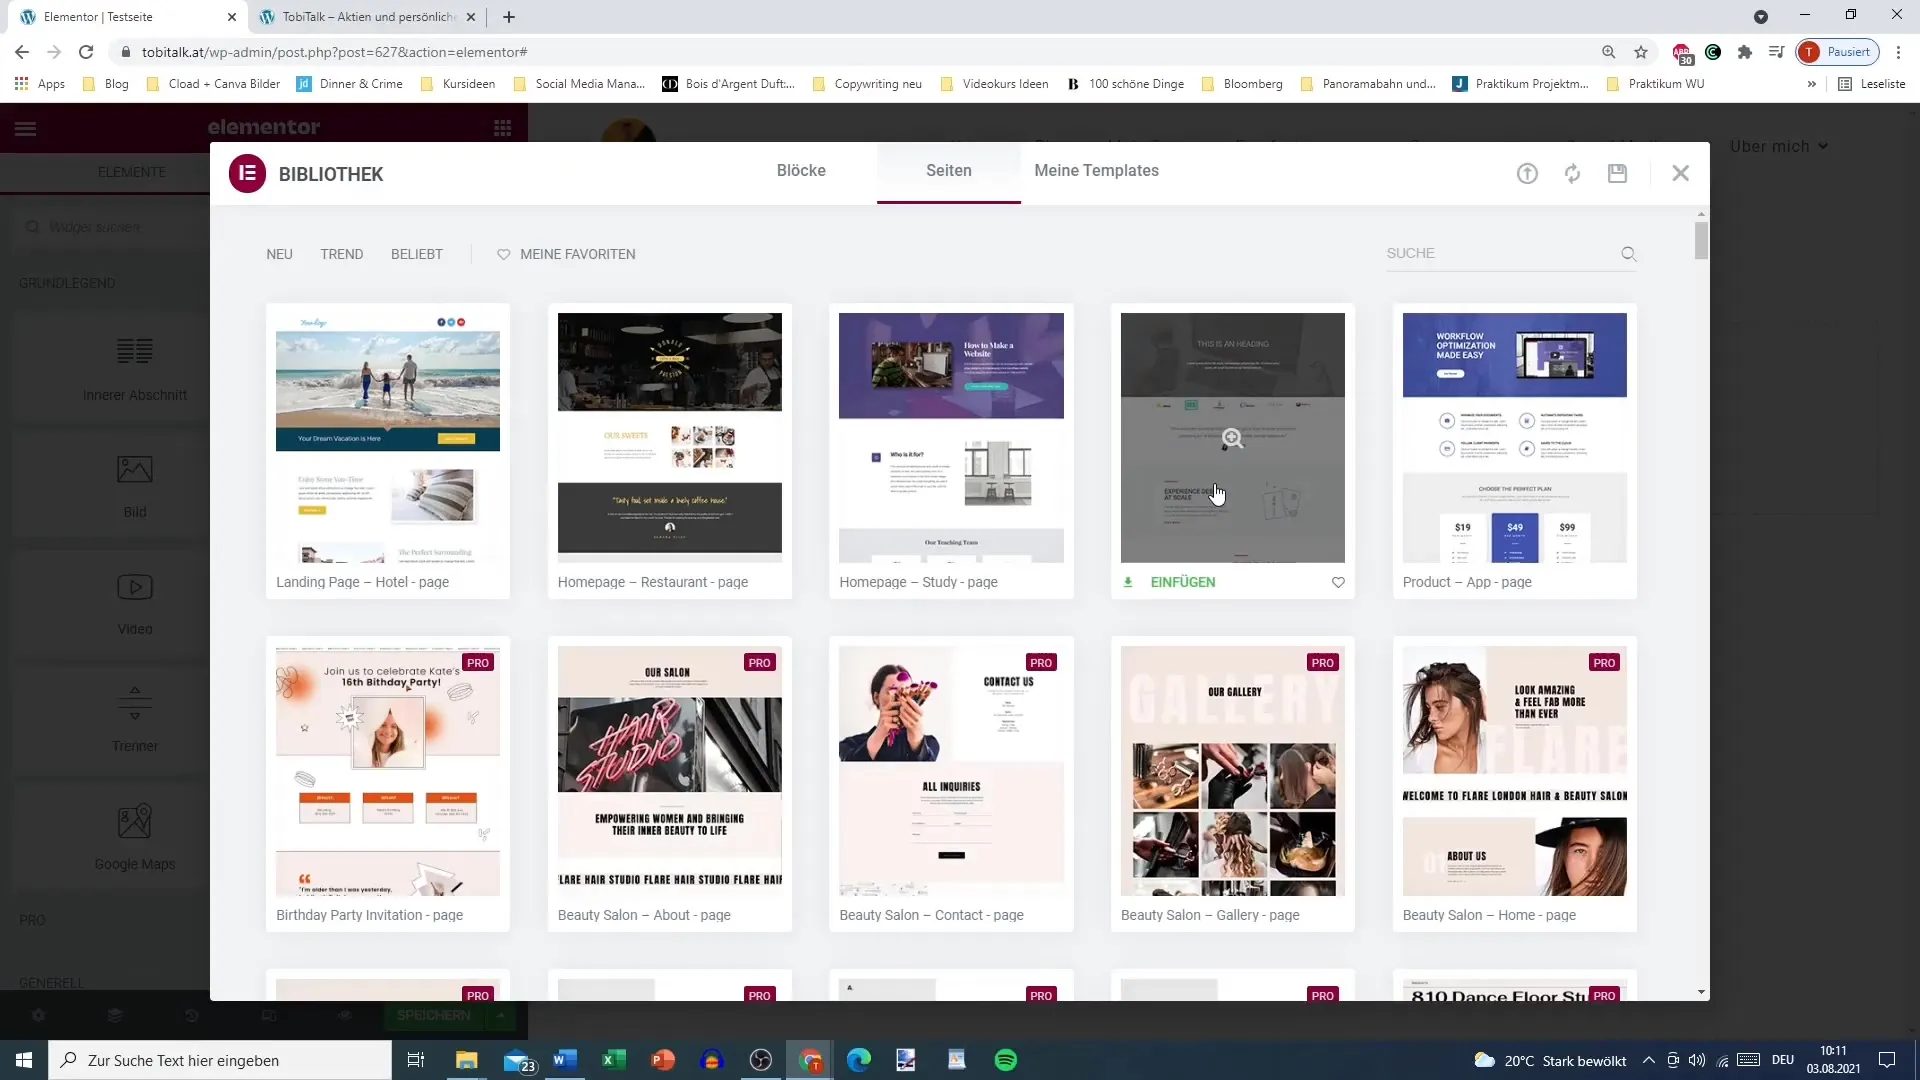
After signing up, you should see the various pages and blocks in the template library. Here, you can select from a variety of pre-designed templates. Take a close look at the blocks and pages offered to figure out which ones you would like to use for your project. You can insert both complete pages and individual blocks.
Step 3: Selecting a template
Let's say you want to insert a specific template. Click on the desired design to preview it. You can also click the plus sign in the upper right corner to get more information about the selected template. Make sure to review the designs to choose the best option for your website.
Step 4: Insert the template
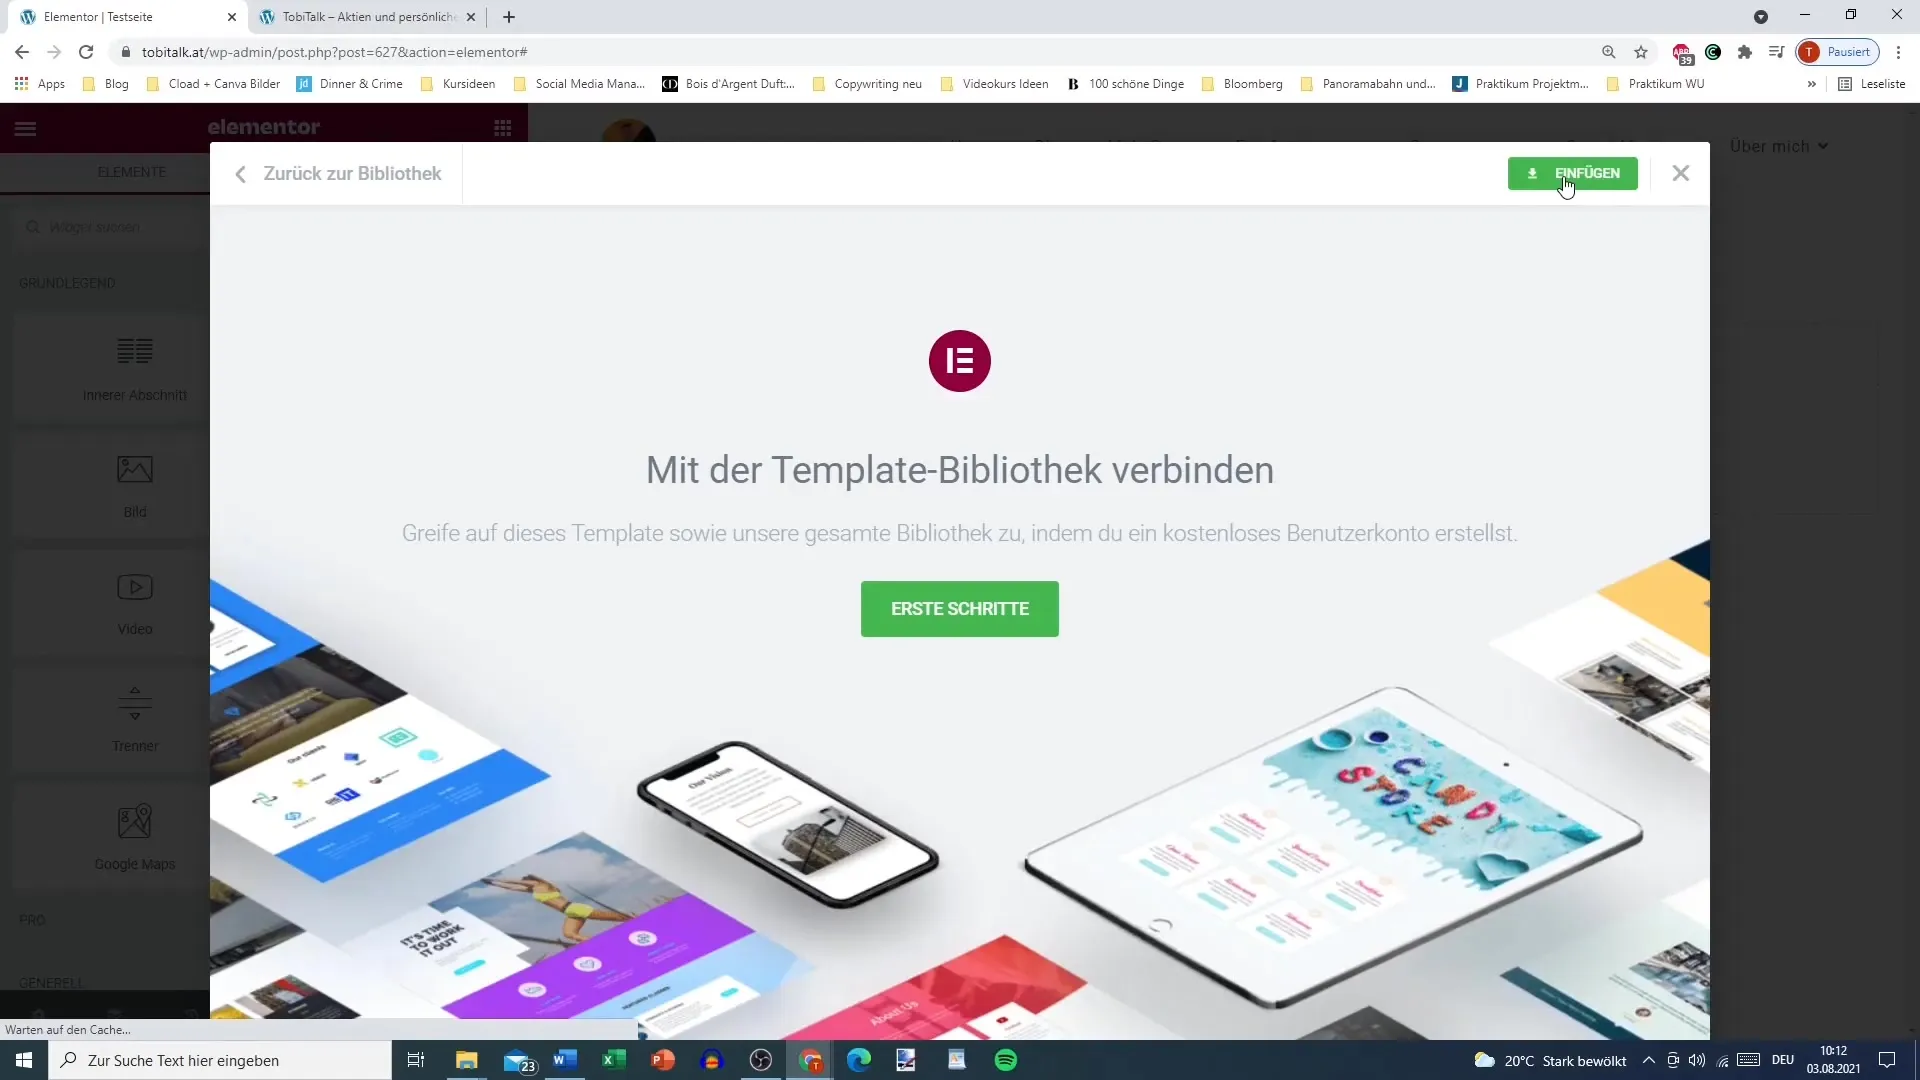
Once you have decided on a template, click on "Insert." A prompt will appear asking you to connect with the template library. Click on this option to proceed.
Step 5: Registration and confirmation
You will then be redirected to the Elementor website. Here, you must create your free user account if you don't have one yet. Simply enter your email address and a secure password, and click on "Create Account." Don't forget to confirm your email address to complete the registration.
Step 6: Linking to your site
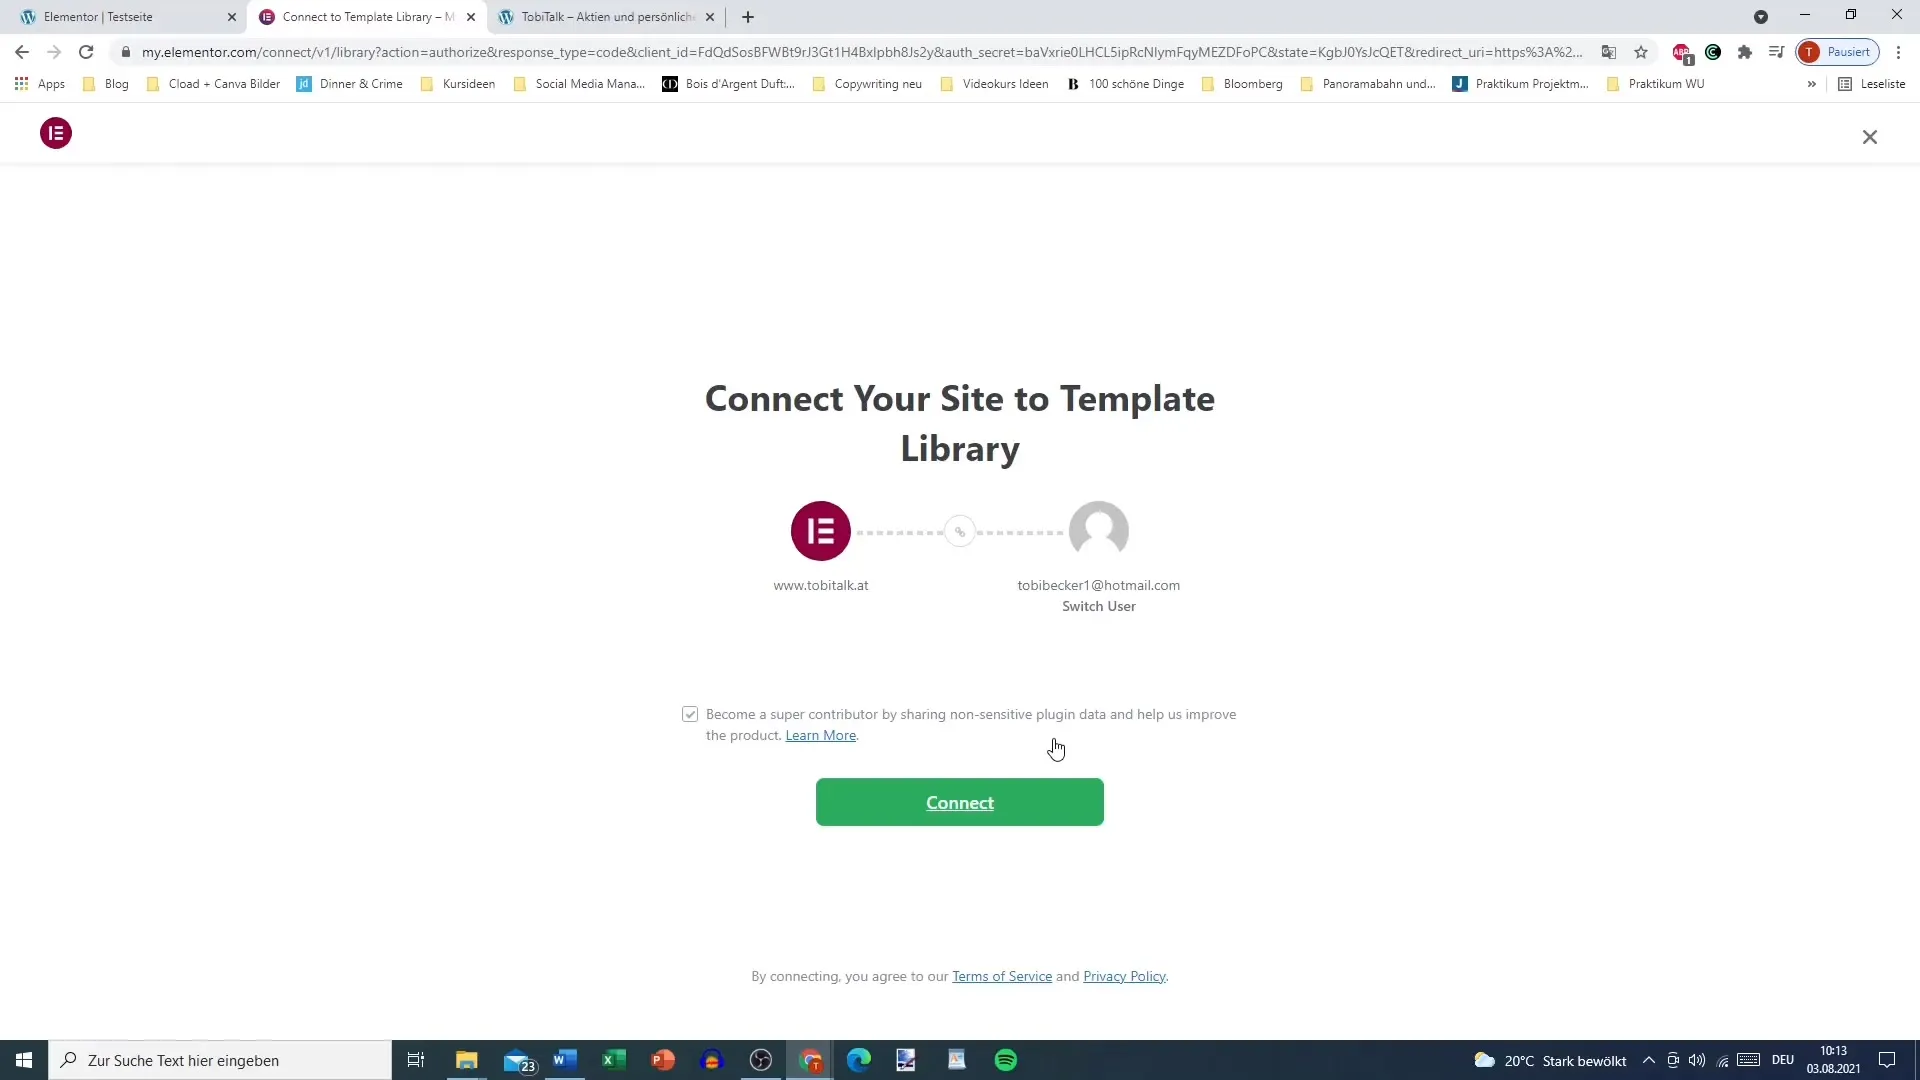
After your registration, you will be asked if you want to link your WordPress site with the newly created user account. Click on "Connect" to establish the link. This will give you full access to all the templates and features of the library.
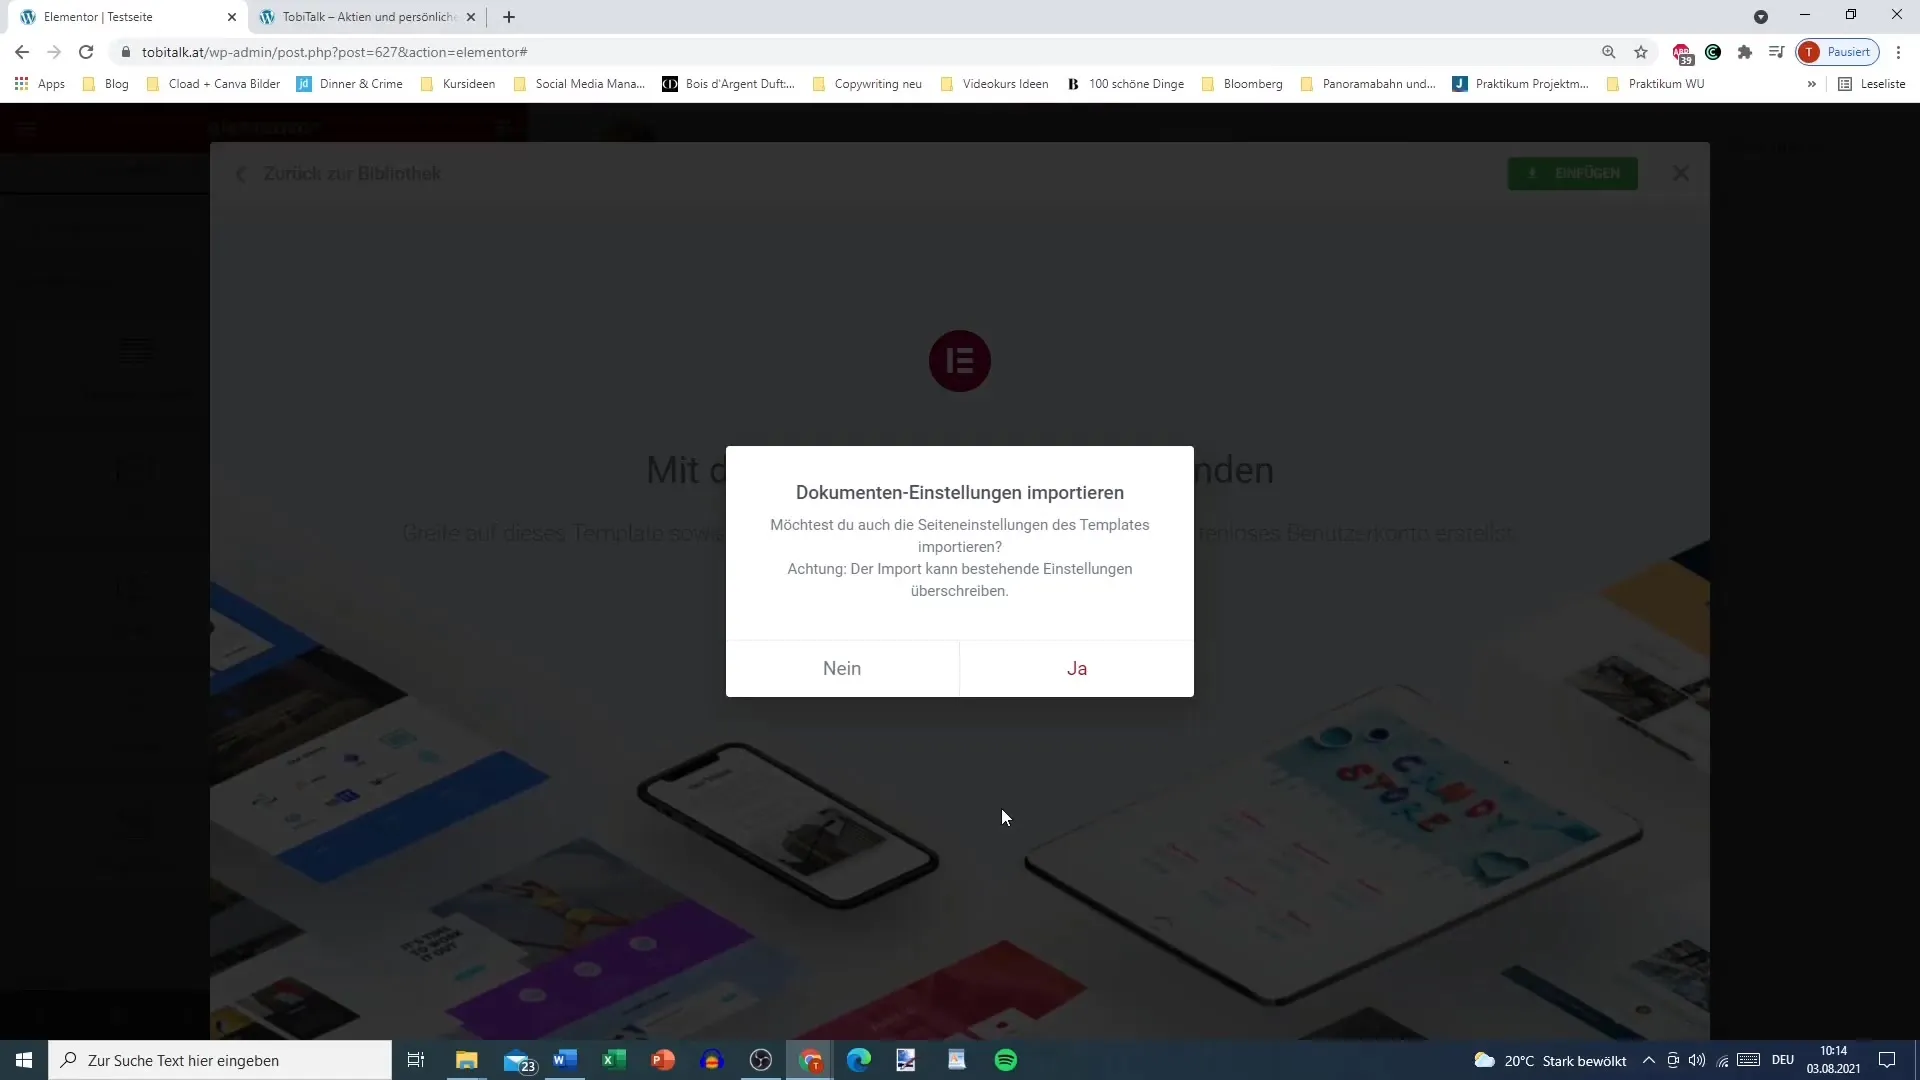
Step 7: Accessing the template library
Now you have full access to the template library! You can use the pages and blocks available to you and design your website as you wish. This way, you can create visually appealing content with minimal effort.
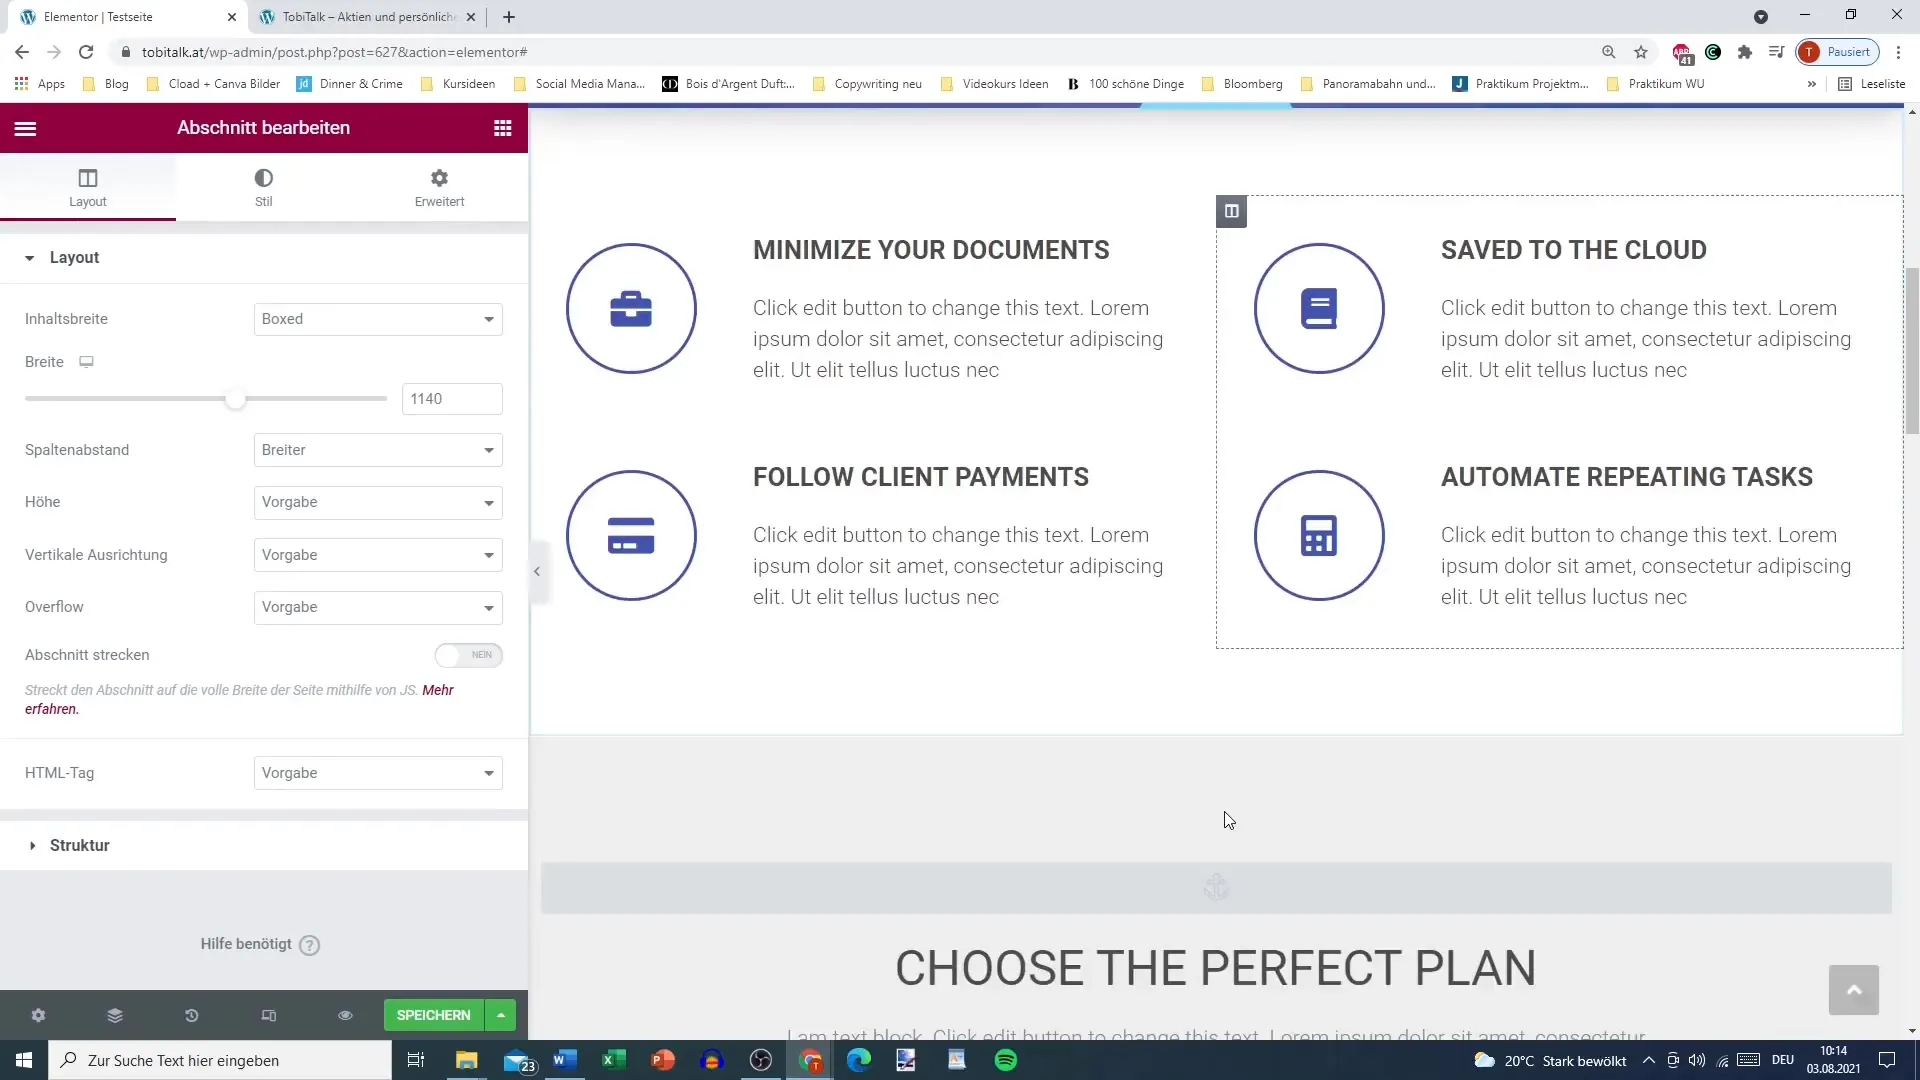
Step 8: More tutorials and features
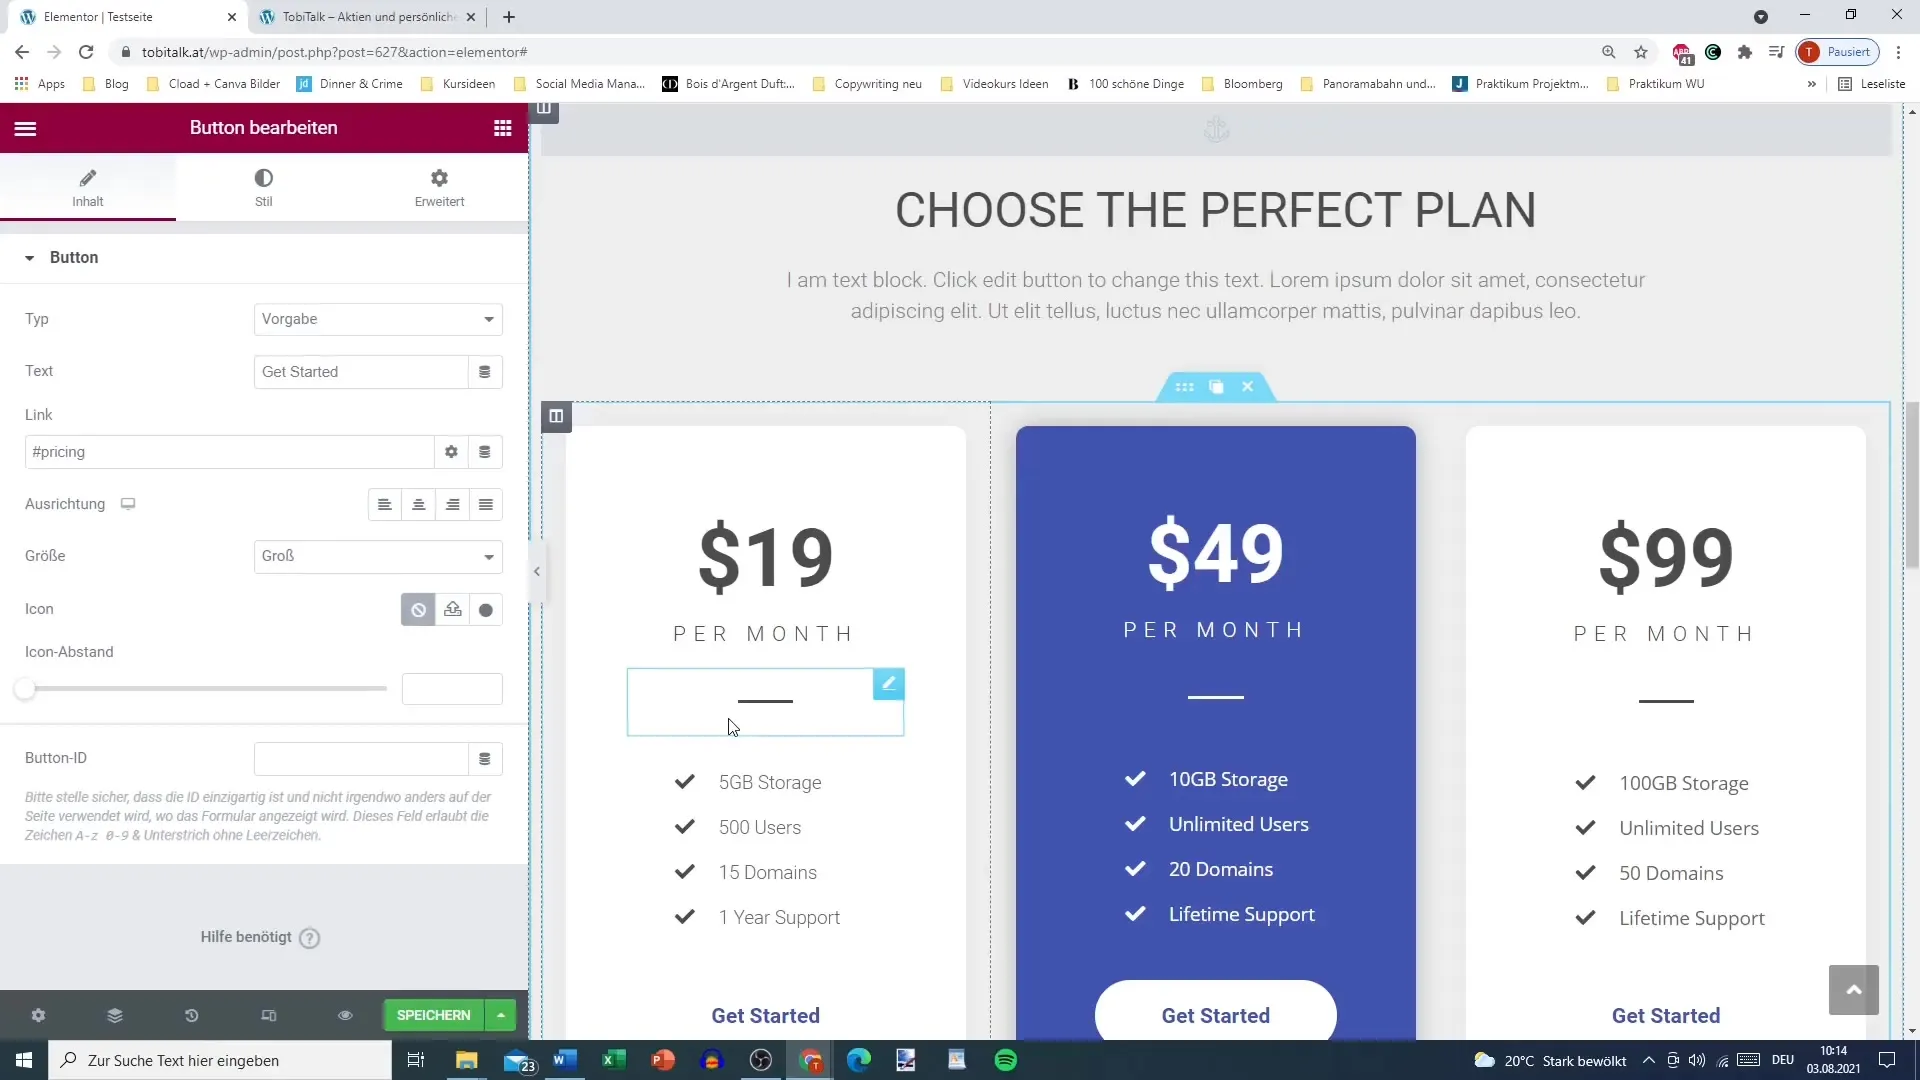
With your new account, you can not only insert templates but also discover more advanced features of Elementor that you will learn about in future tutorials. Stay tuned to learn more about the functionalities of the template library!
Summary – Using Elementor for WordPress: Successfully Utilizing the Template Library
In this guide, you have learned how to connect to the Elementor template library and insert templates into your WordPress site. From signing up to selecting and inserting templates to linking your account – you are now ready to use Elementor effectively.
Frequently asked questions
How do I create a free Elementor account?Go to the Elementor website, click on "Create Account," and follow the instructions.
Do I need a Pro account to use the template library?No, a free account is completely sufficient.
What can I do with the pre-designed templates?You can insert and customize them in your WordPress site.
Can I save my own designs?Yes, you can save your own designs in your Elementor account.
Where can I find more tutorials about Elementor?The official Elementor tutorials can be found on their website and offer many helpful tips.


