WordPress is one of the most popular platforms for creating websites and blogs. In this guide, you will learn step by step how to set up WordPress on your web hosting and get it ready to go. Let's dive in!
Key Takeaways
- Purchasing a hosting package and a domain is a prerequisite.
- The installation of WordPress may take some time.
- You can easily and quickly install WordPress using the Easy Install Assistant.
Step-by-Step Guide to WordPress Installation
Step 1: Log in to the Hosting Provider
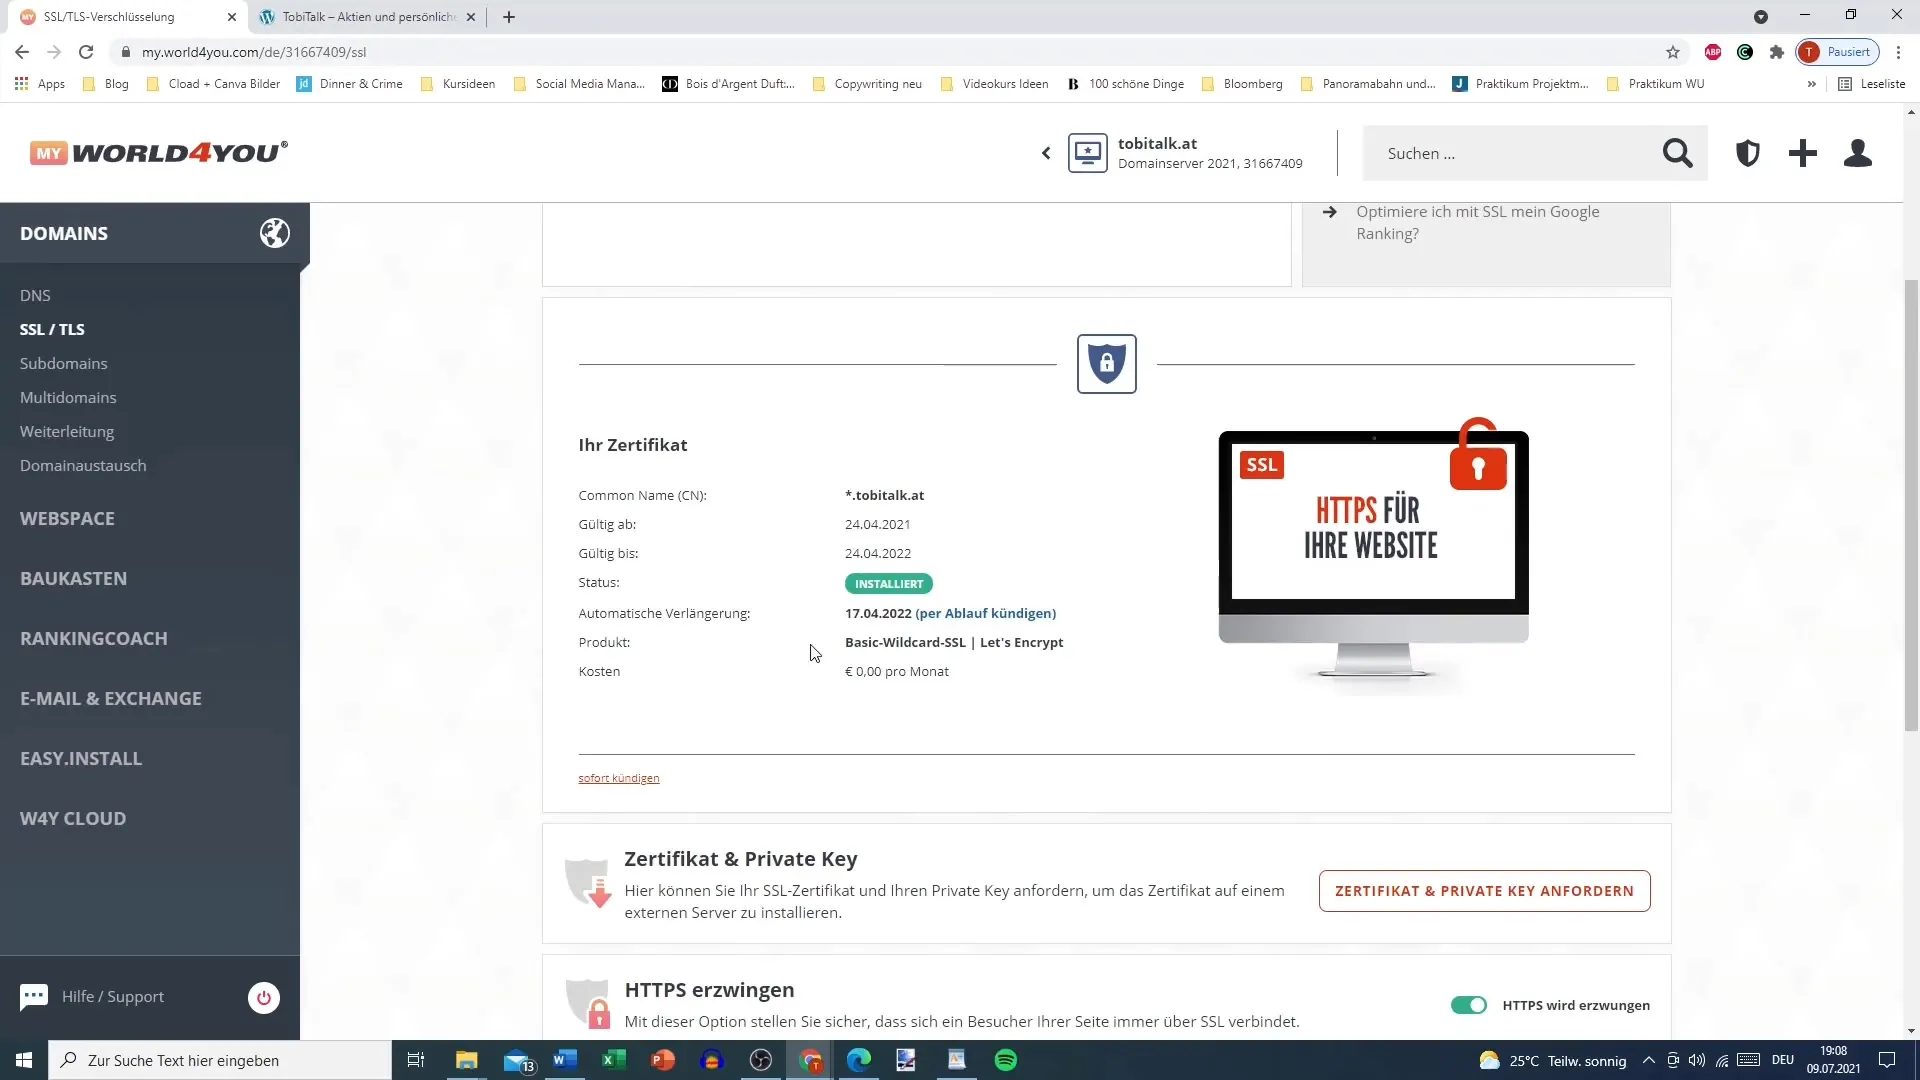
First, you need to log in to your hosting provider. Go to your provider's website — for many, this will be World4You. Make sure you have already purchased a hosting package and a domain. Note that activating these services may take some time.
Step 2: Wait for Domain Availability
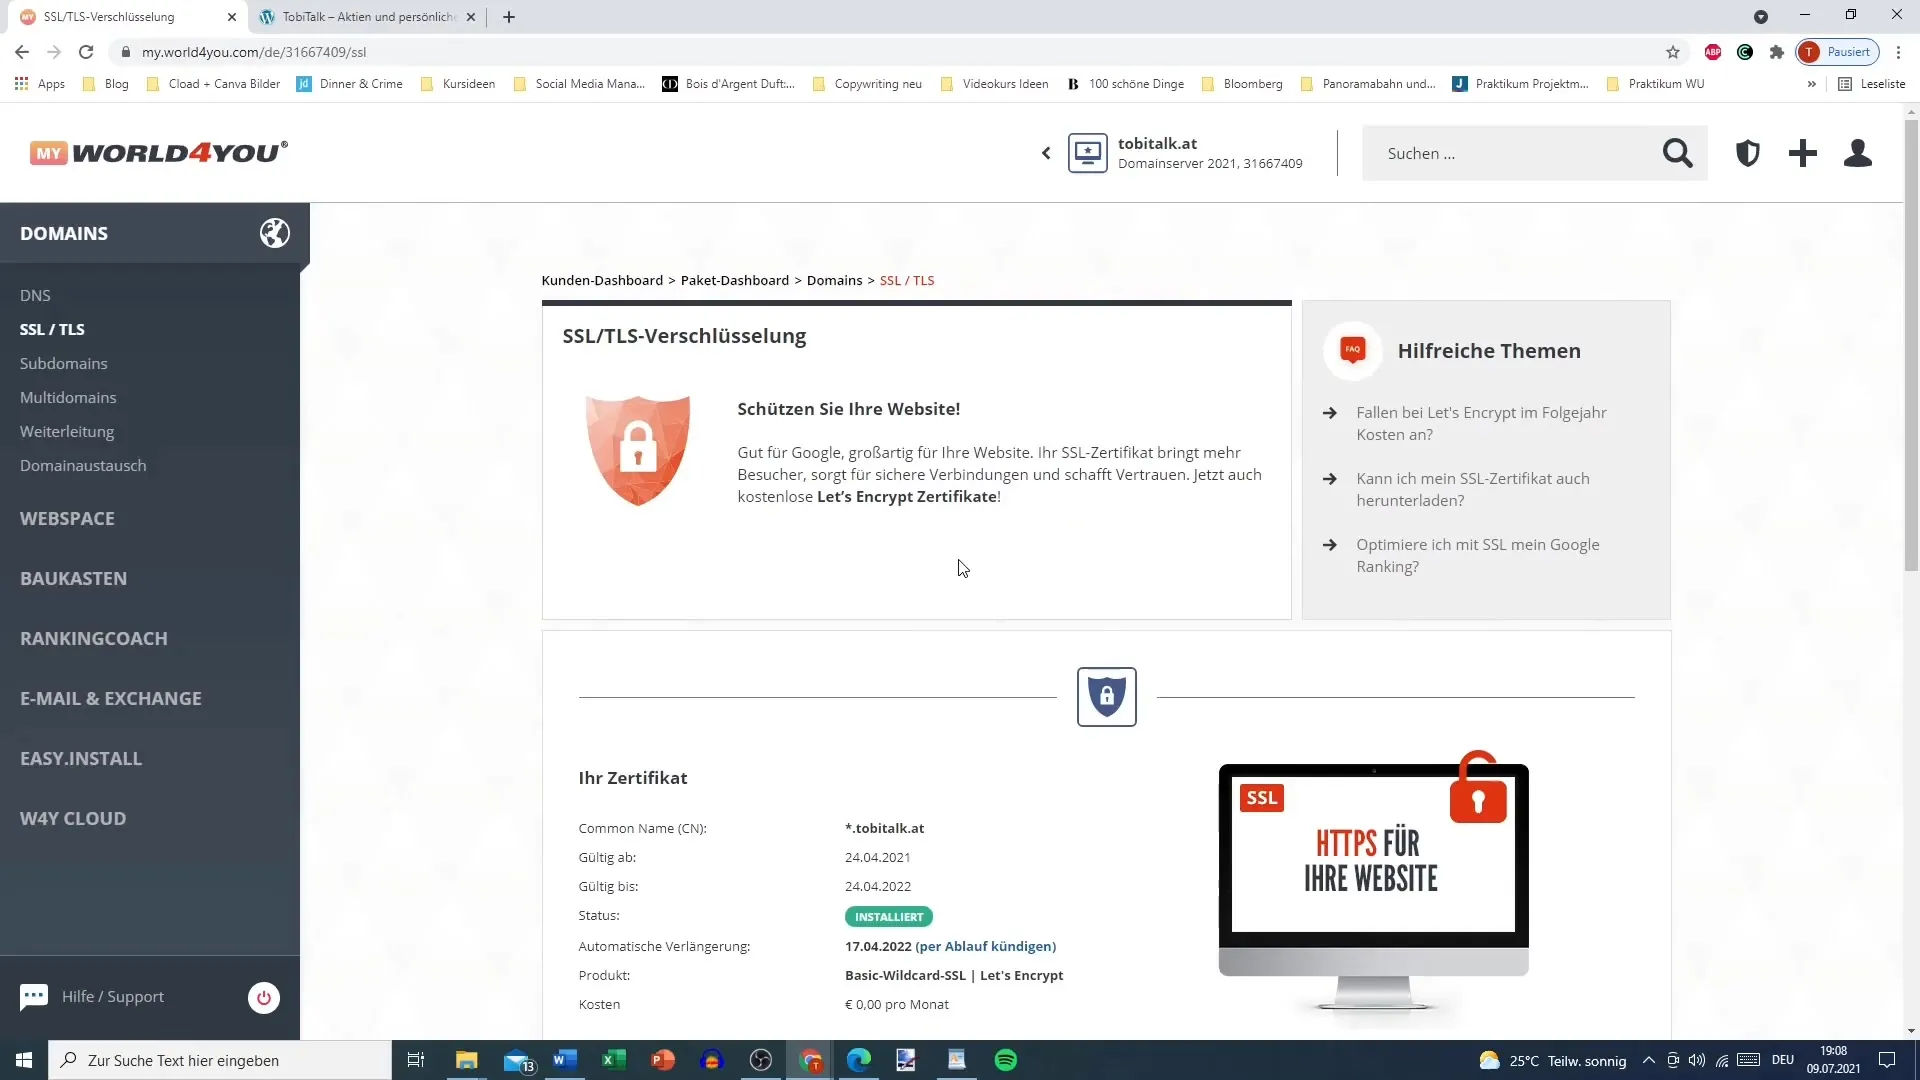
It may take a few hours for your newly purchased domain to become available. If you do not have access to your domain upon logging in, be patient—it will be available soon. Check back after a few hours to see if you can access your domain.
Step 3: Access the Hosting Settings
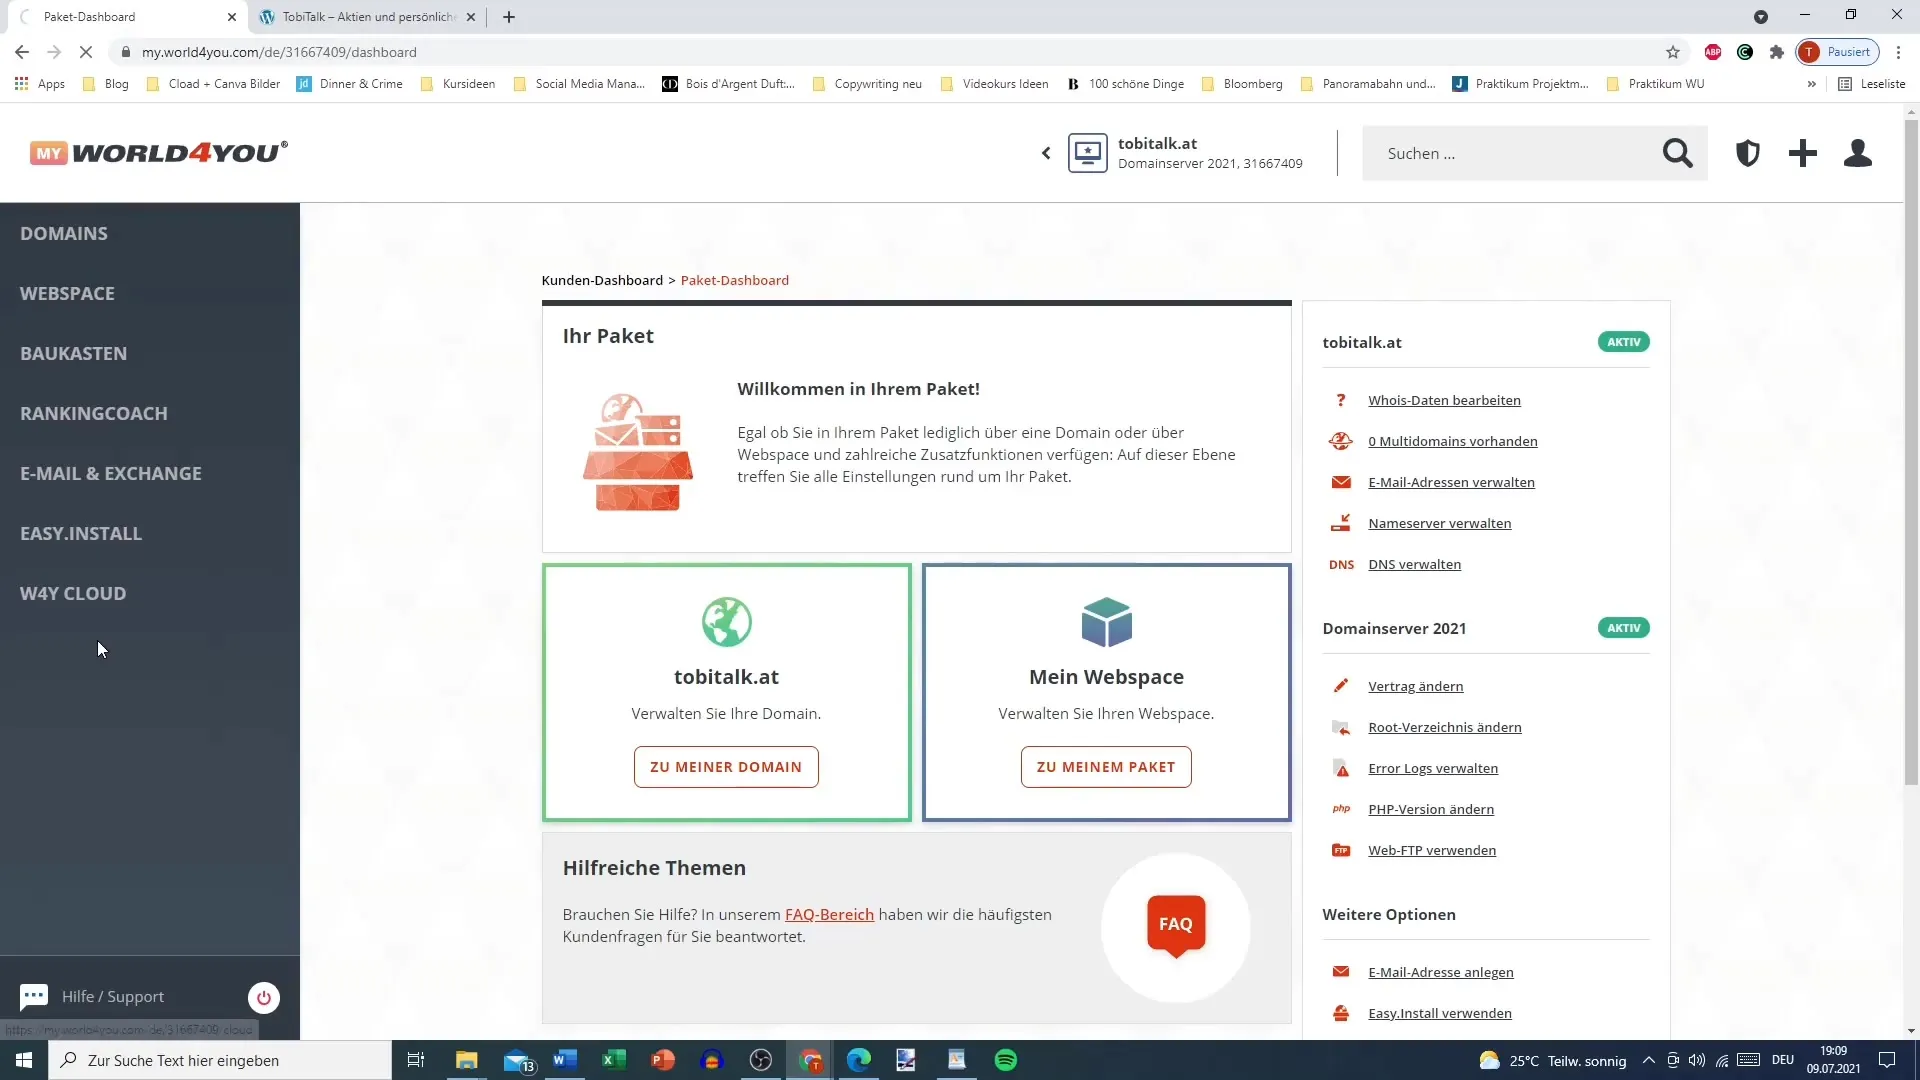
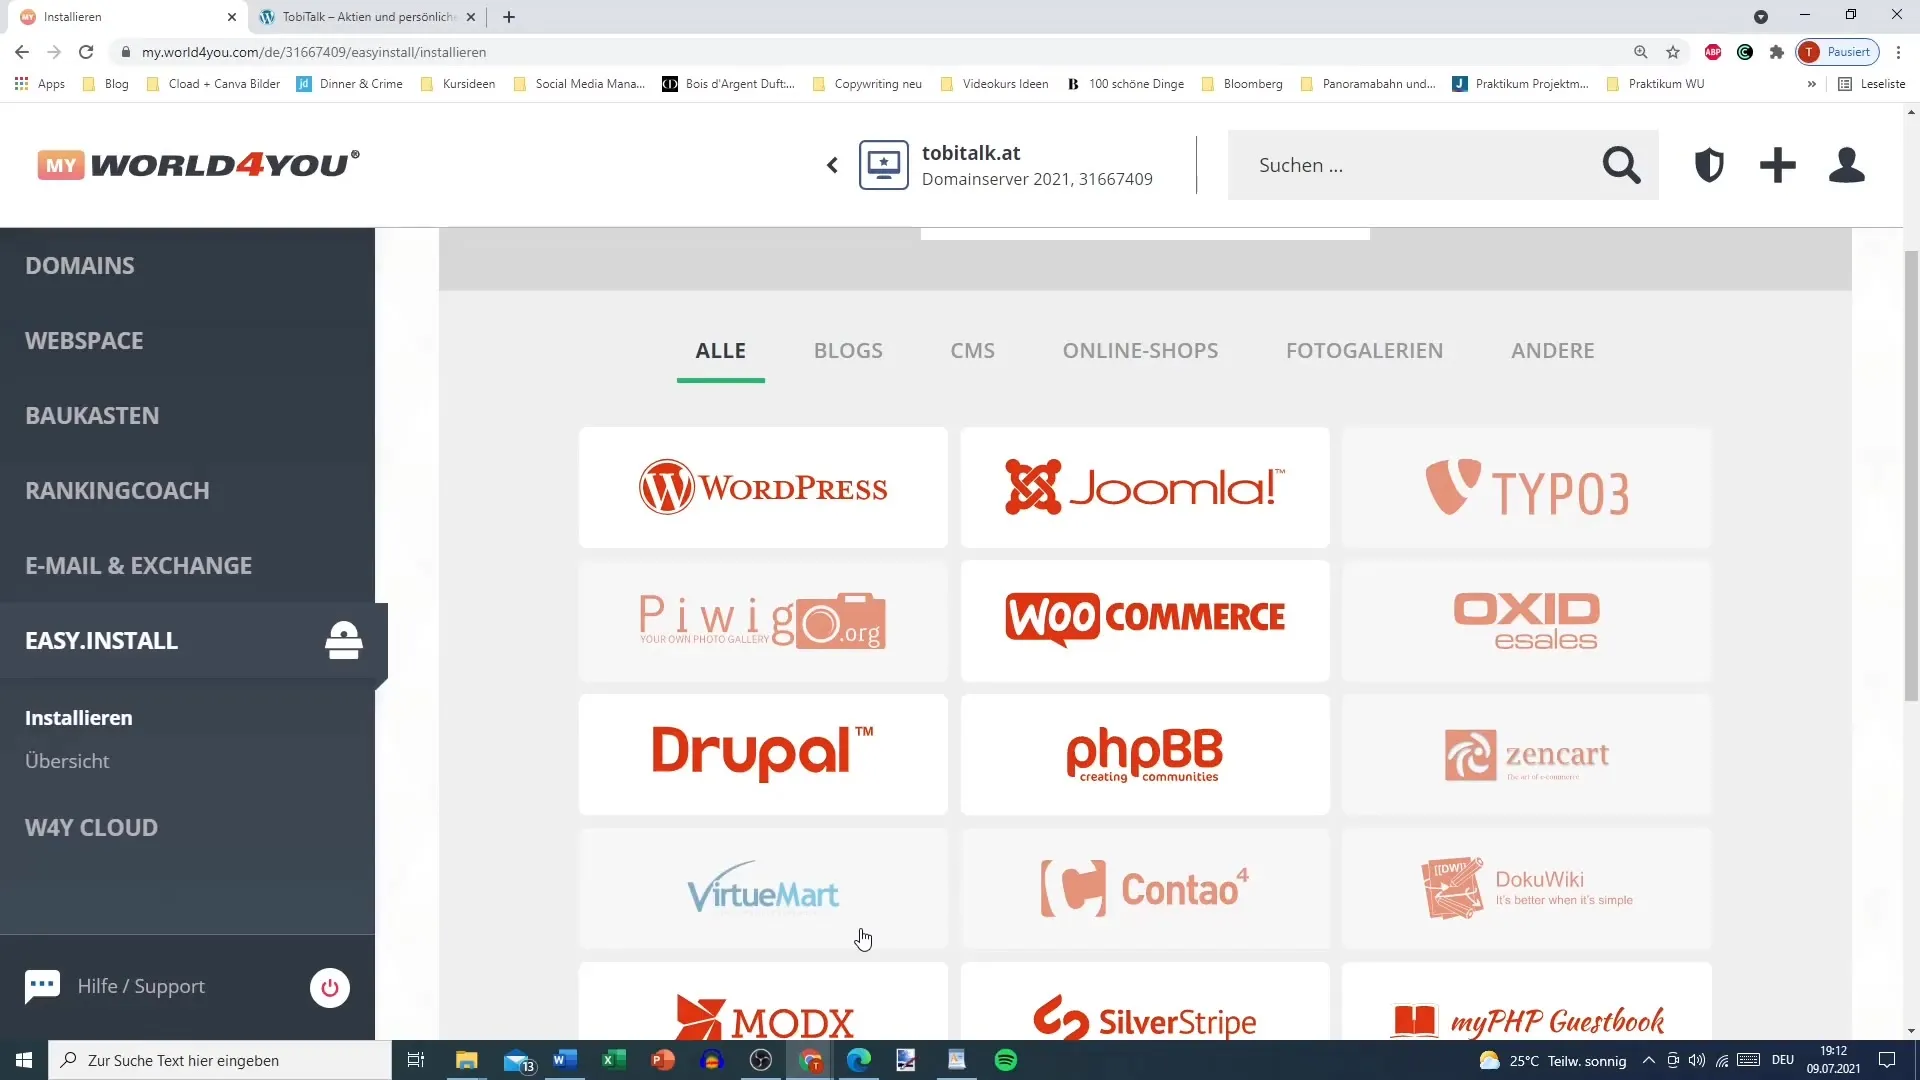
Once your domain is active, go to the settings of your hosting account. Here you will find the section for software installations. You should navigate to the "Easy Install" option. This assistant makes the software installation incredibly easy.
Step 4: Choosing the Installation
Click the button to "Install New Software". WordPress should typically be suggested as the first option. It is easy to install and offers many customization options – perfect for your needs.
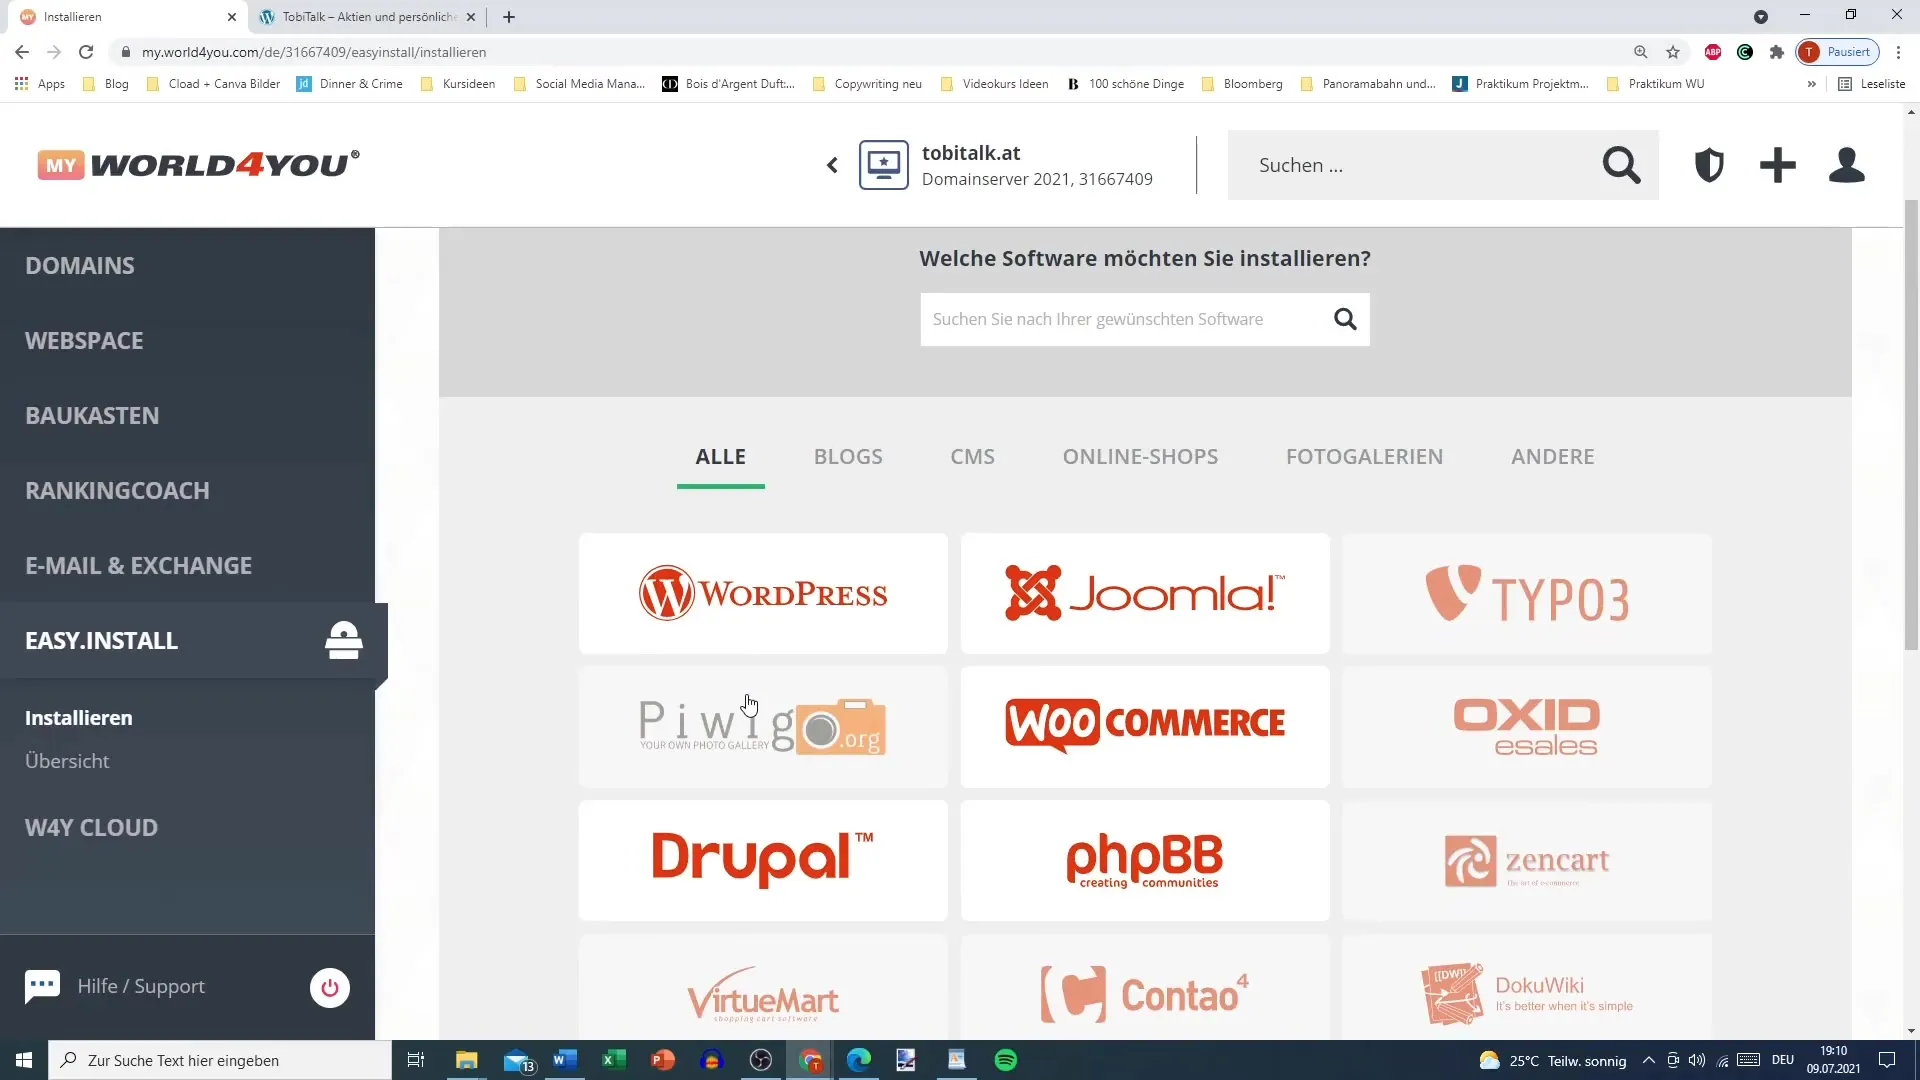
Step 5: Selecting WordPress
Select WordPress from the list of available software packages. You will receive a small preview of the WordPress description, which explains that it is based on PHP and MySQL and is suitable for many applications.
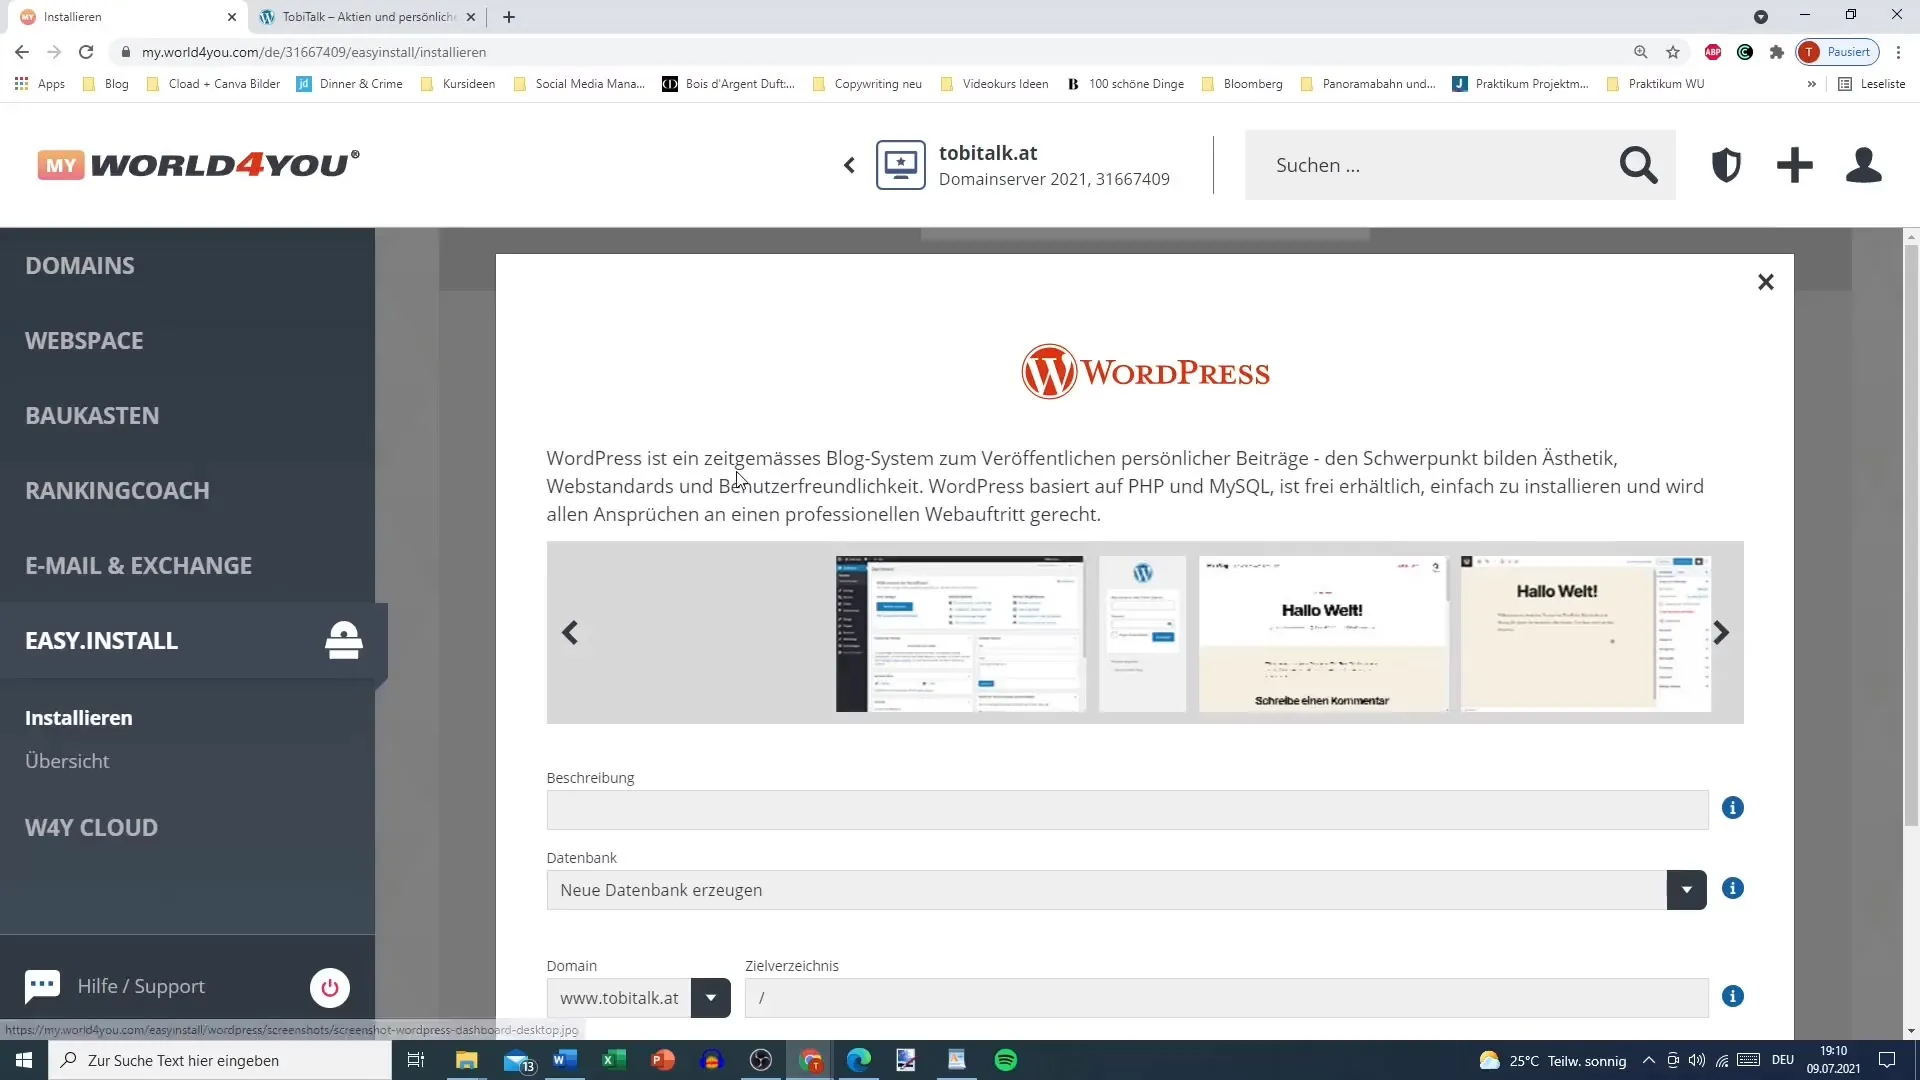
Step 6: Create Database
Creating a new database is important for WordPress to function correctly. Leave the other settings as they are. Select your main domain and make sure the installation path remains empty – the default is sufficient for now.
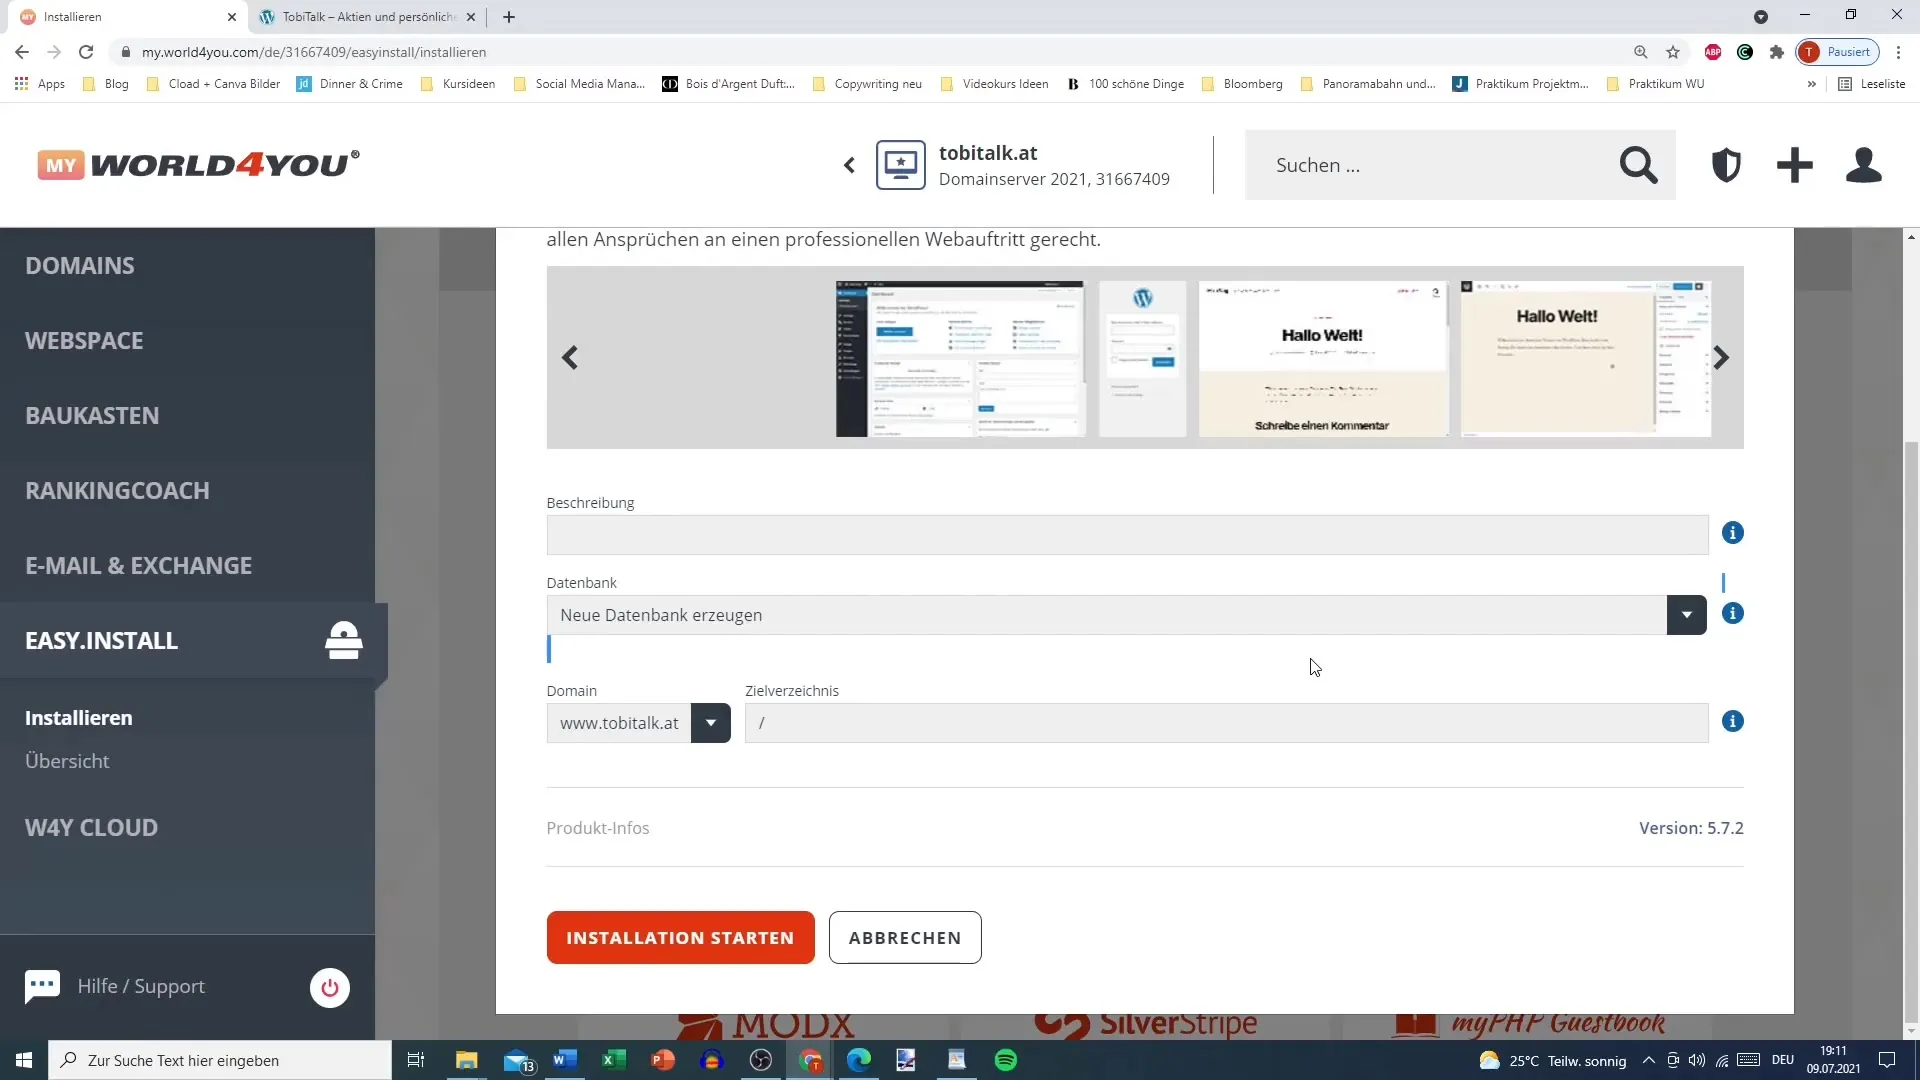
Step 7: Start Installation
Now it gets serious! Press the "Start Installation" button. From this moment on, you need to be a little patient. The installation may take several minutes, or in some cases, even hours. Just let the process run, and use the time to wait for the next video, where you will learn how to log in to WordPress.
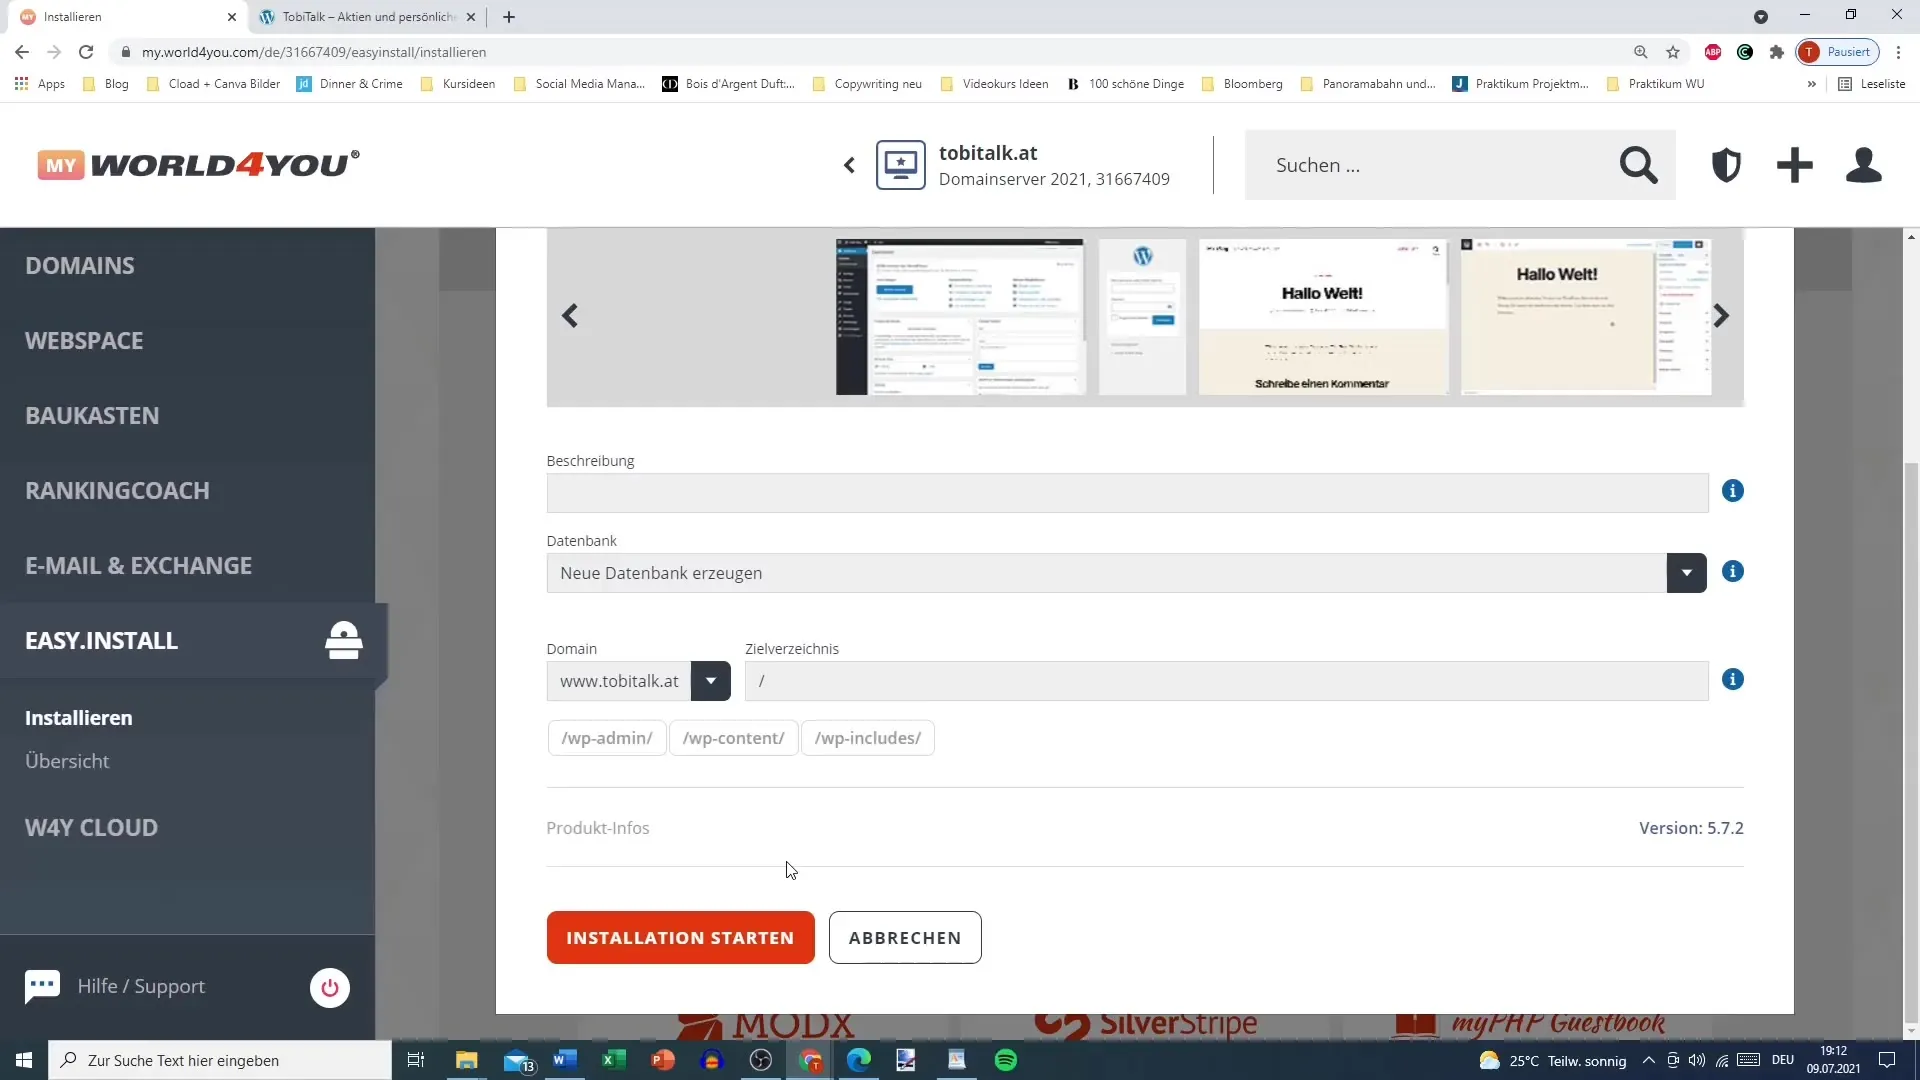
Step 8: Completion and Logging In
Once the installation is complete, you should receive all the necessary information to log in to your newly installed WordPress. You are now ready to design and manage your website!
Summary – Making WordPress Installation Easy
You have now learned how to set up WordPress on your hosting. From domain registration, using the Easy Install Assistant, to the installation itself – each step is crucial to getting your website up and running.
Frequently Asked Questions
What do I need to install WordPress?You need a hosting package and a registered domain.
How long does the installation of WordPress take?The installation can take a few minutes to hours.
What should I do if my domain is not immediately available?Be patient; it sometimes takes a little while for the domain to be active.
Do I need technical knowledge to install WordPress?No, the installation is simple via the Easy Install Assistant.
