Would you like to create professional blog posts with Elementorfor WordPress? The Post element of Elementor Pro is the perfect choice for you. With this element, you can present your posts clearly and attractively. In the following guide, you will learn step by step how to use the Post element to design your content visually intuitively while taking advantage of many customization options.
Key Insights
- The Post element allows customizable presentation of your blog posts.
- You can individually set the layout, number of columns, and display parameters.
- The taxonomy function allows you to display or exclude specific categories of posts.
Step-by-Step Guide
Step 1: Add Post Element and Load Content
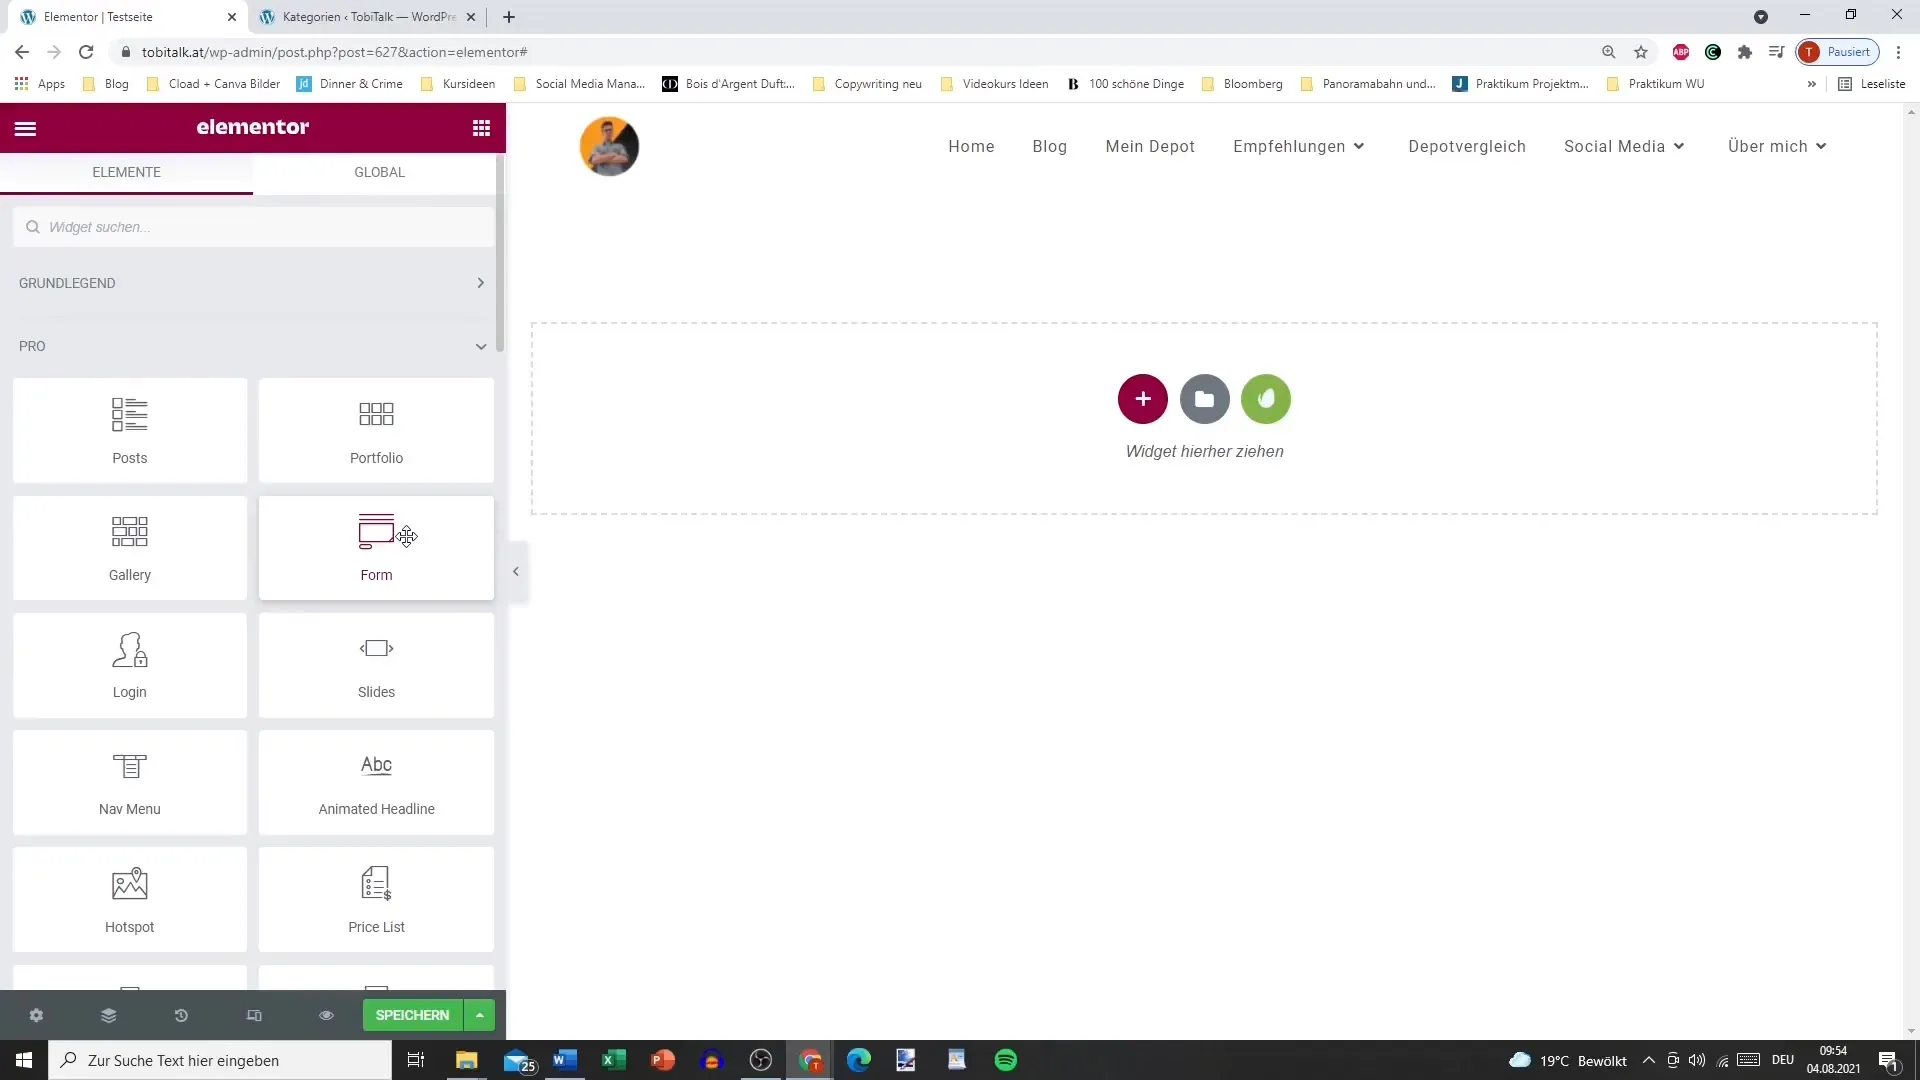
To start working with the Post element as quickly as possible, begin by adding the element in Elementor. Just go into your Elementor interface and drag the Post element into your desired area. Typically, the already created blog posts will be loaded automatically.
Step 2: Define Layout Options
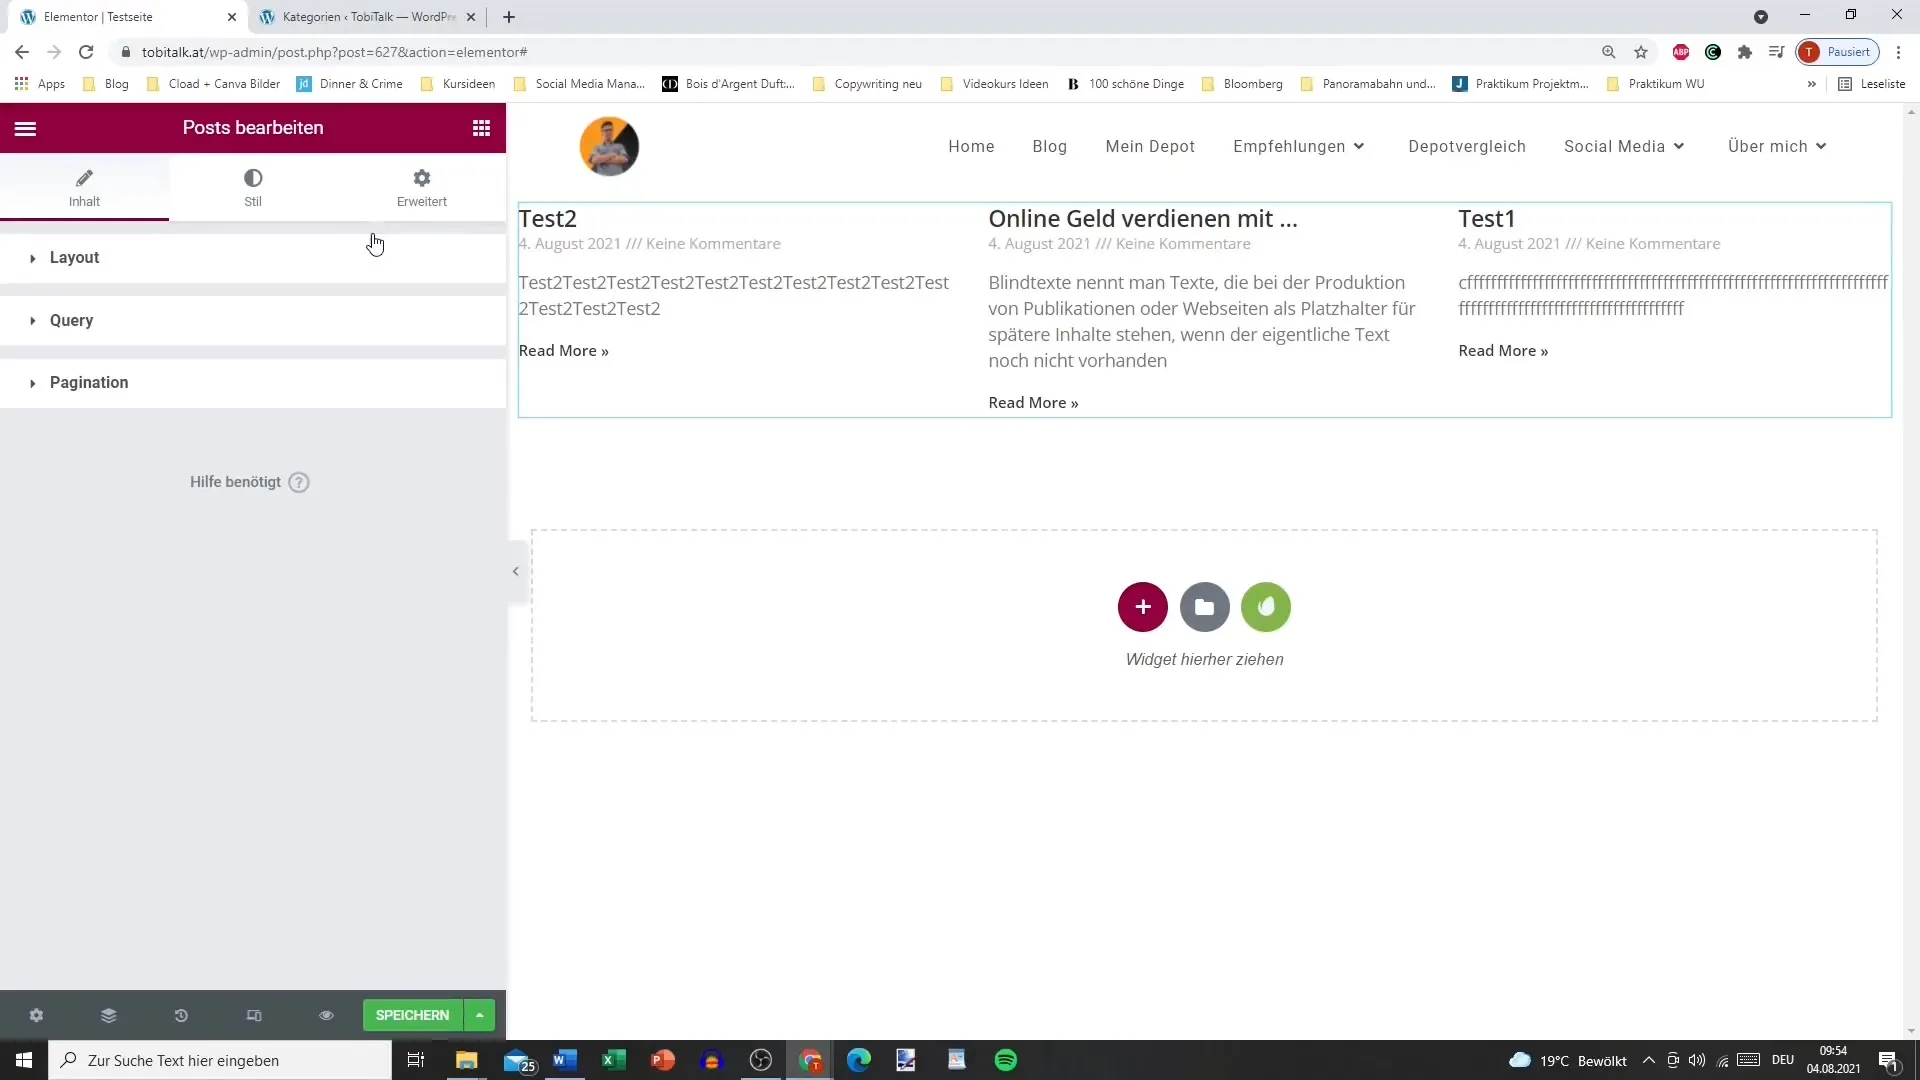
You can choose between different layouts that give structure to your posts. You have the option to choose between card view, classic layout, or full content. Each layout has its own effect, and depending on the theme of your site, one may fit better than the other.
Step 3: Adjust Number of Columns and Posts per Page
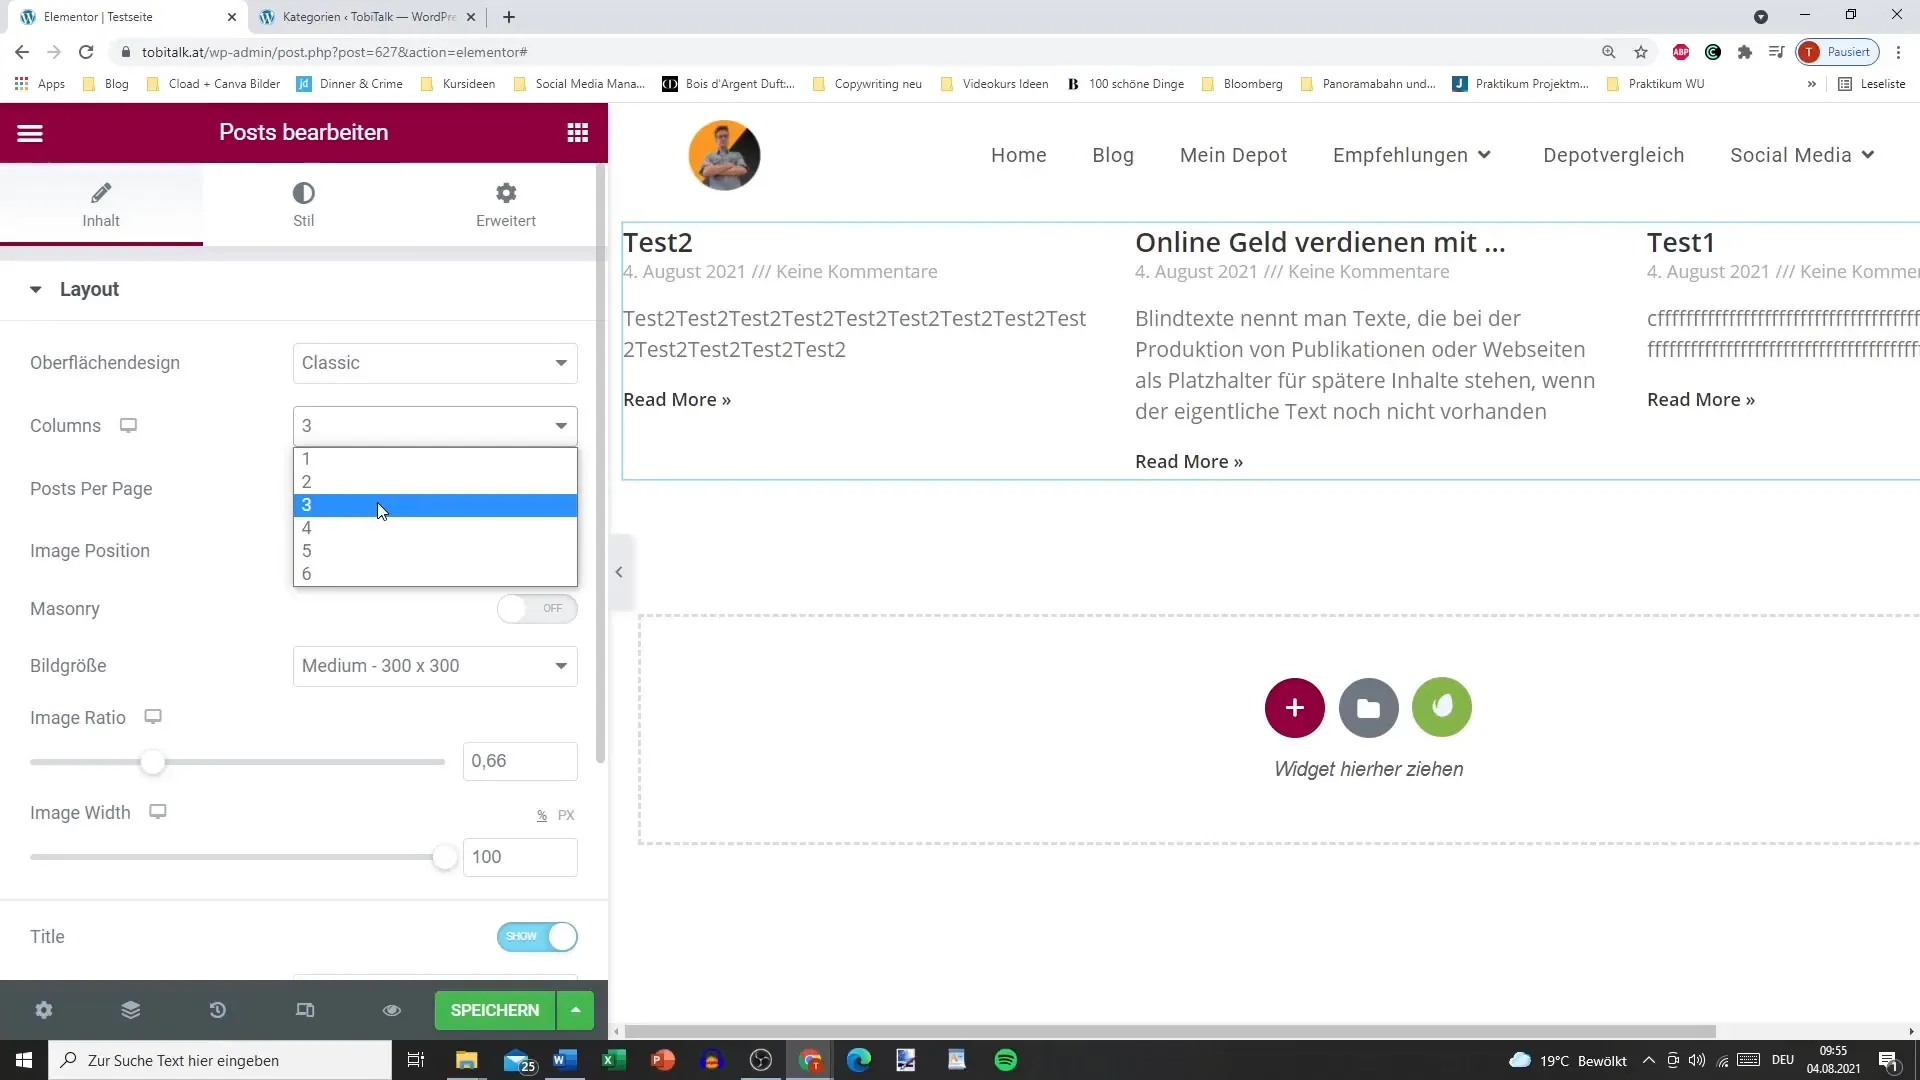
Determine how many columns you want to display per row. It is often ideal to display three posts per row, but you can adjust this according to your needs. Also, set how many posts you want to be displayed per page – this creates clarity.
Step 4: Set Image Position and Size
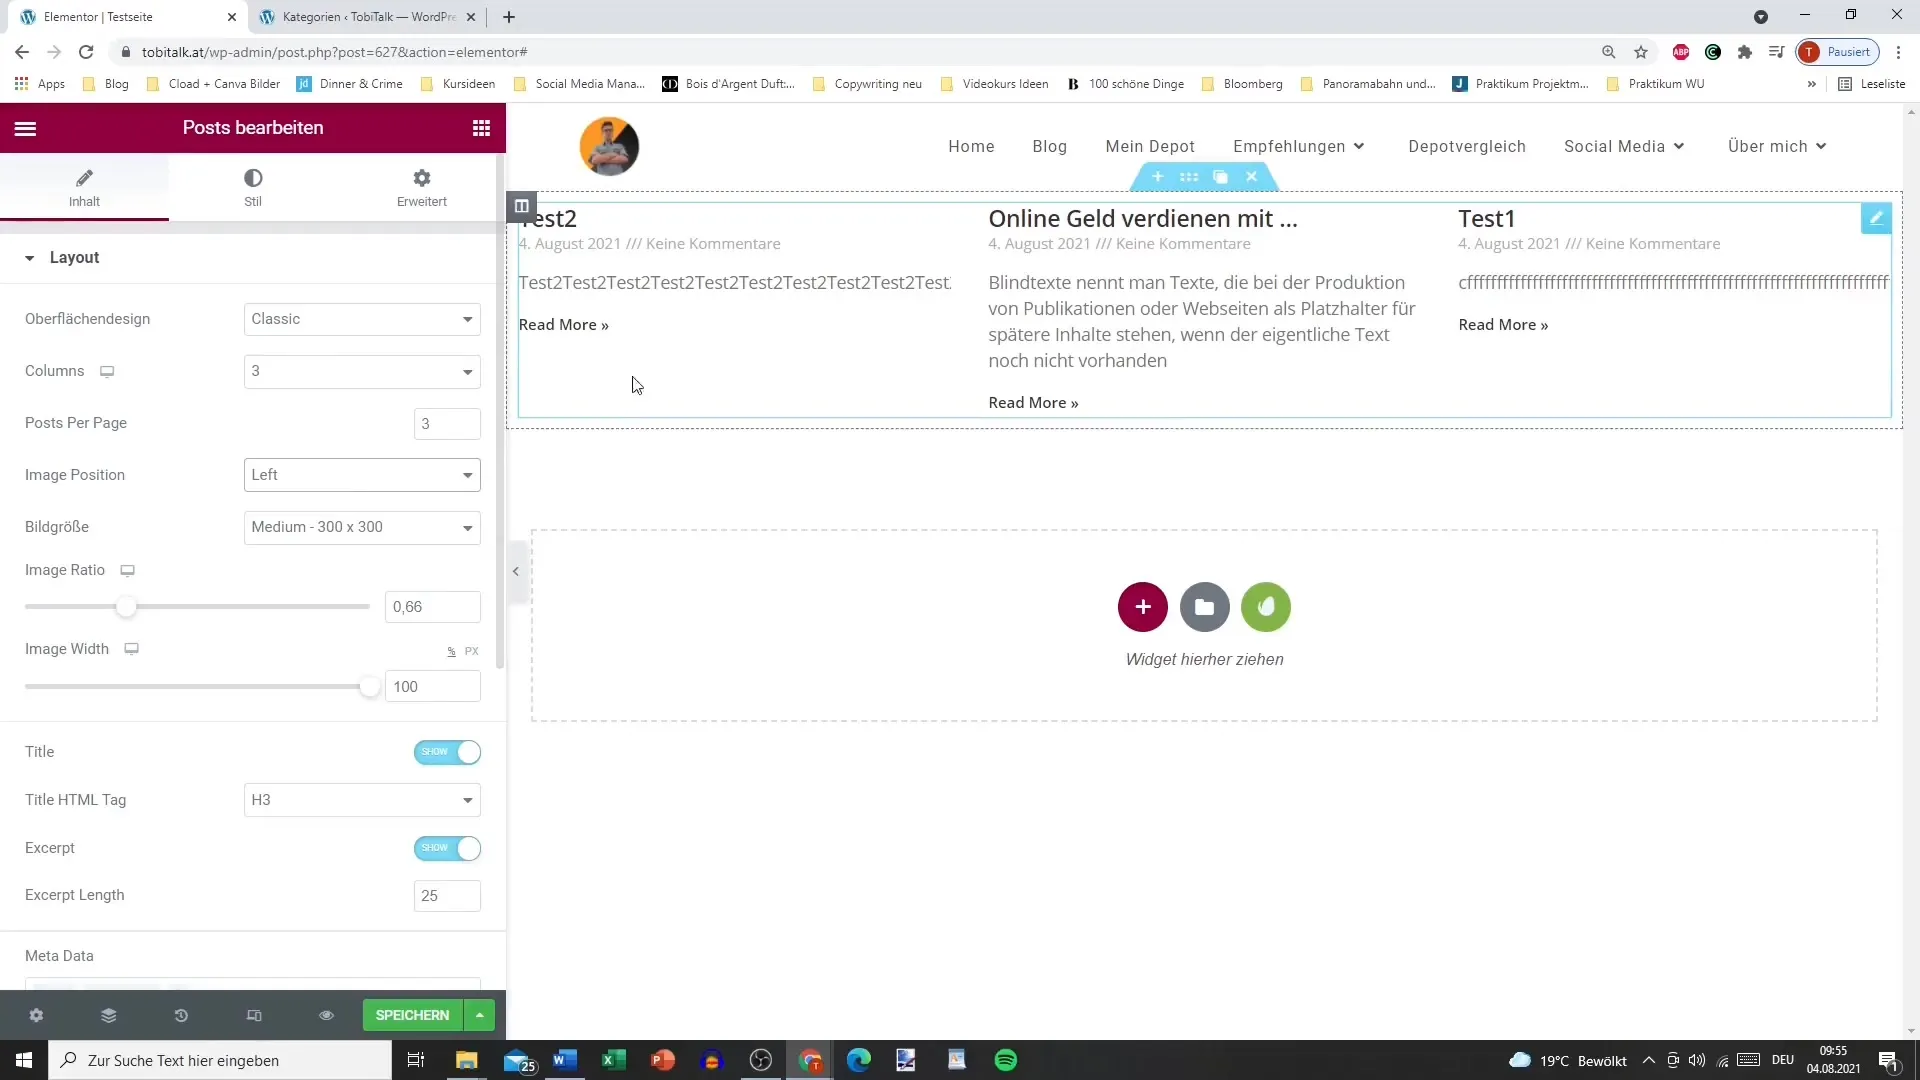
The position of the images is crucial for the overall appearance of your site. Choose whether the image should be displayed on the left, right, or top. Additionally, you can set the image size; you also have the option to adjust the aspect ratio of the image.
Step 5: Metadata and Title Display
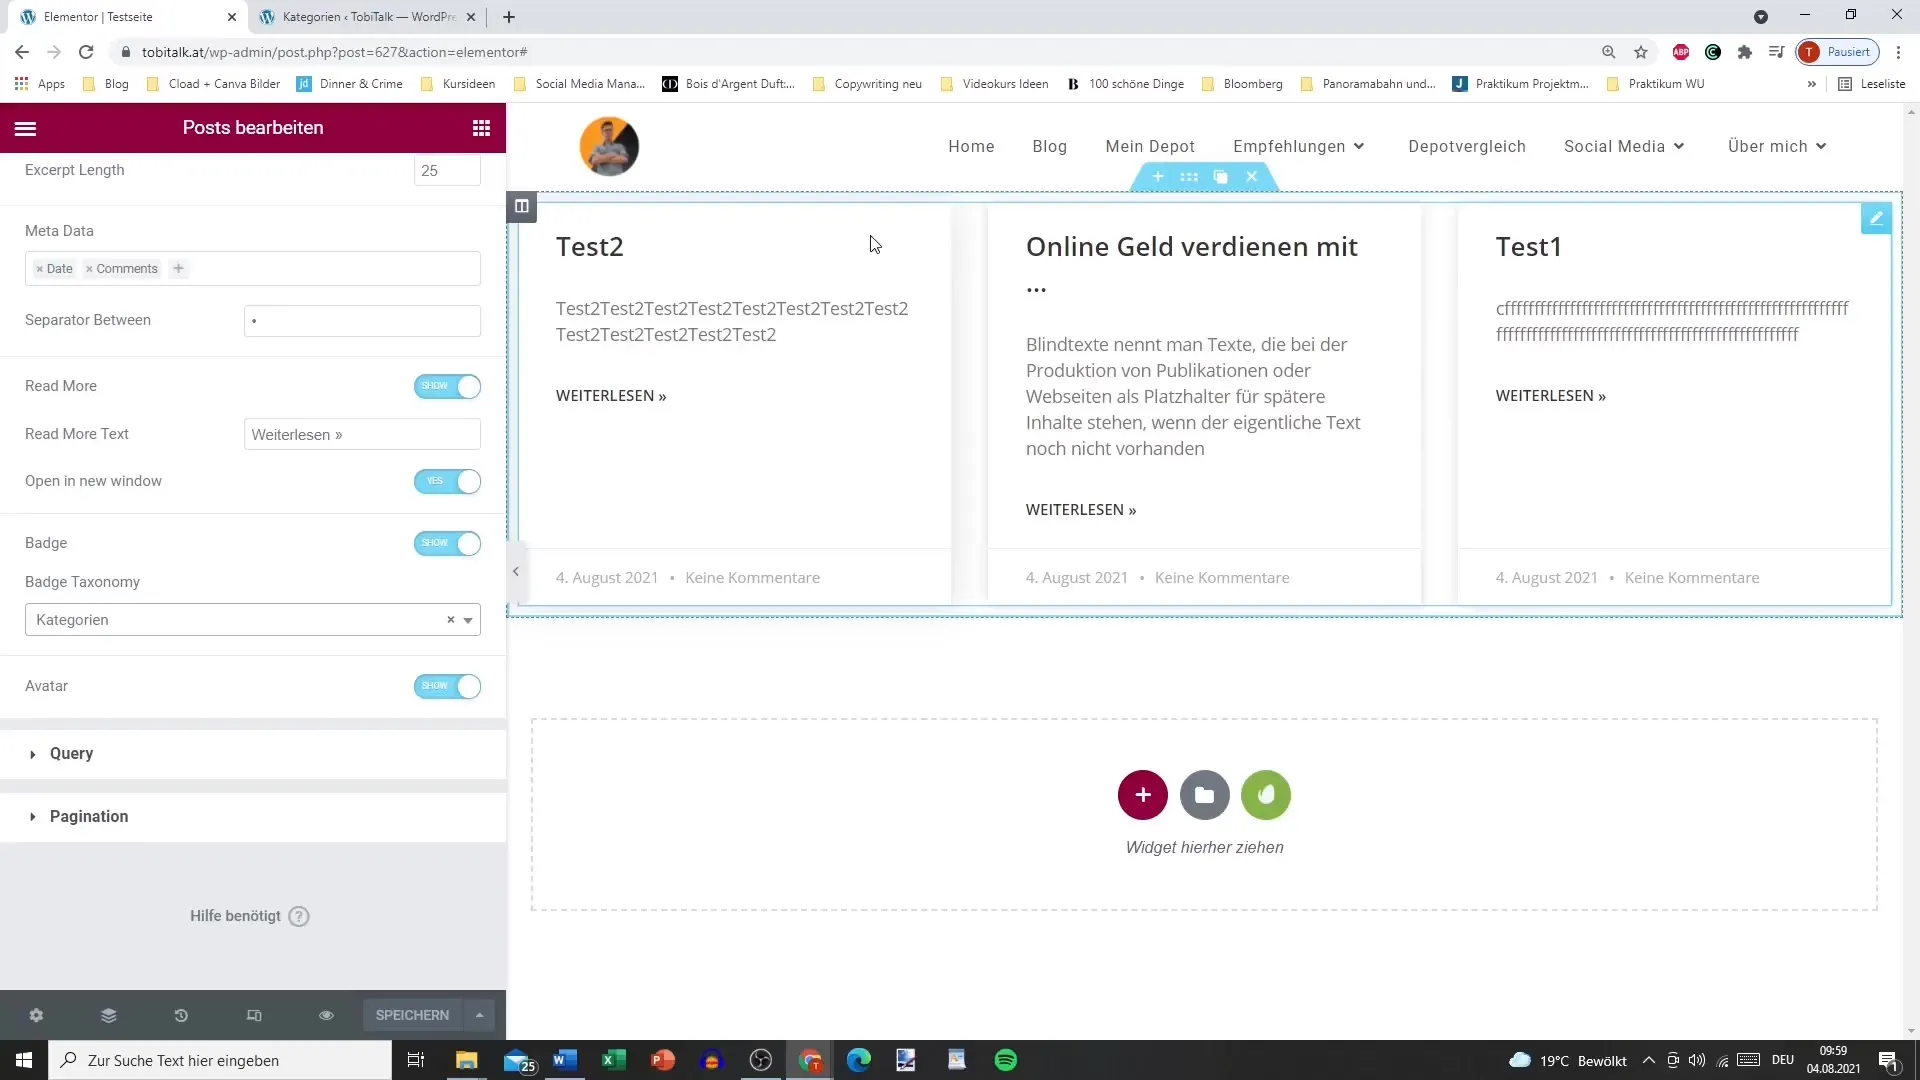
You can decide whether to display the titles of the posts or not. The same applies to metadata such as author, date, or comments. It’s advisable to at least display the title and date so that readers know when the post was published.
Step 6: Customize Taxonomies
With the taxonomy options, you can specify which categories or tags should be displayed in your post elements. This makes it easier for your readers to find related content. Be sure to structure the categories well to achieve the best possible clarity.
Step 7: Filter and Sort Posts
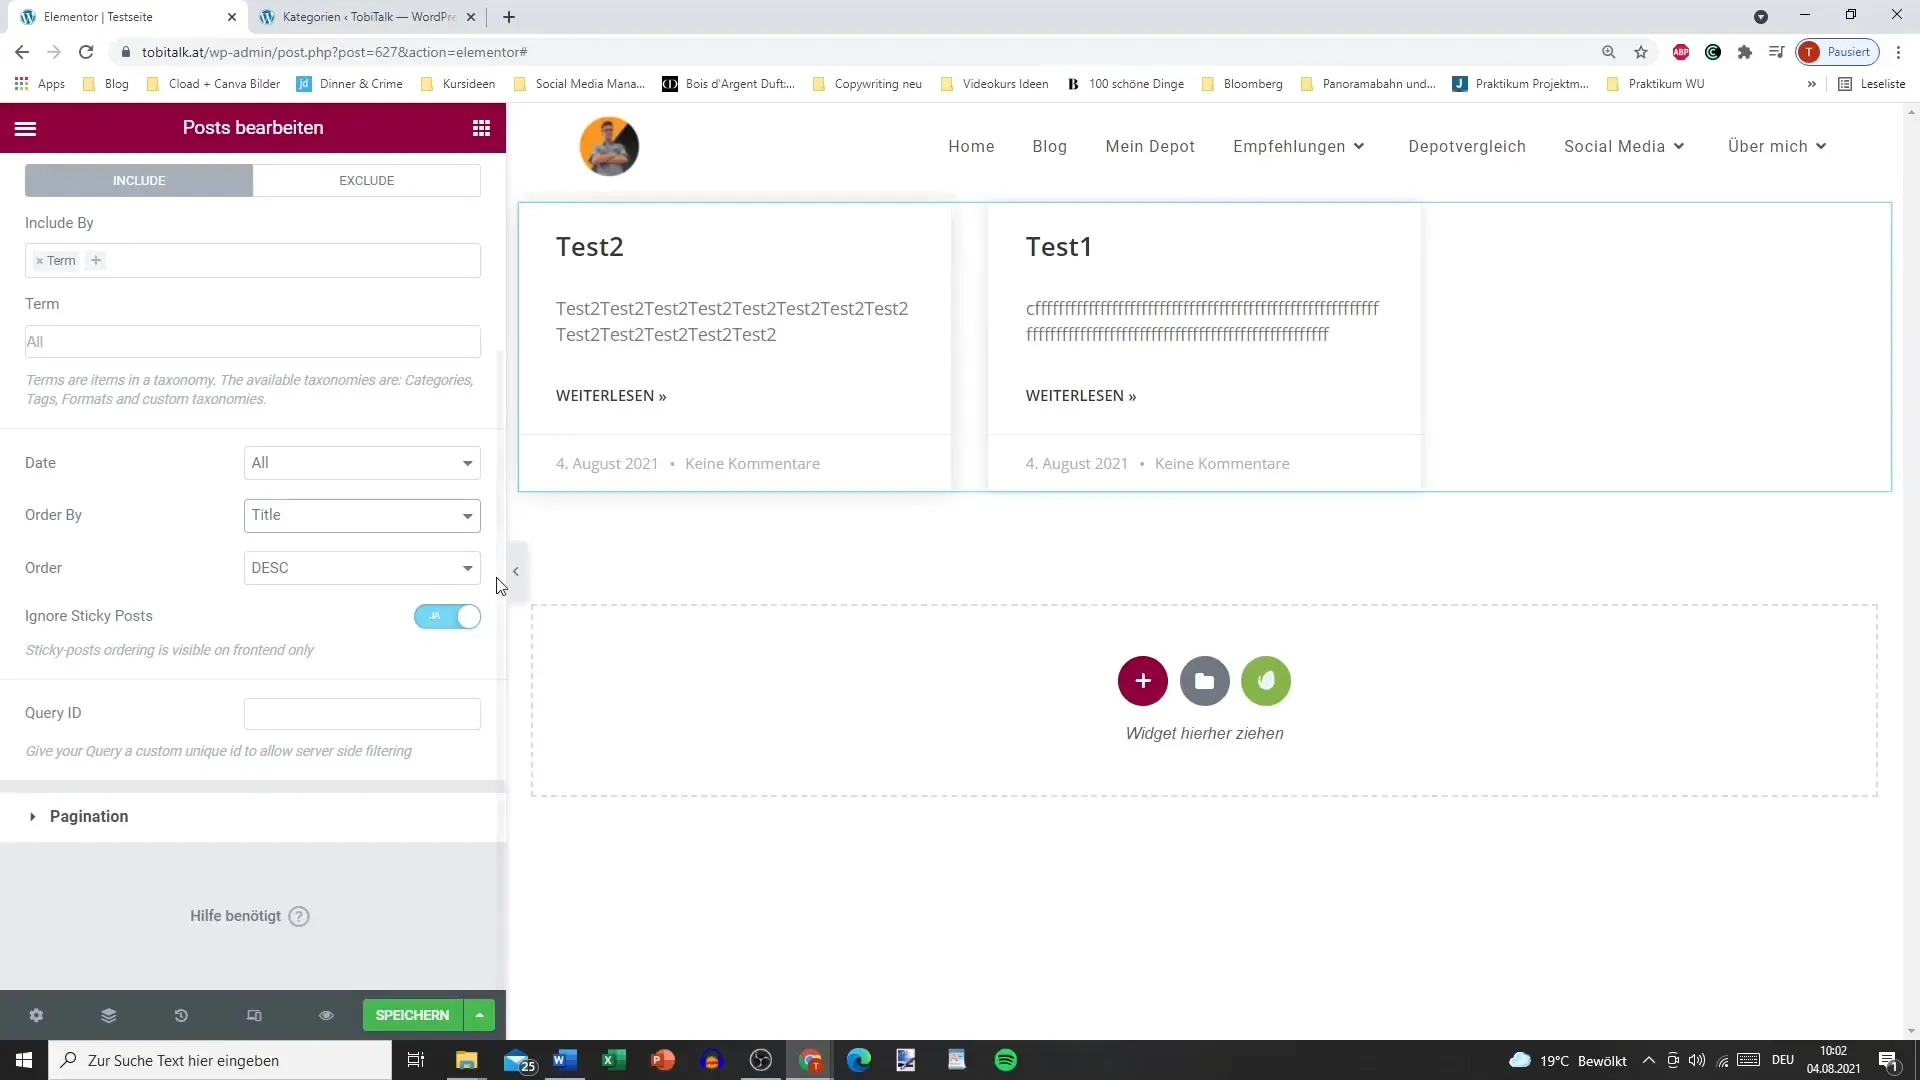
You have the option to filter and display posts by specific criteria. For example, you can specify that only posts from a certain category should be displayed. Additionally, you can determine the sorting – by date, title, or even randomly – to bring more dynamism to your display.
Step 8: Additional Customization Options
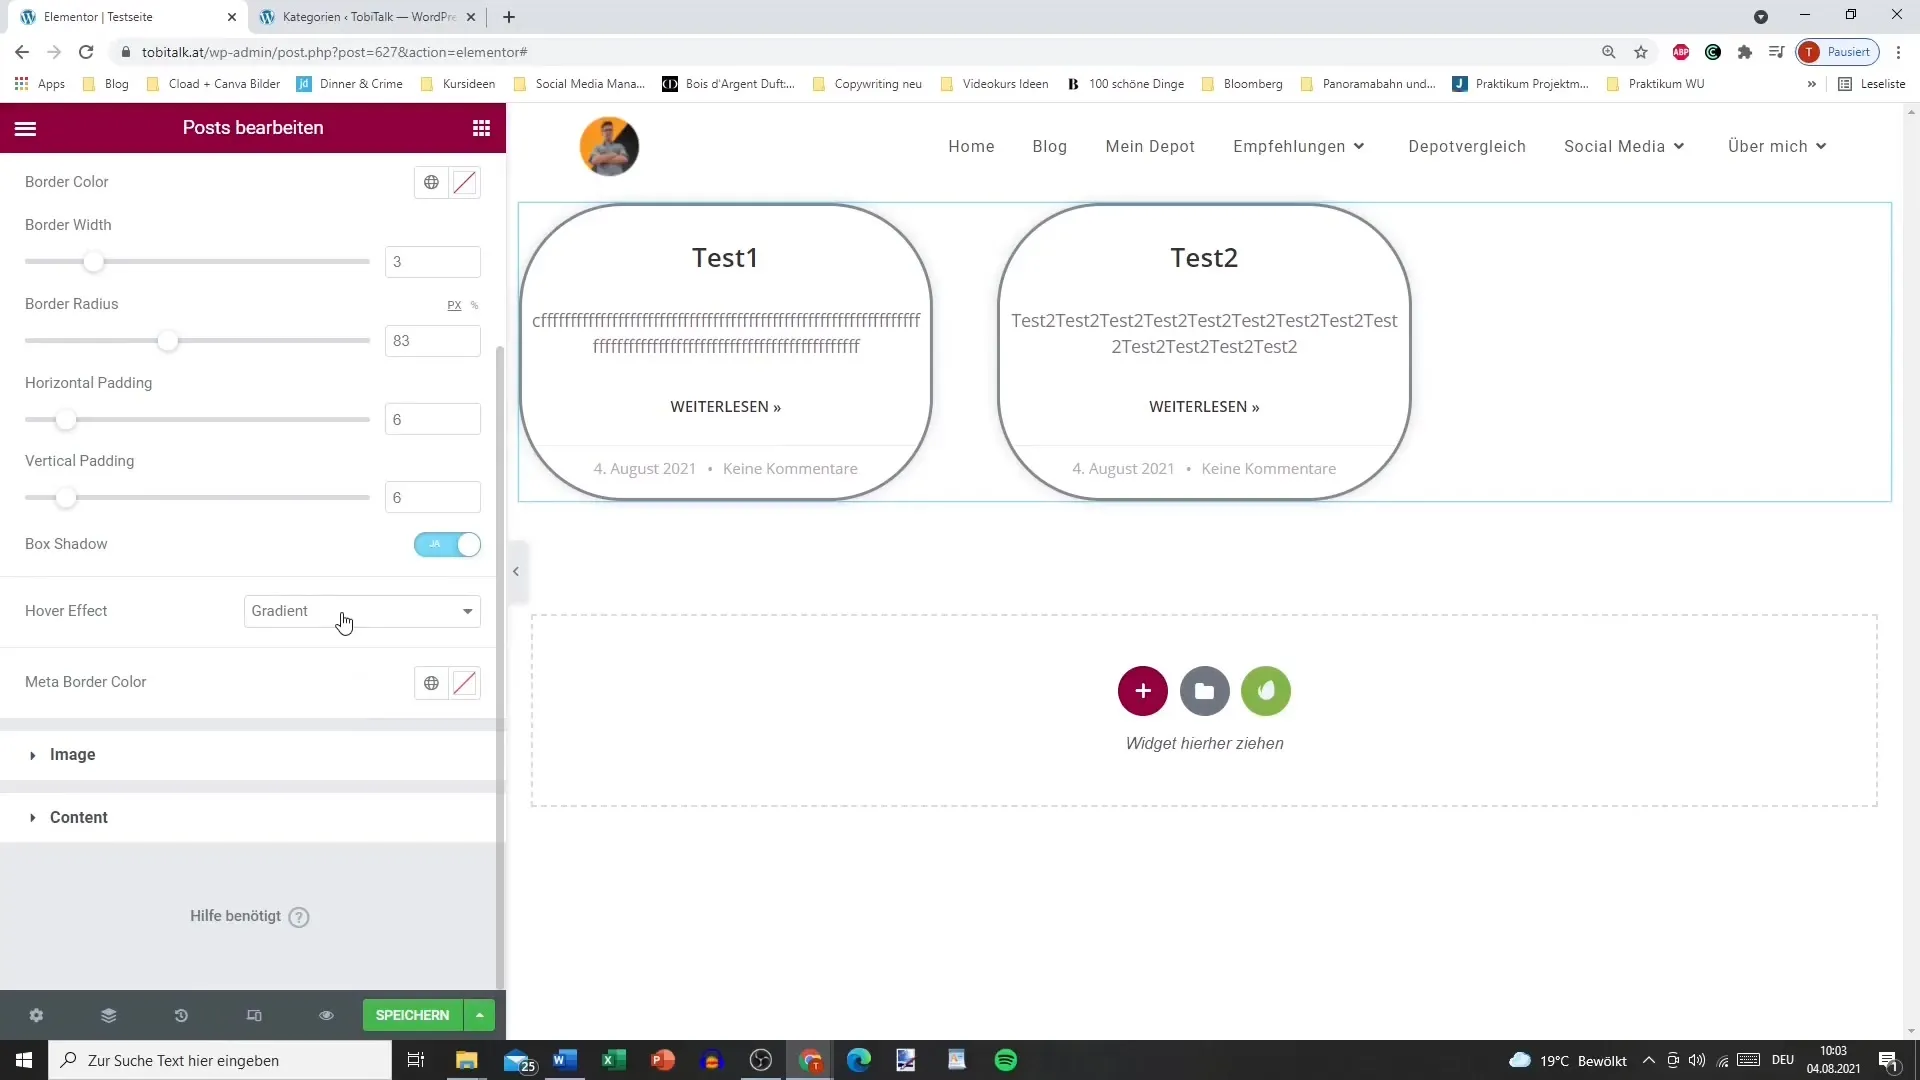
You can breathe additional life into your layout by adjusting the spacing and margins of the entries and adding hover effects. Try working with different colors and font sizes to give your posts a personal touch.
Step 9: Adjust Styles and Colors
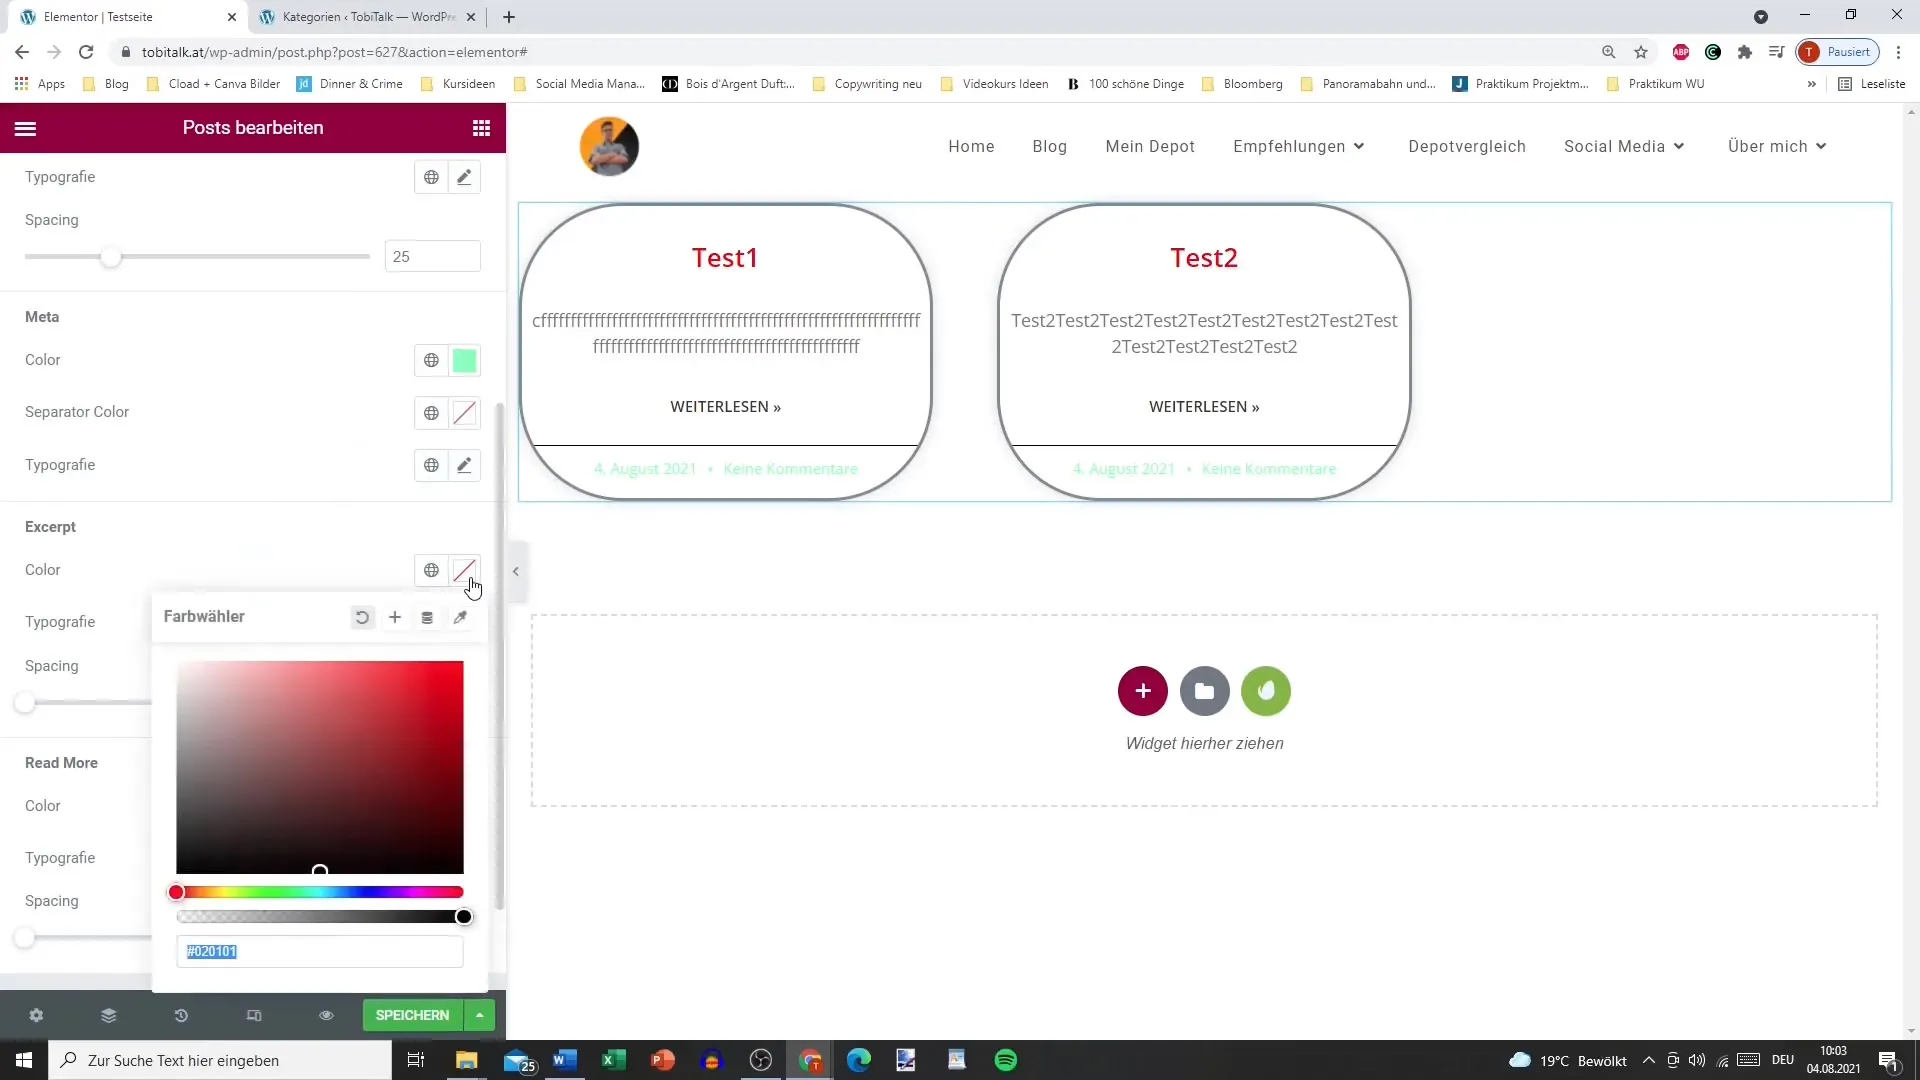
Use the color options to style titles, texts, and CTA elements (Call to Action) according to your wishes. This helps make your site look cohesive and appealing. Pay attention to readability and color psychology that appeals to your target audience.
Step 10: Highlight Favorite Content
Use special markers or buttons for your "Read More" link to draw your users' attention to important posts. These small adjustments can make a big difference in the user experience.
Summary – Elementor for WordPress: Designing Post Elements
With this guide, you now have the necessary tools to effectively use the Post element of Elementor Pro. From customizing the layout to fine-tuning the colors, you have all the options to present your content attractively and professionally.
FAQ
How do I add the Post element in Elementor?Drag the Post element from the Elementor sidebar into your desired area on the page.
Can I determine the number of posts displayed per page?Yes, you can adjust the number of posts per page in the settings of the Post element.
How can I change the layout of my posts?In the layout section of the Post element, you can choose between different layouts like card view or classic layout.
Can I adjust the visibility of metadata?Yes, you can choose whether titles, authors, dates, and comments should be displayed.
How do I filter posts by categories?In the taxonomy settings, you can specify which categories should be displayed or excluded in the post elements.
