An inviting and user-friendly form can significantly improve interaction with your visitors. The multistep form is a particularly attractive solution to break long forms into shorter segments, making it easier for users to provide input. In this guide, I will show you step by step how to create such a form using Elementor.
Key Insights A multistep form organizes data entry into several clear steps, which reduces the dropout rate and increases user-friendliness. You can customize each step individually, allowing you to shape the design and functionality according to your preferences.
Step-by-Step Guide
To create your multistep form, follow these detailed steps:
Step 1: Open Elementor and the Form Widget
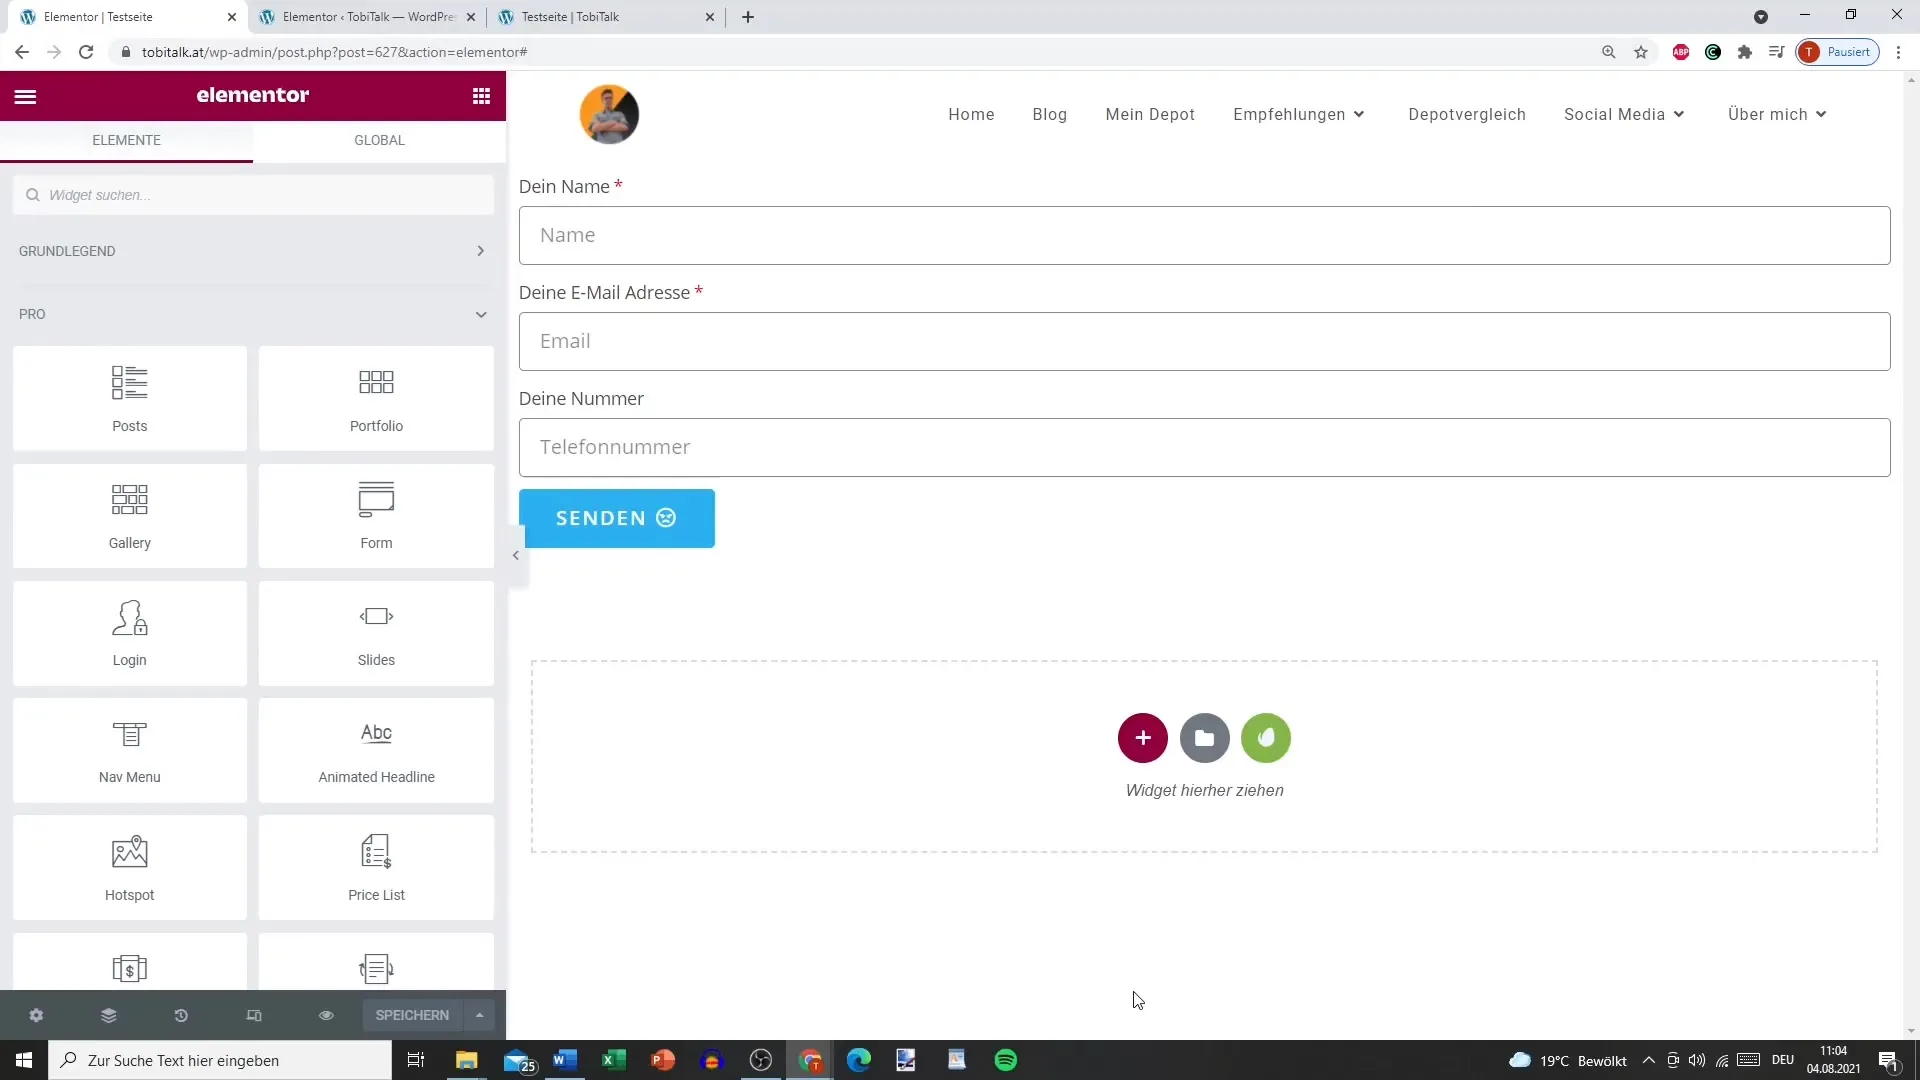
First, you need to open Elementor and edit a new layout or an existing page. Once you are in Elementor, drag the form widget onto your page.
Step 2: Add the Basics of the Form
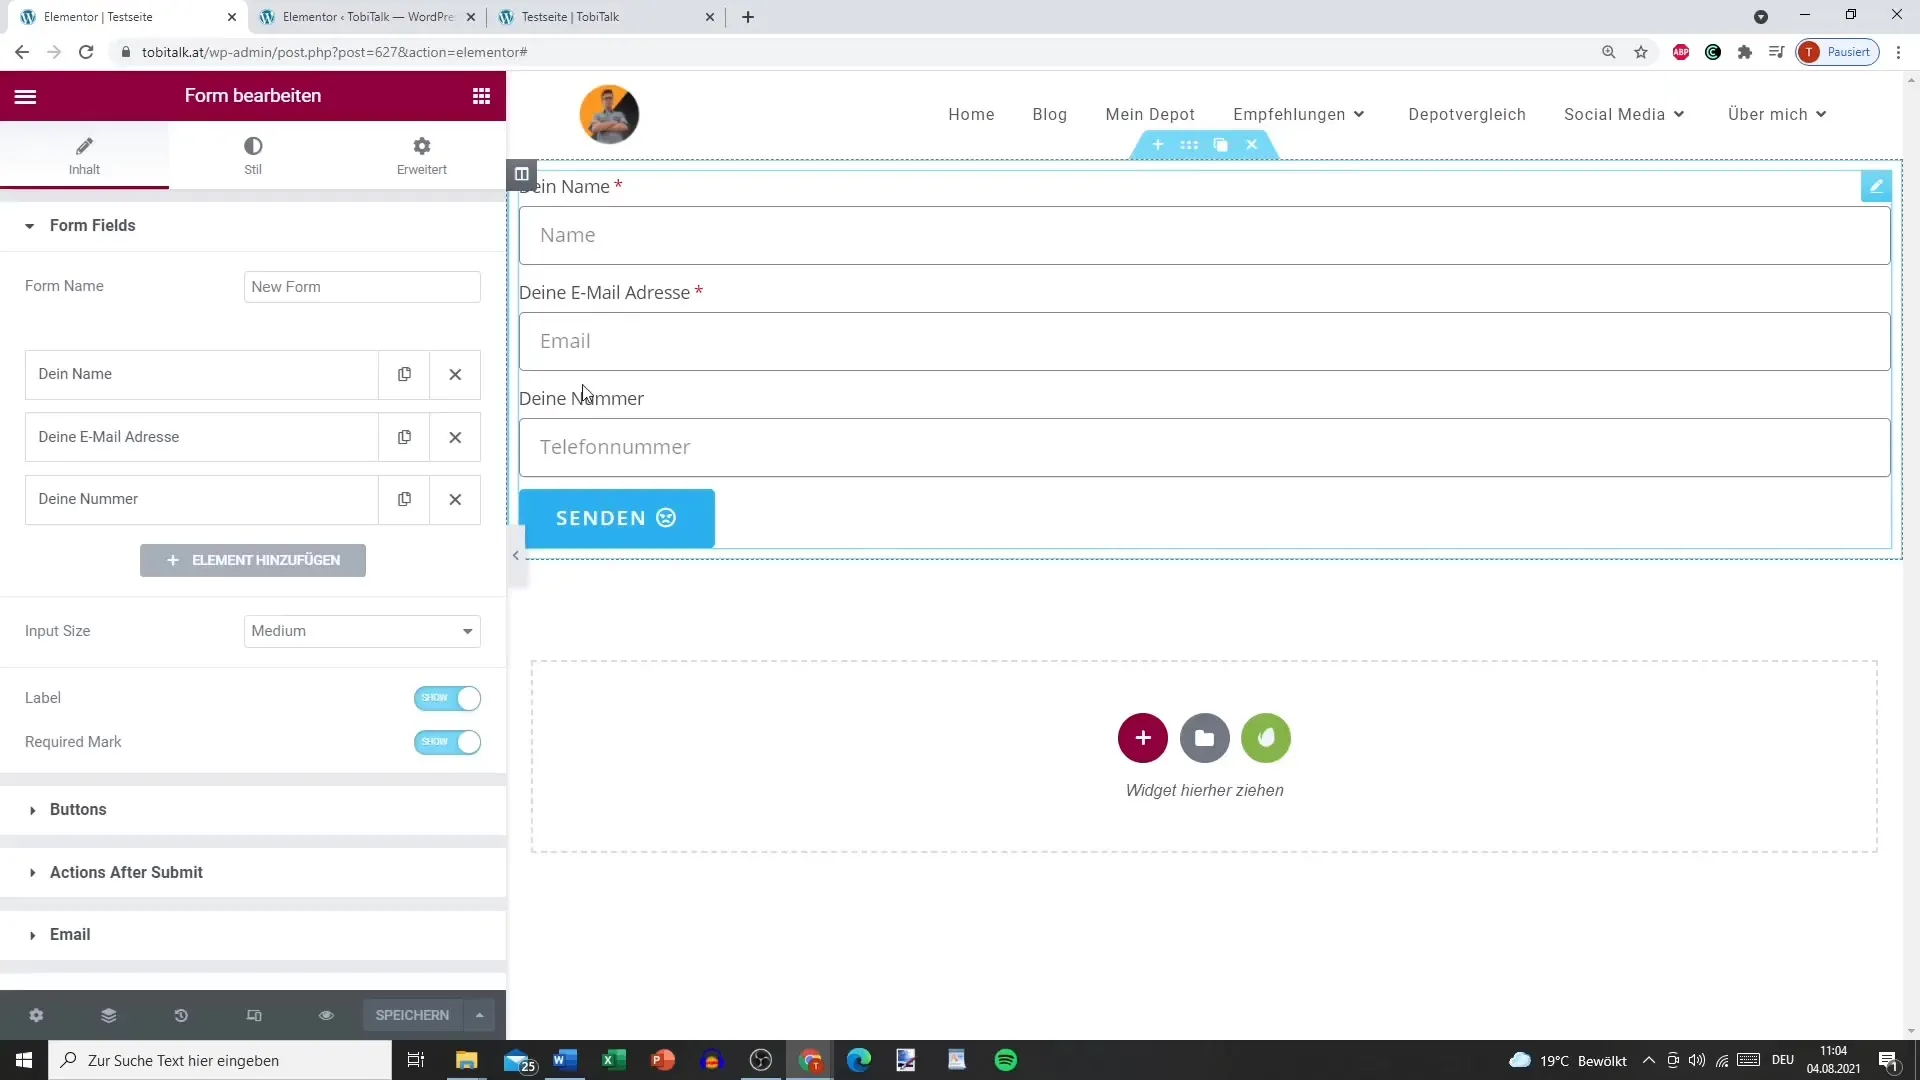
In the first step, add the basic input fields for your form. You can use text fields, checkboxes, or other input fields. Ensure that the fields are clearly labeled to avoid misunderstandings.
Step 3: Set Up Fields for the Multistep Process
You can add more fields and structure the form inputs. Here, you should also ensure that mandatory fields are marked accordingly. A clear layout is crucial so that the user is not overwhelmed.
Step 4: Name the Steps
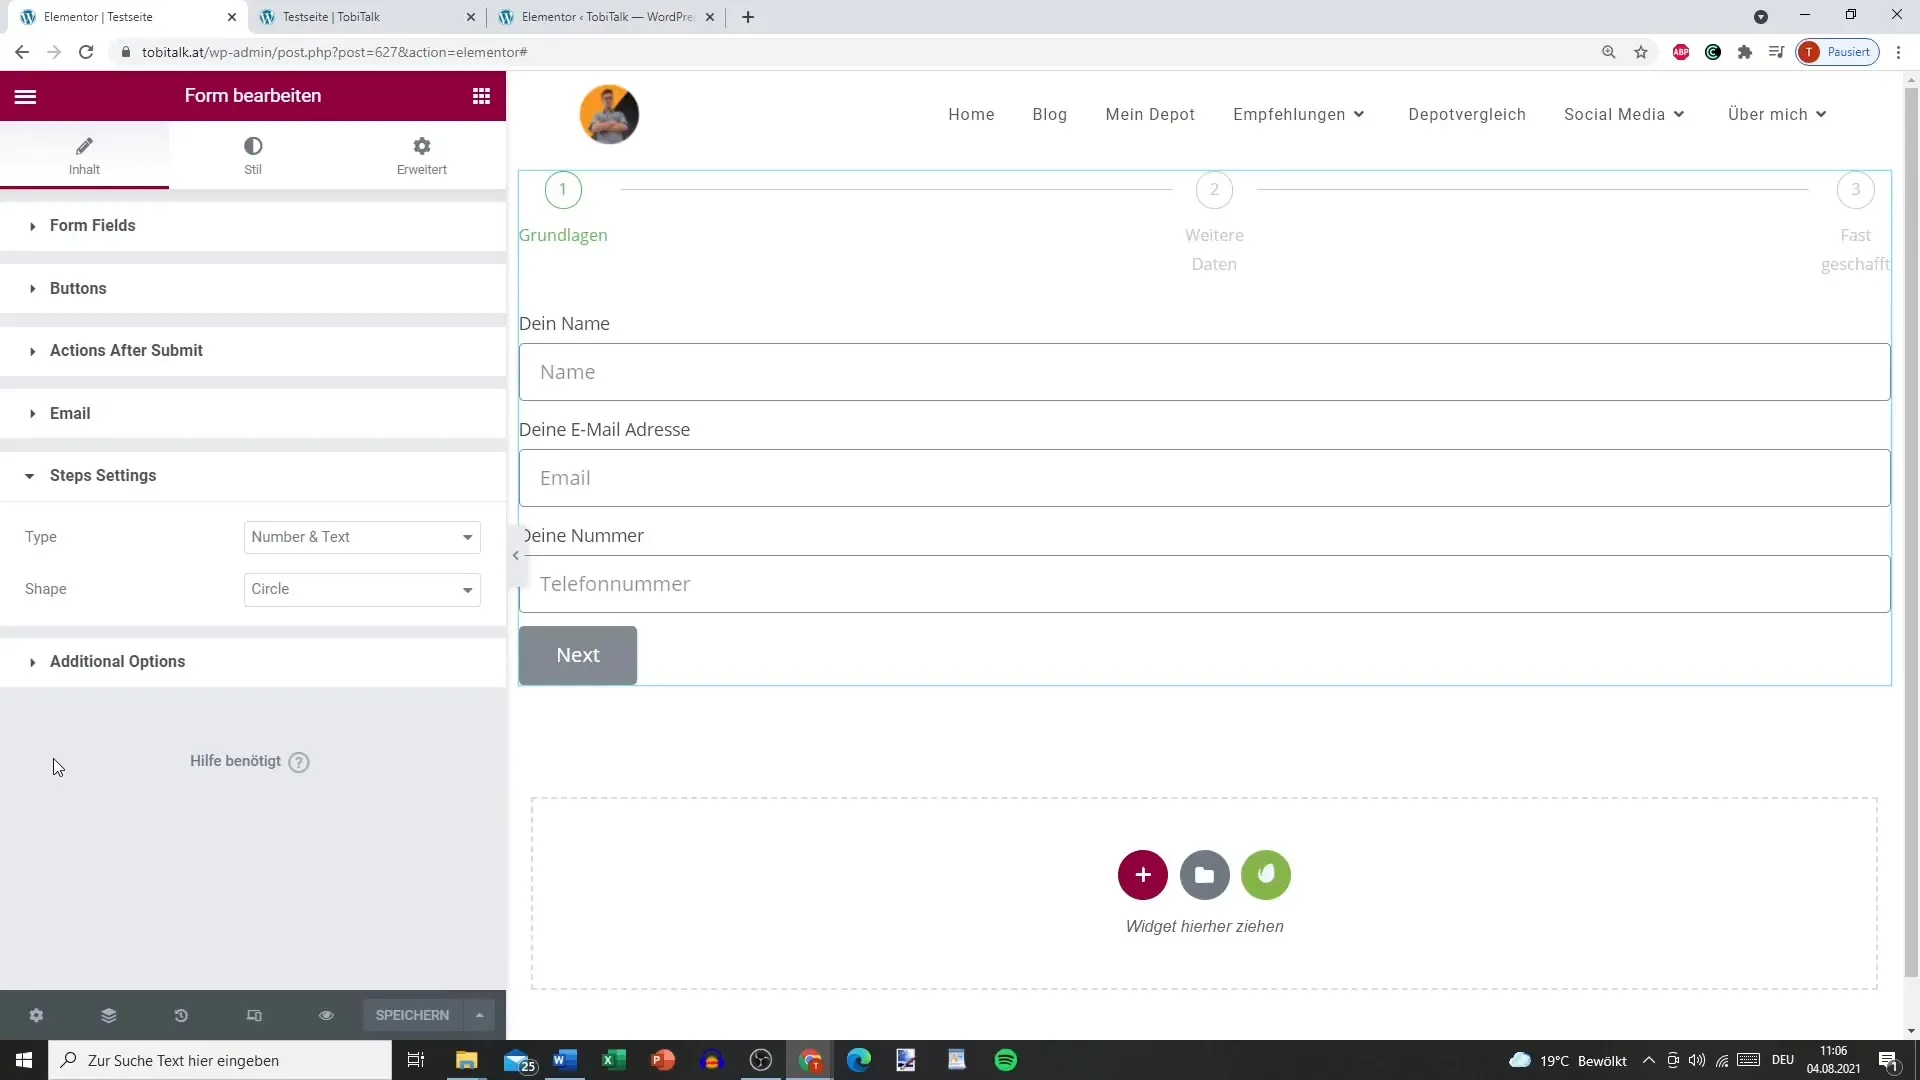
In this step, you can give specific names to the individual form elements. For example, you might use "Start," "Further Data," and "Almost Done." This provides users with clear guidance.
Step 5: Update and Test the Steps
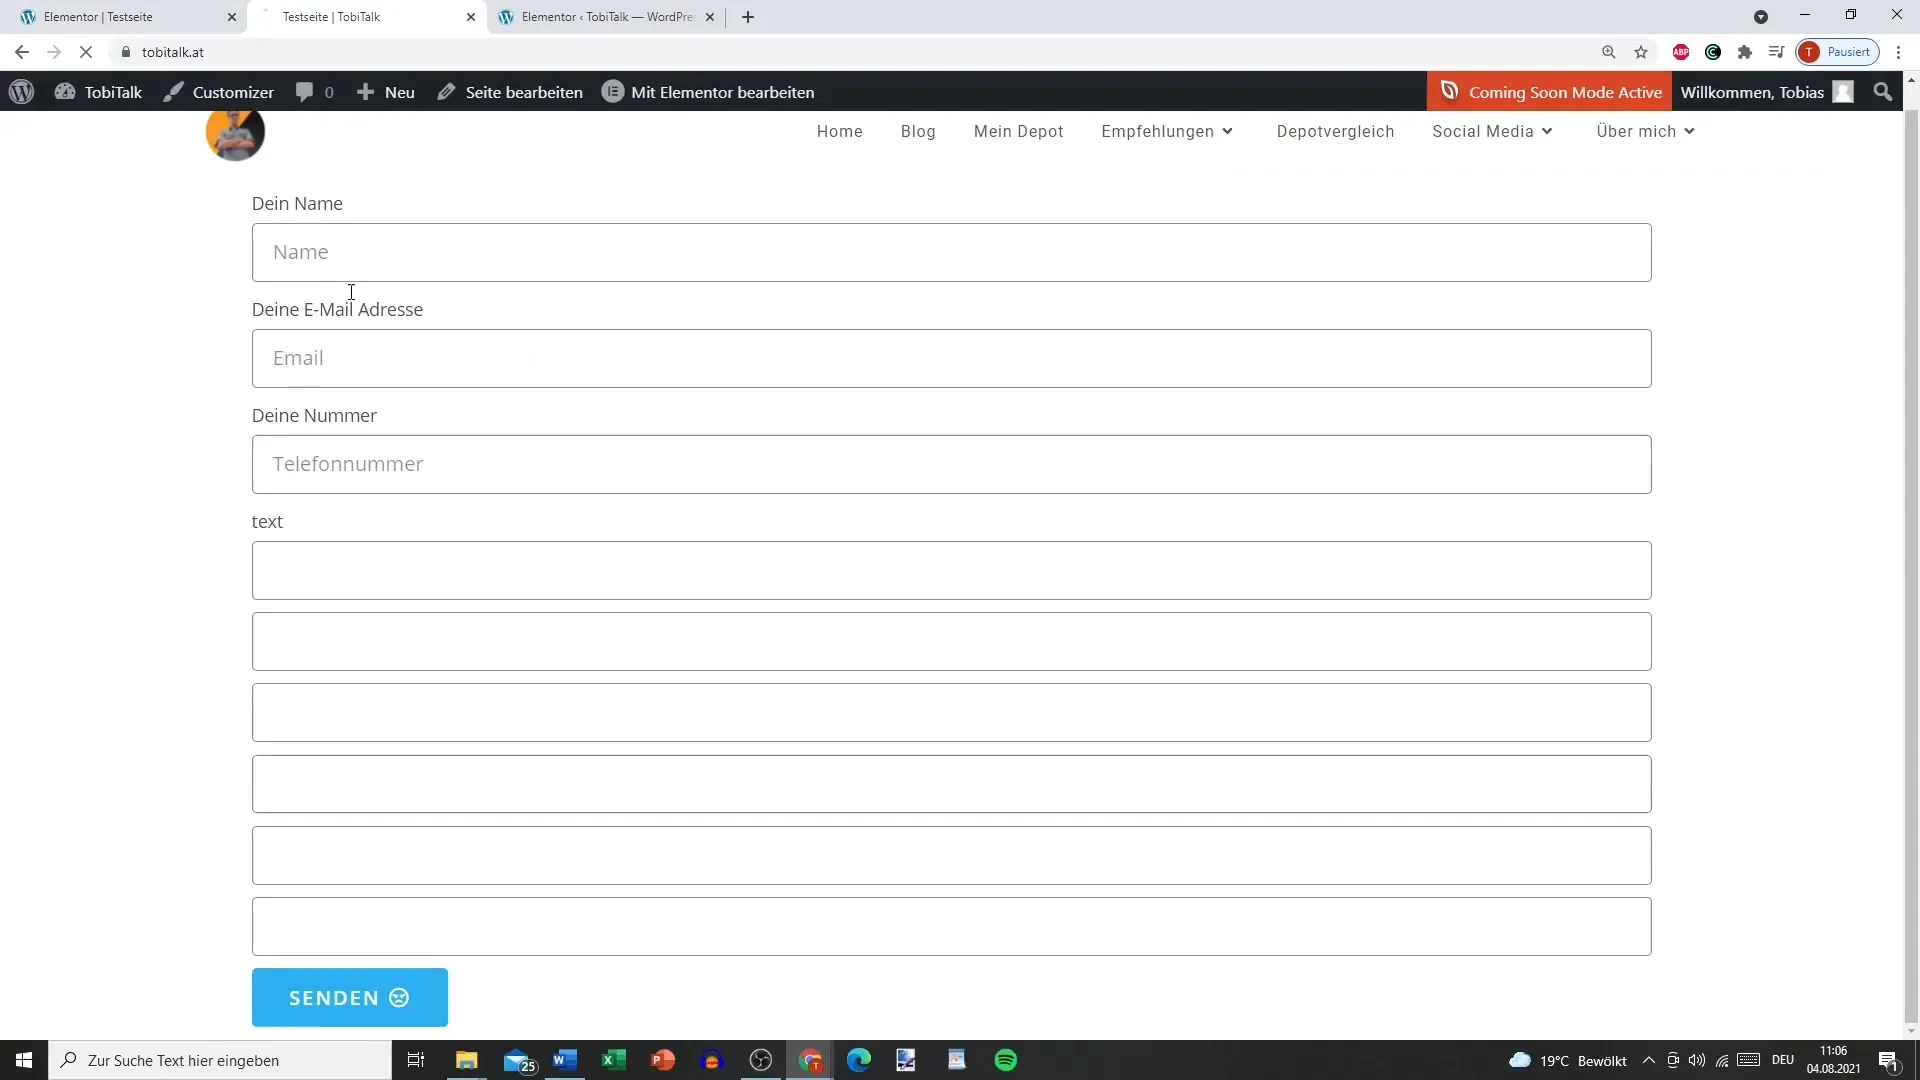
Update the form and check the display. The steps should be clearly structured so that users can easily follow their progress. The ability to proceed without input is also important here.
Step 6: Define STEP Settings
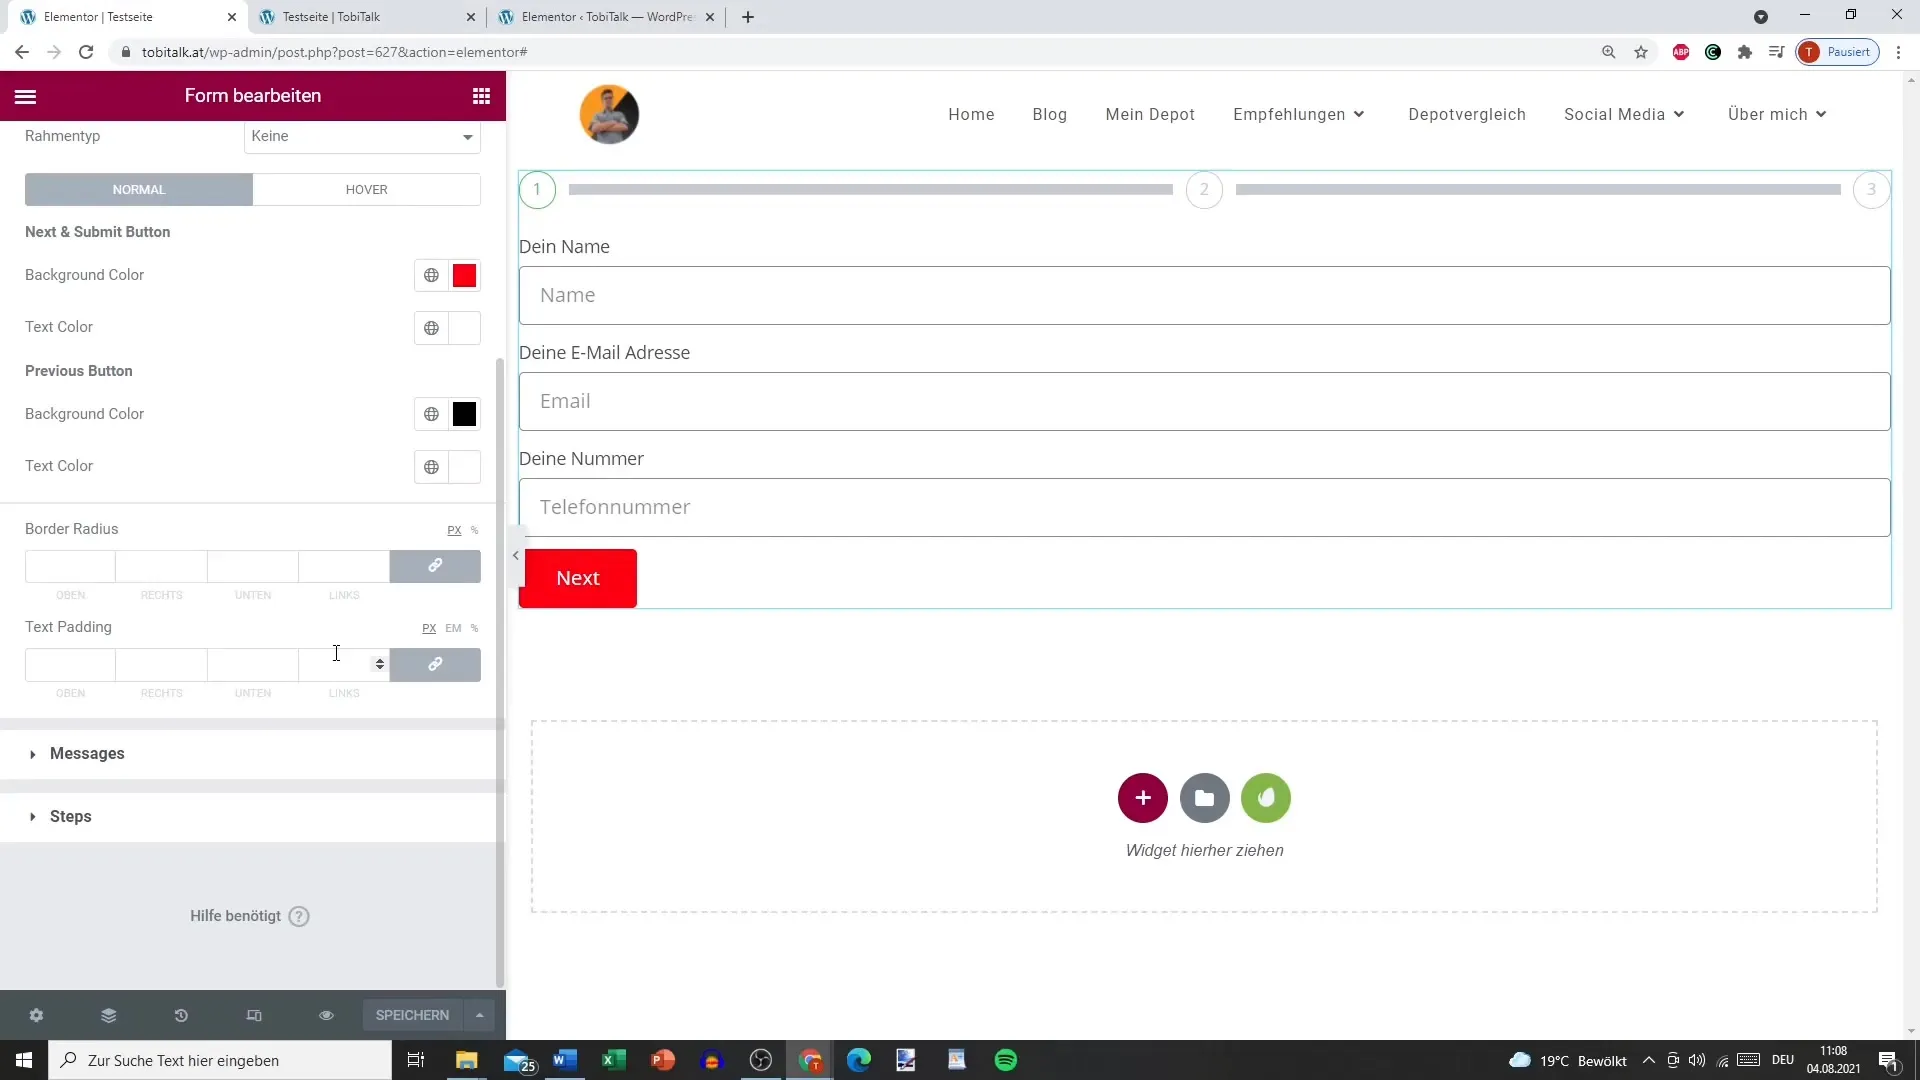
The special feature of the multistep form is the STEP Settings. Here, you can determine whether the steps are displayed numerically or textually. Icons or shapes like circles or squares are also selectable, giving your form an appealing look.
Step 7: Adjust Button Design and Spacing
For an attractive design, you should individually style the buttons for "Next Step" and "Back." You can adjust colors and fonts to create an appealing user interface.
Step 8: Test the Form
Conduct a test to see everything in action. Make sure that the steps are clearly recognizable and that the user can navigate smoothly through the form. This will ensure that everything works as you planned.
Summary – Creating a Multistep Form with Elementor
With Elementor, you can easily create an appealing multistep form. By choosing clearly structured steps and a user-friendly design, you facilitate the input for users and increase the likelihood that they will complete the form.
Frequently Asked Questions
How do I create a multistep form in Elementor?First, add the form widget, structure it into different steps, and update the settings.
Can I name the steps individually?Yes, you can give each step a specific name to provide users with guidance.
What to do if the form doesn’t work correctly?Check the STEP settings and test the form again to ensure all steps are displayed correctly.
What design adjustments can I make?You can adjust colors, fonts, and spacing between elements to design the form to your liking.
Are all steps mandatory fields?That depends on your requirements. You can define mandatory fields or allow users to skip steps.


