Working with objectsin AffinityPublisheris essential know-how for realizing creative designs. Often, your choice of shape, the adjustment of contours, and the integration of textare crucial for the visual impact of your project. In this guide, you will learn how to create different objects using the rectangle tool, meaningfully adjust the contours, and combine them with text.
Main insights
- You can easily create different shapes with the rectangle tool.
- Contours can be designed variably to achieve the desired visual effect.
- Text can be creatively integrated into objects and adjusted.
Step-by-step guide
To grow your skills in Affinity Publisher, follow this structured guide. In the following description, you will learn how to create objects, define contours, and integrate text in the form of boxes.
Step 1: Create a rectangle
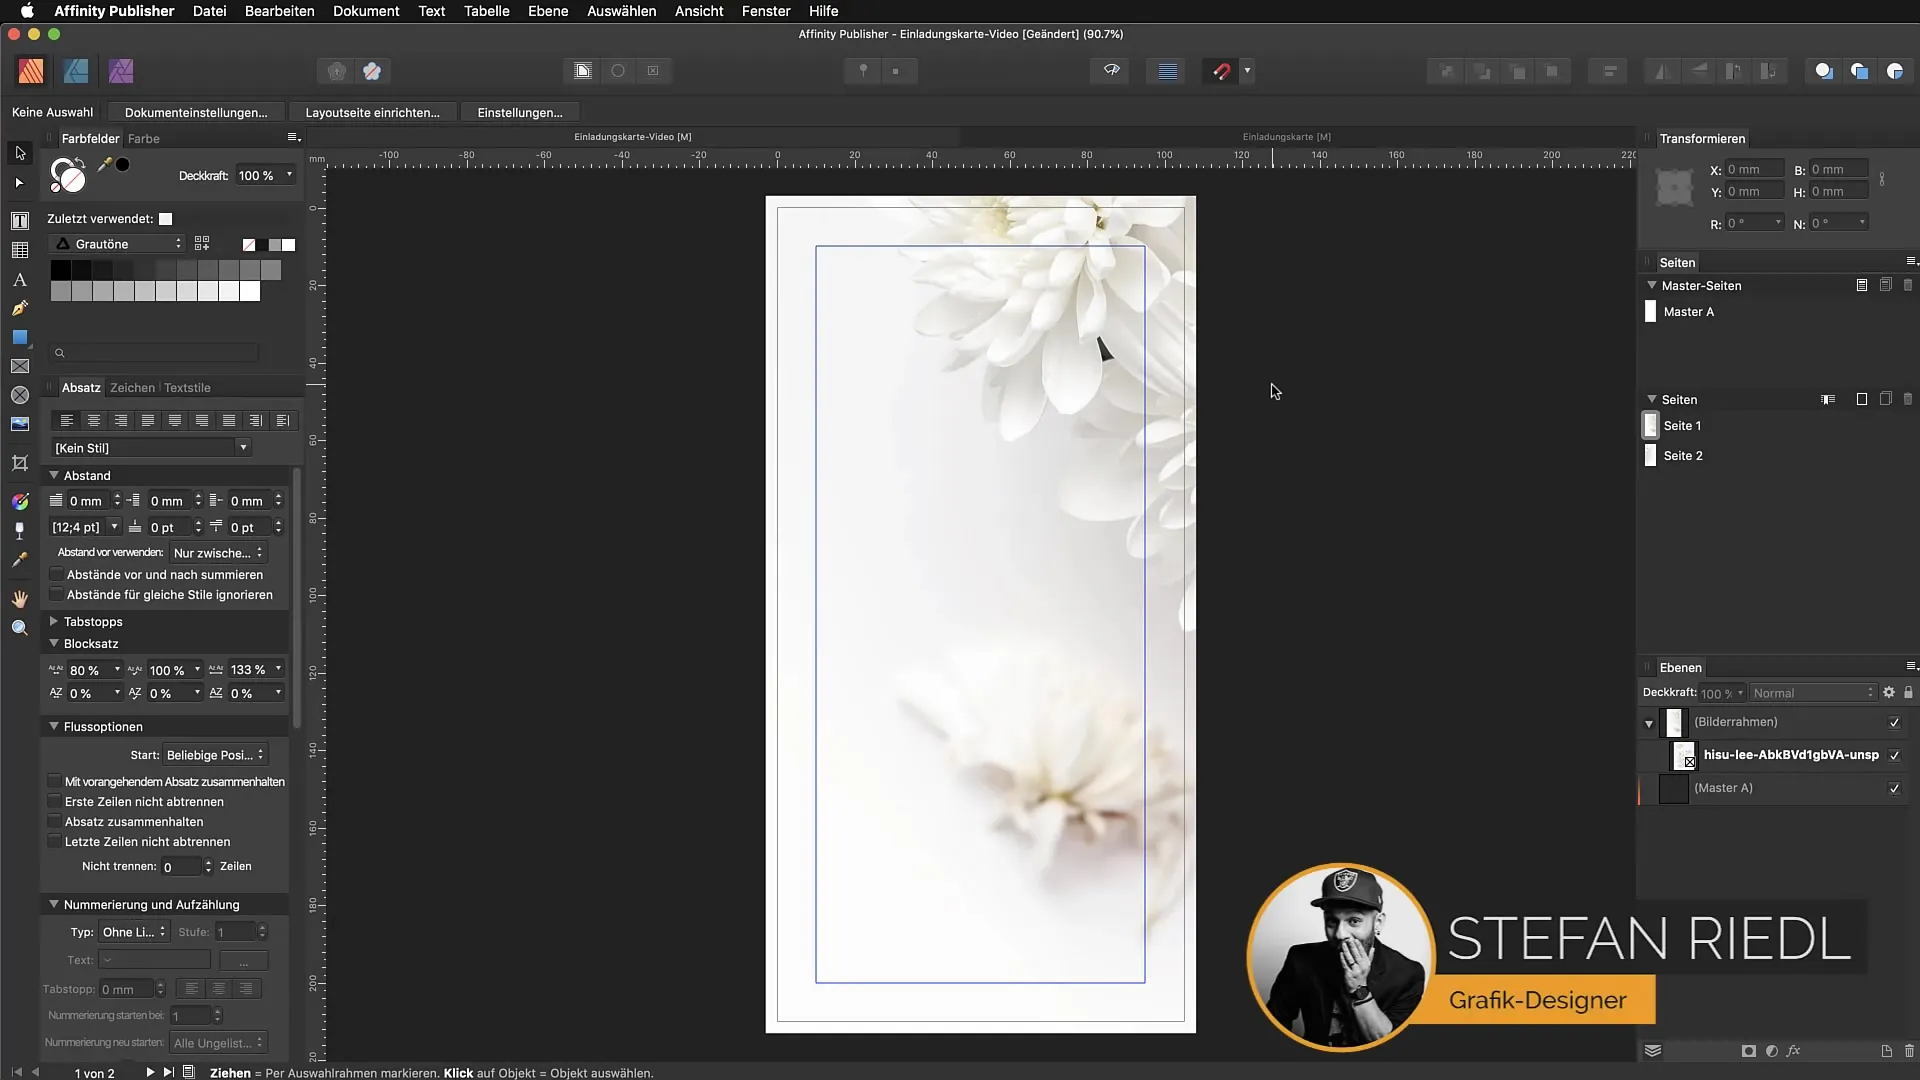
Start with the rectangle tool, which you will find on the left side of the toolbar. Click and drag with the left mouse button to create a rectangle. Make sure the fill color is set before you draw the rectangle. You can select the color in the color swatch at the top of the toolbox. If the fill color is already defined, the rectangle will be visible immediately.
Step 2: Adjust dimensions and center
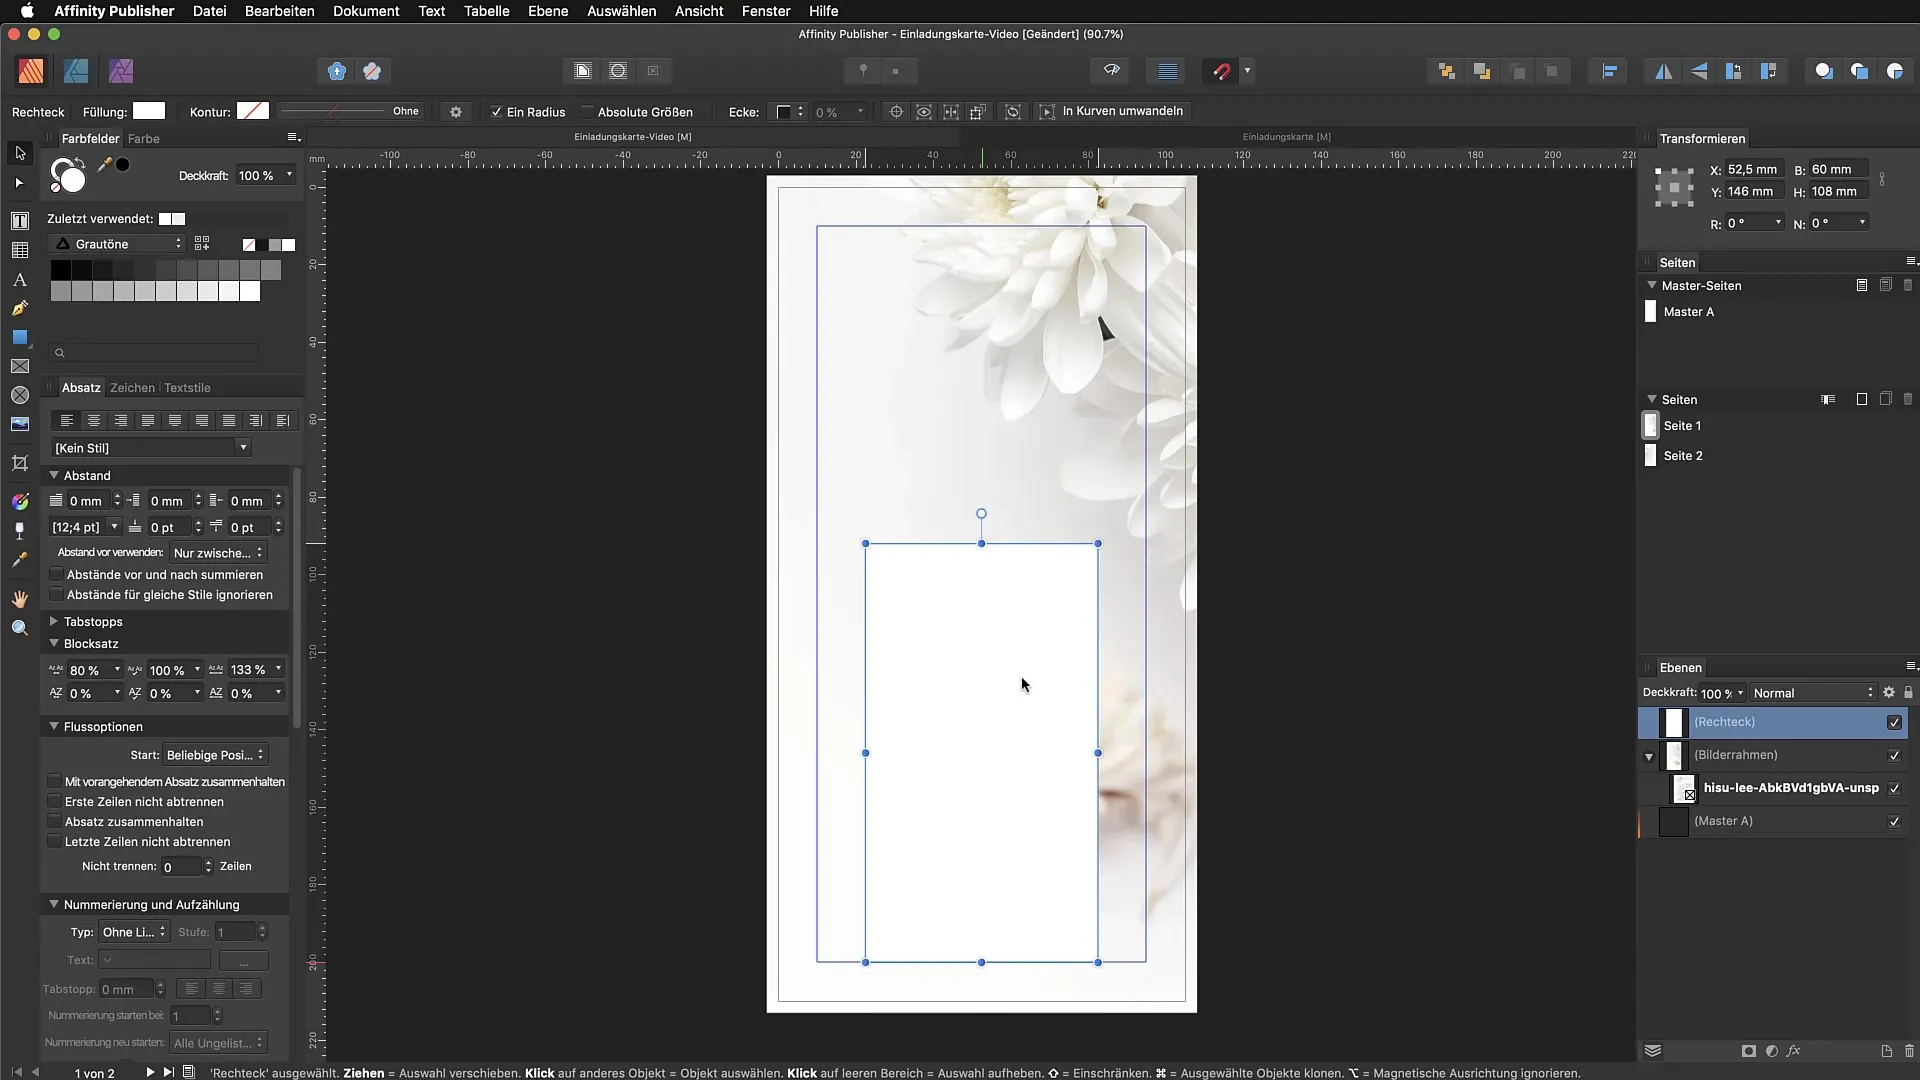
Select the rectangle with the mouse and drag it to the desired dimension. To ensure that the rectangle is positioned exactly in the center of the page, you can use guidelines. Holding down the Shift key while moving the rectangle keeps it aligned on one axis, which significantly simplifies the alignment.
Step 3: Adjust corner options
In the context bar at the top, you will find options to adjust the corners of the rectangle. You can adjust the corner radius to create rounded edges. To do this, you need to enable the corresponding checkbox that allows you to control the rounding per corner. This gives you the ability to designeach corner individually.
Step 4: Add text
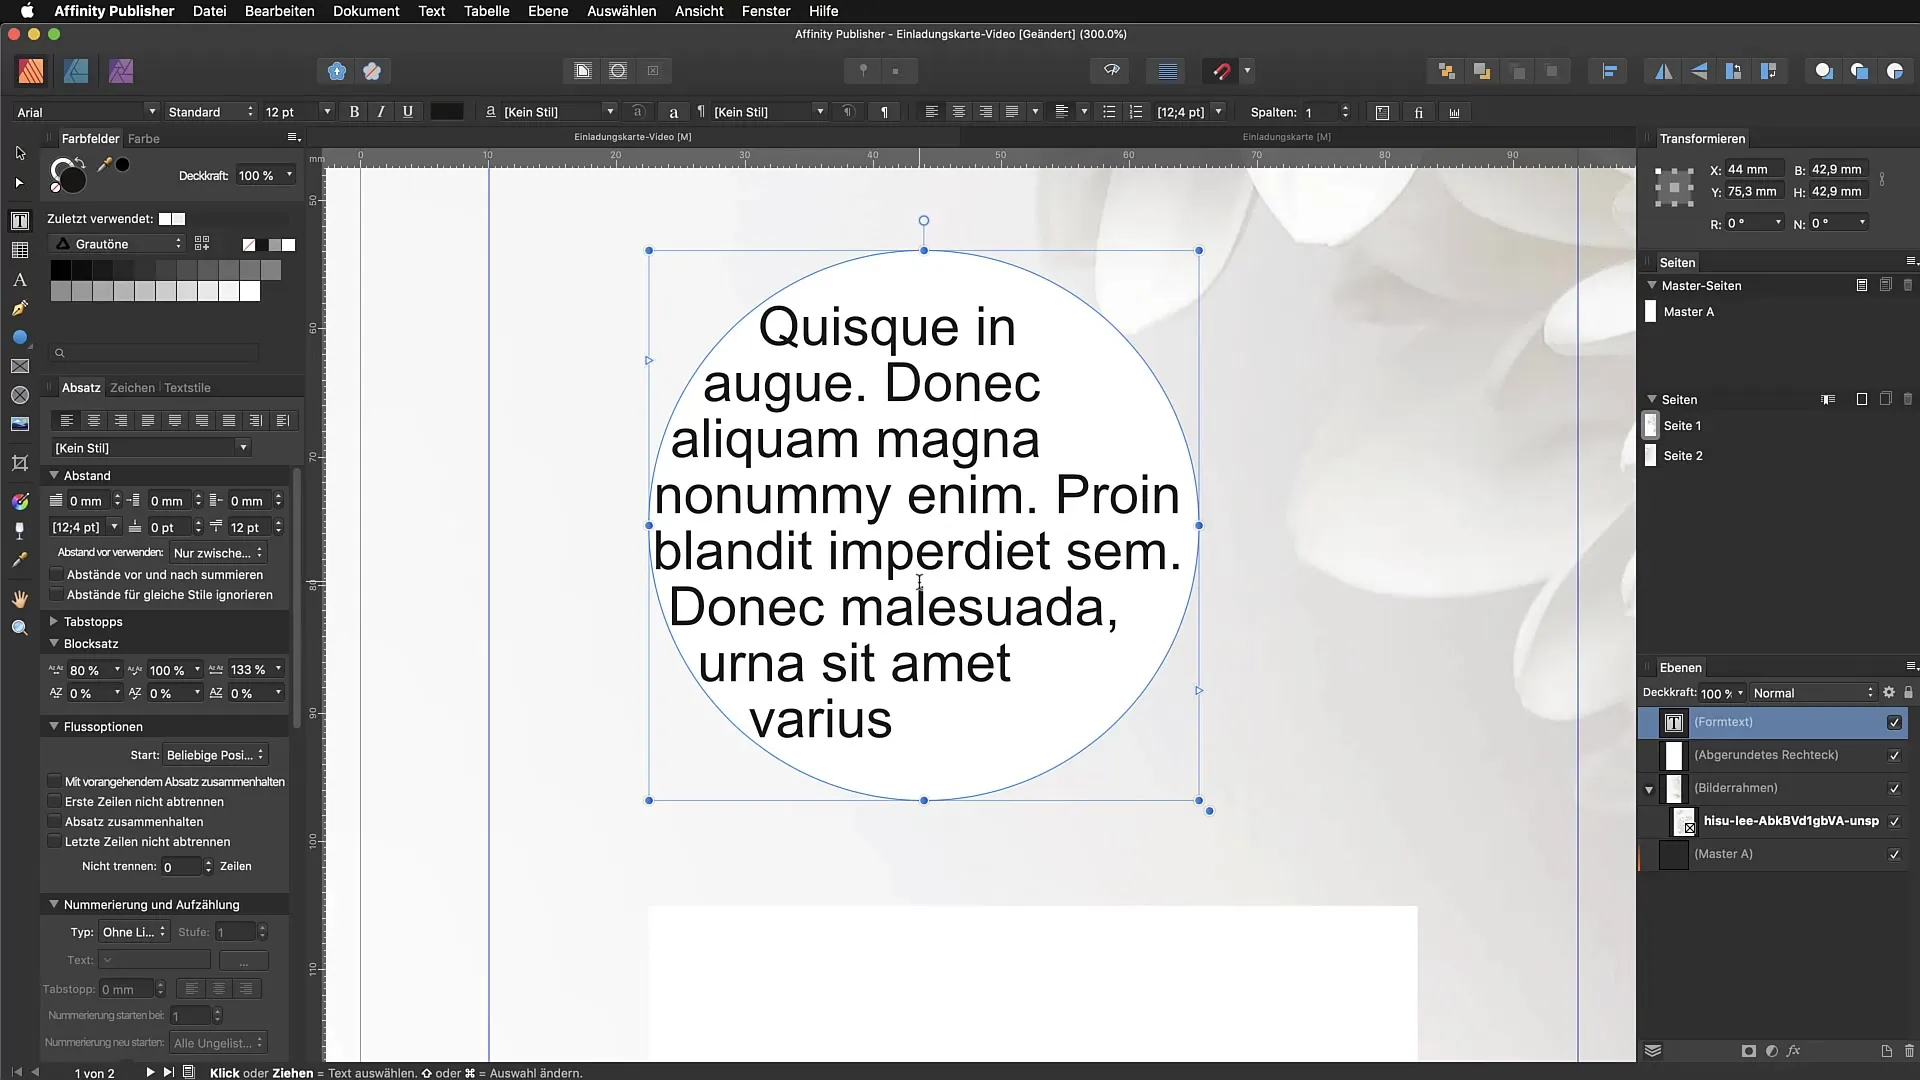
To integratetext into the rectangle, you have two main options. The first option is to create a text box and place it directly over the rectangle. Alternatively, it is also possible to link the text box with the rectangle so that the text adapts according to the shape. To do this, select the text tool, click inside the rectangle, and paste the desired text.
Step 5: Set text frame options
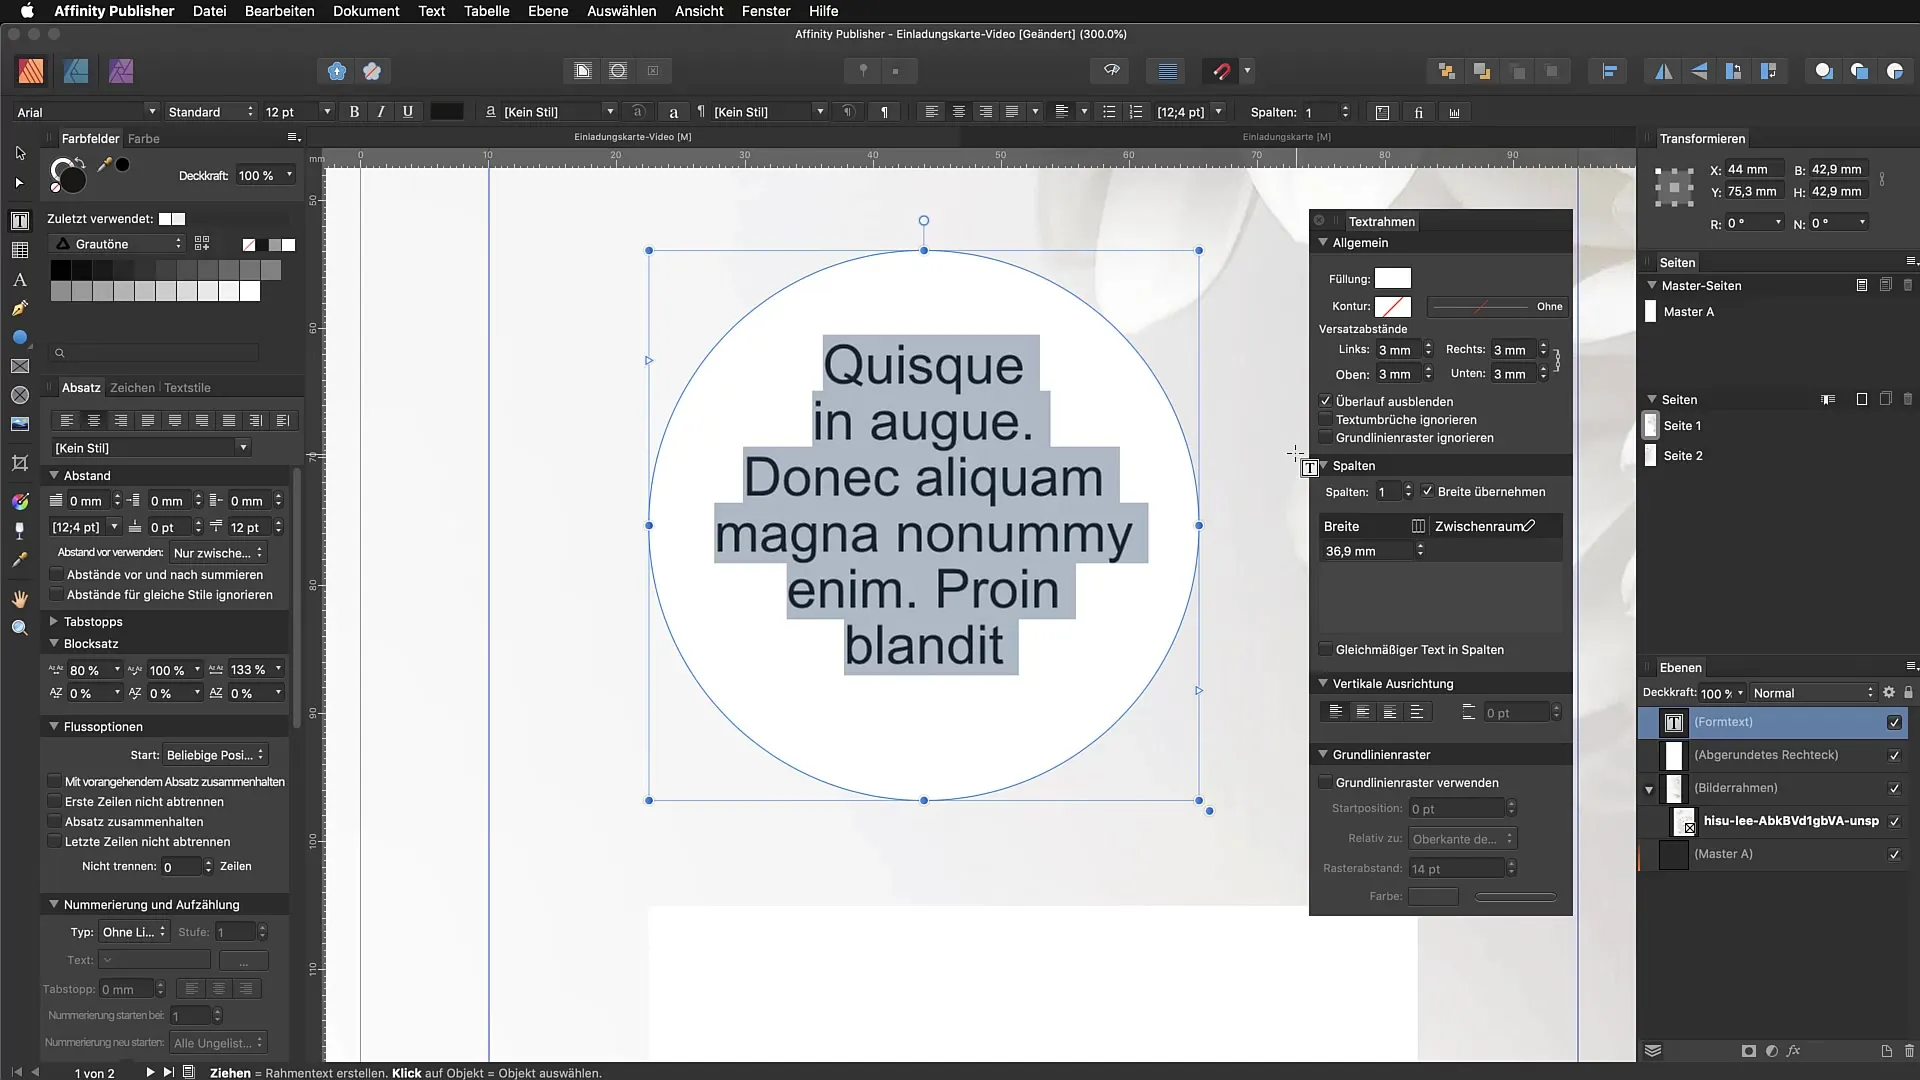
If the text is too close to the edges of the rectangle, you can adjust the padding of the text frame. Go to View > Studio > Text Frame Options and adjust the offsets to create space between the text and the object. This improves readability and makes for a more appealing overall appearance.
Step 6: Create an object's contour
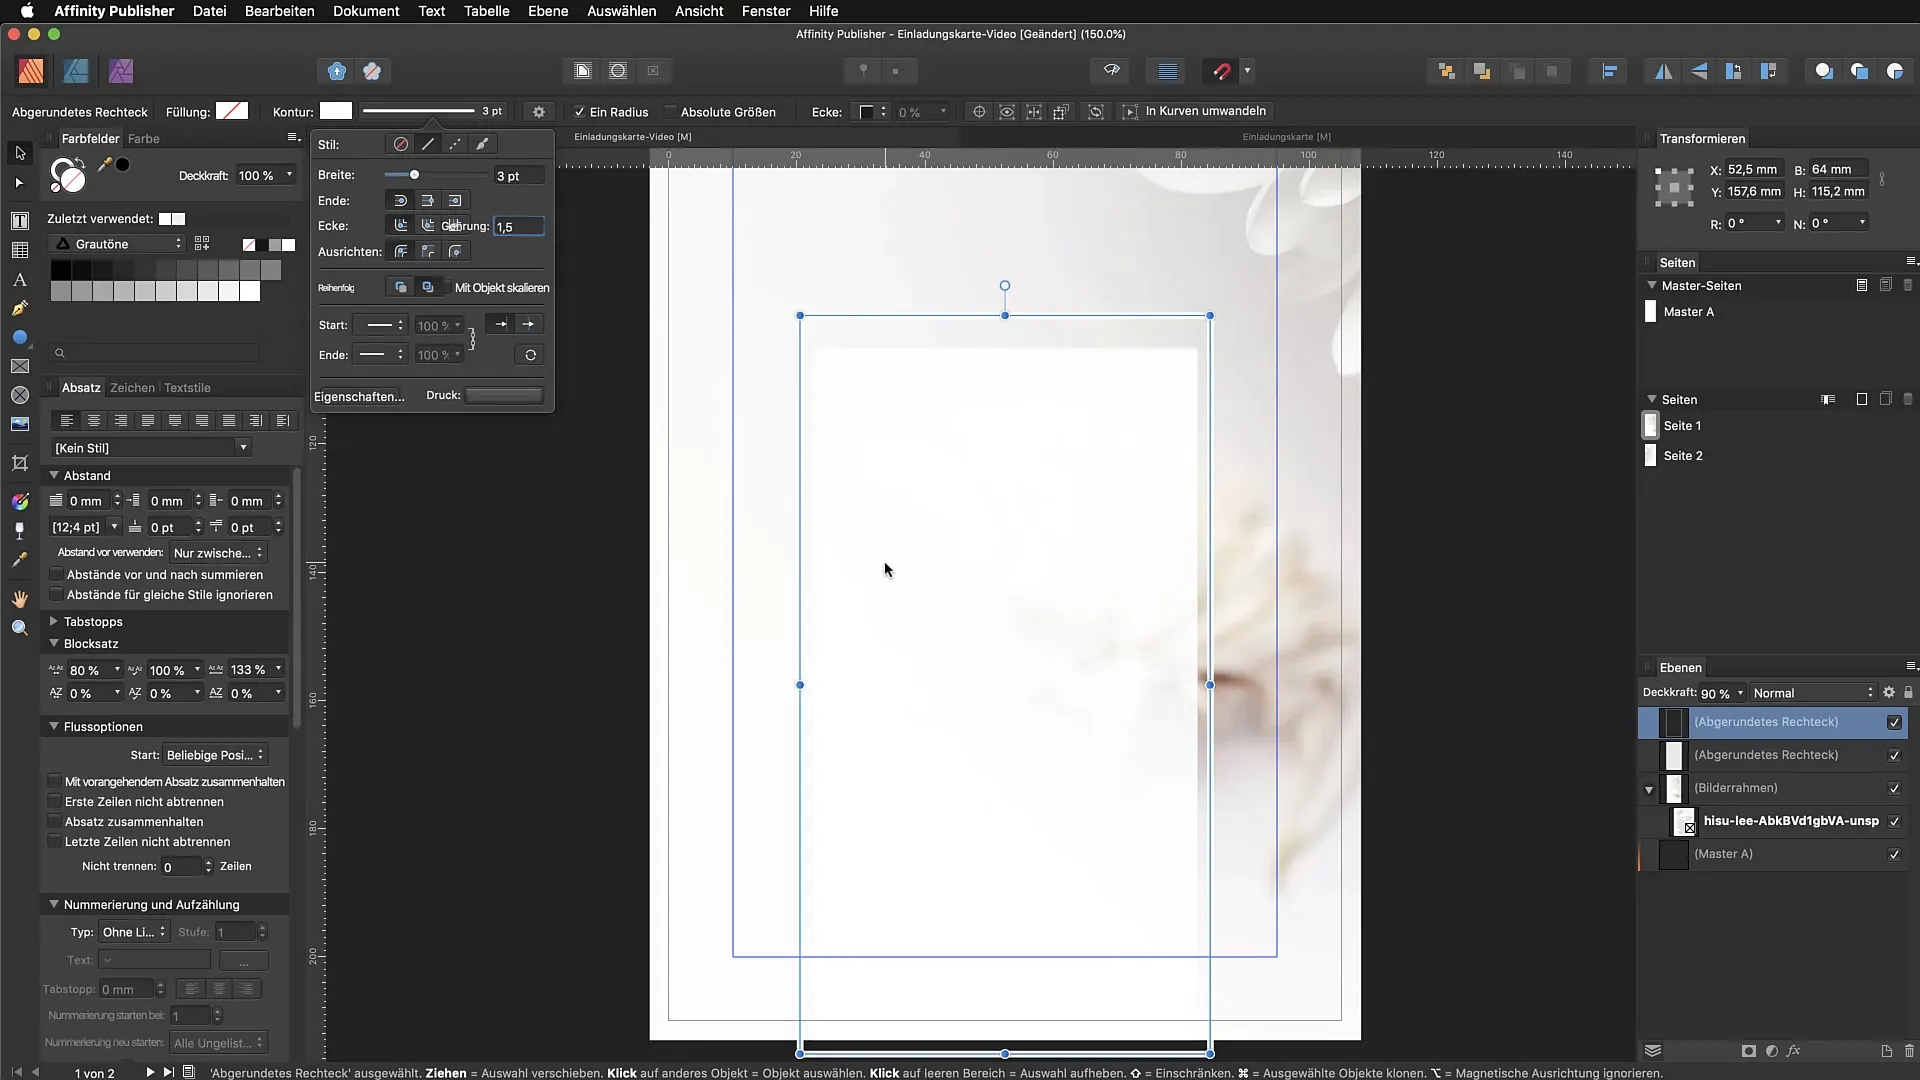
To create the contour of the rectangle, copy the rectangle (Command + C) and paste it in the same place (Command + V). Hold down the Shift key while adjusting the size of the rectangle. Now remove the fill color and instead choose a contour color. In the context bar, you can set the contour thickness to achieve the desired effect.
Step 7: Further adjust the contour
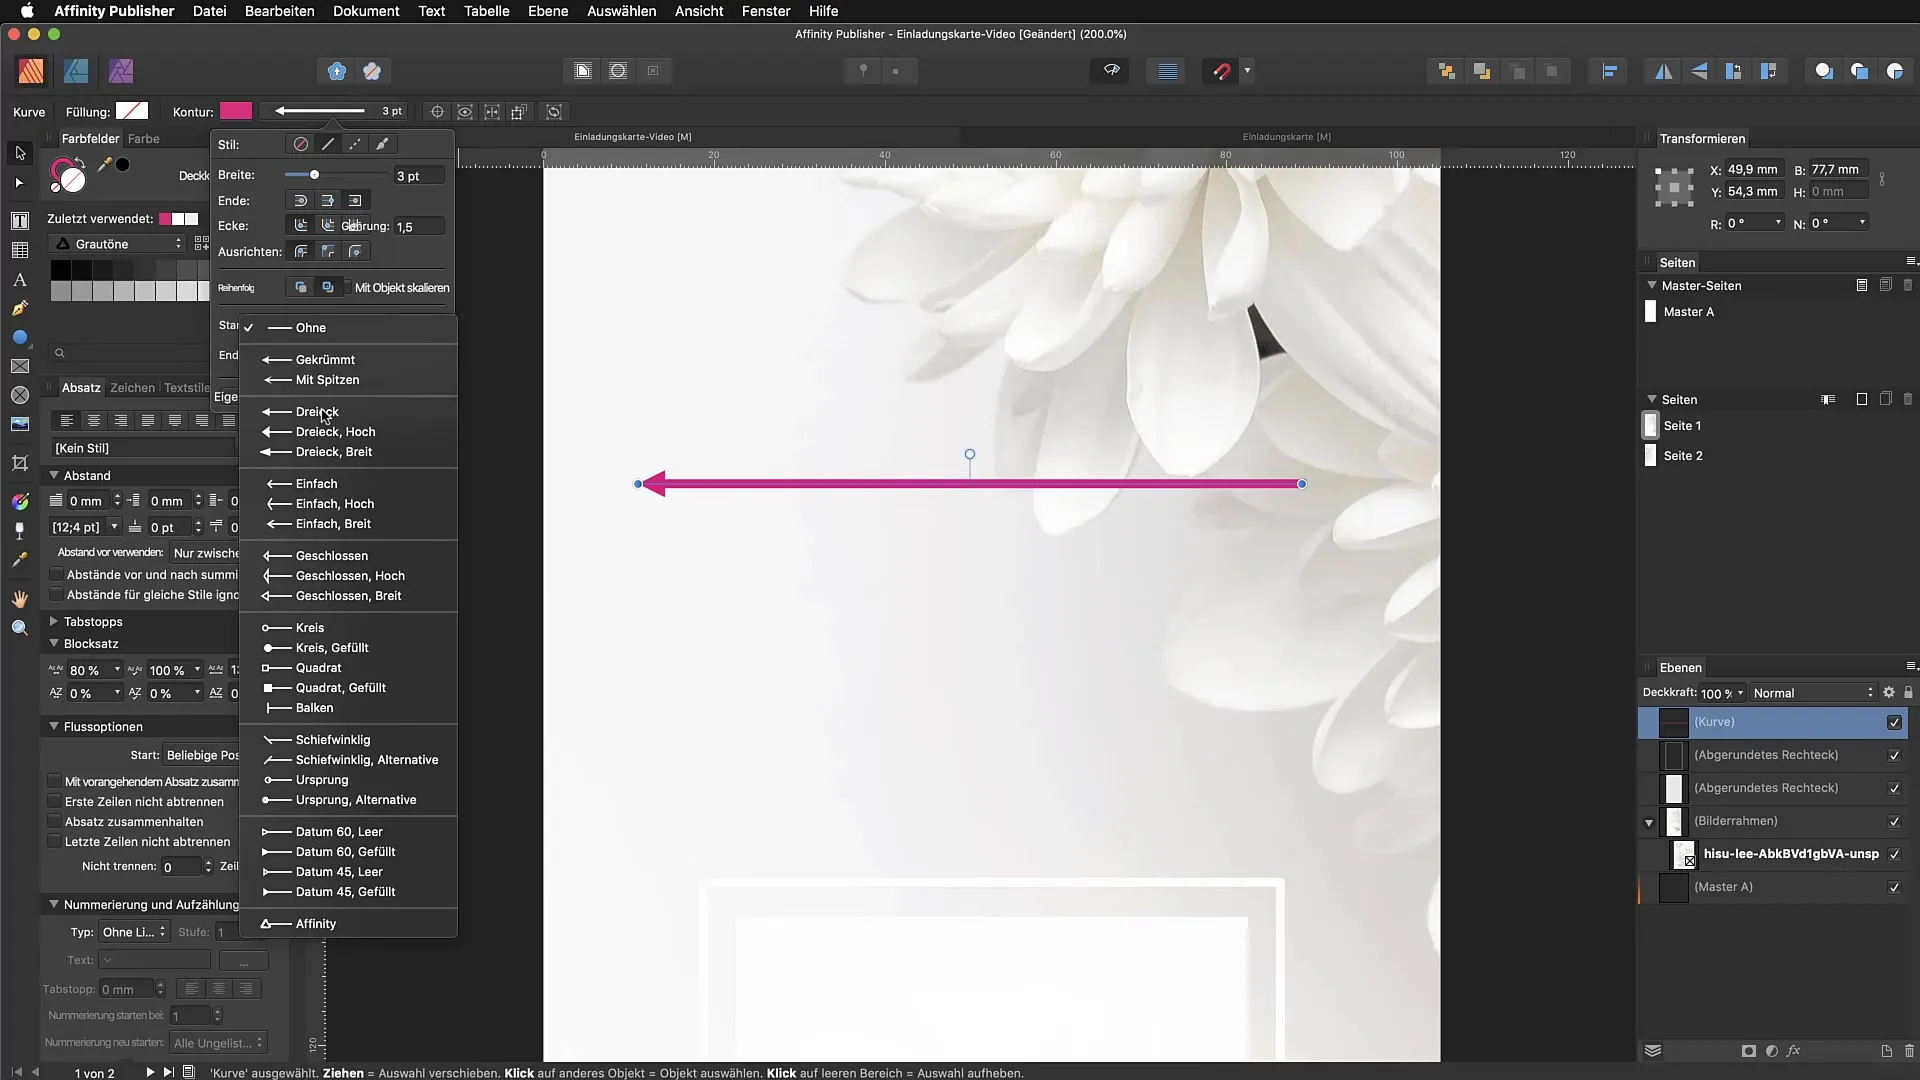
Look at the different options for the contour to playfully test how lines and corners change depending on the settings you choose. You can also set the contour alignment so that the contour runs either internally, externally, or centered.
Step 8: Improve the design
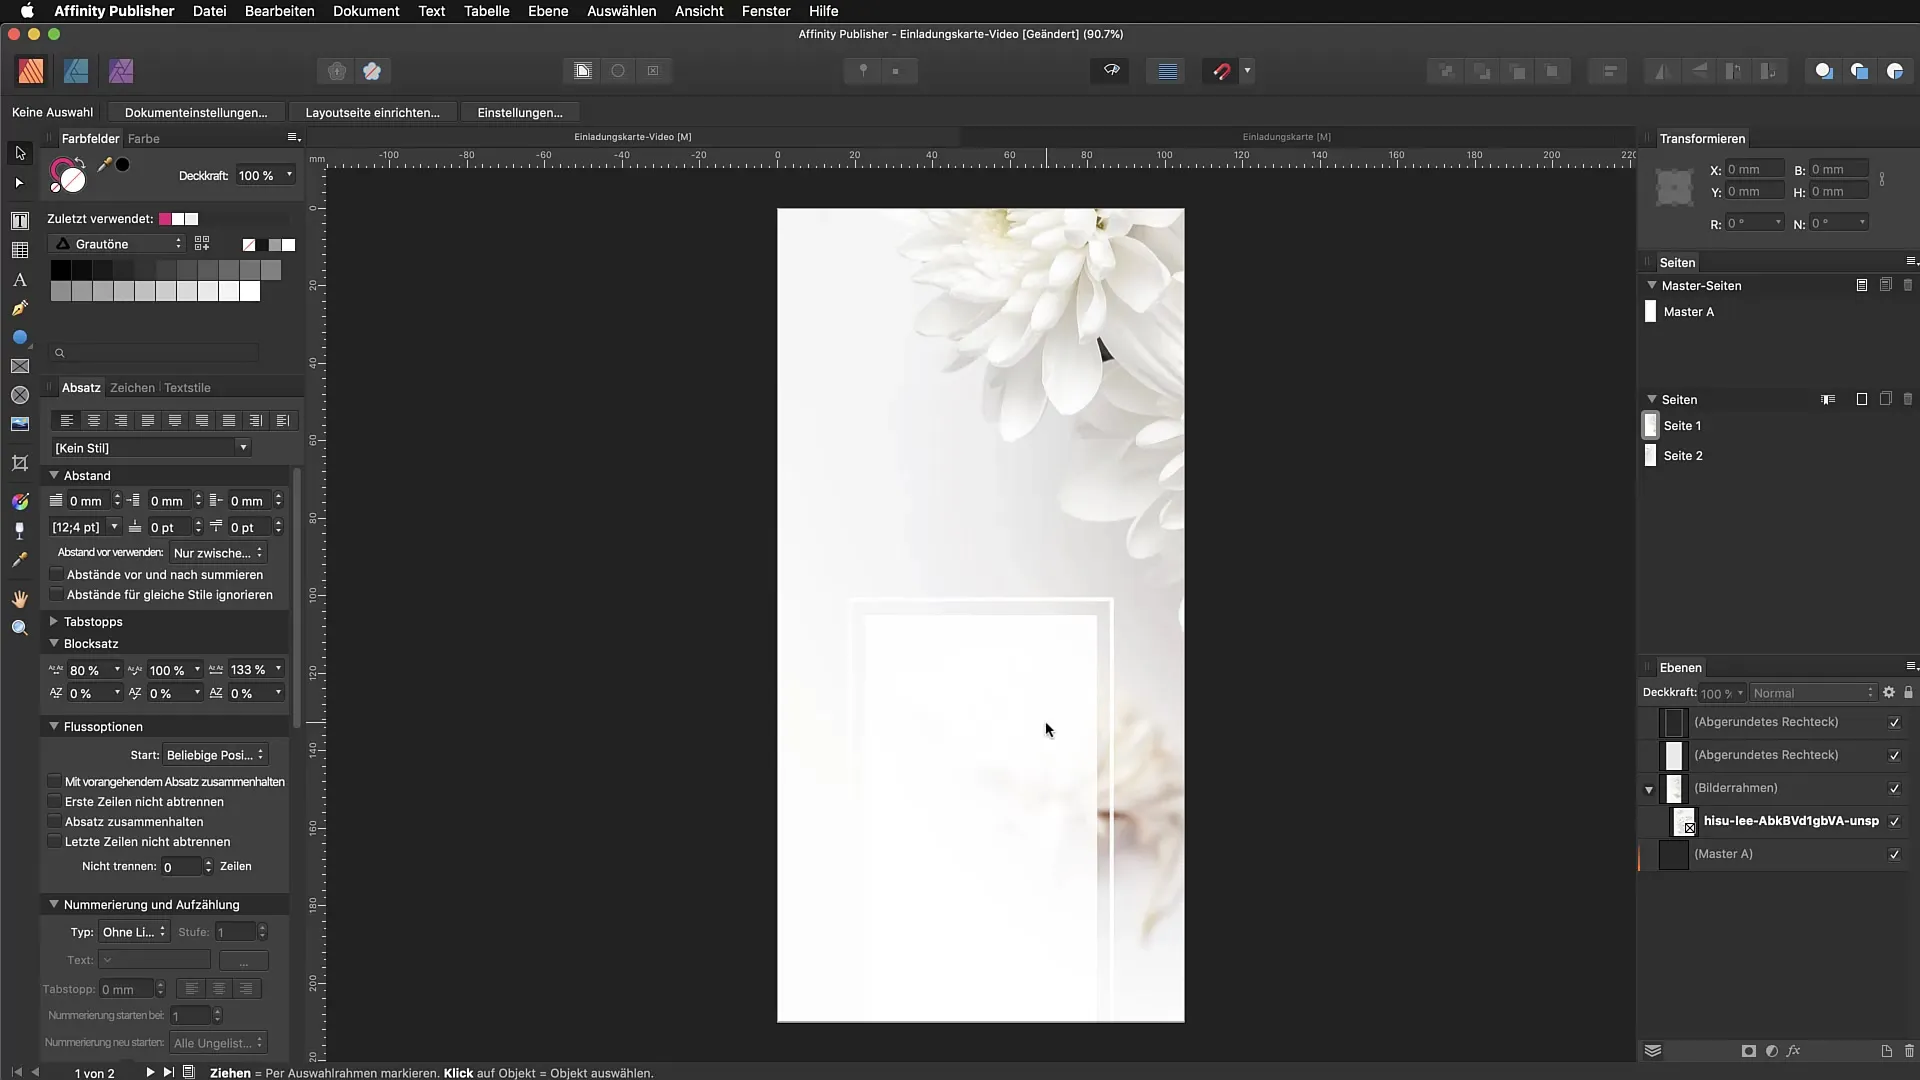
To further enhance your layout, you might want to stretch the rectangle a bit larger and adjust the contour to create a harmonious overall appearance. Observe how the matching of fill color and contour line can influence your design.
Summary - Effectively placing objects, designing contours, and setting frame options in Affinity Publisher
By applying the rectangle tool correctly, creatively using text, and flexibly adjusting contours, you will master the basic functions of Affinity Publisher. Your design will appear fresher and more professional through these skills.
FAQ
How can I create a rectangle in Affinity Publisher?Use the rectangle tool in the left toolbar and drag with the left mouse button to create a rectangle.
How can I adjust the rounding of the corners?In the context bar, you can set the corner options and adjust the radius to create rounded corners.
How do I insert text into an object?Select the text tool, click inside the object, and paste the desired text.
Can I adjust the contours of an object?Yes, you can adjust the contour color and thickness in the context bar and choose the alignment.
How do I remove the fill color of an object?Click on the fill color in the context bar and select the option for no fill.


