Setting text on a path opens up creative design options in Affinity Publisher. Whether you use geometric shapes or manual paths, this feature allows you to place text along lines and curves. This guide will take you step by step through the process and show you how to effectively apply text to paths.
Key insights You can place text in Affinity Publisher along various shapes and lines by using the graphic text and path tools. Adjusting starting and ending points as well as the distance to the path are central steps to achieving aesthetic results.
Step-by-Step Guide
To set text units on paths, follow these steps:
Step 1: Prepare the Path
First, you need to create a path. This can be done by drawing a geometric shape, like a circle. Select the appropriate tool and draw the desired shape.
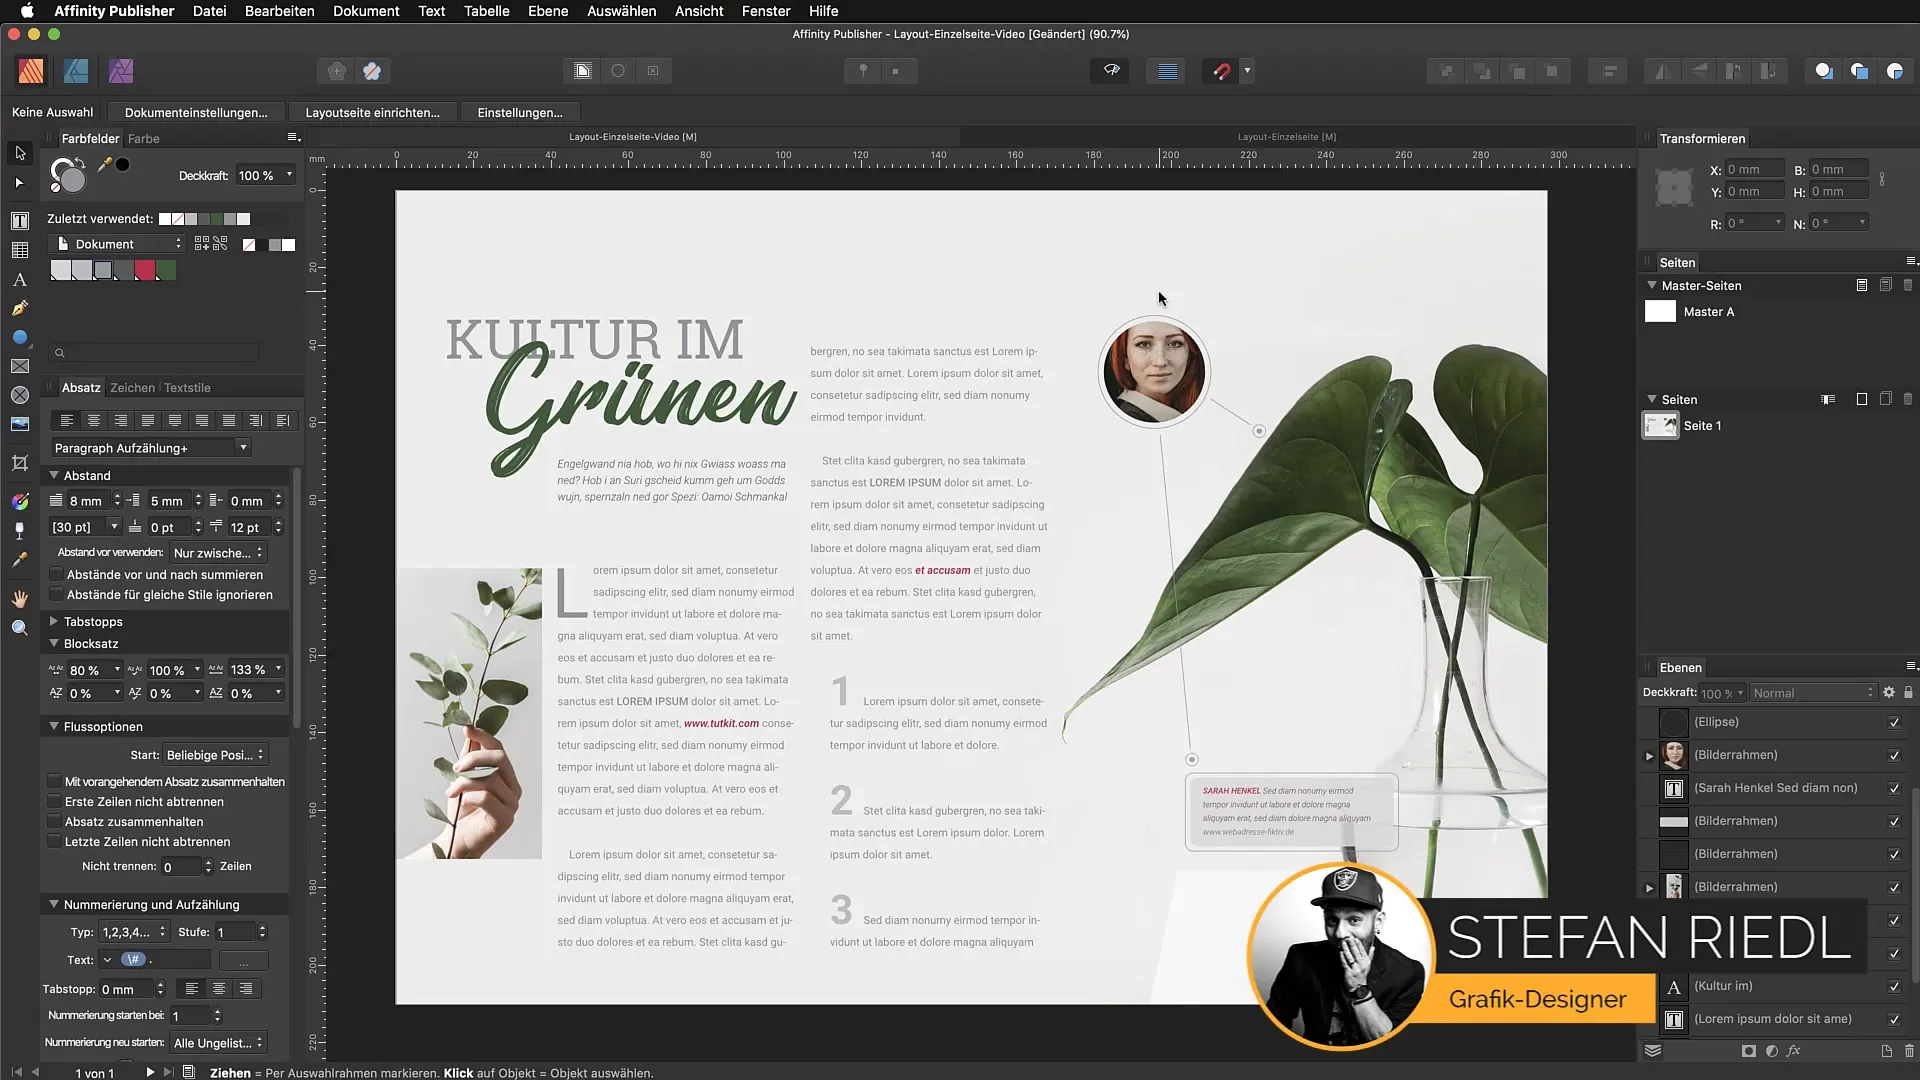
Step 2: Select the Object
Before you start inserting the text, it's important to select the object. Click on the previously created path or shape to activate it so that your text can be placed on it.
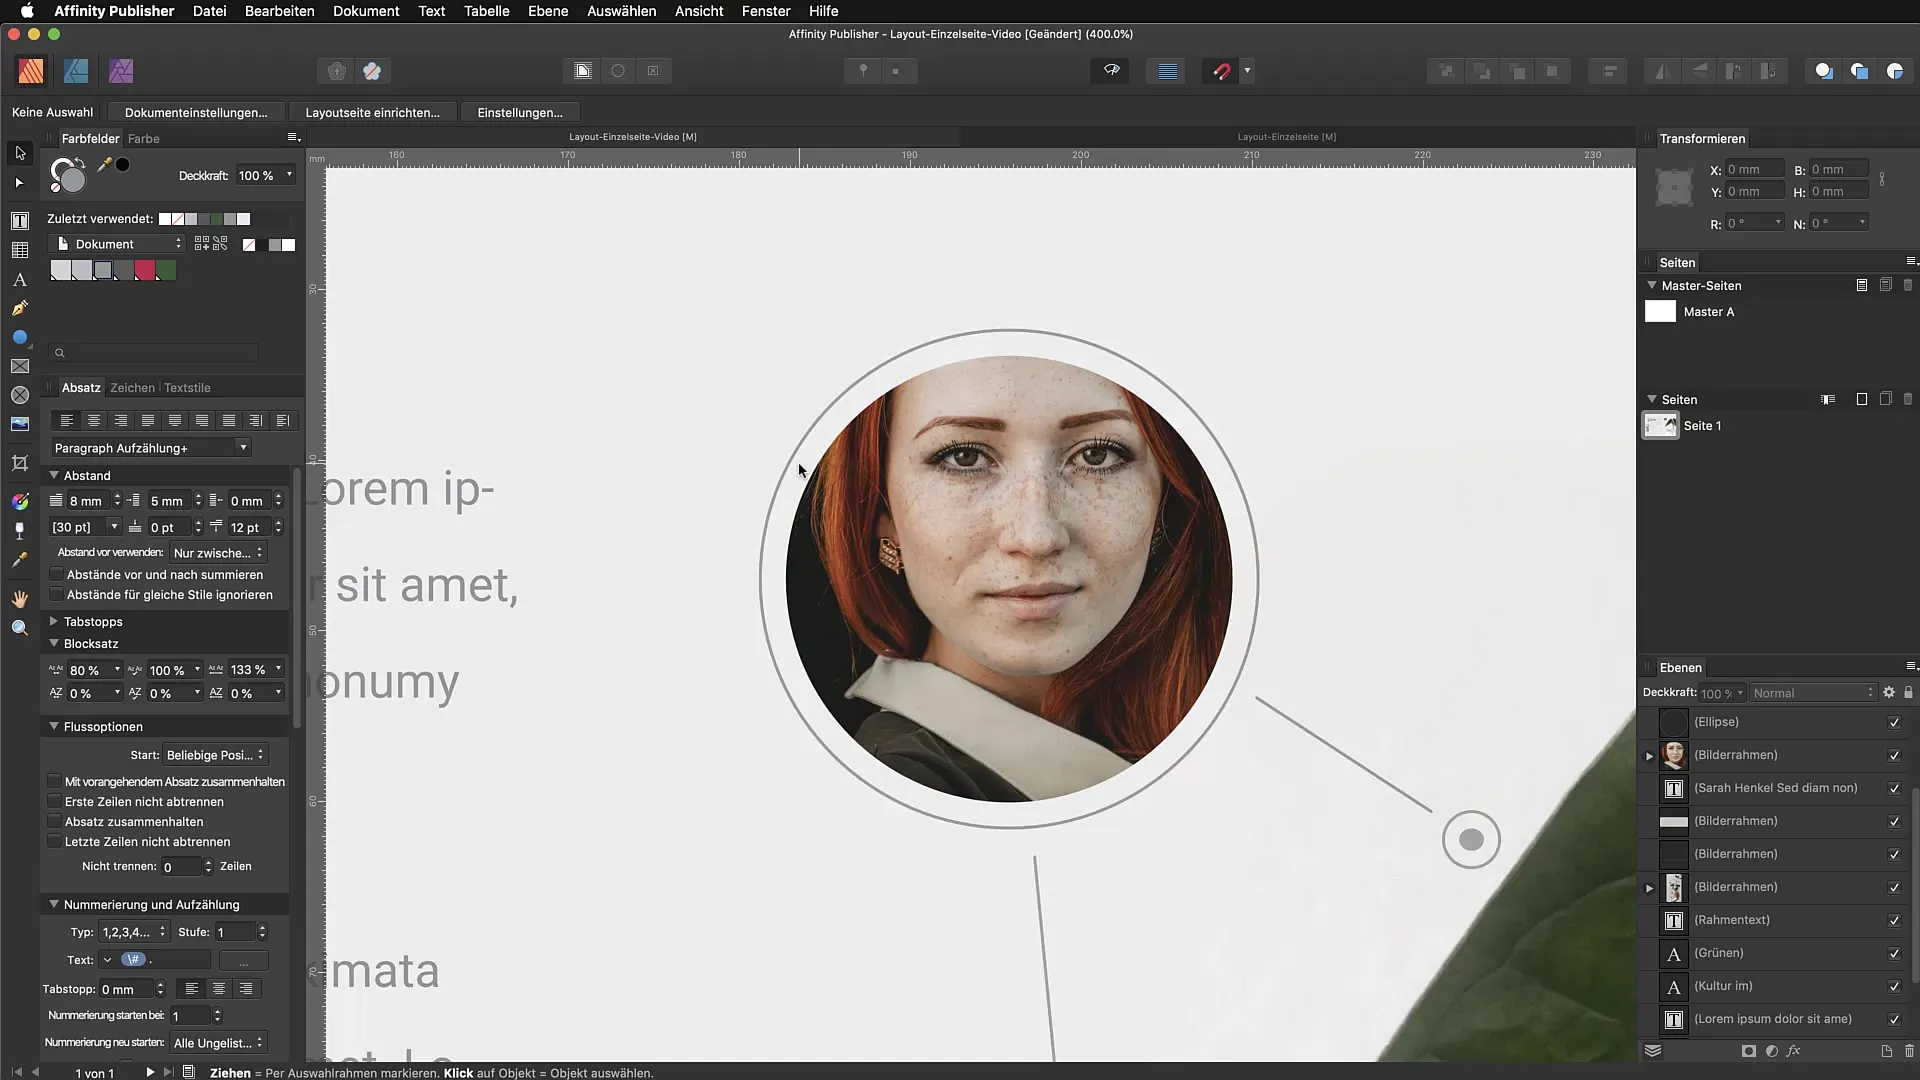
Step 3: Select the Text Tool
After selecting the path, go to the graphic text tool. Position your cursor over the path until the icon changes. This indicates that you can now place text along this path.
Step 4: Enter Text
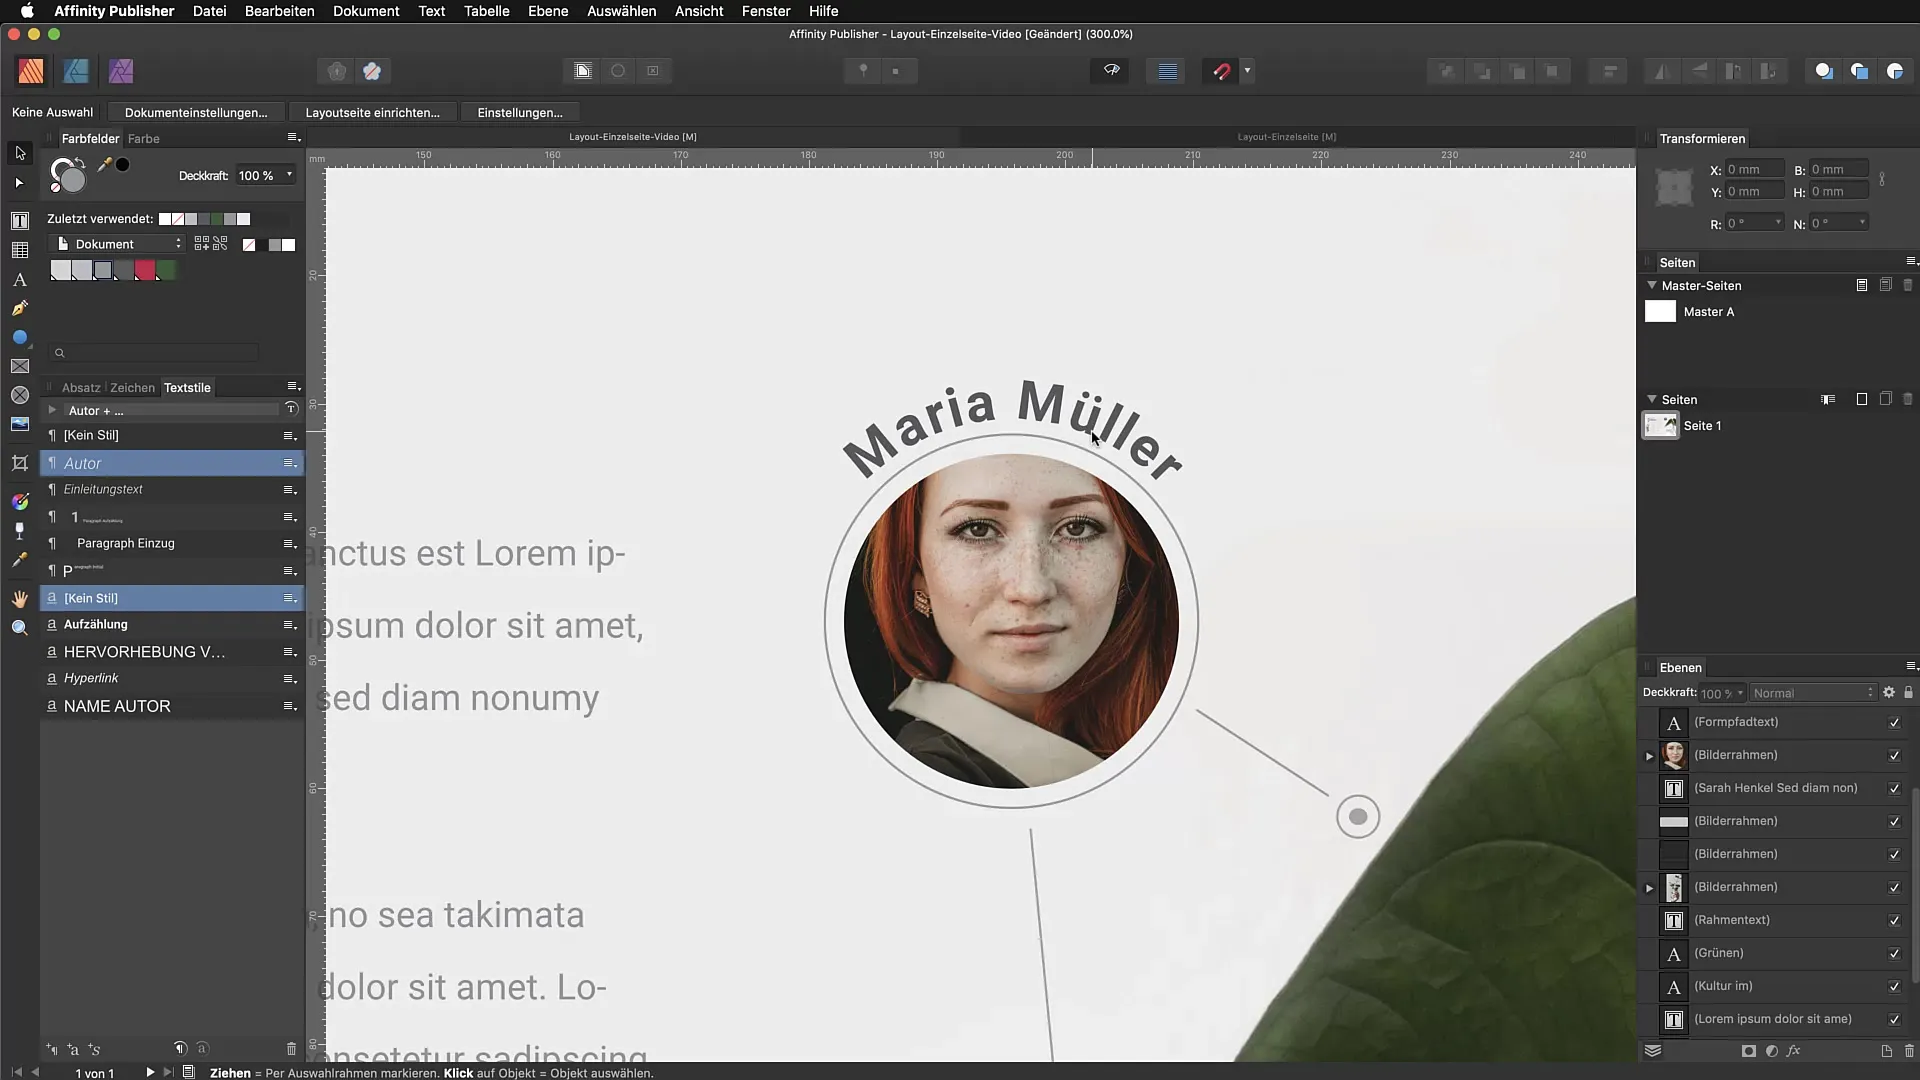
Click on the path and start typing your text. For example, you can write "Maria Müller." Make sure to select the desired style and font size to achieve the best visual result.
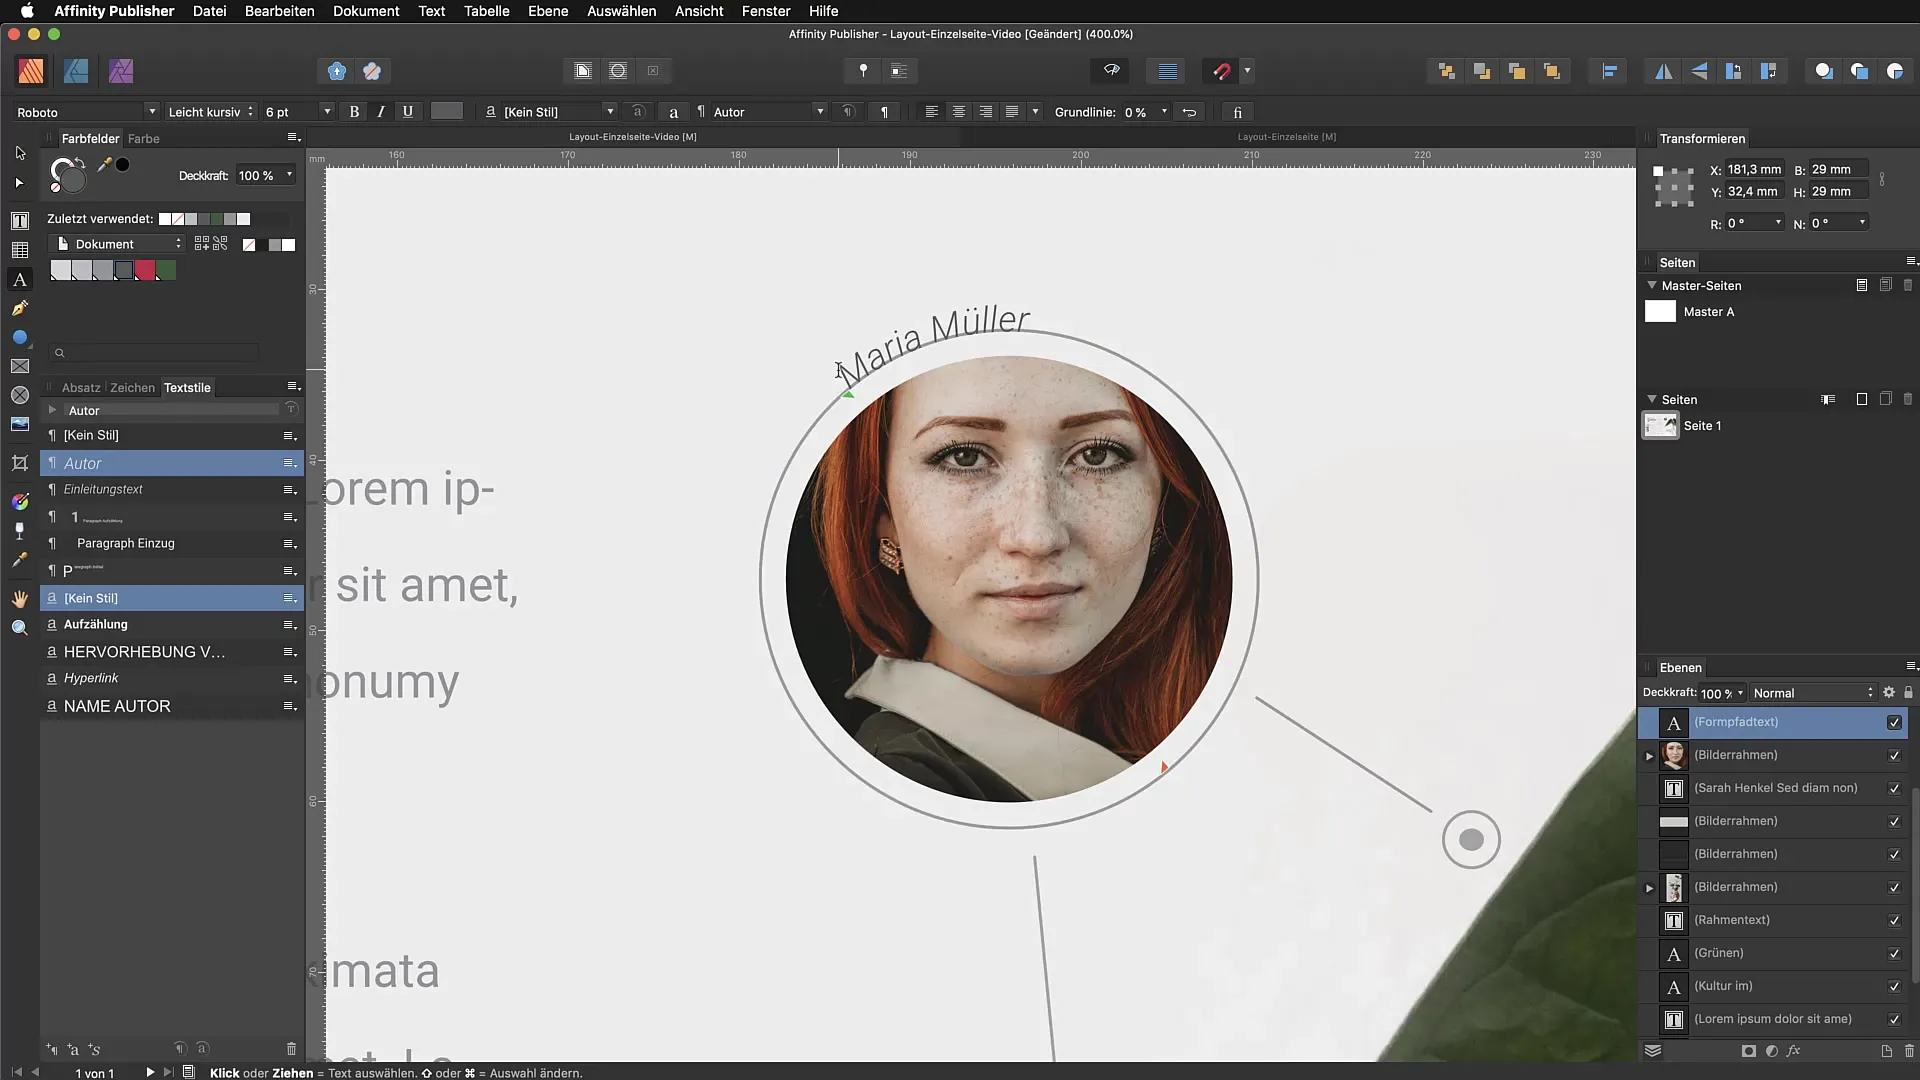
Step 5: Adjust the Text
Now you should center the text and adjust it according to your preferences. Use the arrows (green and red) at the end of the path for proper positioning and define starting and ending points. This allows for precise control of the text placement.
Step 6: Change the Distance
If the text appears too close to the path, you can adjust the distance via the baseline. Move the slider into the negative range to create some space. This improves readability and the overall appearance.
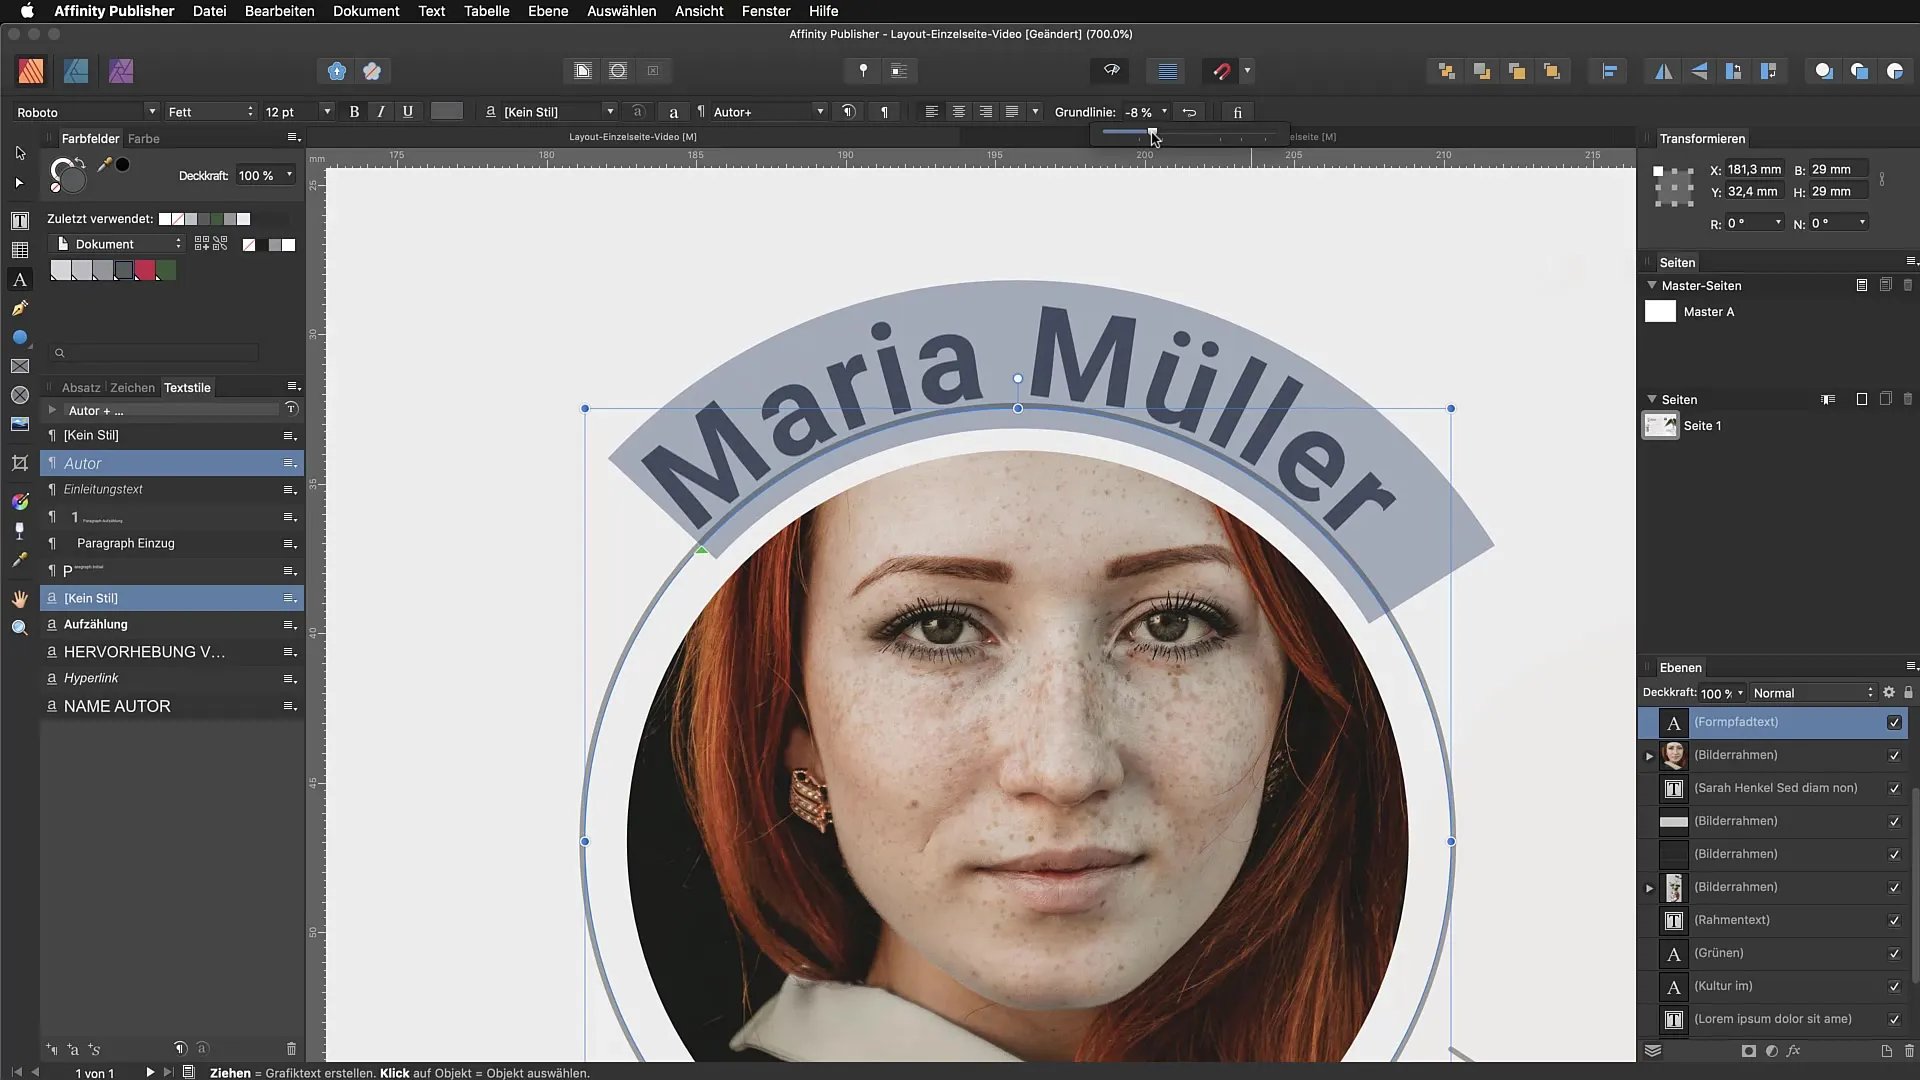
Step 7: Finalizing the Design
A final check is important to ensure everything looks good. Zoom in if necessary to check and make adjustments to the details. You have now successfully placed text on a path and optimized it.
Summary - Mastering Text on Path in Affinity Publisher
You have learned how to set text on various paths in Affinity Publisher. With the right tools, adjustments, and a little creativity, you can create appealing designs that enrich your projects.
Frequently Asked Questions
How do I set text on a path in Affinity Publisher?Select the desired path, go to the graphic text tool, click on the path, and enter your text.
Can I adjust the distance of the text from the path?Yes, you can adjust the distance using the baseline option in the top menu.
How can I change the font size of the text?Select the text and choose the desired font size from the text style menu.
What are the green and red arrows?These arrows mark the starting and ending points of the text on the path and assist in precise placement.
What shapes can I use to set text?You can use both manually drawn paths and geometric shapes.


