The creation of engaging lists in Affinity Publisher can make the difference between a boring and a professional layout. In this tutorial, you will learn how to effectively generate lists by combining paragraph and character styles. This not only makes it easier to insert lists but also enhances the overall appearance of your documents.
Key Insights
- Understand how to combine paragraph and character styles.
- Learn the steps to create lists in Affinity Publisher.
- Customize the formats for an appealing design.
Step-by-step Guide
Step 1: Prepare Document
Open Affinity Publisher and start a new or existing document. It’s helpful to have some paragraphs in the document already to better demonstrate the functionality. I recommend creating three paragraphs with three lines of text each.
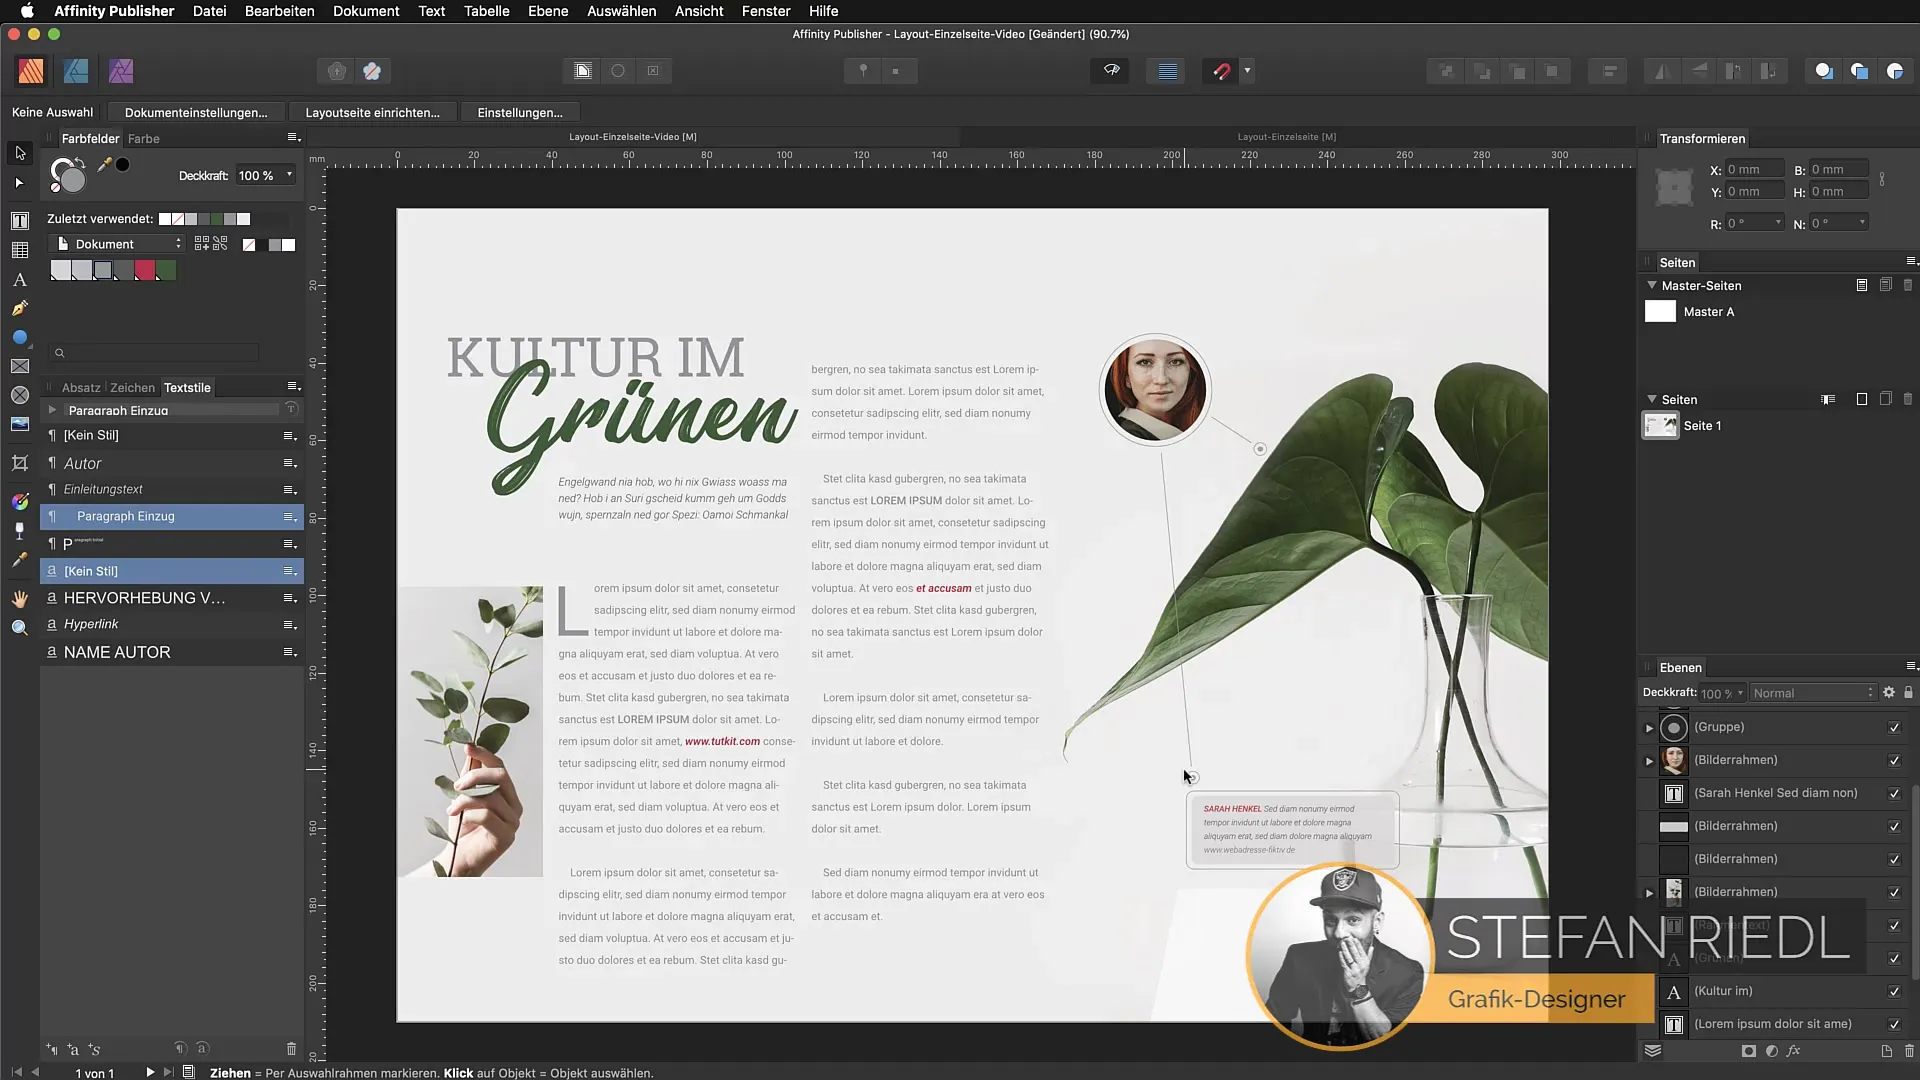
Step 2: Duplicate Paragraph Style
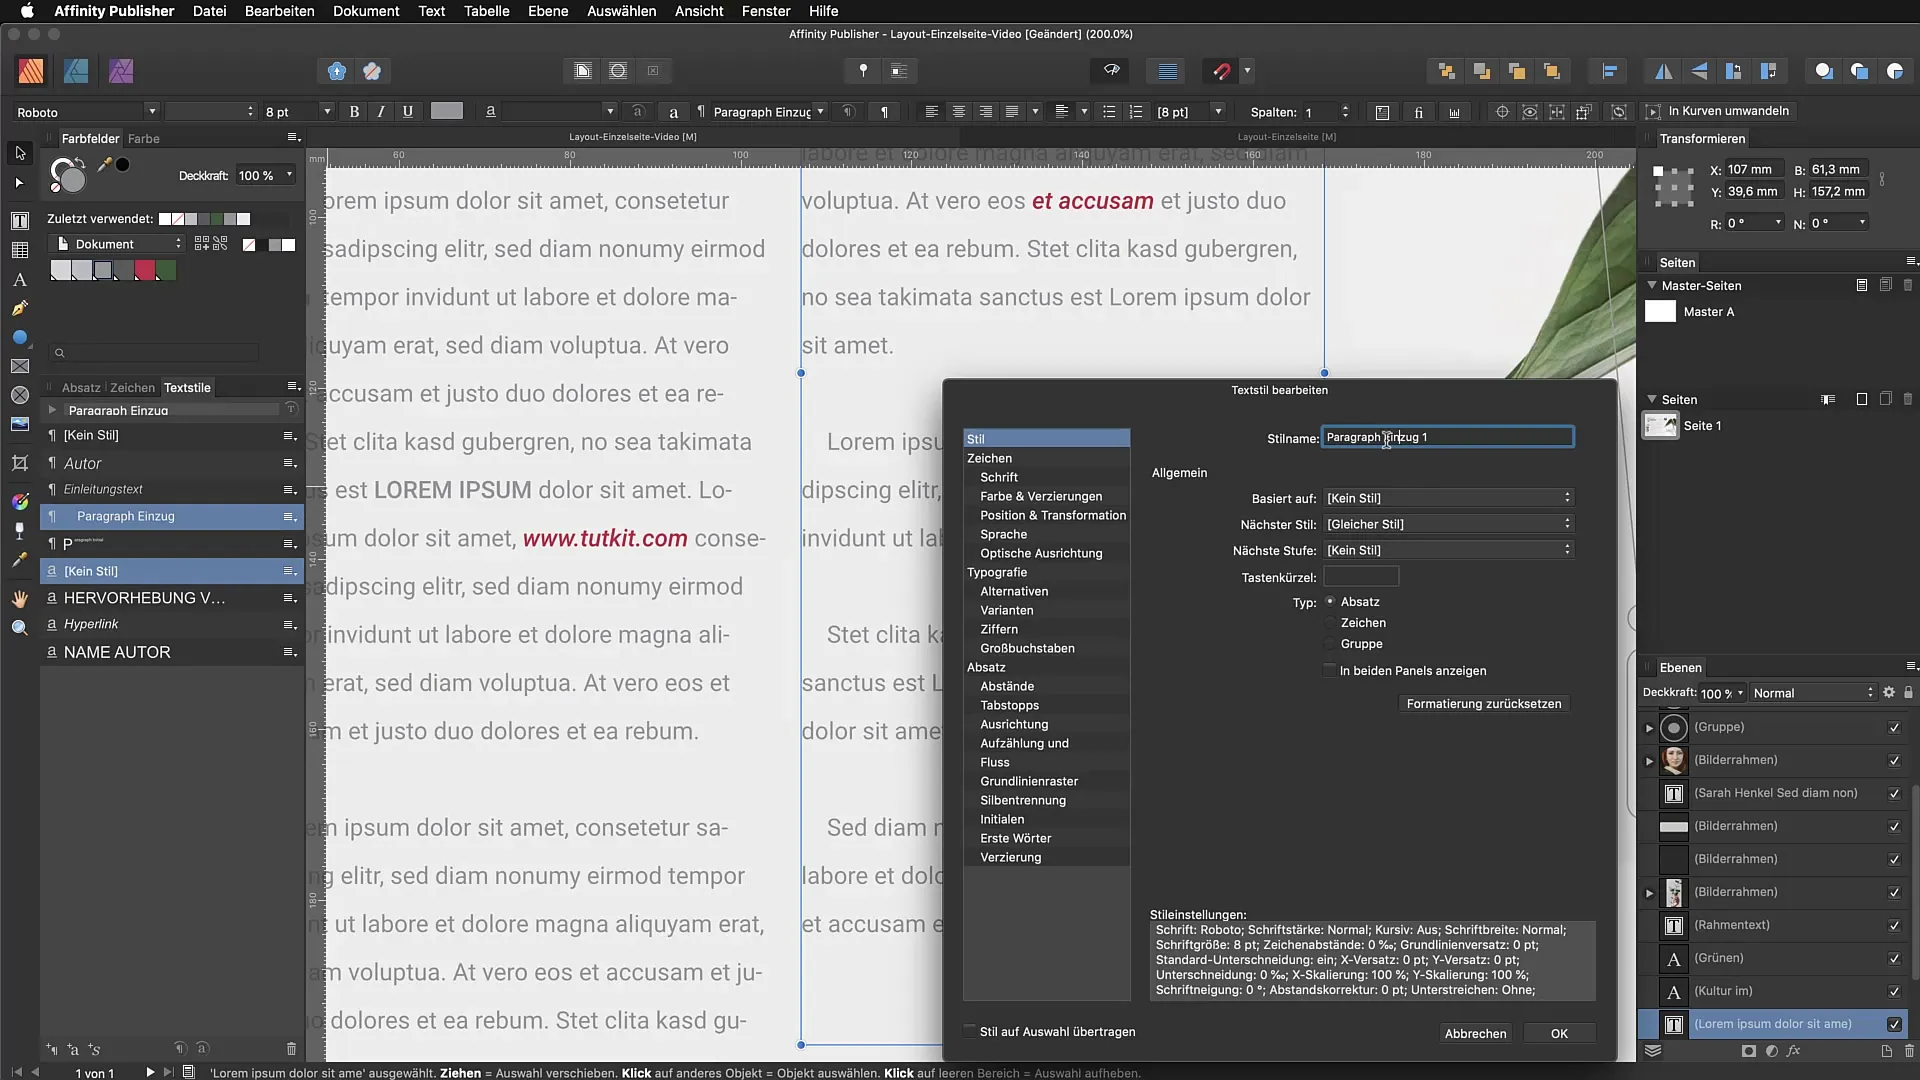
To create a new paragraph style for lists, select the existing paragraph style and duplicate it. Name the new style "Paragraph List". This allows you to use this specific style for your lists.
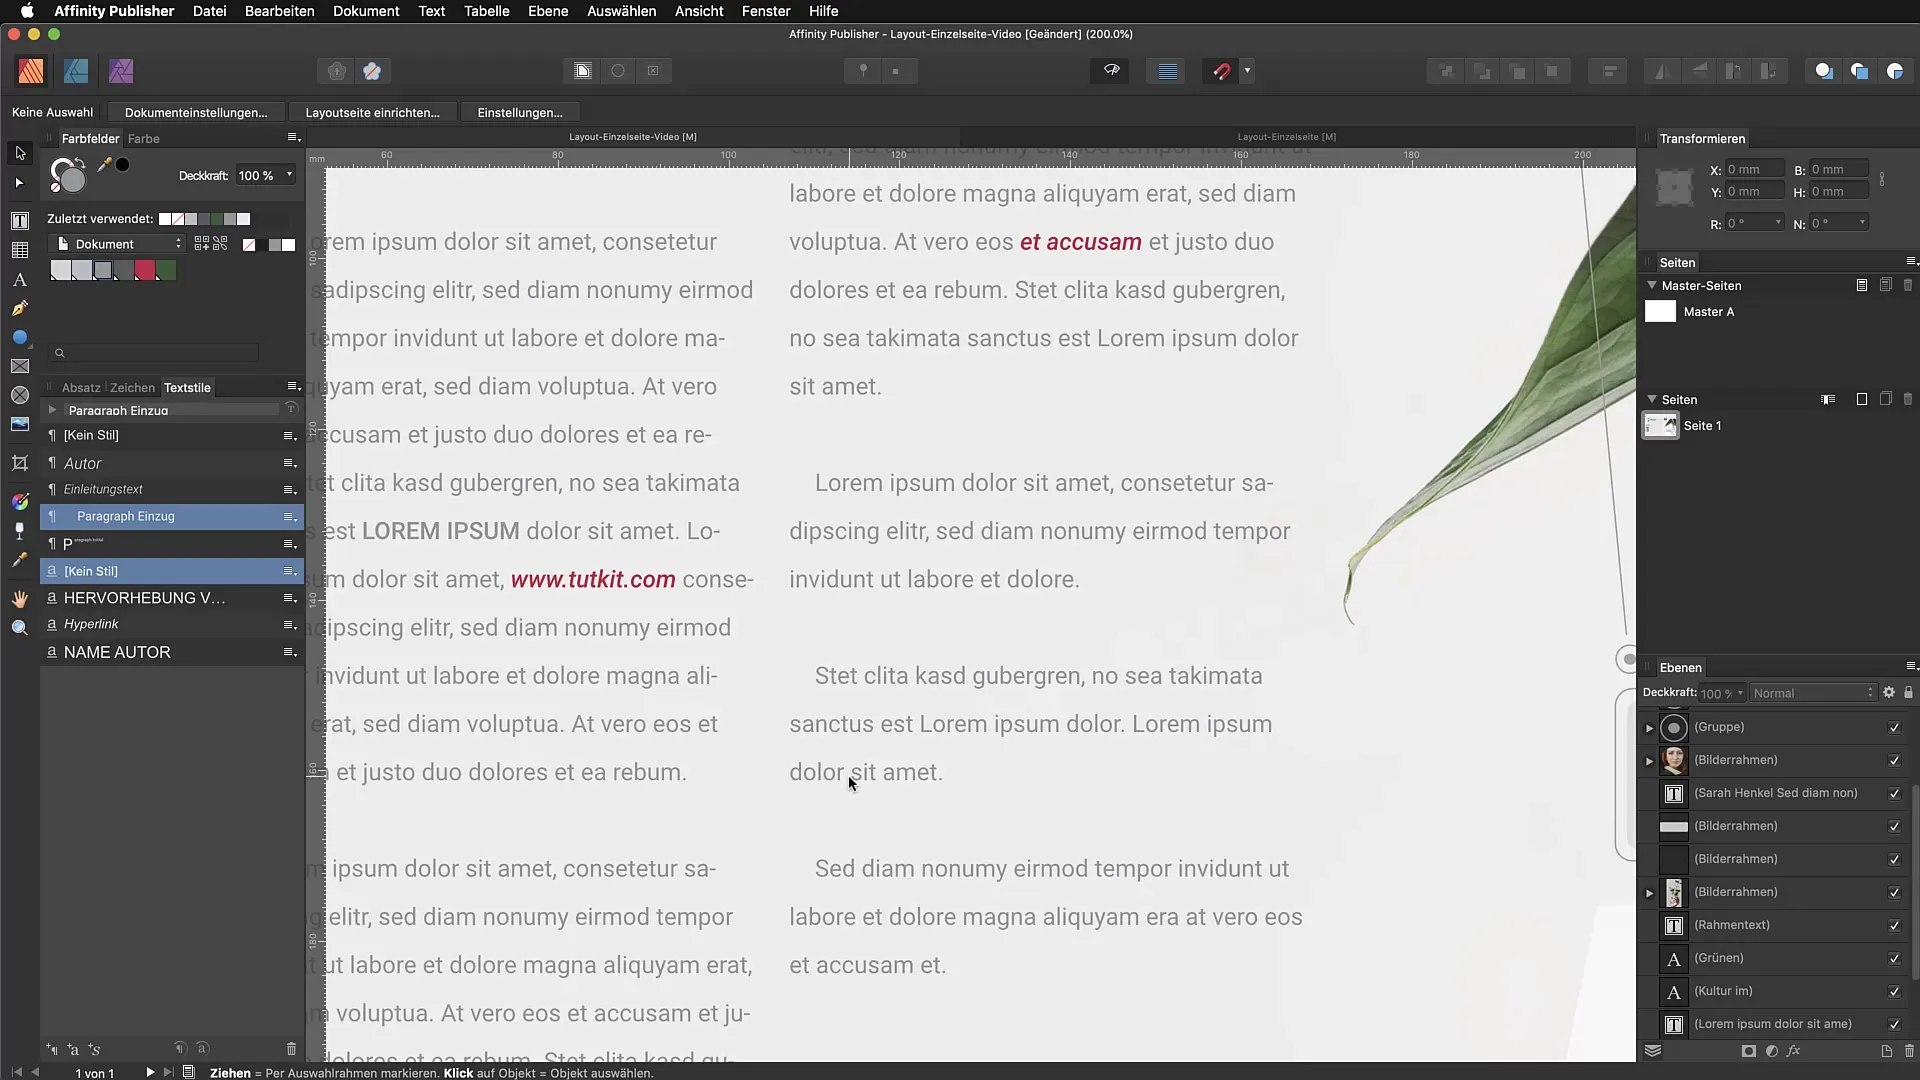
Step 3: Activate List
Activate the new paragraph style for the paragraphs you want to turn into lists. This is done manually by selecting the corresponding style for the paragraphs.
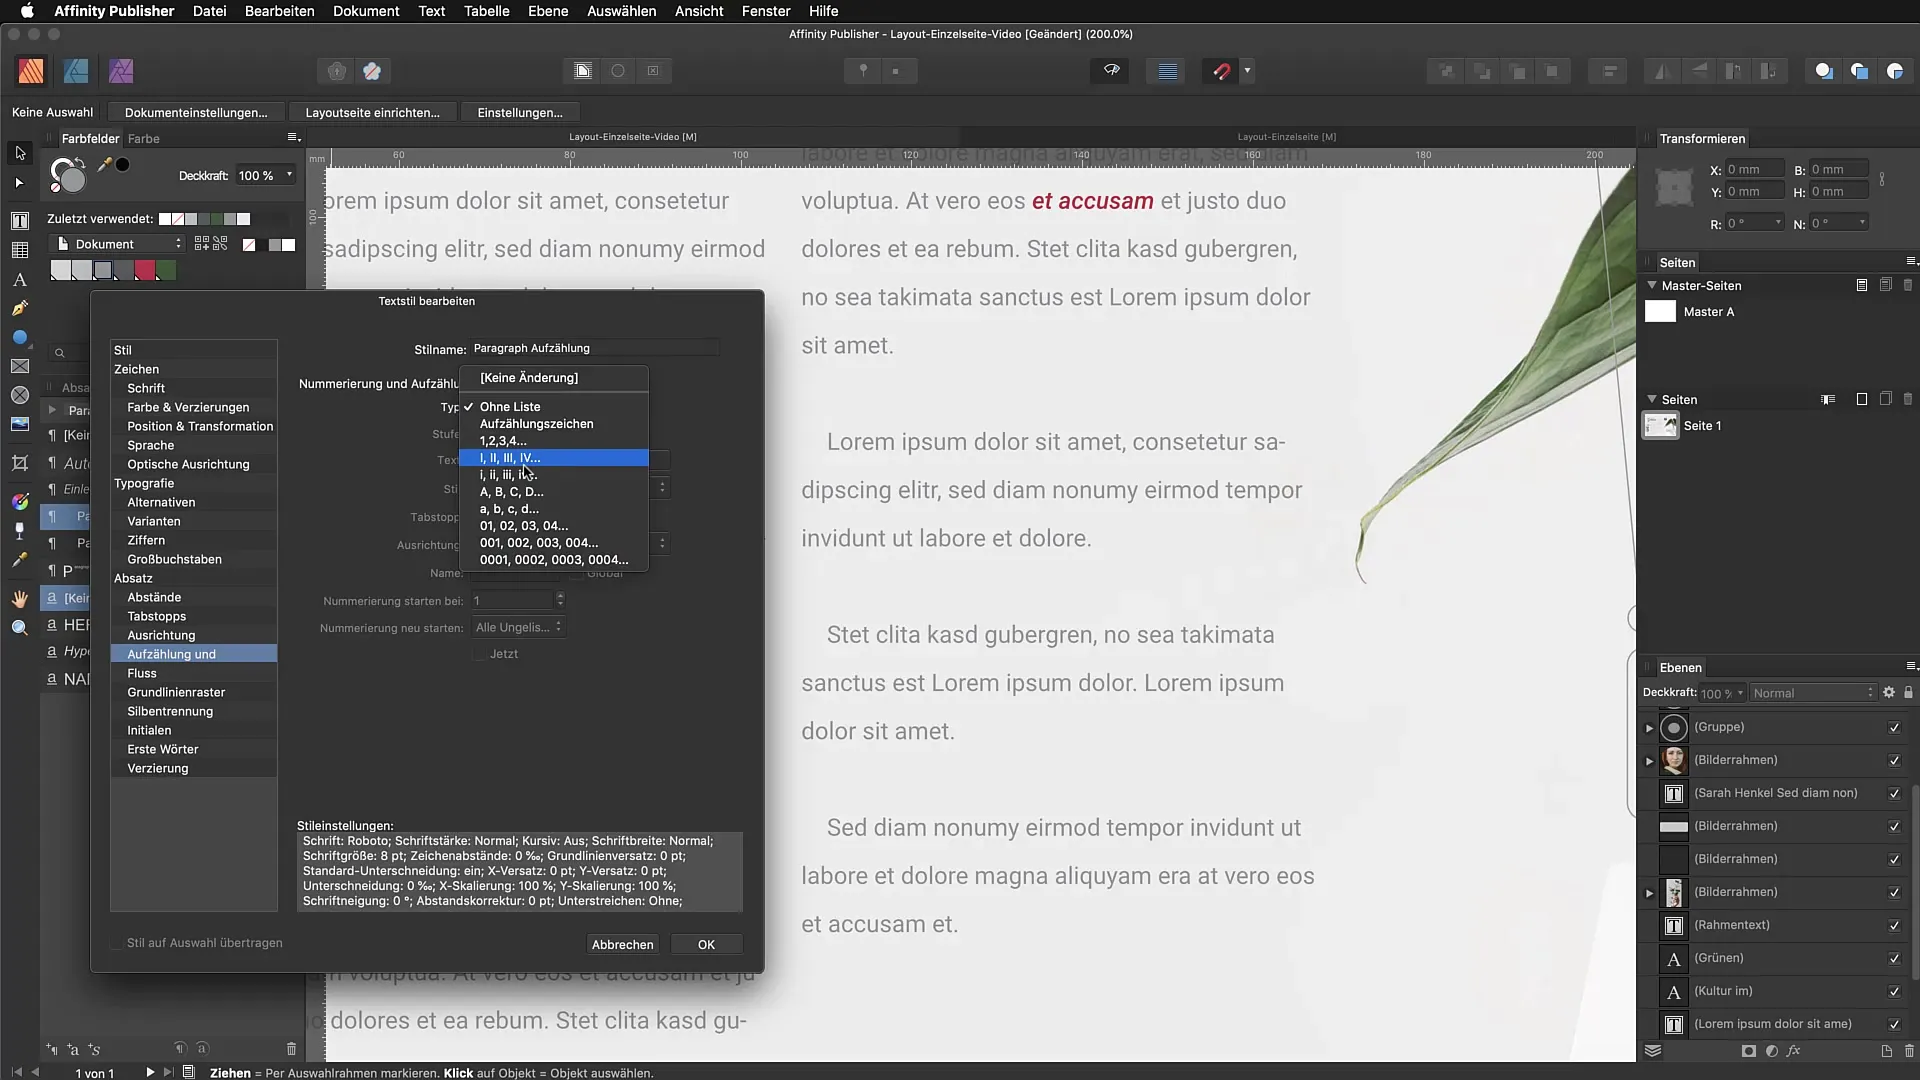
Step 4: Select List Type
Open the settings for the paragraph style. There, you can select different types in the "List" section, such as 1, 2, 3, or other formats. Choose a simple numeric list (1, 2, 3, 4) to make it easy to start.
Step 5: Define Character Style
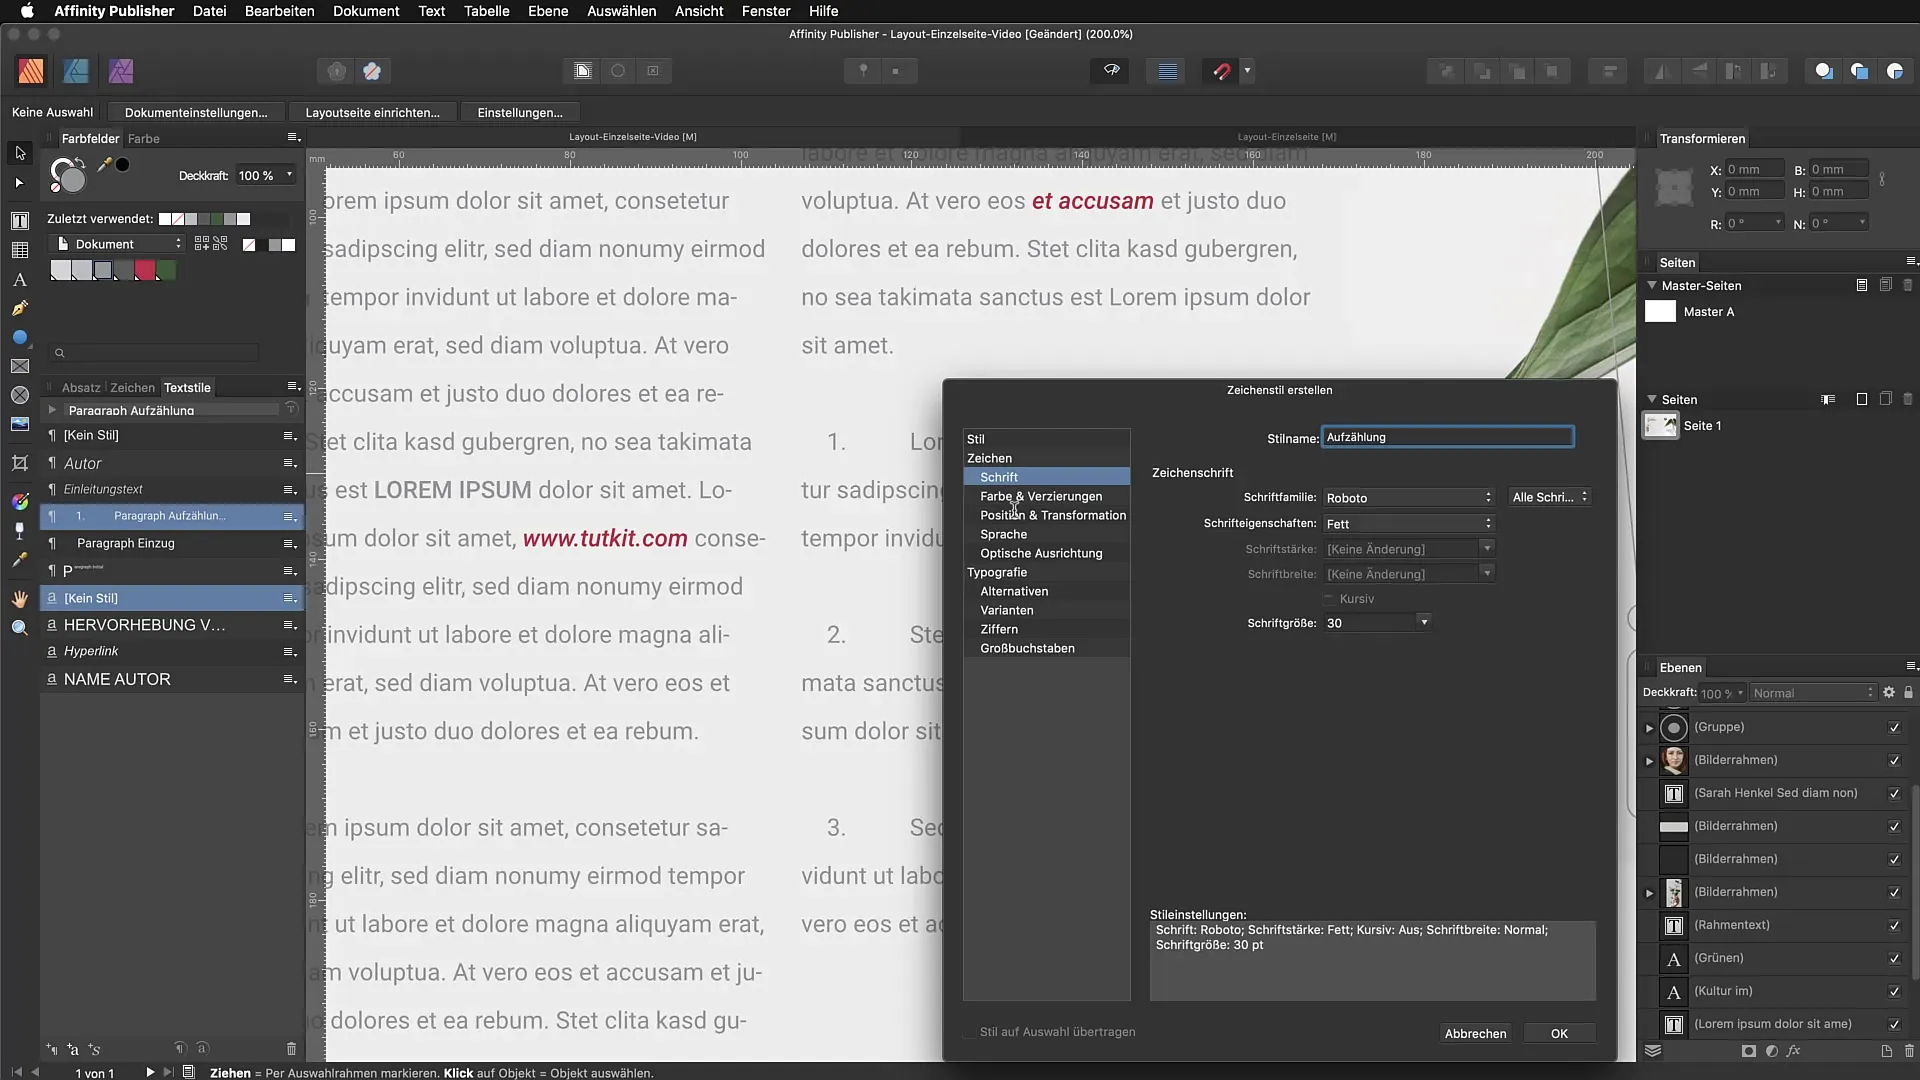
Now it's time to define a character style. Go to the "Style" section and create a new character style that you call "List". Choose the Roboto font, set the font weight to bold, and set the font size to 30 points for a striking representation of the list.
Step 6: Adjust Color
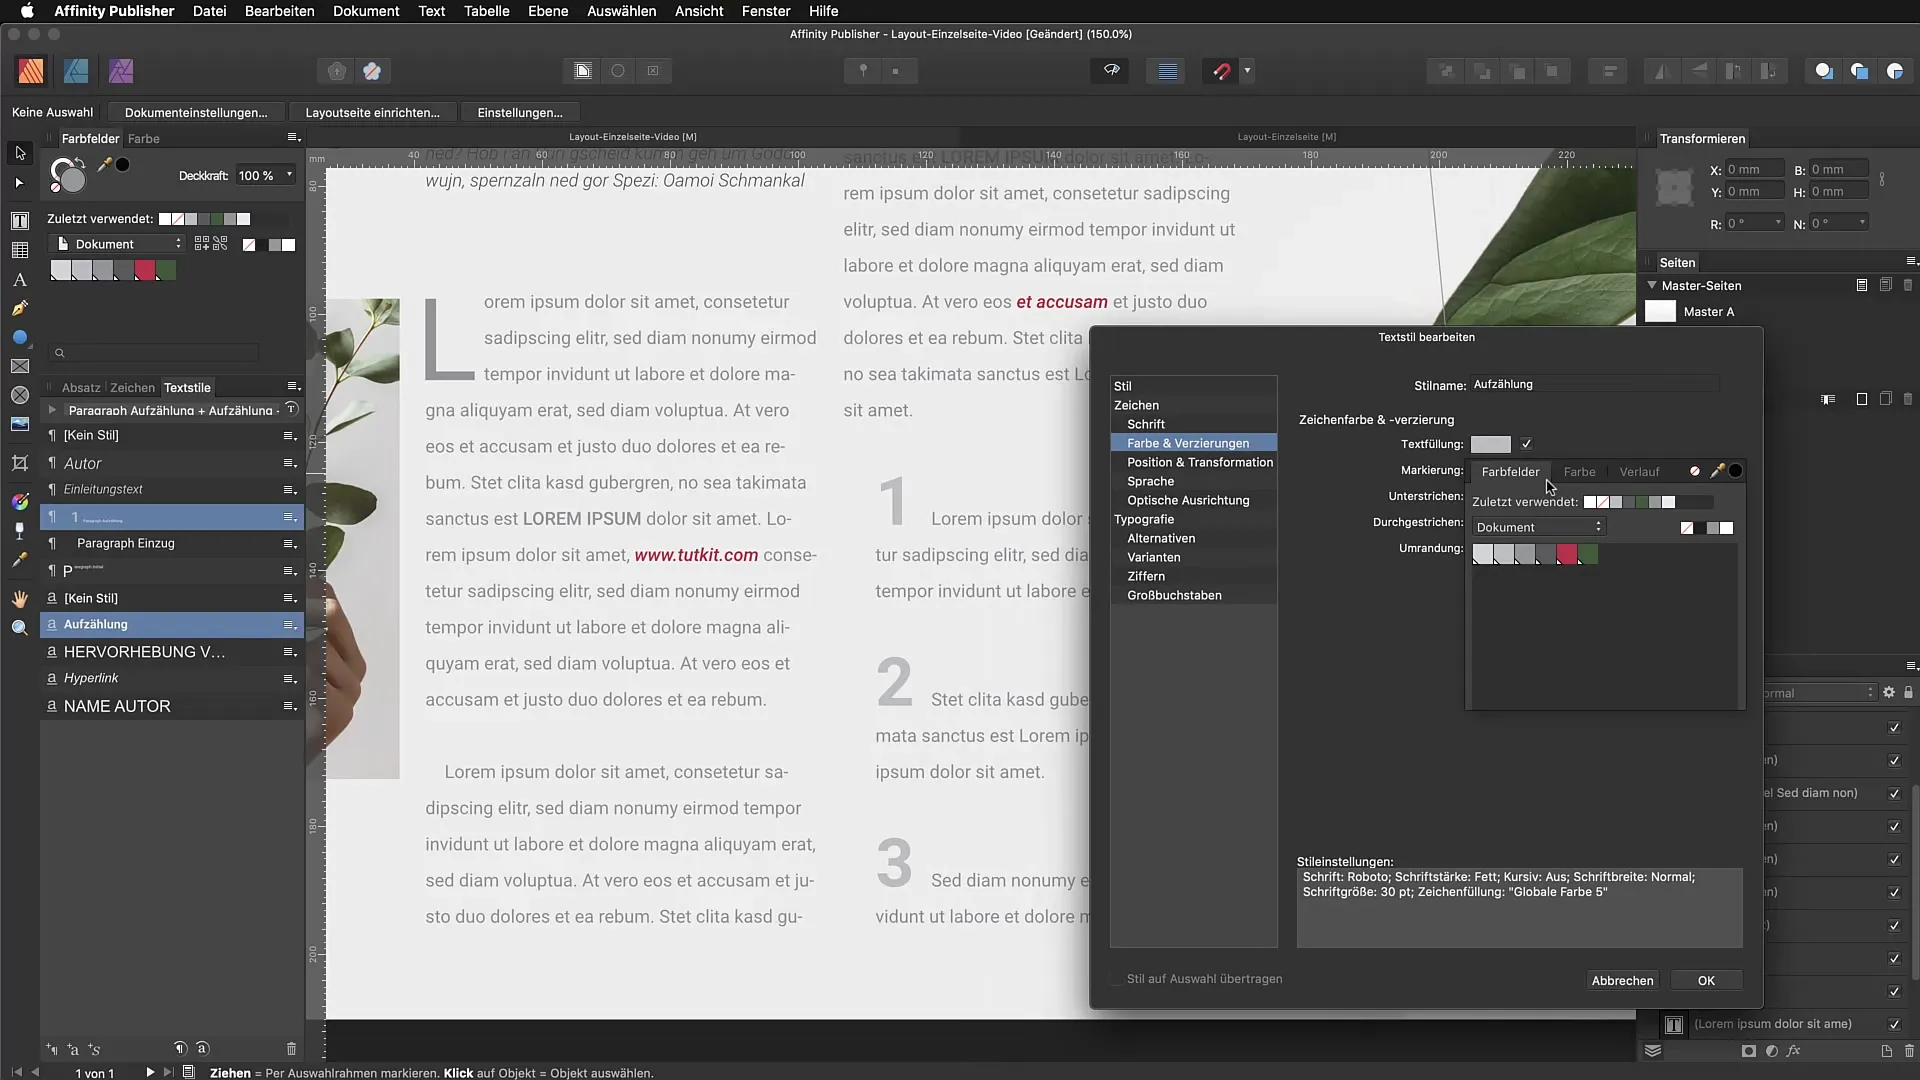
Add a text fill in a soft gray or another suitable color. This gives the lists a visual structure and makes them more appealing.
Step 7: Combine Styles
Now combine the paragraph style with the new character style to activate the list. This combination ensures that the two styles work effectively together and make your lists look appealing.
Step 8: Adjust Spacing
To ensure that the second and third lines of the list are well aligned, go to the spacing settings. Add 5 mm for the left indent and check the result.
Step 9: Optimize Spacing Between List Items
If the spacing between list items is too large, you can adjust the settings under "List" to modify the tab stop and the dot between the numbers. You can remove the tab stop to reduce the spaces.
Step 10: Final Adjustments
Close the settings and check your result. You can now make additional changes to further customize the color or style of the lists. Experiment with different colors and fonts to find the best representation for your project.
Summary – Basics of Generating Lists in Affinity Publisher
You have now learned how to create lists in Affinity Publisher by combining paragraph and character styles. By following the steps and adjusting the various options, you can make your texts visually appealing.
Frequently Asked Questions
How do I activate a paragraph style for lists?Select the desired paragraph and activate the corresponding paragraph style in the styles settings window.
Can I change the font of a list?Yes, you can create a character style to define the font, weight, and size for your lists.
How do I remove spacing between list items?Edit the spacing settings for the paragraph style and adjust the tab stops.


