You want to create a new document in AffinityPublisherand use effective settings to implement your ideas? In this tutorial, I will explain to you how to create a new document step by step while considering all important settings. We will also createa two-page wedding invitation in DIN long portrait format. Let's get started.
Key Insights
- The selection of page templates and units of measurement affects print quality and presentation for web applications.
- You can save different settings for commonly used document sizes.
- Working with bleeds and margins is crucial for well-designed professional print results.
Step-by-Step Guide
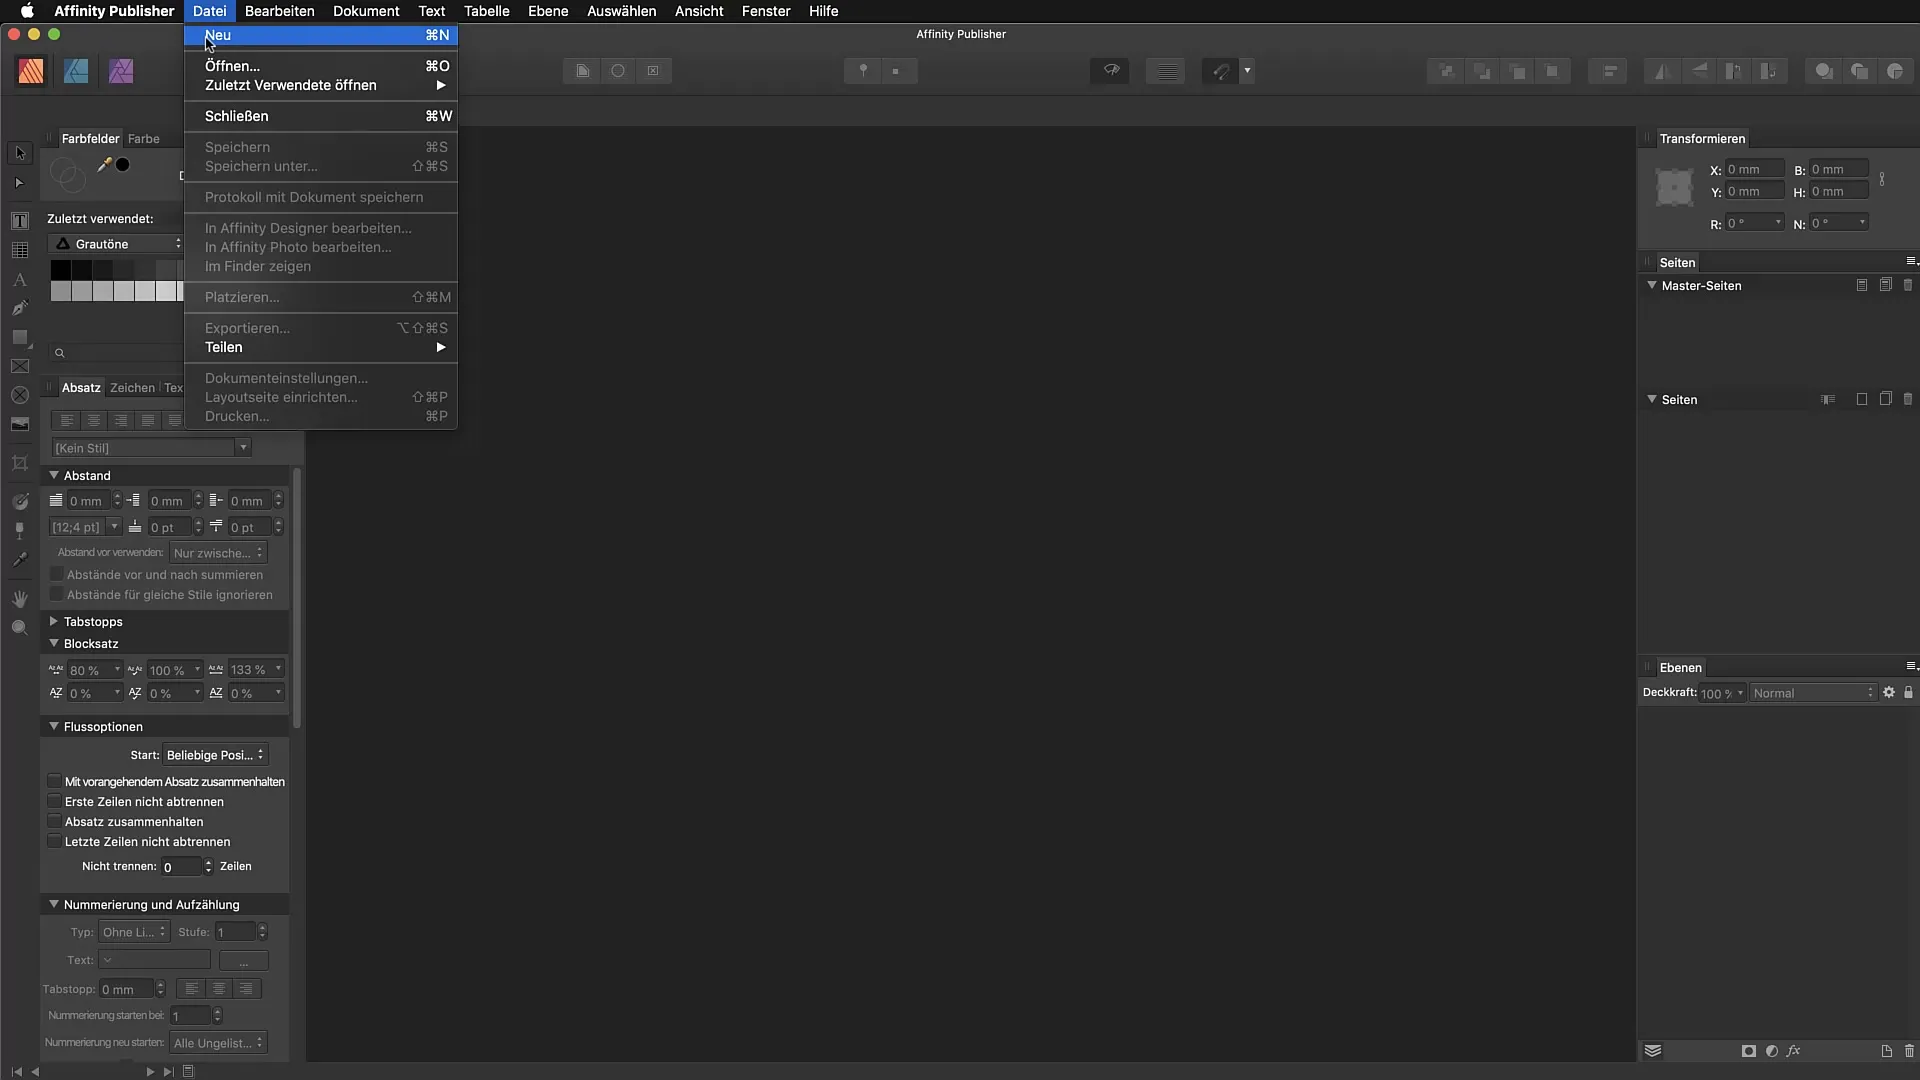
First, open Affinity Publisher and select “File” and then “New” or press the shortcut Command+N to open the new document dialog. Here you have various options to choose from.
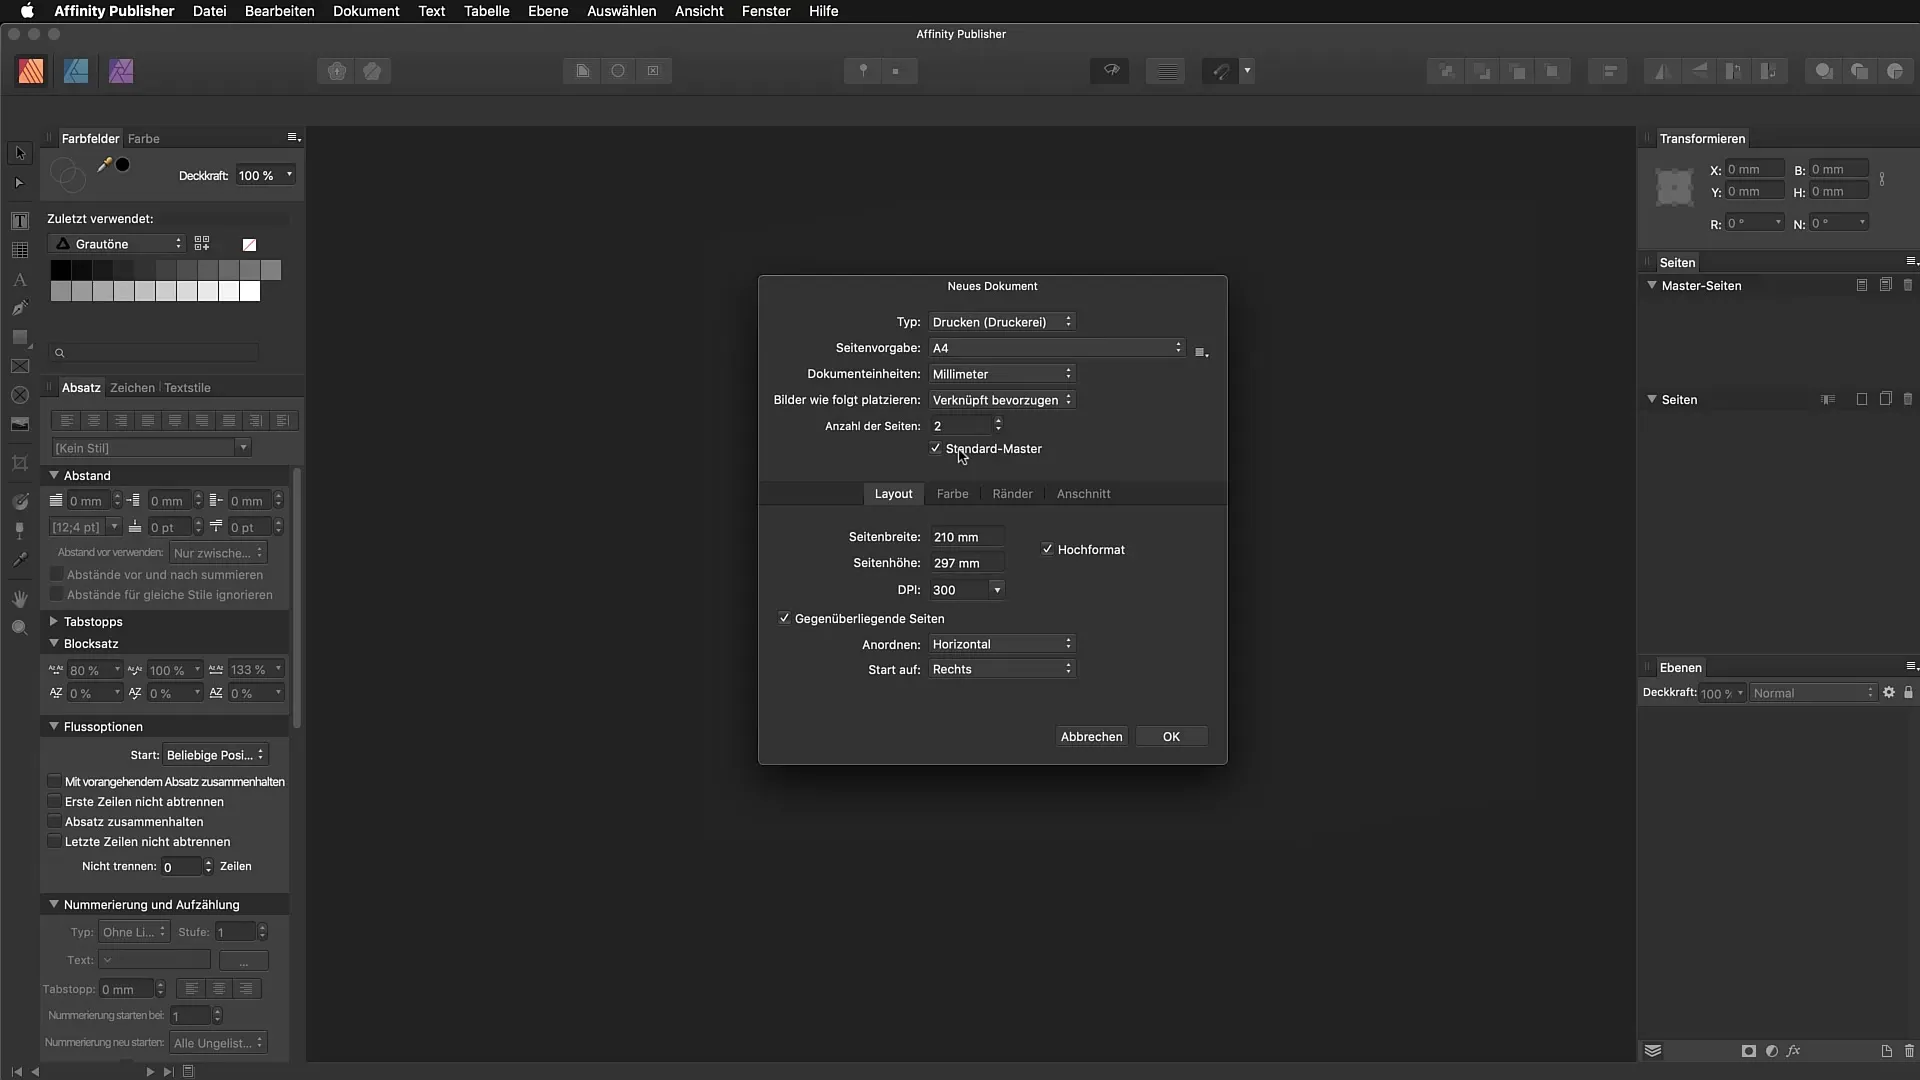
In the “New Document” dialog, you can see that the type and page template interact with each other. You can specify whether you are working for professional print or web design. Make sure the unit of measurement is set to pixels or millimeters, depending on your needs.
To design a wedding invitation that we will use as an example in the video, we select a double-sided document template. For our invitation, we need two pages – front and back. It is important that you keep the “Standard Master” option active, as this allows us to use master pages.
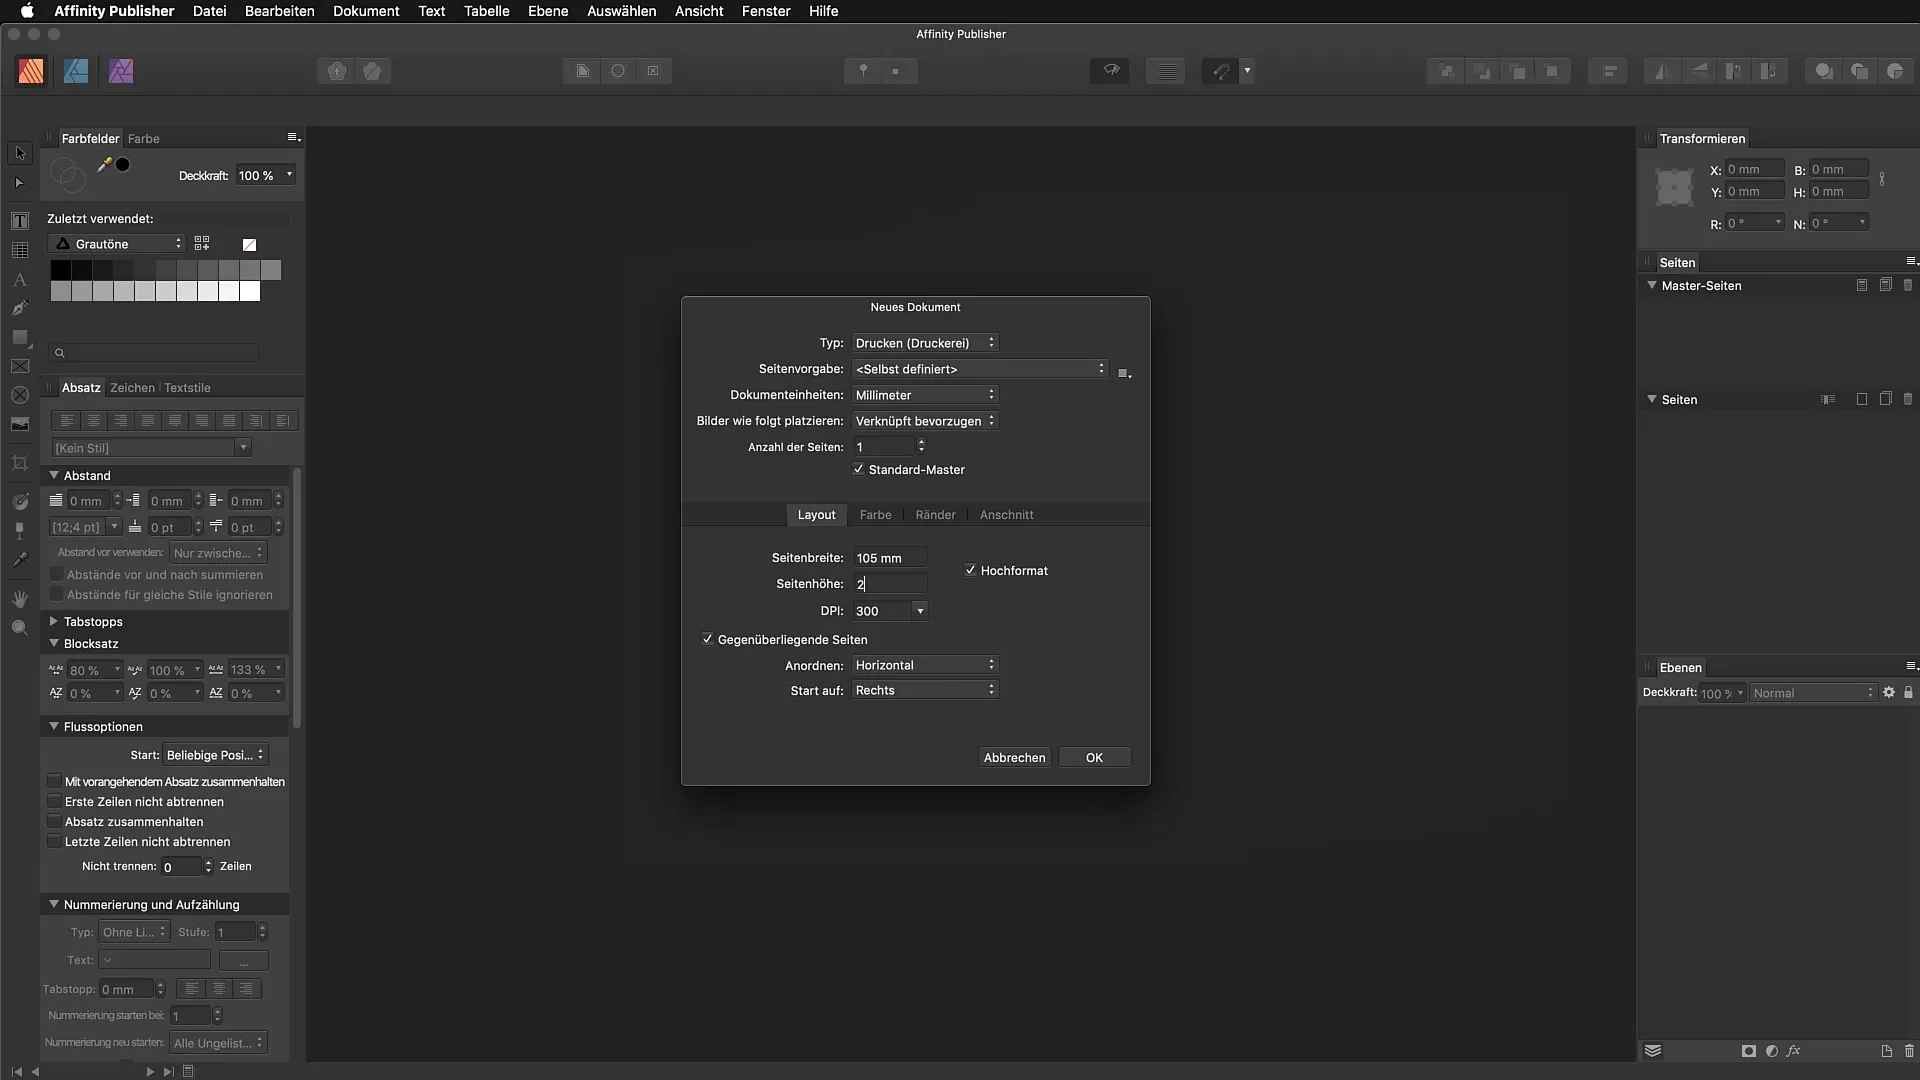
Now set the page width and height. For a DIN long portrait invitation, you choose a page width of 105 mm and a page height of 210 mm. Set the dpi (dots per inch) to 300 to ensure high print quality.
Next, you can switch to the next tab to adjust the color settings. Choose the color format CMYK, as we need this for print work. The standard profile I recommend is ISO Coated v2. You should pay attention to indicate whether or not you want transparency, depending on whether you want a transparent background.
Next, we will look at the margins. You can select standard values here or enter your own values. I recommend setting the margins to 10 mm on all sides. Activate the chain symbol so that the margins automatically adjust when you change a value.
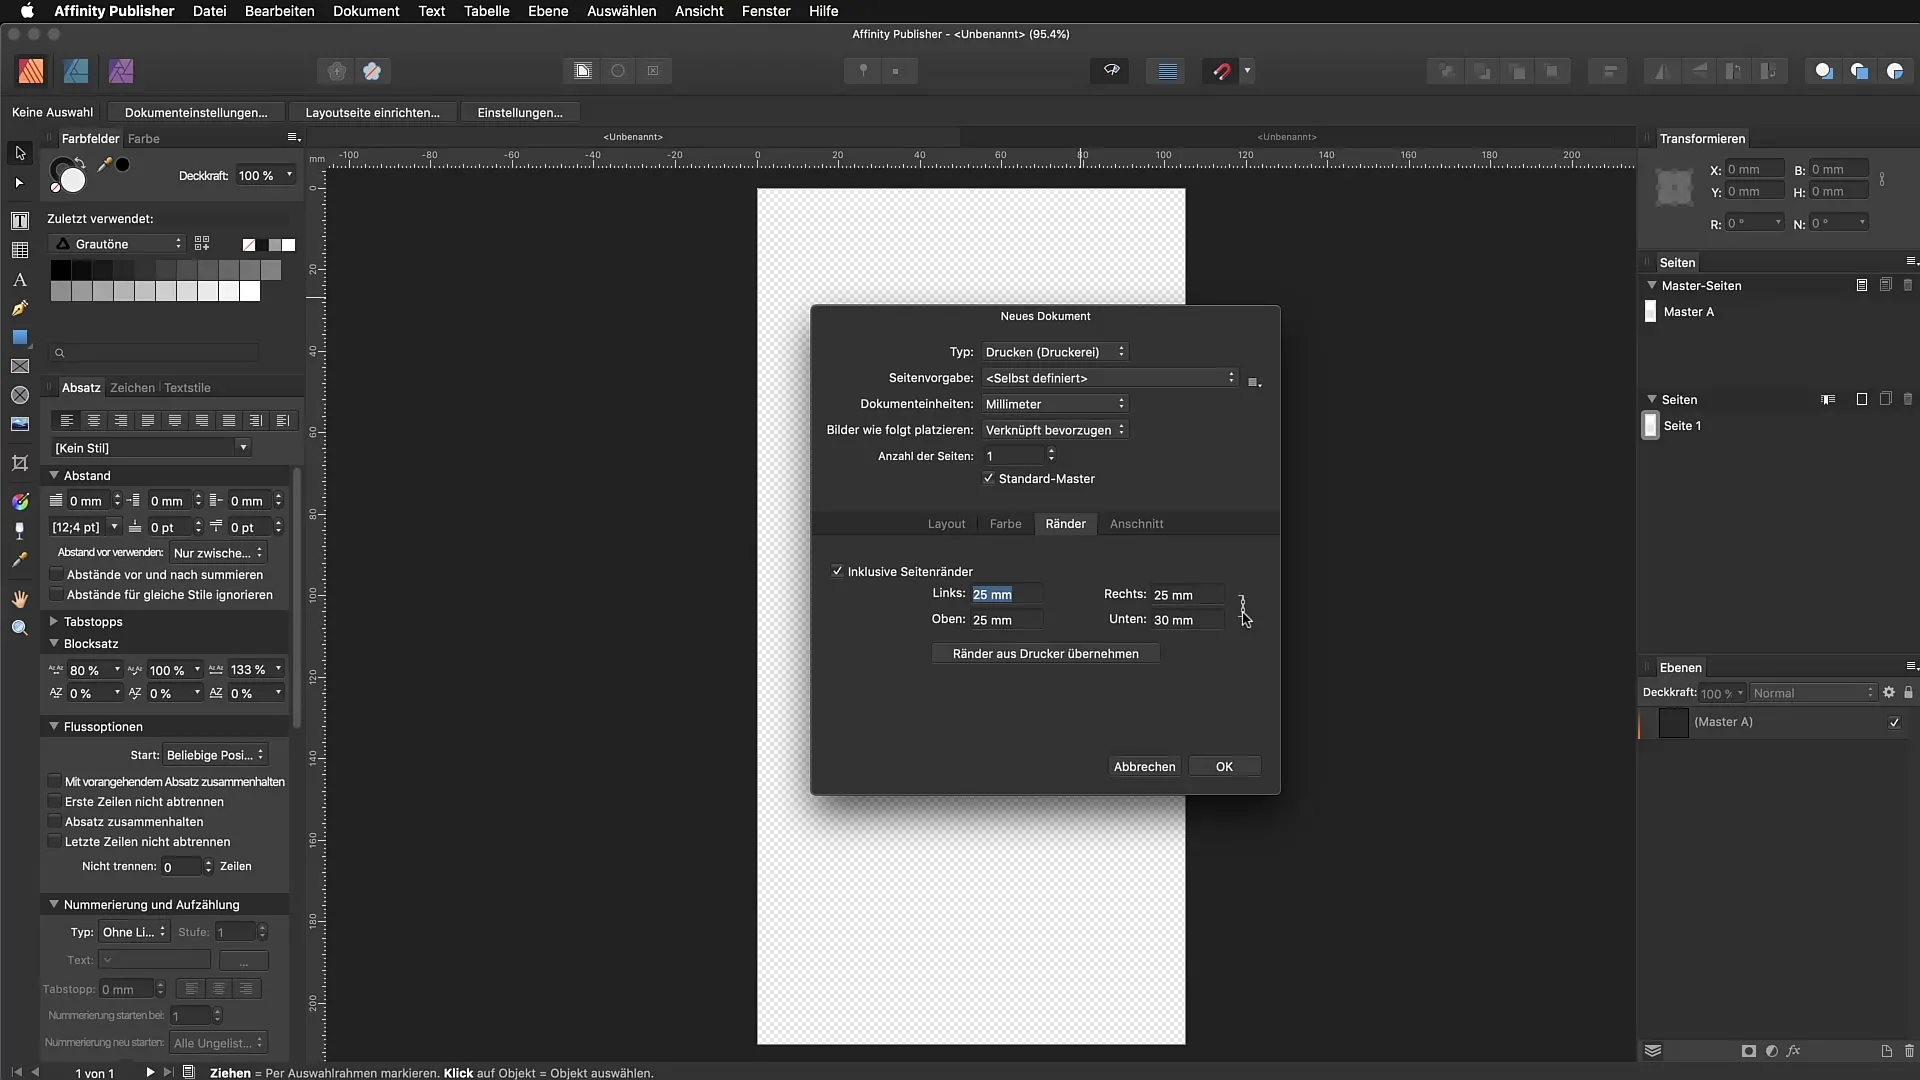
Now let's take a look at the bleed. This is also important for printing and should be set to 3 mm. Check your settings before clicking “Confirm” to create your new document.
After confirmation, you will now see both pages of your document on the screen. Activate the preview mode to display the bleeds, and enable the ruler to facilitate navigation. You can activate the ruler via “View” and then “Show Ruler” or use the shortcut Command+R.
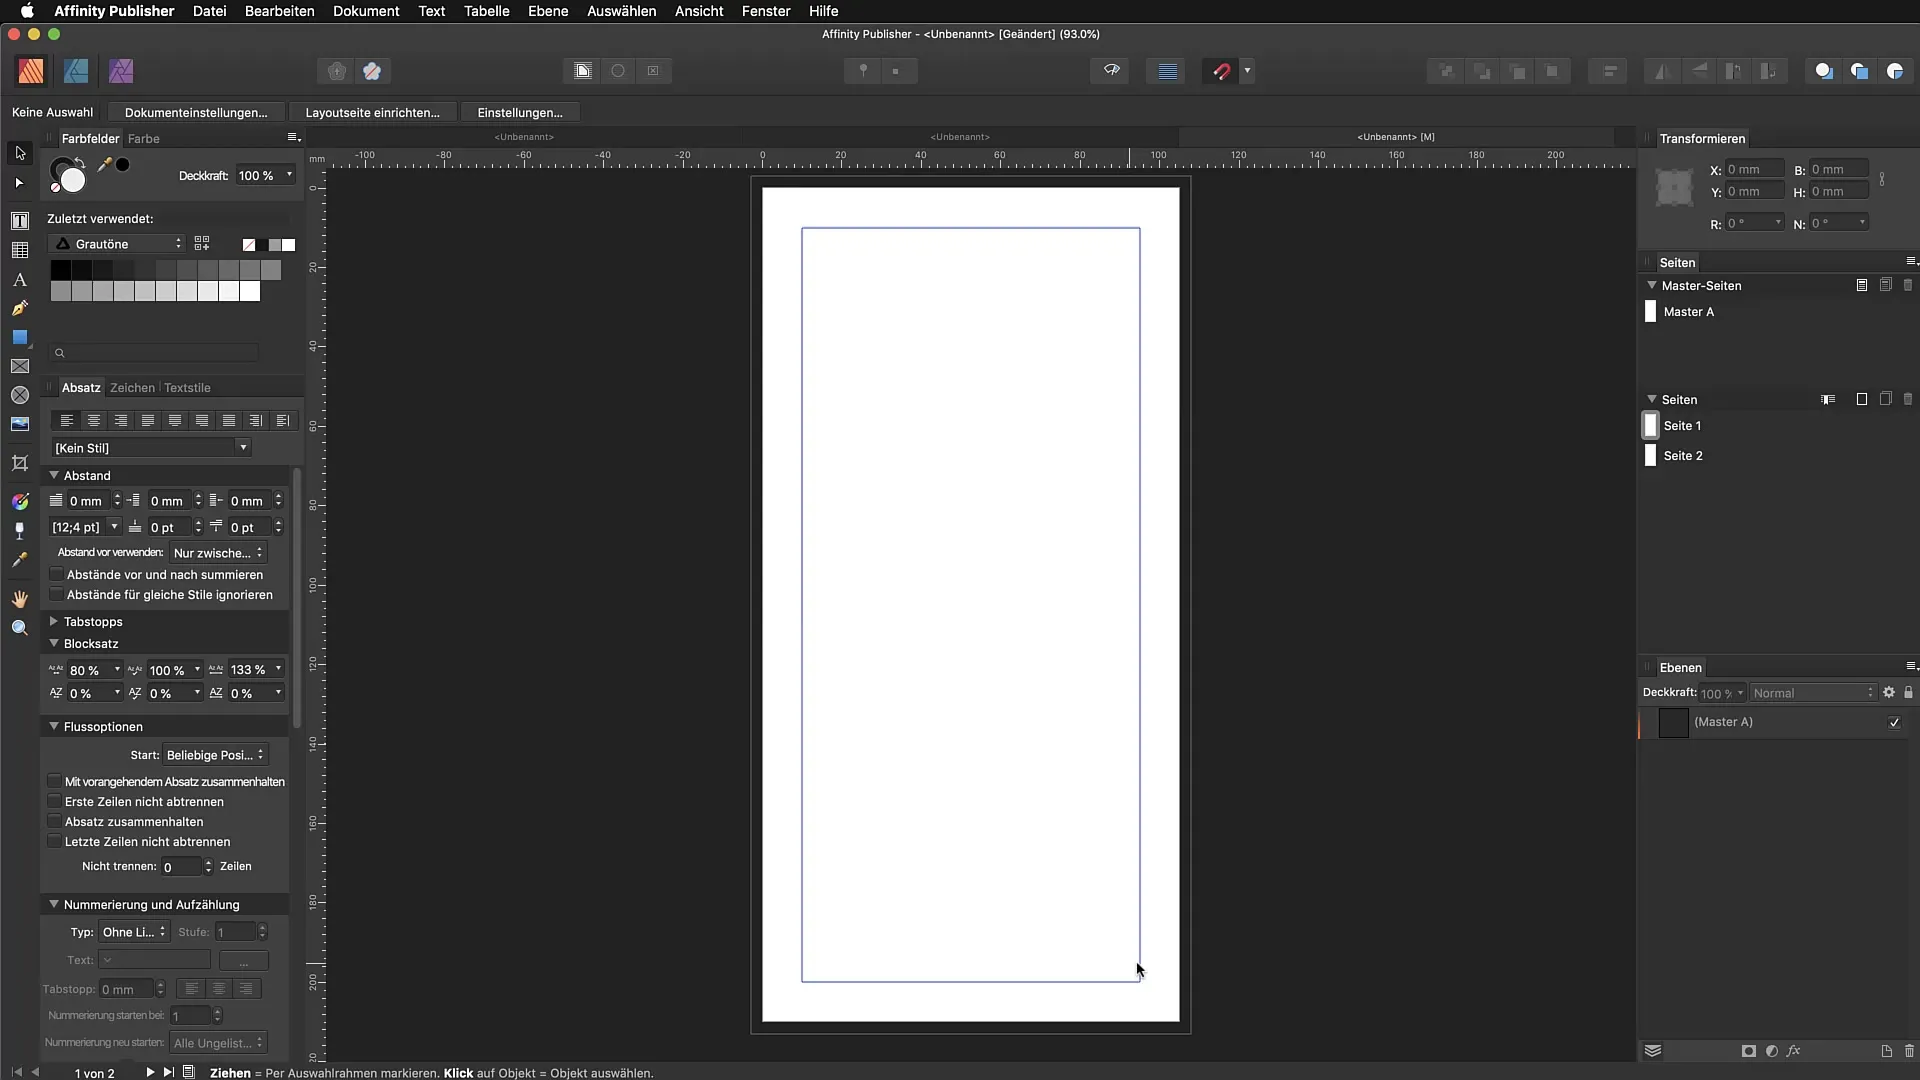
If you want to change the unit of measurement, you can do this by right-clicking on one of the measurements and selecting any unit of measurement you need.
Summary – Affinity Publisher Basic Tutorial: Effectively Creating New Documents
Creating new documents in Affinity Publisher can be a creative and intuitive process. By choosing the right settings and knowing how to work with page margins, bleeds, and color graphics, you are well-equipped to create professional designs. The steps presented will help you quickly and efficiently turn your ideas into appealing printed products.
FAQ
How do I create a new document in Affinity Publisher?Select “File” and then “New” or press Command+N.
Which unit of measurement should I use for print?The most common unit of measurement for print is millimeters.
How can I set margins for my document?Go to the margins tab and set the desired values. Activate the chain symbol to change values simultaneously on all sides.
Can I adjust my document for the web?Yes, change the page template to pixels and choose the appropriate settings for image resolution.
What is bleed and why is it important?The bleed is the area around the document edges that you need in printing to ensure that no white borders occur.


