AffinityPublisheroffers you a remarkable range of integrated tools for image editing. With these tools, you can edit photos using tonal corrections, exposure adjustments, or curves directly in your document. In this guide, I will show you how to effectively use the powerful image correction features.
Main Insights
- Affinity Publisher includes handy tools for image editing that are usually found in specialized programs.
- You can easily convert images to black and white, adjust color balance, and make tonal corrections without having to leave the program.
- There are numerous adjustment options that help you create artistic effects and optimize image quality.
Step-by-Step Guide
Image Selection and Preparation
Before you start editing an image, you need to insert an image into your Affinity Publisher project. You can do this by simply dragging the image into the document or using the "Insert Image" menu option. Once the image is in the document, click on the image to select it. You can now adjust the image editing tools.
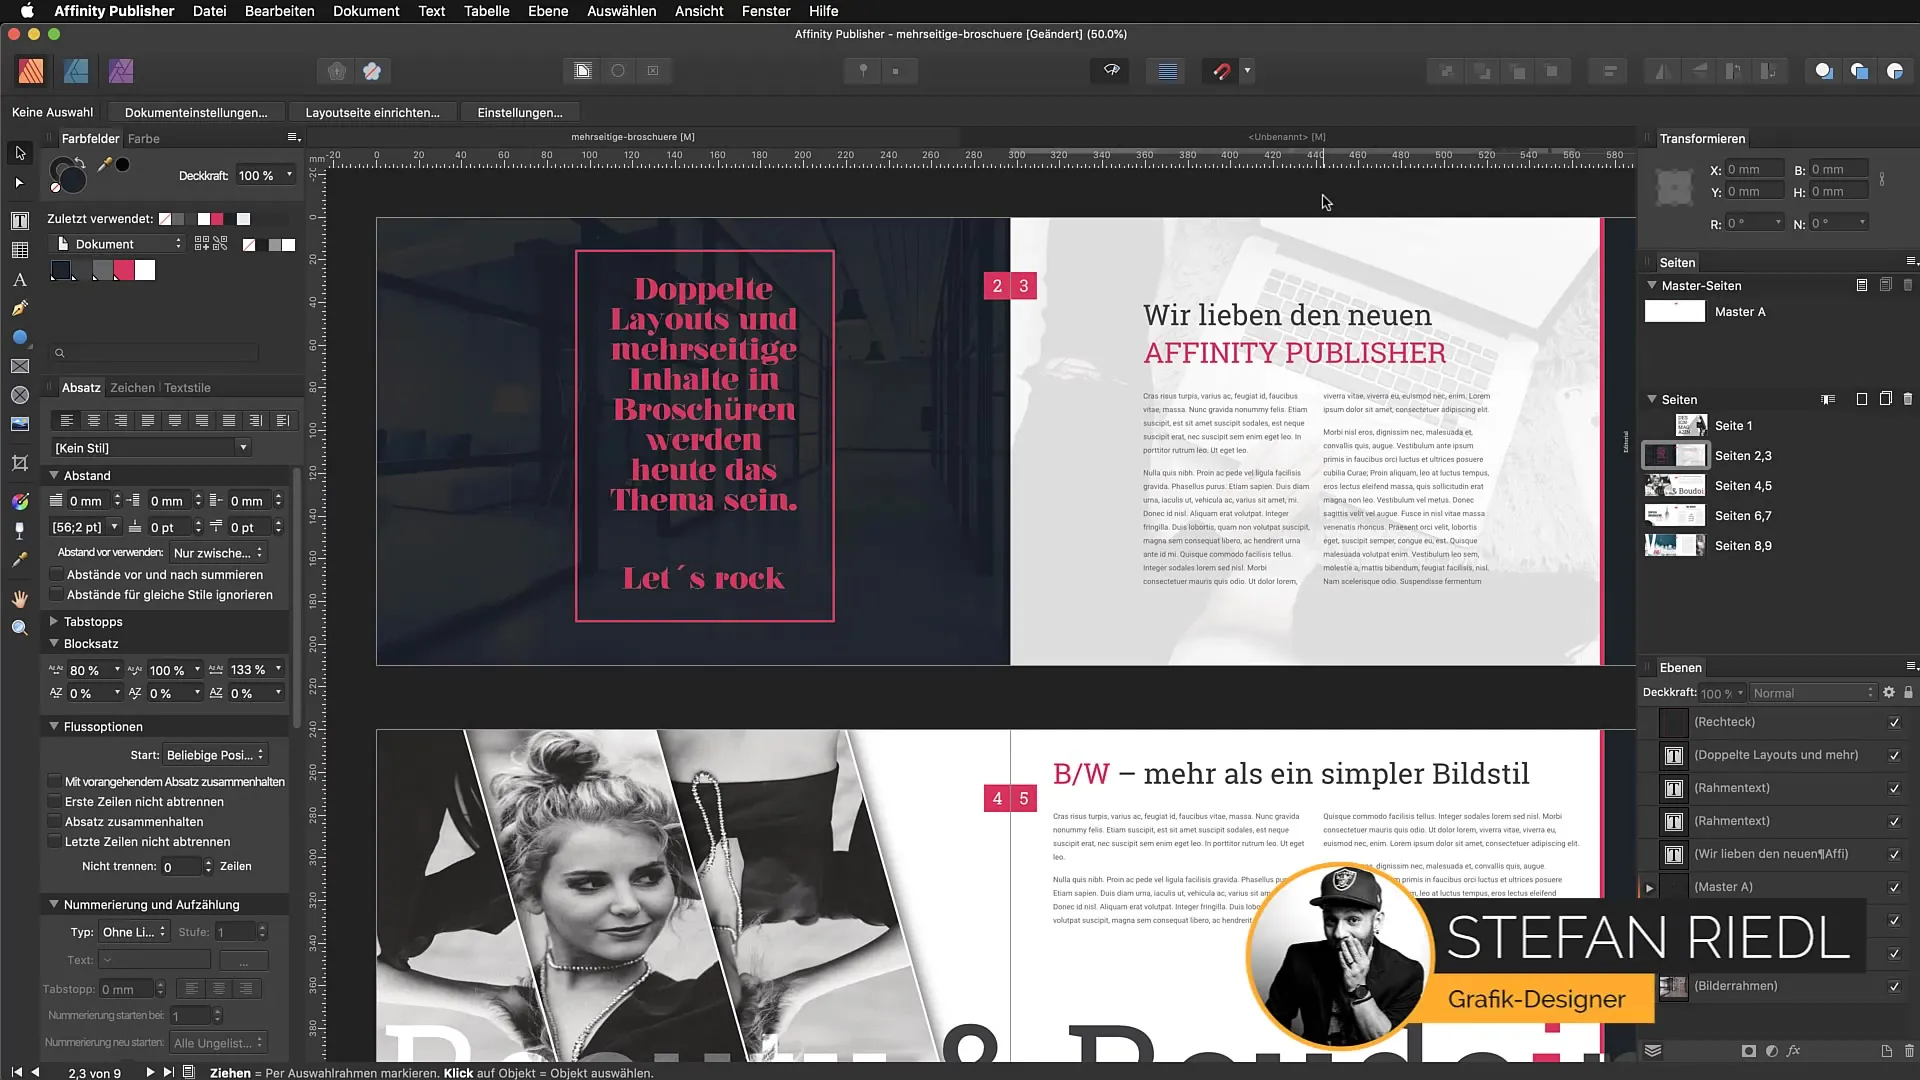
Convert to Black and White
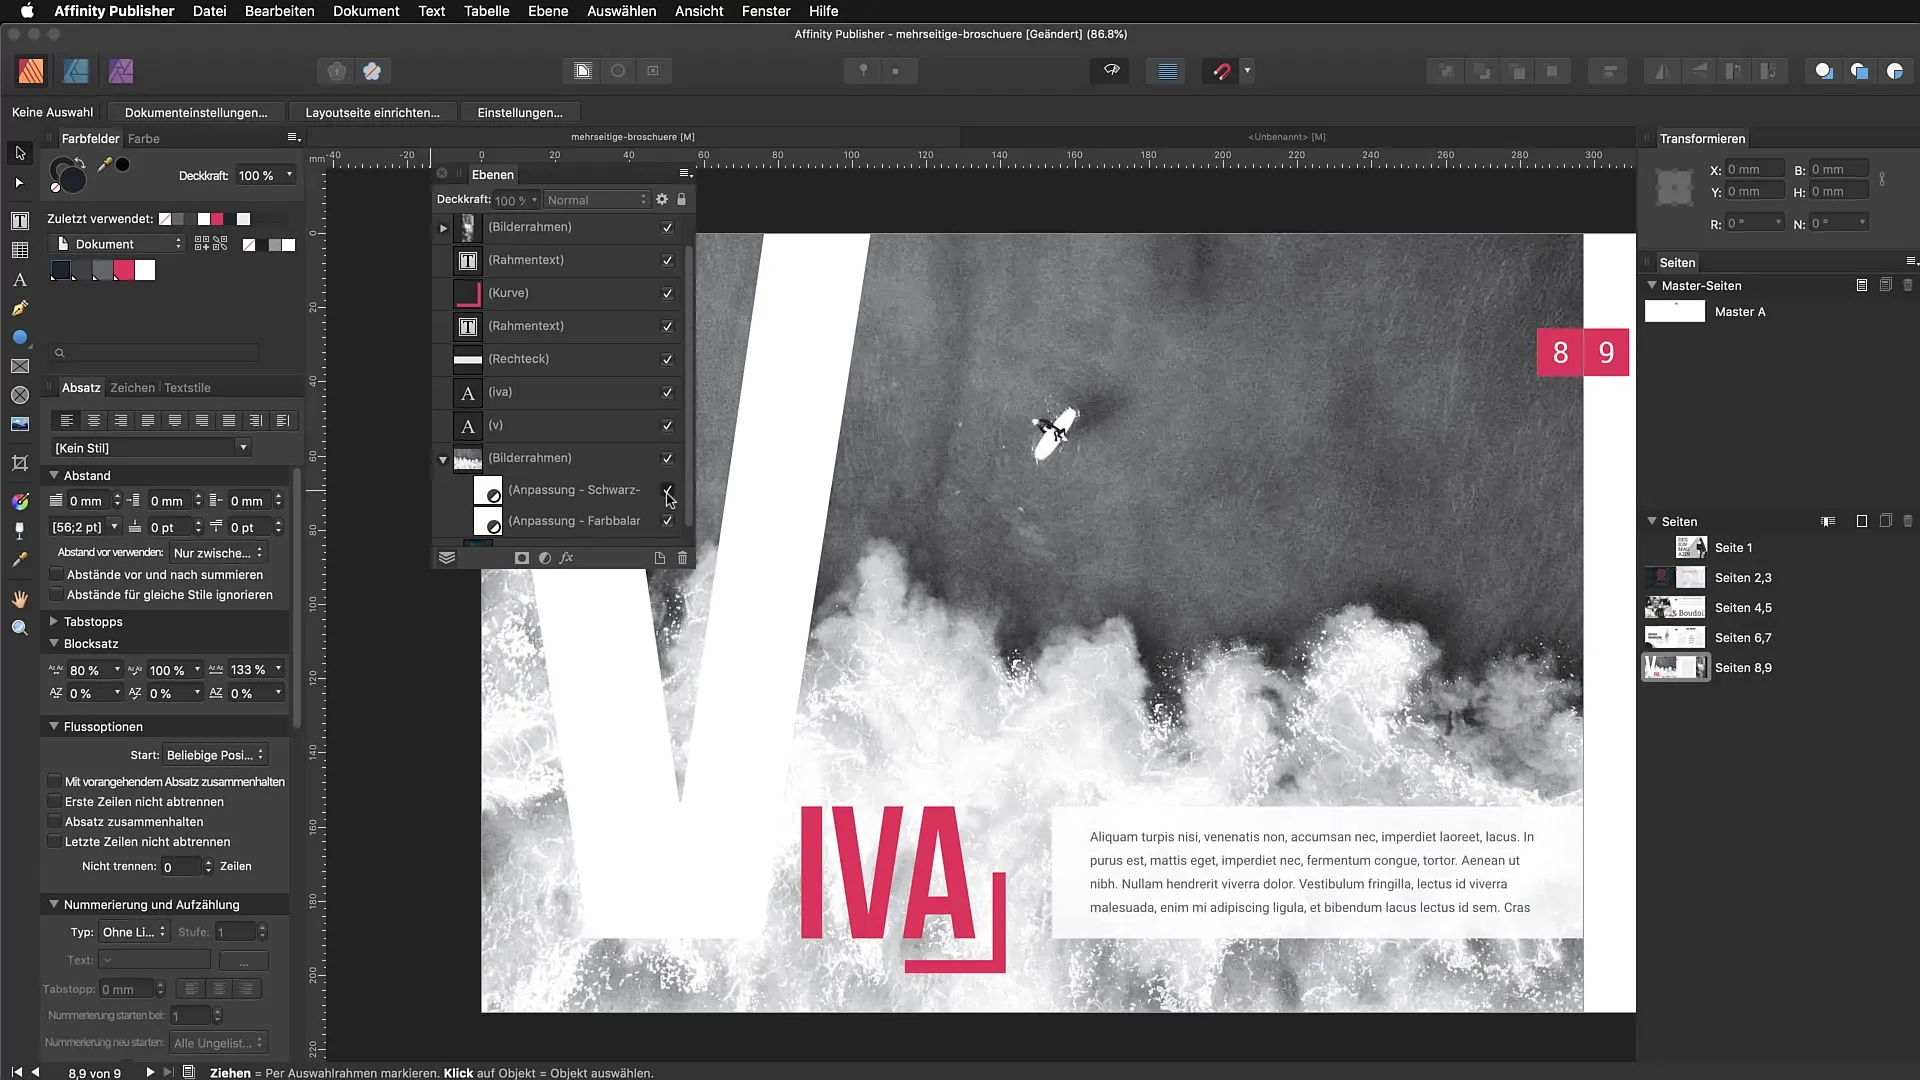
Once you have selected an image, you can convert it to black and white. Simply click on the crescent moon icon in the lower toolbar. This opens the adjustment settings where you can quickly change the image color. Select the "Black and White" option, and the image will be automatically converted.
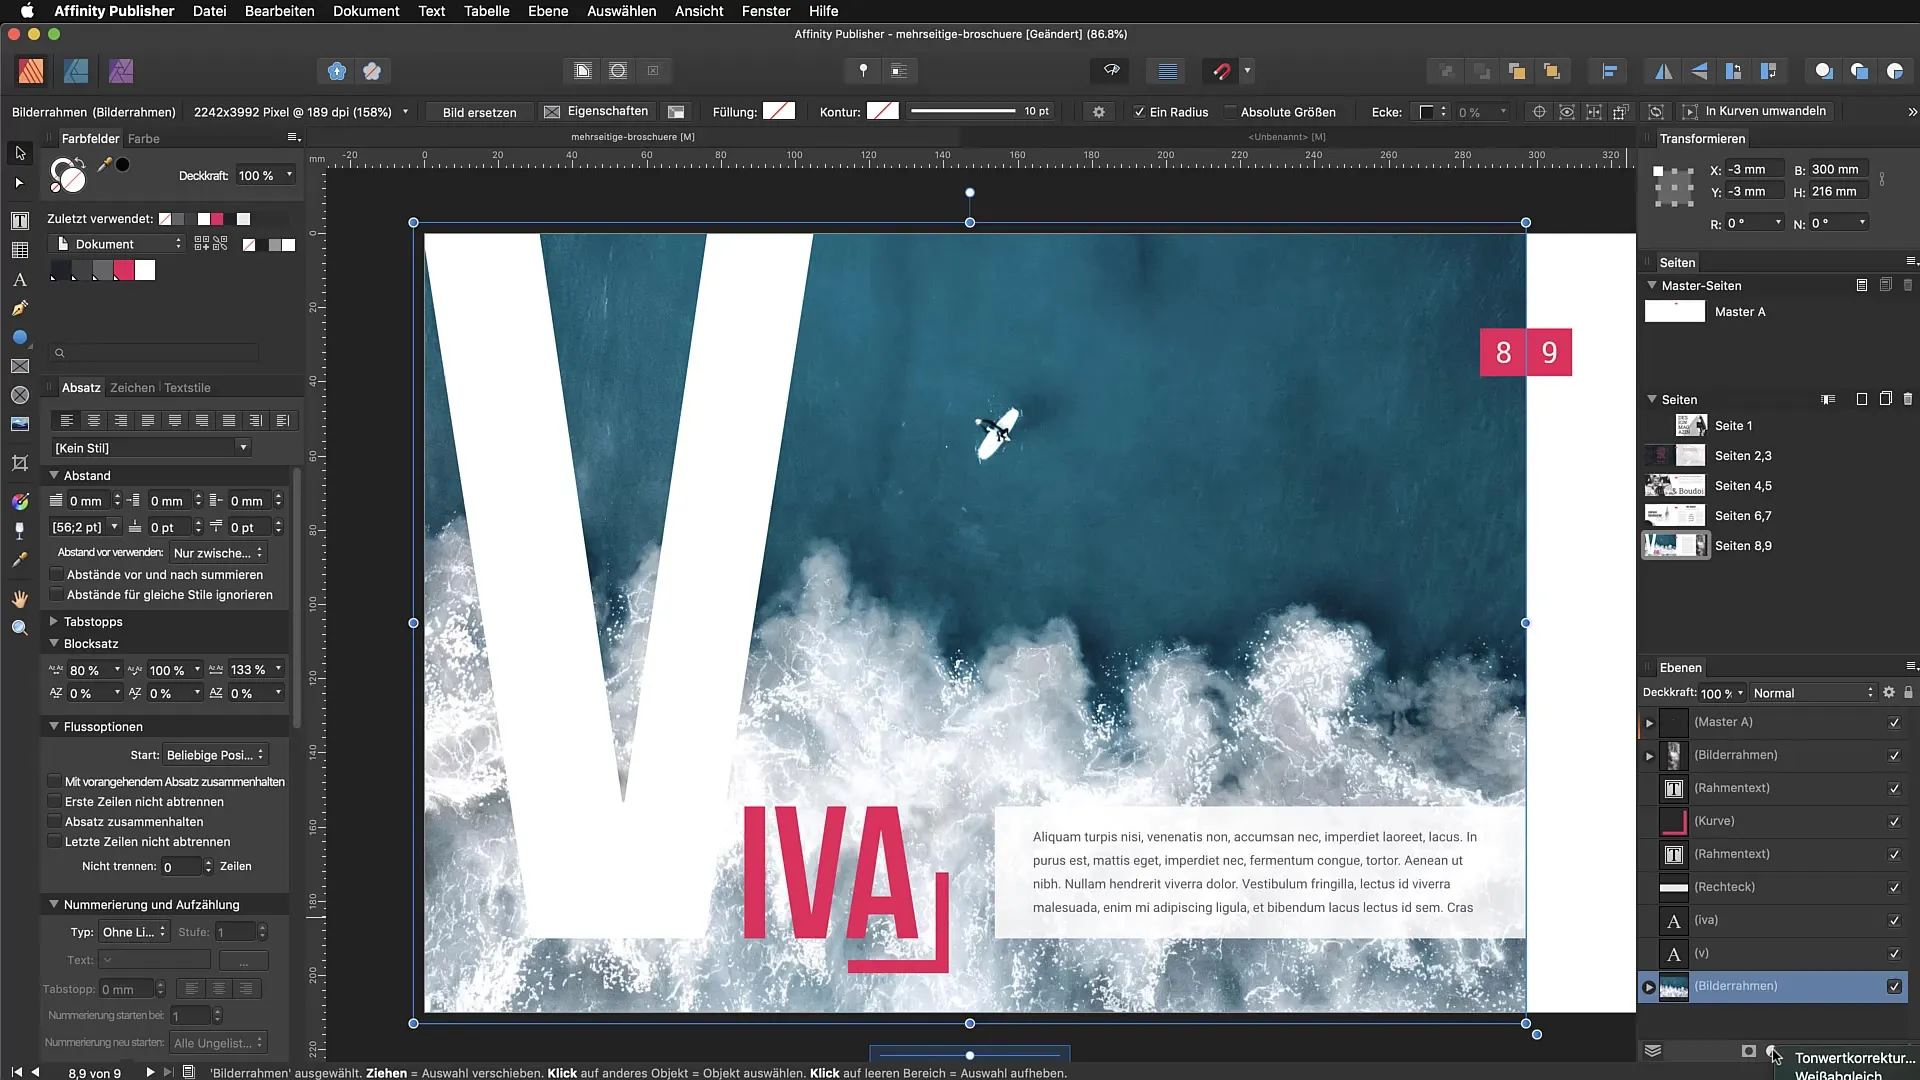
Increasing Contrast
After converting to black and white, it is possible to adjust the tones. For example, you can reduce the blues to increase contrast and image dynamics. Move the relevant sliders to achieve the desired effect. These adjustments are straightforward and provide you with the flexibility you need to achieve the perfect look.
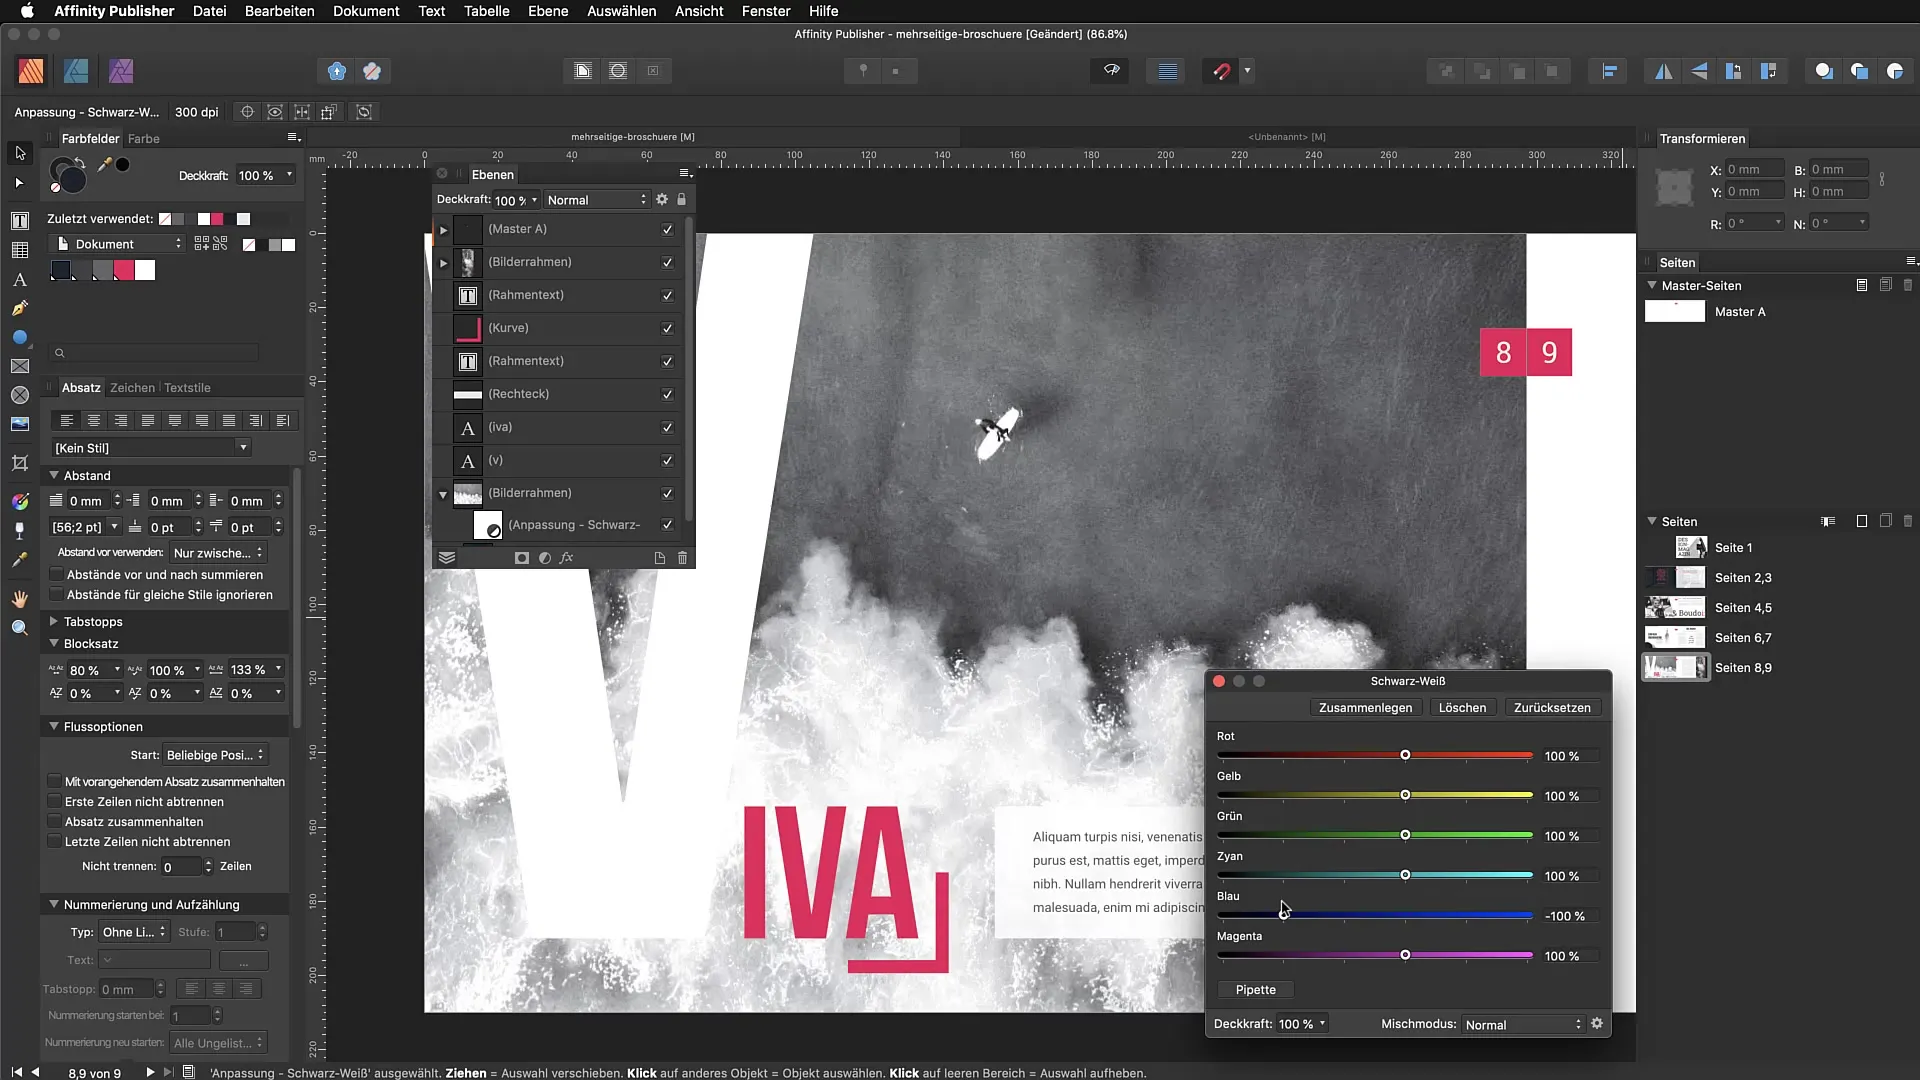
Making Color Corrections
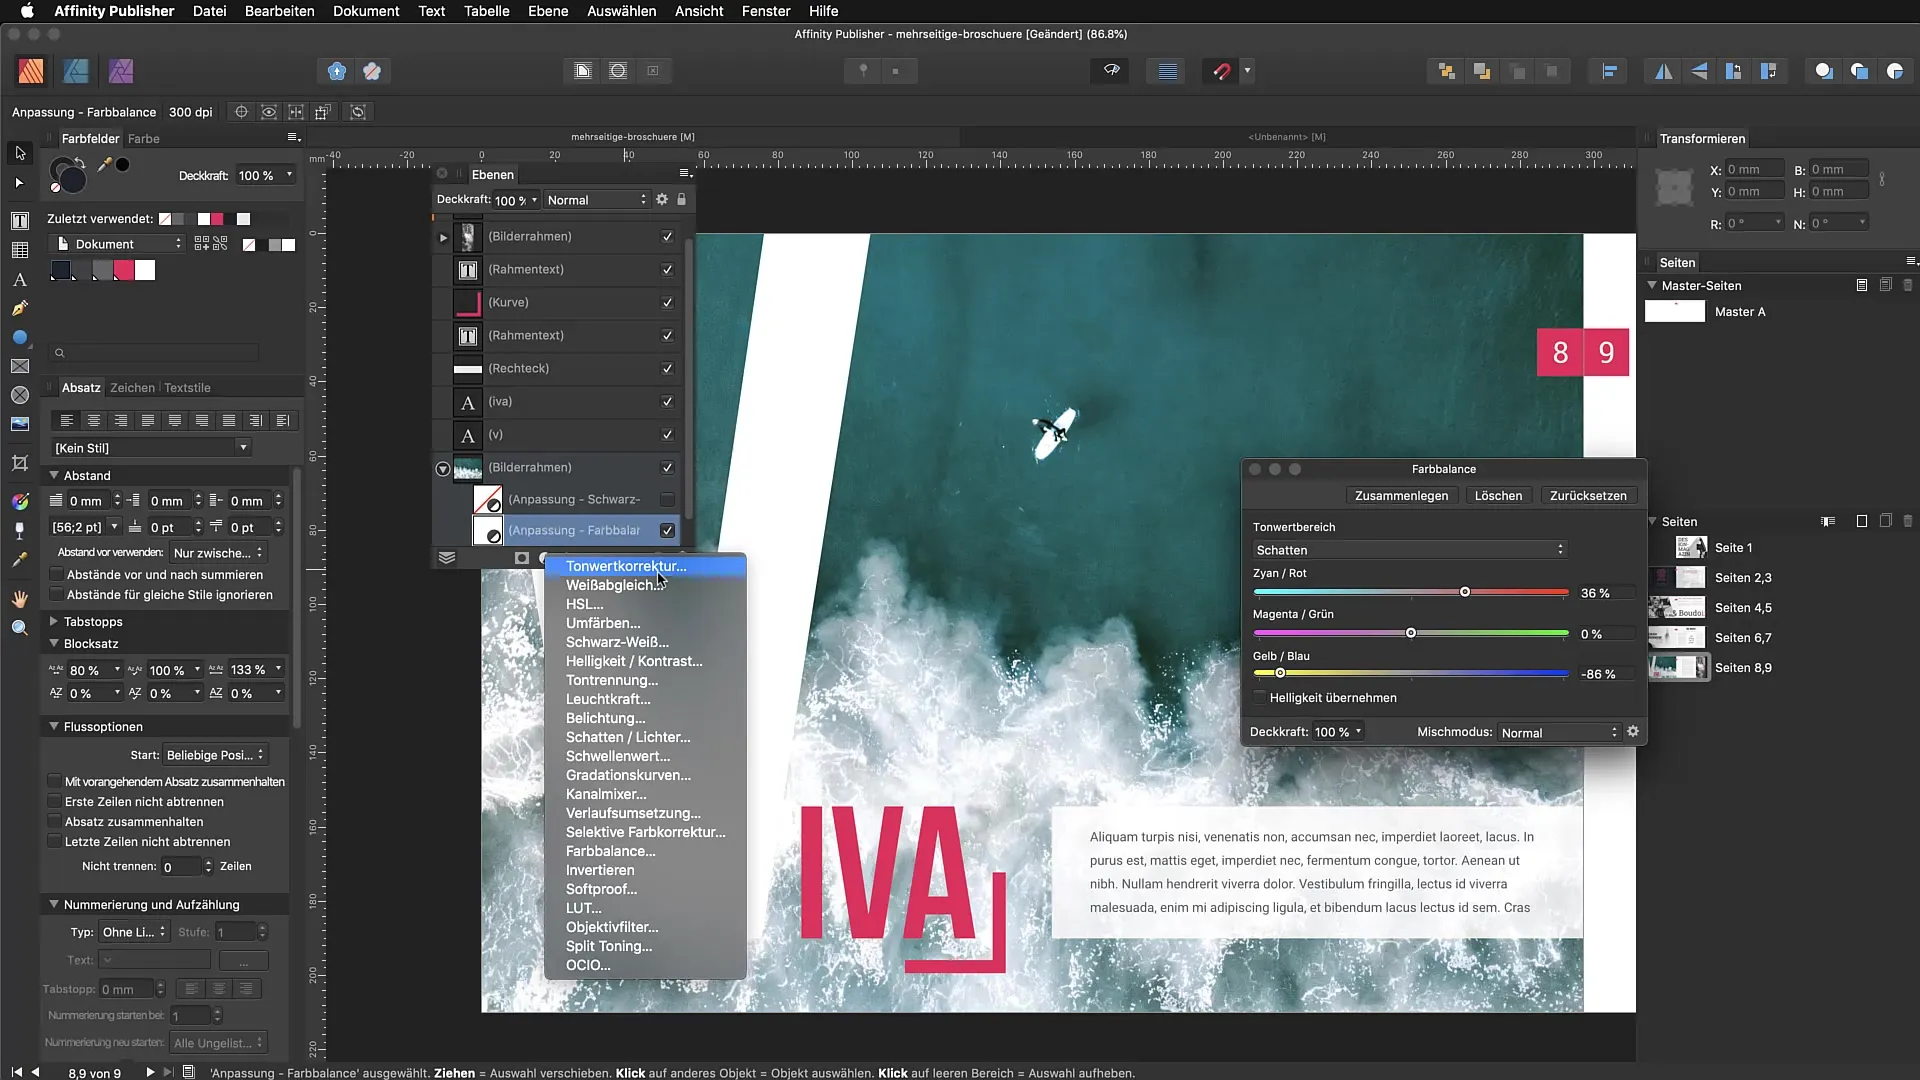
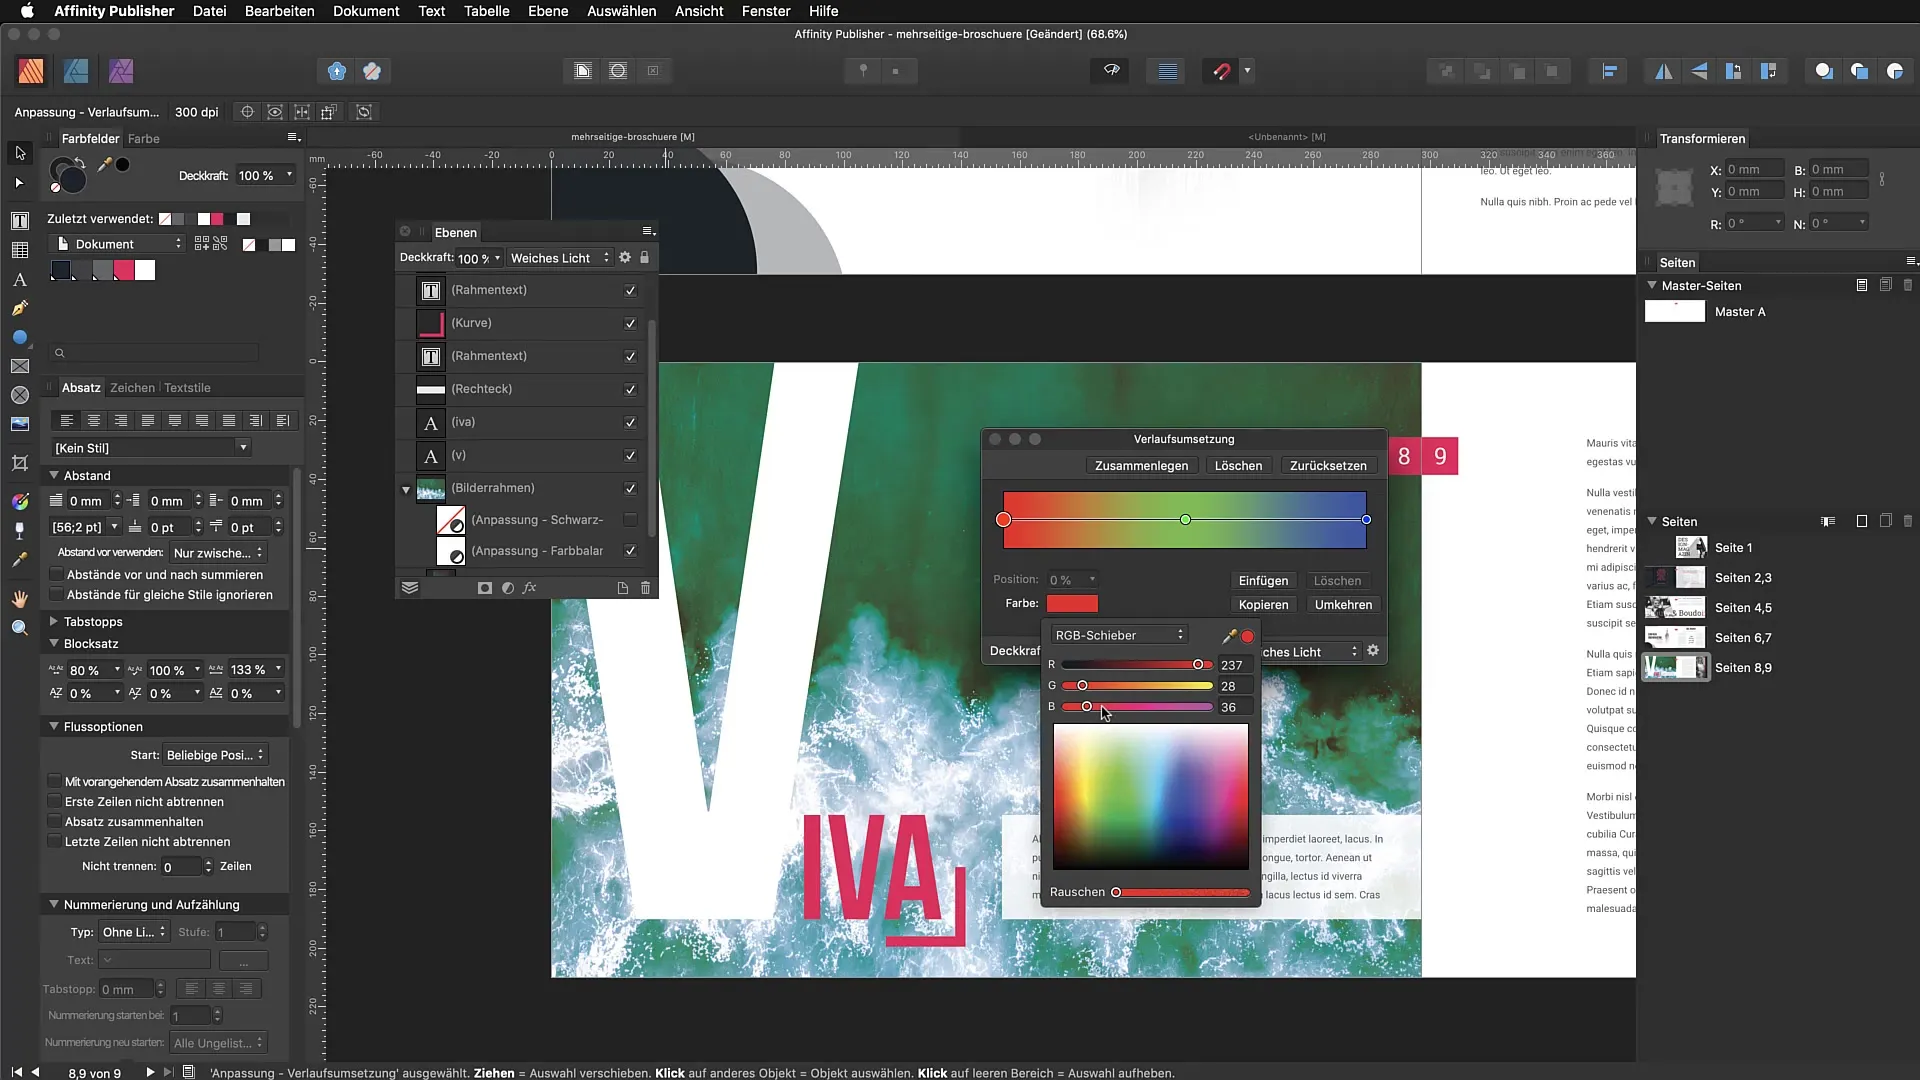
If your image does not have the right colors, you can adjust the color balance. To do this, double-click on the color correction filter. A window will open where you can move the sliders for the color nuances as you wish. For example, you can increase the yellows to make the sea in your image more vibrant. Experiment with the sliders to find the optimal color scheme for your image.
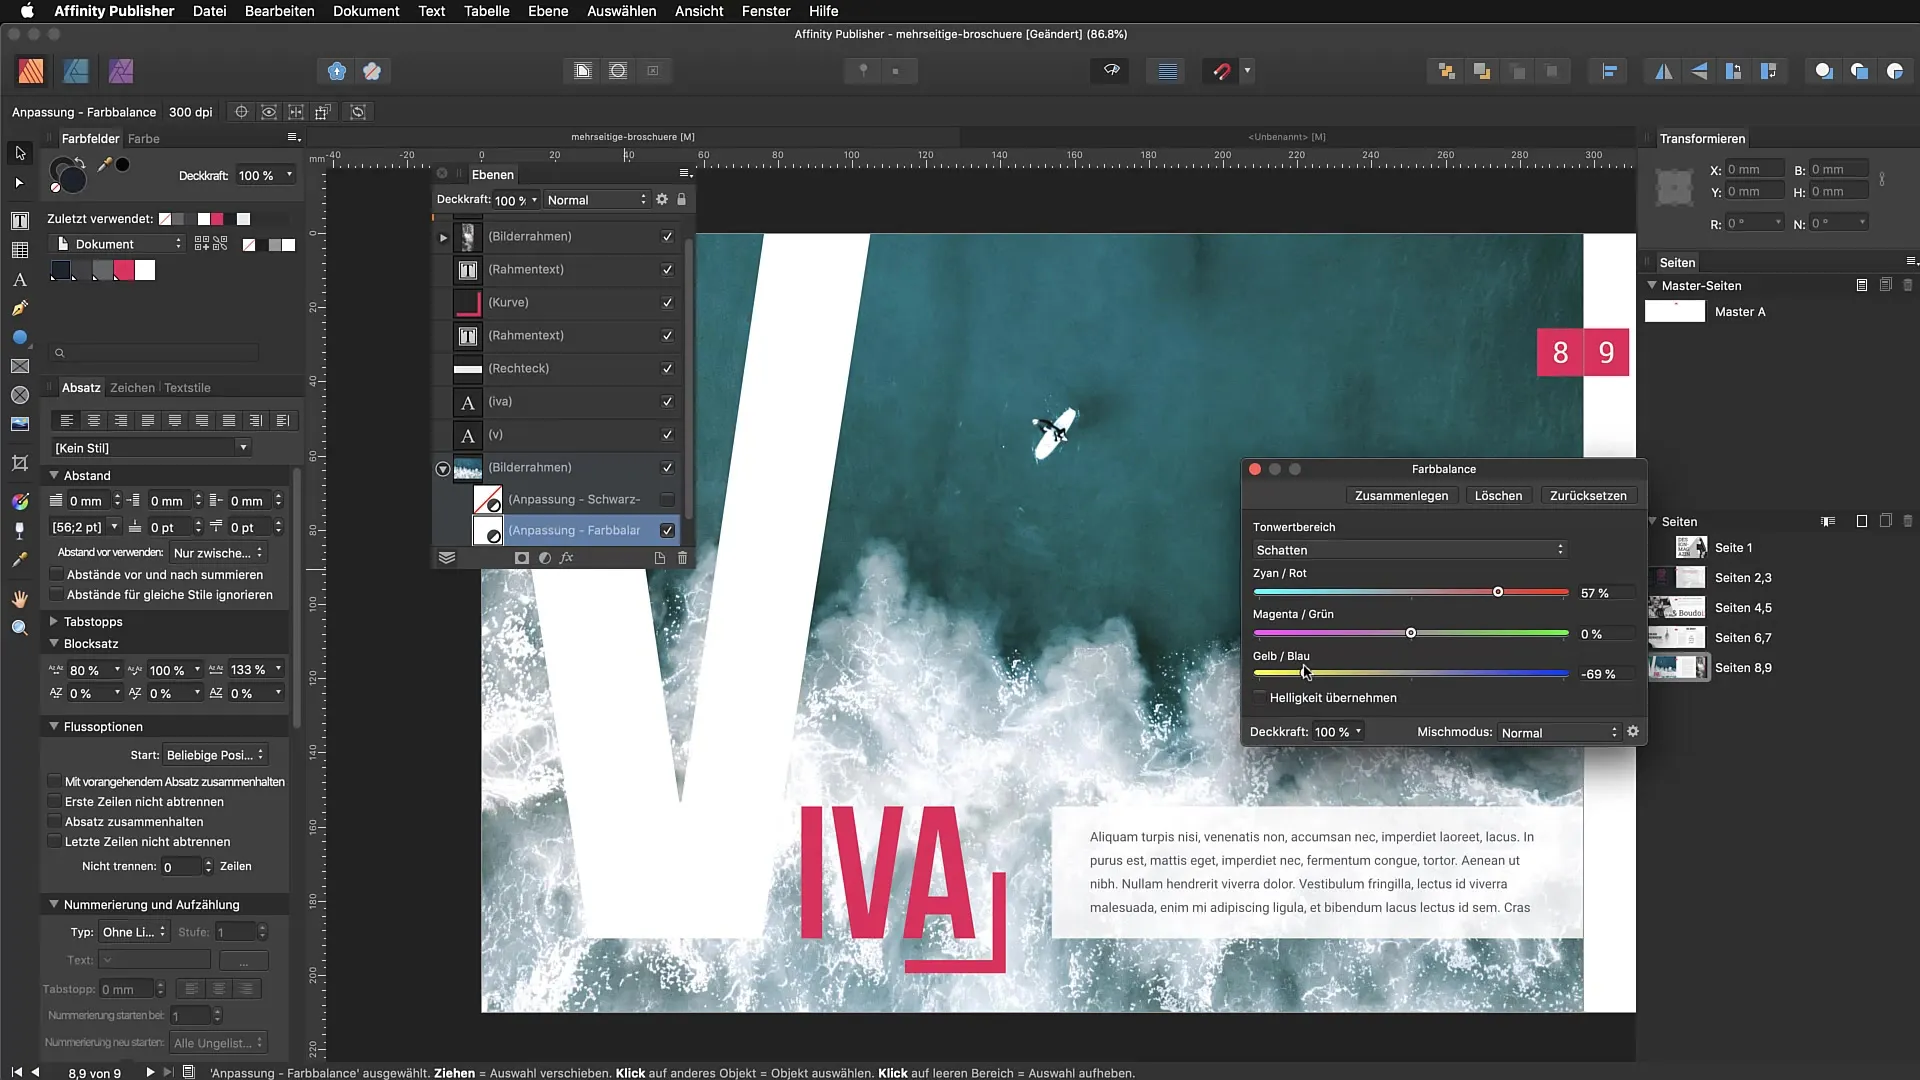
Applying Tonal Corrections
If the image appears underexposed, you can work with tonal correction. Look for the "Tonal Values" option in the backend of your image editing tool. Adjust the lights and shadows to improve the brightness of the image. This feature allows you to highlight details that would otherwise be lost in darkness.
Resetting Adjustments
If you are not satisfied with the adjustments, you can reset the settings at any time. Simply click the "Reset" button in the adjustment dialog, and all changes will be removed. This is particularly useful if you have made several adjustments and want to return to a previous state.
Creative Design
All these features together allow you to give your images a creative look in Affinity Publisher. Take advantage of the available color and tonal adjustments and experiment with different effects for impressive results.
Summary – Quick Image Corrections in Affinity Publisher
Affinity Publisher offers you a variety of image editing tools that you can use directly in your project. From black and white conversion to color corrections to tonal adjustments – you can quickly and effectively edit and adjust your images. Trust in using these tools and develop your unique style.
FAQ
How can I insert an image in Affinity Publisher?You can insert an image by simply dragging it into the document or using the "Insert Image" menu option.
What can I do if my image is underexposed?The tonal correction allows you to adjust the brightness of highlights and shadows in the image.
Is there a way to reset color changes?Yes, you can reset the settings of any adjustment using the "Reset" button.
How do you convert an image to black and white?Click on the crescent moon icon in the lower toolbar and select the "Black and White" option.
Can I apply multiple color filters at once?Yes, you can implement multiple color filters and control their visibility through checkboxes.


