Are you looking for a way to divide extensive documentsinto chapters while enhancing clarity? The Section Assistantin AffinityPublisheris the perfect tool to give structure to your documents. This guide shows you how to use the Section Assistant to easily create chapters and make them visible on all master pages.
Main findings
- The Section Assistant allows you to divide documents into sections, which is especially useful for extensive projects.
- You can insert the section name into footers or other areas of your master pages.
- The Section Assistant is particularly effective for long documents with many pages.
Step-by-Step Guide
1. Open the Section Assistant
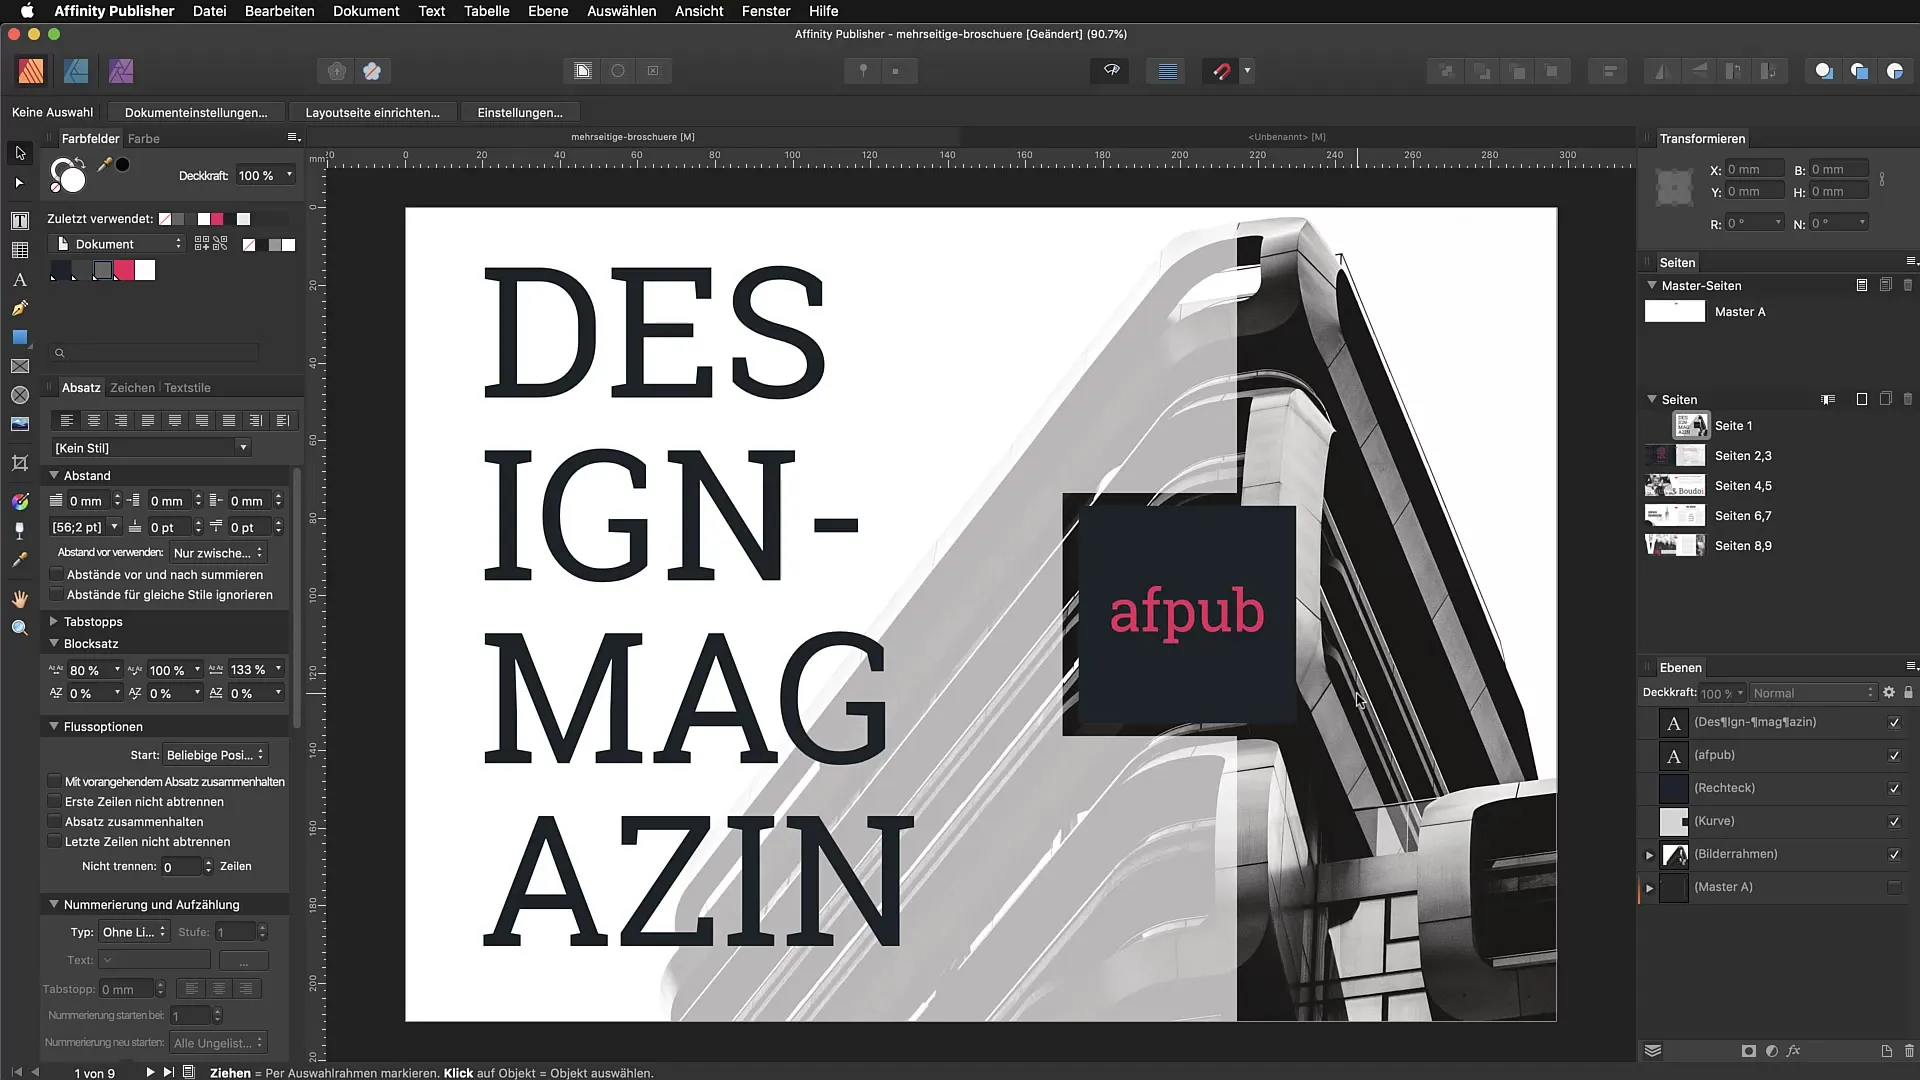
To work with the Section Assistant, first open Affinity Publisher and go to the relevant area to find the tool. Simply click on it to start the assistant.
2. Check the default section
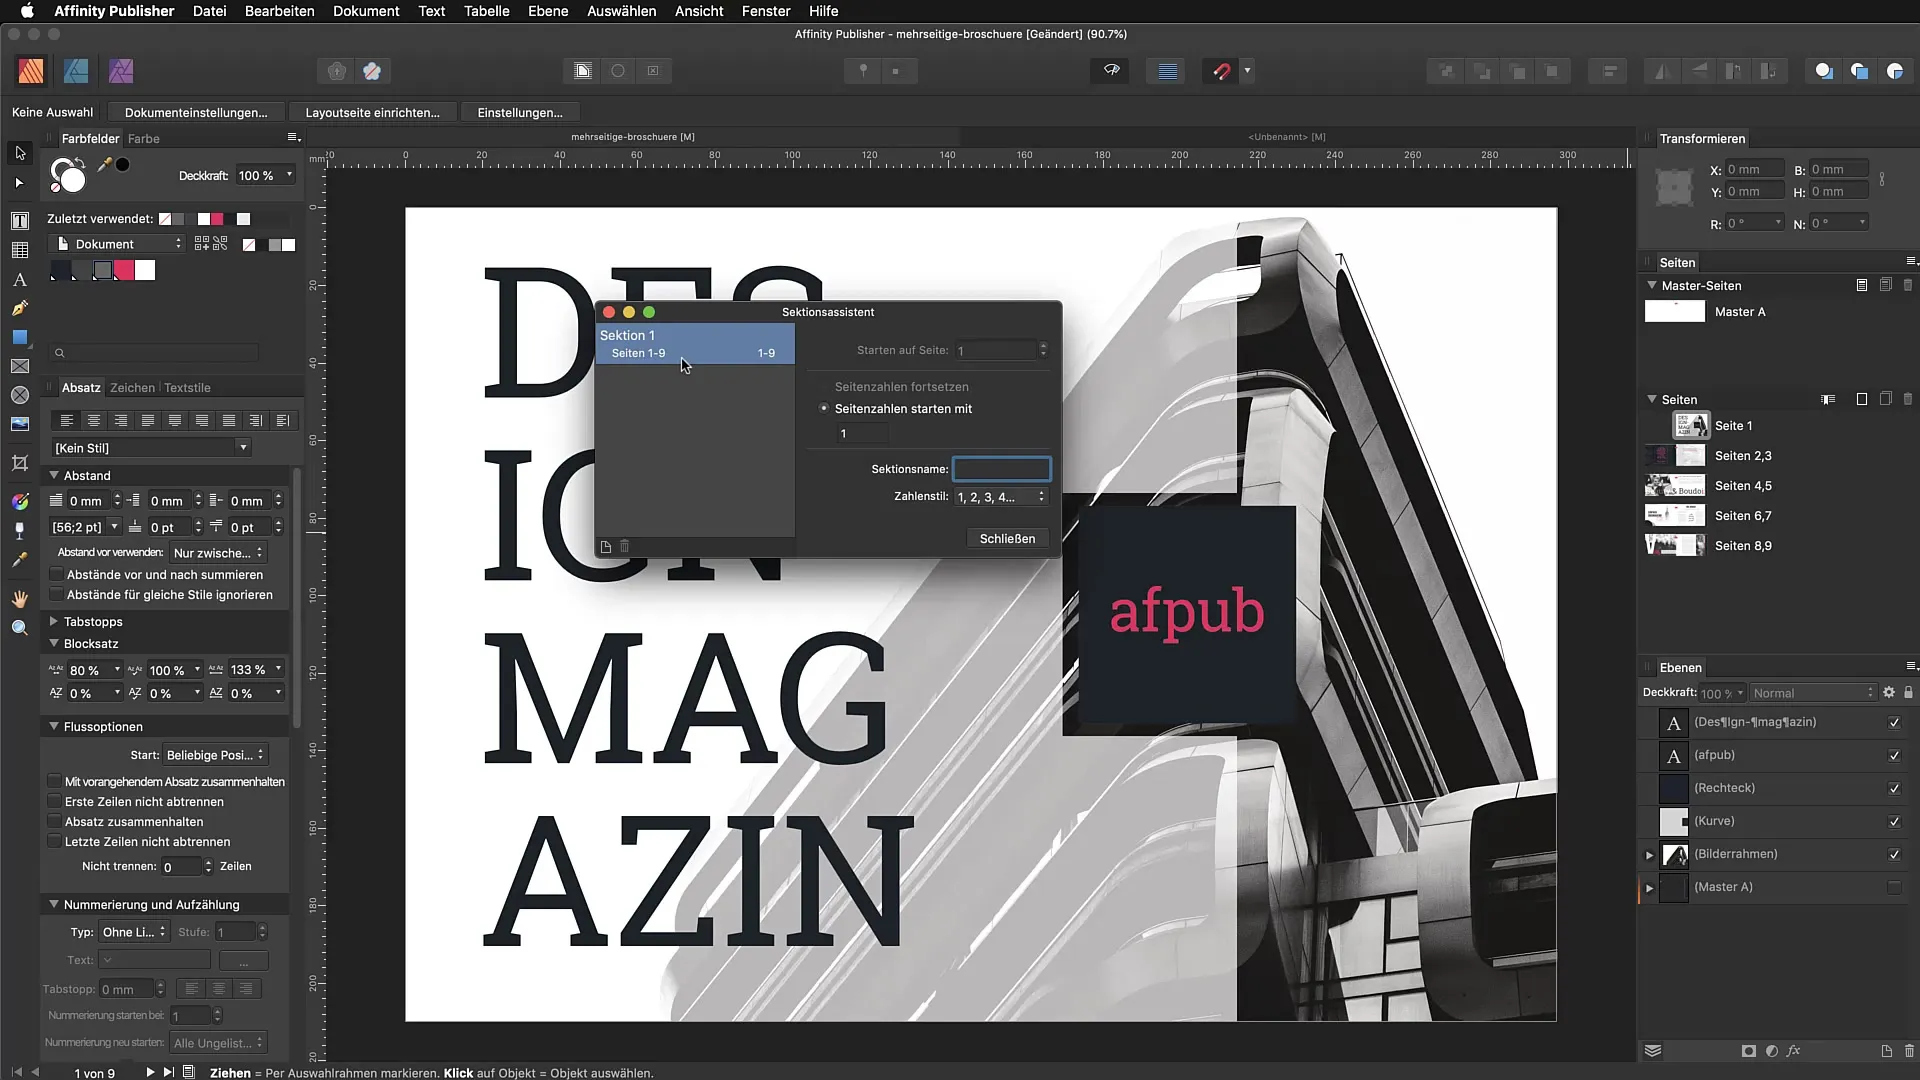
After opening the Section Assistant, you will see a preset section that spans from page 1 to the end of the document. This is ideal for keeping an overview of your entire document, especially if it consists of fifty pages or more.
3. Start a new section
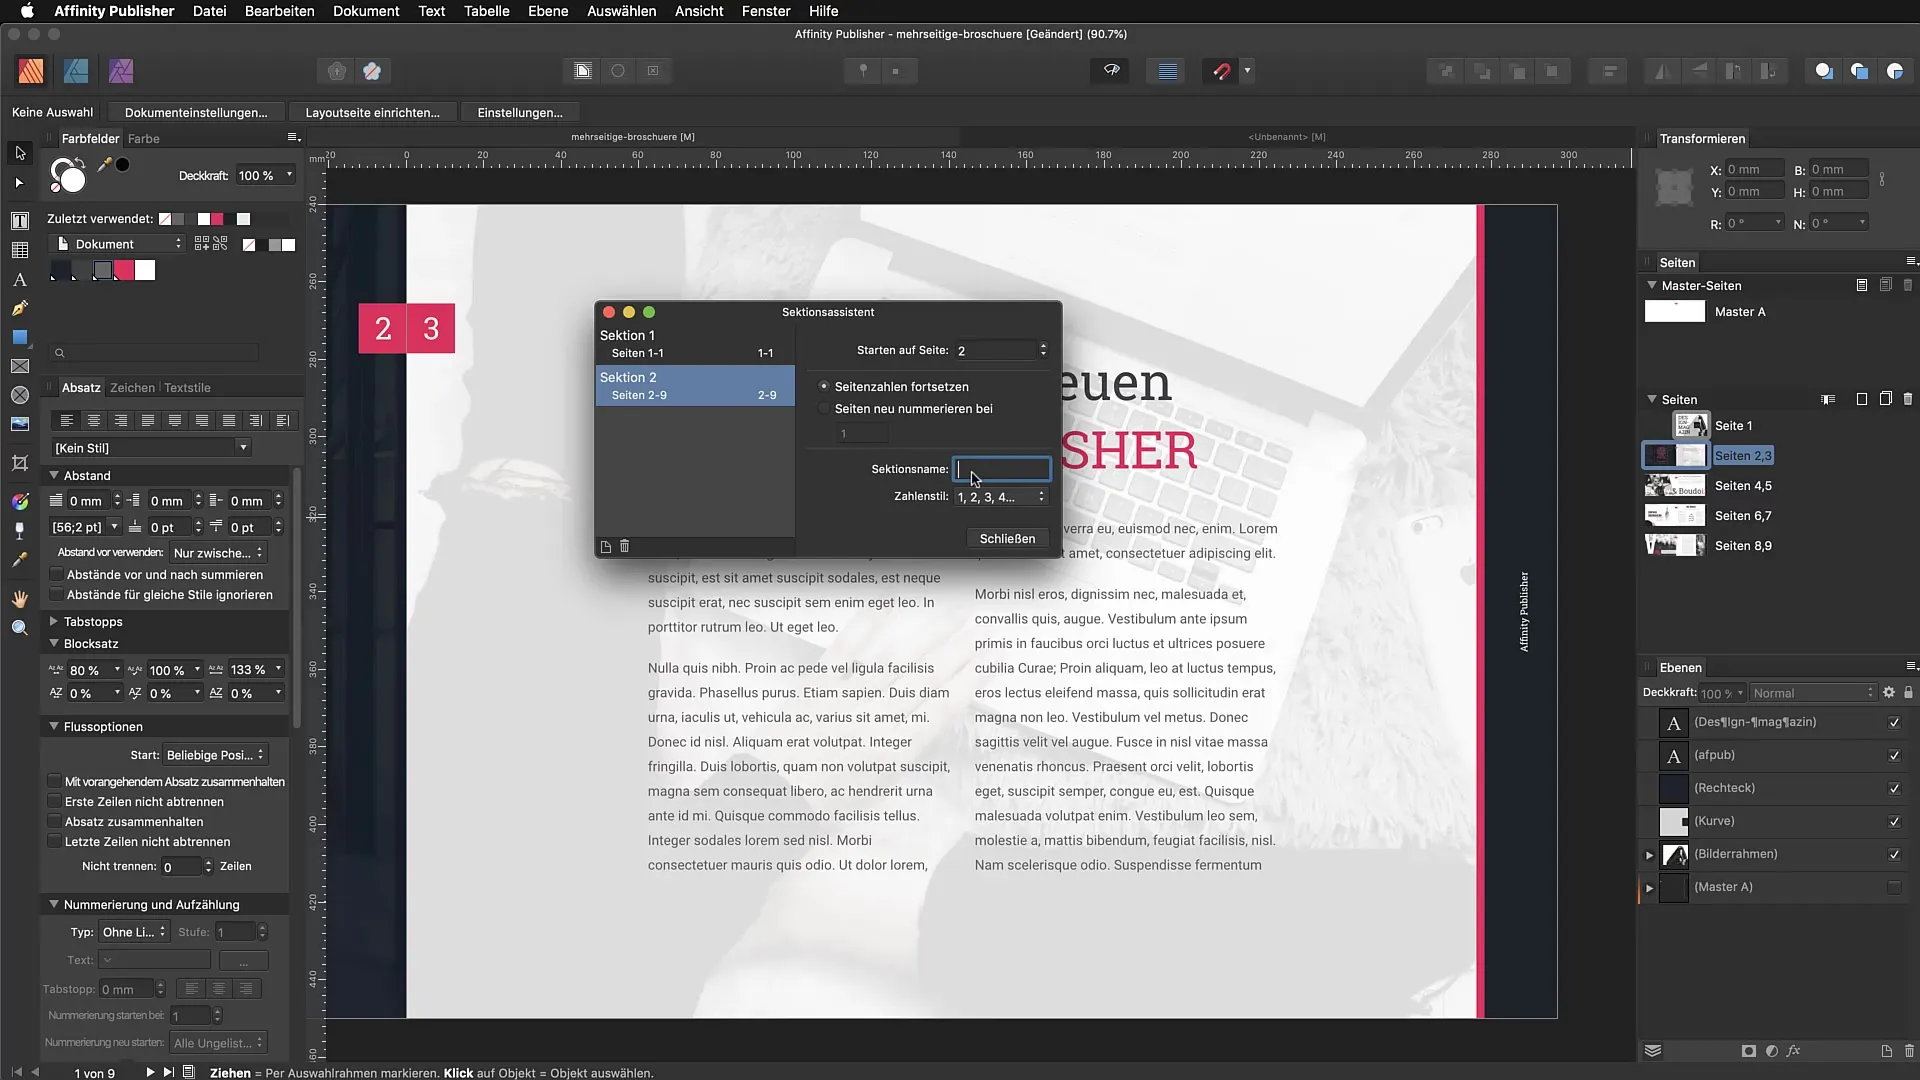
To create a new section, go to your editorial and right-click. Select the option “New Section.” Here you can name the section "Editorial" and make various settings, such as starting on page 2.
4. Adjust page numbering
An interesting feature is the ability to redefine the page numbering. You can adjust the numbering so that the section starts on a different page. Don’t forget to click “Close” to save your changes.
5. Add more sections
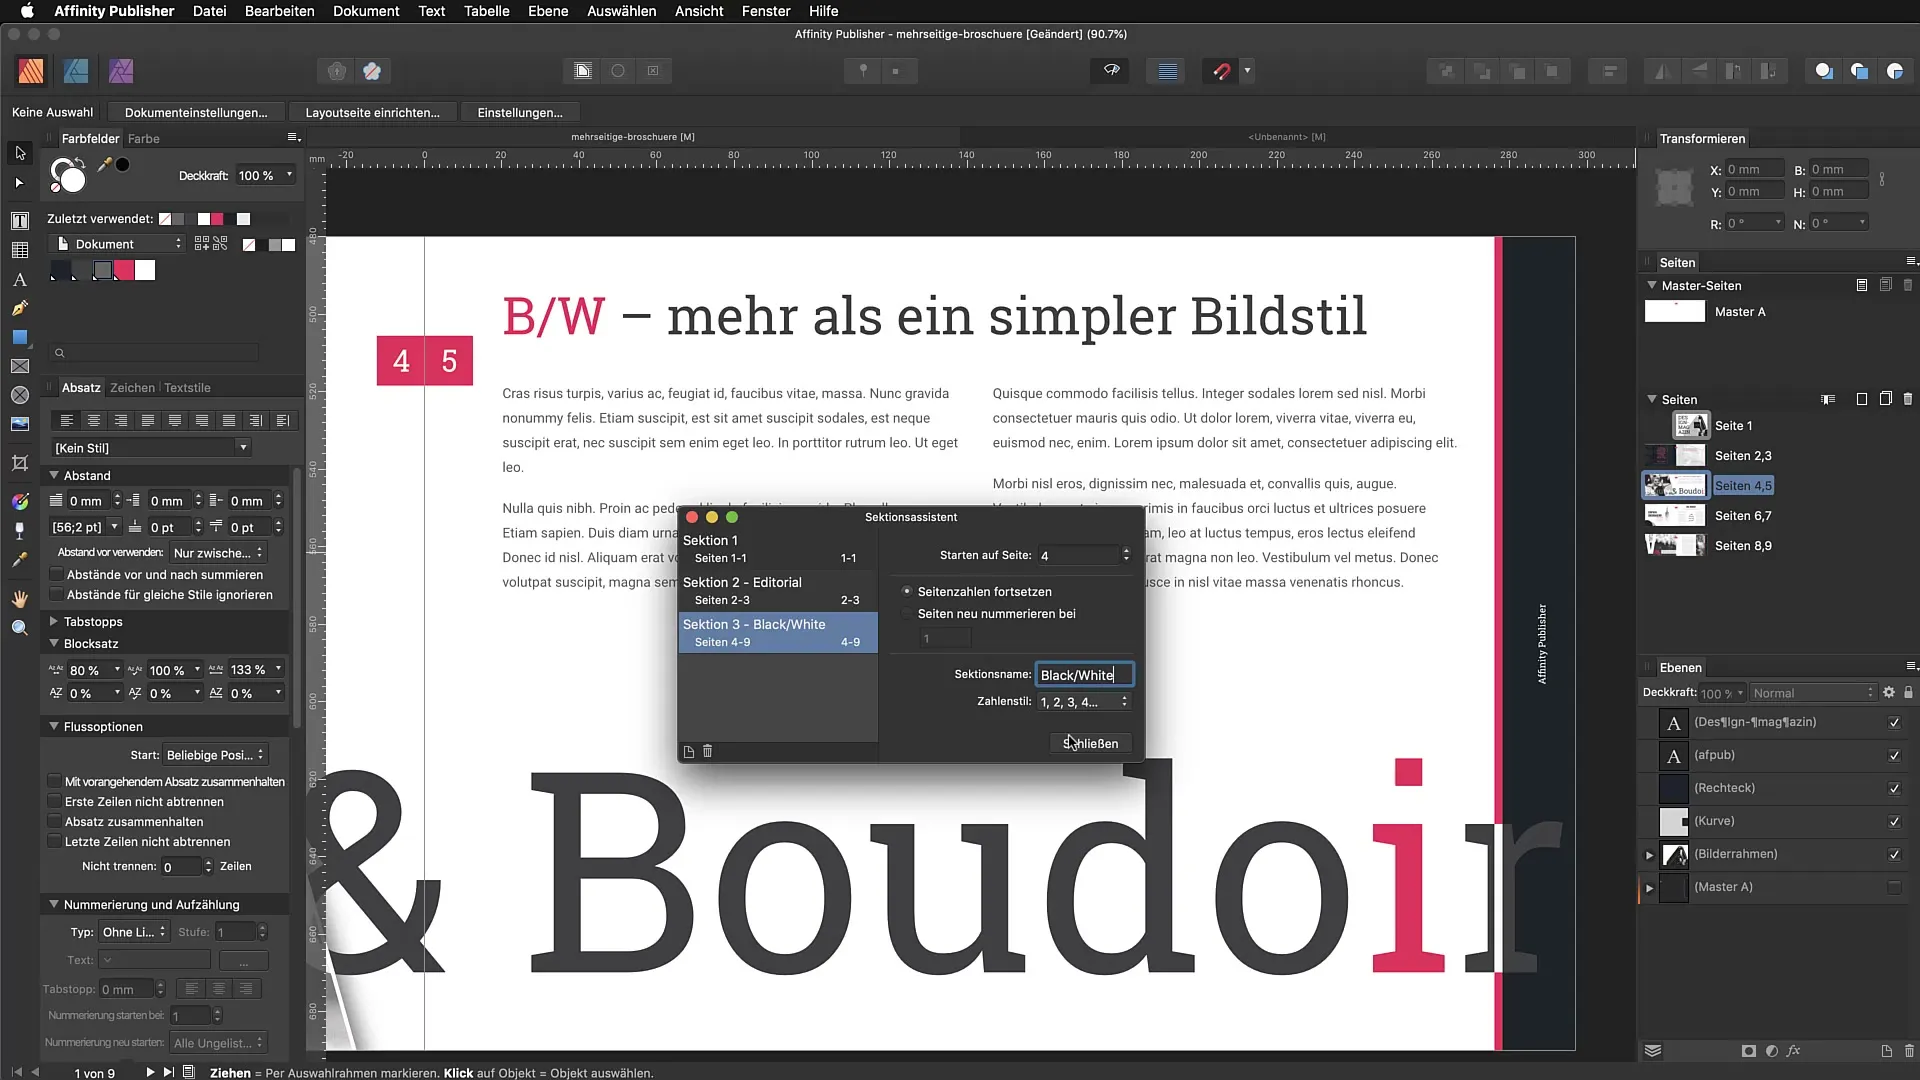
Add another section by going to an article and creating a new section called “Black White.” This way you can further refine the structure of your document.
6. Further subdivide the document
Continue doing this with additional sections until the end of your document. A sample section could be named “Big Bigger.” It doesn’t matter what content is inserted into the sections – what matters is the structure you create.
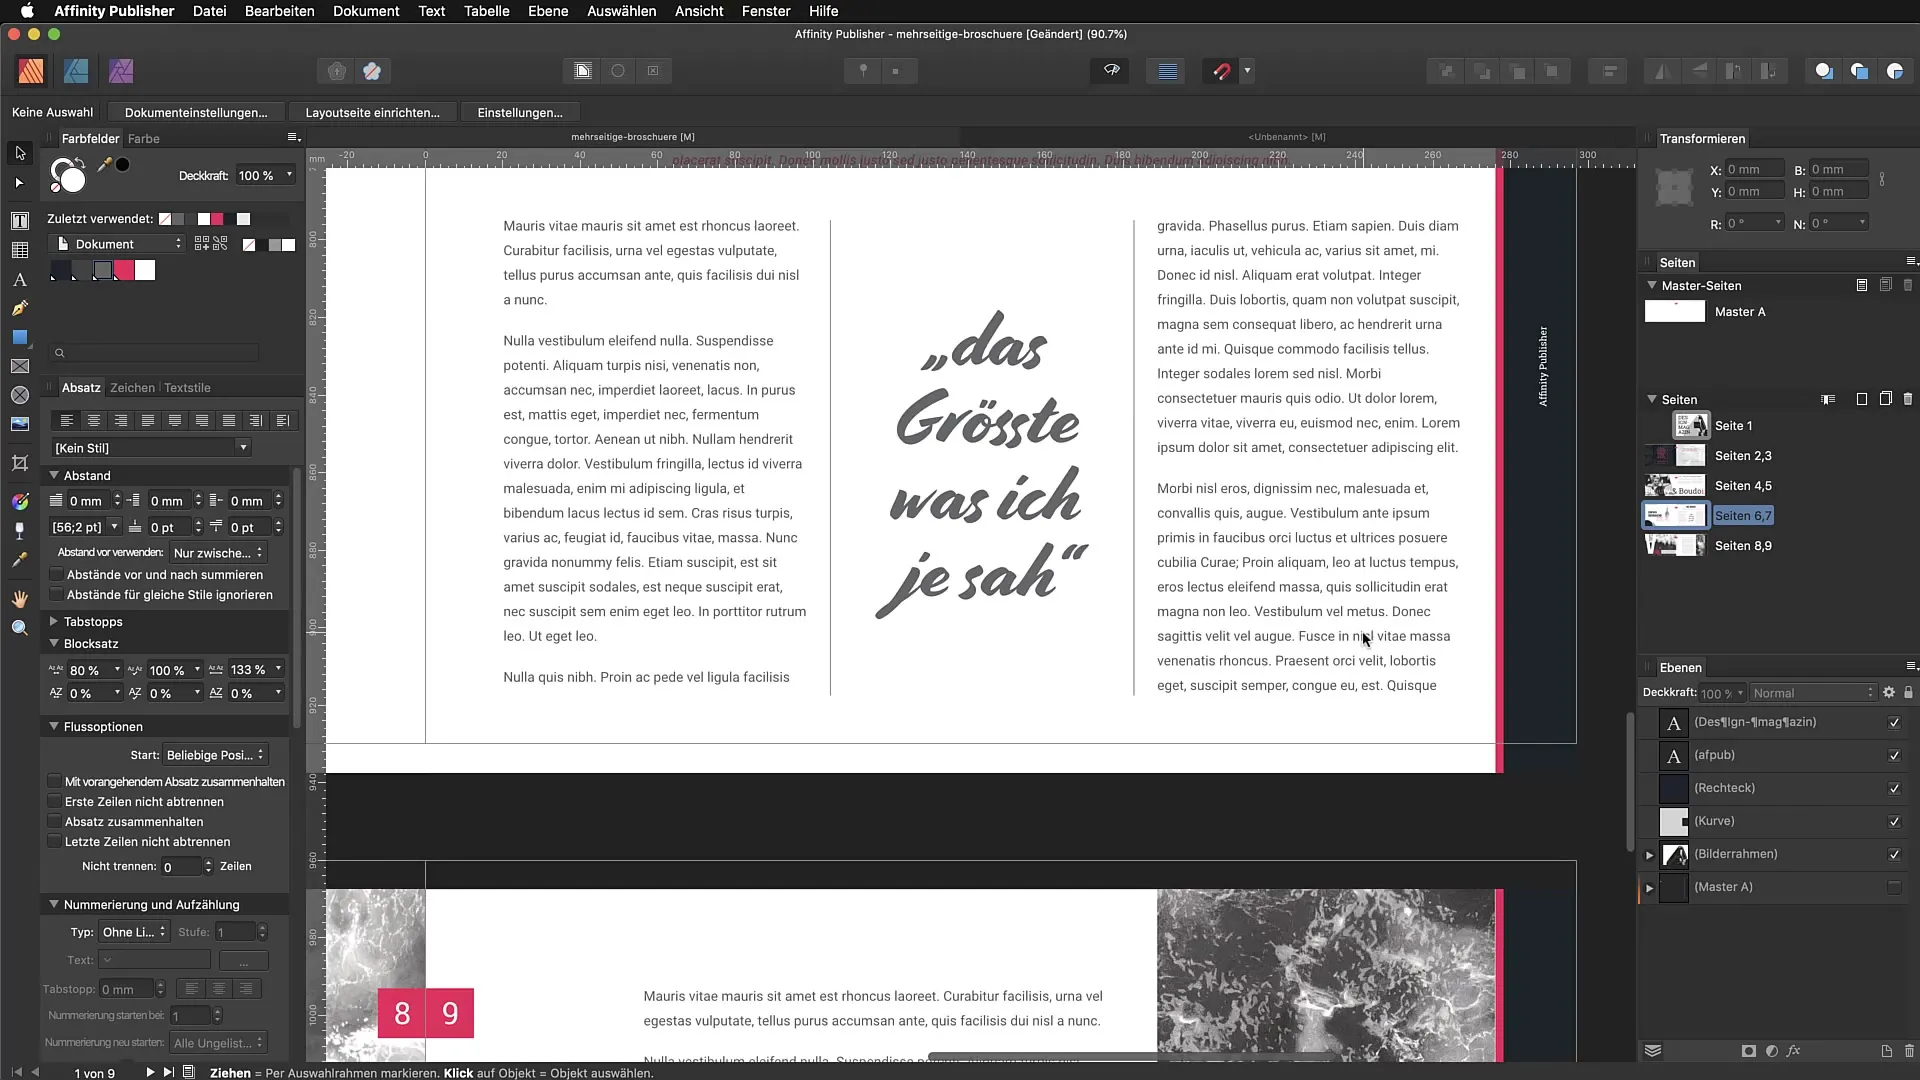
7. Use section names in master pages
The greatest advantage of the Section Assistant is that you can use the section names to insert them in footers of your master pages. To do this, go to the master page and select the studio under “View.”
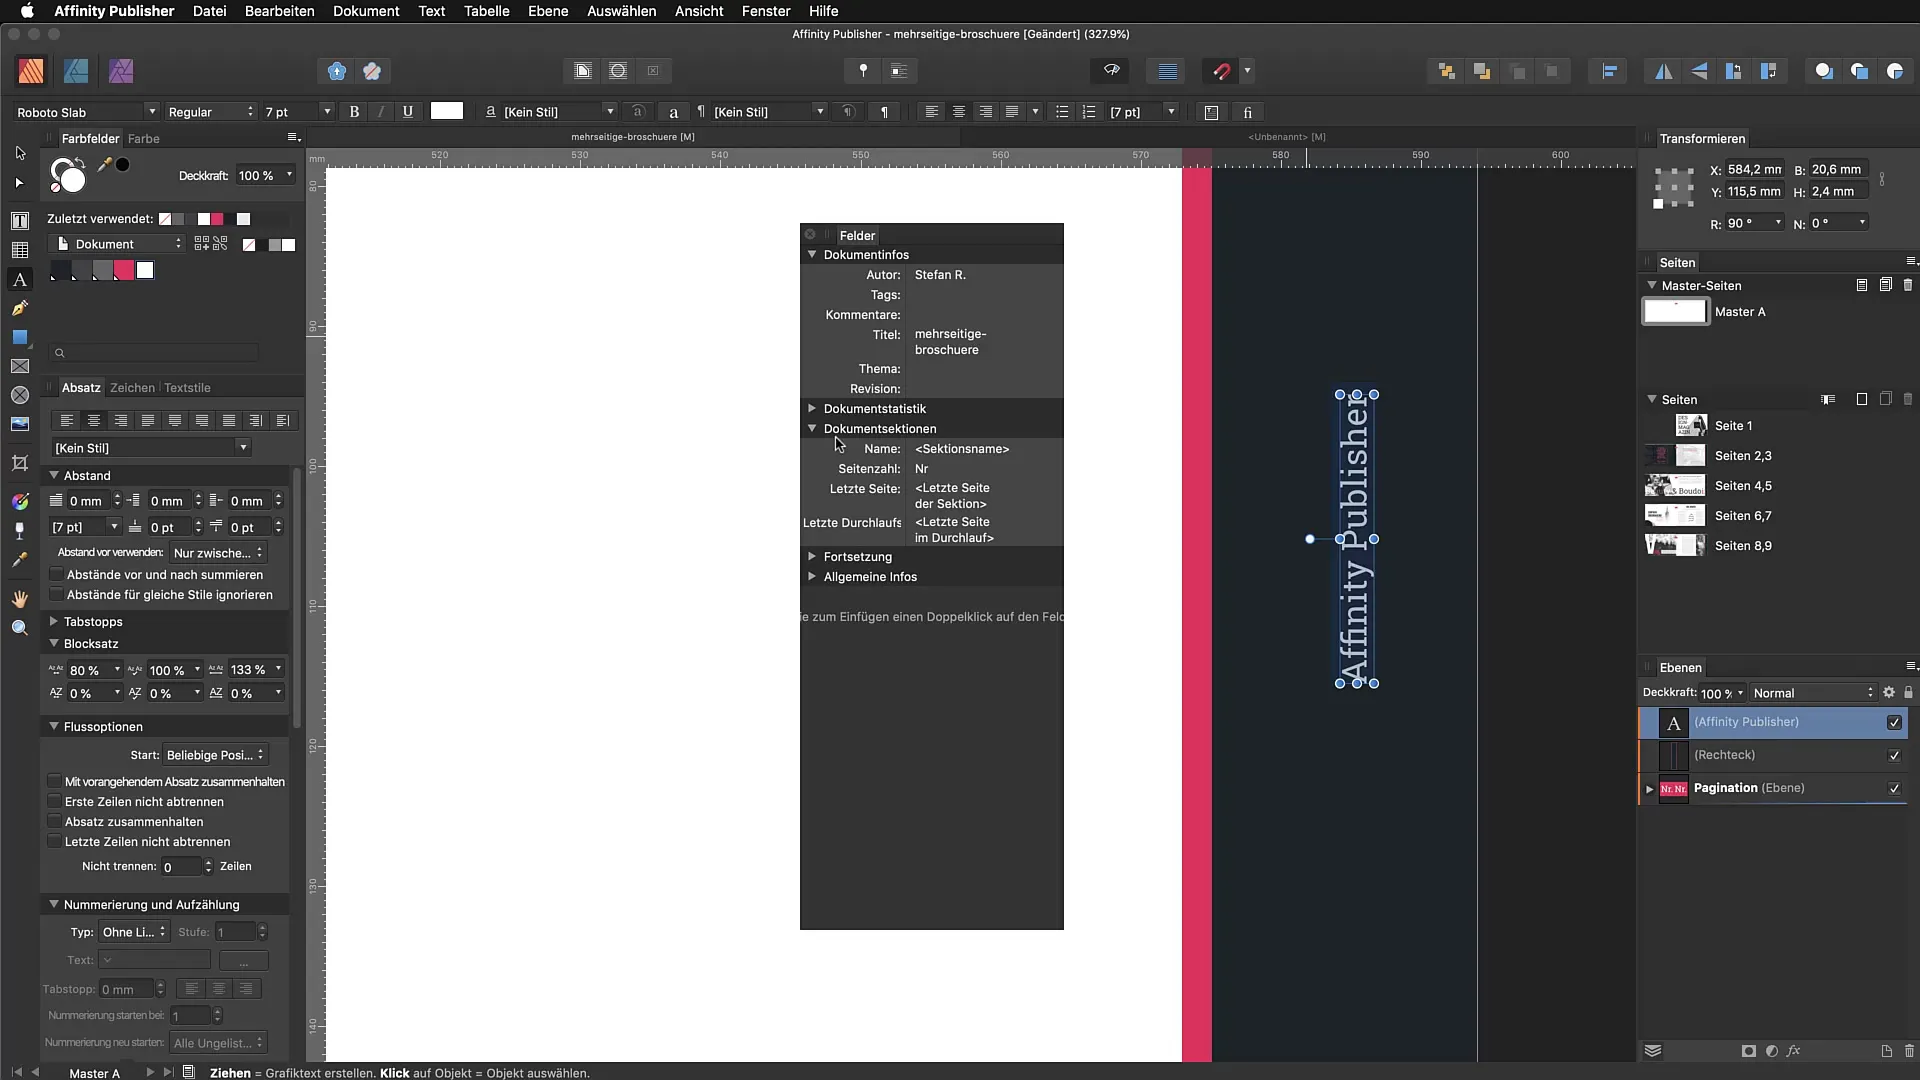
8. Insert section names
In the studio window, select the fields and insert the section name under “Document Section.” This will automatically display the name on the corresponding pages.
9. Check the results
After inserting, the section name will be displayed on the master page. Check that everything works as desired, especially if your document consists of multiple chapters.
10. Benefits of the Section Assistant
Now that you have mastered the basics, you can make optimal use of the Section Assistant to better structureyour documents. Especially for longer projects with many sections, this assistant will make a significant difference.
Summary – Section Assistant in Affinity Publisher: Effective Guide to Creating Chapters
Throughout this guide, you have learned how to effectively use the Section Assistant in Affinity Publisher to give your document structure. Creating sections is especially useful for extensive documents, and inserting section names in footers makes your content more accessible and organized.
FAQ
What is the Section Assistant in Affinity Publisher?The Section Assistant allows you to divide documents into sections for better structure.
How do I add new sections?Right-click on the desired area and select the option “New Section” to create a new section.
Can I change the number of pages in a section?Yes, you can redefine and adjust the page numbering for where the section starts.
How can I use section names in my documents?You can insert section names in footers of your master pages to display them on multiple pages.
Why is the Section Assistant useful?The assistant helps organize long documents and gives each section a clear identity, increasing readability.


