The designingof layouts in AffinityPublishercan be so much more than just arranging images and texts. One of the most important design tools available to you is text wrapping. With text wrapping and text flow, you can achieve harmonious text flow around objects such as images, frames, or tables. In this guide, I will show you the various ways to arrange text to create an appealing and efficient layout.
Key Takeaways
- Text can flow around objects such as images and frames.
- You can adjust the spacing radius between the text and the object.
- There are various wrapping styles that can be used depending on the design.
- By editing the wrap contour, you can improve the text arrangement around unmasked images.
Step-by-Step Guide
To let the text flow effectively around objects, follow these steps:
First, you need to select the object around which the text will flow. This can be an image or a shape. I recommend grouping all relevant elements to improve clarity. For example, if your object is an ellipse that can be combined with a frame, it will be much easier to control the text later.
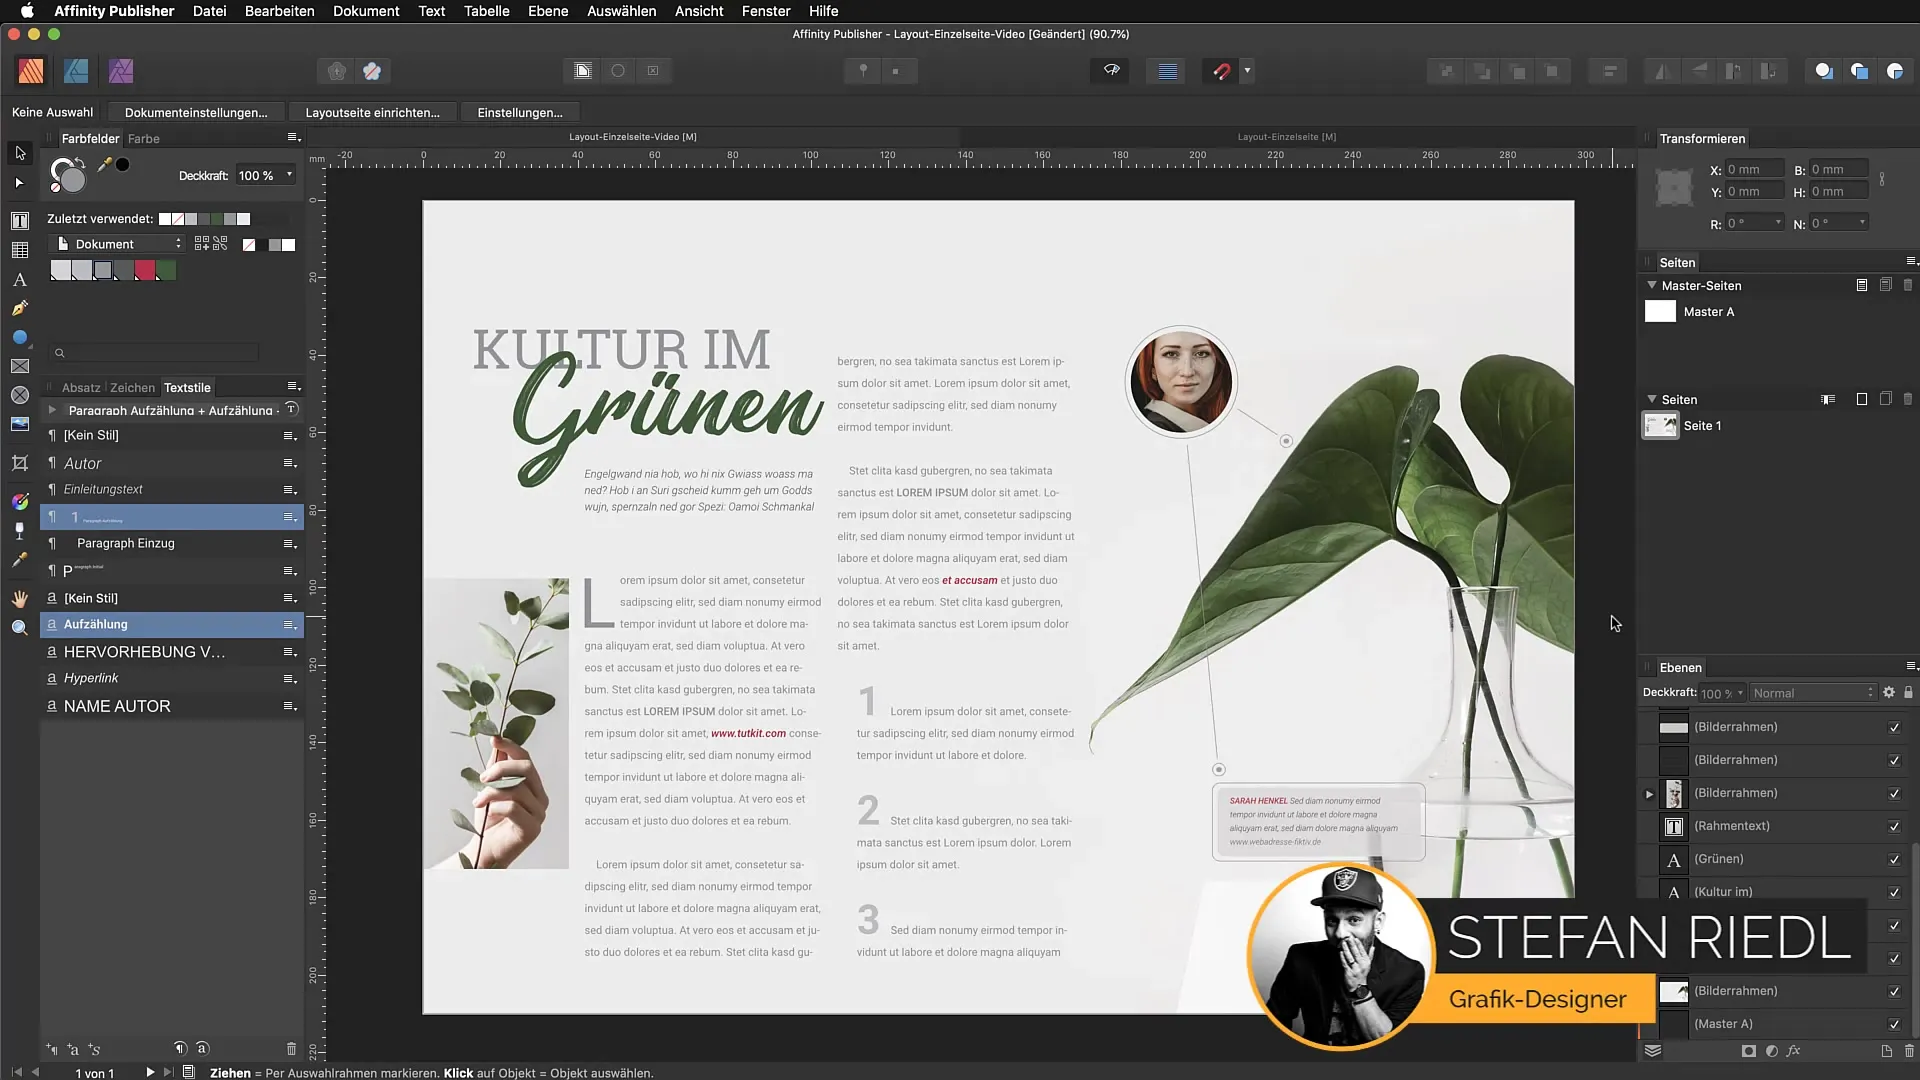
When you place the text near the object now, it will not be pushed away by it. This means that the text and the object will overlap, which can lead to a chaotic layout. To change this, go to the text wrap options located in the top menu. Here you can select "tight" or other wrapping styles.
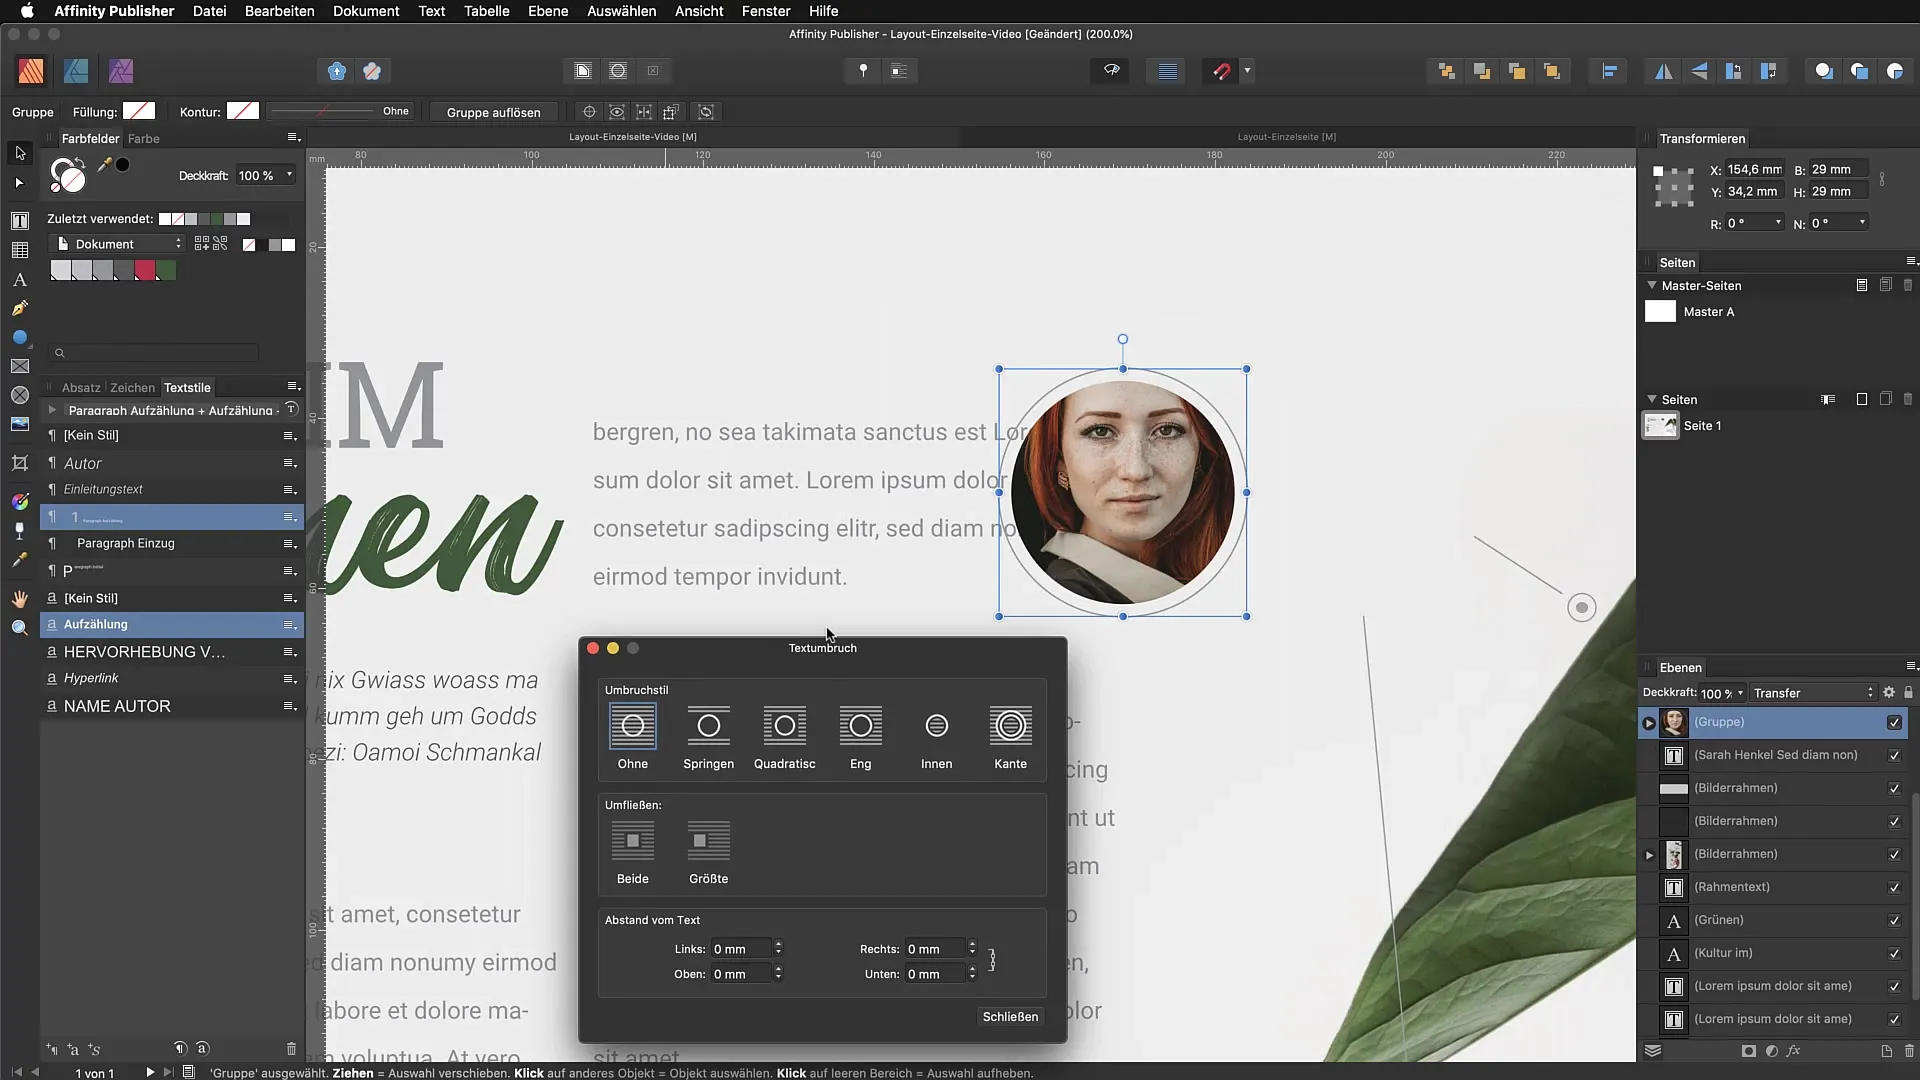
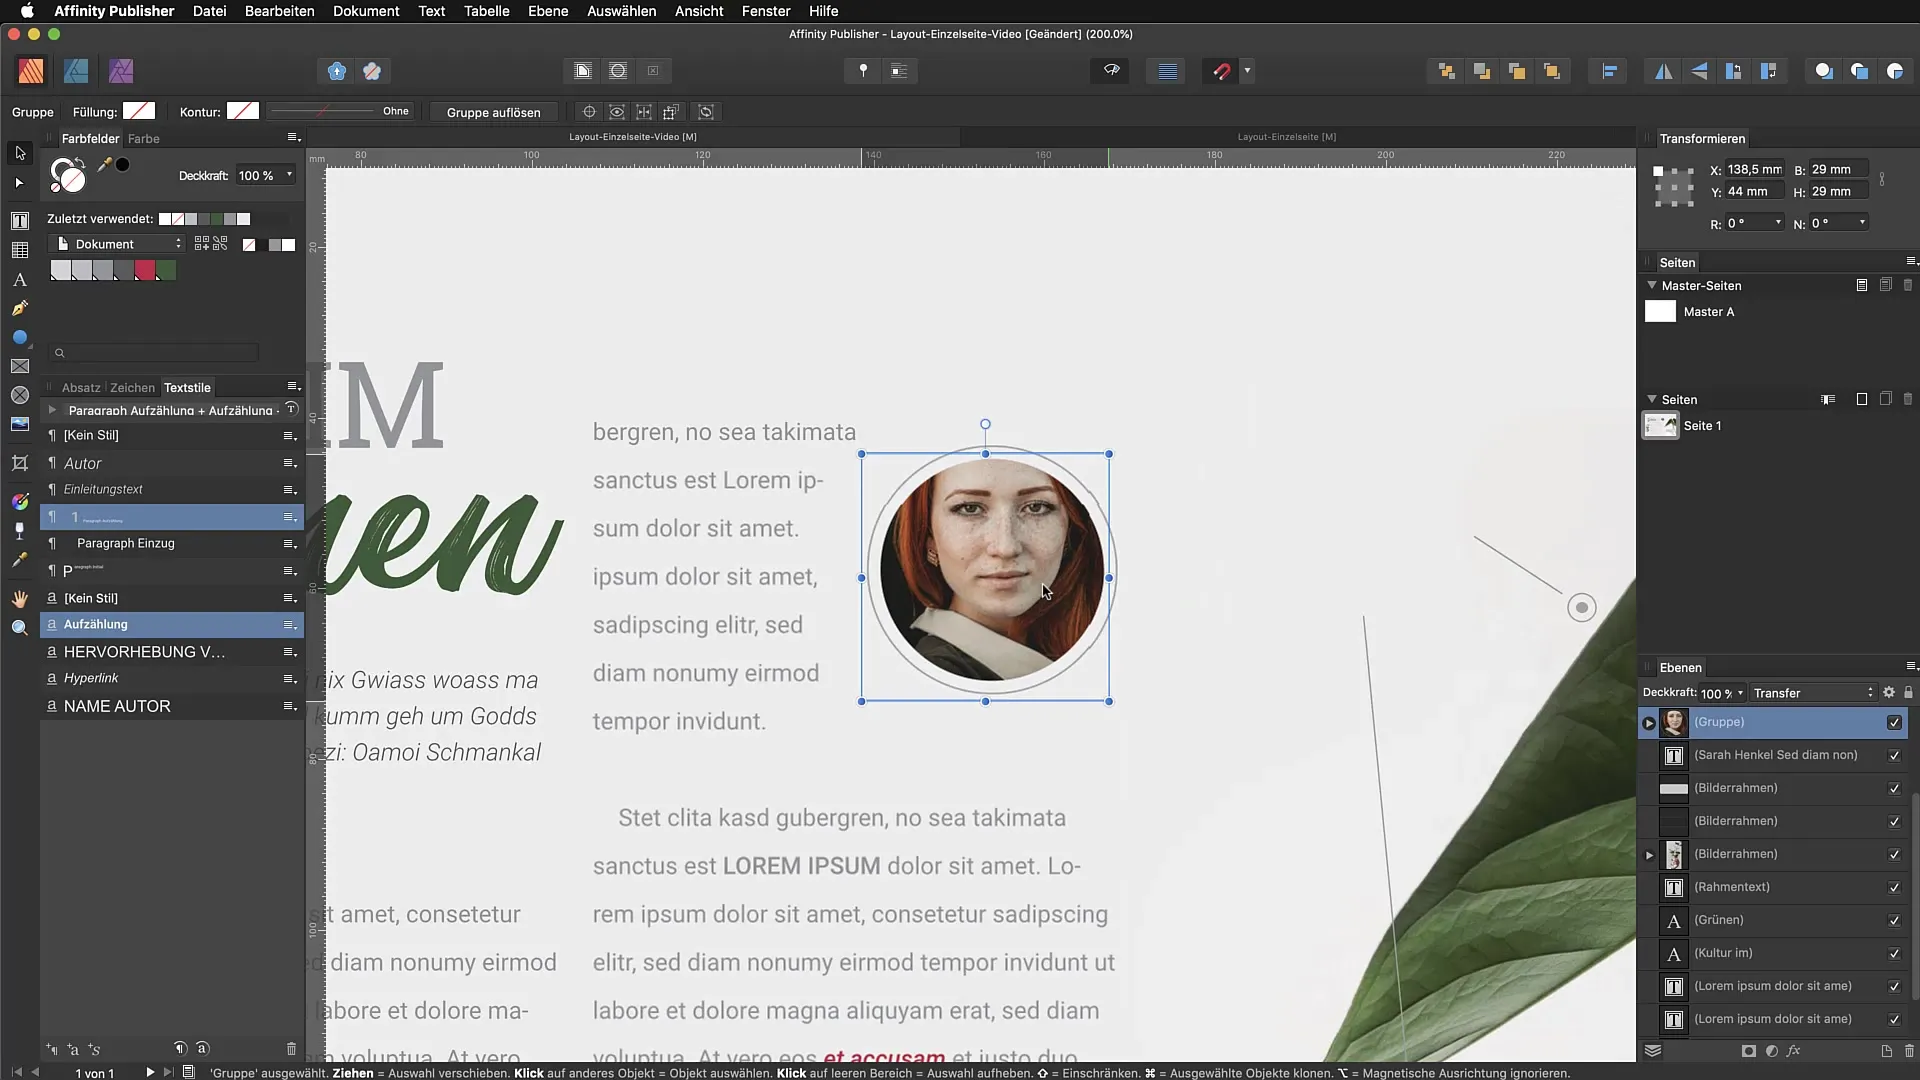
Depending on the style, the text will flow differently around the object. The tight option is especially popular as it positions the text close to the object. You can also adjust the spacing to define how close the text is placed to the edges of the object. Once you have set this, you can move the object anywhere in the layout, and the text will continue to flow well around the object.
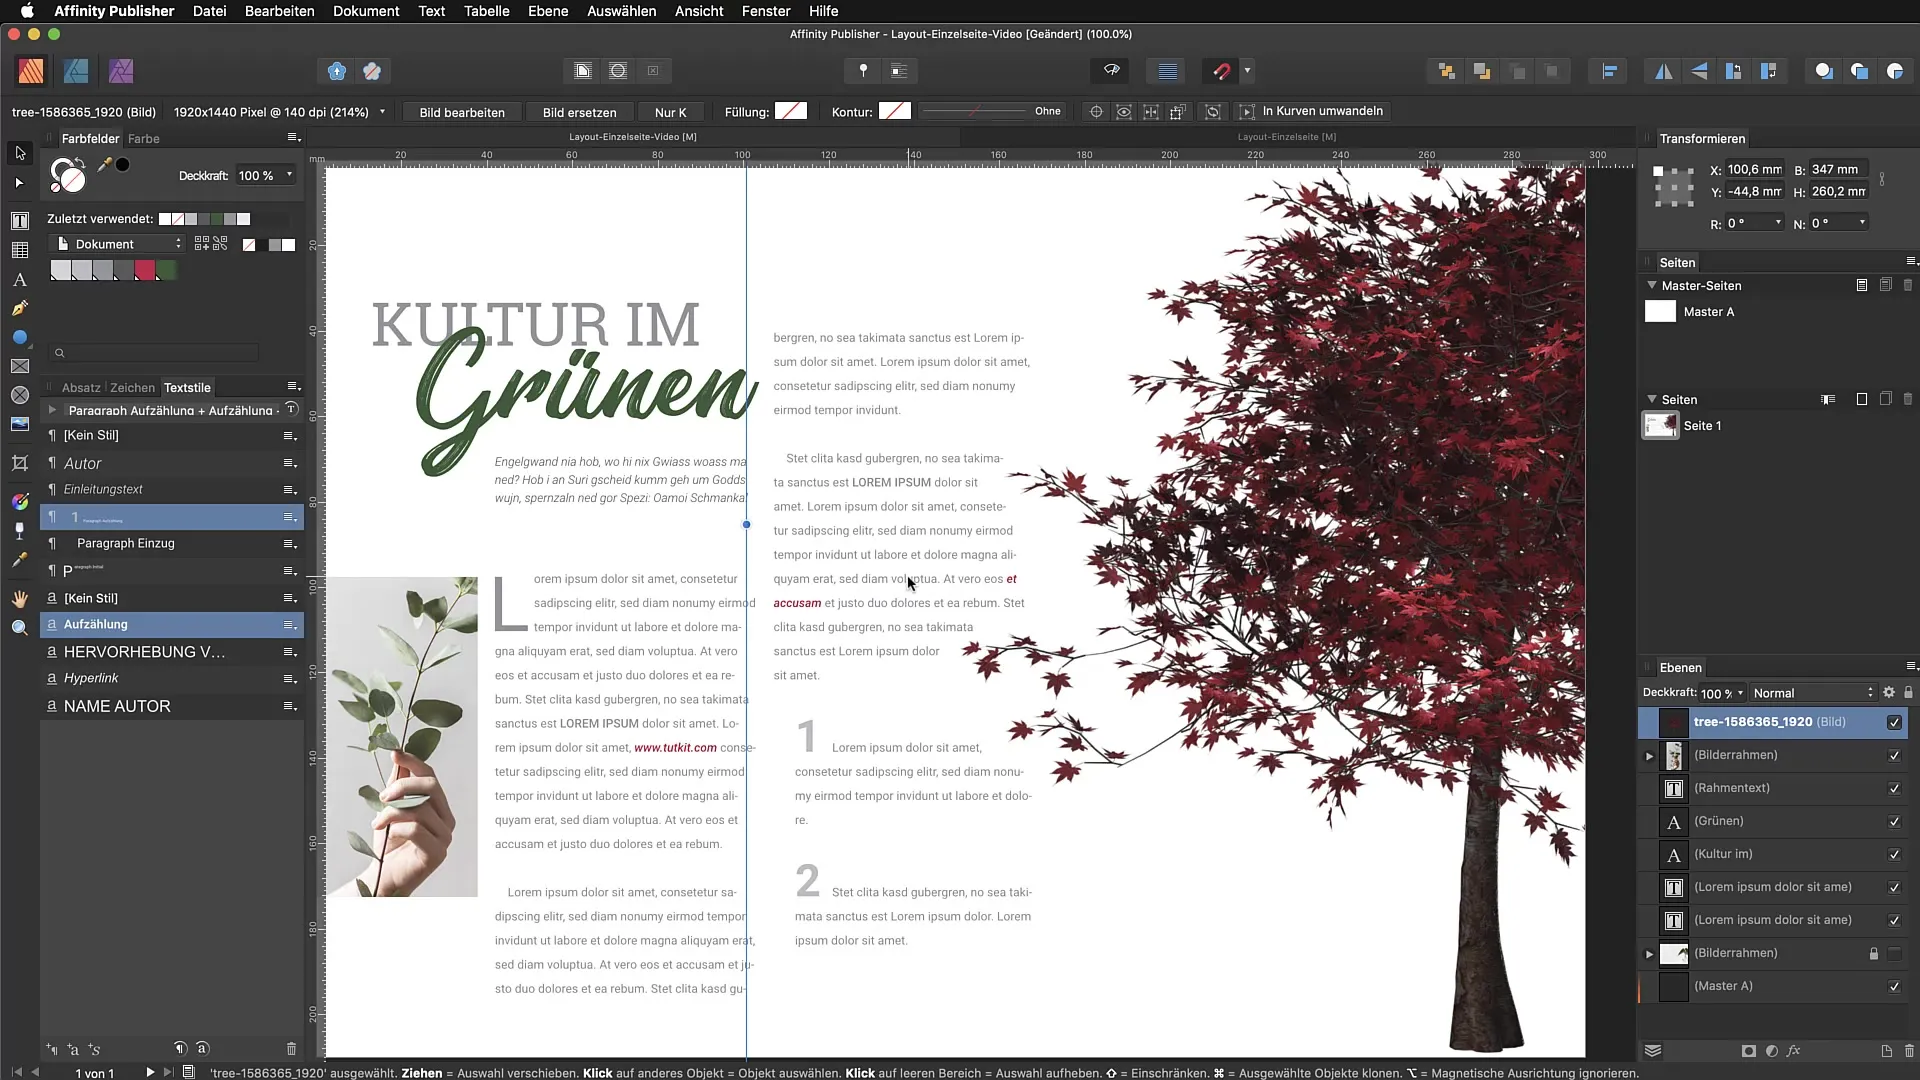
Let’s go through a second example. I will use an image of a tree. Make sure this image is large enough to fit well into your layout. As before, go to the text wrap options after placing the image. The tight option will ensure that the text is properly distributed around the tree.
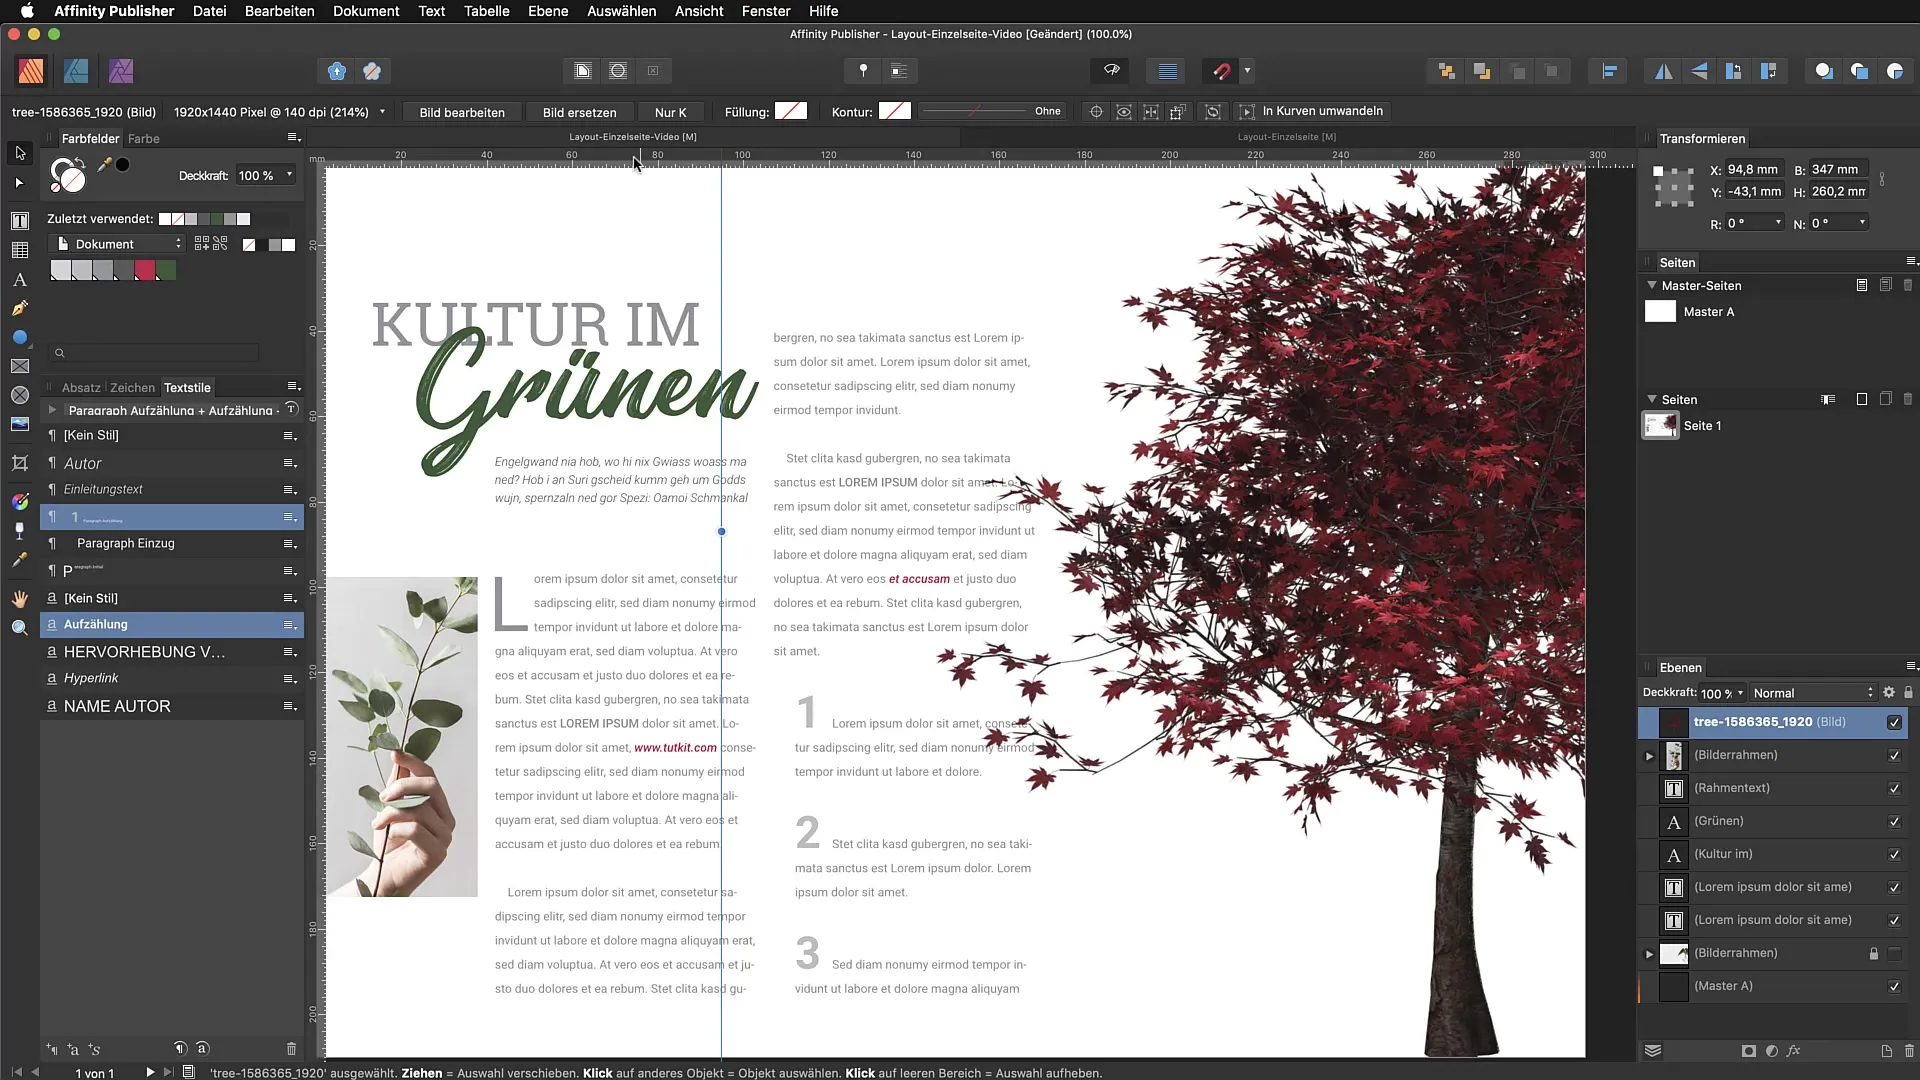
In this example, it is a PNG file with a transparent background color, which means the text can flow around the individual parts of the image without any issues. With images that do not have transparencies, the wrapping can be a bit more complicated. Here, you need to consider the next step.
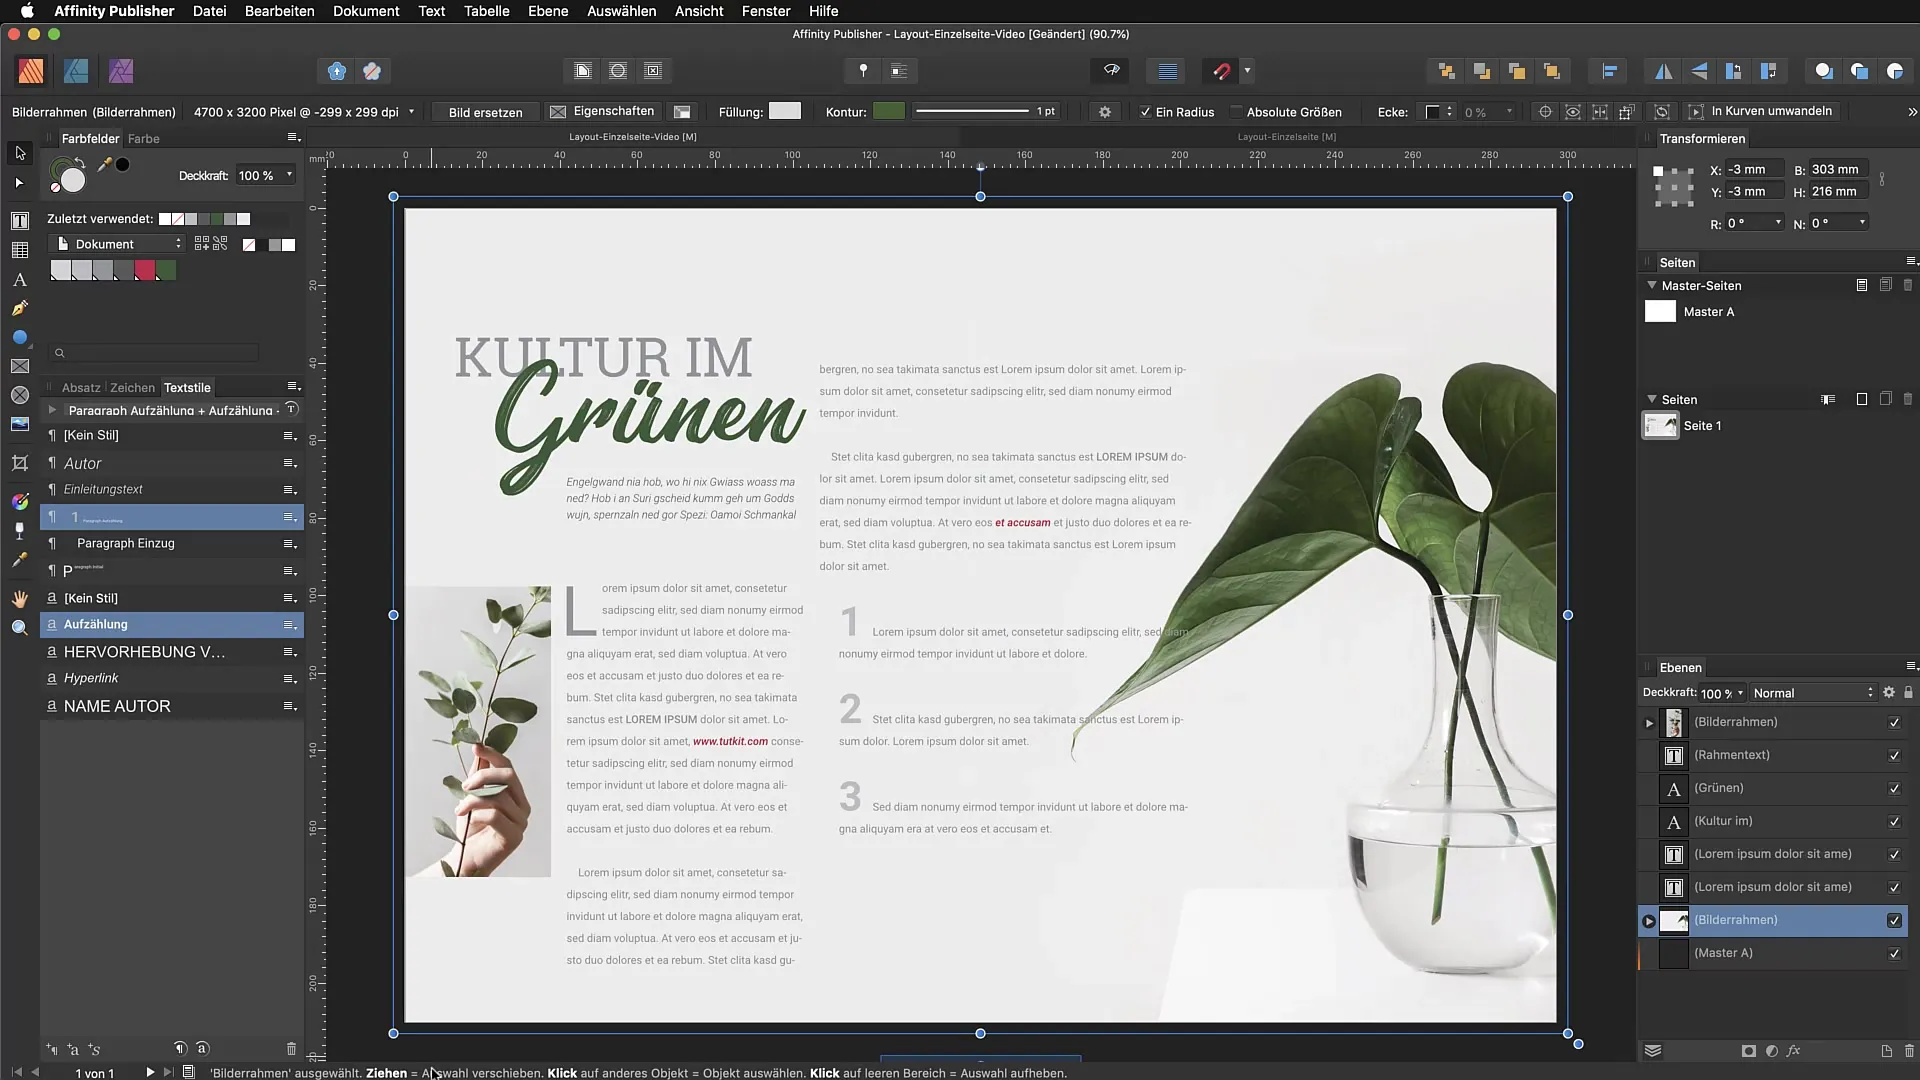
If you are using an image without transparent background edges, it is necessary to edit the size and shape of the frame. To do this, select the image and go to "Edit Wrap Contour". This gives you the option to define the contours between the image frame and the text. Thus, you can plan the text precisely without changing the image contents themselves.
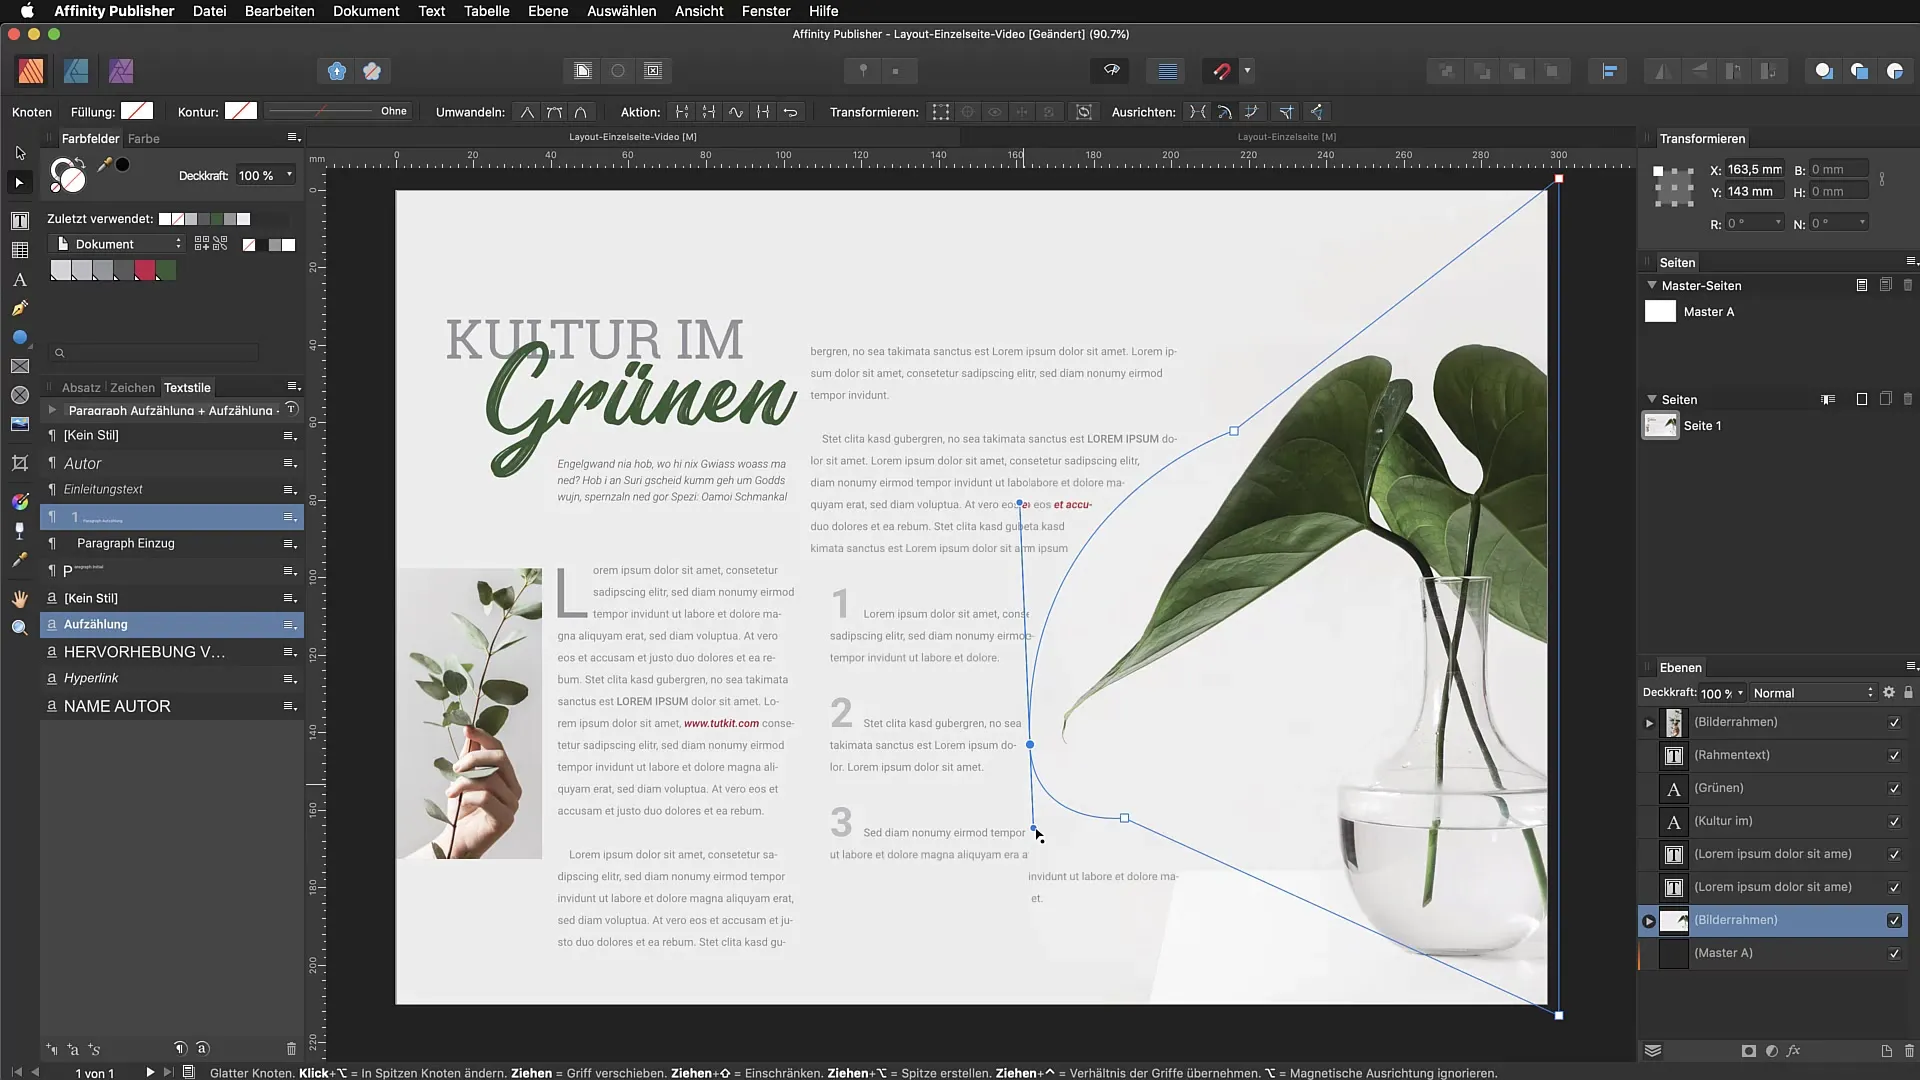
With this function, you can reset anchor points to create a custom shape for text wrapping. Add additional anchor points to optimize the flow of curves. This is especially helpful if you want to improve the text arrangement around more complex shapes. The possibilities for editing the nodes are similar to those you know from Adobe Illustrator or Affinity Designer, providing you with a lot of flexibility.
Ultimately, with these techniques, you have the opportunity to create not only simple text flows but also more complex and elegant layouts.
Summary - Text Wrapping in Affinity Publisher: An Effective Guide
In this guide, you have learned the basics of text wrapping in Affinity Publisher. Through targeted settings and edits, you can significantly improve your layout. Whether it's adjusting spacing, editing wrap contours, or simply selecting the right wrapping styles - the possibilities are diverse. Use these features to make your layouts more professional and appealing.
FAQ
How do I change the spacing between text and object?You can adjust the spacing in the text wrap options.
What can I do if my image has no transparent edges?You can edit the wrap contour to allow the text to flow individually around the image.
Are there different wrapping styles in Affinity Publisher?Yes, there are several wrapping styles, including "tight" and "rounded".
How do I add anchor points to improve the text arrangement?Select the image and go to "Edit Wrap Contour" to add and redefine anchor points.


