Spot colorsare a fascinating tool in graphic design, especially when it comes to the finishingof print products. With these specialty colors, you can highlight certain design elements and give your project a unique touch. In this guide, you will learn how to effectively use spot colors in AffinityPublisher to achieve partialfinishing. The goal is to make your printed products more appealing and look more high-quality.
Key insights
- A partial finishing requires precise planning and setup.
- Spot colors must be created according to the print shop's guidelines.
- Run lengths and specifications from your print shop are crucial for the success of your finishes.
Step-by-step guide
Step 1: Basics and preparations
Before you can start designing and finishing your printed product, it is important to know basic factors. A partial finishing can only be done on one side. Check with your print shop whether this service is offered and what the conditions are. A partial finishing should highlight certain details but not overwhelm the entire design.

Step 2: Choosing the subject
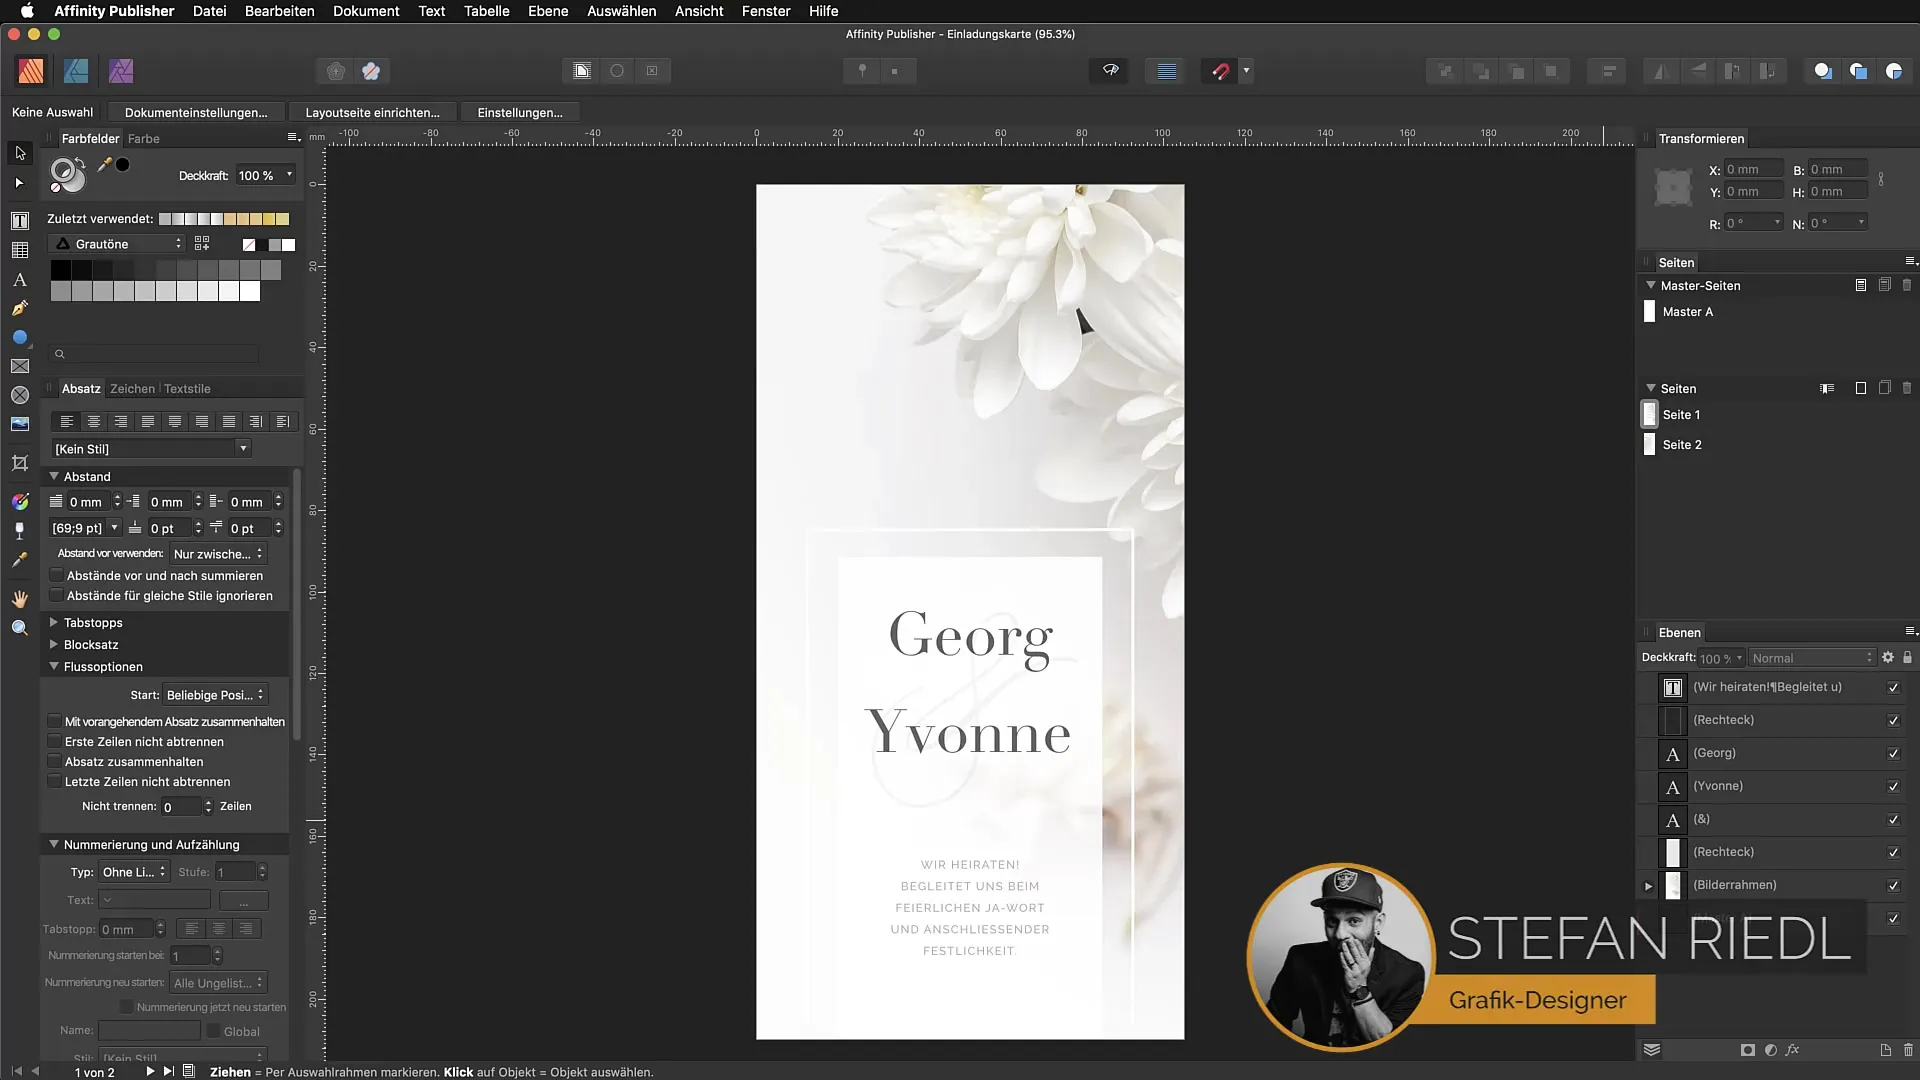
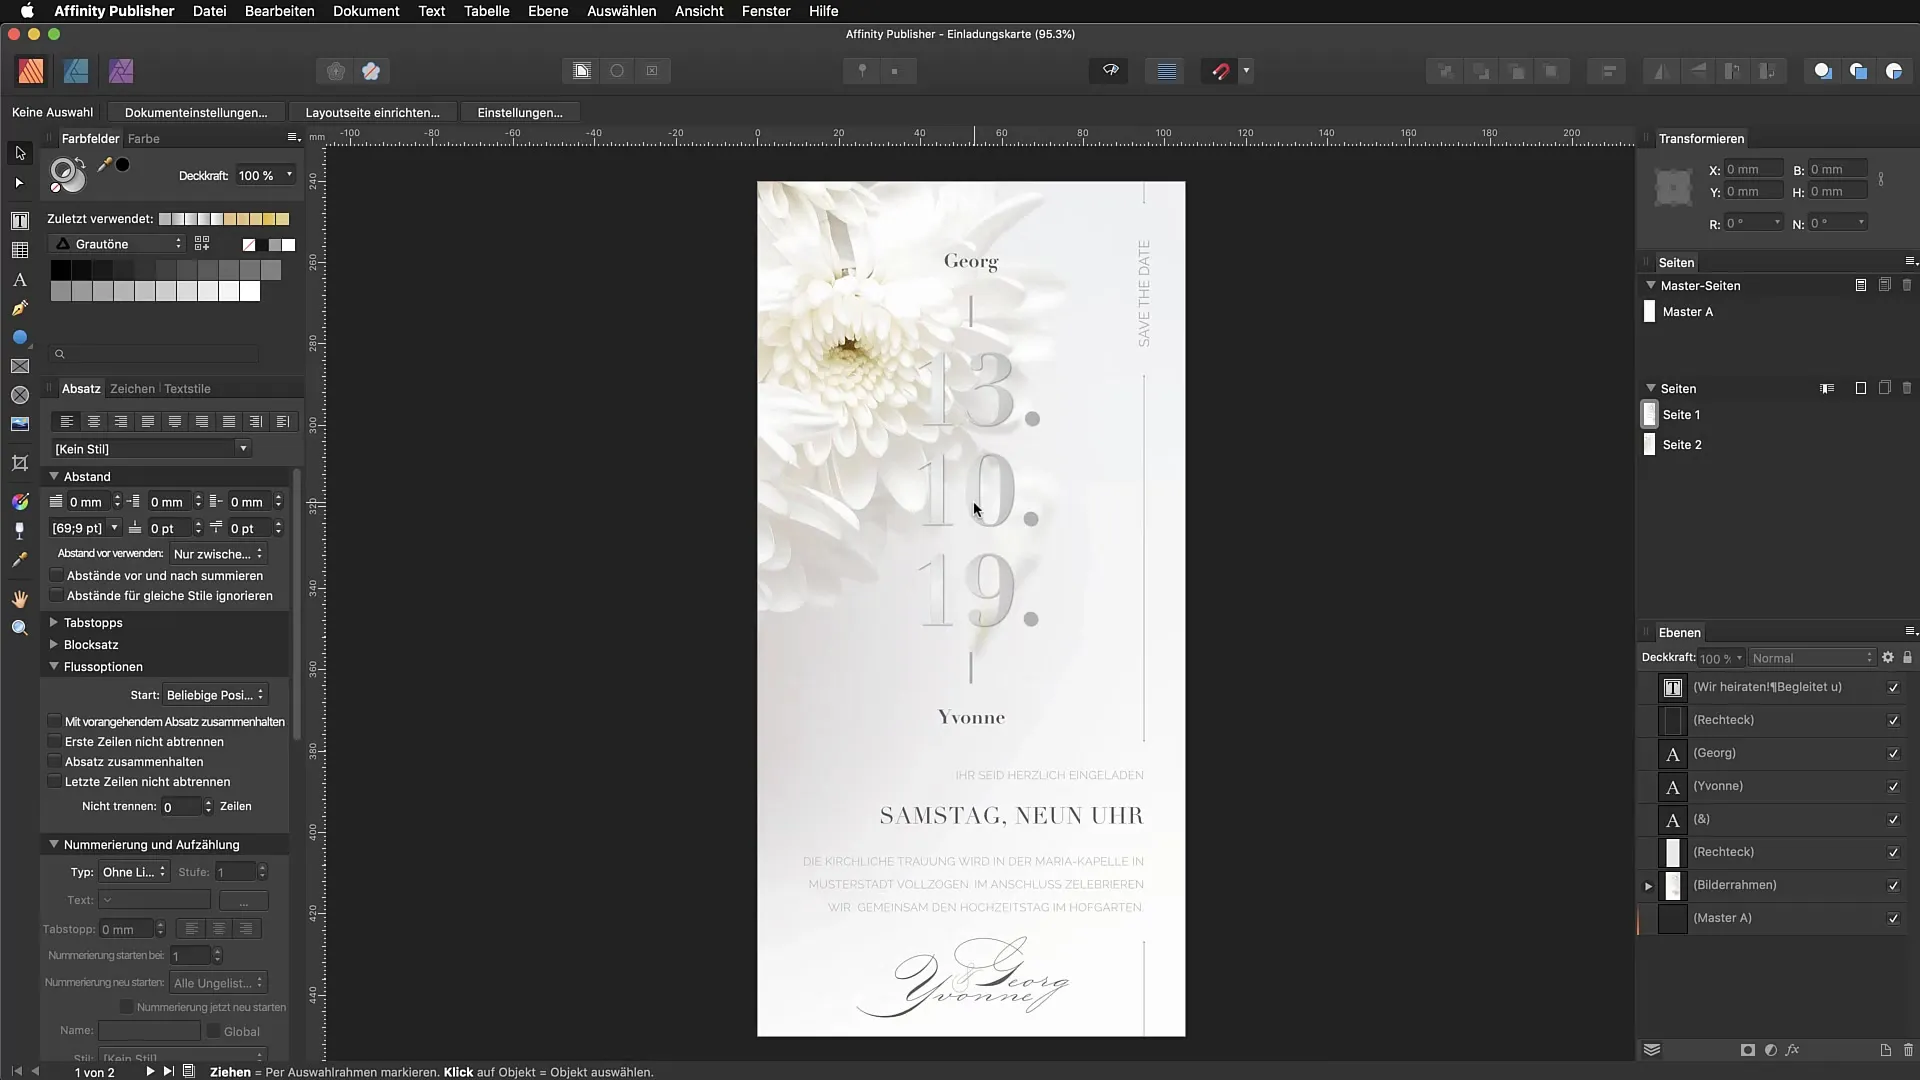
Decide on the areas you want to finish. In the example, we are working with an invitation card where the numbers “13”, “10”, and “19” are particularly highlighted. These details should be presented in a highly visible format.
Step 3: Check font size and design
Ensure that the elements you want to finish are large enough. Smaller font sizes, especially when they are intricate, can become problematic during printing. A font size of 68 points, for example, may be considered risky. Consult your print shop to learn about their specific requirements regarding minimum line thicknesses.
Step 4: Maintain safety margins
Avoid placing the finished elements too close to the edge of your design. Maintain a safety margin to ensure that nothing gets cut off. Additionally, no additional graphic effects like drop shadows or gradients should be used, as these can affect printing efficiency.
Step 5: Contrast and color choice
Choose a strong color contrast for your spot color so that the finished elements are easily readable. Even though spot colors are often transparent, it is important to select a base color for contrast. This makes the finished elements visually more appealing.
Step 6: Setting up the spot color
Go to the color panel and add a global spot color. Ensure that you activate the checkboxes for “Spot Color” and “Overprint”. This is crucial for the color to be correctly implemented in the print.
Step 7: Adjusting objects
Convert the objects to curves to ensure they are not altered in the export process. Duplicate the objects for applying the spot color and ensure that the spot color is only applied to the duplicates.
Step 8: Check document and print data
Check your document for compliance with print data guidelines. It is especially important that the spot color is not placed at the outer edge and does not have any graphic effects. These measures are important for error-free printing.
Step 9: Export the document
Select the export dialog and ensure that the option “Use Spot Colors” is activated. Name the document accordingly to easily identify it later.
Step 10: Review with the print service provider
Upload the document into your print shop’s system and check if everything is displayed correctly. Use the online preview to ensure that the finished areas are implemented correctly.
Step 11: Conclusion and feedback
After you have received your printed product, check the implementation of the spot color and the partial finishing. Share your feedback with the print shop if adjustments are needed.

Summary - PDF export with spot color for partial finishing
In this guide, you learned how to use spot colors in Affinity Publisherfor partial finishes. Proper planning, selection, and adherence to print specifications are crucial for the success of your designs. Make sure to follow all necessary steps to create a high-quality printed product.
FAQ
How do I create a spot color in Affinity Publisher?Go to the color panel, select “Add Global Color”, set the desired color, and activate the checkboxes for “Spot Color” and “Overprint”.
Can I apply partial finishes to double-sided printed products?Typically, partial finishes are only possible on one side. Clarify this with your print shop.
What font size is suitable for partial finishing?The font size should be at least 12 points for UV coating and 14 points for hot foil stamping.
How do you handle graphic effects in finished areas?Avoid any graphic effects such as drop shadows or gradients on the finished elements.
What happens if I accidentally place the spot color at the edge?The spot color must be positioned within a safety margin from the edge, otherwise it can be cut off during printing.


