Affinity Publisher is a powerful tool for designers and graphic enthusiasts. However, getting started with the software can be challenging, especially when it comes to effectively navigating the user interface and setting up your personal workspace. This guide is intended to help you get more comfortable with Affinity Publisher and organize your workspace according to your needs.
Key Insights
- The user interface of Affinity Publisher consists of various areas, including main navigation, toolbar, tool panel, and studios.
- You can customize your workspace to enhance your productivity.
- Although saving workspaces is currently not possible, you can flexibly adjust layouts and panels.
Step-by-Step Guide
1. Opening Affinity Publisher for the First Time
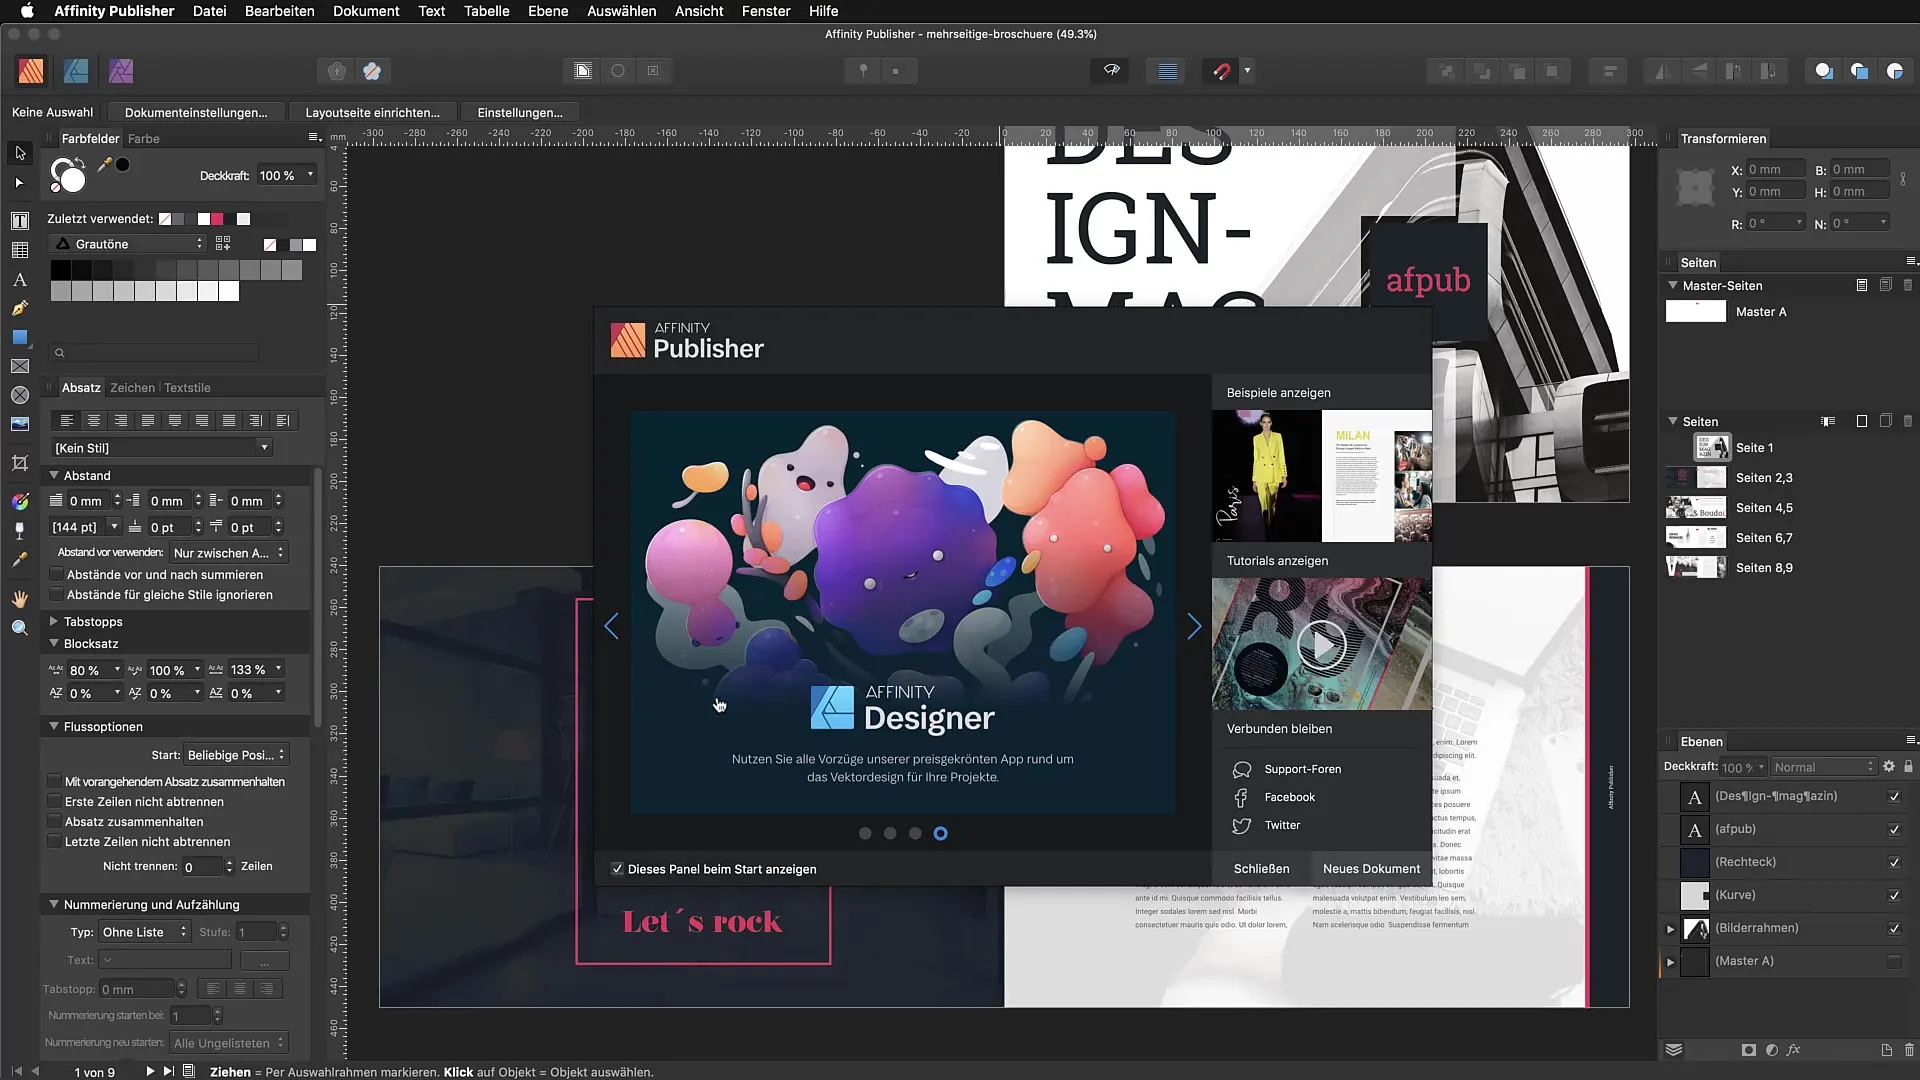
When you open Affinity Publisher, you will first encounter a splash screen. This screen offers little aside from marketing content and advertisements. To quickly access the software, disable the checkbox for the splash screen.
2. Overview of the Program Interface
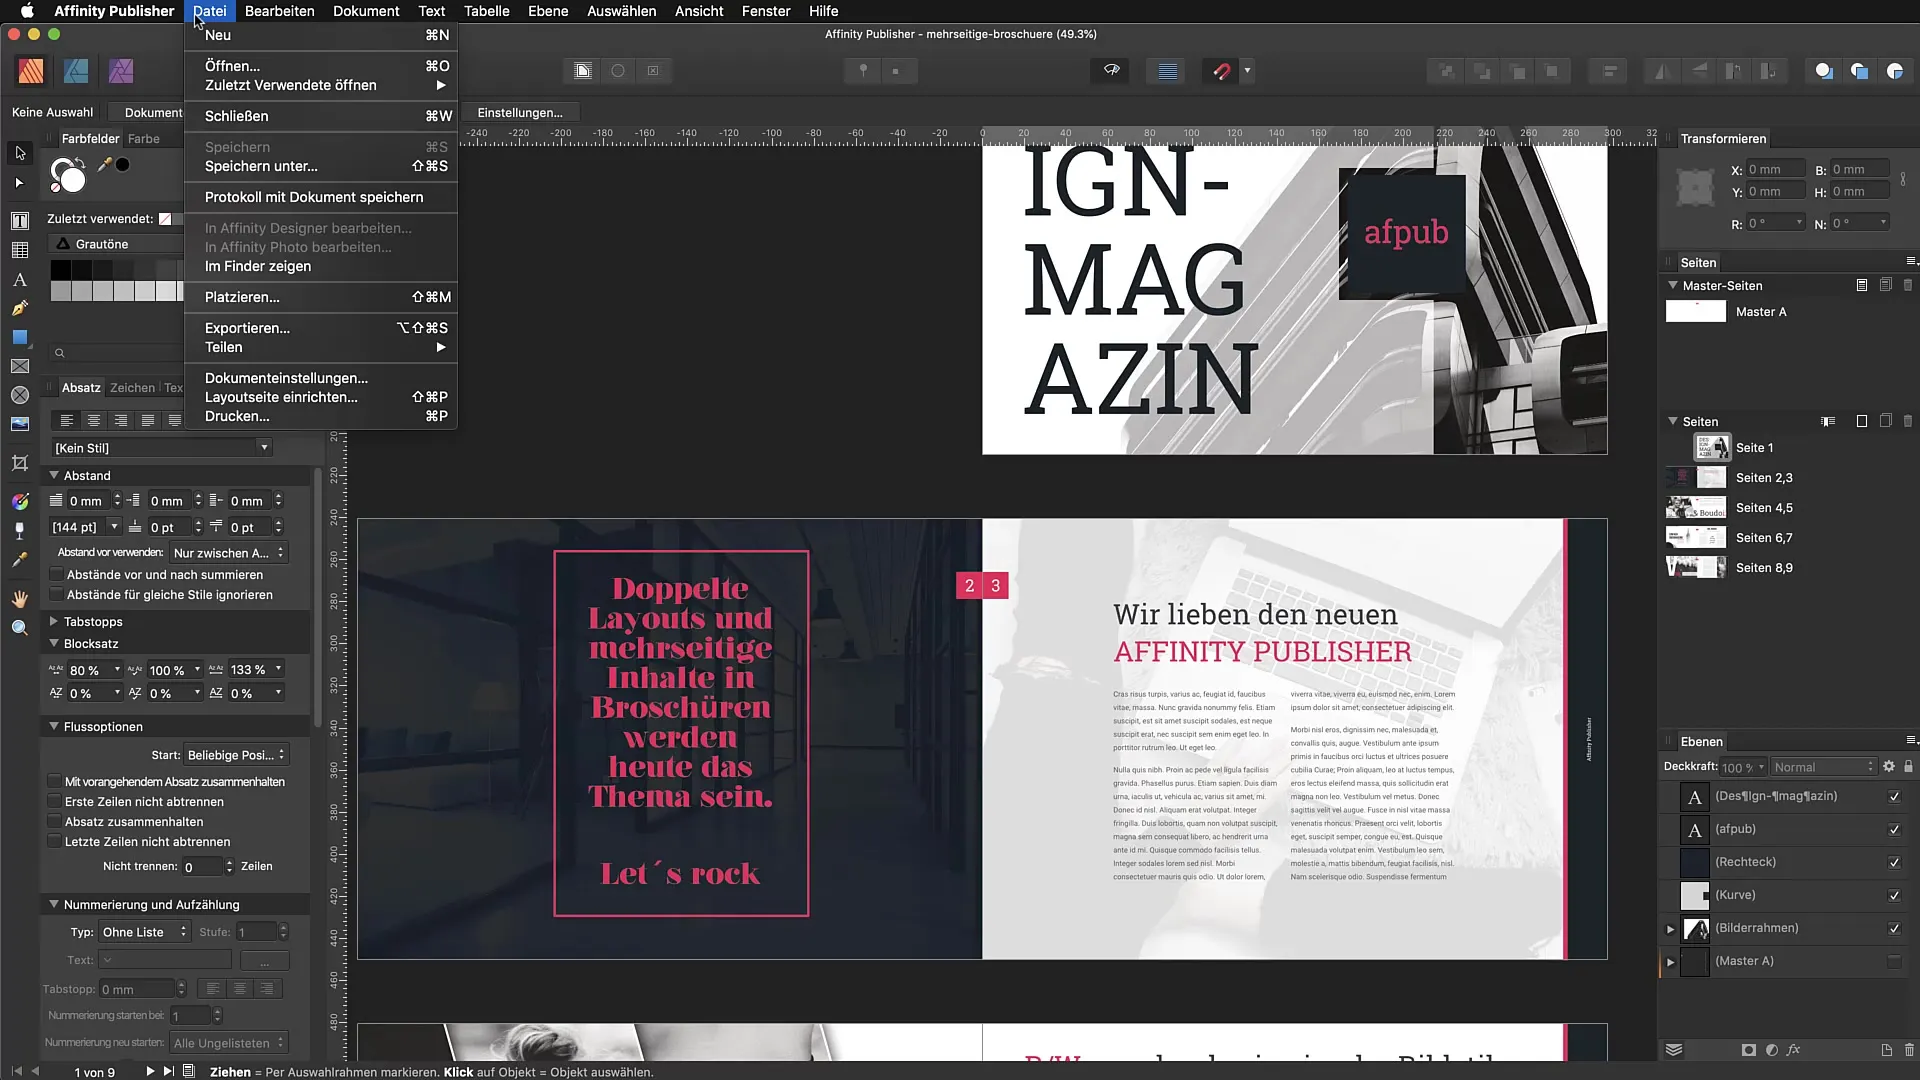
First, it's important to be familiar with the various elements of the user interface. At the top is the main navigation, which allows you to switch between different menus. Below that, you will find the toolbar, which offers you a range of useful functions. It is normal for your workspace to look different from the one in the tutorial, as the configuration can vary from user to user.
3. Customizing the Toolbar
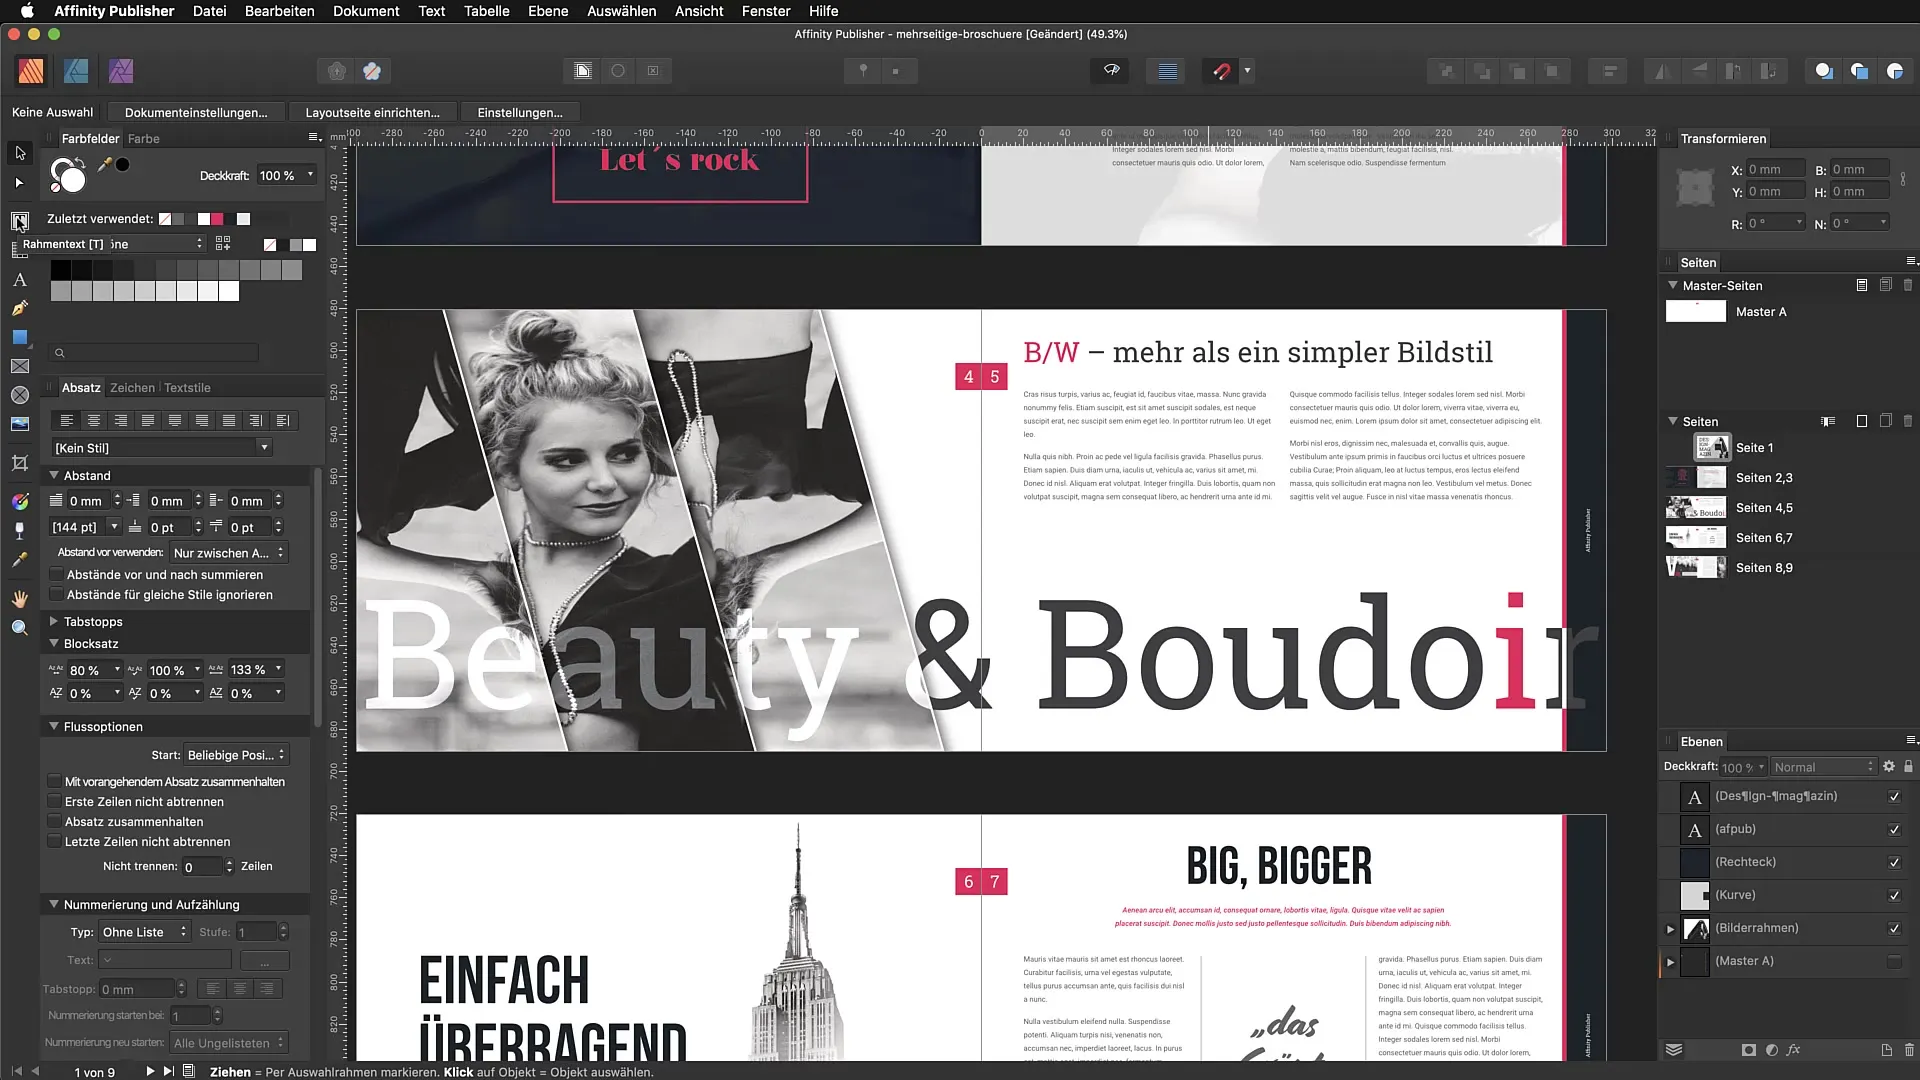
The toolbar provides you access to different personas, text options, and other tools. You should explore these areas to find out which tools you need most frequently. Also, take a look at the text wrapping options that can help you efficiently organize your text.
4. Using the Tool Panel
The tool panel on the left side contains essential tools that you will need for your projects. You can switch between text tools, shapes, and other graphic objects. The top bar changes to offer context-sensitive options that assist you in your editing.
5. Showing and Hiding Studios
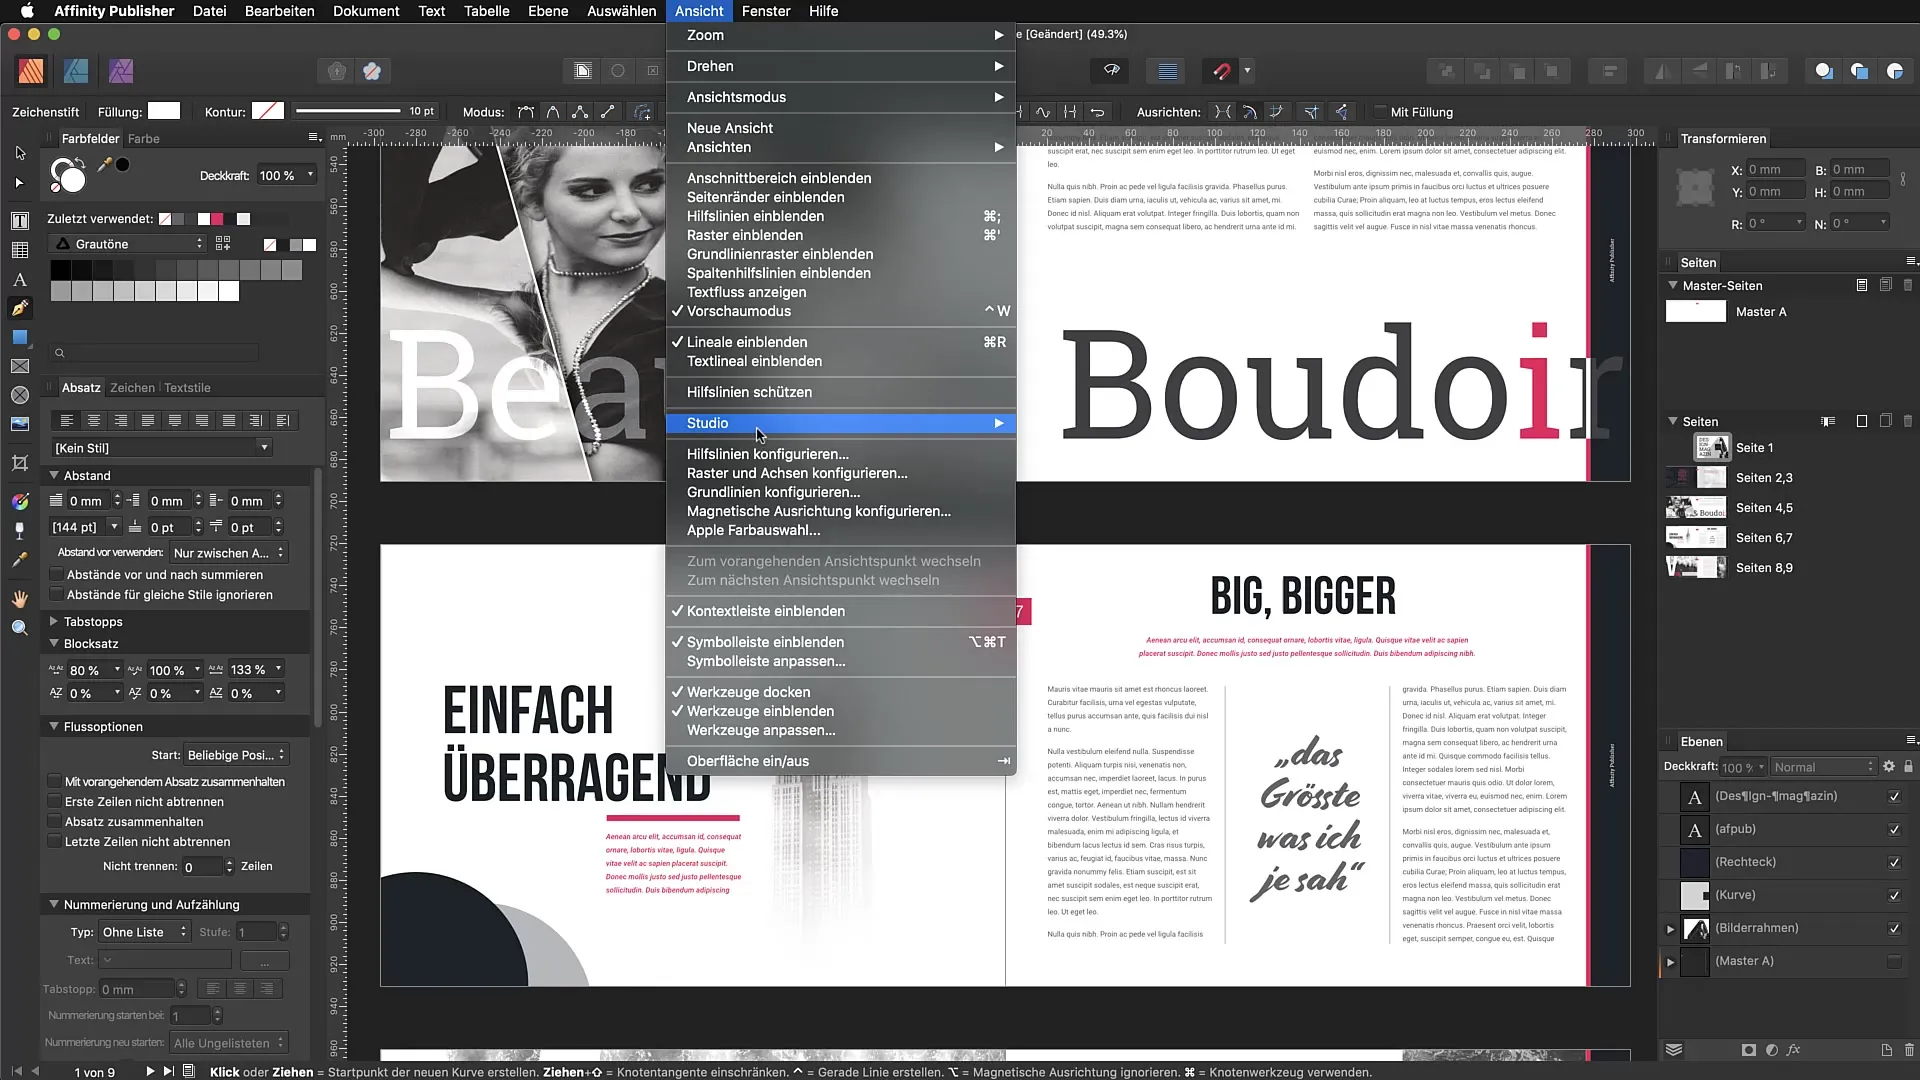
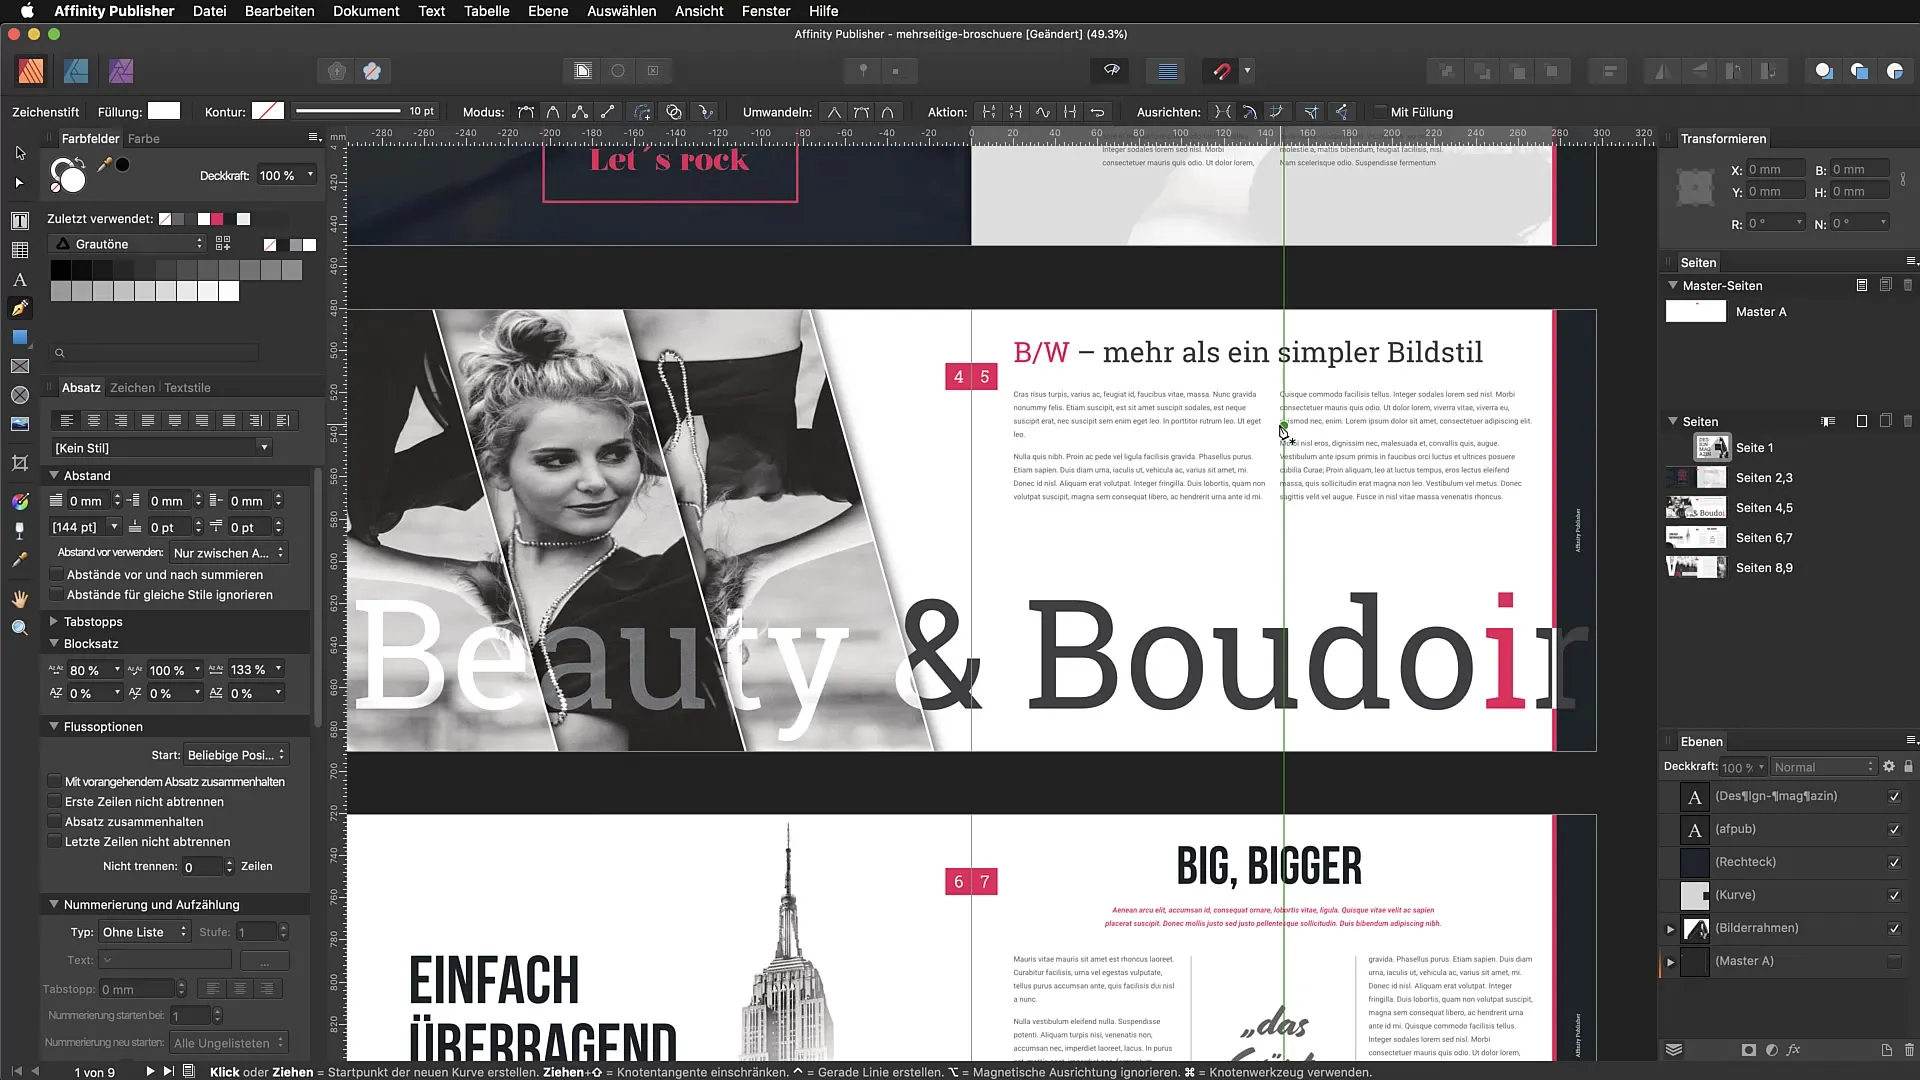
The studios on the left and right sides of the program interface can represent different information and tools. You can show or hide them through the "View" → "Studio" menu. A useful shortcut for hiding all studios is "Command + Shift + H". This gives you more space on your screen.
6. Resetting the Workspace
If your workspace becomes cluttered, you can reset it via the menu. Select "View" and then "Reset Studios". This will return everything to its original state, which can be helpful if you're experimenting or making changes.
7. Adjusting Panels
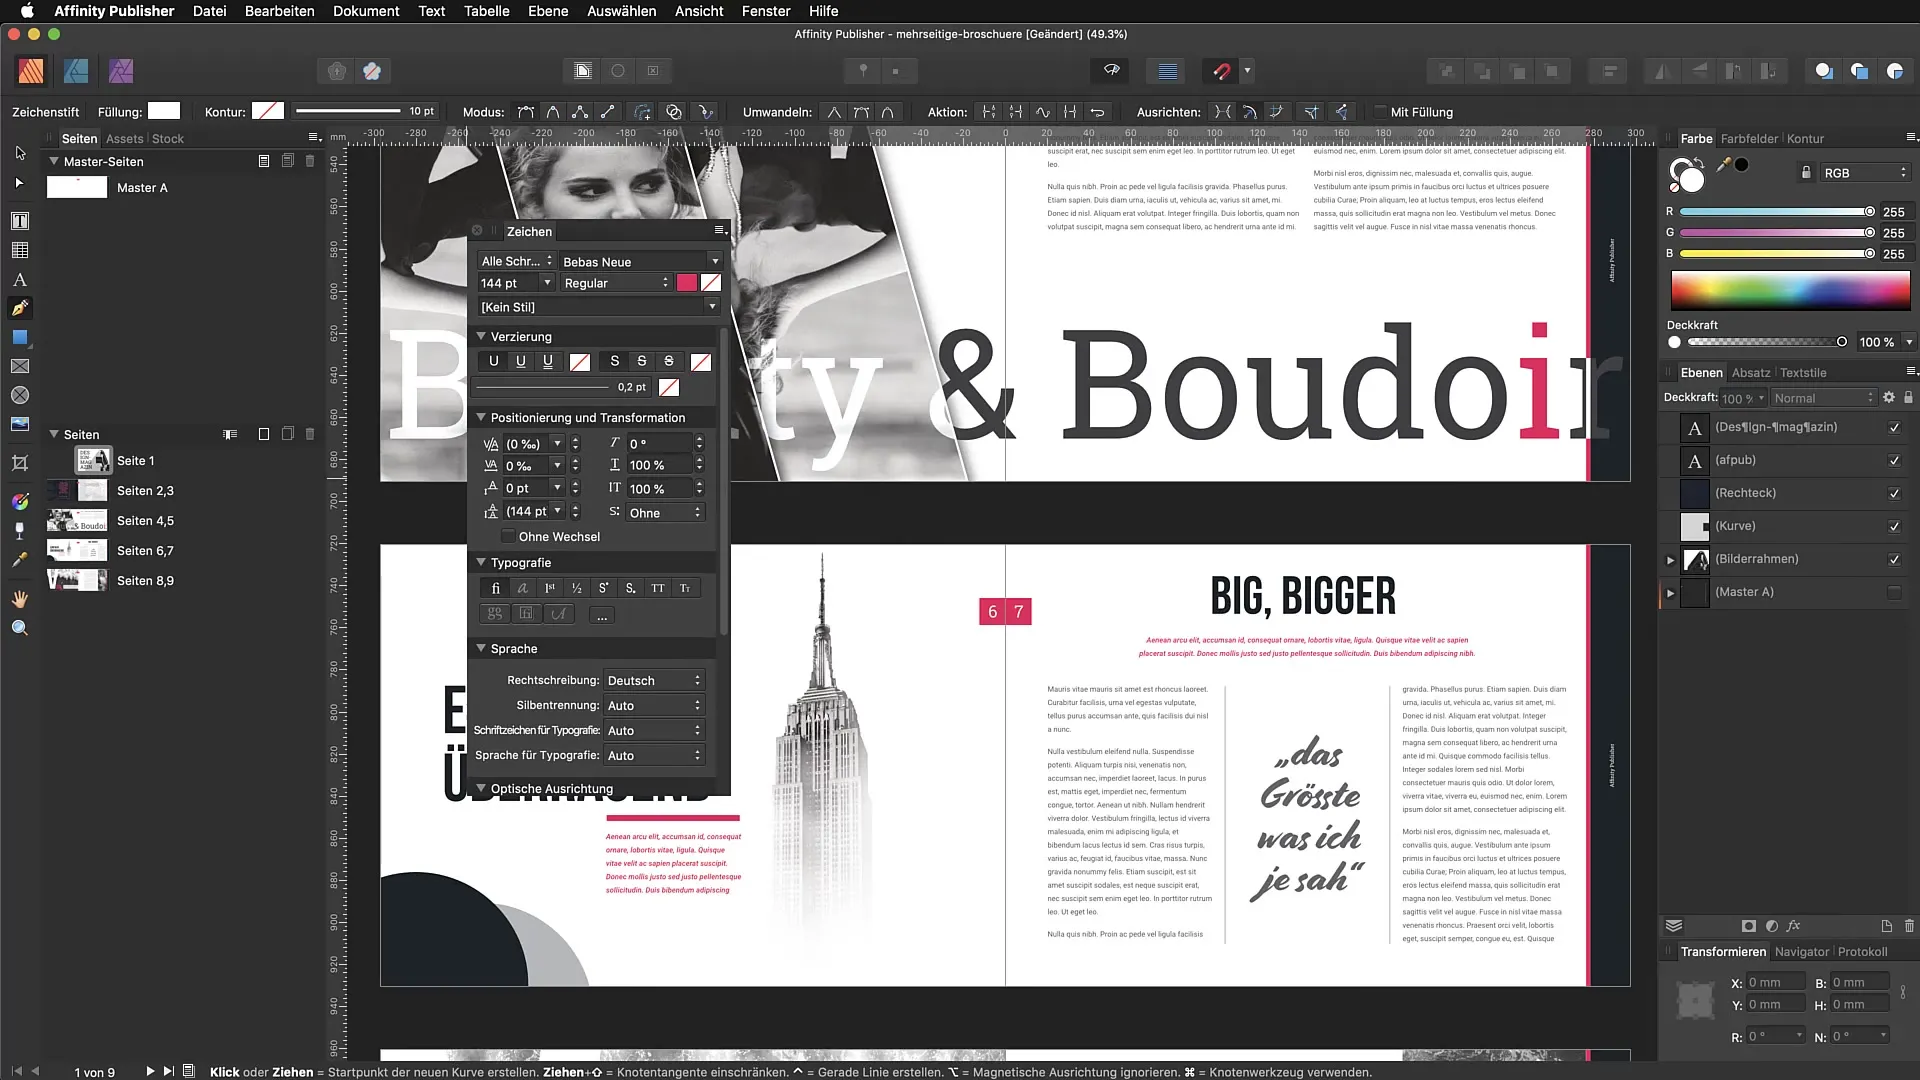
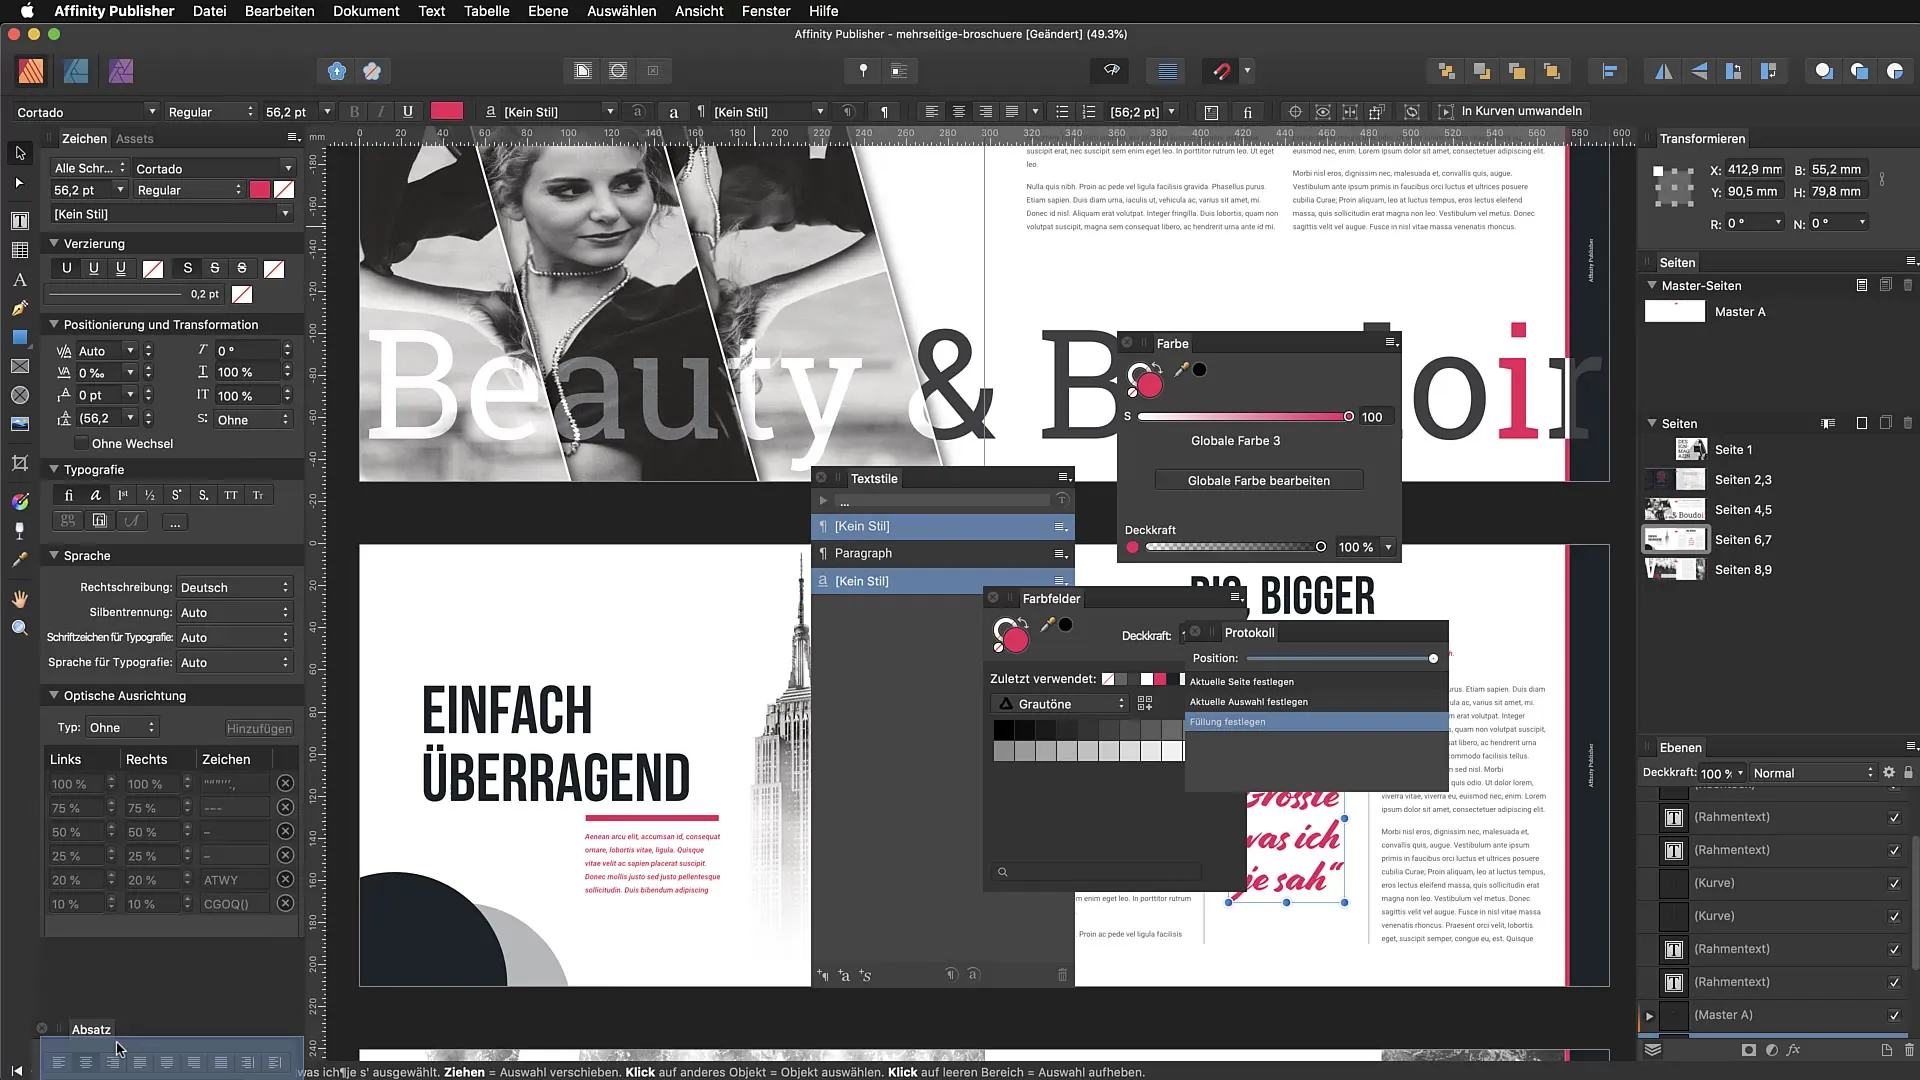
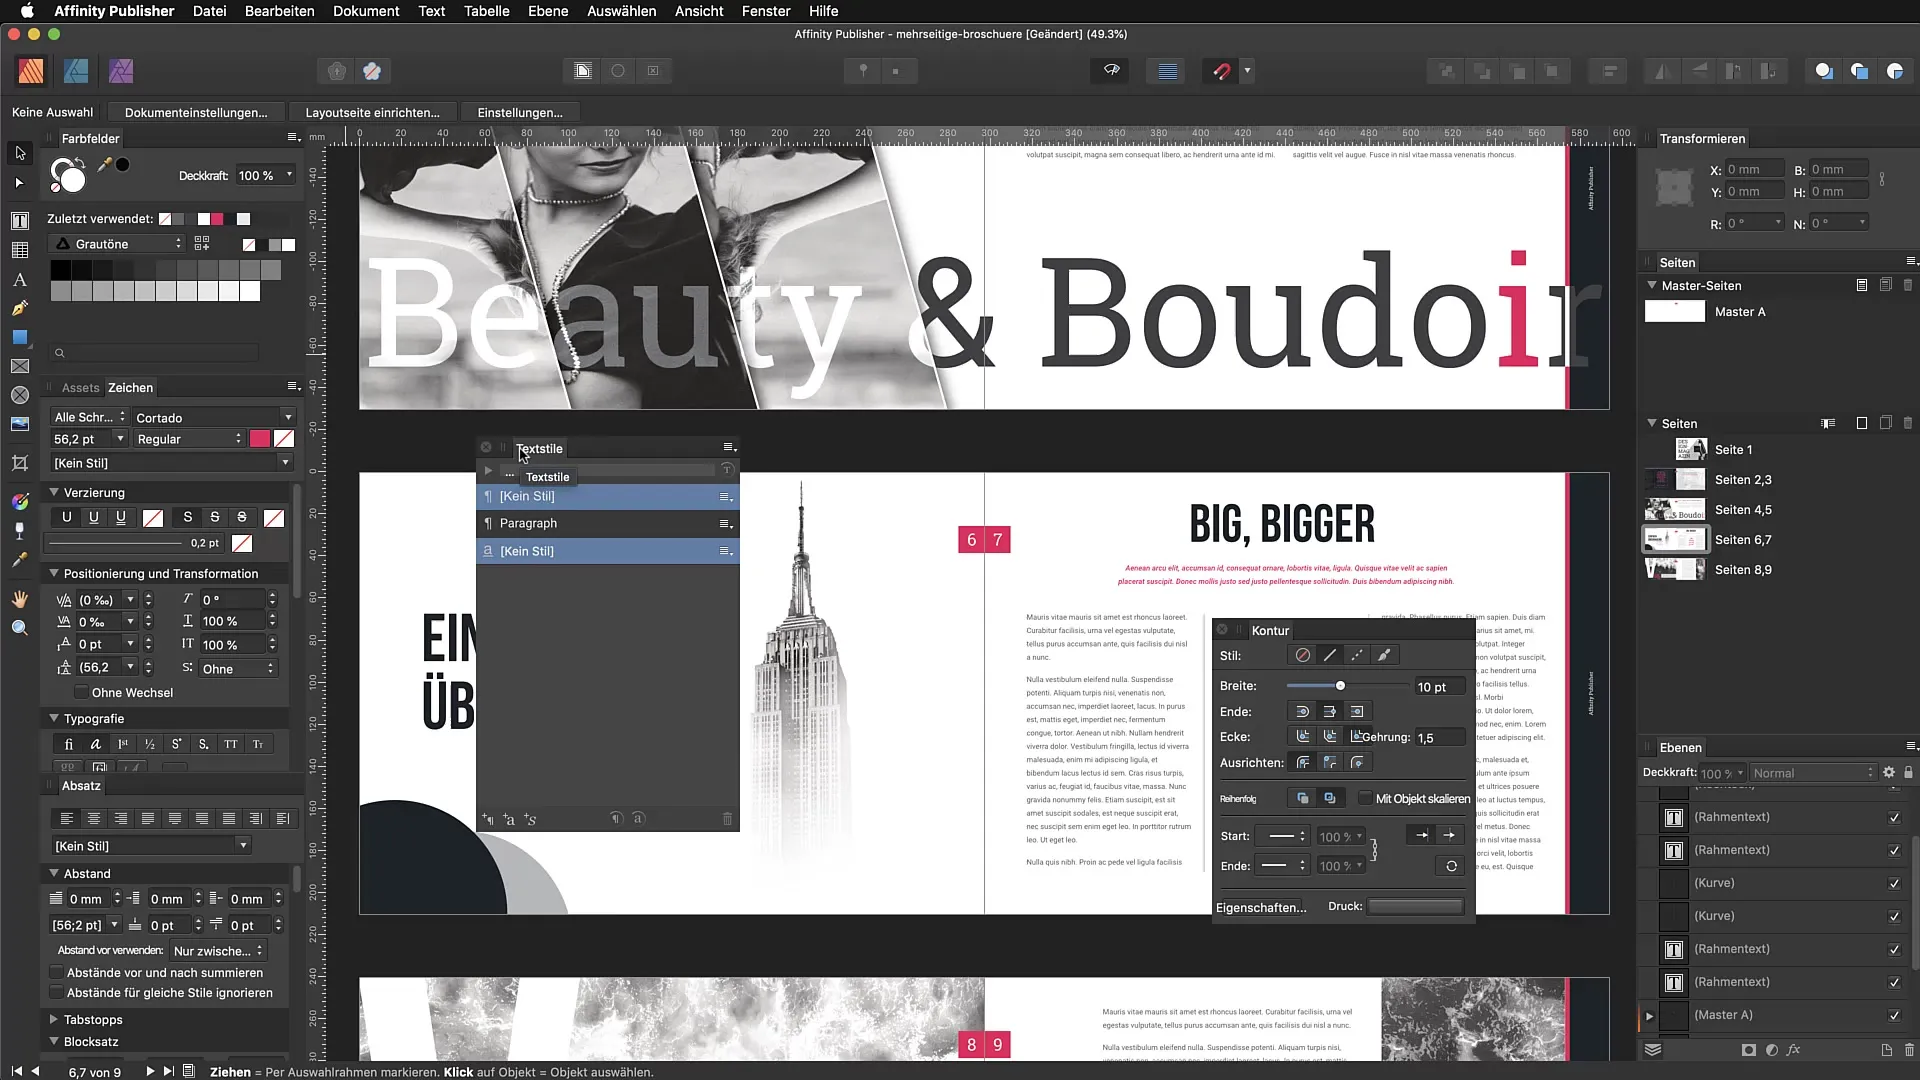
A big advantage of Affinity Publisher is the ability to freely move panels. You can pull them out of the panel and arrange them in a new position. This way, you can find a configuration that works best for your workflow. Note that you cannot save the panels once you've adjusted your workspace.
8. Setting Preferences
Pay attention to which panels you use regularly. Organize your workspace so that the elements most important to you are easily accessible. For instance, if you often work with color swatches, place them at the top of your toolbar or in direct sight.
9. Using Shortcuts
Learn the shortcuts for Affinity Publisher, as they can help you work more efficiently and save time when designing. The most common ones use the "Command" or "Ctrl" keys in combination with other keys.
10. Exploration and Adjustment
Continue to experiment with your environment to find out what works best for you. After a few weeks of use, you will have an idea of which tools and panels you need regularly and how to optimize your workspace.
Summary – Affinity Publisher: Organizing the Program Interface and Workspace
The effective use of Affinity Publisher begins with understanding its user interface and customizing your workspace. Follow the steps in this guide to optimally set up within the software and enhance your workflow.
Frequently Asked Questions
How can I customize the toolbar?You can customize the toolbar by dragging tools from the panels and placing them in a convenient location for you.
Can I save my workspace?Currently, there is no option to save your workspace or create alternative layouts.
How can I show or hide the studios?You can show or hide the studios via the View → Studio menu or by using the shortcut Command + Shift + H.
How do I reset everything to the default view?Select View and then Reset Studios to revert everything to its original state.
Are shortcuts really useful?Yes, learning shortcuts can significantly reduce your editing time and increase your efficiency.


