ArtificialNoiseis a creative tool that can give your designs textures and interesting effects. In this tutorial, you will learn how to specifically add noise in AffinityPublisherto give your designs more depth and character.
Key Takeaways
- Artificial noise can be used either as a stylistic element or for creating patterns.
- Access the noise function in Affinity Publisher through the color panel.
- There are flexible settings to adjust the intensity of the noise to your liking.
Step-by-Step Guide
To add artificial noise in Affinity Publisher, follow these simple steps:
First, you should open a project in Affinity Publisher or create a new one. You can either usean existing document or set up a blank project, depending on what you want to create. It’s important to have a base design to which you can apply the noise.
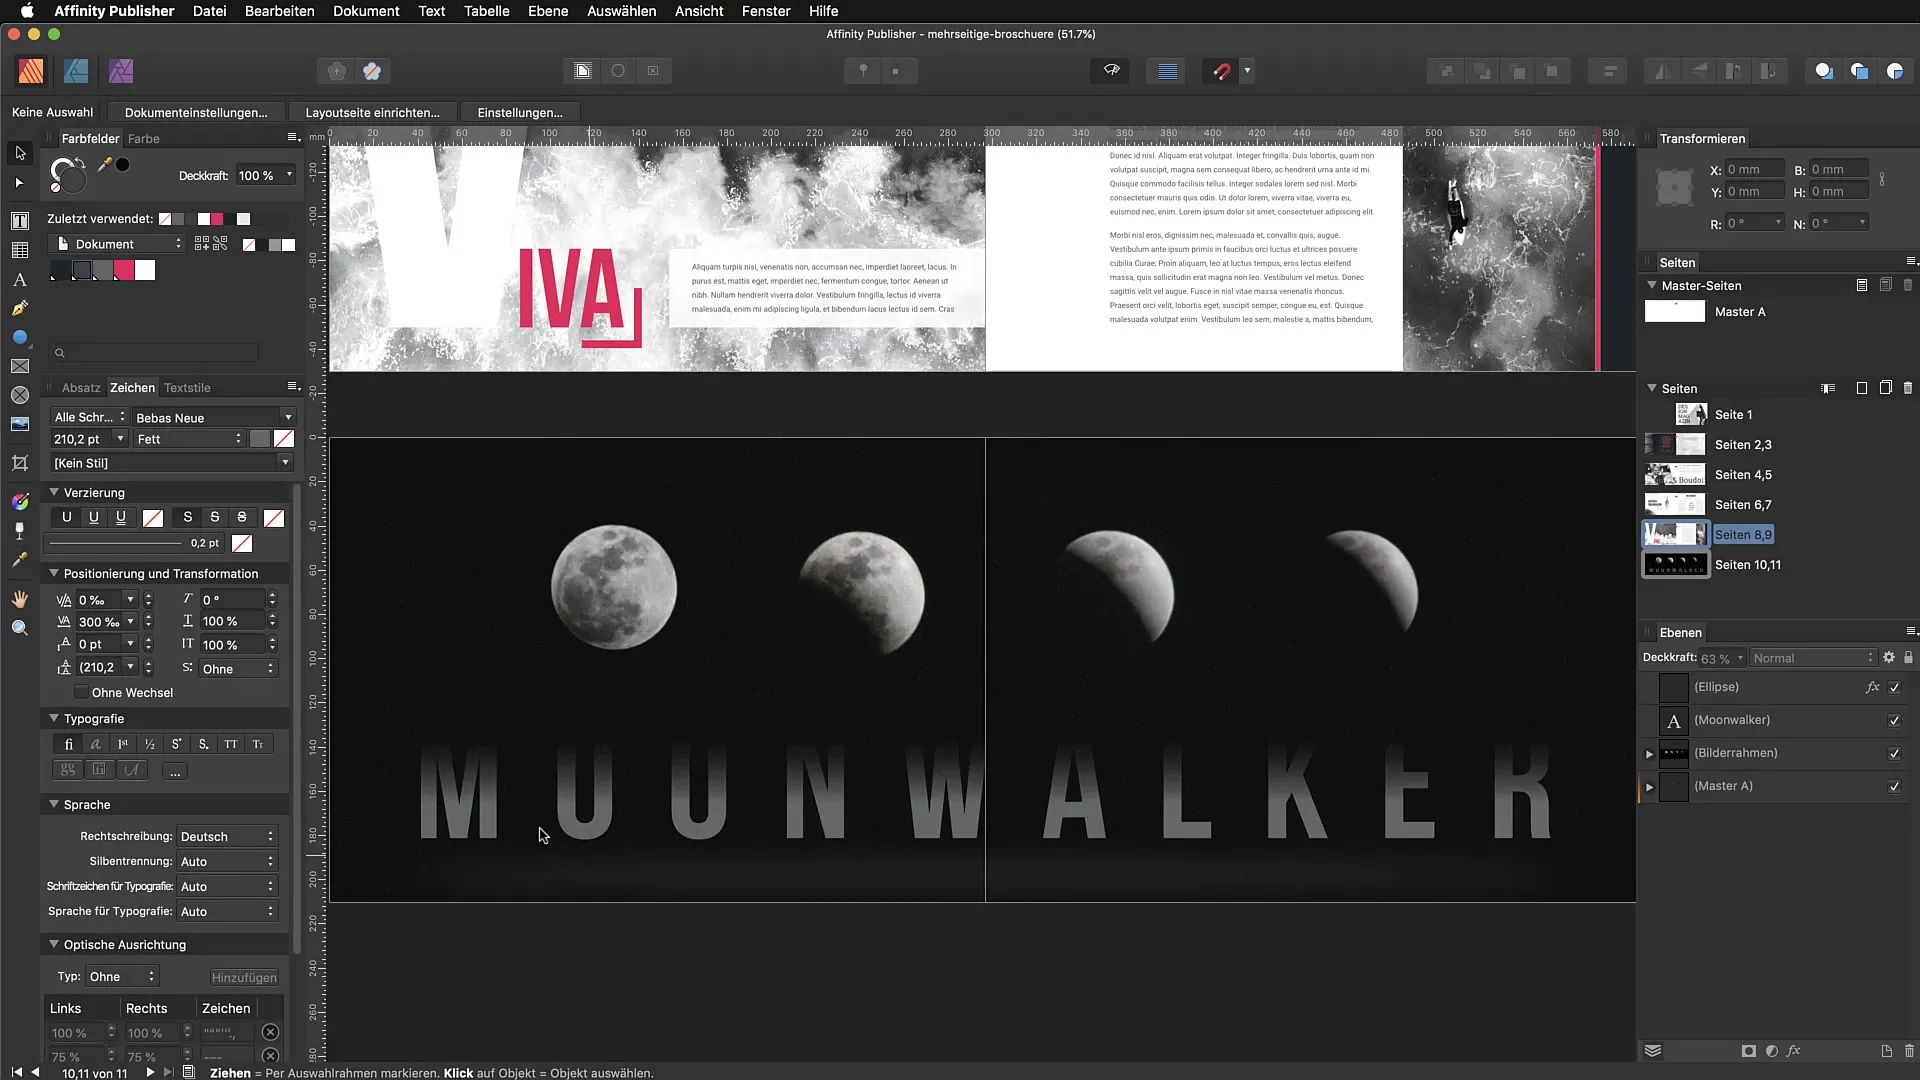
Once you have opened your project, select a text box, rectangle, or another shape to which you want to apply the noise. The noise is best visible on elements that have a specific color area or texture. If you choose a text box, the noise will visually loosen up and make your typography more interesting.
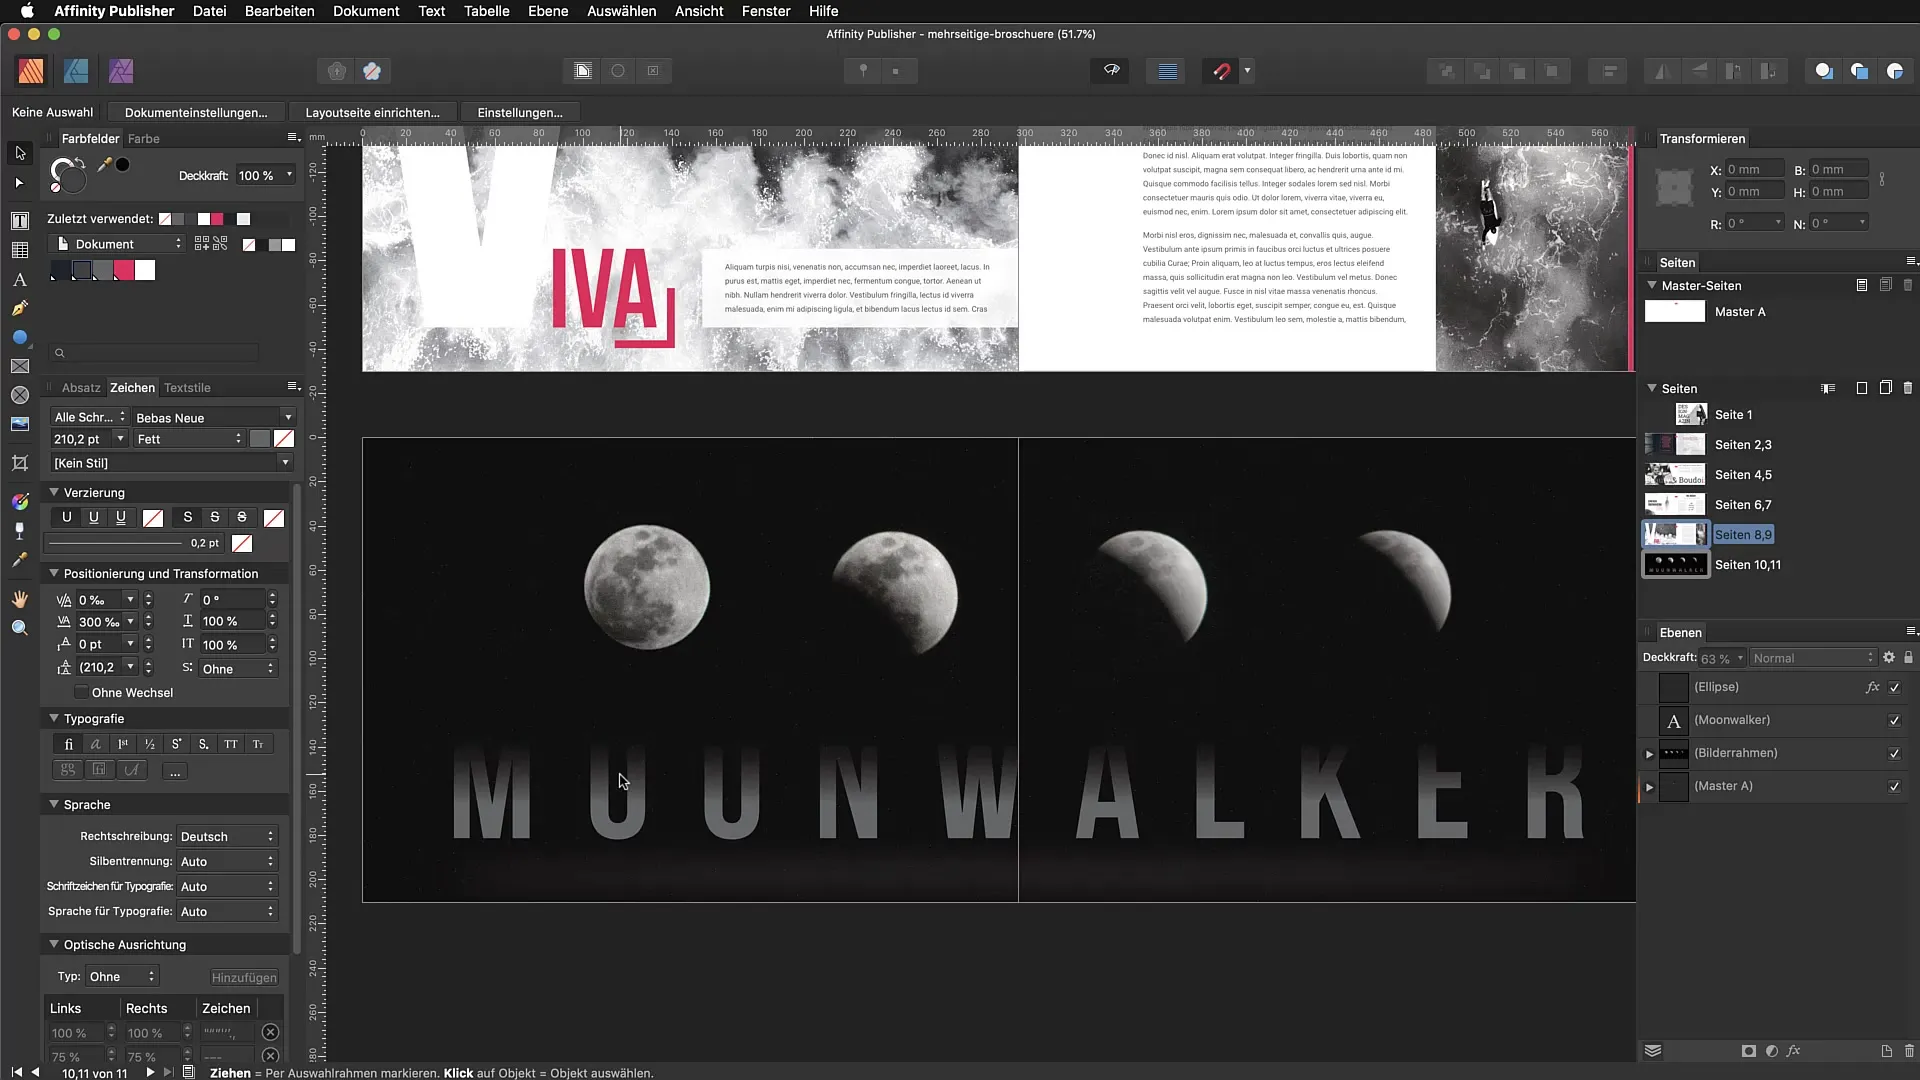
To add noise, open the color panel. The color panel is where you can make all color and design settings for your selected objects. If the color panel is not visible yet, you can activate it under the “Window” menu.
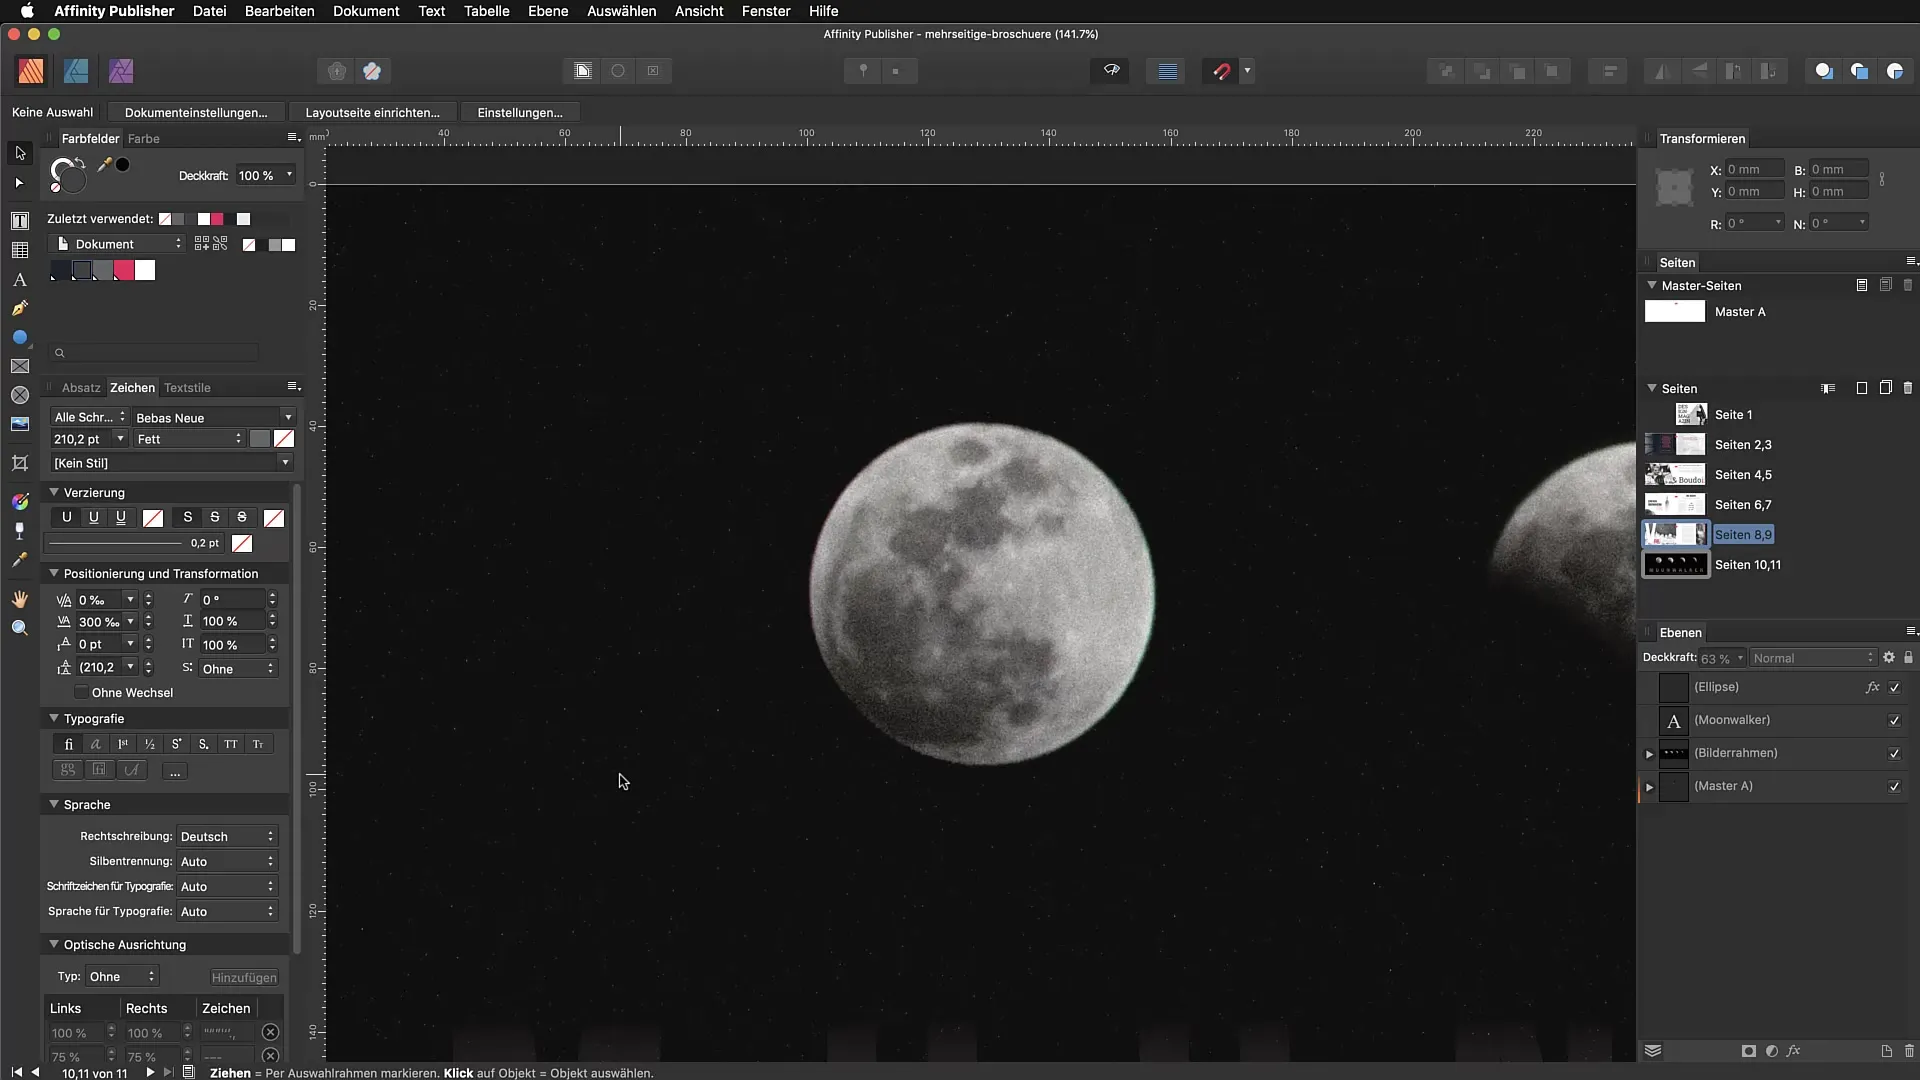
In the color panel, look for the option “Opacity.” Normally, one might think this is where you can change the transparency of the object. Surprisingly, a small pop-up window opens when you click in the corresponding area. Here you will find the setting for “Noise.” It’s worth mentioning that this is often overlooked because this function is well hidden, but it is extremely useful.
Now you can adjust the intensity of the noise. Move the slider to select the desired level of noise. You can increase the effect up to 100% to create strong noise or choose a gentler value that fits well with your design. A setting around 46% is often a good starting point.
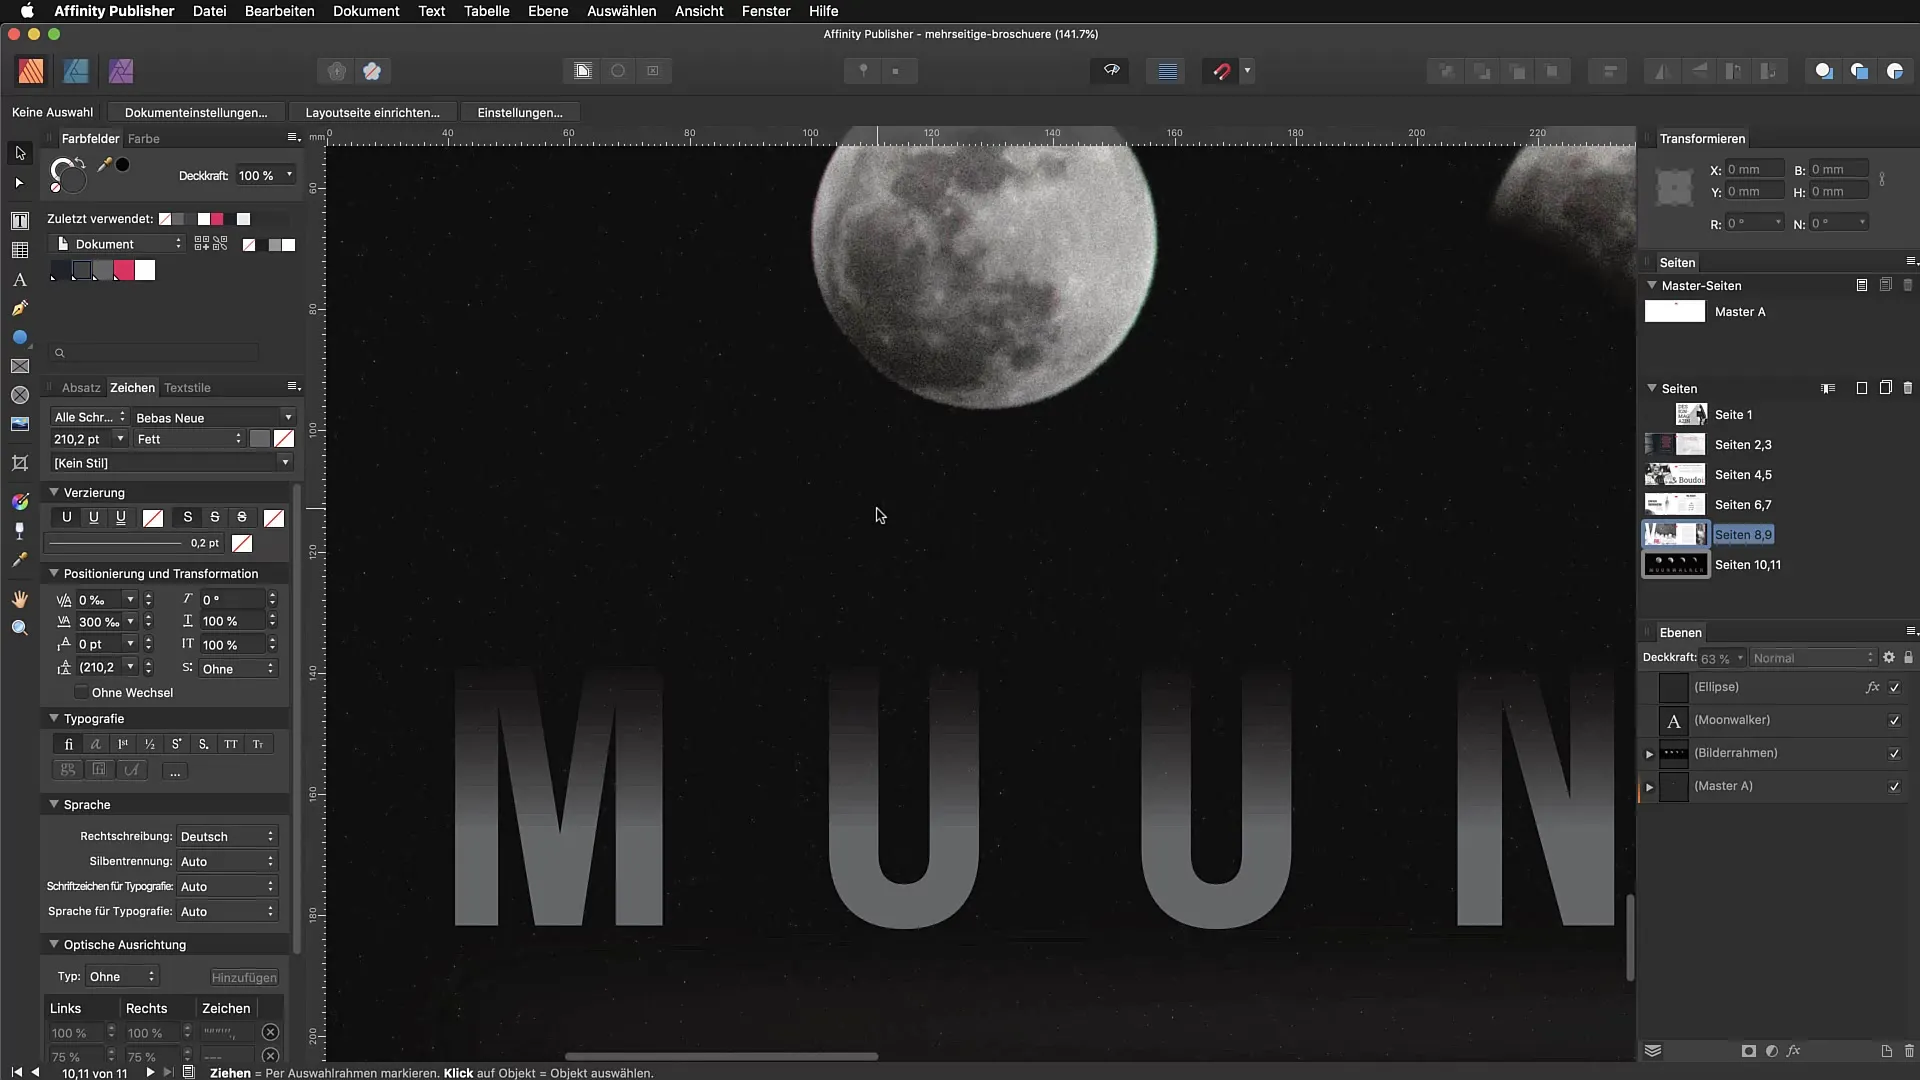
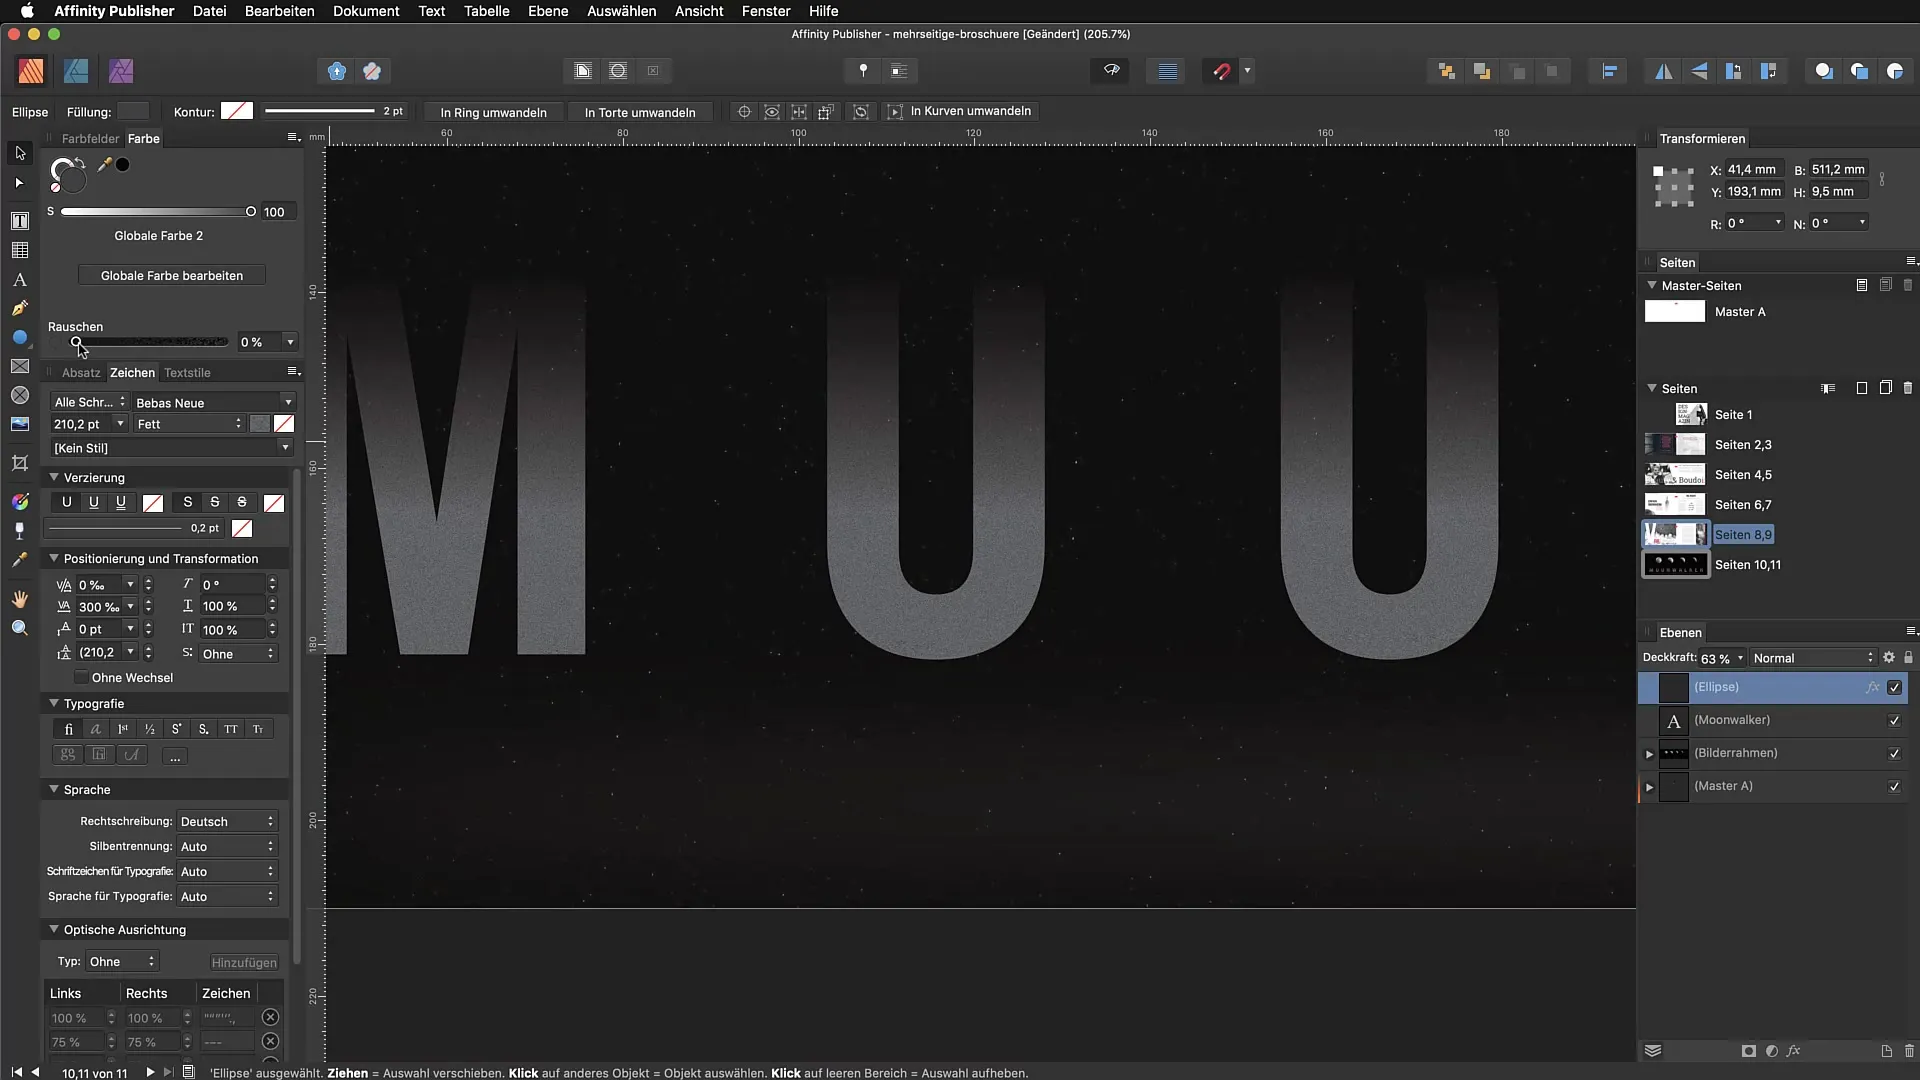
If you are happy with the setting, you can see the results directly on your chosen element. Zoom in closer to see the details of the noise more clearly. Even though the noise may not be as clearly visible in the video transmission, you can observe how it affects the character of your text or area.
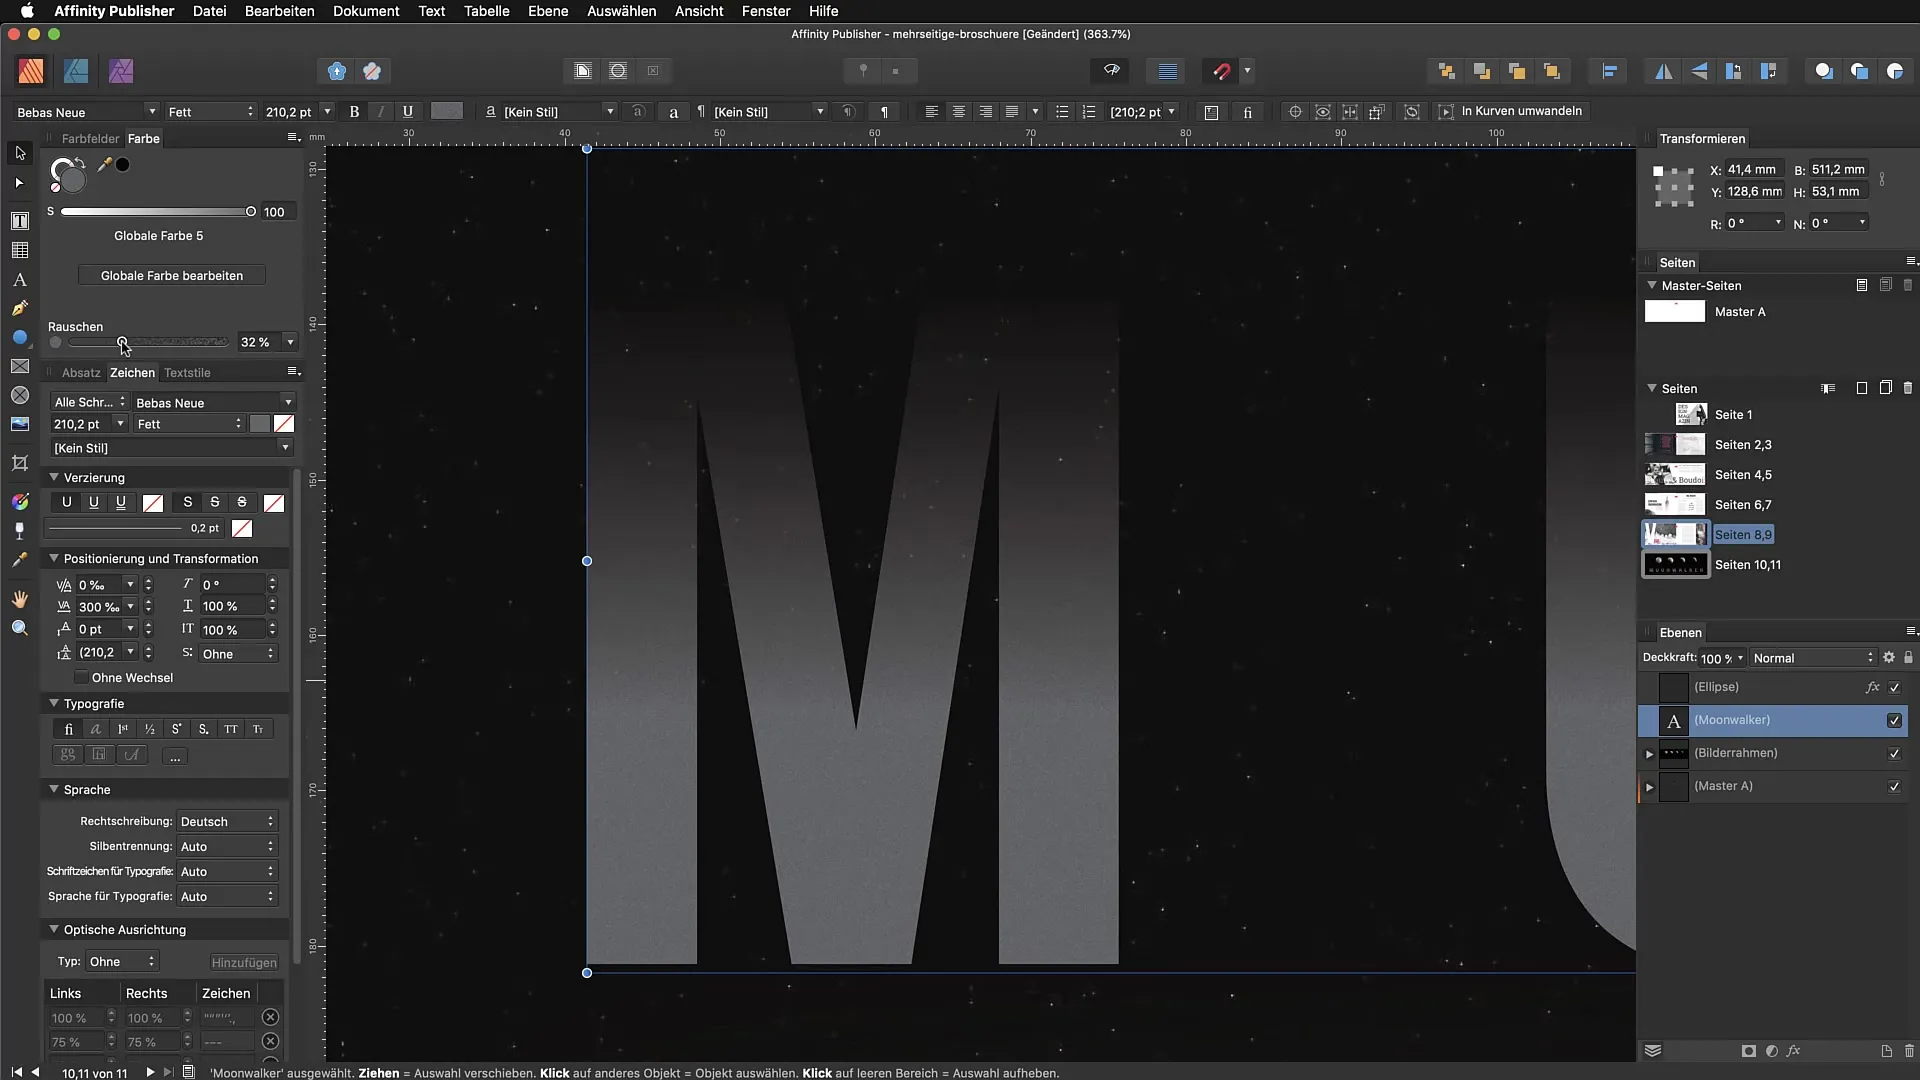
The noise can also be applied to additional elements, such as graphic shapes. Simply select another element in your design and repeat the process through the color panel to create a cohesive look.
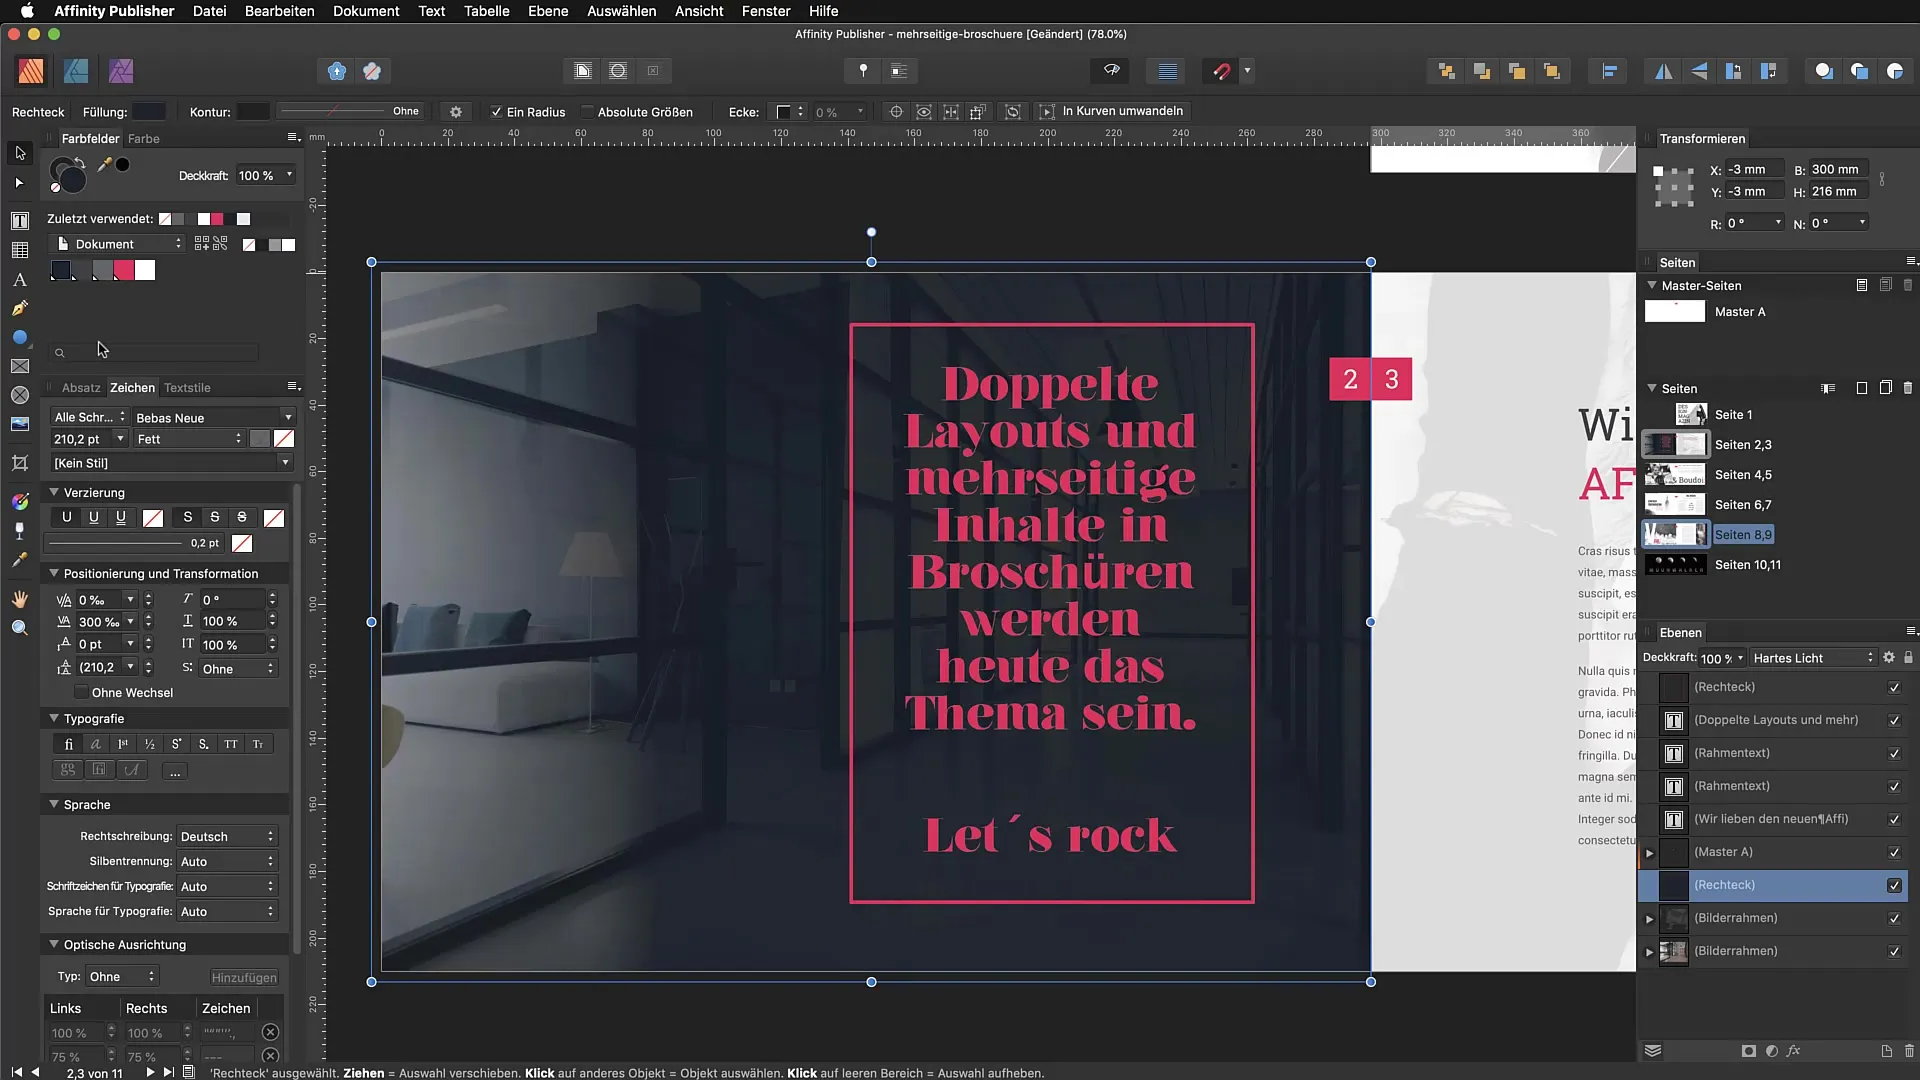
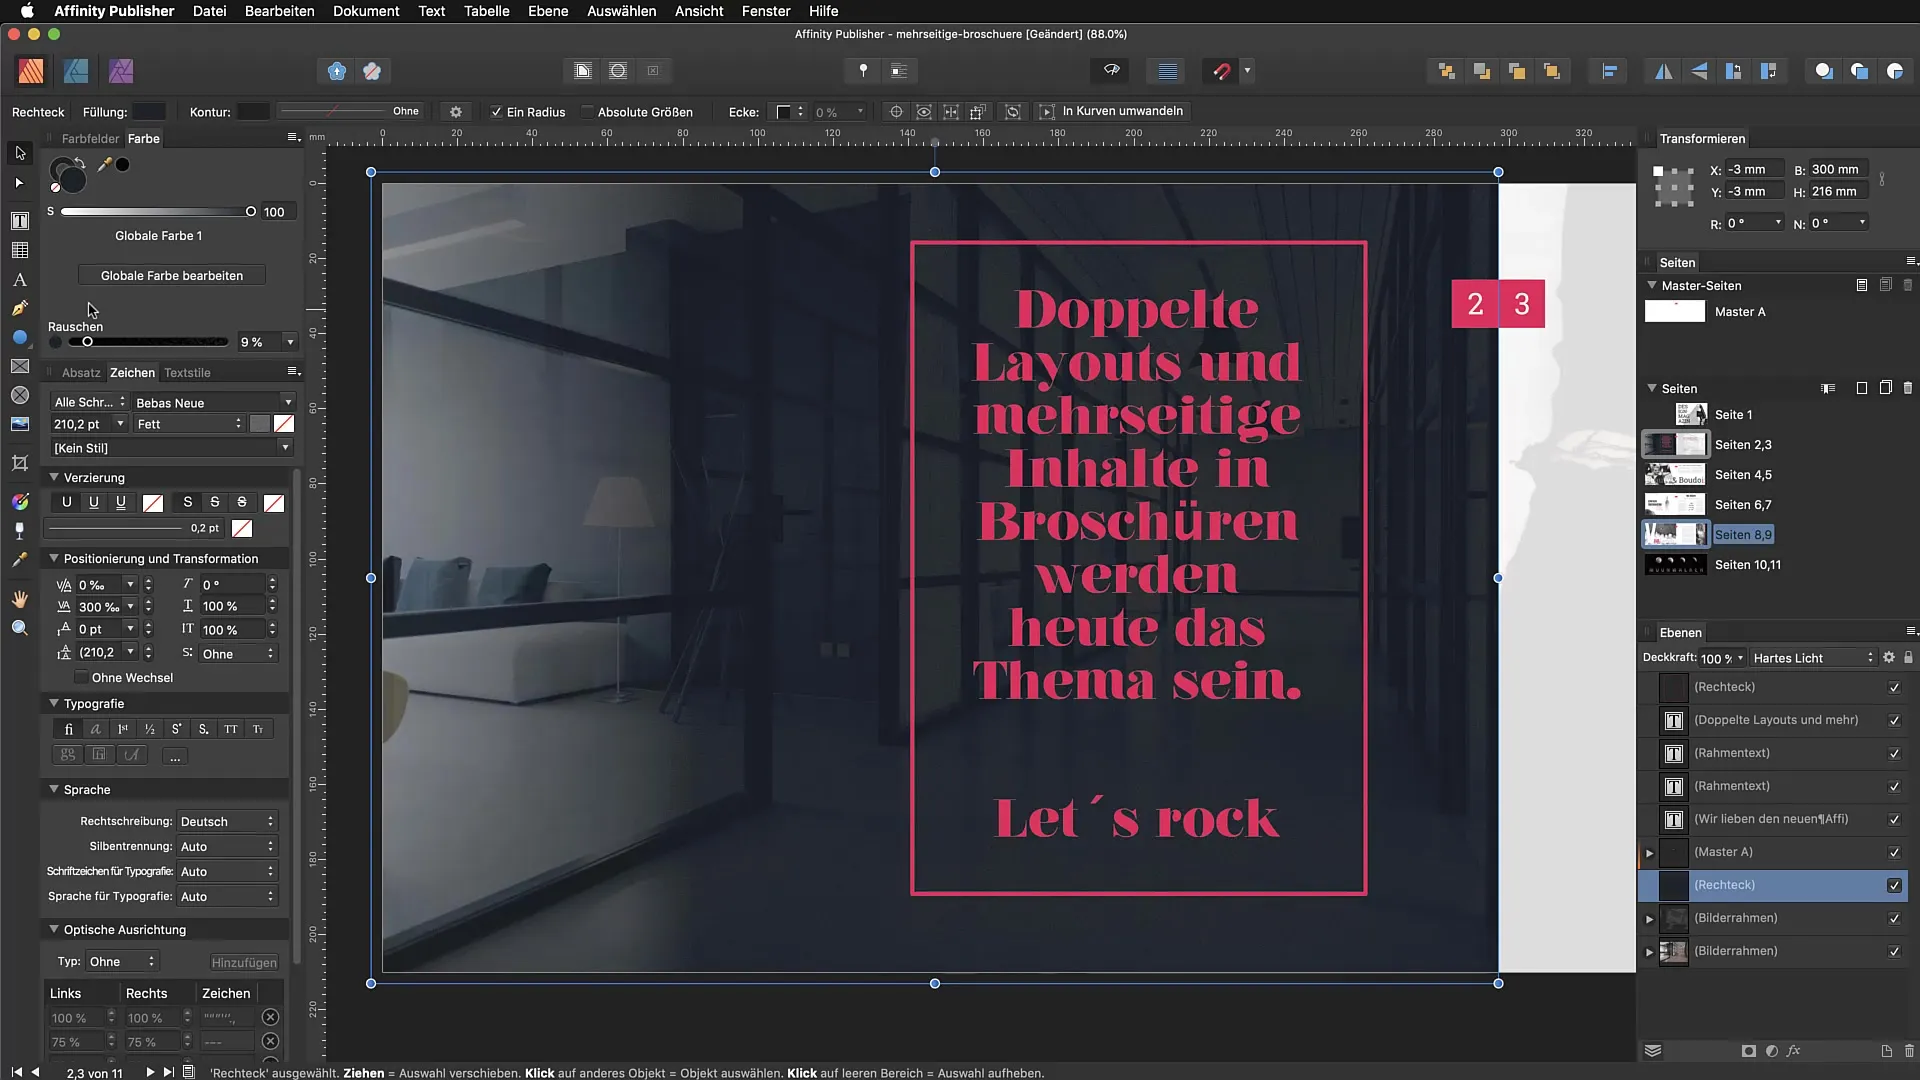
Another great way to incorporate artificial noise into your designs is to apply it to photos. You can select an image and activate the noise function as well. Adding noise to photos can give the image a modern, textured look and make it appear more interesting.
The possibilities with artificial noise in Affinity Publisher are diverse. As you experiment with the settings, you will quickly develop a feel for how strong or subtle the effect should be. Many designers today use noise to give their work more depth, and you can incorporate their ideas into your own designs.
Summary – Discovering Artificial Noise in Affinity Publisher
In this guide, we’ve discovered how to insert artificial noise in Affinity Publisher. You can use it as both a stylistic element and for texturing surfaces. The process is simple and requires just a few steps in the color panel.
FAQ
How do I add noise in Affinity Publisher?Open the color panel, select the element, click on “Opacity,” and then select “Noise” from the pop-up menu.
Can I apply noise to photos?Yes, you can also apply the noise function to images to give them more texture.
How strong should the noise be set?It depends on your design; a value around 46% is often a good starting point.
Are there creative examples of using noise?Yes, noise is often used on photographs and texts to create visual interest.
Can I also use noise for patterns?Yes, you can also use noise as a pattern in your designs.


