You want to create your own Geofilterfor Snapchatand are looking for a clear guide? Good decision! Geofilters are a great way to personalize special events or locations and generate more engagement on your Snapchat page. In this guide, I'll show you how to create and successfully submit your own Geofilter stepby step. Let's get started!
Main takeaways
- The Geofilter must be submitted via the computer, not through the Snapchat app.
- You can create both community filters and paid filters.
- The Geofilter is limited by a Google Maps map, where you can select specific locations.
- It's important to write a precise description for the Geofilter.
- Once your Geofilter is submitted, you will receive a confirmation if it has been approved.
Step-by-Step Guide
To successfully create and submit your Geofilter, follow these steps:
Step 1: Access the Snapchat website
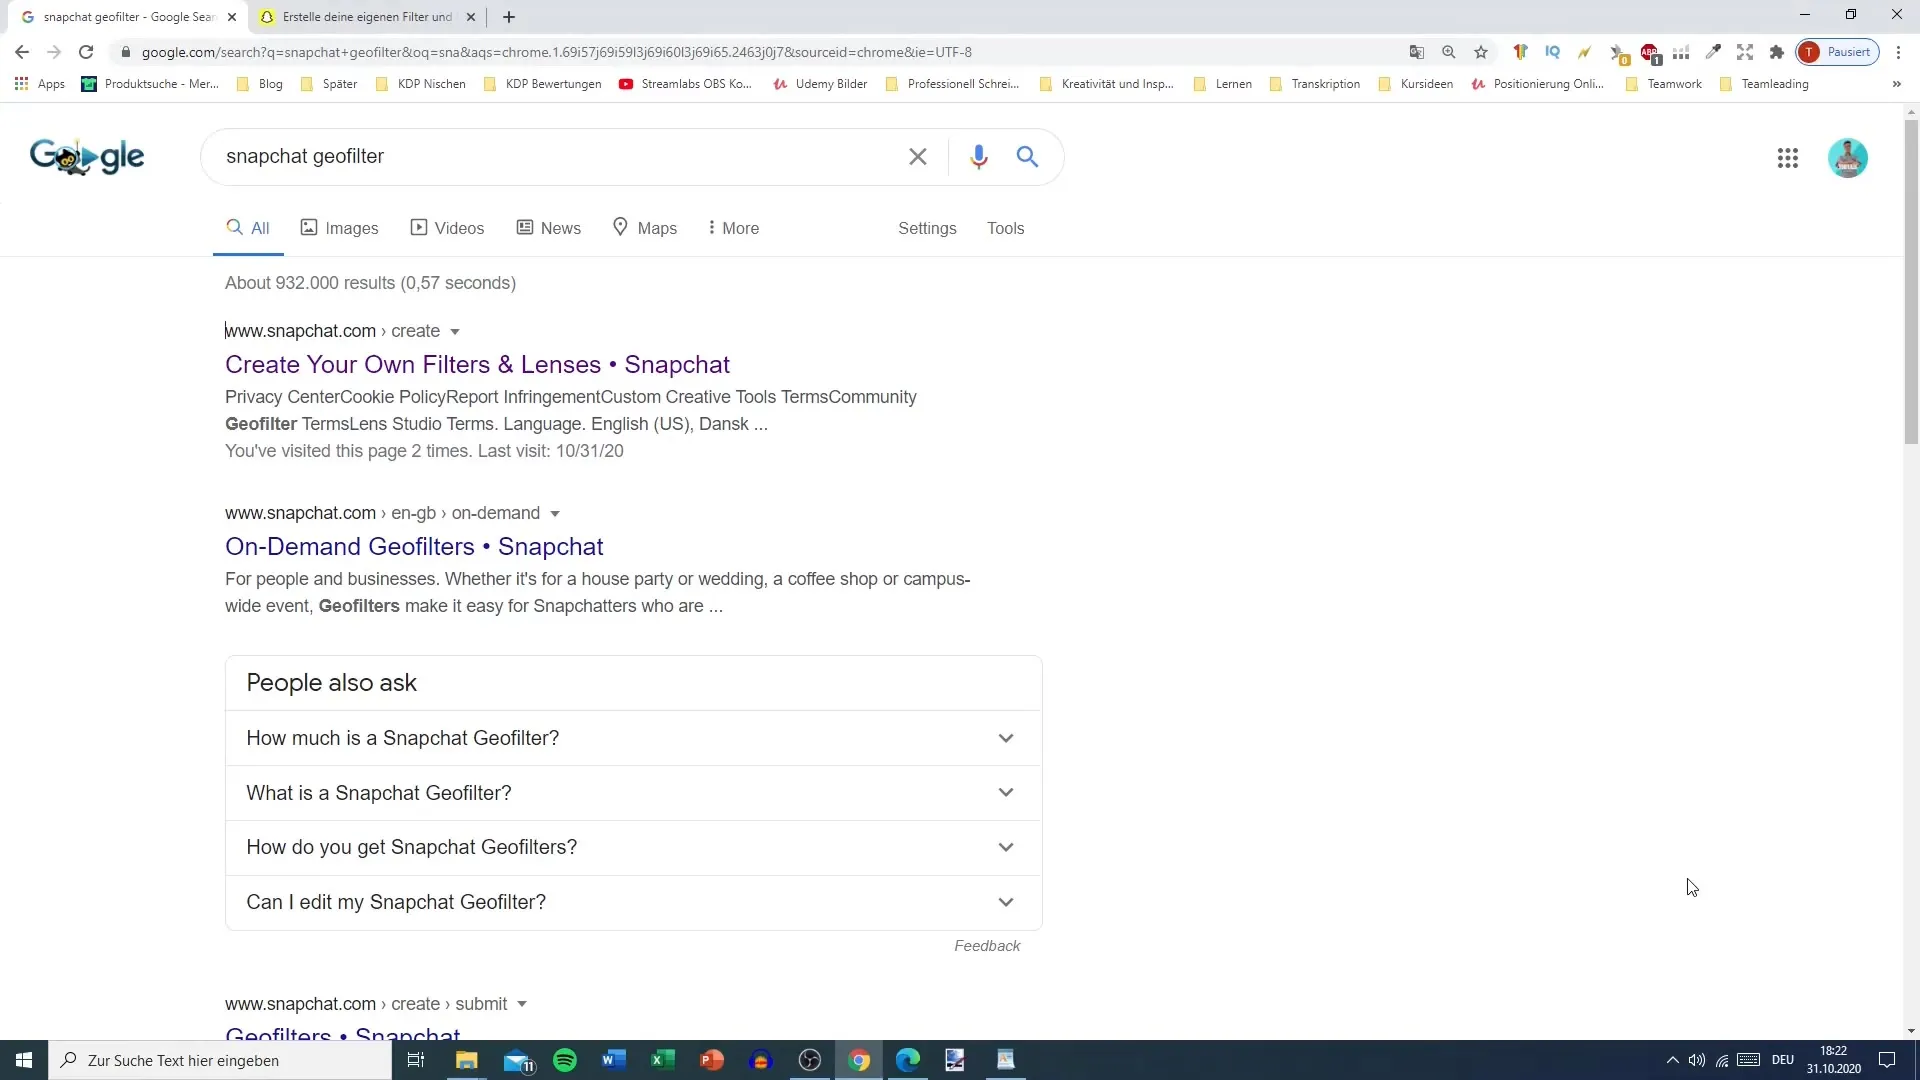
To start creating your Geofilter, you first need to visit the Snapchat website. Go to Snapchat.com or simply search for "Snapchat Geofilter" in your web browser and click on the desired link to access the creation page.
Step 2: Navigate to the Filters section
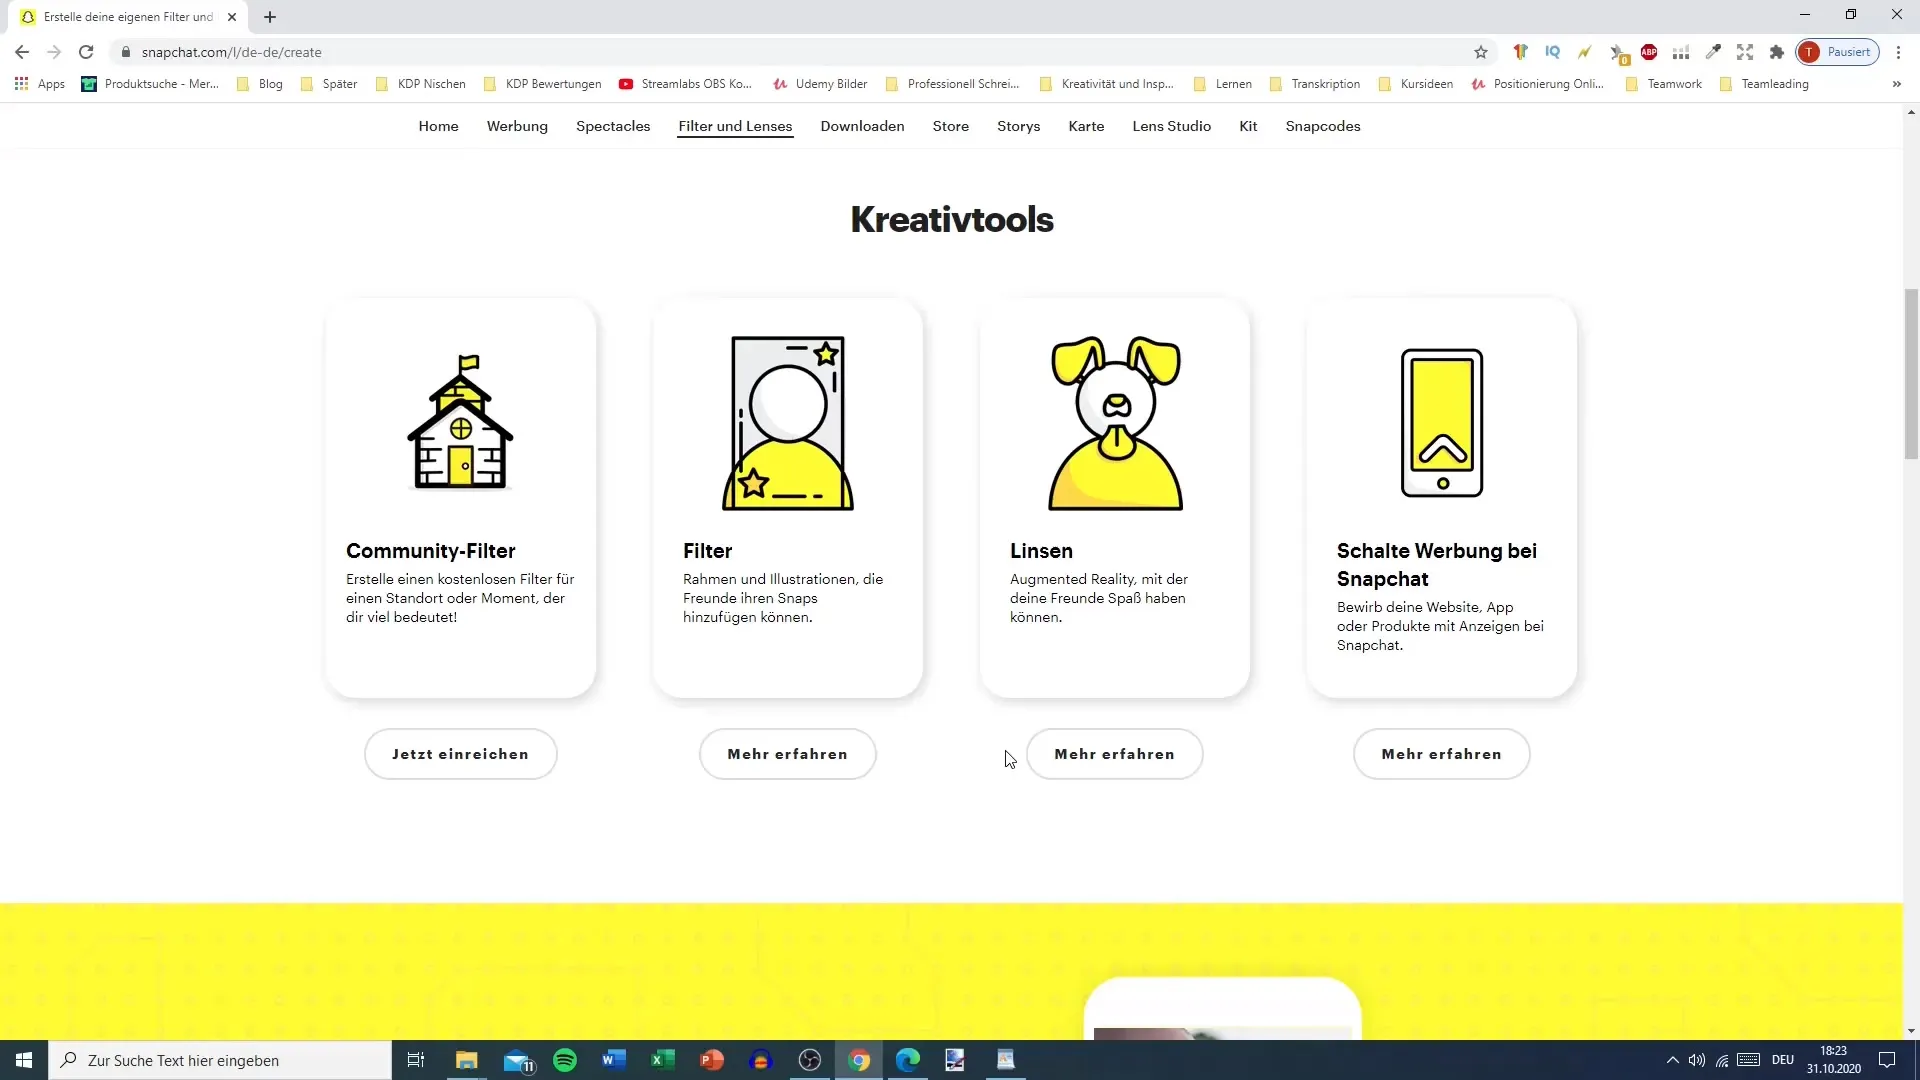
Once you are on the Snapchat website, look for the "Filters and Lenses" section. There you have the option to either personalize your own filters or create a community filter. Click on "Get Started" to begin the process.
Step 3: Select Community Filter
Now click on the "Community Filter" option. Community filters are free and ideal forspecial occasions or locations that mean a lot to you. Here you will get the chance to design your own Geofilter.
Step 4: Create Geofilter
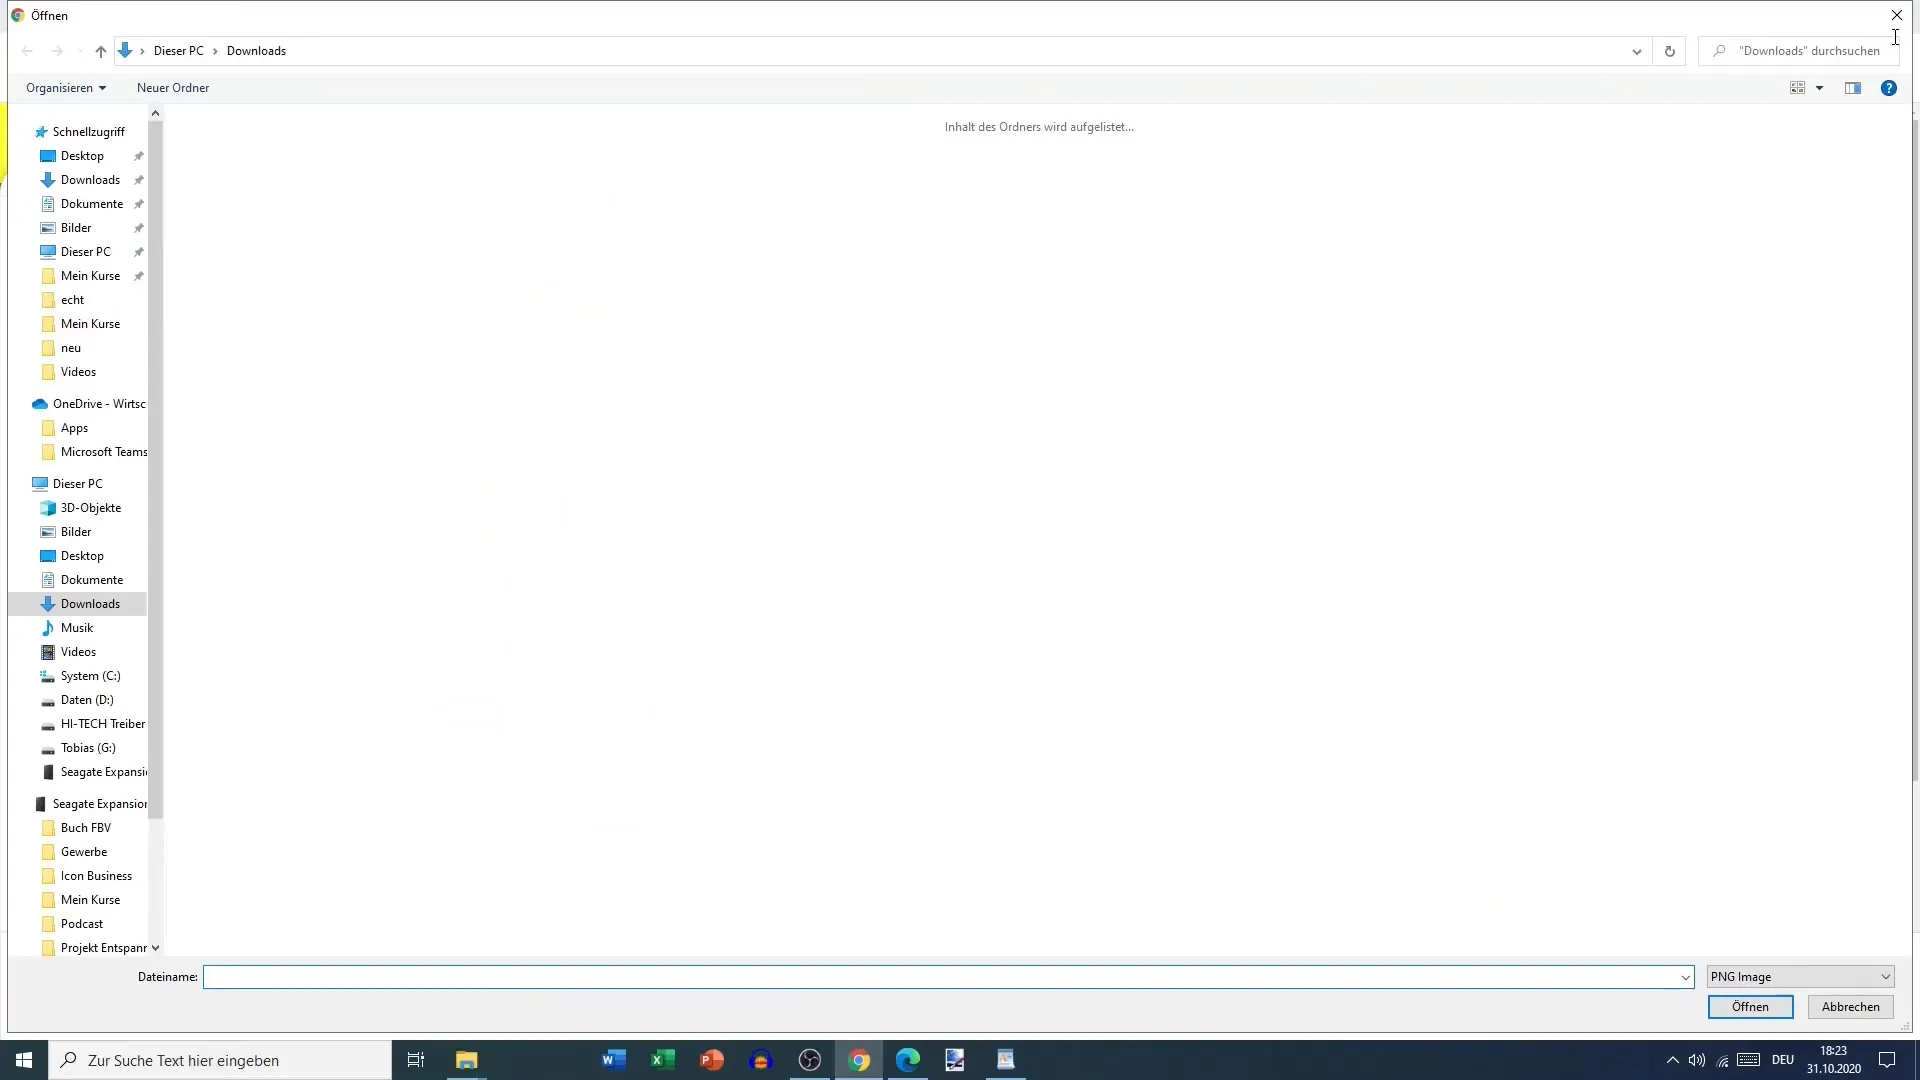
You now have the option to upload your design. If you already have a template that you want to use, select that. If not, you can create your own template using a graphic design tool like Canva. Make sure your Geofilter complies with Snapchat's guidelines and is the correct size.
Step 5: Upload Geofilter
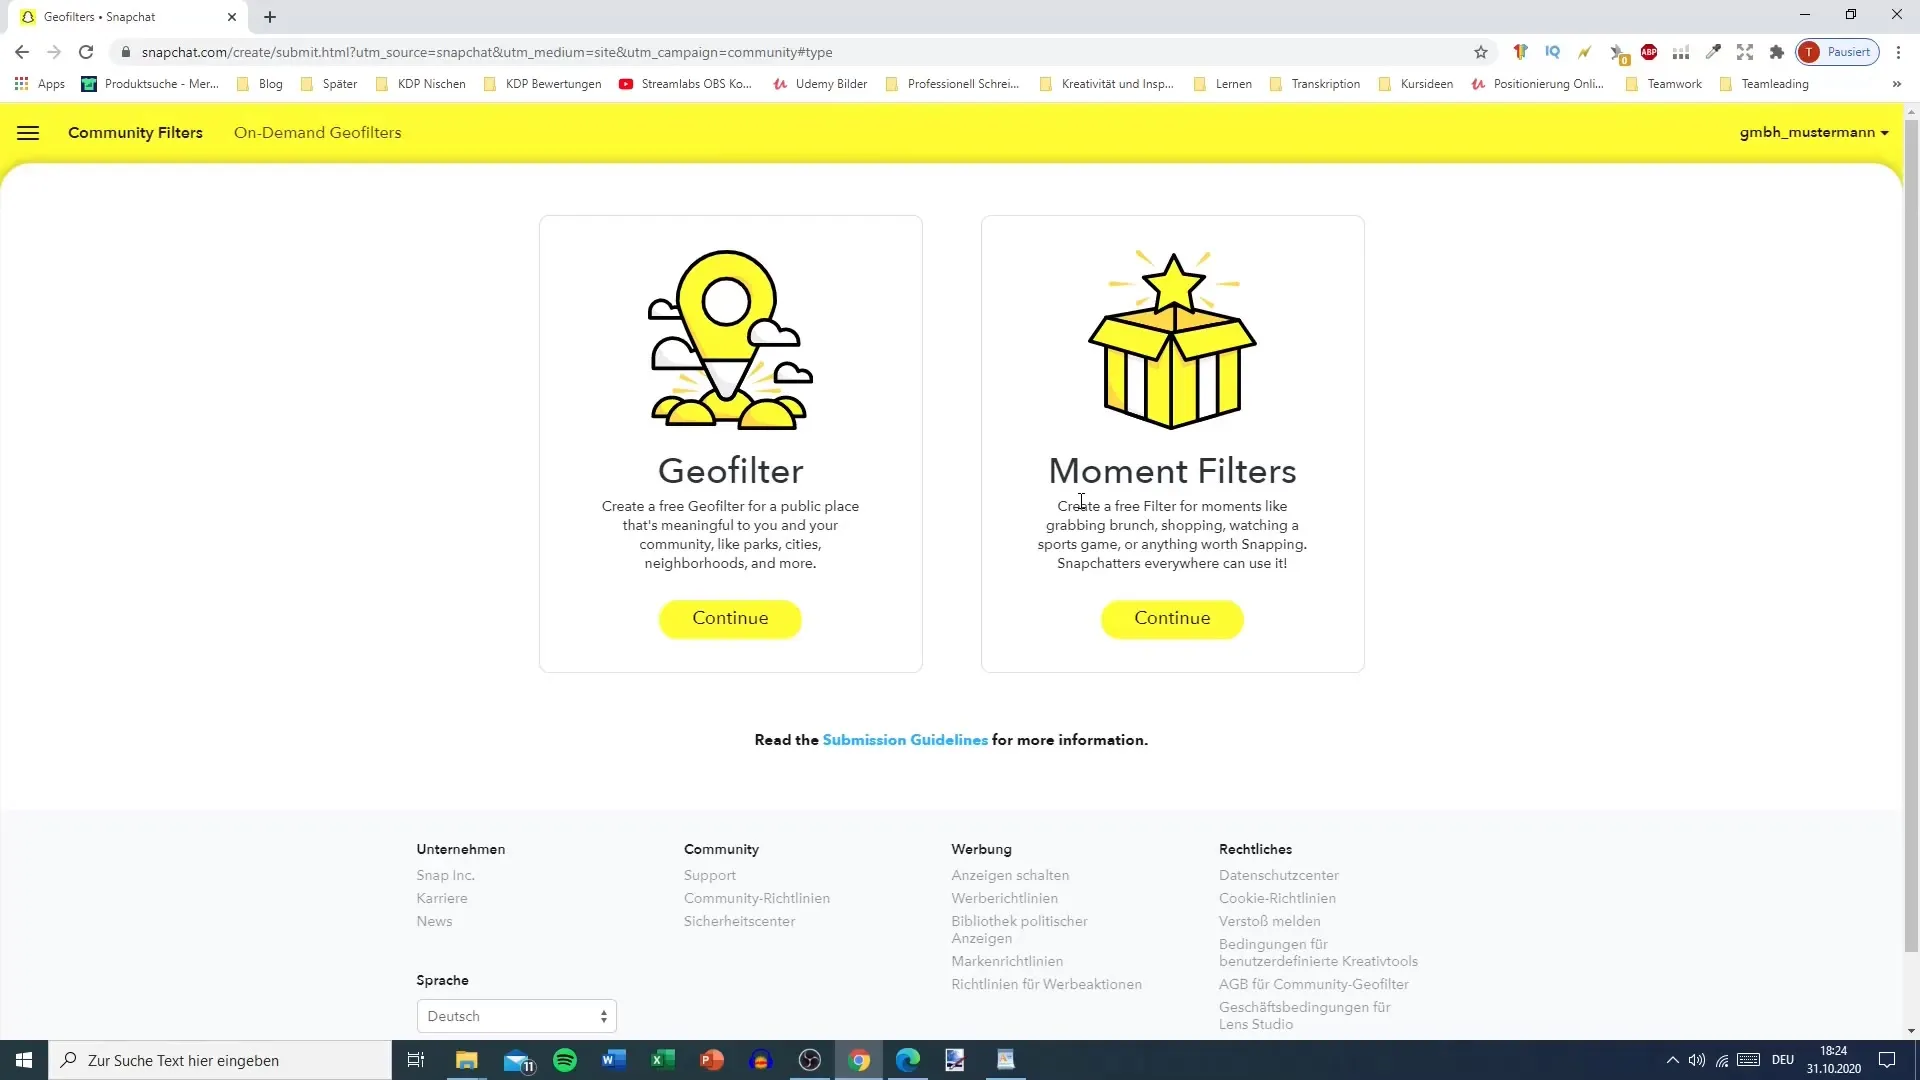
After you have created your Geofilter, click on "Upload". Choose the type of filter; in this case, select "Geofilter". Here you should also ensure that the size of your filter is appropriate for the application.
Step 6: Select Location
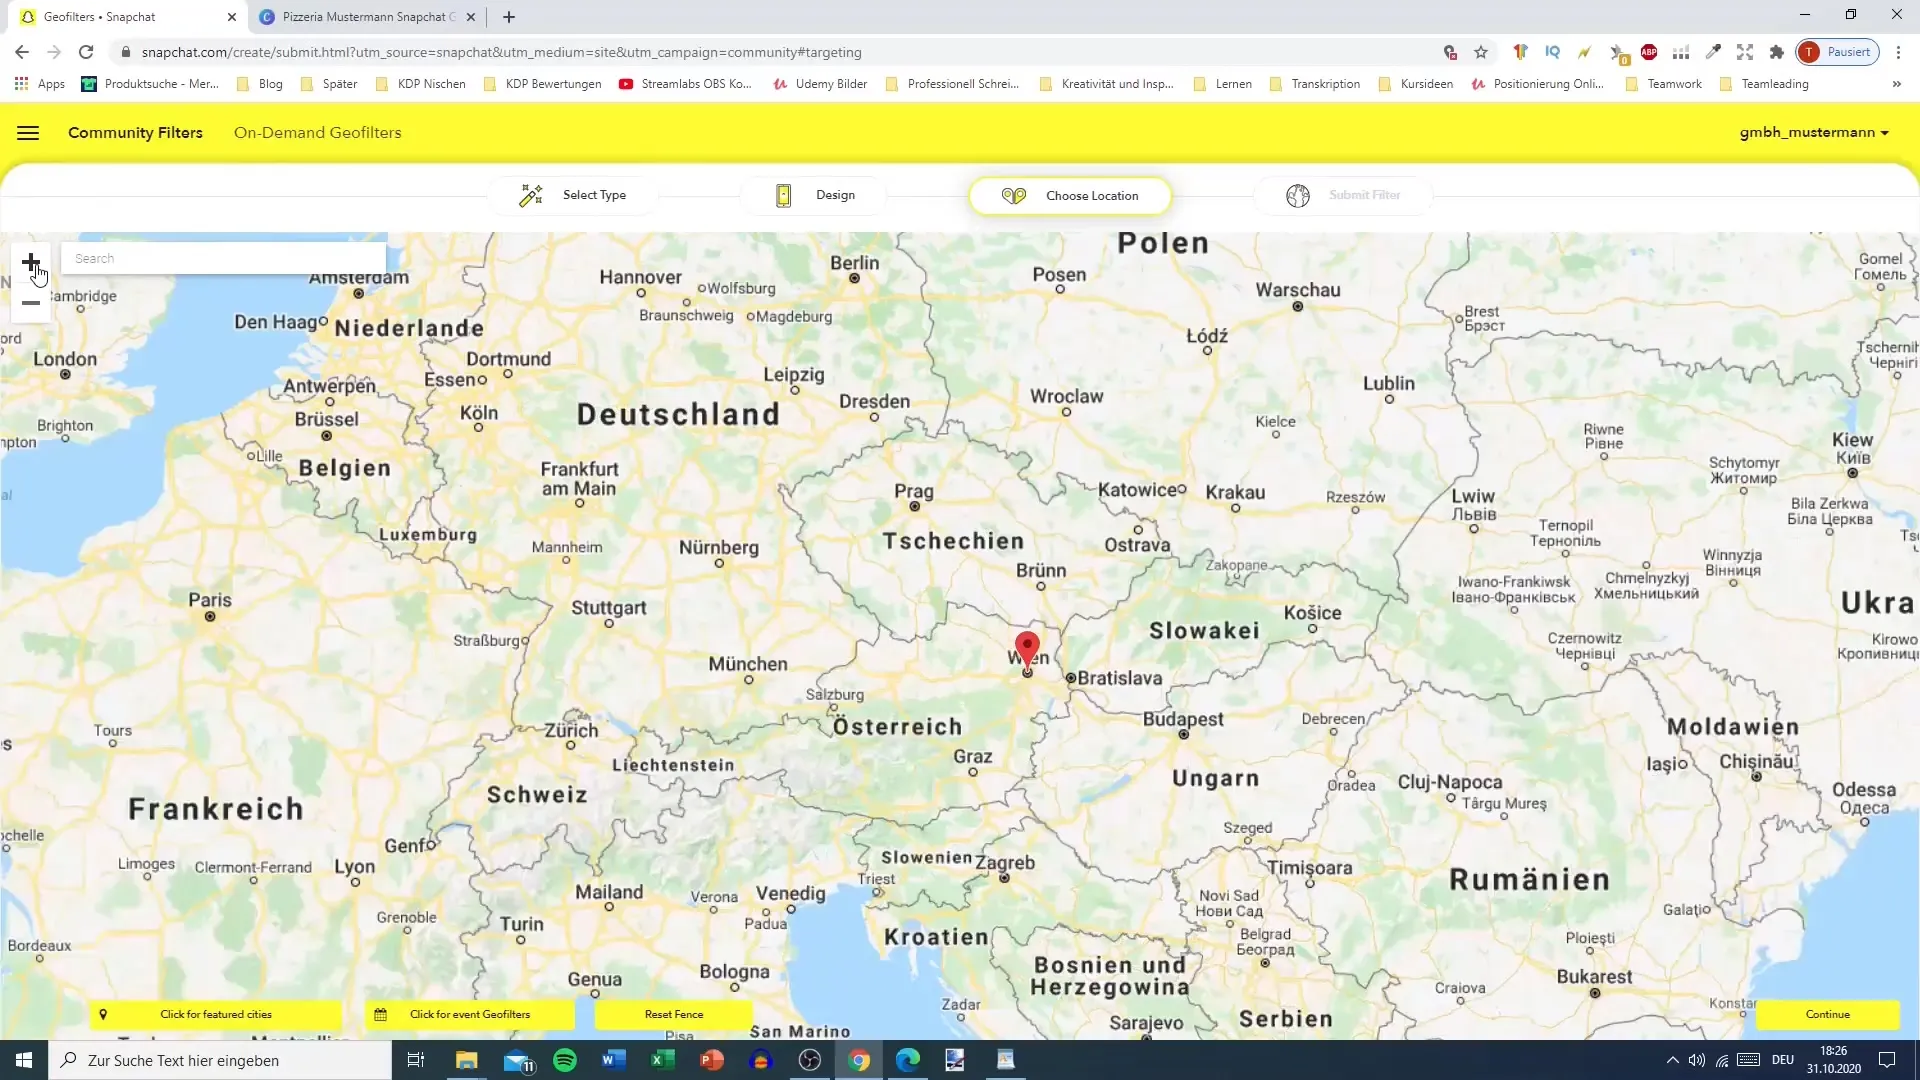
Now comes the important step of geographically limiting your Geofilter. You can access the Google Maps map to select the exact area where your Geofilter should be active. Zoom into the area you want to mark and select the specific location. It can be a bit tricky, so be patient!
Step 7: Activate Filter
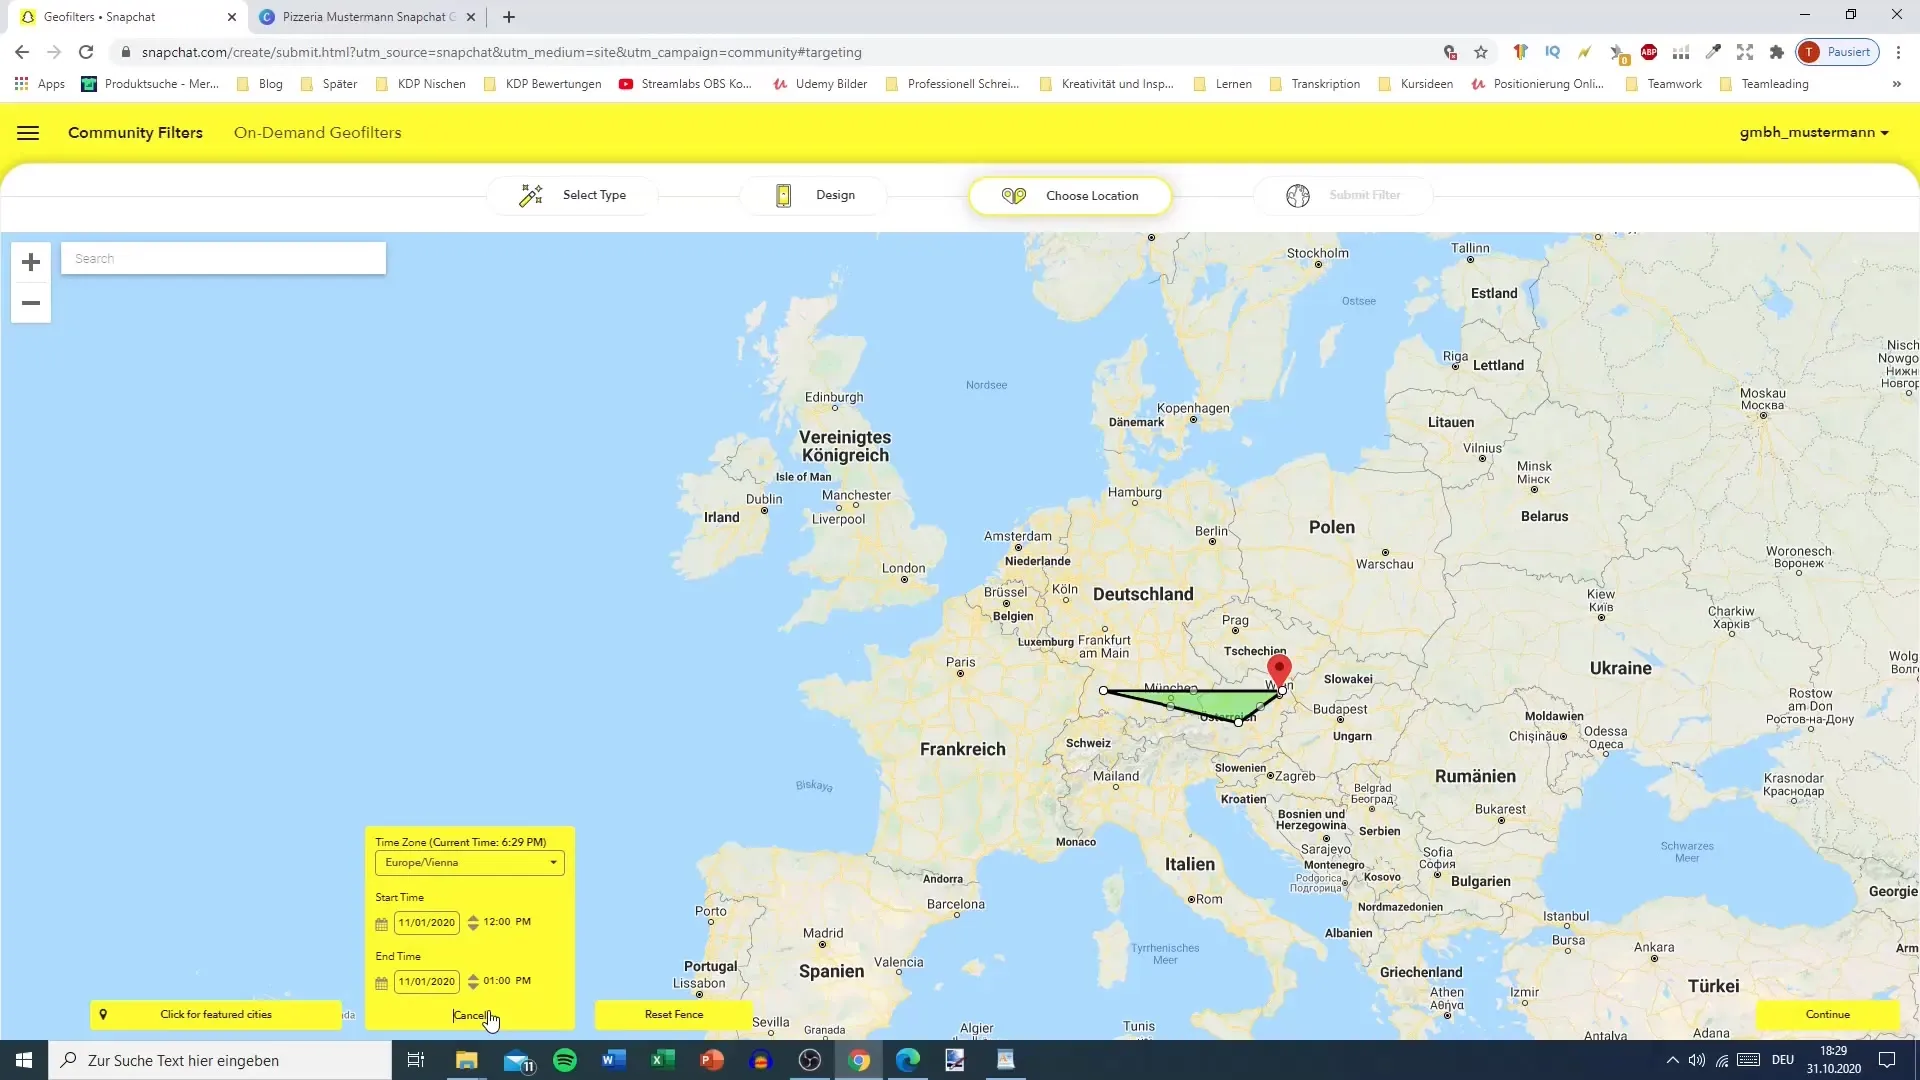
Once you have selected the desired area, you can set the timeframe in which the Geofilter will be active. Click on "Click for Event" and enter the dates when your filter should be available.
Step 8: Add Description
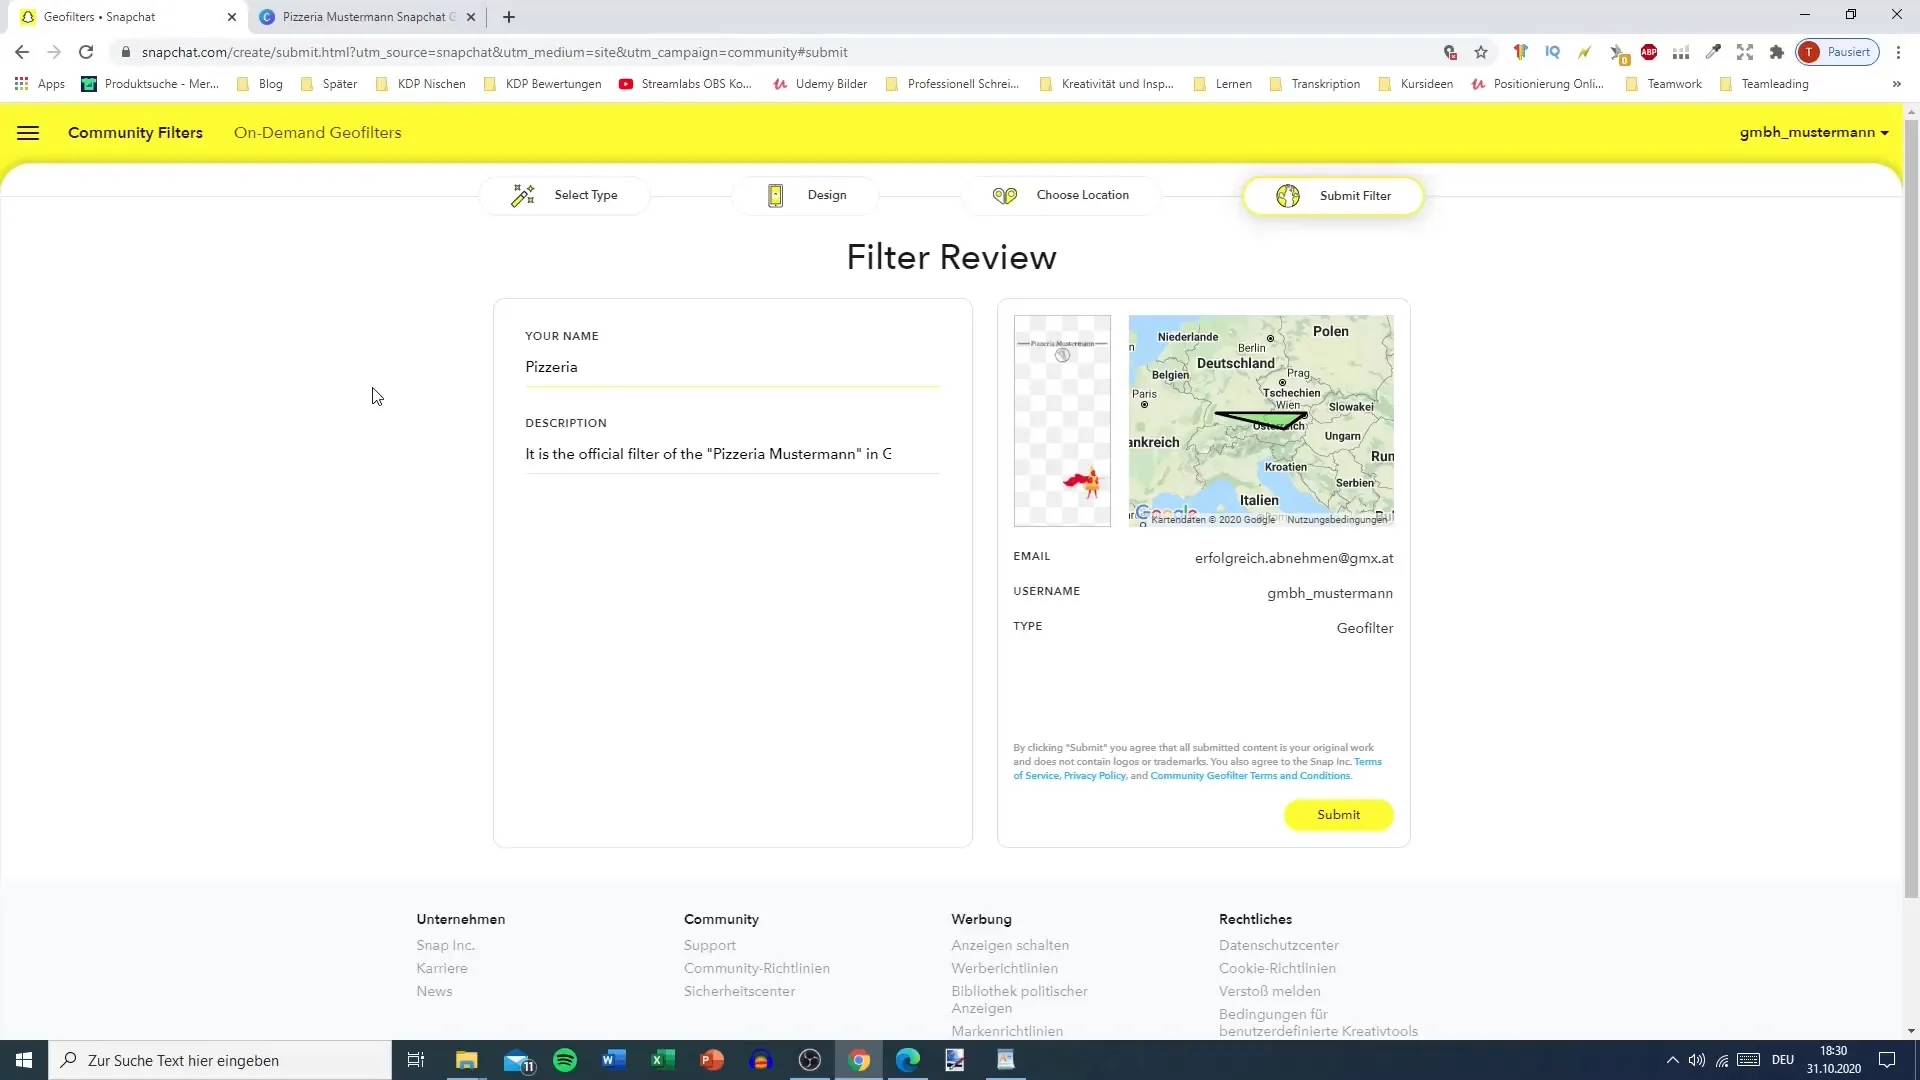
To describe your Geofilter, you also need to enter a name and a description for it. Make sure to formulate them clearly and concisely, preferably in English. Indicate that it is a PNG and mention the quality of your design.
Step 9: Submit and Receive Confirmation
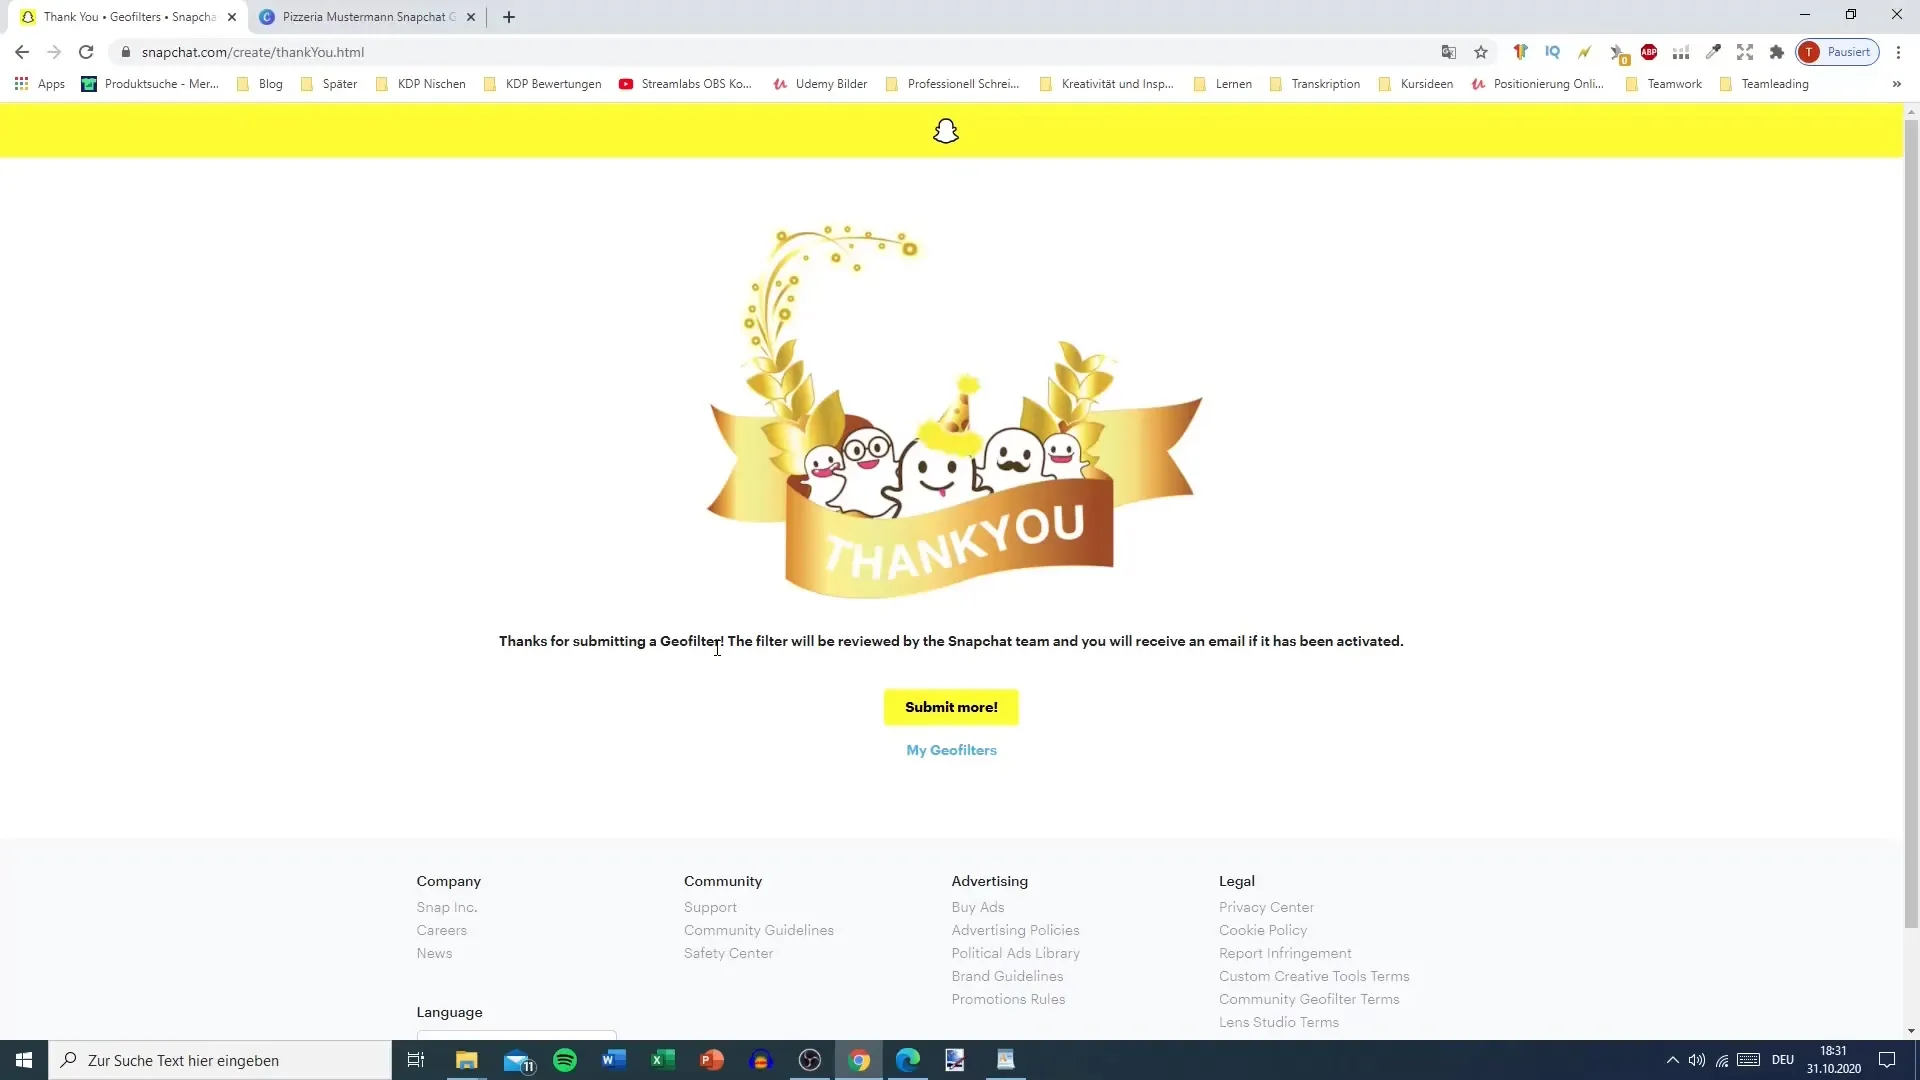
Once all the required fields are filled out, hit "Submit". Your Geofilter will now be submitted for review. You will receive a confirmation from Snapchat when your filter is approved. Check your email inbox regularly for updates.
Step 10: Use Filter
Once your Geofilter is approved, it is important to actively use it so that your followers recognize that it exists. Share it in your snaps to ensure that all your viewers pay attention to it.
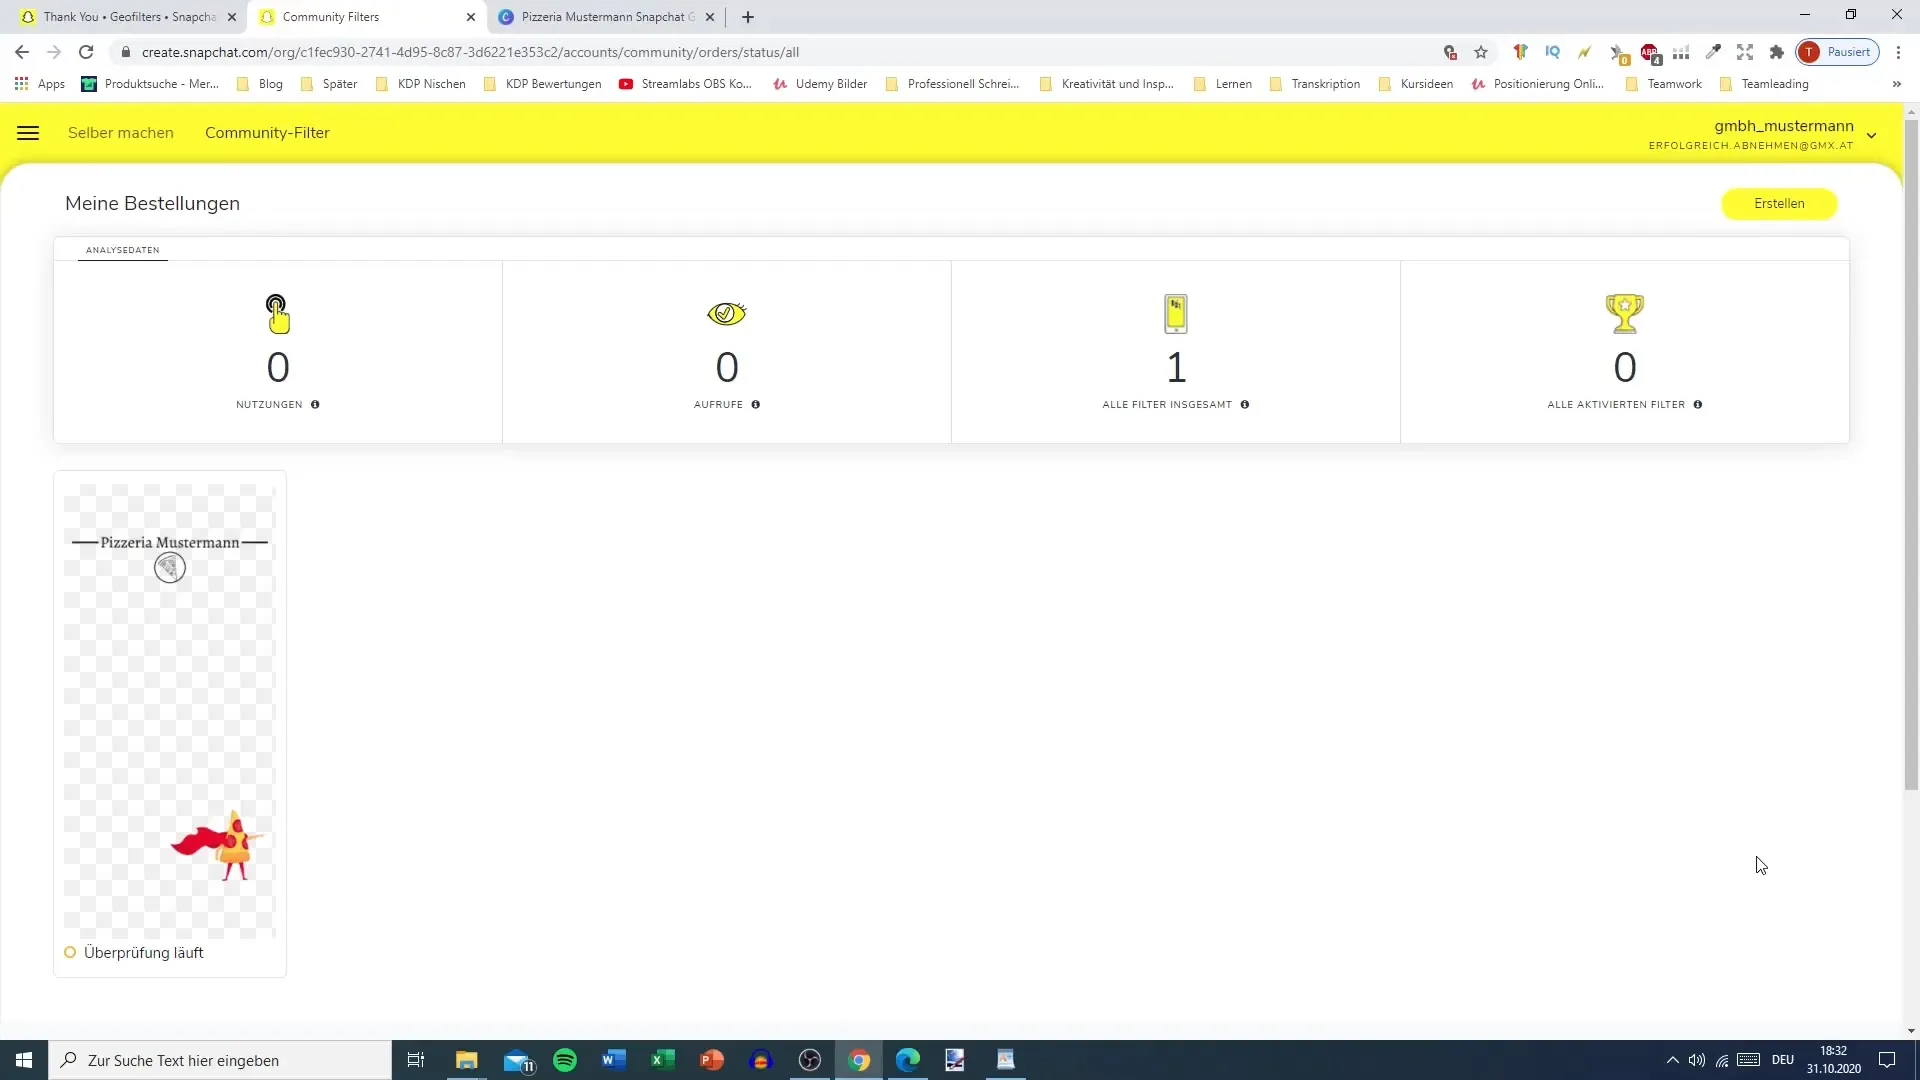
Summary – Setting Up Snapchat Geofilter: Step-by-Step Guide
Creating a Geofilter for Snapchat can be a great way to celebrate your special occasions and attract more visitors. Follow the steps mentioned above for a smooth process. With a bit of patience, you can quickly design and submit a great Geofilter.
FAQ
How much does it cost to create a Geofilter?Community filters are free, but paid filters charge a fee.
How long does it take for my Geofilter to be approved?Approval can take several hours to days.
Can I edit my Geofilter after submission?No, once submitted, the Geofilter cannot be edited.
Where can I find lower prices for filters?Community filters are free and ideal for non-commercial purposes.
Do I have to be near the location to use the Geofilter?Yes, the Geofilter is only available in the previously defined geographic area.


