The user interface of Adobe Illustrator CC represents the gateway to a variety of creative possibilities. In this video tutorial, you will learn how to navigate this important tool. You will discover which features and settings are available to you and how to optimally adjust your workspace for effective work.
Key Insights
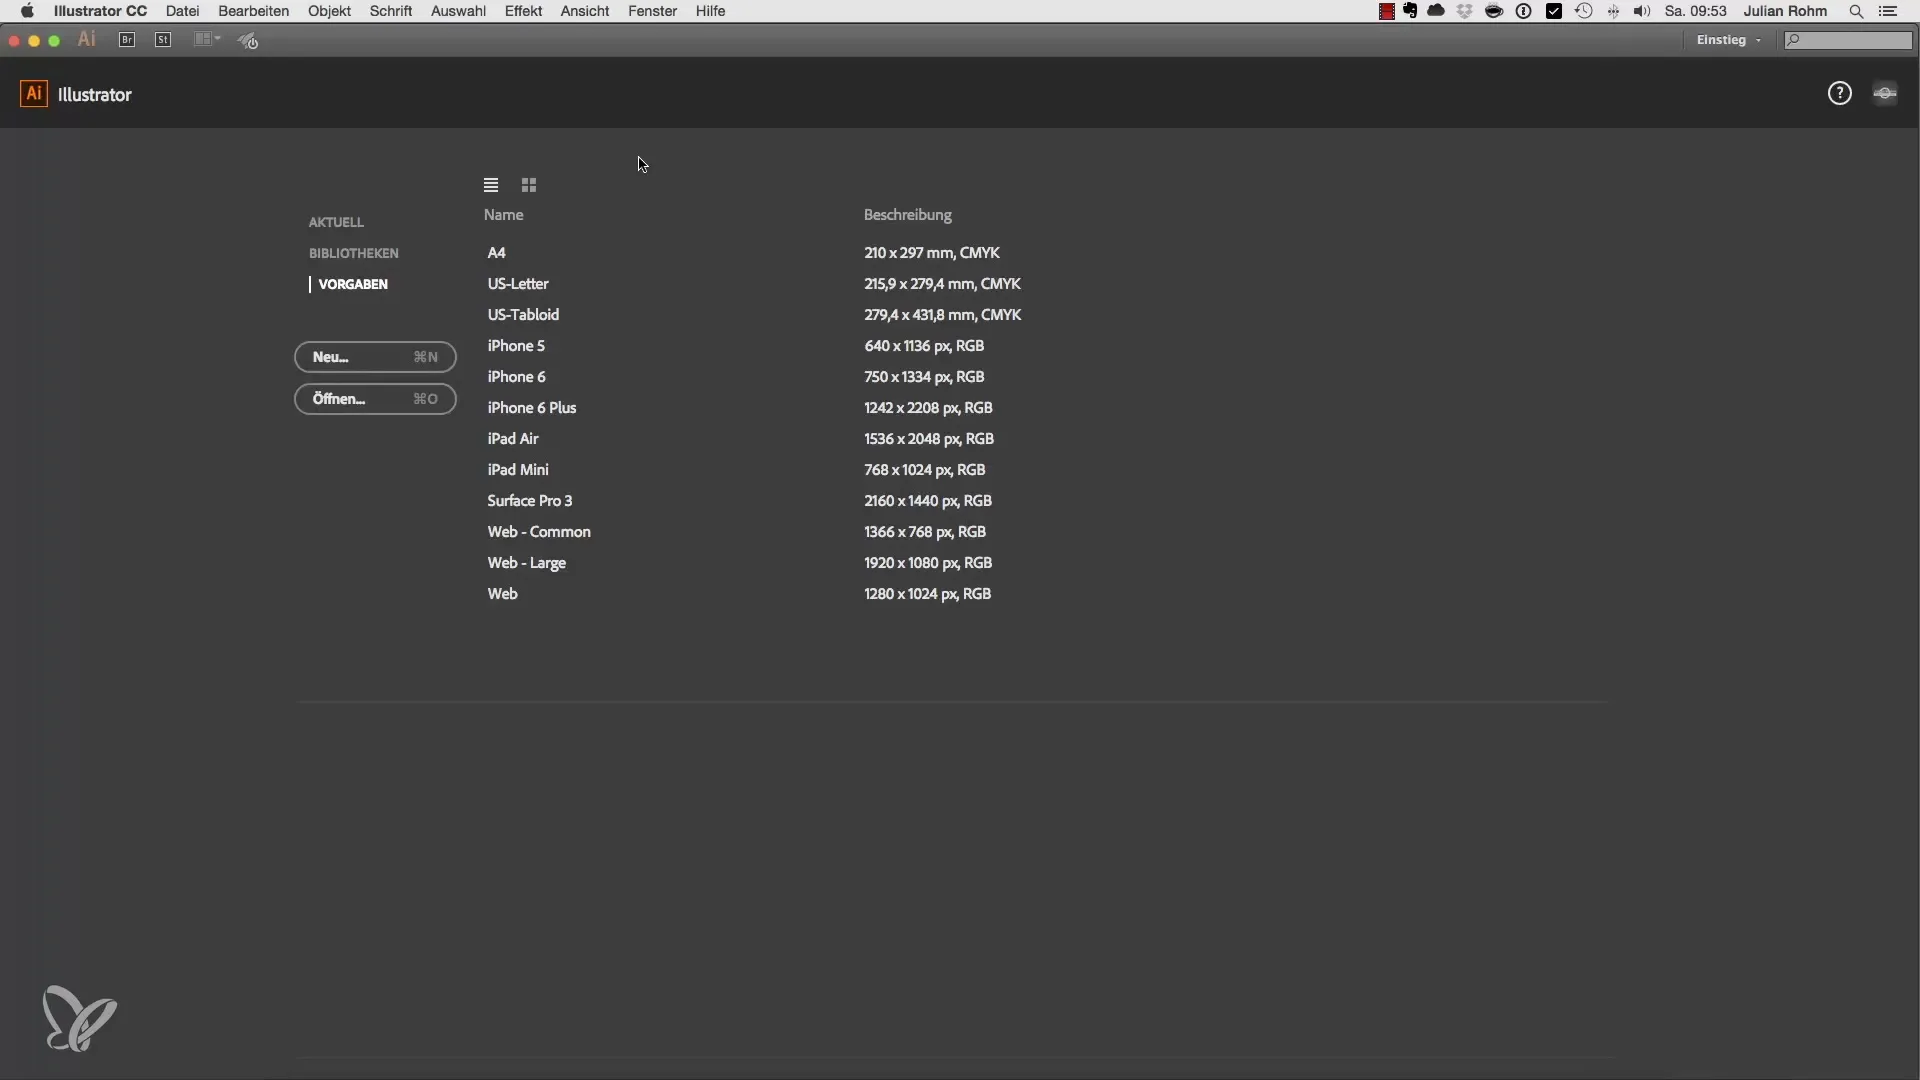
- The start screen allows for the creation of new workspaces and the opening of recently used files.
- Various templates are available, including A4 and mobile formats.
- Tools and parameters can be easily adjusted via the interface.
- The user interface includes libraries linked with the Creative Cloud.
Step-by-Step Guide
Step 1: Starting the Program and Overview of the Start Screen
As soon as you start Adobe Illustrator CC, you will be greeted with a modern start screen. Here you can make initial settings before diving into your actual work. The start screen gives you access to various templates and files. To create a new file, select one of the templates displayed to you.

Step 2: Selecting the Templates
On the start screen, you will find the category "Templates". Here you can create different workspaces, such as the common A4 format. The measurement unit is displayed in millimeters, which is ideal for print documents. However, if you work for digital products, mobile formats like the iPhone or iPad are also available, which are set up in pixels and in the RGB color space.
Step 3: Accessing the Libraries
Another useful part of the start screen is access to the libraries. These are directly connected to your Creative Cloud and allow you to quickly access recently used files. You can either click on the files or use the tiled view to get an overview of your files. This way, you keep track of your projects.
Step 4: Creating a New File
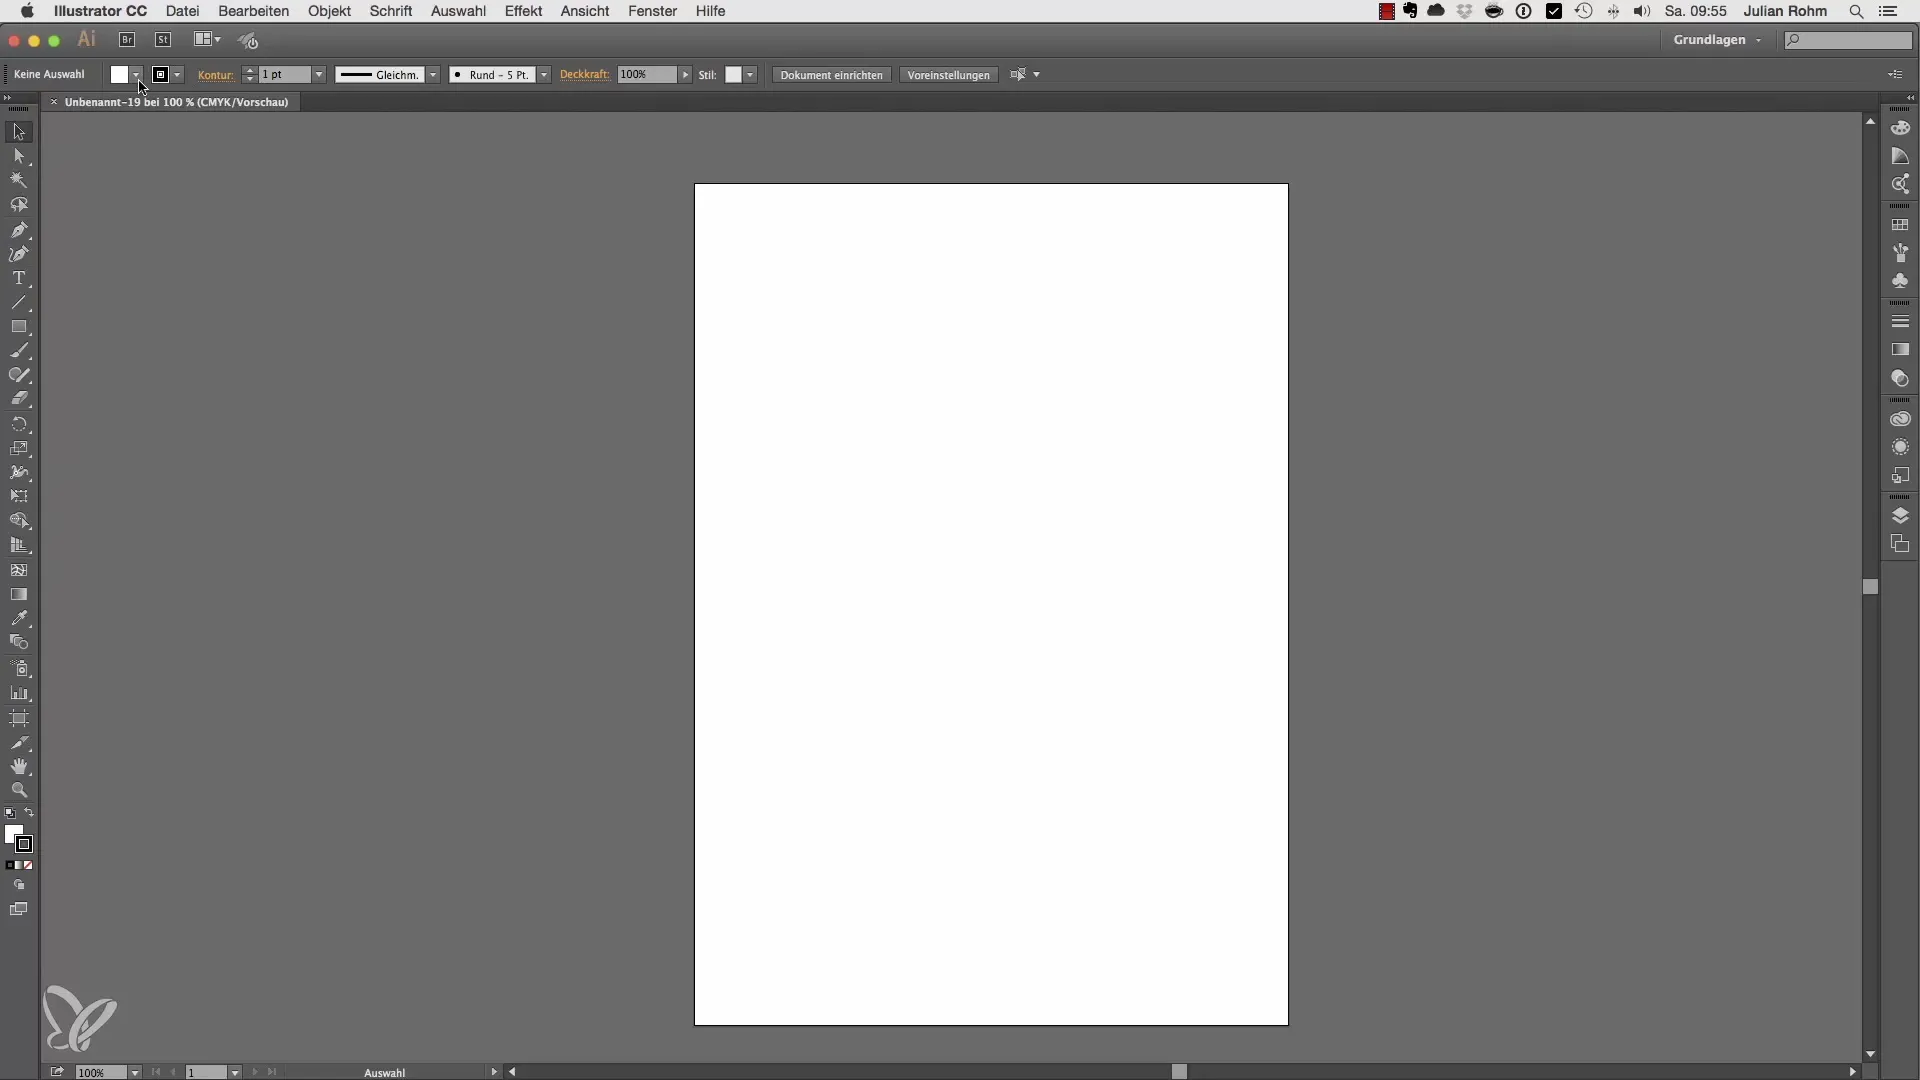
To create a new file, simply click on the desired template, such as the A4 format. After clicking, the workspace is created, and the Illustrator interface changes completely.
Step 5: Using the Left Tool Bar
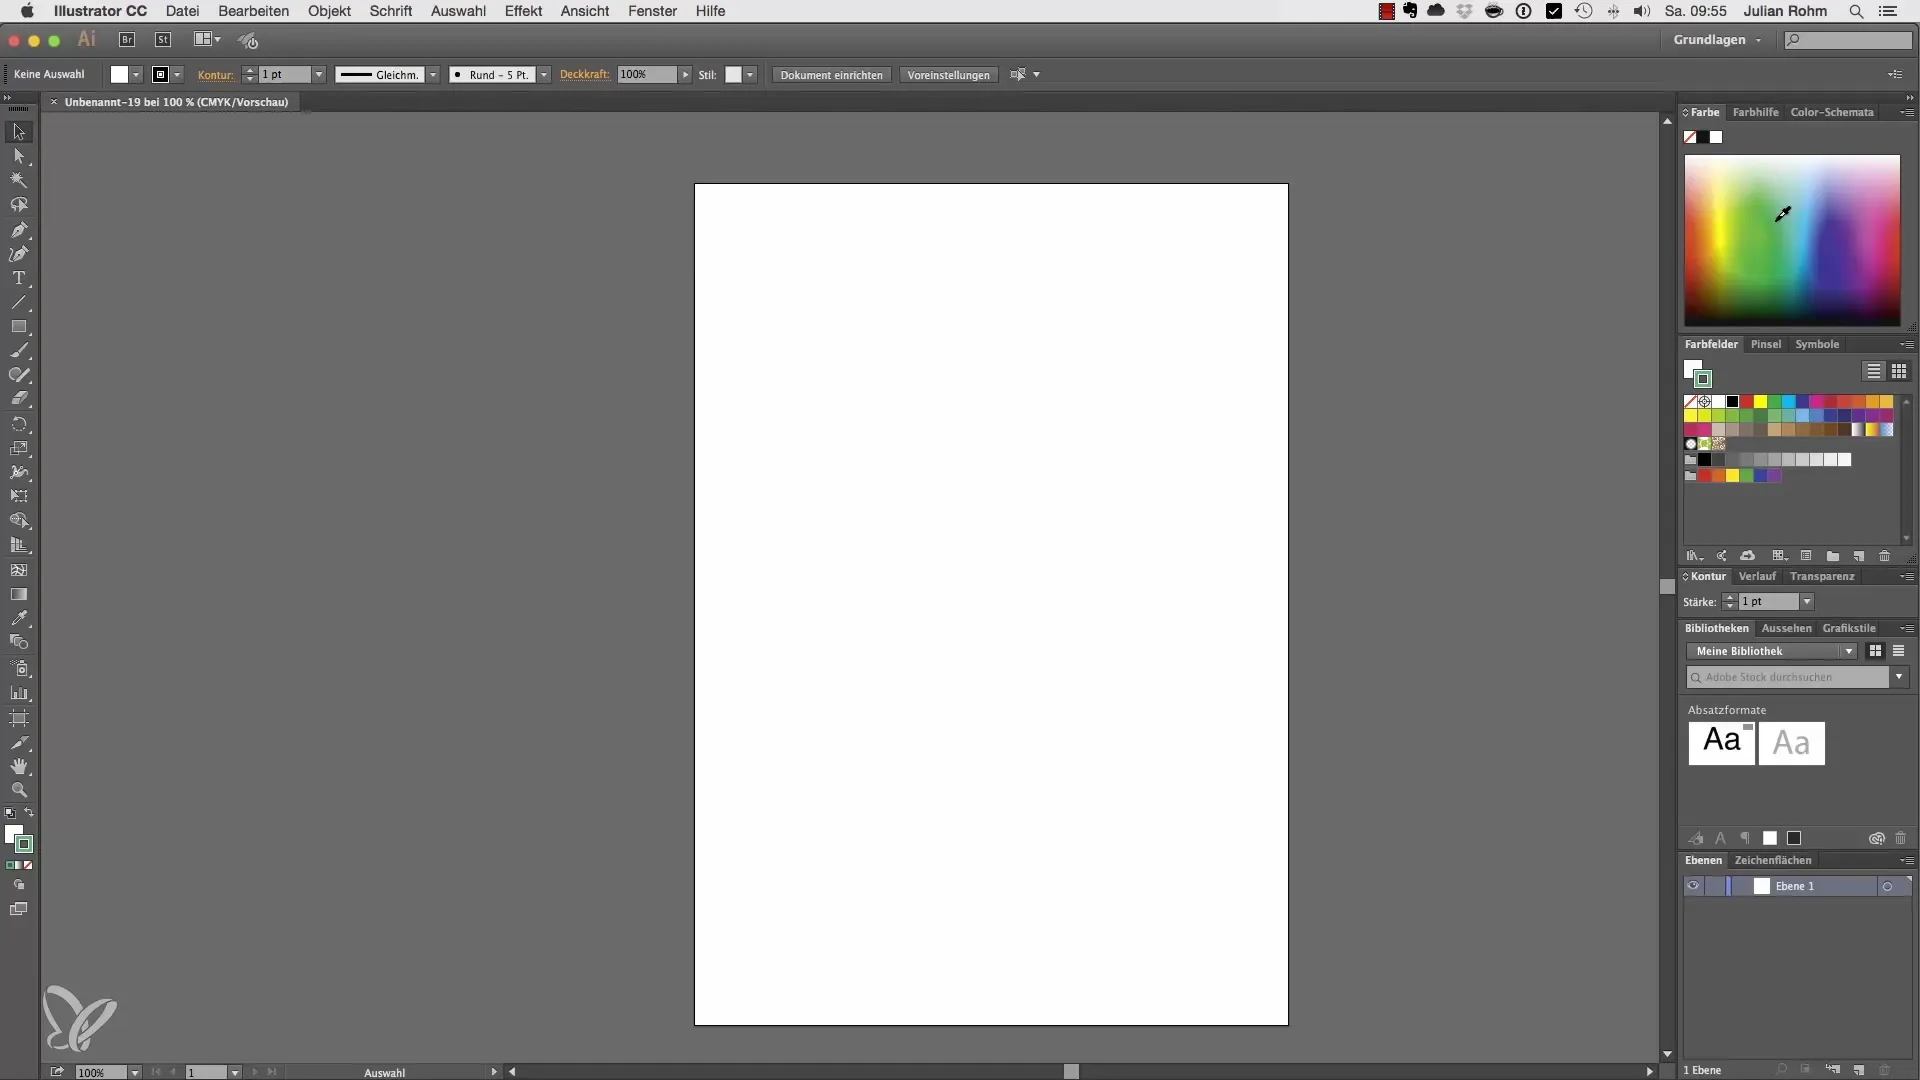
On the left side, you will find the tool bar, which contains all the important tools. Here you can switch between different tools to design your projects. Whether you want to use text, shapes, or colors, everything is readily available.

Step 6: Adjusting the Parameters
At the top of the interface, the most important parameters appear that you can set for the respective tool. For example, when you select the text tool, you can immediately adjust parameters like font, style, and font size. These settings are crucial for customizing your designs.
Step 7: Accessing the Right Tool Palette
On the right side, you should see the standard tool palettes that are essential for working with Illustrator. Here you will find palettes for colors, layers, and other important functions. In the following videos, we will delve deeper into the use of these palettes.

Step 8: Rough Overview of the User Interface
You have now gained a first rough overview of the user interface of Adobe Illustrator CC. This structure will help you work faster and more effectively as you implement your creative projects. In the next tutorial, we will take a closer look at the workspaces in the upper menu and their usage.
Summary – User Interface of Adobe Illustrator CC for Beginners
In this guide, you have learned the basic elements of the user interface of Adobe Illustrator CC. From the start screen to the toolbars to the parameters, you have been able to discover the important functions that help you work creatively.
Frequently Asked Questions
How do I create a new file in Adobe Illustrator?You can create a new file by selecting a template on the start screen.
What measurement units are used for print documents?Millimeters are used as the measurement unit for print documents.
How do I access my recently used files?The recently used files are available on the start screen. You can click directly on them.
What are the libraries in Illustrator?The libraries are linked to your Creative Cloud and provide quick access to files and resources.
How can I customize tools in Illustrator?Each tool has specific parameters that appear at the top of the interface as soon as you select the tool.


