With Adobe Illustrator's drawing tools, you can direct your creativity in unexpected directions. The Warp-Tool is a true all-rounder that allows you to seamlessly change the shapes and contours of your vector graphics. With this tutorial, you will not only learn the basic functions of the Warp tool but also discover other features of auxiliary tools related to the deformation of graphics.
Key Insights
- The Warp tool allows you to adjust and deform contours directly.
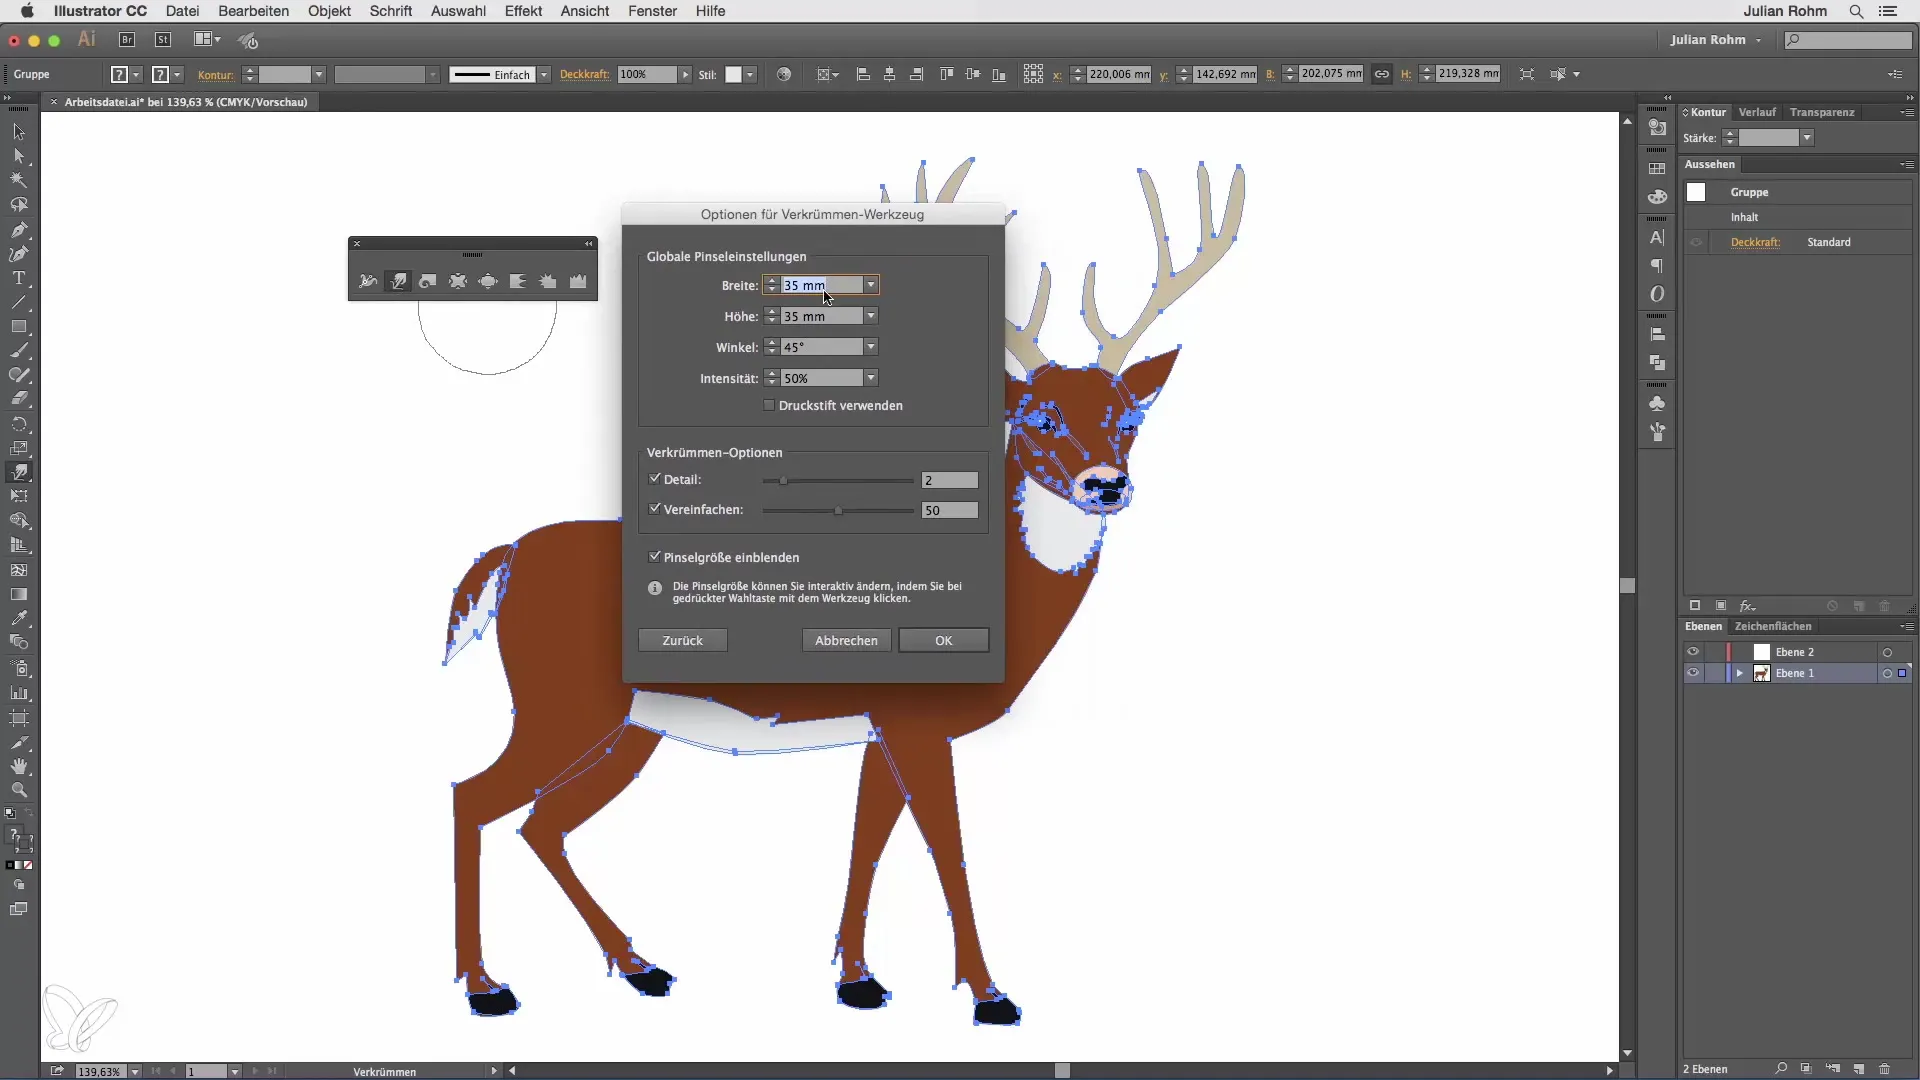
- By double-clicking on the tools, you can make additional settings, such as brush size and intensity.
- In addition to the Warp tool, there are also the Inflate and Deflate tools for changing shapes.
- With the Width tool, you can influence and specifically adjust the contour of an object.
Step-by-Step Guide
Activate the Warp Tool
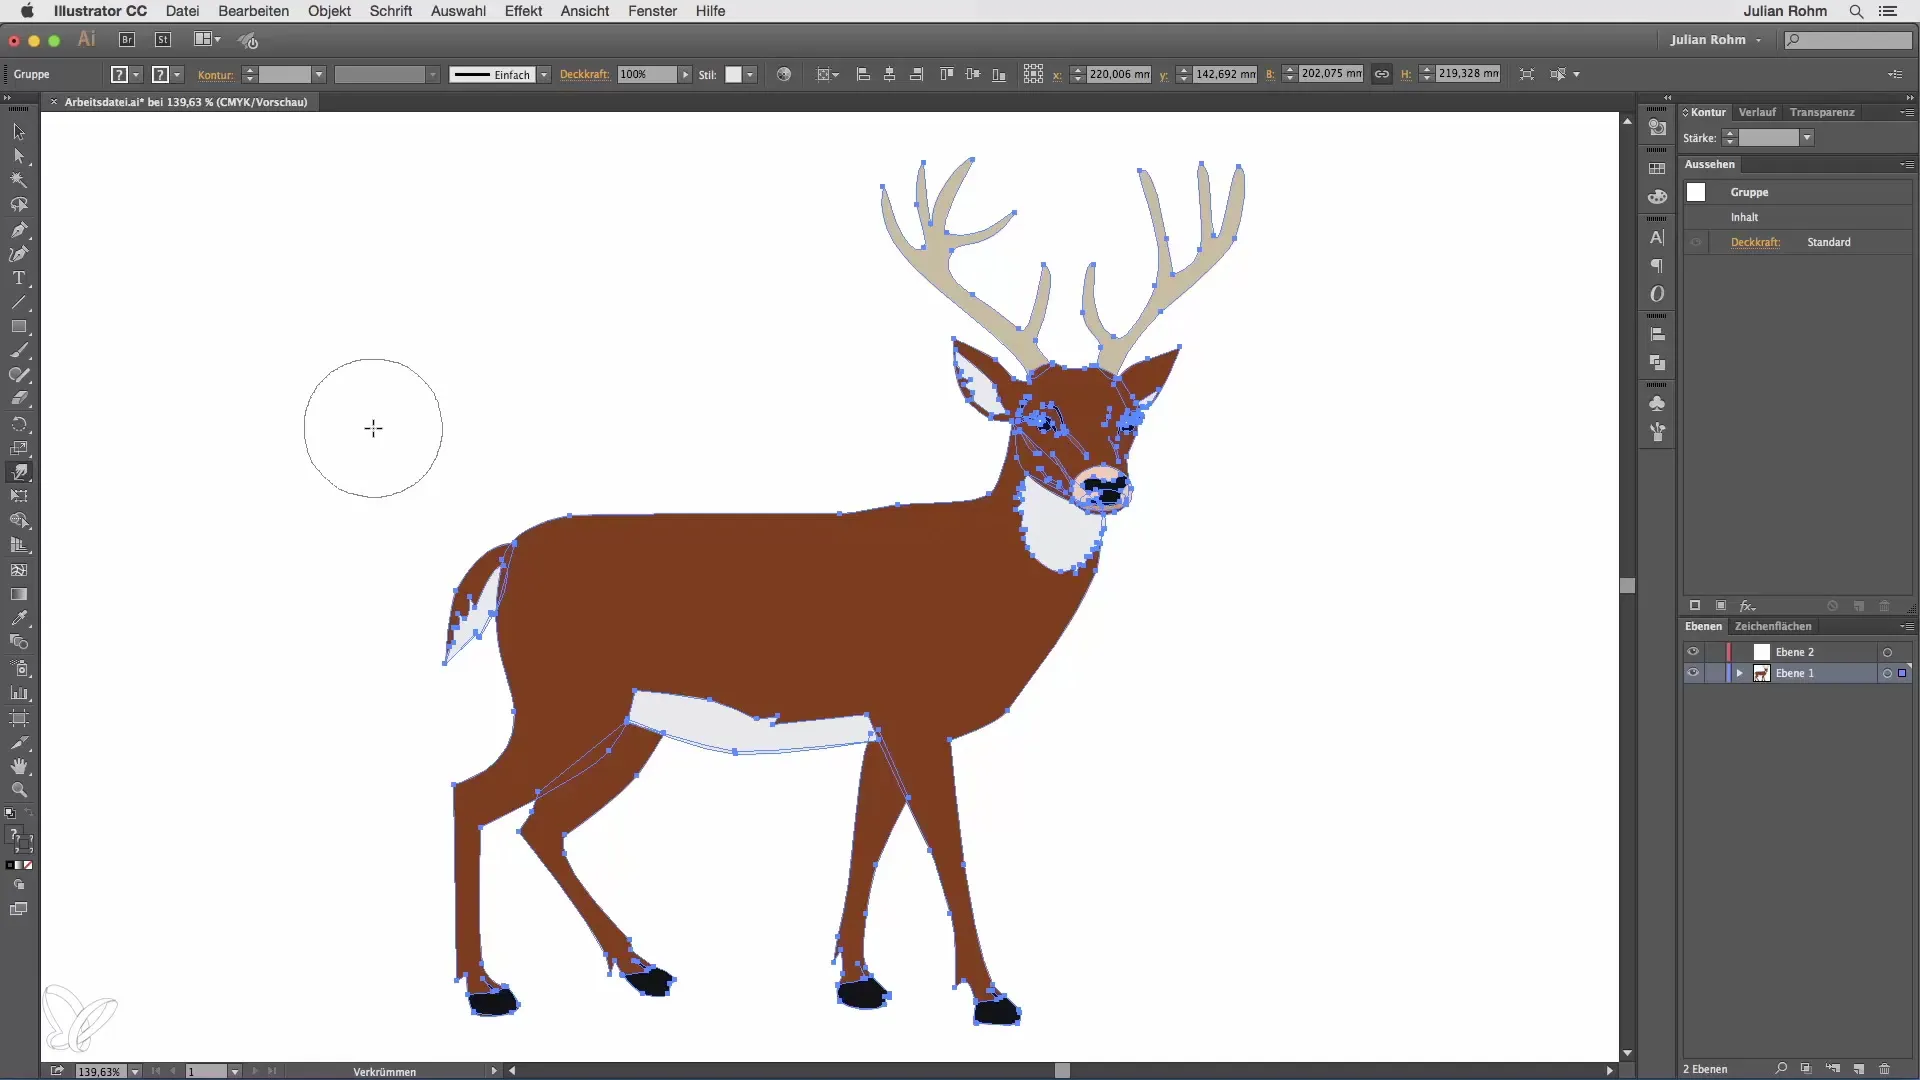
To use the Warp tool, click on the corresponding icon in the tool palette. By clicking on the arrow next to the tool, you can open the various tool options.

Adjust Brush Size
A double-click on the Warp tool opens a menu where you can make further settings. Here you have the option to adjust the brush size. For example, set the width to 50 and the height to 30 to create an elliptical brush.

Intensity as a Control Element
Additionally, you can control the intensity of the deformation. Enter a percentage to determine how strongly the deformations will take effect. If you are using a graphics tablet, enable pen pressure. This will make the strength of the deformation dependent on how hard you press on the tablet. Light pressure results in mild changes, while stronger pressure leads to more dramatic deformations.
Use Additional Deformation Tools
In addition to the Warp tool, additional tools such as the Inflate and Deflate tools are available. Double-click here as well to adjust the specific settings for each tool. These tools allow you to quickly deform and adjust objects.
Object Deformation with the Inflate Tool
With the Inflate tool, you can quickly "inflate" shapes. For example, place the cursor over an area of your deer and gently pull it to enlarge the appearance of the object.
Undoing with the Deflate Tool
If you are dissatisfied with the result, you can always work with the Deflate tool. This allows you to make adjustments again and "shrink" objects.
Use the Width Tool
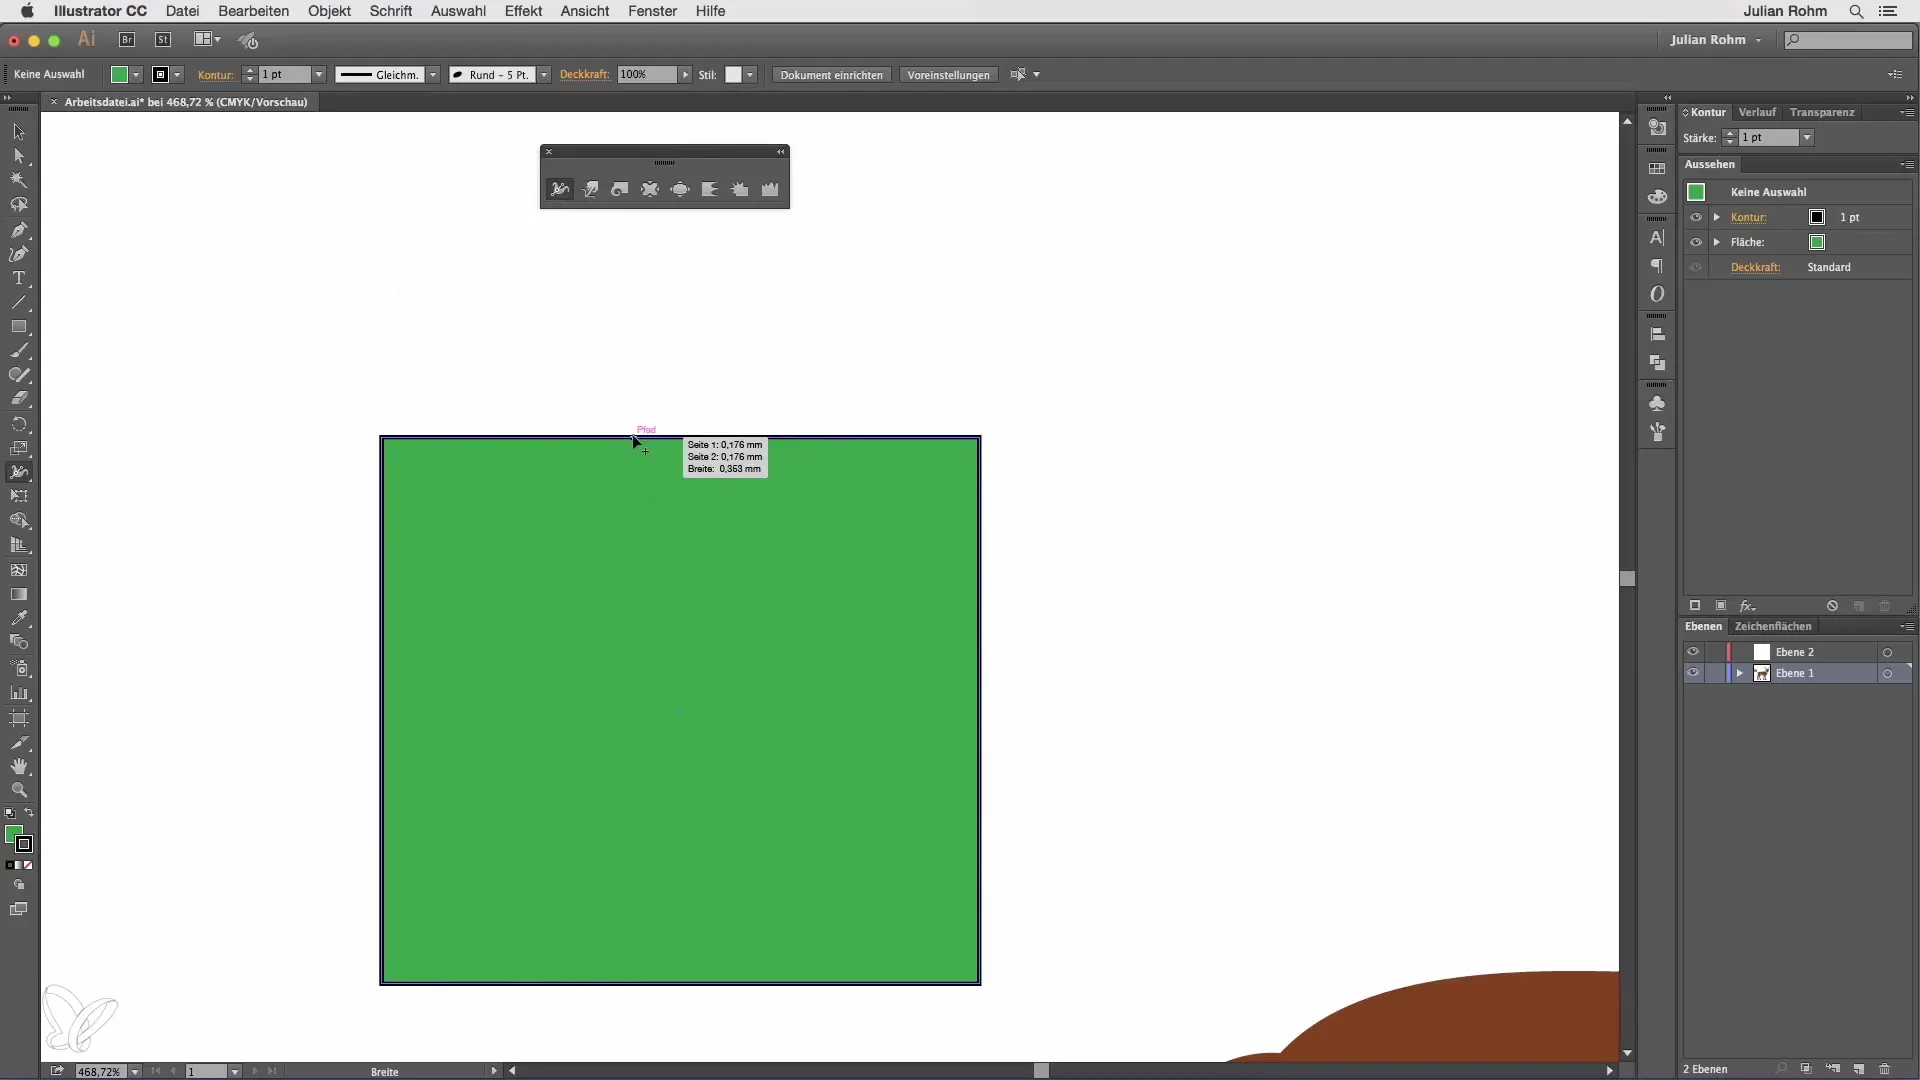
The Width tool allows you to influence the contour of an object. Create a rectangle and select the Width tool. Click on one edge of the contour, hold down the mouse button, and drag to change the width of that edge without affecting the remaining edges.

Targeted Adjustments to the Contour
You do not necessarily have to adjust the entire contour in the middle. By targeting clicks on different parts of the edge, you can enlarge or deform it while keeping the rest of the contour unchanged.
Summary - Illustrator for Beginners and Advanced Users with the Warp Tool
The Warp tool, along with the complementary features of the Width tool, Inflate tool, and Deflate tool, gives you the ability to creatively design and adjust your graphics in Illustrator. Use these features to optimally implement your creative ideas and elevate your designs to the next level.
Frequently Asked Questions
How do I activate the Warp tool?Click on the icon in the tool palette and open the options by clicking on the arrow next to it.
What settings can I make for the Warp tool?You can adjust brush size, intensity, and other options by double-clicking the tool.
What can I do with the Inflate tool?The Inflate tool allows you to quickly enlarge shapes, for example, increasing the volume of an object.
How do I undo my changes?Use the Deflate tool to undo adjustments and shrink objects back.
How does the Width tool work?With the Width tool, you can adjust the contour of an object by clicking on an edge and dragging.


